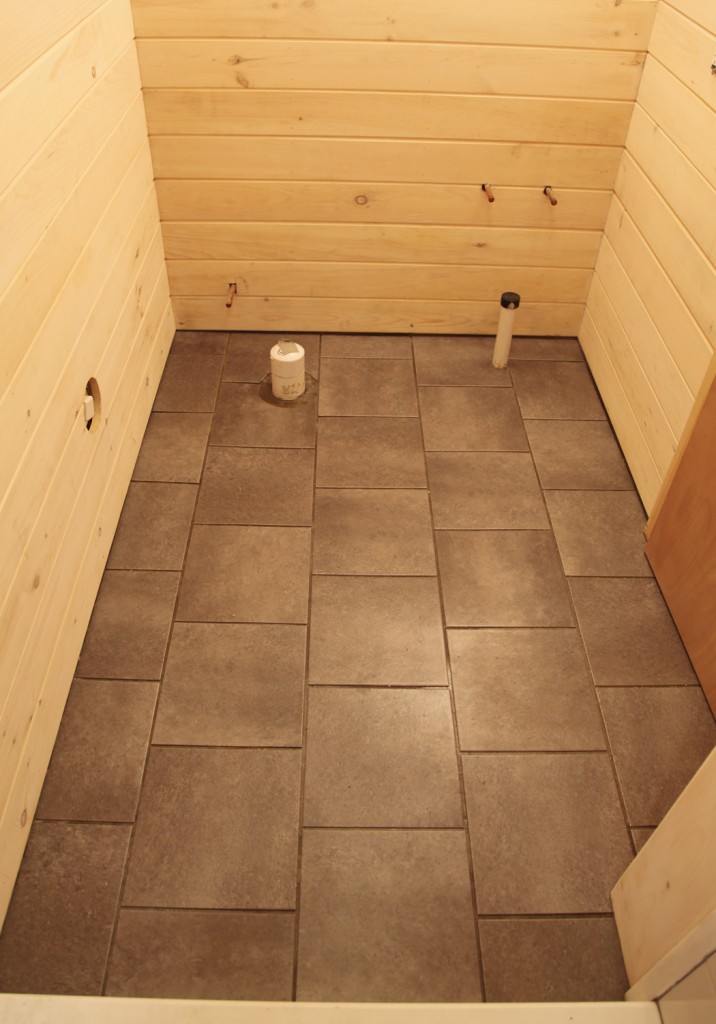
It was a long slog this weekend in the basement (especially with such lovely weather outside). I am now the queen of faux slate flooring. We ran into some issues with the floor, so I didn’t get quite as far as I would have liked. The good news is that the floor is down (at least in the bathroom). The bad news is that I still need to grout (that is for tonight). Mr. S. also got most of the whitewashing done in the main space.
Installing the “Luxury” Vinyl Tile:
(TrafficMaster Ceramica Resilient Vinyl in Coastal Gray @ Home Depot)
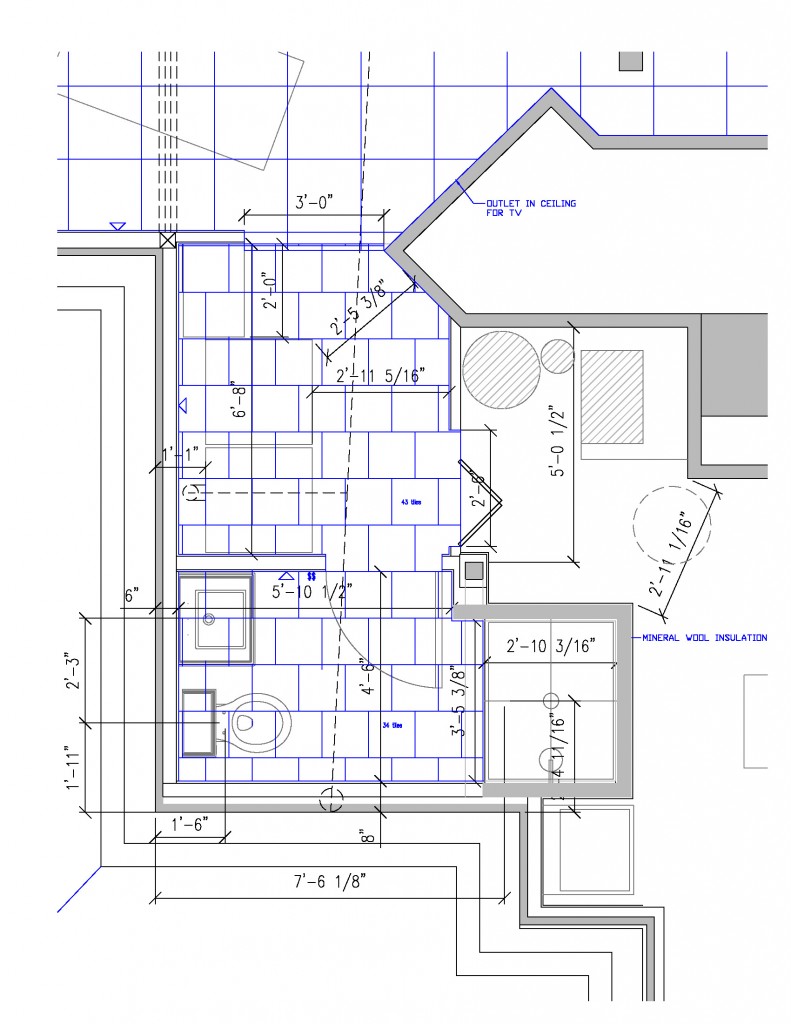
Step 1: Sketch out a rough layout on paper. In my case I used AutoCAD. The tiles are listed as being 12×12, but in actuality they are 11 3/4 x 11 3/4 (to allow for a 1/4 grout joint). We decided to go with a staggered pattern, which I think helps make it look more modern. I also used this when estimating how much to order.
Step 2: Acclimate the tile (ours have been sitting in the basement for the last month). If I had this to do over again I would have pulled the tiles out of the boxes and had them sit out where it was a little warmer.
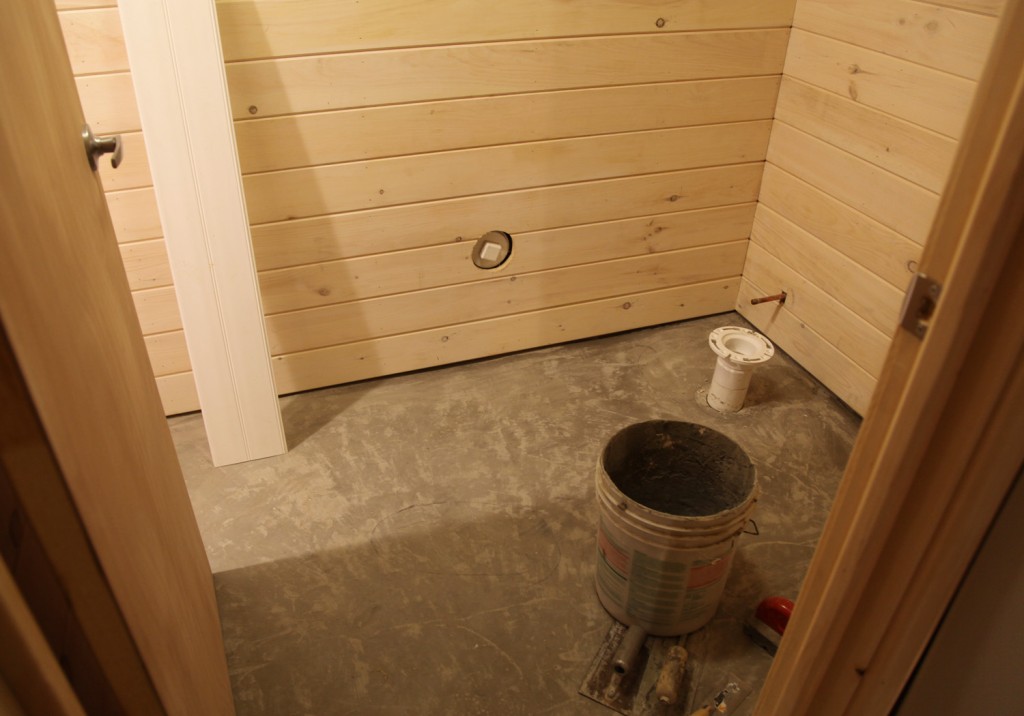
Step 3: Prep the floor. This includes leveling (our contractor used a self leveling product and ground down the high spots with an old school stone). Once the floor was level we used a floor prep product for concrete flooring (recommended by the manufacturer). This makes the floor slightly sticky and ideal for making the tile stick (or at least it is suppose to).
Step 4: Do a rough layout with the actual tiles. I also doubled checked my original sketch. Of course the walls were off by about an inch, so I adjusted accordingly. I also wanted to make sure that we ended at a full tile where the laundry area meets the main space, so I carefully measured back from there. That left me with a row of 8 1/4″ tiles on the back wall. We were lucky that all of the walls were perpendicular (I checked and rechecked) so I could cut the tiles all the same depth for the back wall and work out from there.
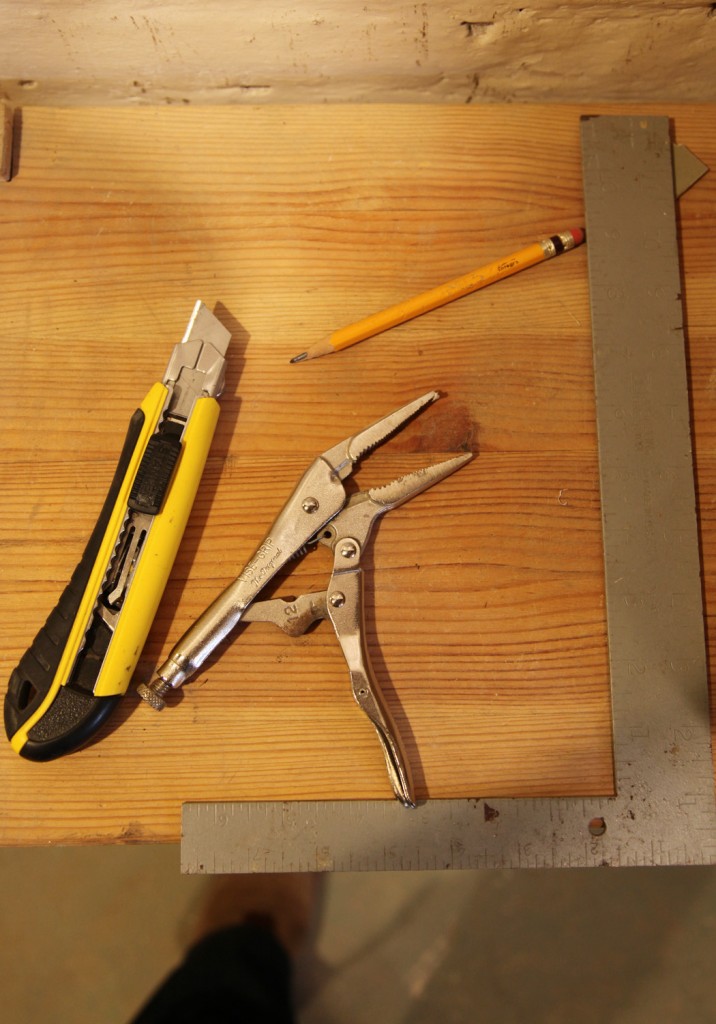
Step 5: Cutting the tile! The tile is nice and thin and cuts quite easily (yeah!). For the straight cuts you just score it with the utility knife a few times and then you can snap it with your hands. For more complex cuts I scored the shape and carefully pulled down with the need nose vise grips right next to the cut (on the bad side). This worked quite well, although sometimes took several turns to get all of the unused portion off. One of the keys to a good cut is a sharp blade! So, remember to change them frequently!
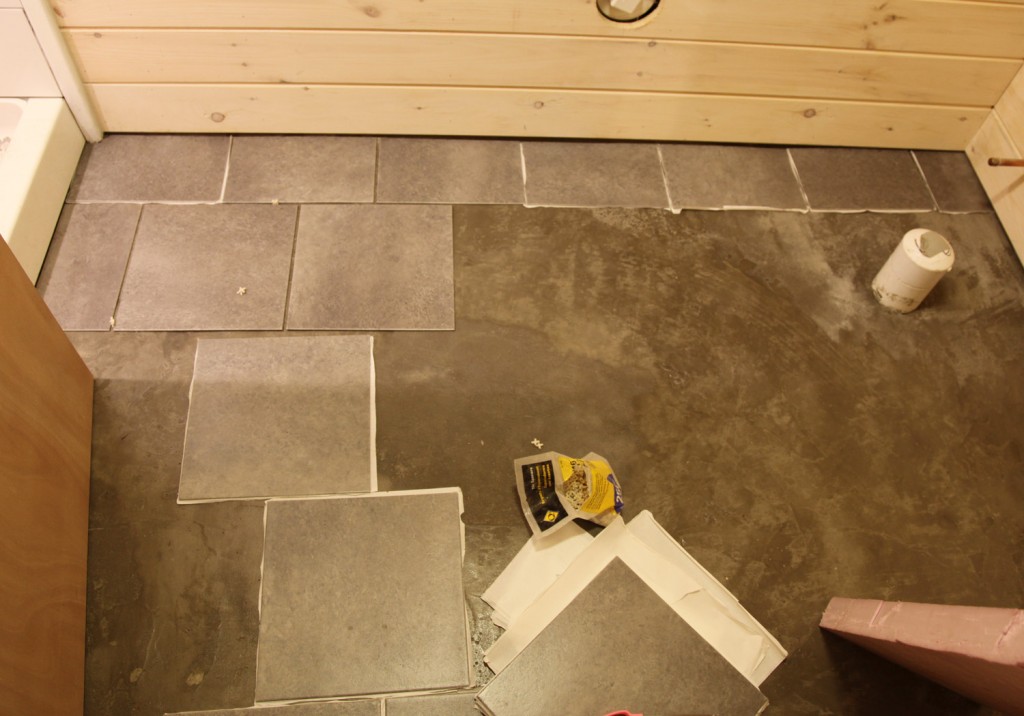
Step 6: Installing the tile! I had 1/8 spacers on hand from the shower so I put two together to get the 1/4″ spacing that I needed. After getting the tile lined up I carefully removed the backing of the tile and placed it down. I then double checked the spacing on all sides, then pushed it down into place. Then I stepped on it and used a rolling pin at the joints. Easy right? Well, okay this is where things started to go badly! Quickly I noticed that the tiles weren’t sticking as well as I would have liked. So then I started warming the tiles up by holding them up to the heater in the ceiling, hoping that would help. It did help but I was still noticing than some of them were not adhering as well as I would like!
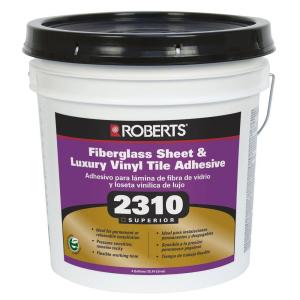
Step 6A (Plan B): I ran to the store and picked up vinyl adhesive (which I have used before). According to my tile’s warranty I have now voided it! I had read the reviews of the tile and more than one person had used the vinyl adhesive without problem (to ensure good adhesion). So I pulled up all of the loose tile and troweled on the adhesive.
*Of course now I realize that there is a special adhesive for “Luxury” vinyl tile. Oops, I guess I used the wrong one (I don’t think I saw two options in the store).
Step 7: Wait for the adhesive to become tacky (this took about an hour).
Step 8: Apply the tiles.
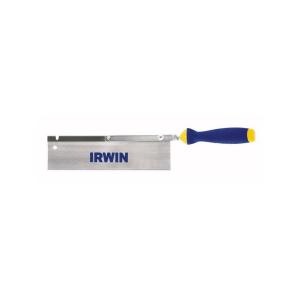
Step 9: Cutting around door trim. So while I was picking up the adhesive I had also realized that the door trim went all the way to the floor, so I couldn’t get the tile underneath. I have seen contractors undercut the jamb before, but I have never done it, but it means I much more professional look so I though I should try and do this. I was pleased to find this Irwin Jamb Saw for $10.98. And it worked just as promised. Yeah! I just placed a scrap tile at the location and cut against the jamb.
Step 10: Wait for the adhesive to dry!
Step 11: Install the Faux Grout: Stay tuned!
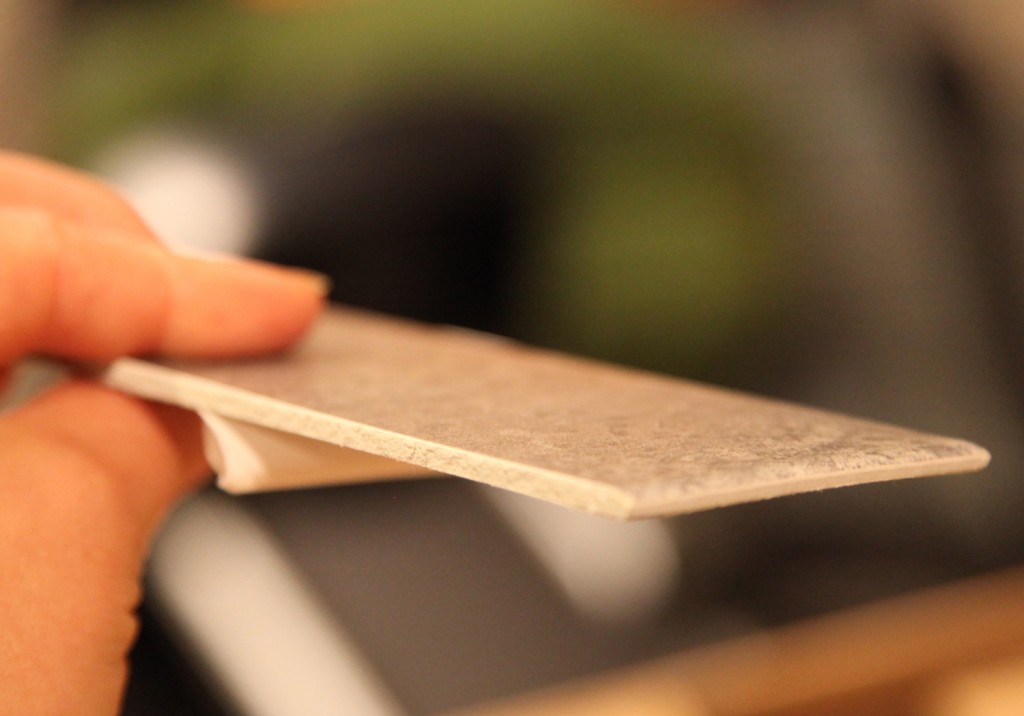
Close Up of Ceramica Tile. Cut edge on left and Finished edge on right. The finished edge curves down slightly.
* To see all of the posts about our basement click here.

