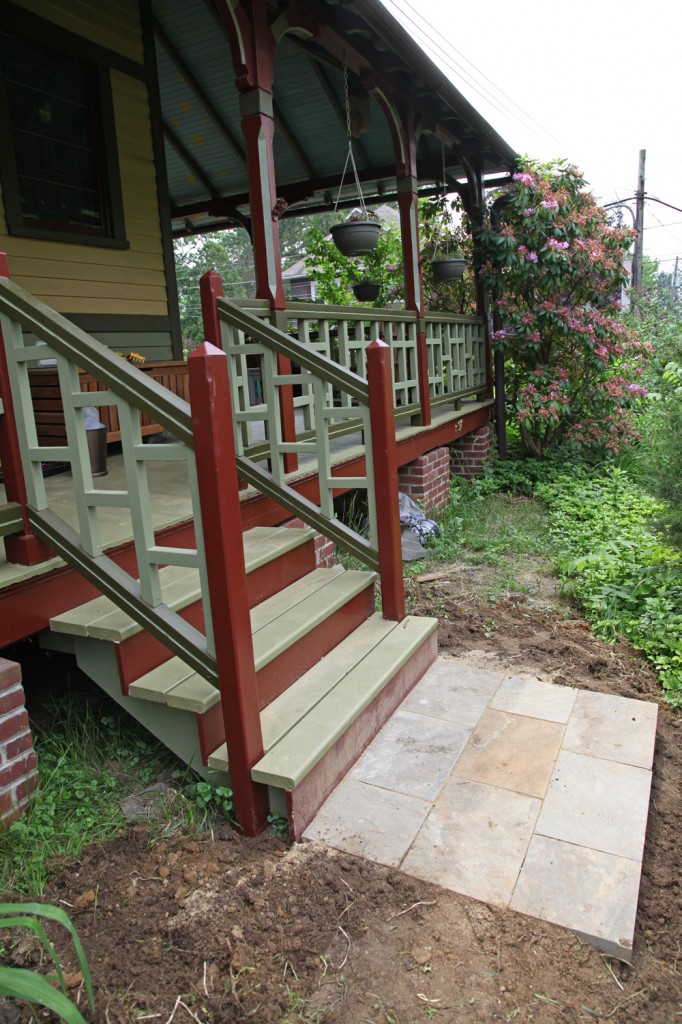
It may not look like much, but I managed to get the bluestone landing finished yesterday! I was determined to get this finished before this weekend. I hope everyone gets to enjoy the 3 day weekend!
It is hard to believe that it took us this long to put these stairs and landing in. This side yard has been wasted space for the past 110 years or so, and now it is a key part of the circulation path for the house. I still need to post a plan of the yard but I have been having trouble converting my autocad into an illustrator file. Hopefully next week I can post up the site plan so you can better understand the flow of the space.
I still need to work on the planting in this area as well. I also want to add a small raised veggie bed in the space just past the new landing (top right in the photo above). It is now a mix of weedy grass and pachysandra.
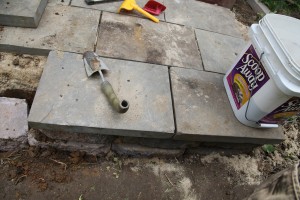
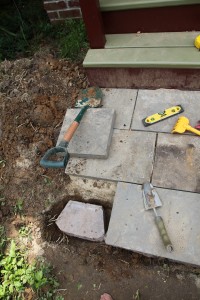
Laying the bluestone was tricker that I thought it would be.
The Install:
1. First I measured down from the wood steps (so that the bottom step to the landing would be the same height as the wood steps).
2. Then I had to account for the differing heights of the stone (they varied from 1 1/2″ to 2 1/4″ thick) to figure out how far down to dig.
3. Because I needed to add some retaining blocks (which are just the standard one from Home Depot, $2.18 a piece) under the sloped side to stabilize it I also needed to dig out for these. And because these would be at a set height I picked the 3 pieces of stone that were the closest in depth and used those on that side.
4. I dug out the dirt which was filled with annoying pachysandra roots. Including for 2 layers of retaining blocks.
5. Then I filled with sand (about 3″ thick) starting at the stairs to make sure the height was correct.
6. I sloped the stones about 1/4″ per foot towards the slope for drainage.
7. After I laid the first row (which took the longest to get just right), I started with the second row. and aligned with the first row while maintaining the slope in 1 direction and level in the other.
8. The third row required getting the 2 layers of retaining blocks at the right height and slope. This took lots of putting them in and out until they were just right.
9. I filled around the retaining blocks and installed the last 3 pieces on top.
10. Finally I filled the joints with sand and pushed it in with a broom.
11. I still need to take a hose to it and try to get some more stand into the joints.


