I am generally a big fan of power tools (heck, I am a master of the compound miter saw). So you think I wouldn’t get nervous using a new one. Well, you would be wrong! For my birthday last July, Mr. S. bought me a compressor and 3 pack of nail guns. Isn’t he the best! The box has been sitting unopened in the basement for months as I gathered the courage to actually use them. In my defense we haven’t actually been working on anything requiring nailing, but I certainly haven’t gone out of my way to actually making use of them. In fact the box had been sitting there long enough, that it had acquired a pile of stuff on top (please tell me that happens to other people too?).
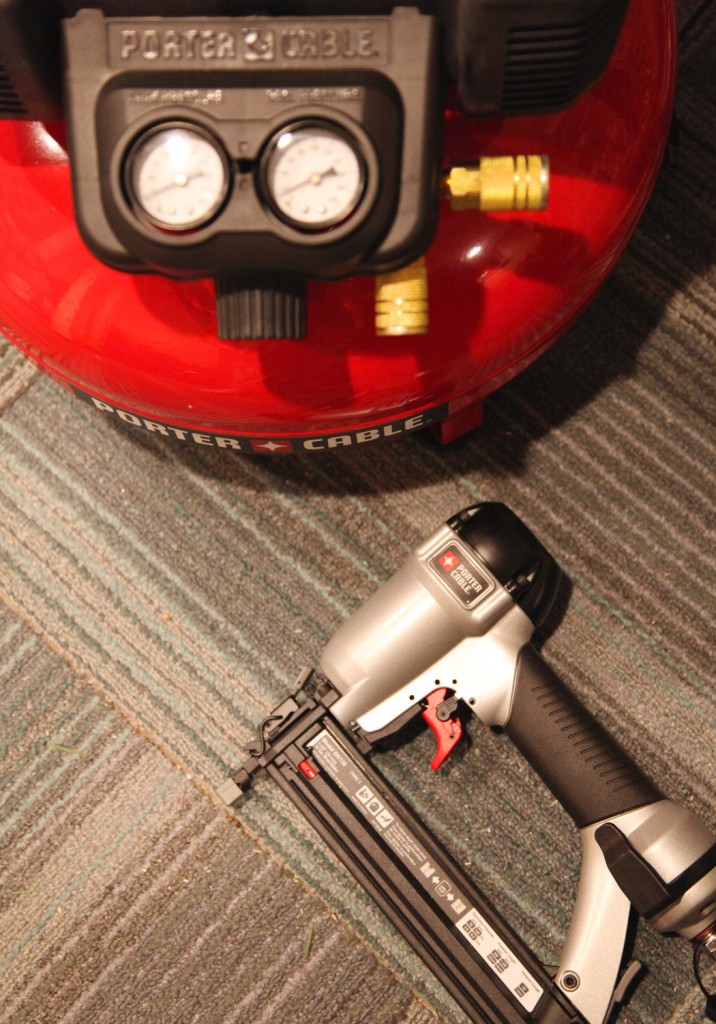
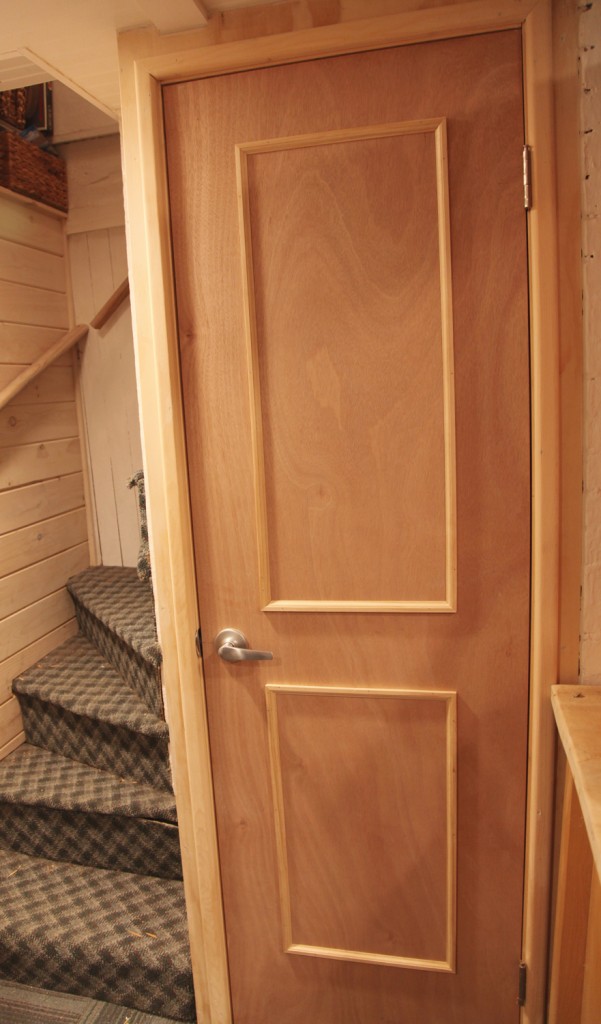
Well this week I am going to be helping out one of my clients, and I could really use a nail gun to speed up installing some trim. So I decided it was time to face my fear and try it out, and trim out the door to the basement closet (another long overdue project). While the rest of the family was upstairs and I was waiting for some laundry I cut open the box. Everything was packaged neatly and I went to work reading and re-reading the instructions. The compressor totally freaks me out (I guess anything that could blow up should do that). I made sure I understood how to pull the release valve and what pressure the dial should be set at. Then I unboxed the brad nailer. I picked it up. It was so cool! I read through all the parts and practiced unlocking and locking the trigger and installing the nails. Okay maybe this isn’t so scary after all.
So after a break and putting everything in place, I set up the compressor and plugged it in. I HATE the noise when the compressor starts up. It is so loud and powerful! I turned the adjuster knob and watched the pressure fill up in less than 2 minutes. I actually set the pressure too high and had to quickly lower it so I didn’t exceed the recommended range.
With the compressor set I decided it was now or never. I carefully plugged in my gun. The air whooshed out but I managed to click it in on the second try. Next up is putting in the nails. That was pretty straightforward! I very carefully released the trigger switch and put my trim in place. I pushed the nozzle (I’m not sure if that is what you call it) and pressed. It is actually really quiet. Phew, it worked! The nail didn’t go in as much as I wanted so I adjusted the depth gauge. The second one went in perfect! Awesome!
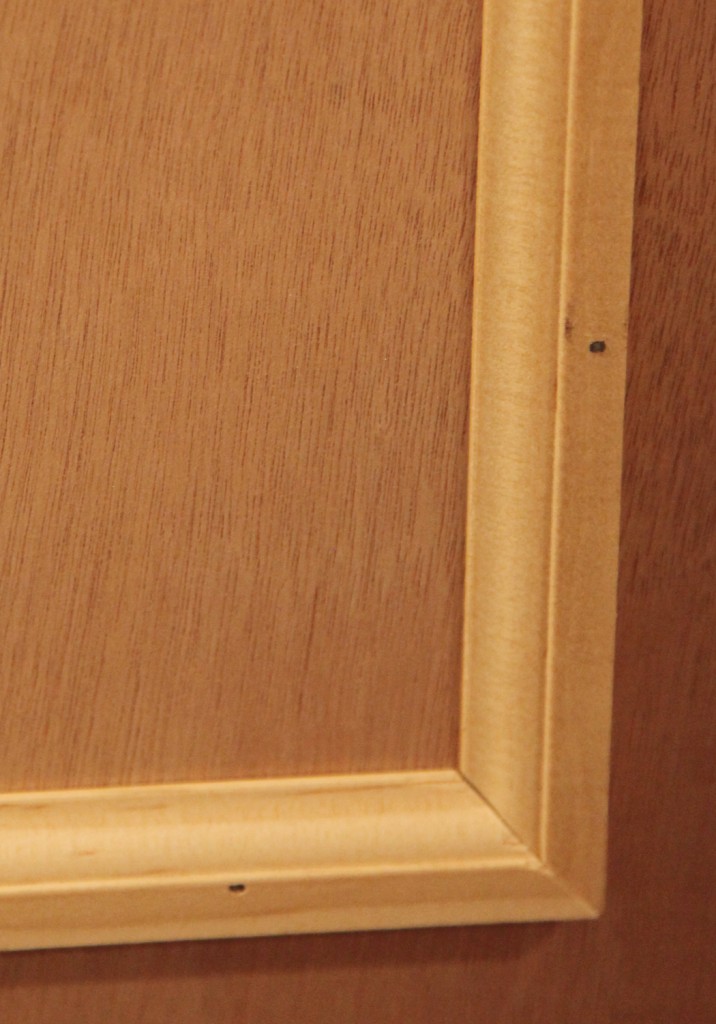
Within 5 minutes I was done putting the trim on the door. That would have easily taken over an hour by hand, and not worked as well! As I went I started to come up with a strategy for installing this thin trim.
I started with the bottom piece with 2 nails. Next I lined up one of the verticals. I nailed it a couple of inches from the bottom corner, making sure it was tight to the bottom trim. Then I nailed the other vertical the same way. Next I installed the top horizontal piece with 2 nails (after roughly checking that the verticals would align). Finally I connected the top of the 2 verticals near the top creating a tight joint and added a couple of extra nails in the middle for good measure. It worked surprisingly well. The nice thing about these nails is that once one is in, it stay tighter than with a traditional nail (so you don’t have to hold the trim very tightly).

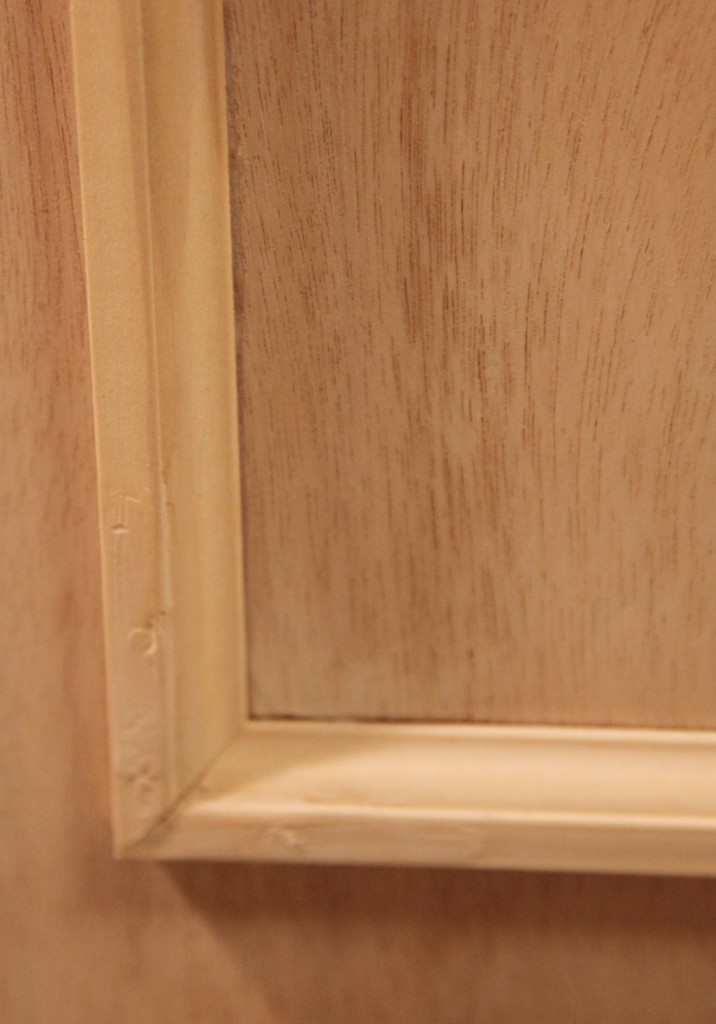
When I installed the same trim on the bathroom door (before the nail gun), it was really sloppy. Above you can see one of the corners on the bathroom door after I filled the holes. Not so nice! Granted I don’t stand this close to the door very often, but definitely not nearly as professional looking.
I am now actually excited now about using my new set. I know it will be really helpful on the third floor (once we get to trim). That reminds me there are some trim pieces around the house that need some help. Let me at them!


