Archives For -Fireplace

The Chimney Update: Day 5

April 15, 2011

IT IS ALL FINISHED!

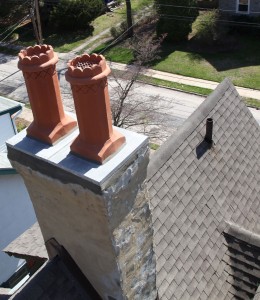
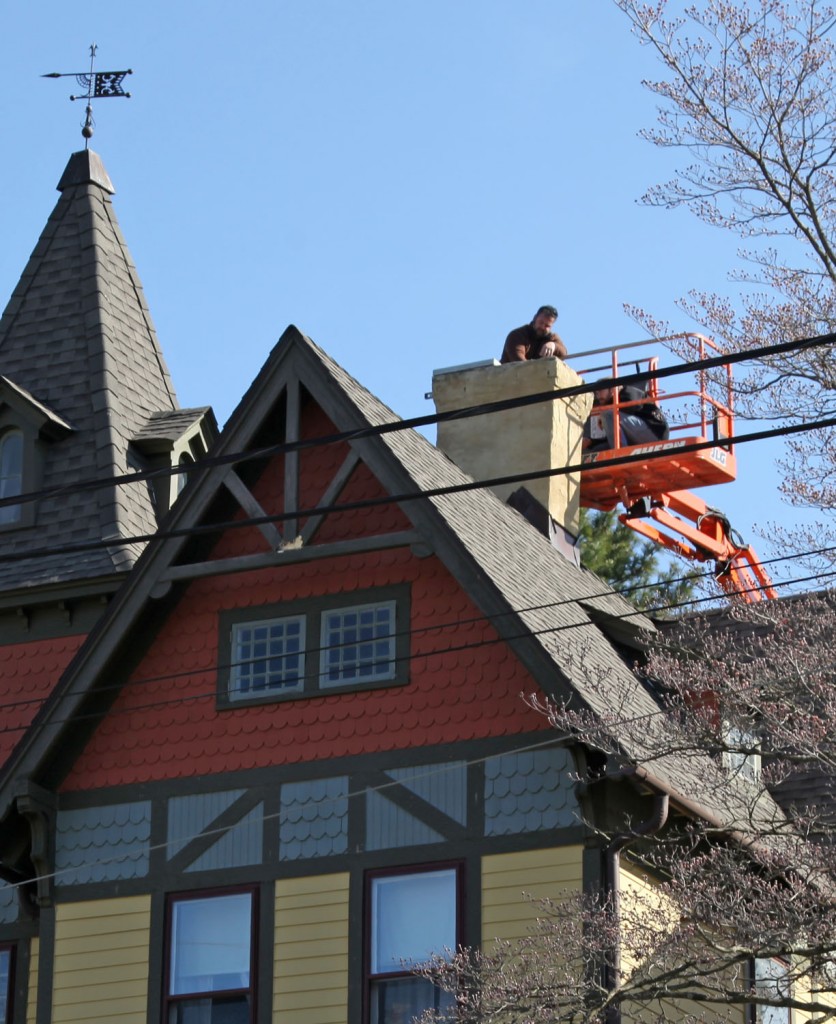
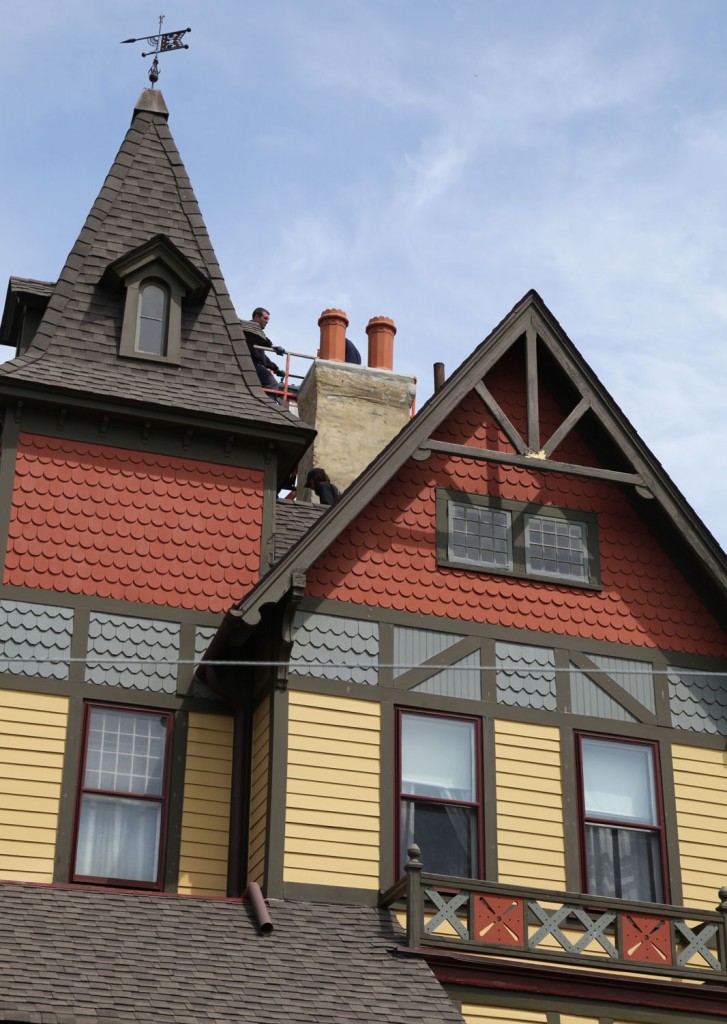
The chimney from yesterday afternoon. Patching complete and Chimney Pots installed!

Close up of the chimney from yesterday afternoon.

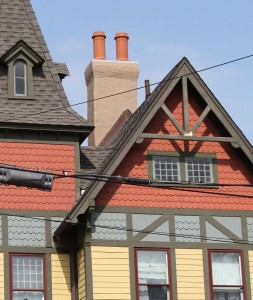
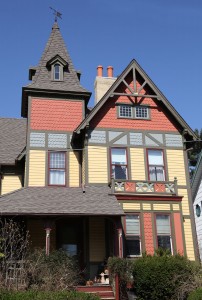
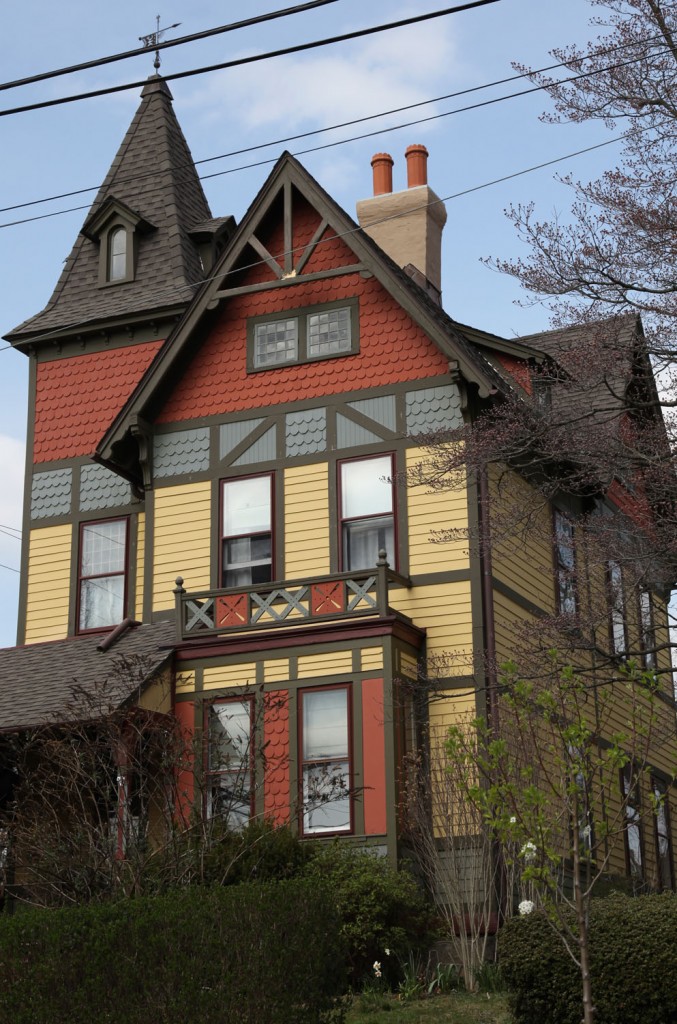
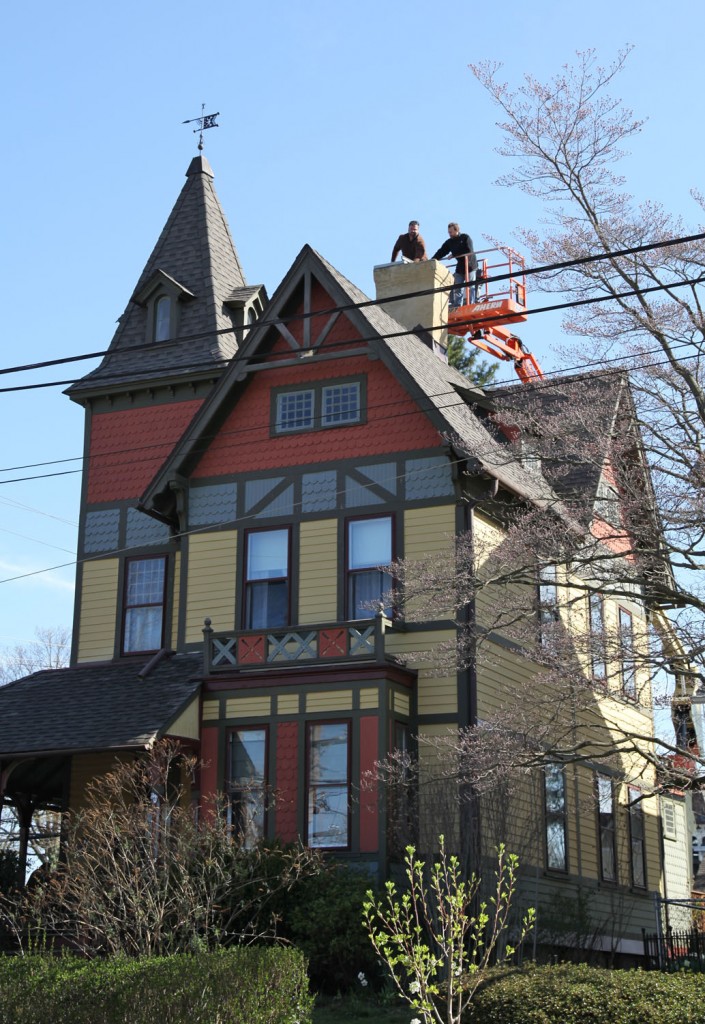
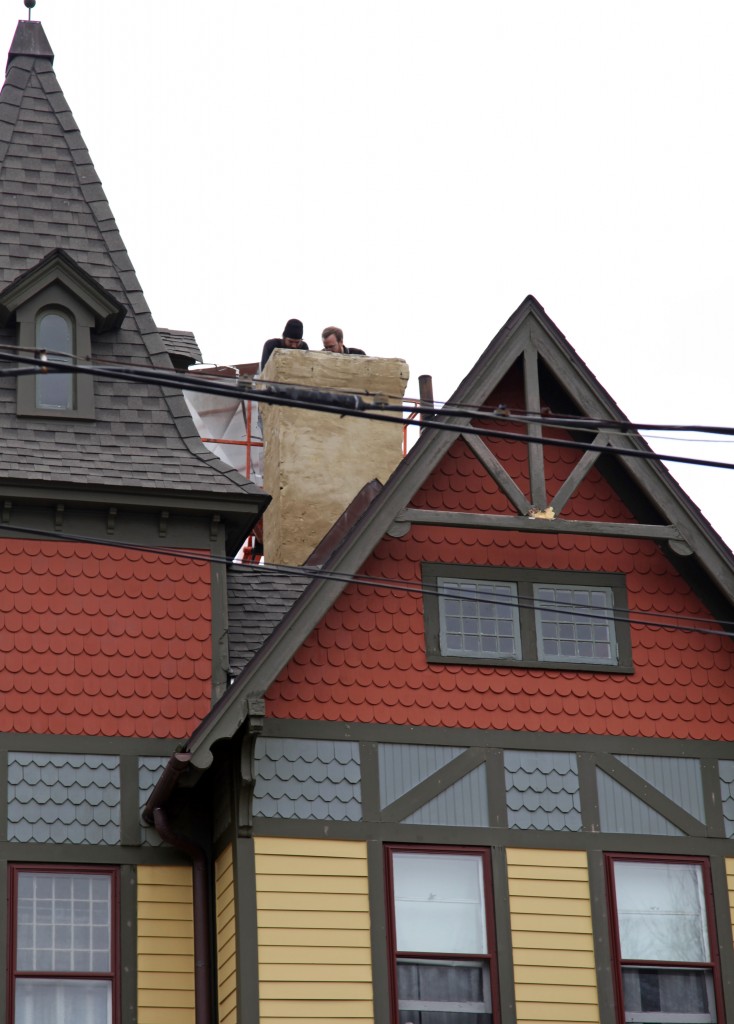
Chimney from this afternoon. All Painted! (try to ignore the rotted King's Post on the front of the house)


Finished chimney from this afternoon.


Yes, I am jumping up and down! Plus my carpenter managed to use the lift today to remove the rotted piece of wood on the King’s Post, fabricate a replacement (a full 2″x4″), prime it, install it, patch where required and paint it (separate post coming)! Plus it is a beautiful day! I am going to ignore the giant divots from the crane in the backyard for the moment and pretend all is perfect in the world. I hope it is this nice where you live!

The Chimney Update: Day 4

April 14, 2011

Checking for level


Installing the Bluestone Cap

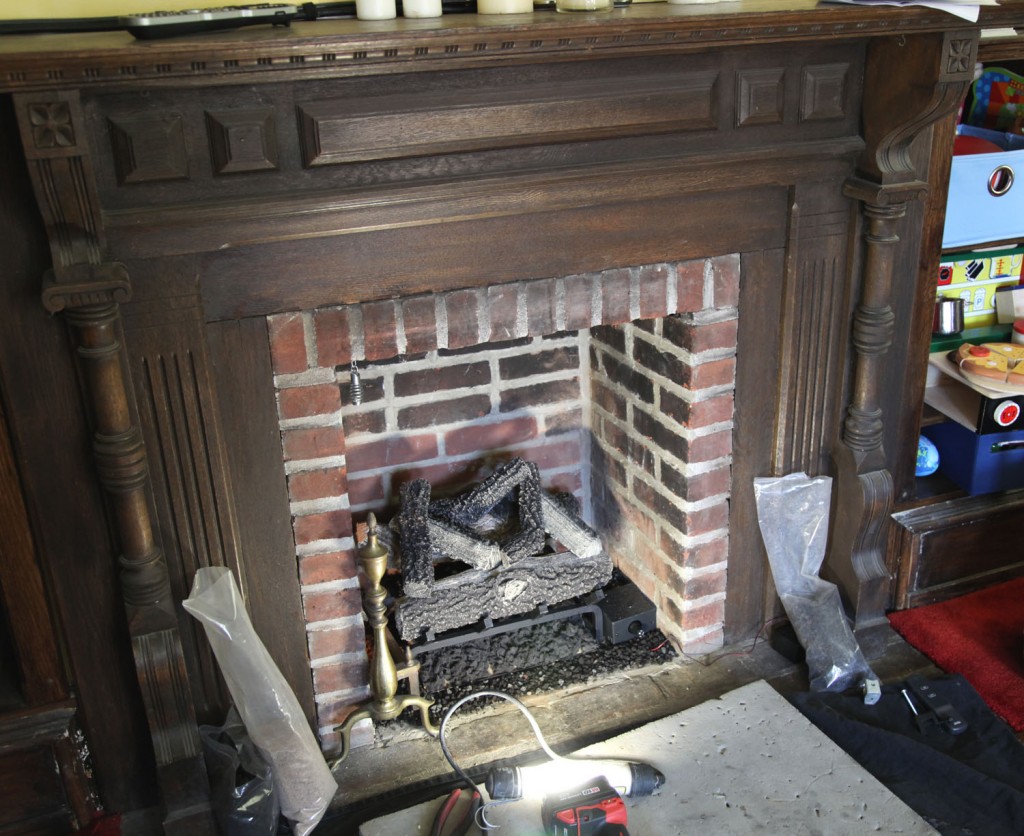
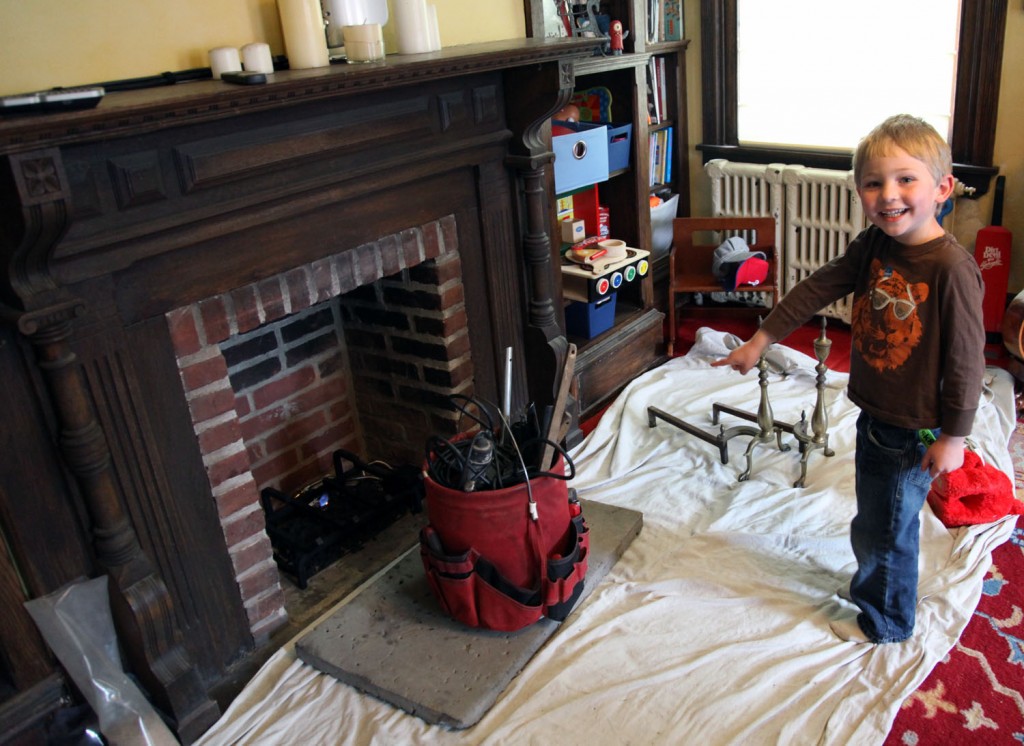
Gas logs in Progress in the Living Room

My chimney guys are back and they have a nice dry day to finish things up! So far this morning they have install the bluestone cap on top of the chimney (this sits below the pretty new fancy caps), started installing the logs for the fireplace, and started scraping the painted stucco on the chimney. I picked a paint color for the chimney (portobello). The chimney should end up a little darker and a warm grey as opposed to the yellowish/tan color it is now.

Things left to do:

-Install the Fancy Chimney Caps

-Finish scraping the chimney to get it ready for paint

-Prime and Paint the Chimney (tomorrow)

-Finish installing the gas logs in the Living Room

-Remove Crane (next week)

-Replace Fence (next week)

Things left for me to do:

-Go back on the lift this afternoon to get measurements for the King’s Post (to see if I can pick up a piece of wood this afternoon)

-Tonight my neighbor/carpenter is suppose to come by to look at the King’s Post

-Pick out a new fireplace screen for the fireplace. I found a pretty good price on a custom one from Northline Express since none of the standard size screens come close to fitting our old fireplace. We are thinking of having it fit just inside the opening.

Update:

The guys are done with the chimney and the gas logs (except for the paint)!

Installing the Chimney Pots!

The Chimney Update: Day 3

April 13, 2011

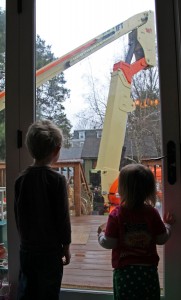
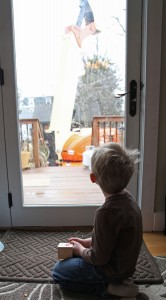
Sam, Maisie and the Crane

Maisie is busy putting on her rain boots and coat but Sam is still watching the crane.


The kids are home today and will probably be spending a good part of the day watching the crane! Sam has requested a crane like this one for his birthday. He said, “Don’t worry mom, it will be an outside toy. It won’t fit through the door.”

The guys are busy finishing up the insulation. The plumber will be here to install the gas line for the gas logs later this morning. Fingers crossed, all will go well and they will be mostly finished today.

Update: The plumber has been here and the gas is now hooked up to the gas logs and the guys are still working on the top of the chimney. The other new development is the condition of the stucco on the chimney. It is currently painted (was probably painted about 13-15 years ago) and it is starting to flake. So we 2 options: have them scrape and repaint or have it stuccoed and smoothed out. We are waiting on a cost for the stucco. The question now is what color? hmmm… I will have to photoshop some options.

The Chimney Update: Day 2

April 12, 2011

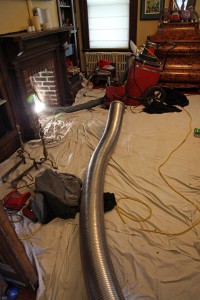
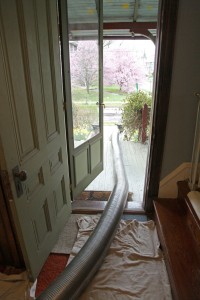
The stainless steel liner for the fireplace waiting to be installed

The rest of the very long piece of liner!


The chimney guys have been busy at work here! Yesterday they managed to install the liner for the boiler and hot water heater. They left mid-afternoon yesterday to head back to the shop to get everything ready for today. They were back this morning with the fireplace liner. It is rainy here today but that doesn’t seem to have slowed them down.  The lining is now in the fireplace (the picture is from this morning). If all goes well the chimney pots will go up tomorrow.

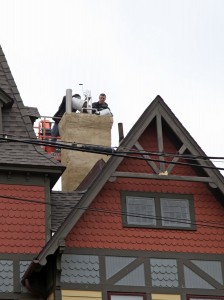
Update: The guys are done here for the day. They have put in a good portion of the insulation (a special perlite, concrete mix). The specialty product  hardens to keep the stainless steel liners in place while preventing any chance of a fire or spark from coming through the flues. They are installing this all the way up the chimney. I think they have a whole pallet load of this stuff and one guy mixing on the ground while the other two go up on the lift, carefully pour it down the 3 flues and then come back down on the lift.

If all goes well the chimney caps will go up tomorrow. They have some more structural work to do at the top in the morning to get ready for the caps.


The guys installing the insulation in each of the 3 flues.

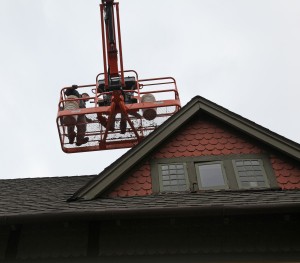
The guys coming back down for another load of insulation.

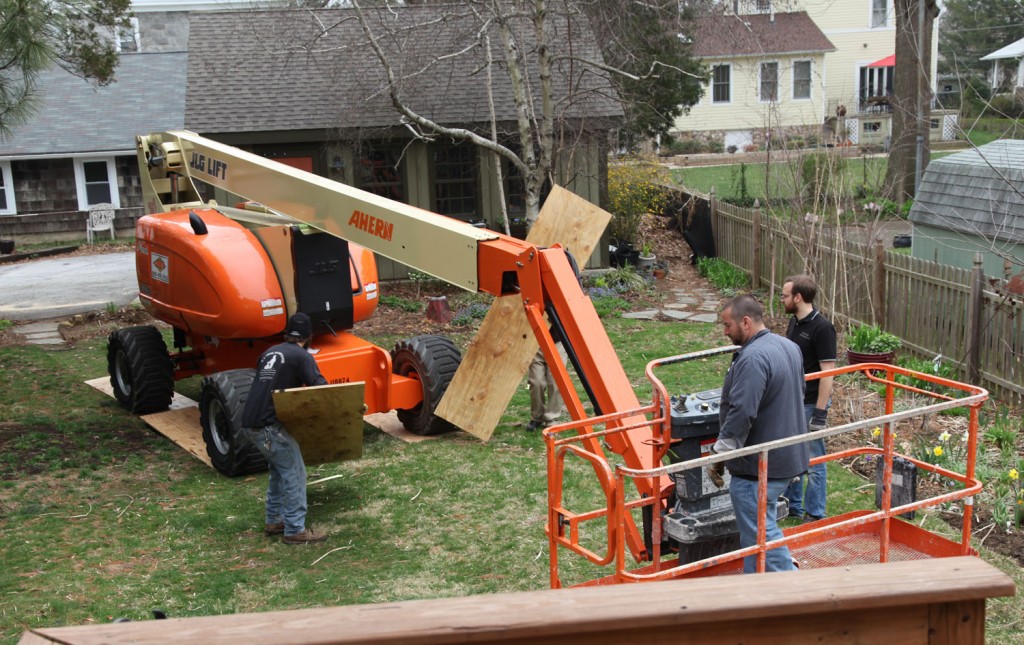
The crane has been here for 10 minutes and they have already been up to the chimney and taken off the cap!

The Crane!

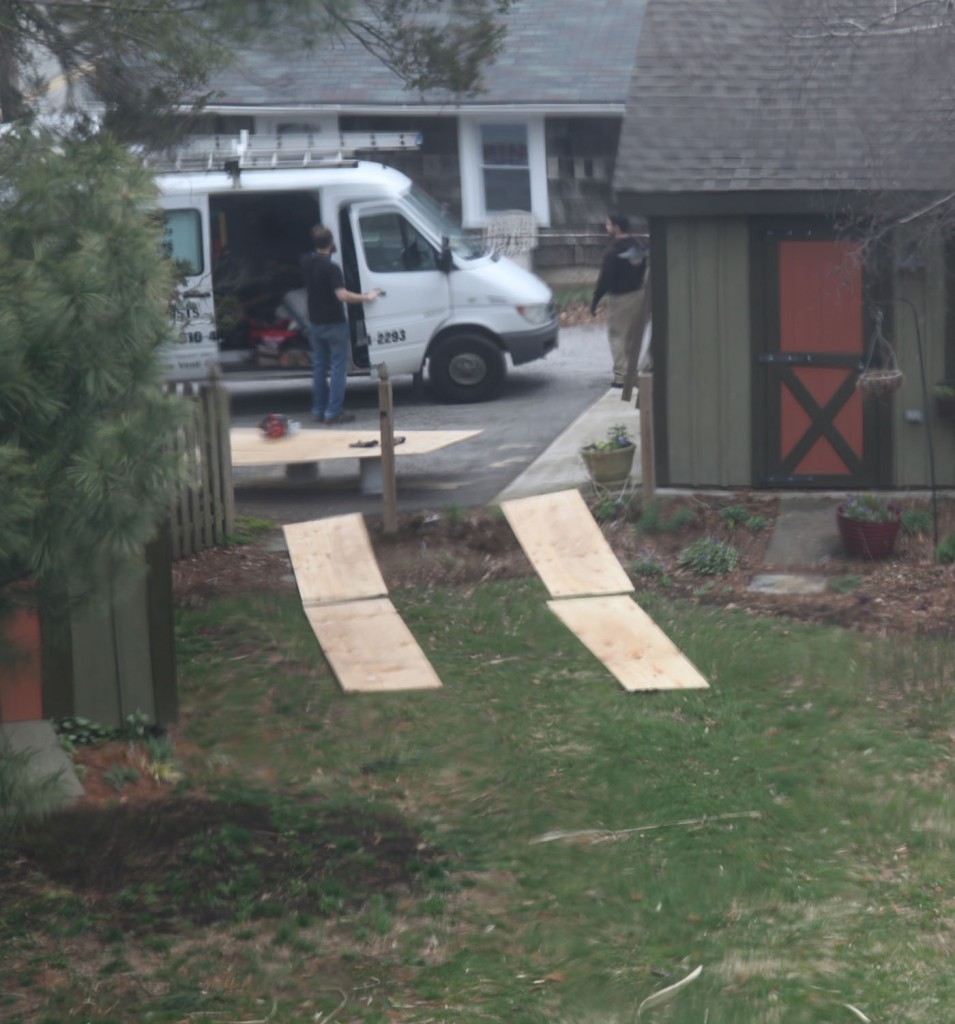
Getting Ready for the Crane

The day has finally come for the chimney lining! I’m so excited! The guys are here (the guys being DJ Cross Inc from Media).  They are waiting on the overdue crane (oh wait, now it is here!)

In the meantime they have taken down part of the back fence and are already down in the basement starting to work! Fingers crossed that all goes well. I will post pictures as they start making progress.

Also I have my plants safely tucked away in the compost pile (in the back right side of the picture).

The 45′ High Chimney

March 15, 2011

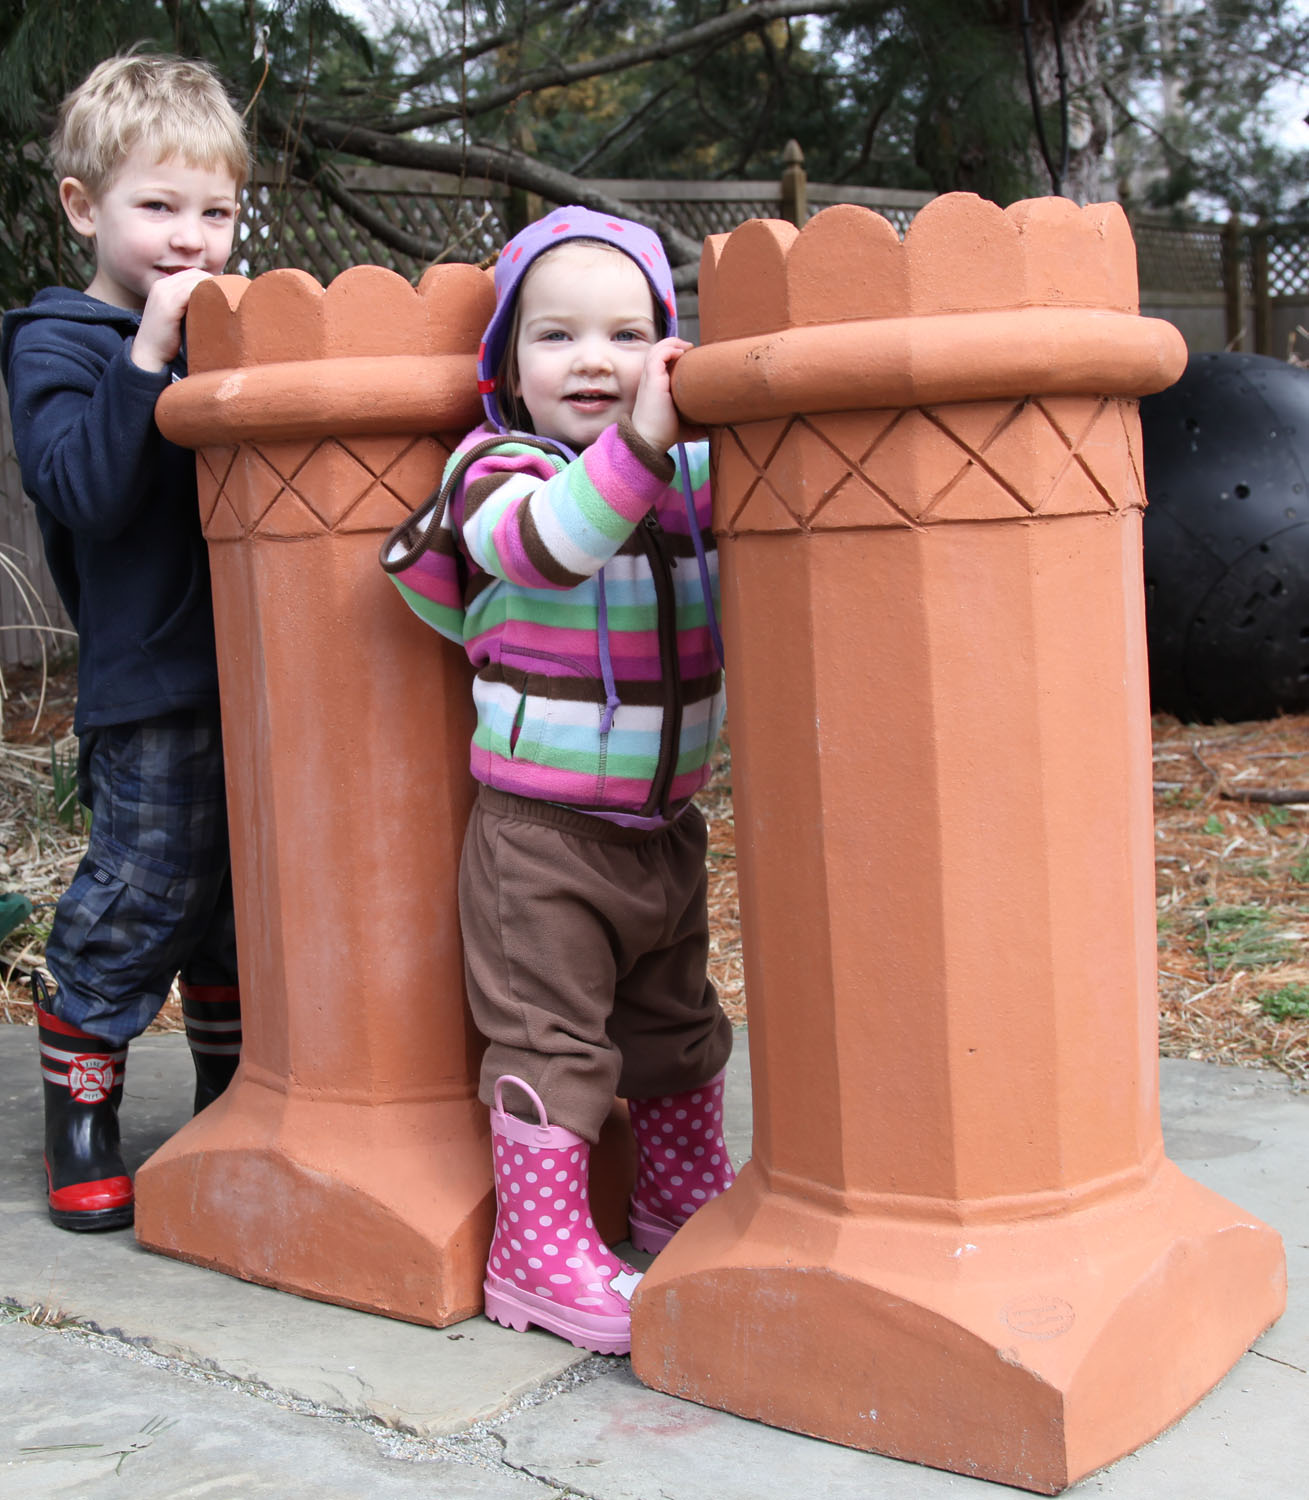
Chimney Pots (King Arthur)
Back of House with Chimney
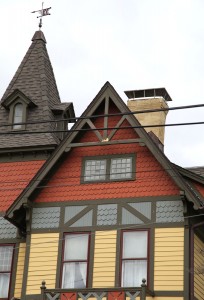
Front of the House with Chimney

Lining the Chimney is the last item on the list from our home inspector 11 years ago (okay so there might be one or two smaller items still lingering)! We finally bit the expensive bullet and called in the chimney experts. They are scheduled to come out in the next week (weather permitting) with a 90′ crane! Fingers crossed all will go well and there won’t be any surprises!

Background:

When we bought our house the inspector told us that the 3 flues in our chimney were not lined. This included 1 for the oil boiler and 2 for the fireplaces. Well as the years went on, we didn’t dare use either of the fireplaces and even had a 1970s wood burning stove pulled out of the one in our kitchen and the flue for the boiler stayed pretty clean. About 4 1/2 years ago, just as the weather was getting chilly, the oil company condemned the oil tank in our basement. It did not have an obvious leak but overtime hairline cracks had formed in the bottom and if you got underneath (yuck!) you could smell oil. A bit unprepared, pregnant and worried about running out of oil, we quickly had a gas boiler installed to replace the 40+ year old oil boiler. Fast forward a couple of years, and suddenly the flue for the boiler was full of debris! So after putting this off for a bit, and having the flue cleaned frequently, we have decided to get it lined. In retrospect we should have gotten a more efficient boiler and had it vented out the side of the house.

The location of our chimney is in the middle of the house, making access difficult. After reviewing this with our contractor he said that there were 2 options, scaffolding and a crane/boom. Given the location and steep pitch (15:12) of our roof, he felt that a crane/boom was the only real option. Unfortunately they couldn’t access it from the front yard because of the overhead power lines, slope and hedge. So, after looking at the options he proposed coming in from the backyard (taking out some of the fence) and rolling a 90′ crane into the backyard for a week.

Options:

Since we knew we were going to have the crane, we then needed to review the options of what we were going to do in terms of lining the fireplaces and deciding on a cap for the chimney. We decided that we should make at least one of the fireplaces functional. We had them review the options with us. The fireplace in the Living Room has a flue straight up (good for drafting). The fireplace in the Kitchen has a big kink in it (bad for drafting). We quickly ruled out lining the one in the Kitchen. Then came the decision for the chimney cap. Currently we have a large ugly metal cap on the top of the chimney. It helps to keep water from coming in, but is not a pretty site. One option would be to put 2 smaller metal (copper or stainless steel) caps on top. Another option would be to put historically accurate chimney cap on top (2 in our case). Well, after careful deliberation, we decided that the chimney should get some beautiful caps. They weigh in at 140 lbs a piece but I think they are going to be stunning.

Interesting Fact:

Our house did not originally have heat! Instead it had a kitchen stove that would have provided some minimal amount of heat and the 2 working fireplaces. In the early 1900s radiators were added and a coal boiler was put in the basement (and presumably the kitchen stove was changed out). In our case there is a cabinet from the 1910-1920s that was placed in front of the kitchen stove location. At some point 40-50 years ago the coal boiler was replaced with an oil boiler.

Good Info to Know:

-A furnace that is at least 90% efficient should be vented out the side of the house rather than up a chimney. This is because the exhaust is cooler and if it is vented out of a chimney the gases won’t make it all the way to the top because there is not enough heat to make the exhaust rise to the top of the chimney. The advantage is that if you have an old chimney just for this you can avoid lining/relining it. The bad news is that these units are more expensive. However if you are planning on staying in your home for a period of time the cost savings will more than make up for the cost.

-When switching from oil to gas, the built up residue on the walls of the flue are going to deteriorate the flue much more quickly (or in our case from coal, to oil to gas). The gas exhaust has water vapors in it which causes the oil residue that was previously absorbed into the flue to react. If you are switching fuel types, it is a good time to check your flue lining.

-There are several choices of flue liners: aluminum, stainless steel, concrete fill. I would definitely stay away from aluminum, it is not going to hold up!  We are going with stainless steel in our application. Also the flue liner for fireplace and a furnace are completely different. The liner for the furnace is smaller, round and more flexible (thinner gauge). The one for the fireplace is thick and shaped to optimize draft for the fireplace.