Archives For -Sarah’s Bathroom

Sarah and her girls are using their new bathroom (which is a big relief after 2 1/2 weeks), and it looks so fresh and lovely! There are a couple of items that still needed to be installed. Once these are finished I will post up a final with a recap of all of the products. In the meantime if you want to see the list of products click here for all of the related posts.

Items to be Finished:
-The sconces are on back order and won’t be here until June.
-The pictures for the wall are also not framed yet but they look great and I can’t wait to see them installed.
-A couple of extra knobs are needed for the vanity

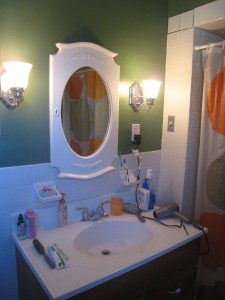
I also forgot to take a picture of the new ceiling light fixture (which is a beautiful shiny fixture from Restoration Hardware) and the side of the vanity. The contractor moved the electrical outlet to the short wall next to the tub down low. Then we added a couple of hooks to the side of the vanity to hide the hairdryer and brush (finding a place for the hairdryer and brush was on Sarah’s wish list).

So without further ado here it is…

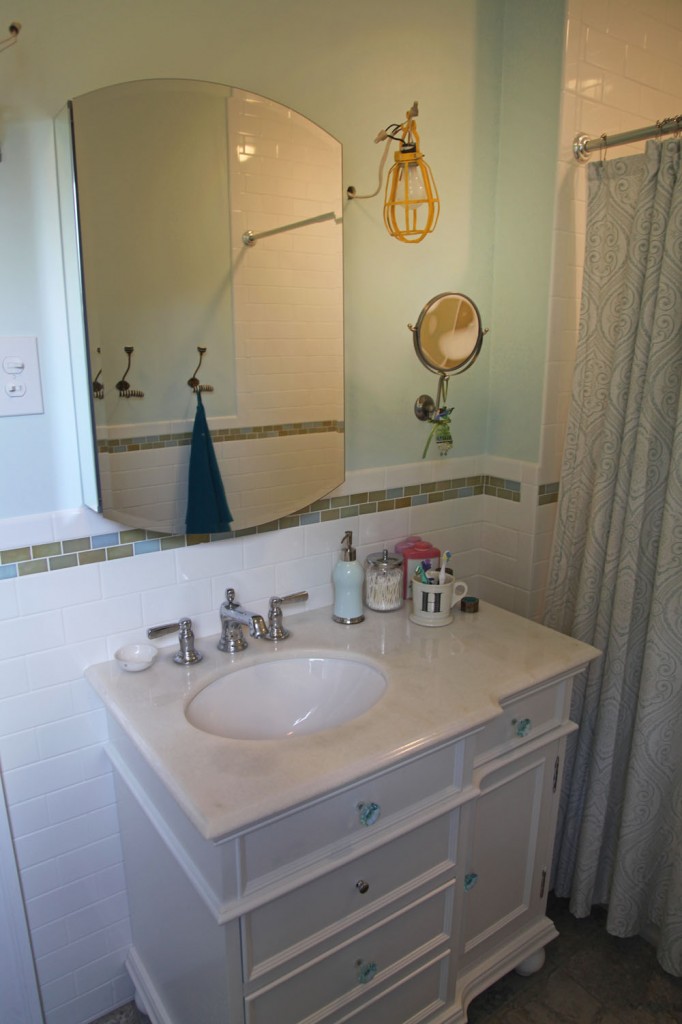
The Vanity & Medicine Cabinet (sconces haven't been installed yet so it looks a little dark)

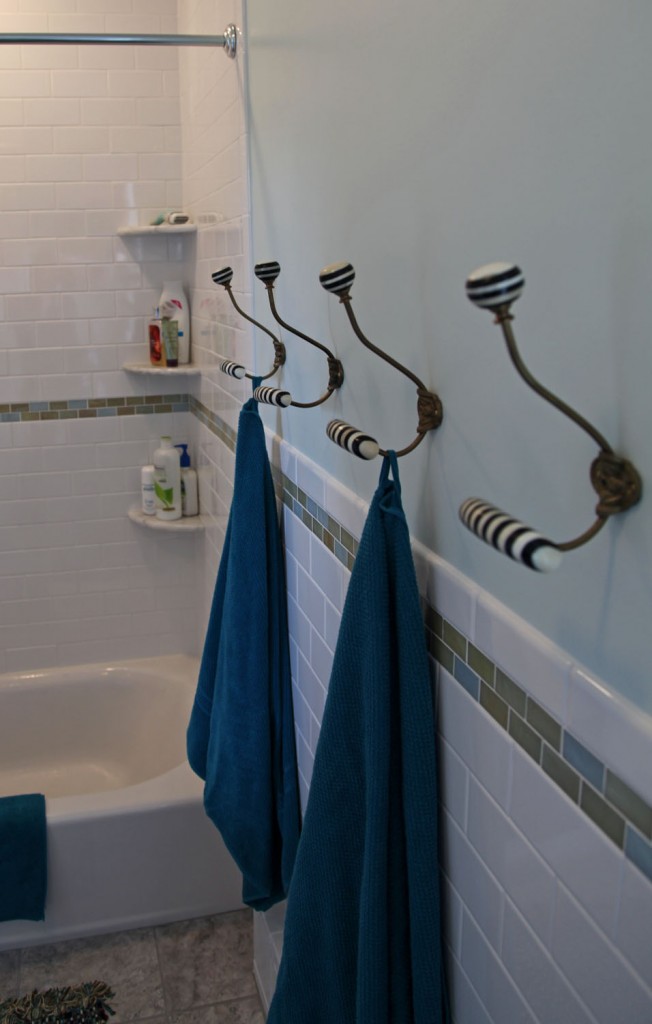
Hooks w/ Tub Beyond (pictures above still be installed)

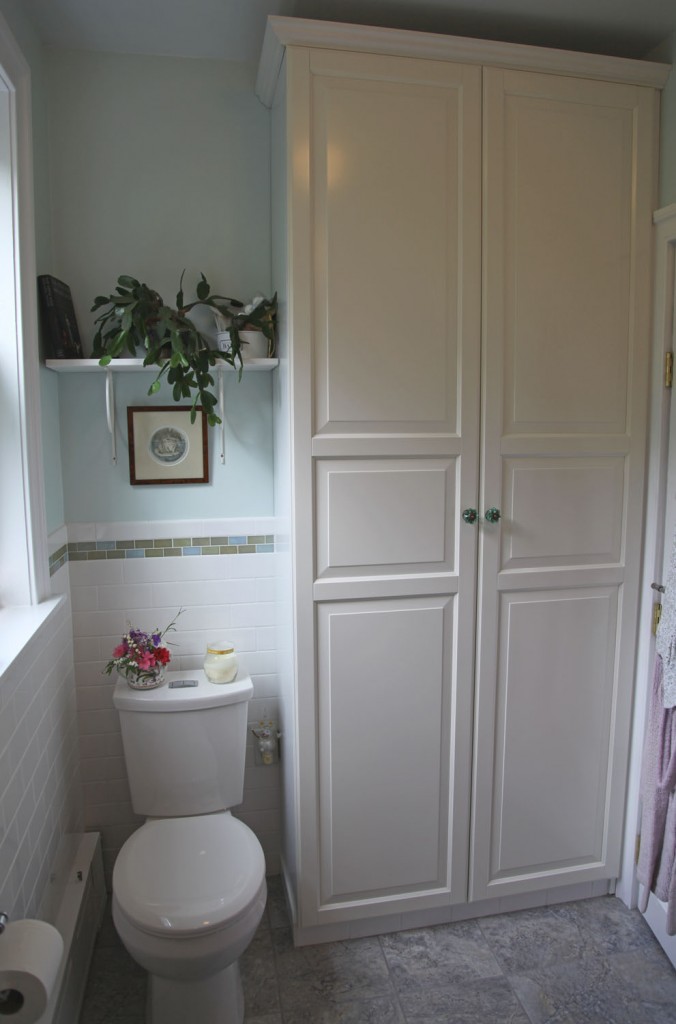
New Toilet and Linen Closet (note that there is a tile base installed below the new closet unit)

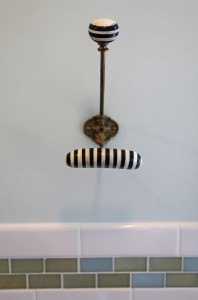
Hook and Tile Detail

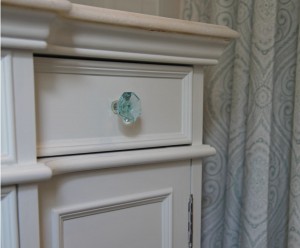
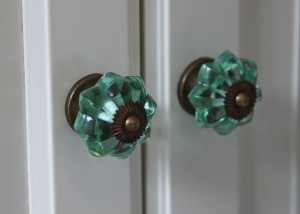
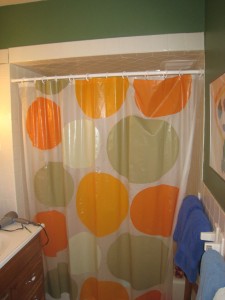
Vanity Detail w/ Glass Knob & Shower Curtain

Glass Knobs for Linen Closet

Mug on Vanity

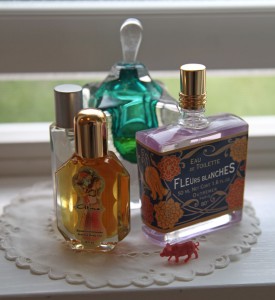
Perfume Vignette (by Sarah)


As a Reminder here are the before pictures and the mood board:

Vanity Before

Tub Before

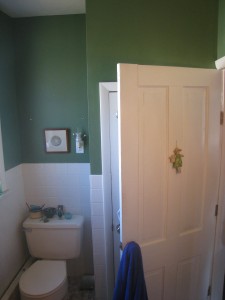
Toilet and Linen Closet Before

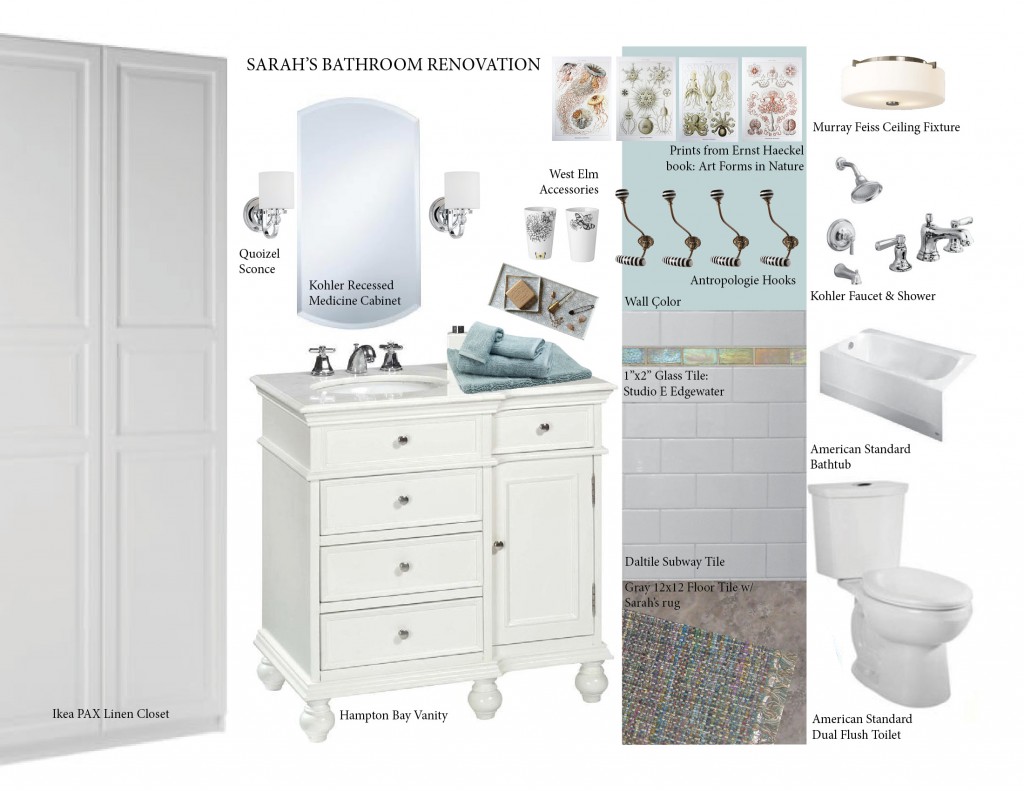
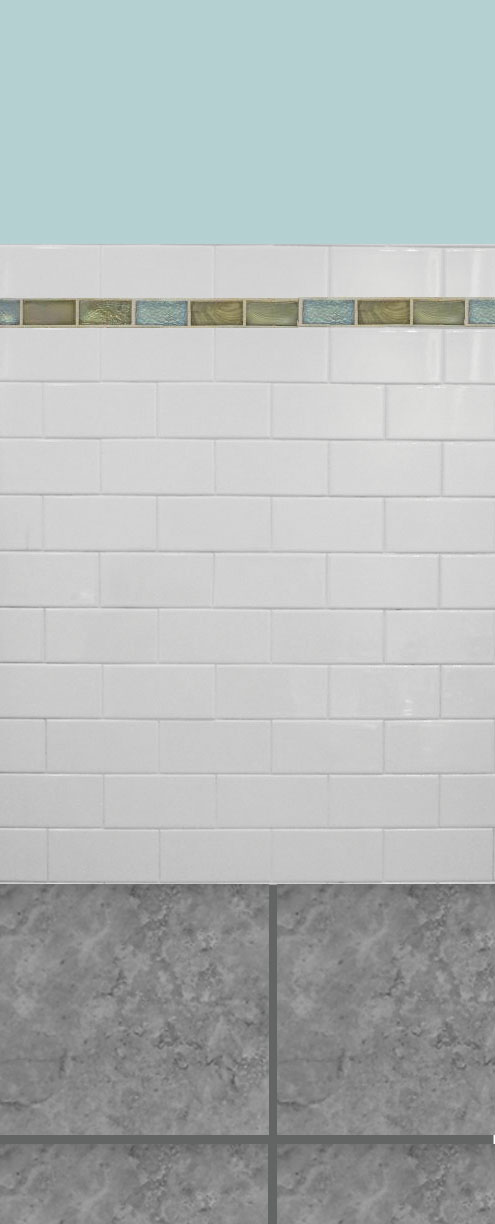
Mood Board from March


Sarah’s Bathroom Update

April 26, 2011

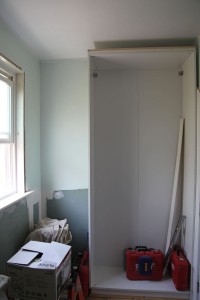
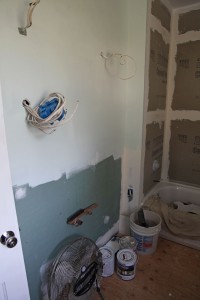
Space for toilet and Ikea Closet

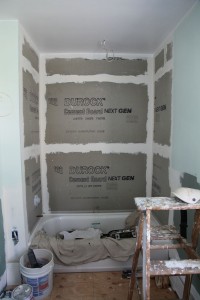
New Tub & Surround

Vanity Location

First Coat of Wall Color similar to a light beach glass

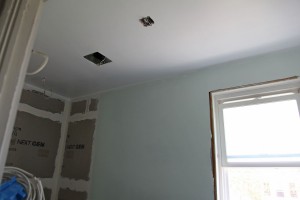
Sarah’s Bathroom is well underway! They started last week. Demolition is now complete (and there was some interesting lincrusta underneath the old tile and closet), the new drywall is all in, and a new closet is partially installed. The tile guy is due tomorrow and next week they will install all of the fixtures! If all goes well the whole thing will have taken 2 1/2 weeks.

For the new closet, we went with the PAX closet system from Ikea. We were concerned about the bottom being adjacent to the tile floor and toilet so I had them raise it up on studs so that the tile base would be continuous underneath. At the top they will install crown molding to cap it off. It will then get doors installed on the front. This should really add to the storage capacity for Sarah’s family.

I  also like the wall color (I need to go double check the color). We went with a fairly light color that resembled a light beach glass. The second coat should go on today. Once the white wall tile goes up, it should be different enough to be noticeable.

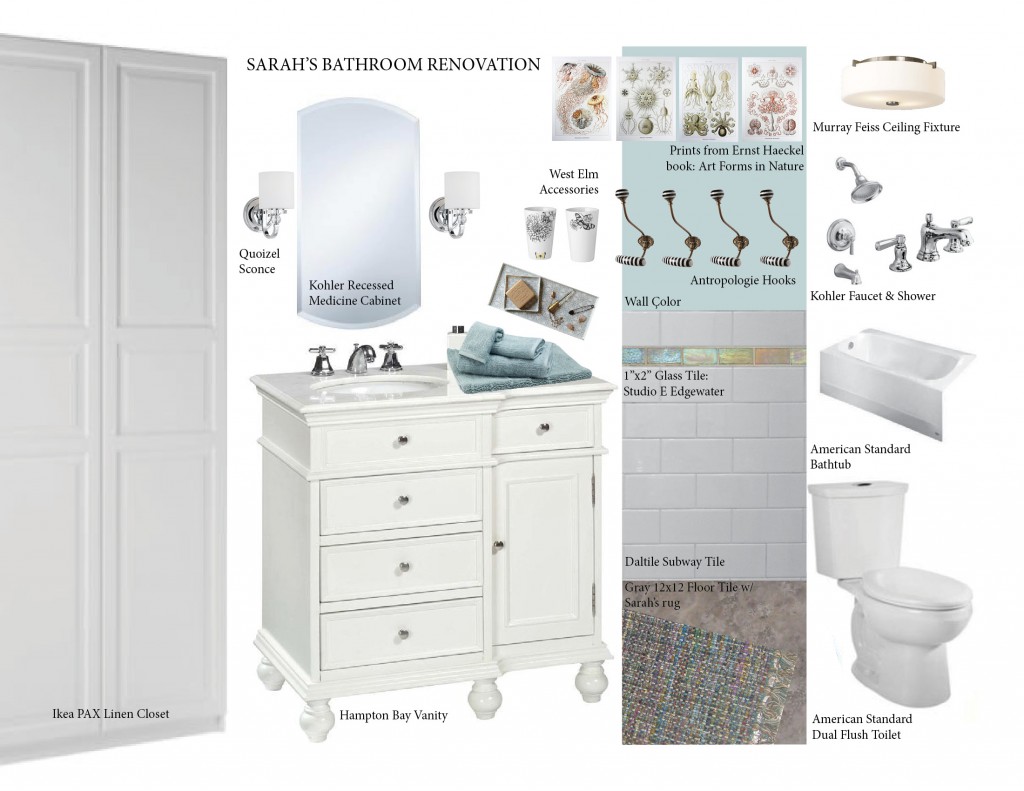
For reference here is the mood board for the room:

Mood Board

Octopus Print

Sea Urchin Print

Jellyfish Print


I wanted to find something interesting for the artwork for Sarah’s bathroom. I had octopus and sea creatures on my mind because of a beautiful Japanese octopus print that her daughter had hanging in her room. I also thought something with seashells would work with the iridescent accent tiles. So I did some searching around on Etsy. There were a surprising number of octopus prints to choose from. It appears that they are quite popular at the moment! Anyway after looking for around for a while I found the perfect fit; the sea creature prints of Ernst Haeckel.  I had never heard of him before but his drawings are very beautiful and also have a fantastic graphic quality. The colors also looked good with the room! I also discovered that several of his books are still in print. I had Sarah order up Art Forms in Nature: the Prints of Ernst Haeckel.  Now she can choose from the many beautiful prints in the book. We are currently planning on putting one above each hook. And the nice thing is that she can change these out and she does not need to worry if they get a little damp. There are also several Etsy vendors selling prints.

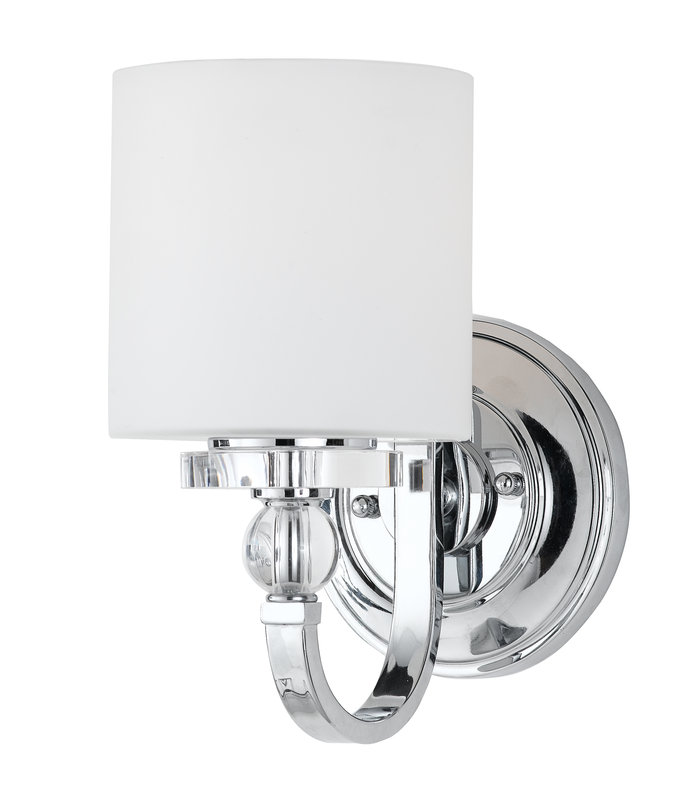
Quoizel Sconce w/ glass shade, $138

The Sconce:

One of the first things we picked out for Sarah’s bathroom was this sconce. So beautiful and sparkly! We looked at several sconces including some plainer options but Sarah instantly loved this one. I like that there is a frosted glass diffuser to help soften the light at the mirror.

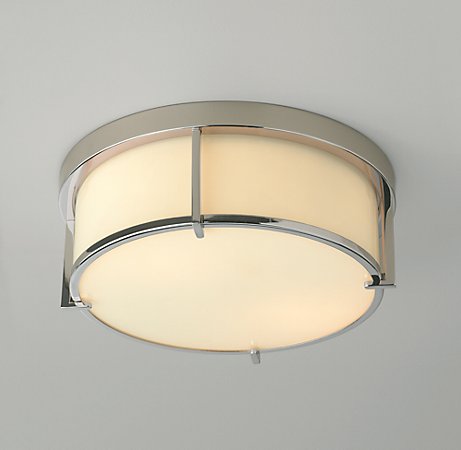
Heath Flushmount, Restoration Hardware, $149-$269

Overhead Light Fixture:

Finding a coordinating ceiling light proved more difficult than I was expecting.  I considered a small chandelier but almost none of them are UL rated for damp locations. For surface mounted fixtures, many manufacturers are not currently offering Chrome/shiny finishes  (it seems like rubbed bronze is the finish of choice). In the end we went with this simple but elegant fixture from Restoration Hardware. Although not cheap, it seems like a reasonable value to get the UL damp rating. I also wanted to avoid fixtures that have an open top above the diffuser. I find that these collect a lot of dust and bugs. A closed fixture should minimize this problem.

Good to know:

UL Rated Fixtures:

When you are picking light fixtures for the bath you really want a UL damp rated fixtures due to the humidity in the air. These will hold up much better in the moisture, particularly for a ceiling installations. Also for fixtures in the shower or above a bathtub you should pick a UL wet rated light fixture. The specifications for any light should tell you whether it is rated for this application.

Wall/Task Lighting:

-Ideally locate light fixtures on either side of the mirror at eye level. This will provide enough lighting around the face to avoid shadows.
-Use fixtures that have frosted diffusers/glass in front of the bulbs to soften the light.
-If you don’t have space on either side of the mirror consider a light above the mirror. In this case you are better off choosing a higher output fixture that lights upward so that the light will bounce off the ceiling and down. A direct downlight will tend to cast unflattering shadows.
-Consider separate switching and dimmers. For general use you don’t typically need a full strength light at the mirror, but for those times when you need that bright light to put on your makeup, you can adjust the light all the way up. Dimmers are economical because you are saving energy by reducing the power going to the fixture and also extending the life of your bulb. (Note: Not all bulbs are designed for dimming. Many florescent bulbs won’t work with dimmers).

General/Ambient Light:

-Use overhead ambient light for general illumination and to help balance the light from the task lighting.
-Again consider a dimmer for this application. These are especially nice at night when your eyes aren’t use to the bright light.

Additional Lighting:

-Consider a separate light in the bath/shower area. This should be UL rated for wet locations.

American Standard Dual Flush Toilet, $267

As part of her bathroom renovation, Sarah is going to get a new toilet. No matter what toilet she chooses it will save quite a bit of water (estimates range from $50 to $100 a year in water/sewage savings) and  it will be more attractive. Old toilets can use as much as 7 gallons of water per flush. This was first lowered to 3.5 gallons and then in 1992 it was lowered to 1.7 gallons. When this first happened there were a lot of issues with low flow toilets. The good news is that now most low flow toilets work just fine. We have two 1.7 gallon toilets in our house and we haven’t had any issues. However now there are also a number of toilets that use even less water!

When I am designing institutional building we almost always use dual-flush toilets. These are toilets that have 2 option when you flush (1 for #1 and 1 for #2). The ones I use in institutional settings typically have a green handle (maybe you have seen this somewhere) and if you pull the lever up it uses about .7 gallons and if you push down it uses about 1.5 gallons.

In the last couple of years a number of residential dual-flush toilets have come on the market. Even Home Depot and Lowes carry some in stock. Unfortunately, not all of them have great track records. A number of architects and plumber recommend Toto (a Japanese company) for their low flow options. However I know someone who is not happy with hers, so I thought I would look at what else is out there.

For Sarah I selected the American Standard H2Option Siphonic Dual Flush Round Front Toilet. I found a few reviews that were generally positive and the price was about the same as for a nicer regular low flow toilet. For more extensive reviews from a plumber I recommend Terry Love’s website. He gives a rundown on a bunch of toilets.

Also look for the WaterSense logo from the EPA. This means the toilet uses at least 20% less water than the current guidelines of 1.7 gallons and has met a number of standards and tests.

Striped Hook from Anthropologie

When first meeting with Sarah she mentioned that one of the problems in her current bathroom is getting her daughters to hang up their towels. I thought that given the limited wall space, we should try hooks. I think they give a nice updated look and you can fit more on a wall then you can with a towel rack. Plus it is easier for everyone to throw the towel on a hook then place it nicely on a towel rack.

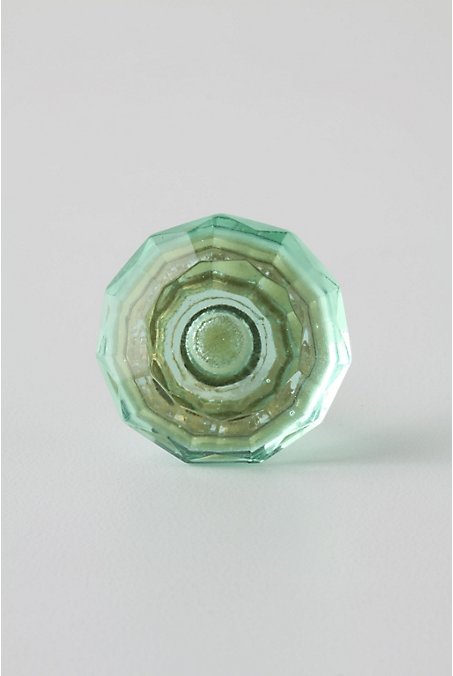
I showed Sarah the hook from Anthropologie that I have been lusting over considering for my own front hall for over a year. I think it is very beautiful and a like the graphic pop of the stripe. The only downside to this particular hook is that the stripes are actually 2 different materials glued together, and it is recommended that you pick them up at the store where you can hand select them. I sent Sarah over to the store to pick them up and choose some knobs for the vanity. She selected a beautiful jewel toned glass knob.  Their selection of knobs is amazing! I bought all of my kitchen knobs from them.

Glass Knob for the Vanity


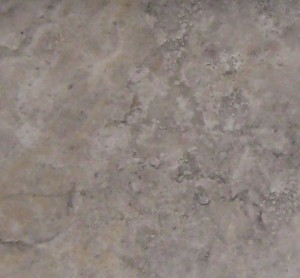
Floor Tile

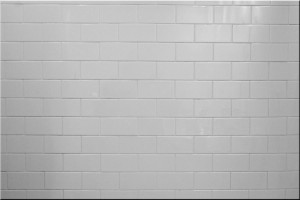
White Subway Tile

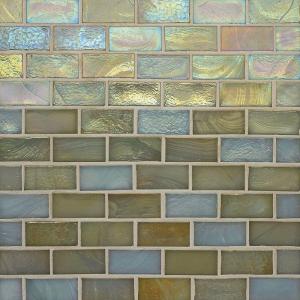
Glass Accent Tile: Studio E Edgewater Delmar

Tile Selections

The 2 items Sarah had chosen before I started working with her, where the floor tile and wall tile. However she hadn’t found an accent tile that she was happy with.

The Floor Tile:

The floor tile is a simple 12×12 in gray. We decided to work with this choice, since it is cost effective and will wear well. The grout will be in a similar gray color.

The Wall Tile:

For the wainscot and tub surround Sarah chose a simple matte white subway tile. I think this is an excellent choice. It is quite popular at the moment, but I think it has a nice timeless quality for a Victorian house like her’s.

The Accent Tile:

Sarah mentioned that she likes some of the glass tile she had seen, but wasn’t sure how to best use it. We also needed to find something in stock, to meet our tight deadline. I thought it would be nice to choose something a little bit different, since the rest of the wall tile is very neutral. I found this beautiful line of tiles at Home Depot online called Studio E Edgewater. This will be installed as a trim piece with 1 piece of cove subway tile above. To minimize cost a 1″ high tile was selected. I decided that a 1″x2″ would pair nicely with the larger (3″x6″) subway tile. There were several color choices that would work in the bathroom. In the end Sarah chose one that has a beautiful mix of blue and green.

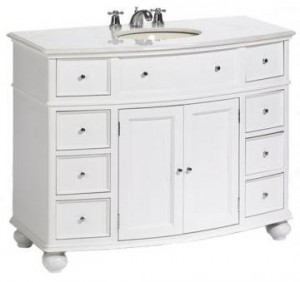
1: Bow Front Vanity

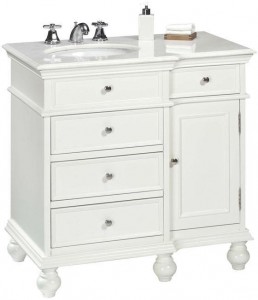
2: Stepped Vanity
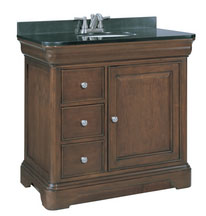
3: Wood Stained Vanity
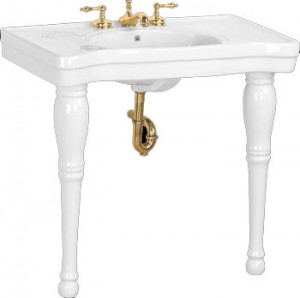
4: Consule Sink


Sarah currently has a 36″ wide vanity in her bathroom with 3 drawers (one for each member of the family). She was considering installing a pedestal sink to make the space feel larger. Pretty quickly, it became evident that a pedestal sink was not going to cut it. With 3 ladies sharing a bathroom, storage is imperative! If we had more time we would have looked for a vintage dresser to refurbish. Below are a few options I selected. Which one do you think Sarah will choose?

1: 44″ Bow Front Vanity:
Pros:
-Curved front has a pleasant shape that helps minimize its size
-Maintain existing locations for plumbing and electric for sconces

Cons:
-Large size could overwhelm the space
-Although there are 8 drawers, they are all quite small

2: 36″ Stepped Vanity:
Pros:
-Same width as existing vanity
-Stepped profile would work well with the adjacent tub configuration (allows better access to shower controls)
-Wider drawers below the sink

Cons:
-The sink is not centered on the unit, so the plumbing for the sink and the electric for the sconces will have to be shifted
-Concern that there isn’t enough counter space to the left of the sink

3: 36″ Wood Stained Vanity:
Pros:
-More ornate looking piece that is closer to resembling furniture

Cons:
-The darker finish could make the space feel smaller

4: Consule Sink:
Pros:
-Larger counter top than a pedestal sink
-Open legs help give the bathroom a more open appearance

Cons:
-There is no storage underneath. A separate storage cabinet would be needed.
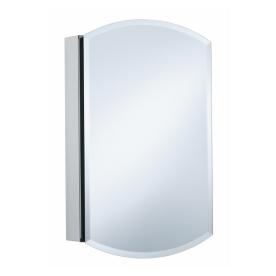
 

Medicine Cabinet

Mirror/Medicine Cabinet:

The existing medicine cabinet is cute but not really right for the space. We discussed keeping it, but because the inside was not very large and the painted surface was looking pretty shabby we decided to look at alternates. Medicine Cabinets do not seem to be in style at the moment, and I found the selection limiting unless you were willing to spend A LOT. I’m not sure why there is a trend away from medicine cabinets.  I understand that you may not need them in a powder room, but in a main bath like this one, I think they are a necessity. Otherwise where do you store all of the little bottles?  The goal was to find one that would be easily to clean and pretty at the same time. This one from American Standard fit the bill nicely. I am actually considering purchasing this one for my bath too. The other good thing is that we can recess it into the wall so it feels more like a mirror.



Existing East Wall

Existing South Wall

Existing North Wall


I posted Sarah’s Mood Board yesterday, but I thought I would break it out in a little more detail, and show the different options we considered.

The Backstory:
Sarah is all ready to renovate her bathroom. She even has a contractor lined up and due to start in about 3 weeks. One problem, she hasn’t picked any of the fixtures or finishes! With a deadline looming she called me to help her.

The Guidelines:

-Stay within the budget

-Select products that are readily available & fit the space

-Create a unified appearance that blends with the rest of the 110 year old Victorian House

-Maintain a neutral backdrop with small pops of colors and texture

-Maintain storage for the 3 ladies using the space

-Choose finishes & pieces that are easy to clean

-Choose affordable but fun artwork

-Find a better way to hang towels (so they don’t end up on the floor)

-Find a way to hide the hairdryer

-Decide whether the existing linen closet should stay or be replaced

In the next post I will discuss vanities since it was the first piece selected and it will help to define the style of the bathroom and also it is also critical for storage.


Mood Board

Existing Vanity

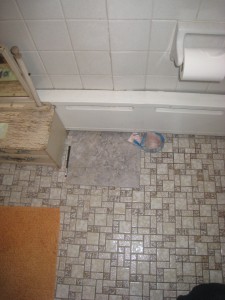
Existing Tile w/ new Floor Tile Sample

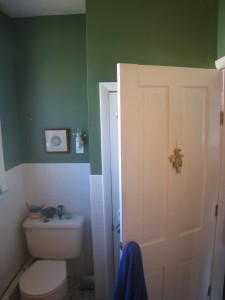
Existing Linen Closet


Sarah’s bathroom is in need of a total renovation. Her hard working  second floor bathroom serves not only her but her two lovely teenage daughters. The goals are to update the tired bathroom, while choosing cost effective, readily available fixtures and products. The bathroom is in a 120 year old Victorian house, so she wanted it to be in a style that would correspond with the rest of the house, while at the same time feel modern with a hint of femininity. Additional requests were for storage for all of the bits and bobs 3 ladies sharing a bathroom require and maximizing the linen closet. The overall layout and the location of the fixtures are staying the same.

I think it is going to a beautiful space!