Archives For FAMILY

Our 10th Wedding Anniversary!

September 27, 2011

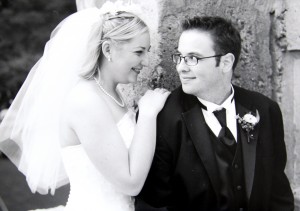
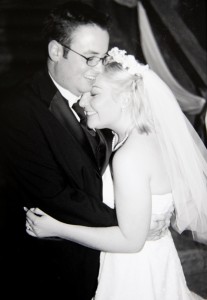
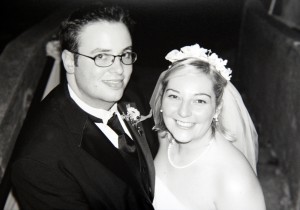
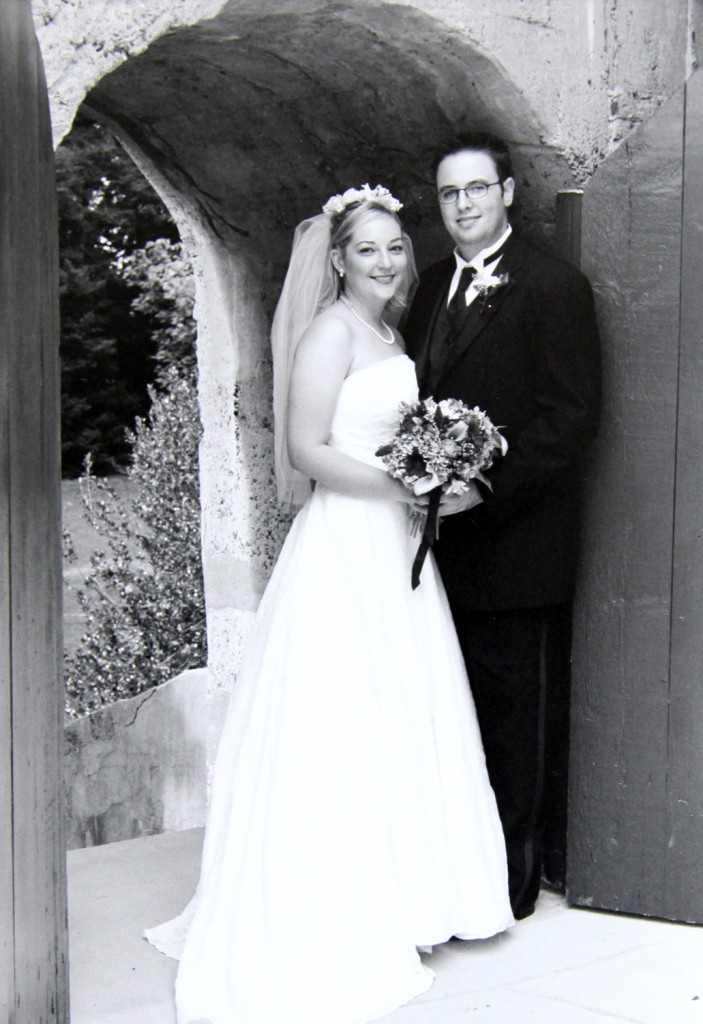
Me and Mr S. circa 2001

This week is our 10th Wedding Anniversary! Kind of hard to believe! I pulled out the wedding albums for the kids to see. They were pretty interested (and wondered why Mommy’s hair was “yellow”). There were lots of questions as to why they weren’t there! I loaded up a few for your viewing pleasure (try not to laugh at the “yellow” hair).

Â

Â

Â

I just recently saw a post on another design blog and they commented on how they would change their wedding venue and style if they had it to do over again. I would totally disagree with that. Sure there are little things I would change, like the rented tuxedo that Mr. S. was wearing, but otherwise I would pretty much keep it the way it was (minus the stress).


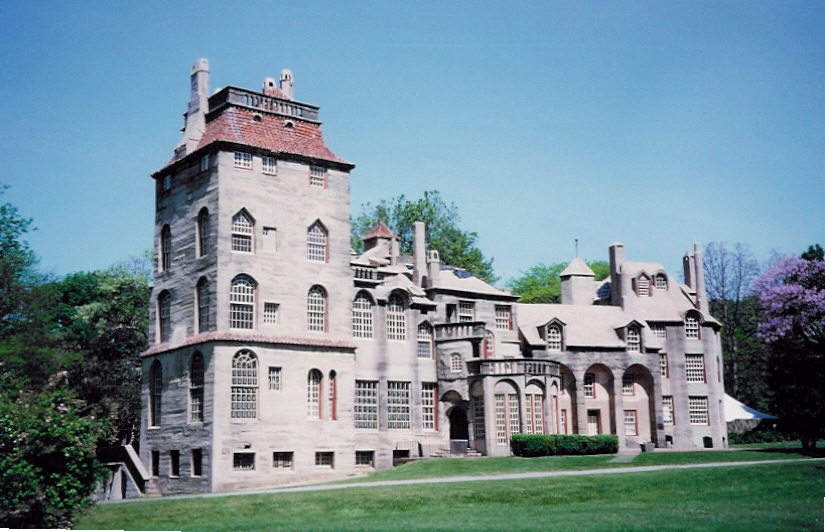
Fonthill, Doylestown,Bucks County, PA

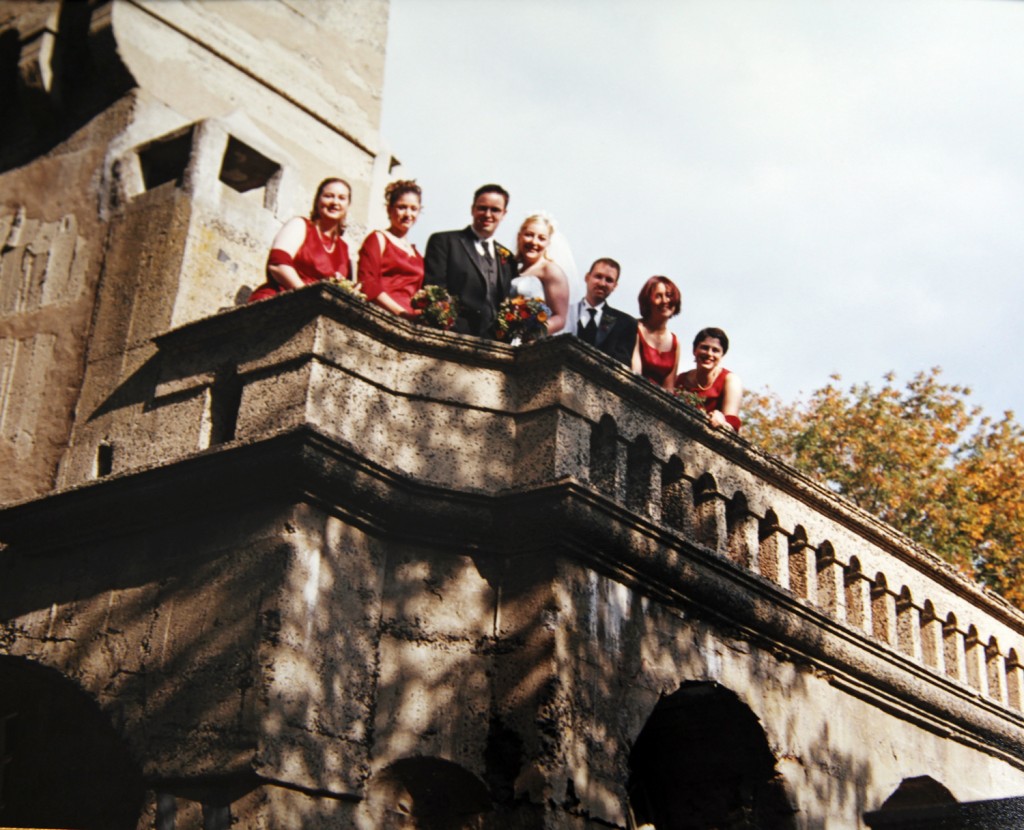
Wedding Party on the Balcony of the Carriage House

Our wedding was held on the grounds of Fonthill in Bucks County. It is an amazing cast concrete castle with lots of amazing tile cast in. Here is the description from their website:

Fonthill History

Built between 1908-1912, Fonthill was the home of Henry Chapman Mercer (1856-1930). Archaeologist, anthropologist, ceramist, scholar and antiquarian, Mercer built Fonthill both as his home and as a showplace for his collection of tiles and prints. The first of three Mercer buildings in Doylestown, Fonthill served as a showplace for Mercer’s famed Moravian tiles that were produced during the American Arts & Crafts Movement. Designed by Mercer, the building is an eclectic mix of Medieval, Gothic, and Byzantine architectural styles, and is significant as an early example of poured reinforced concrete.

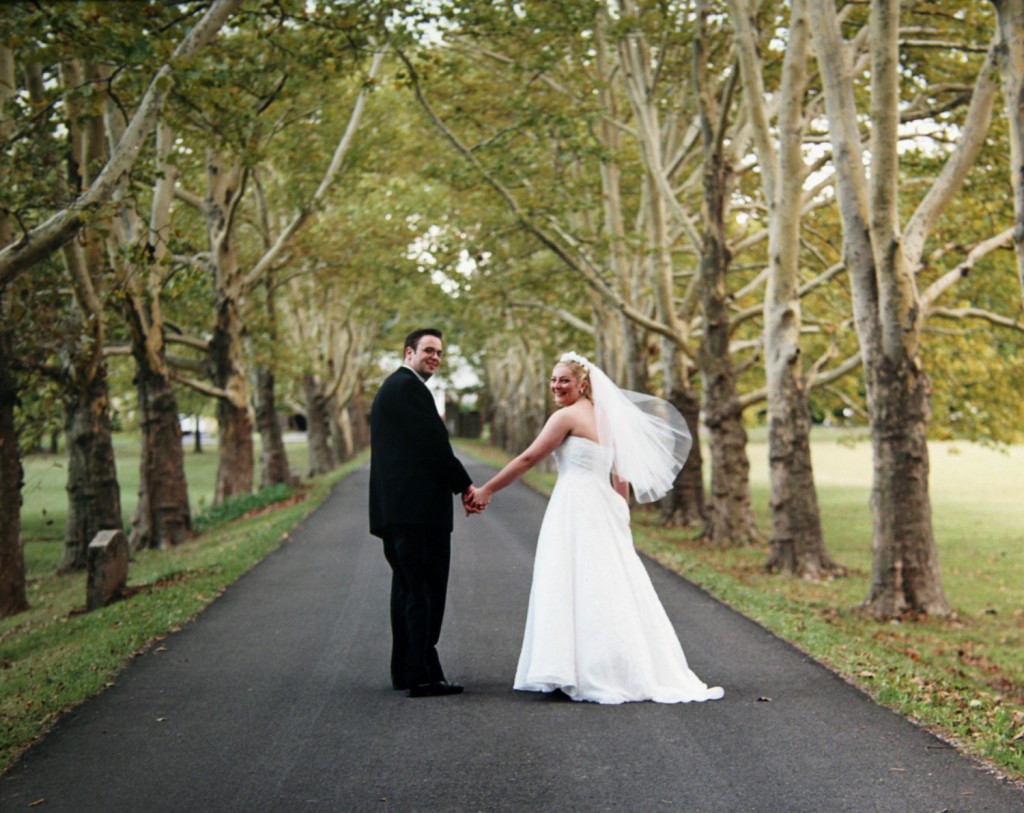
Entry Drive to Fonthill

Needless to say, it was amazing to be married to such an amazing man at such a beautiful location! Love you Mr. S!

BBQ Invite

September 6, 2011

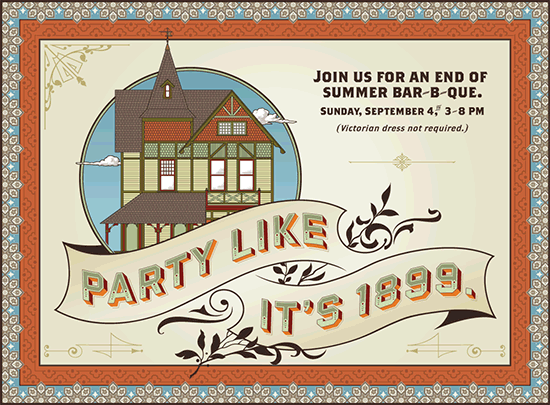
Mr. S. made me a beautiful invite for our neighborhood BBQ this past weekend. He modified an awesome Victorian font called Eventide from the House Industries Photo Lettering website. The website allows you to make amazing titles and words in a bunch of great fonts and lets you customize the colors and details. So for a few bucks you can you own customized heading! I am still trying to think of places where I can use this around the house! We love House Industries over here and honored that they included the invite on their blog this morning. If you haven’t seen the cool things that they make (in addition to all of the fonts), I definitely recommend checking them out. We also own several of their prints and a set of the Alexander Girard blocks.

Other info: The house picture was originally drawn by me in Autocad when we were trying to visualize the siding for the house (and explain to the contractor what we wanted it to look like). Mr. S brought it into Illustrator for coloring and tweaking. The patterns and font are all very Eastlake Victorian, which is a perfect match to our house.

The First Day of School!

September 6, 2011

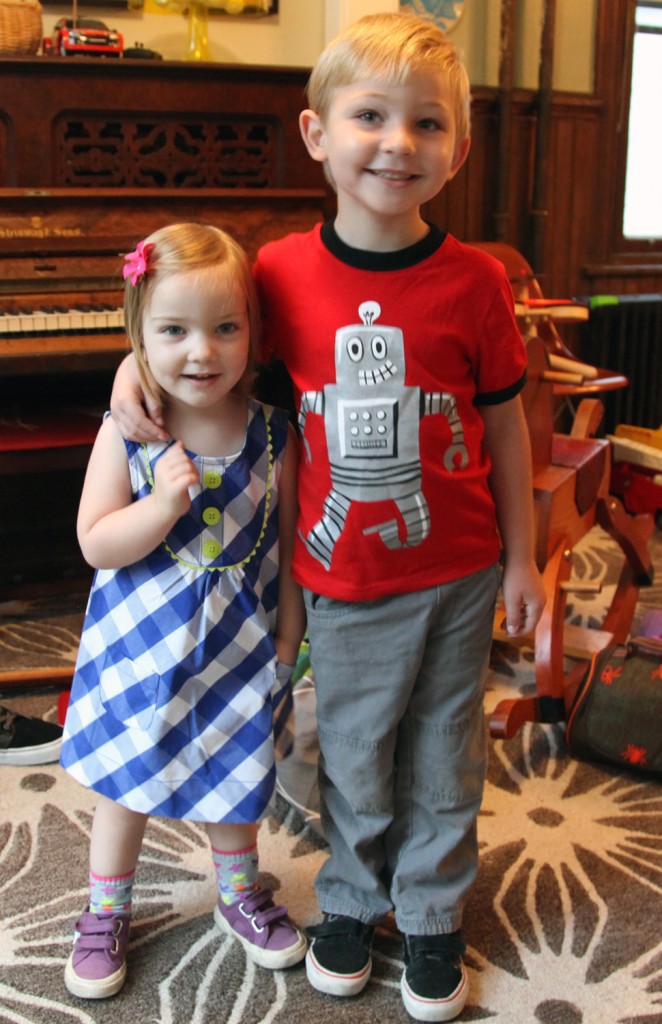
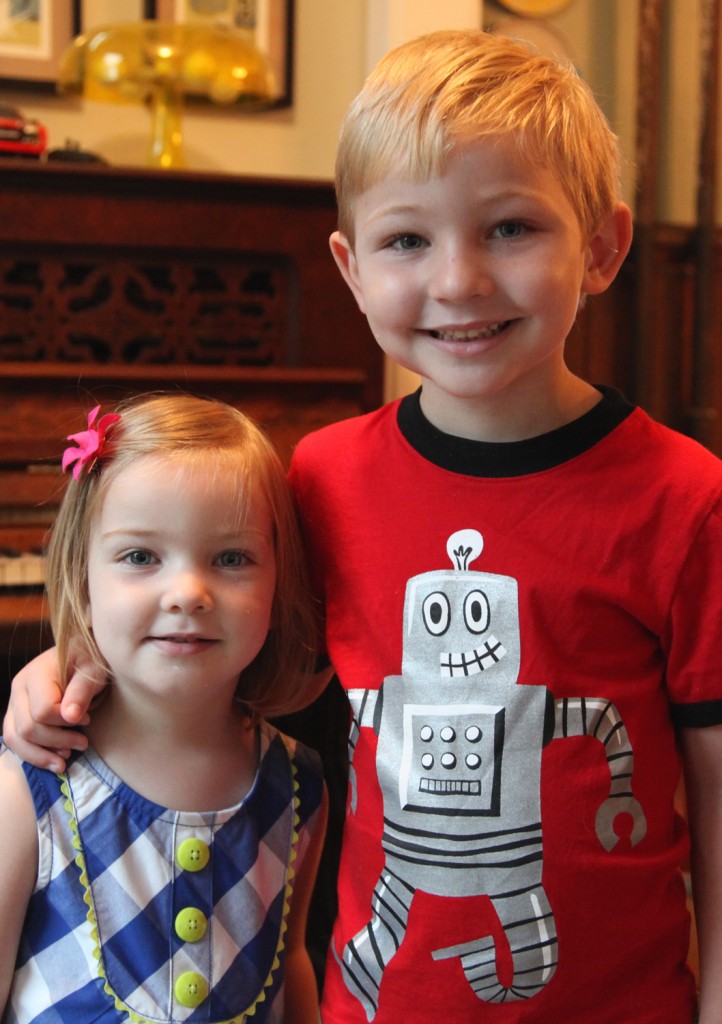
Maisie & Sam

Maisie & Sam

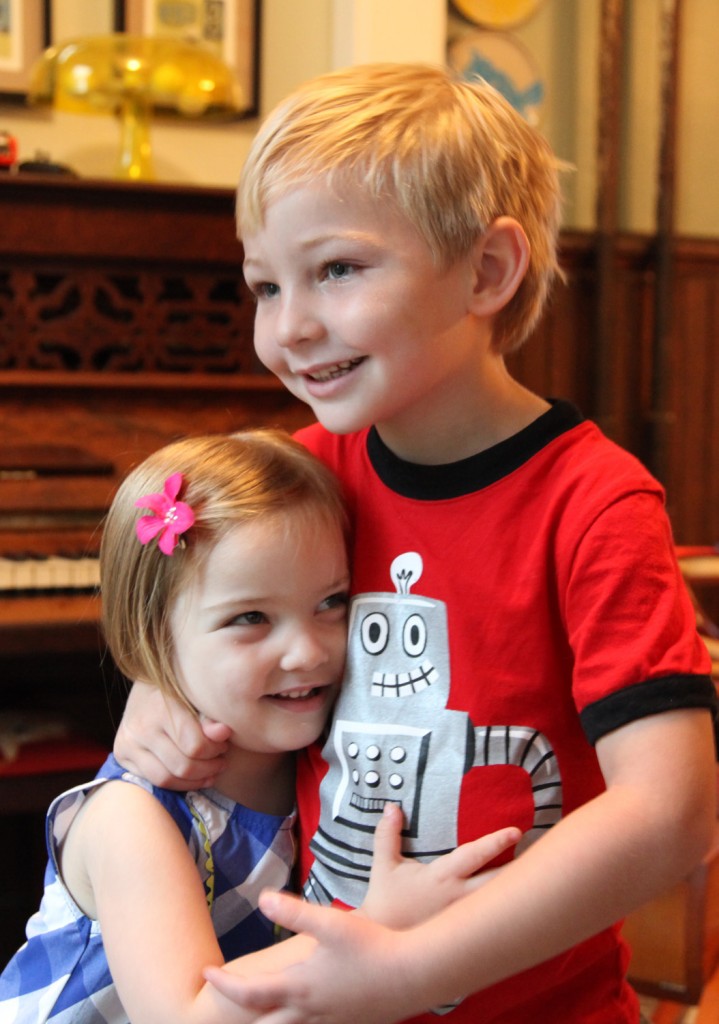
HUG!

We sent my babies the kids off to “school” this morning (actually Mr. S. dropped them off). They both attend a wonderful daycare/preschool near by and it is hard to believe that it is the first day of school. Sam started in his Pre-K room earlier this summer and Maisie is officially starting in a new Older Toddler room today. I can’t believe that he will be headed off to kindergarten next year (sniff, sniff). Sam picked out his own shirt today and Maisie insisted on a dress and her pink flower clip. Maisie says that the best thing about her new room are the baby dolls and Sam said his favorite thing is block center. They were both quite happy to head off to school and Mr. S. said drop off was quite easy today.  It is so exciting to see their personalities grow and flourish (even if it means they don’t need me quite as much as they use to)!

The Porch Swing

August 31, 2011

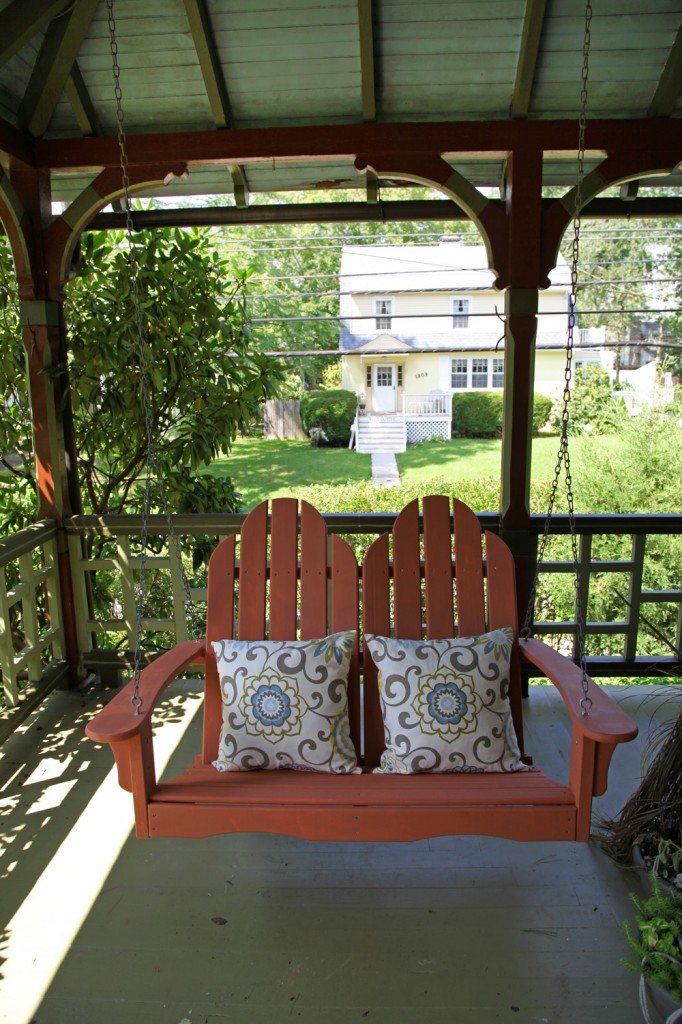
The Porch Swing with its first coat of terracotta colored paint! It doesn't look quite this garish in person.

Porch Swing with Primer Coat (kilz oil based primer). It is on the ground in preparation for the hurricane.

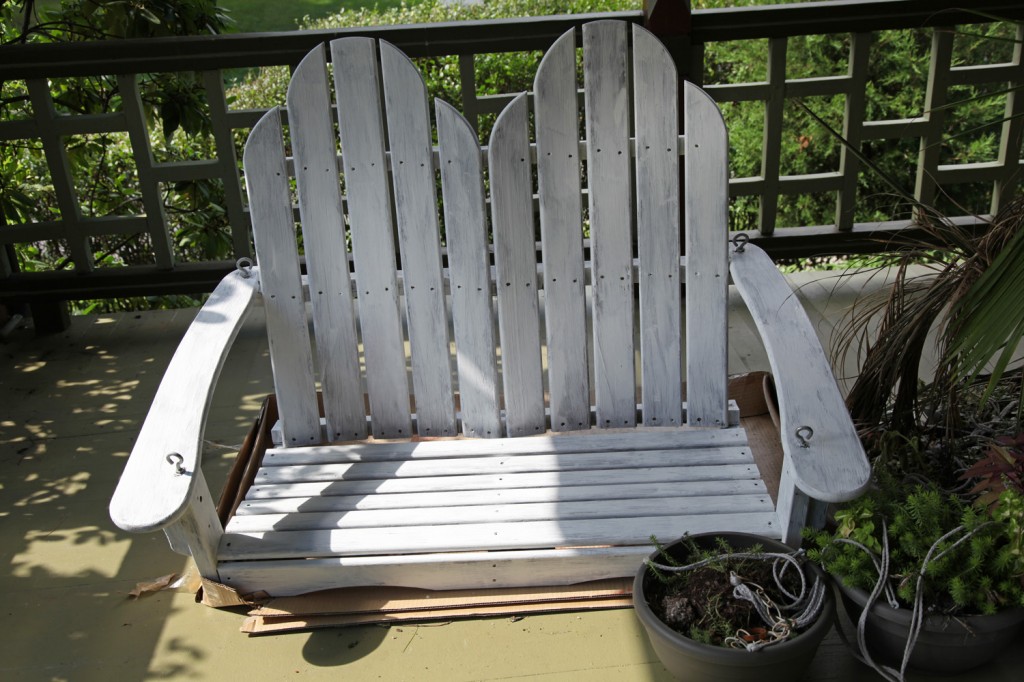
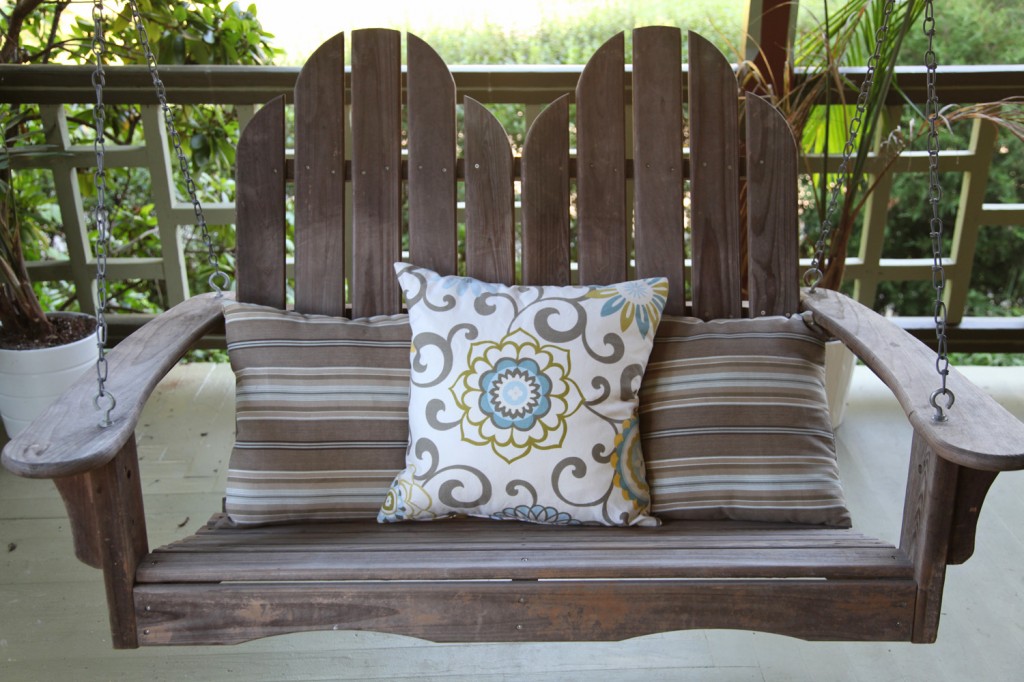
Porch swing without paint & 1 new pillow

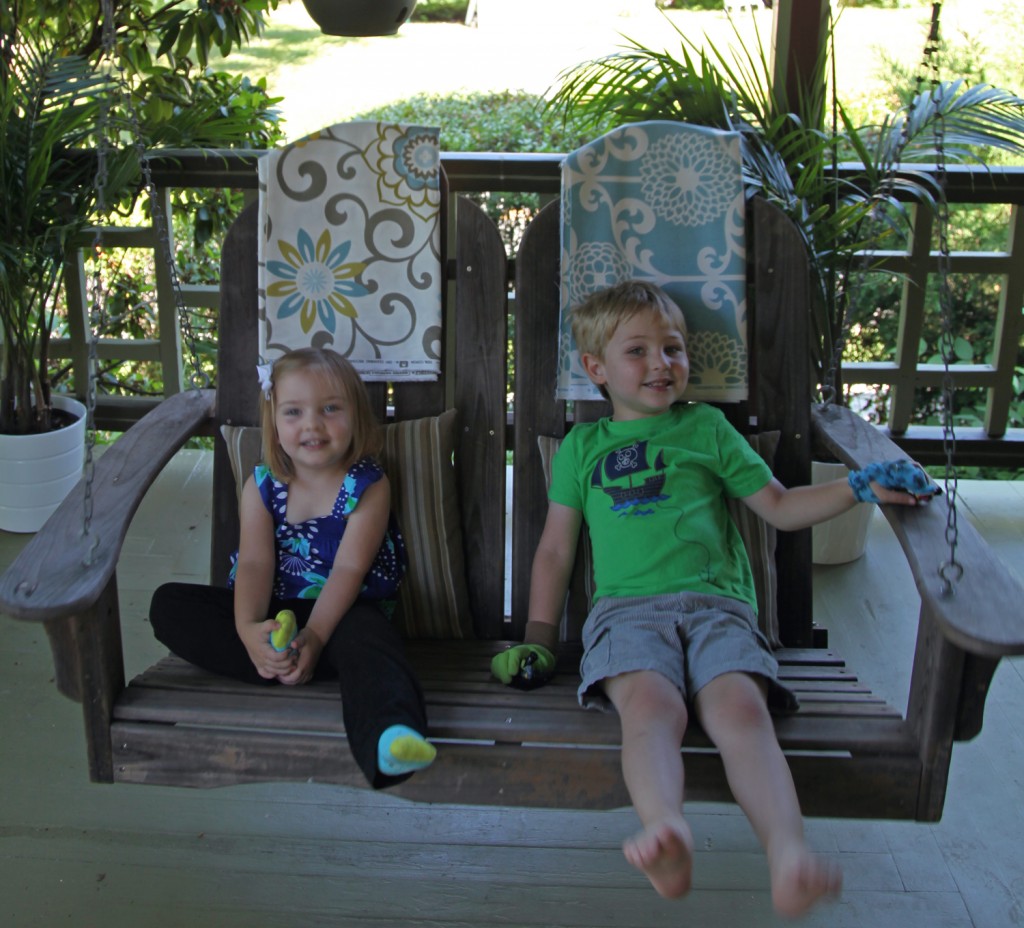
Porch Swing 2 months ago after I picked out pillow fabric.


I managed to finally paint the porch swing yesterday. I have one more coat to do today then it is officially done! It is one of those projects that has been “in progress” for way to long. I still need to give the porch floor a good clean up and also paint the plant stand, but at least now I can smile when I see the brightly colored swing when I walk onto the front porch.

I am going to take a couple days off from the blog. I will be back next week with some new stuff to show but in the meantime I need to get ready for a neighborhood BBQ, take care of my sick kitty cat and spend the weekend with the family. I hope everyone is back up and running after the storm (my parents are still unfortunately without power). Enjoy the long weekend!

Hurricane Irene & the RAIN!

August 30, 2011

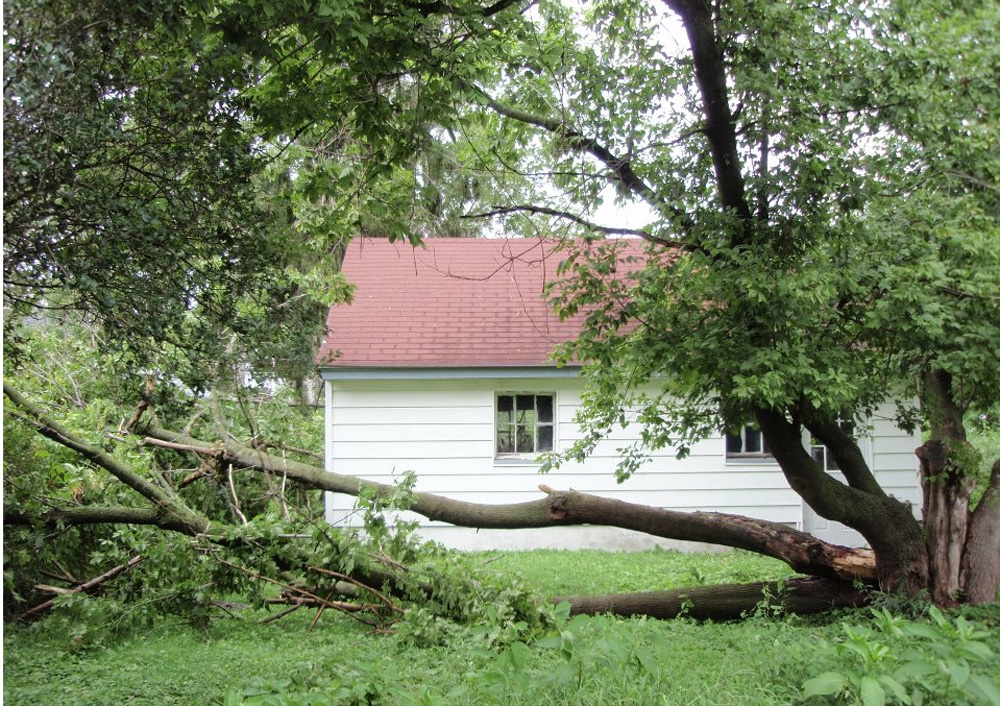
Stacey's Box Elder

I hope everyone is okay after Hurricane Irene! My heart goes out to all of those who suffered damage and are without power. All things considered we fared quite well. We didn’t loose power (which is a small miracle given the number of trees down in the area). We did get some water in the basement and I spent a good part of the night using a wet vac to keep it at bay. I was really afraid that we would lose power and then the water would keep seeping in from the slab and get out of control. We also spent Saturday lifting up everything that we could in the basement to minimize the potential damage. Our hot water heater and furnace each sit on 4″ cmu blocks (giving us a little bit of wiggle room). The most water we have had in the past is about 1″ but with the extremely high water table right now I was VERY nervous (before the hurricane this was already the wettest August ever recorded in Philadelphia). In the end I vacuumed out about 5 wet canisters full of water. I guess it may be time to bite the bullet and look into a french drain system for around the foundation, a sump pump (with battery backup) and a waterproofing layer on the concrete slab.

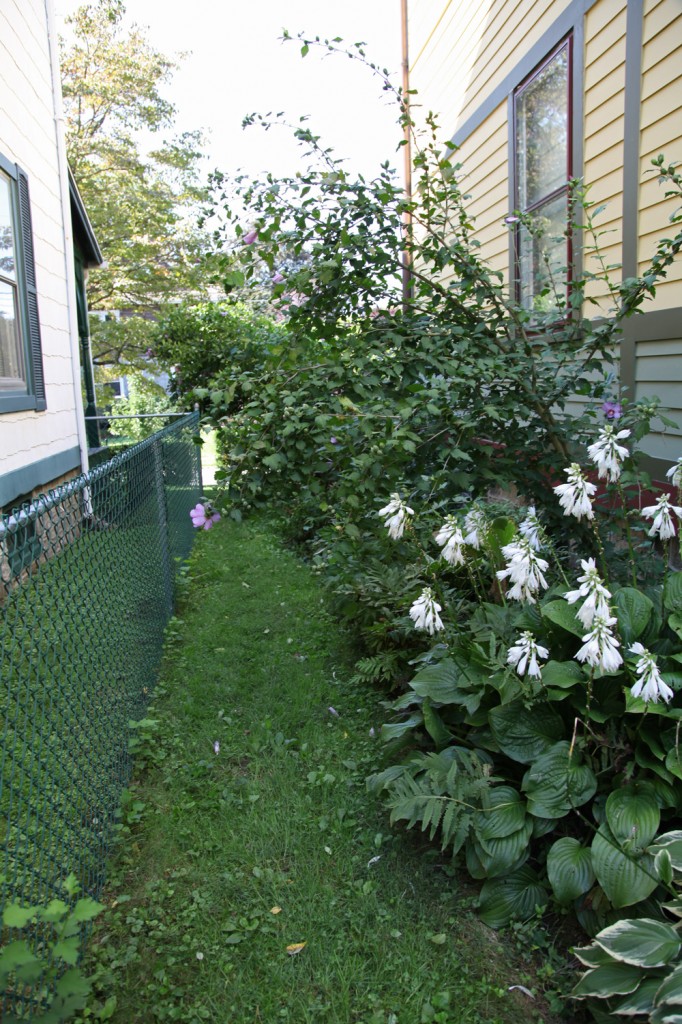
The yard fared quite well, only a few broken branches. We have a lot of droopy plants (especially the Rose of Sharon) that I spent some time hacking away at carefully pruning yesterday.  Unfortunately Stacey lost the back half of her large box elder tree near the garage.

All of the rain has allowed some plants to do amazing (including the weeds). I spent a good part of yesterday trying to tame the weeds in the front yard! 5 large bags of weeds and Rose of Sharon cuttings and the front yard looks quite a bit better (although still in need of some serious love).

Droopy Rose of Sharon (and my neighbor's ugly fence) before trimming

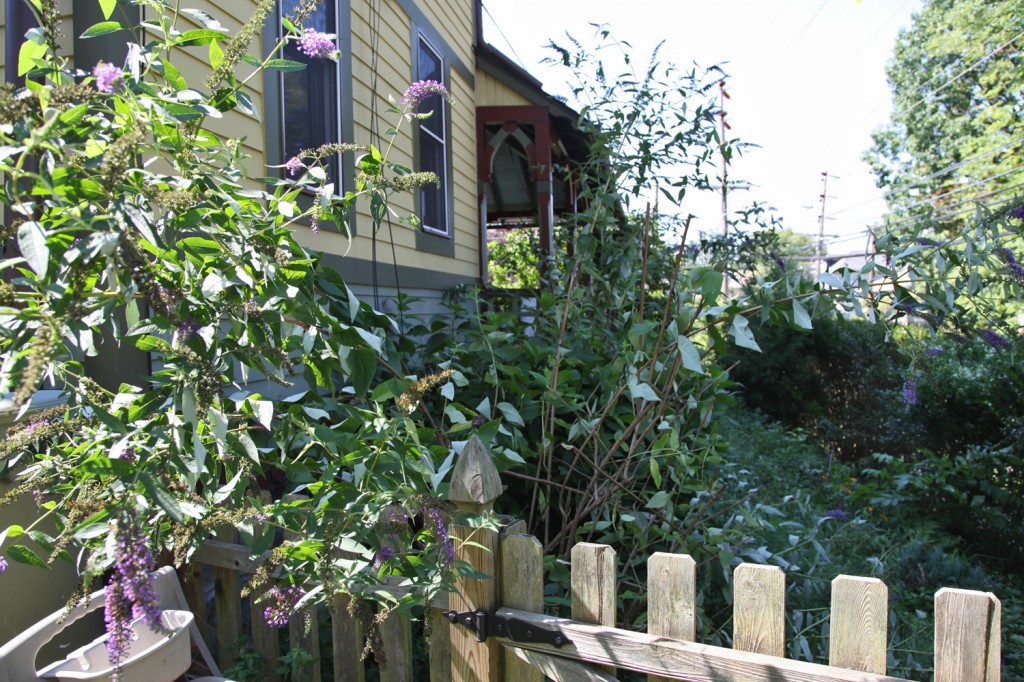
These Butterfly Bushes took a bit of a beating. I still need to trim this area.

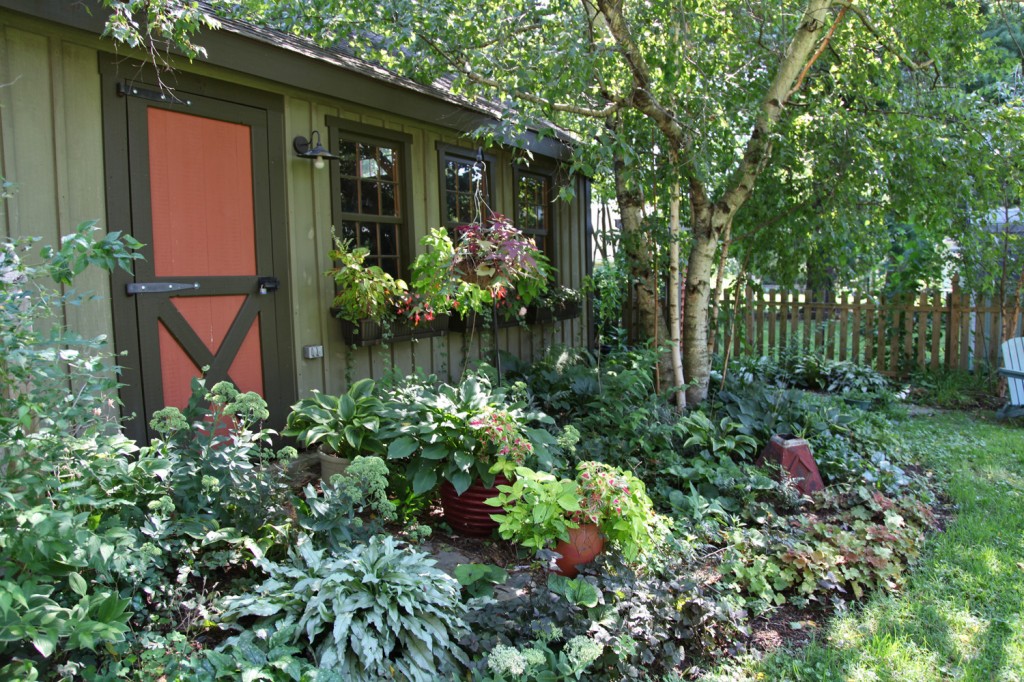
The back shade garden has been looking so lush with all of the rain

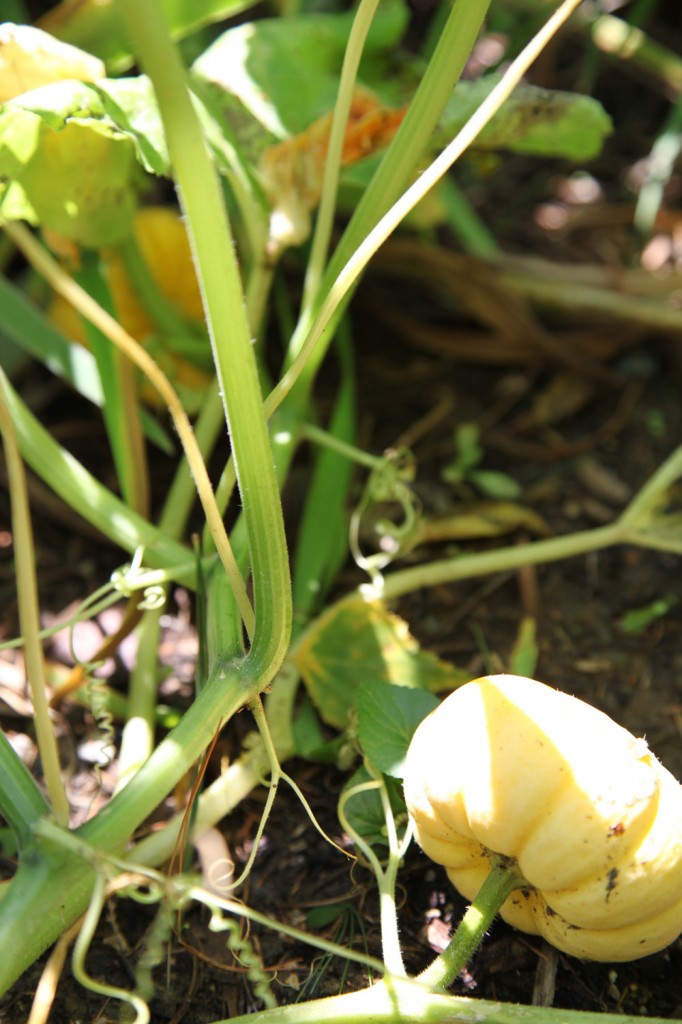
The pumpkins are also enjoying all of the rain

A second peacock to keep my first one company at the back gate

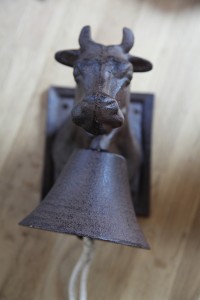
Cowbell

I celebrated my birthday last week and Mr. S. surprised me  with a second peacock (after he told me that he thought 1 was enough). So now we have a matching pair at the back gate. He also picked out this cow bell at Terrain (a present from the kids). I haven’t decided where to hang him yet. I was thinking somewhere on the back deck so I could call the kids in from the backyard. Or maybe in the kitchen or dining room to announce dinner. It is pretty loud (as demonstrated by the kids who proceeded to ring it as many times as I would let them) hmmm… Let me know if you have any ideas.

We also had a lovely time at Longwood Gardens yesterday. They have added a bunch of kids stuff since we have been there last, including 3 big treehouses and an indoor children’s garden. I will post a few pictures soon.

I’m off to run some errands but I am working on a couple of posts for this week. One about our bedroom and one about Sarah’s living room/ dining room/ front porch. So stay tuned.

Hardy Hibiscus, Disco Ball

Purple Liatris & Coneflowers

White & Pink Coneflowers

I’ve decided to take a couple of days off from the blog. I am in need of a little downtime and some extra time with the family. I will be back next week. In the meantime if anyone has a topic that they would like me to write about, please let me know. I’m also working on some ideas for Sarah’s Living Room, Dining Room and Porch. More on that next week.

I’ll leave you with a few of the blooms in the front yard. Now if the front beds could just weed themselves I would be all set.

Waiting for the parade to start

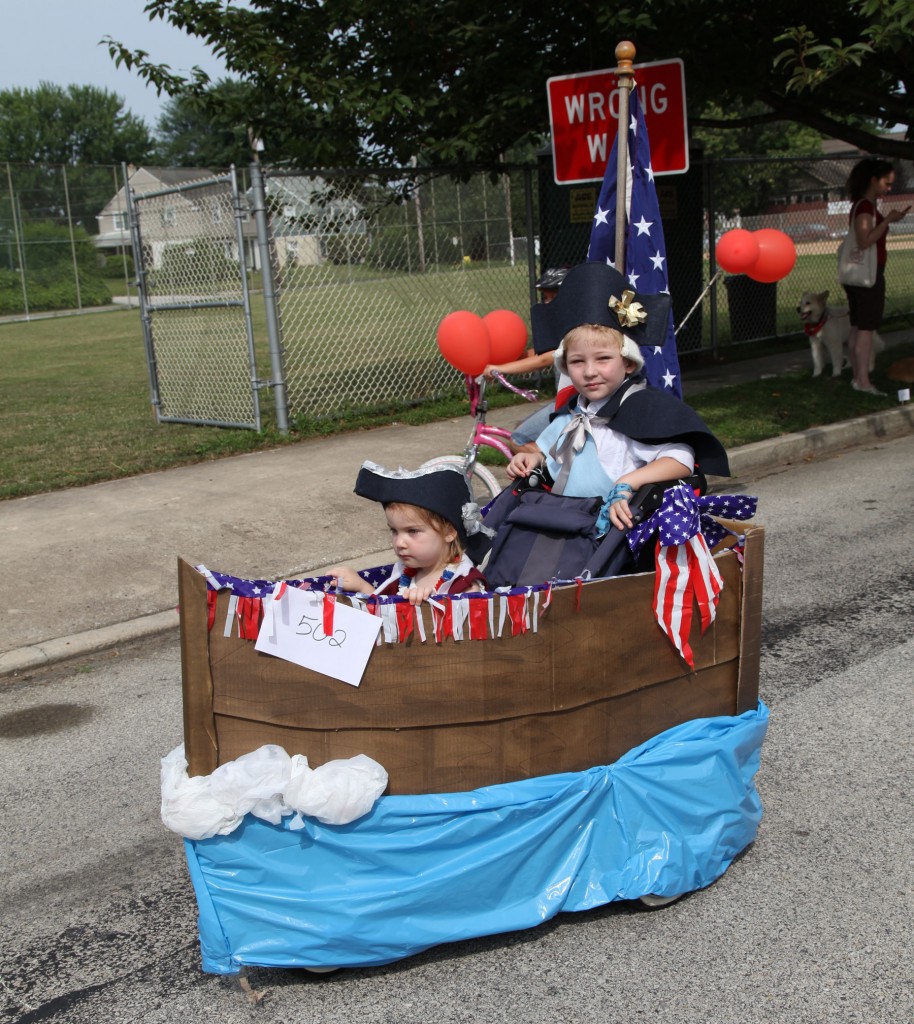
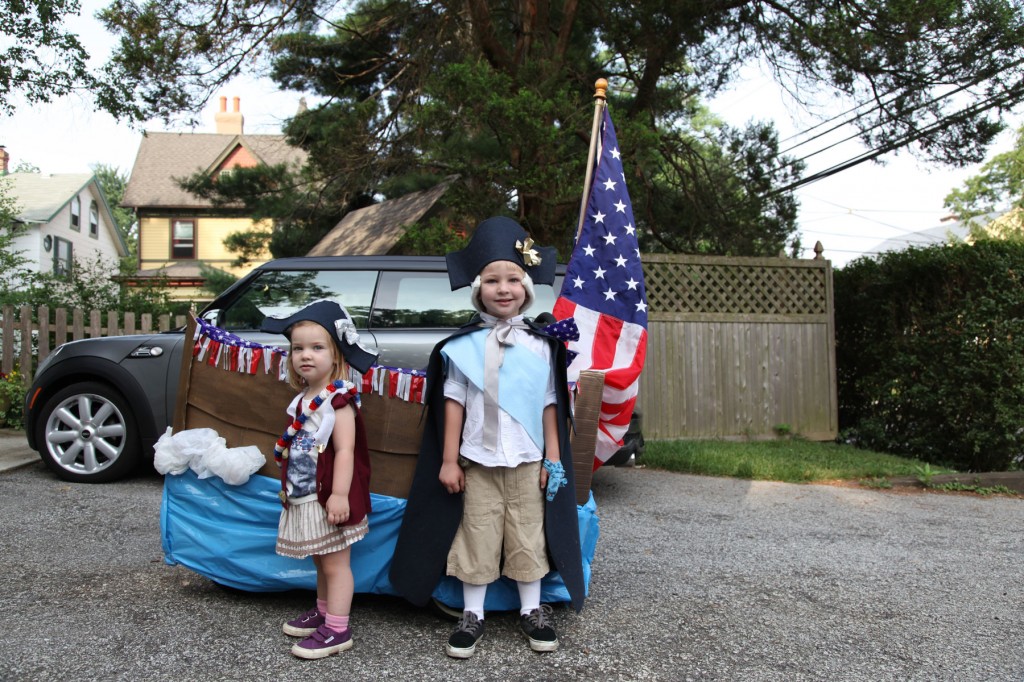
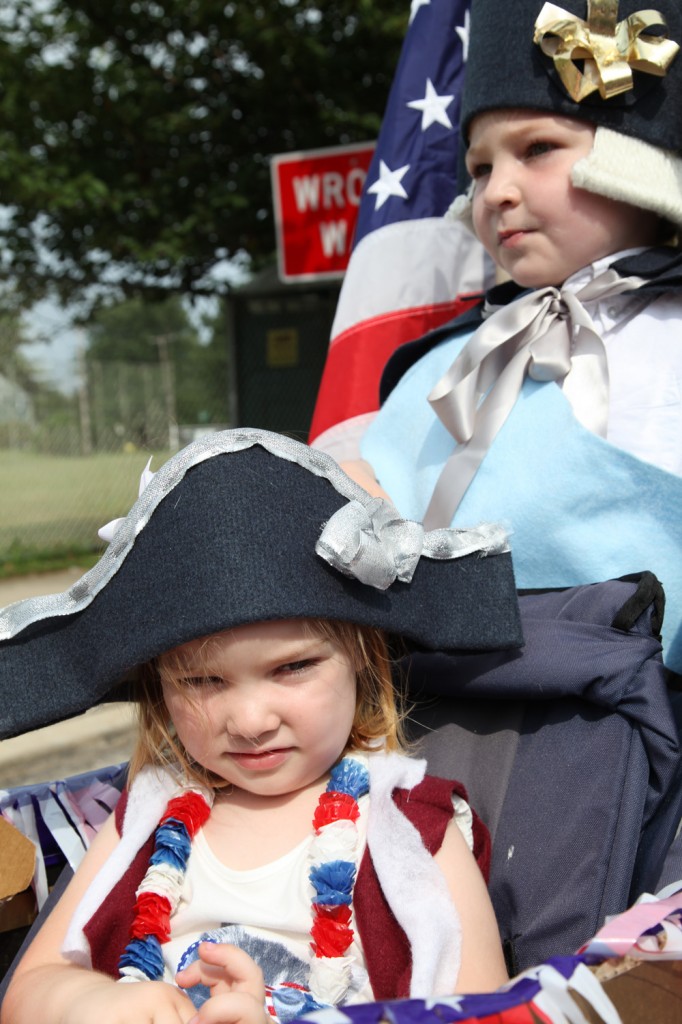
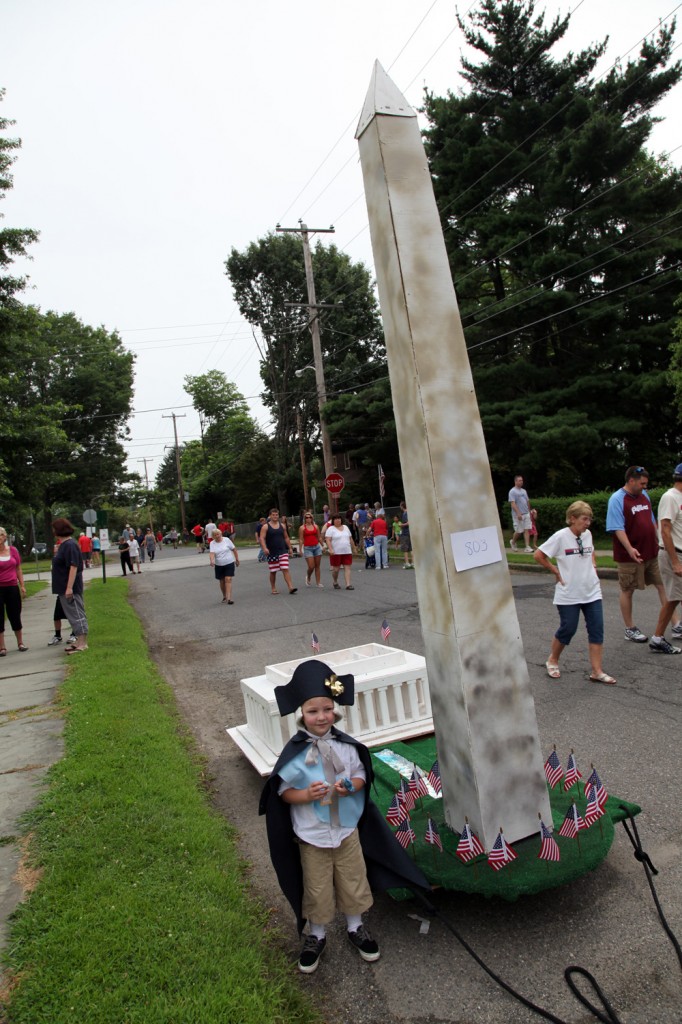
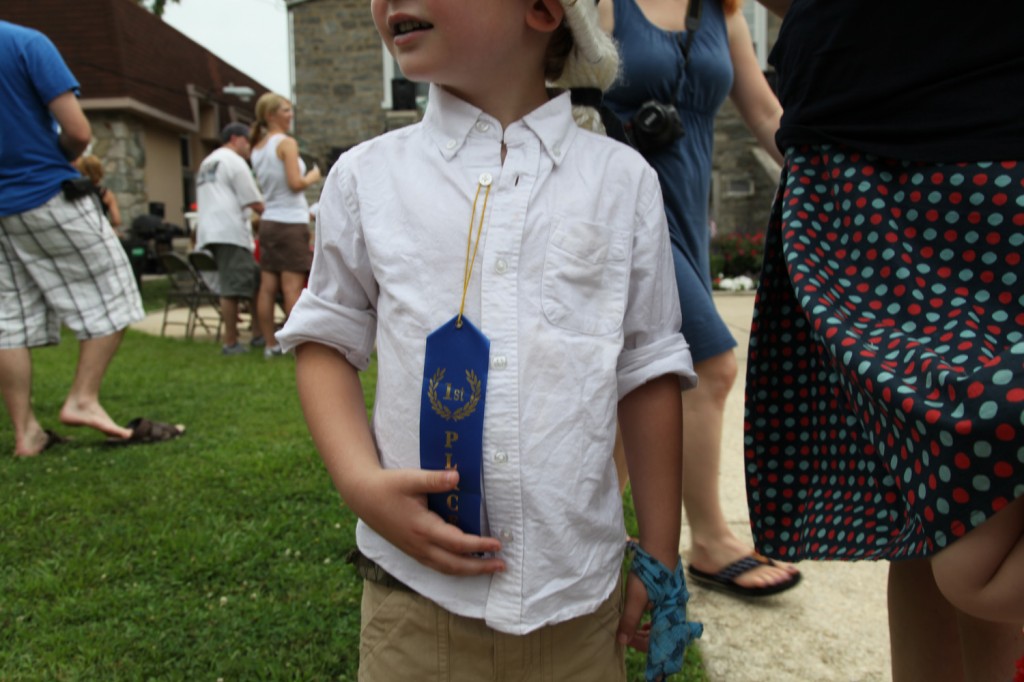
Happy Fourth of July everyone! Here in Rutledge we have a lovely parade every year followed by fire truck rides and games in the park. This year we entered the “decorated stroller” division of the parade. Since Sam likes to stand in the back of the stroller, we decided to go with George Washington Crossing the Delaware. Sam made a great George! He even mastered George’s face. Maisie’s job was to row the boat. She wasn’t so sure about that and decided that she didn’t want to wear her hat, but all in all a fun time and we managed to win first place. We also had a lovely time at breakfast at our  neighbor’s house where Sam and Maisie proudly showed off  their costumes (and ate bagels).

Just before heading over to breakfast and the parade.

"George" looking stoic and Maisie being not to sure about the whole thing

"George" with his monument (the Morbeck's lovely float)

The happy first prize winner (before the red snow cone)!

F1 Cake (Jensen Button's McLaren)

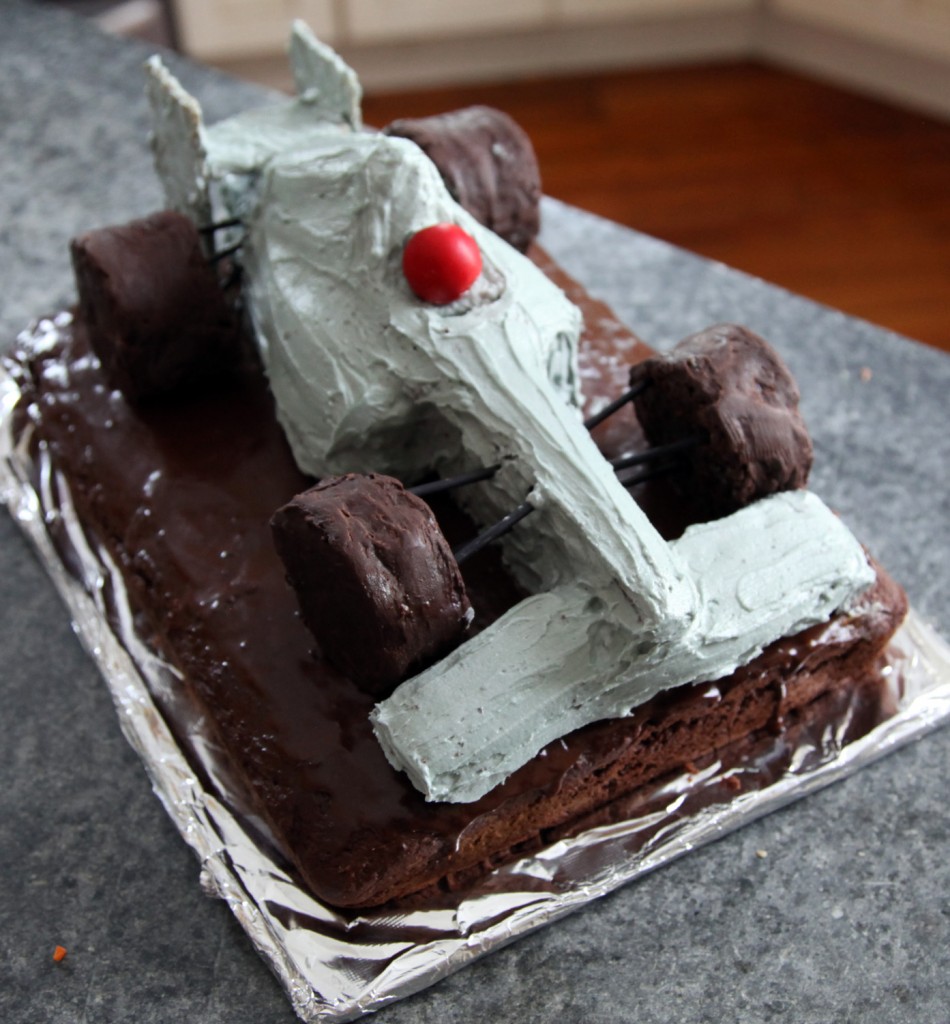
Okay, still a little off topic but I thought I would show you how we put Sam’s F1 Race Car Cake Together. We are not cake experts and are not even normally bakers (although I do like to make the kids’ birthday cakes). Sam requested Jensen Button’s F1 McLaren race car in cake form for his birthday (this from a boy who already has a race car bed).  We made him a Mini  Cooper cake last year, so the boy has expectations! We looked online and found several photos and instructions. I thought that this youtube video showing the making of a Ferrari F1 cake to be the most helpful.  Our rule is that everything (not including toothpicks) needs to be edible. We also prefer the cake to be tasty so homemade frosting trumps stiff plastic fondant or lots of sugared pieces. It took 3 days to finish (lots of cooling and setting in between) and we think it came out great. Not Cake Boss worthy but Sam was happy (which is what counts) and it was very tasty.

Step 1: Bake a firm rectangular cake (we used a 9×13 pan). We used this firm chocolate cake recipe. A second rectangular cake will also be needed later. Cool (we baked ours the night before and put it in the fridge).

Step 2: Making sure the cake is cold, cut the body of the F1 cake (we found an overhead shot of the car to use as a template) and cut the wheels (we used a biscuit cutter but you could use a glass as well). Try to leave as large of pieces as possible for the rest of the cake (including the front wing and the top of the body)

Cut shape for the Main Body of Car and the wheels using photo for reference

Bottom layer of body of car with wheels

Step 3: Cut and sculpt the second layer of the car body using a knife. If the cake starts getting warm, put it back in the fridge to keep it cool. This is the most difficult step. Keep referring back to the picture. The cockpit is made with 3 small rectangles separate from the back. The front wing is made of 2 triangular pieces.

Car with second layer of cake on body and wing on the front

Step 4: Make frosting. I used a buttercream frosting recipe and added a little bit of black food dye (from Wilton designed for cake frosting). Unfortunately it had a green hue. I added a little red to try and make it more neutral. I also put the frosting in the fridge for a little while to allow it to cool.

Step 5: Put on first layer of frosting (starting with gluing the layers of cake together). This is the crumb coat. It will help minimize the crumbs from the cake showing in the end. I never use to bother with this step, but it made a big difference (especially when you have a dark cake like this with light frosting). Put in fridge to set (we did this overnight).

Coating Cake with 1st Layer of Frosting (the crumb coat)

Step 6: Make Second Cake (if you haven’t already). Make chocolate frosting (I use my mom’s secret recipe which involves butter, unsweetened chocolate, an egg and lots of powdered sugar). Cool both.

Step 7: Frost lower cake with chocolate frosting. Frost wheels with same frosting. We actually tried frosting the wheels with chocolate candy melt. We didn’t have very good luck with this and wouldn’t recommend it.

Step 8: Carefully move the car using large spatulas (we used our grill spatulas). This works best with 2 people (i.e. why we don’t have a photo of this). We put the wings on separately to ease in the move.

Car just after being placed on second cake

Step 9: Carefully frost the car with the second layer of frosting. I used a baby spoon and butter knife.

Step 10: Using toothpicks or bbq skewers make the connections from the car to the wheels (the only non-edible part of the cake). We also painted these black.

Step 11: Carefully attach the wheels to the body. We attached the the toothpicks to the wheels first and then inserted them into the car and carefully placed them on the lower cake. This is also much easier with 2 people.

Cake after 2nd Layer of Frosting has been added along with the wheels

Step 12: Clean up the frosting.

Step 13: Install wing. We used a butter crisp cookie wafer and frosted it. The two sides sit on the bottom cake and are glued to the middle part with frosting. The middle piece sits on the back of the body of the car.

Step 14: Add gumball for helmut.

F1 Cake (Jensen Button McLaren) all ready to go!

Step 15: You could add more details to the car like some red accents. In the end we decided that it was more likely to screw up the cake. Fondant would be the easiest way to do this. Roll thin and trace the pattern and logos from the car and carefully put on the cake.

Step 16: Enjoy! This cake feed 11 of us with lots of extras. I would say this would feed 16-20 people. I highly recommend vanilla ice cream with this dense chocolate cake. mmmm…

Sam blowing out the candle!

Sam giving up on the spoon in favor of his hands.

Maisie enjoying her brother's cake.

Sam is turning 4 today! My little Sweet Pea is turning into a big boy (or a little man depending on the day)! I decided to make a little photo collage of him. Everyone tells you how quick kids grow up, but you don’t realize it until you stop and look.

Happy Birthday Sweet Pea! I love you so much! I’m so proud of what a creative, funny and sweet boy you are turning out to be!

Sam the first 4 years!

I’m off to make cupcakes for school. I will be back with regular posts tomorrow!