Archives For FAMILY

Sandbox Part 1

May 23, 2012

Sandbox in Progress

I first wrote about the sandbox almost 2 months ago. I think it is time to get moving! The basement has taken precedence for a while, but the kids are getting impatient and I am looking forward to them having some additional play space outside.

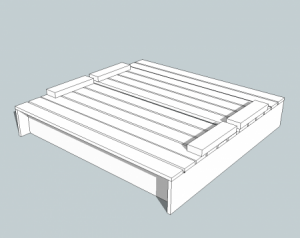
Inspiration Sandbox Design

Sandbox Design from Ana White

We decided to go with the plans from Ana White’s website based on this design. Of course I had to tweak it a bit (when have I ever gone the easy way). The design is for a 4’x4′ model. We decided to go with a 5’x4′ design so that the kids would have a little bit more space for playing and to fill out the space. We also decided to use 2x10s for the sides. The design calls for 1x8s but since we wanted it deeper and we were widening it, I decided to increase the depth (plus a 1×10 and 2×10 are pretty much the same price). The nice thing about the plans is that they are designed to use standard length lumber, so all I needed to do was adjust a few pieces from 8′ lengths to 10′ lengths to make it work. I also added an extra piece to the back on each side to accommodate the extra foot.

March

April

Mother's Day

Site Leveled


Step 1: Locate the Sandbox and Prepare the Site

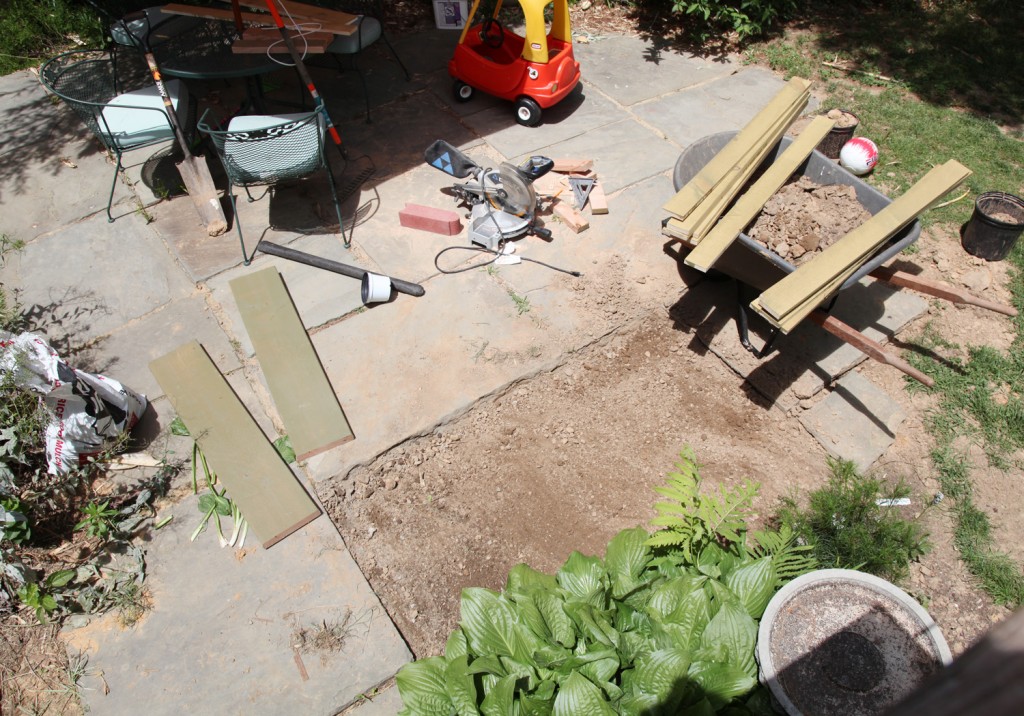
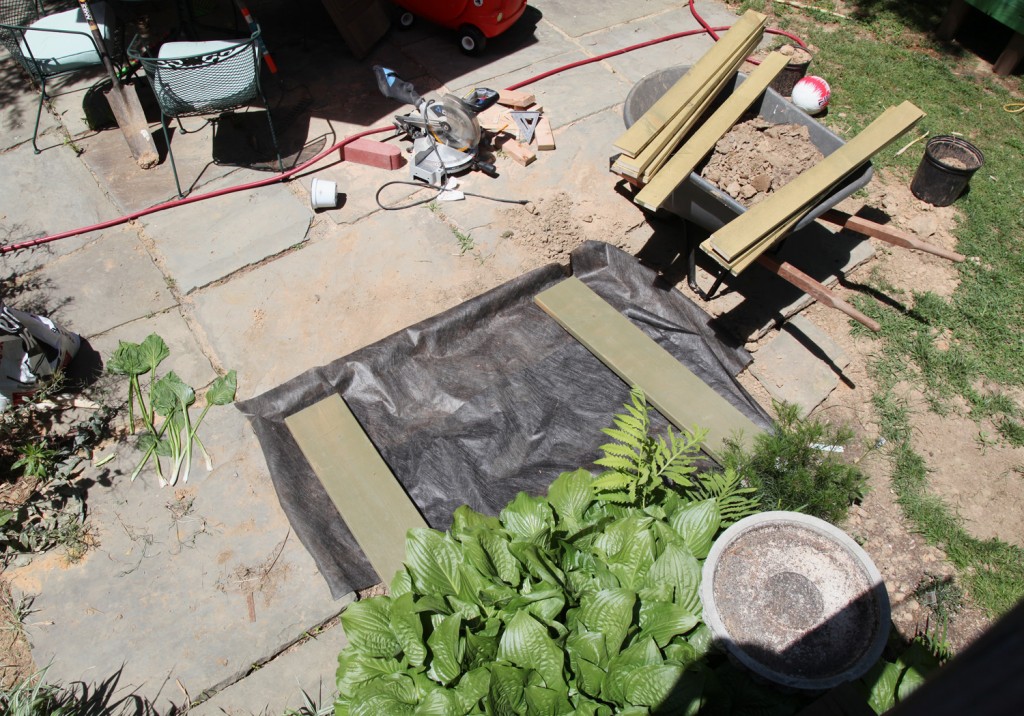
First on the list was moving the big piece of slate over to accommodate the sandbox. For this I used a spade and all of my arm strength to push it over the 5′. It was a pain and took me an embarrassing amount of time, but I managed to do it myself. Of course it wasn’t level! So it took last weekend with the help of Mr. S. holding it up to actually level it out. Then we leveled out the ground under the sandbox, moved/cut back a few plants and we were set. We also added the landscape/weed blocker fabric to the bottom, to help keep the sand separated from the dirt.

Wood Cut & Landscape Fabric Added

Step 2: Pick Up the Wood & Cut to Length

I went over to Home Depot and picked up the pine boards (I didn’t want to use pressure treated in an area with kids). I had the guy at HD cut the 2×10 boards for me, since my saw only cuts up to a 2×8 in one pass. Of course I hadn’t double checked my measurements so I still ended up having to cut the shorter pieces again at home. All told I spent about $96 for the wood, screws, glue and hinges. I spent about an hour measuring and cutting all of the wood.

 Step 3: Finish the Wood

This is by far the longest step. We are staining our wood green to match our garage and shed. We had some already, which was nice. The downside is that it is oil and takes a while to dry. Since almost all the wood will be visible depending on whether it is open or closed we need to finish all of the sides. I am using a small roller with the stain. I am still NOT finished with this. It needs 2 coats and so far only the bottom has 2 full coats. Everything else only has one coat right now. Unfortunately the weather has not been cooperating with us. I am hoping to have all of the staining done by the weekend so I can get this finished!

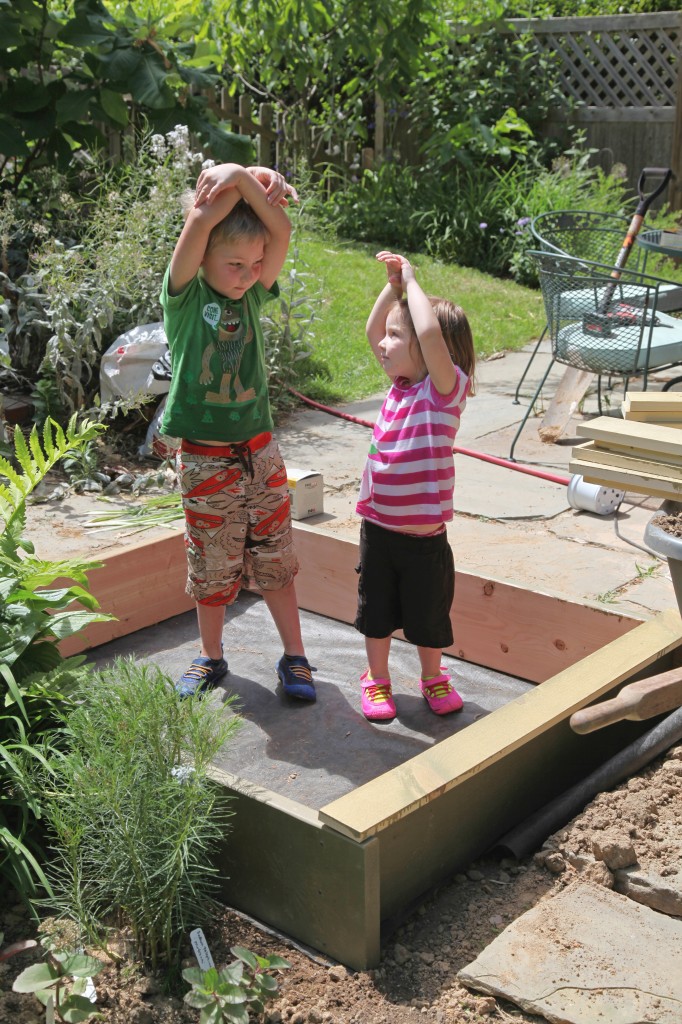
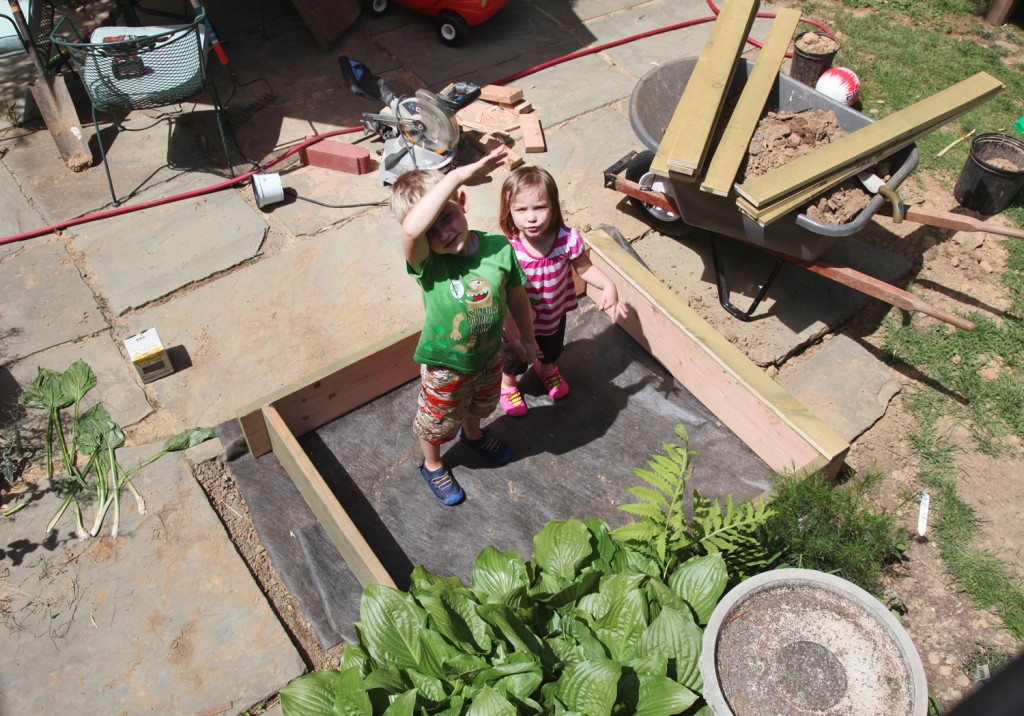
The kids taking a break from the water table to test out the sandbox

Step 4: Installing the Base/Sides:

Mr. S. stained the base 2x10s first, so those were ready to go in (we are leaving the side that will be exposed to the sand unfinished because I am concerned with it wearing off with the sand against it). We used nice long 3″ screws (3 per corner). I use almost exclusively screws with star bits. Home Depot now sells them (I use to have to hunt them down) in the deck screw area. I LOVE these! No slipping or stripped screws. Plus they are meant for exterior use, so they will hold up well. The Home Depot ones are tanish yellow in color and blend in pretty well with the wood.

Step 5: Putting in the Sand

Goal for today, so stay tuned!

Guess where we are?

April 20, 2012

Sorry I haven’t posted much this week. We are enjoying some rest and relaxation in the sun!

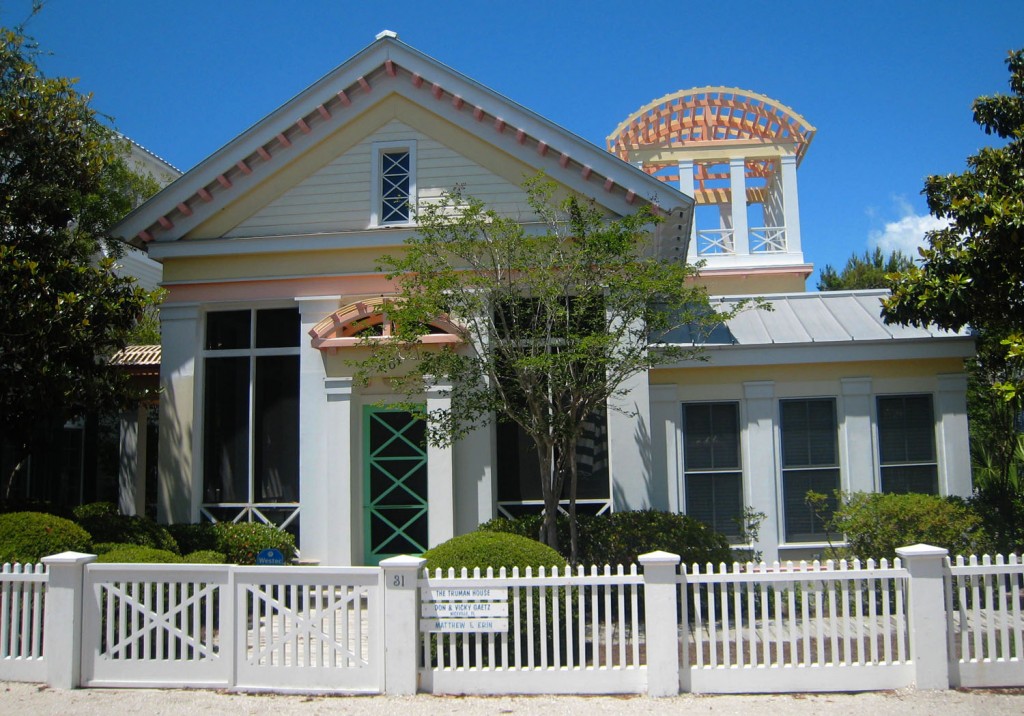
Can anyone guess where we are? This house was featured prominently in a movie a few years ago? (And no we aren’t actually staying in this house).

I have been busy taking lots of photos of interesting houses that I will be sharing next week.

Hope everyone has a great weekend!


Deck from Last June

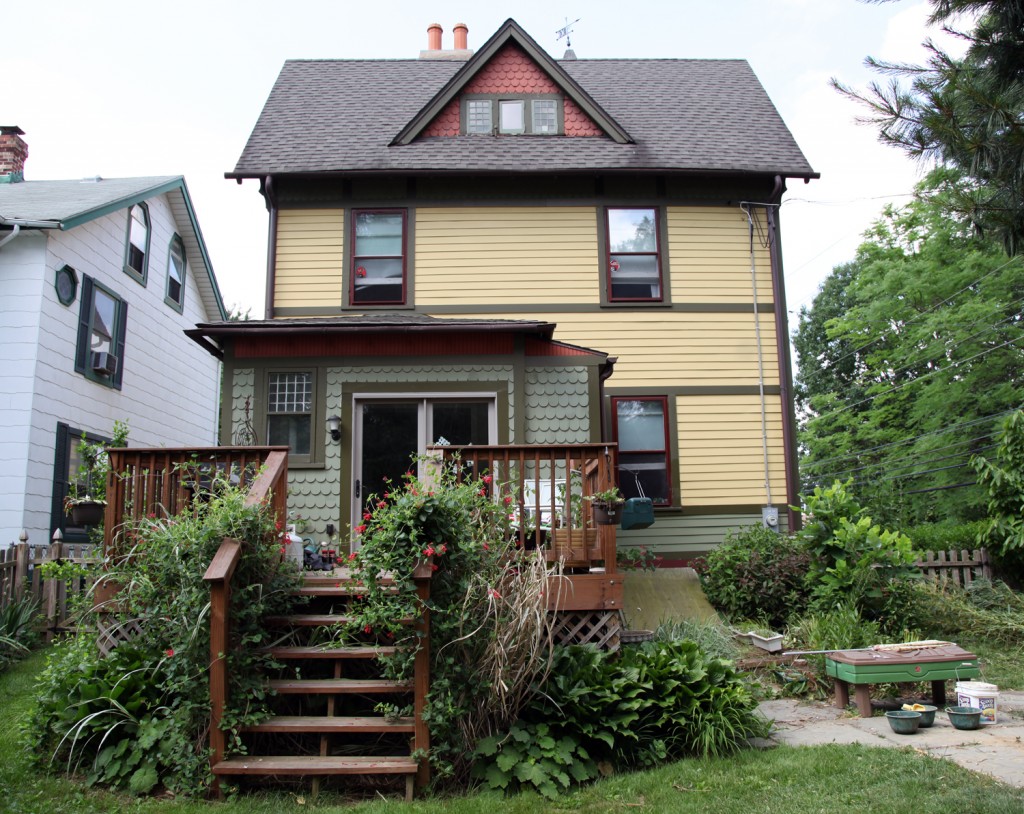
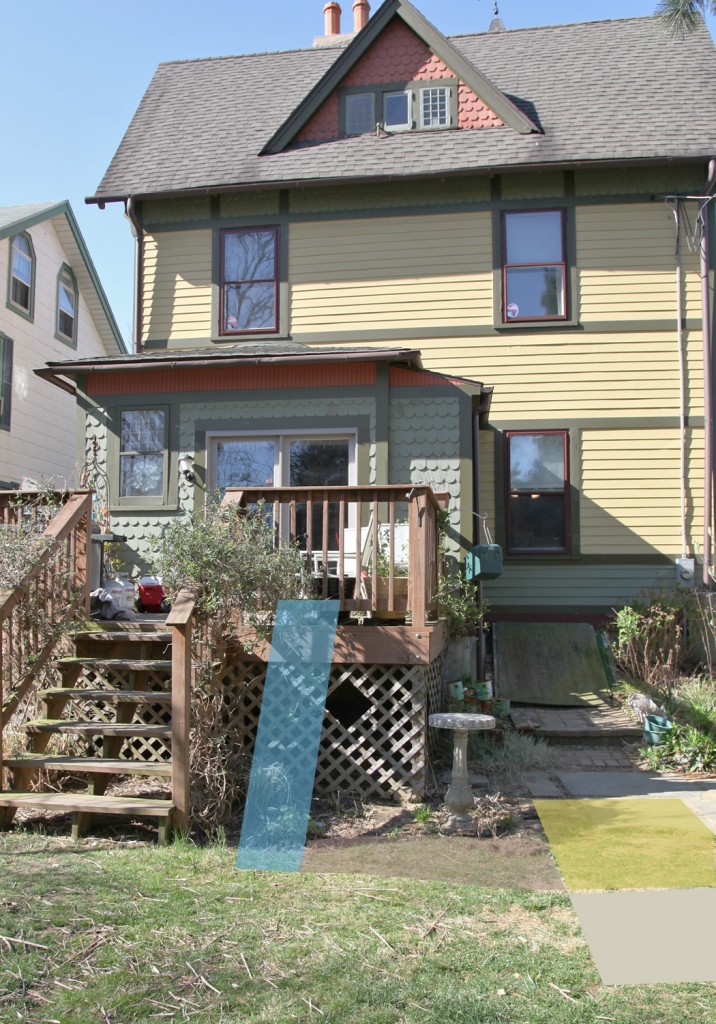
I have been talking about creating some backyard spaces for the kids for a long time (over a year now).  I decided it is time to act now! The kids LOVE being outside but are lacking a good spot to dig and play and it is becoming an issue. We now have a large hole in the grass thanks to a treasure hunt.  I am hoping to provide them with some space that they can call their own and spend some good imagination time.  Our backyard is fairly small and I don’t want to loose too much more grass since we have just enough right now to kick and hit a ball. That pretty much rules out a traditional playset.

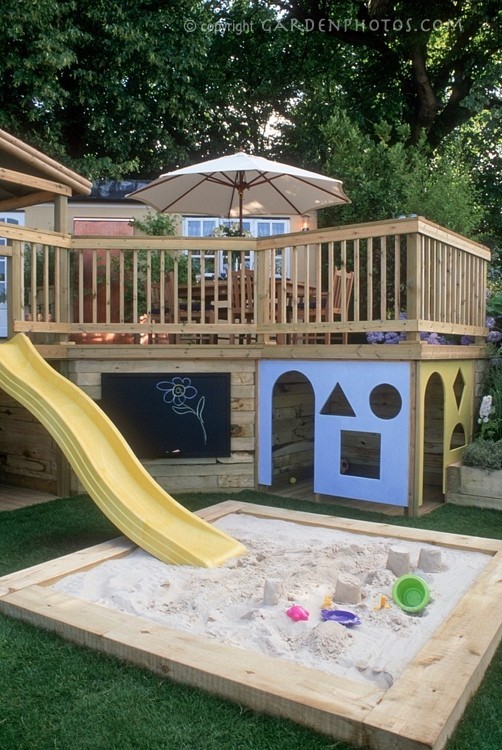
I saw this picture last year from gardenphotos.com and it really resonated with me. We have a deck that sits about 4 1/2′ off of the ground and the space underneath was totally sealed up by lattice. I don’t actually like our deck very much. It serves a useful purpose of a place for the grill, a couple of chairs and a few pots, but it doesn’t have any redeeming qualities otherwise.  I have several native honeysuckles growing on it along with a bunch of grasses and perennials to hide it as much as possible.  So the thought of altering it a little bit to make it more of a play space is very appealing.

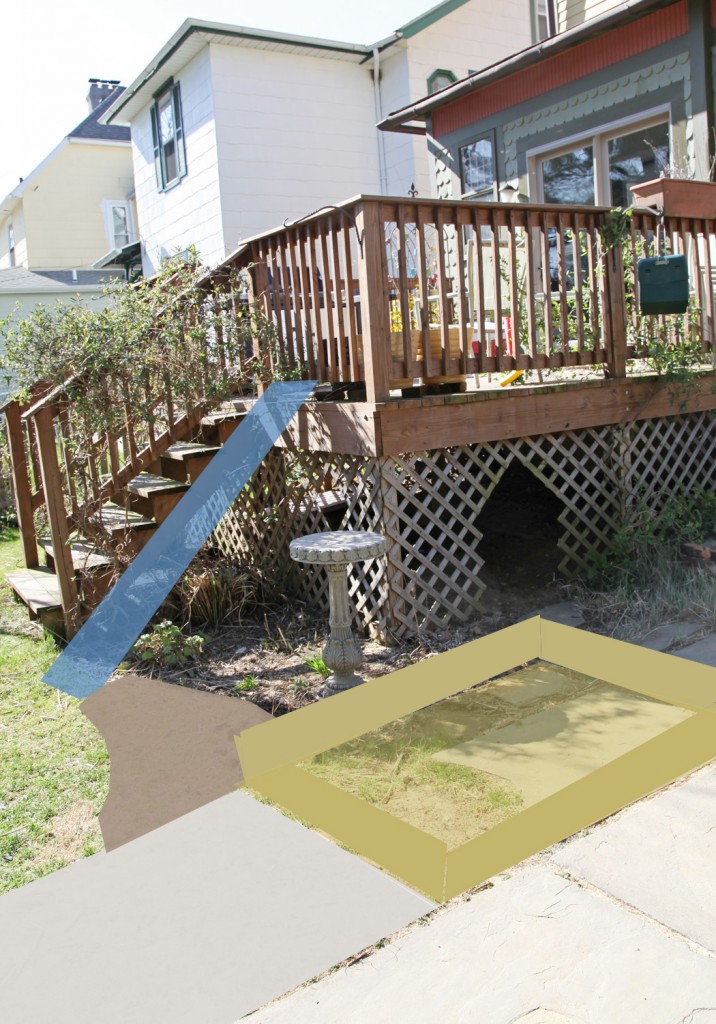
Rending of New Kids Area

The Plan

1. Fort under the Deck

On Wednesday I decided to start. I took my jigsaw and made some cuts into the lattice. We now have a door and a window. I will be adding some pine trim to reinforce the lattice and cover the rough edges. Sam can’t quite stand under there, but the kids couldn’t wait to get under there. I gave them a couple pieces of extra rigid foam from the basement to sit on. I will be building a little wooden spot on sleepers sometime soon, but I have a feeling that they will be busy digging in the dirt for a lot of the time. There is some moss under there and I might even plant a few ferns as well. I am also considering ordering some burlap to help give them some more privacy and create a door.

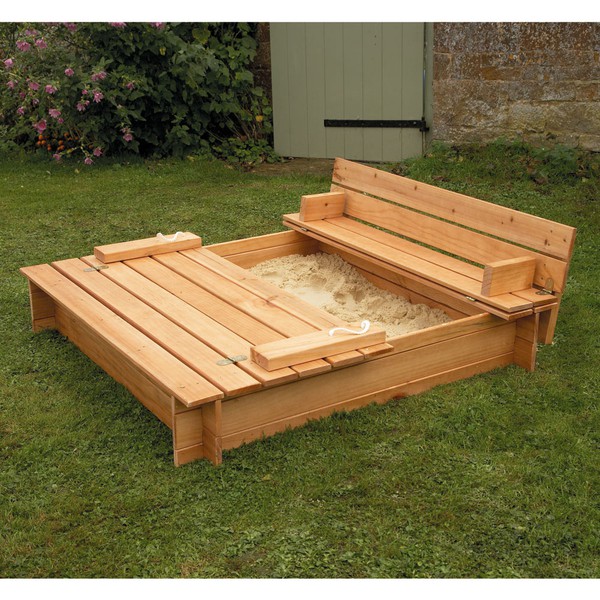
Option 1: Sandbox w/ built in cover that turns into seats.


Option 2: Sandbox w/ corner seats


2. Sandbox

The kids have been asking for a sandbox since they could talk. We used a baby pool filled with sand when they were smaller but they are too big for that now. I also want something that I can cover when not in use. I am still debating 2 options. Option 1 is really cool because it has a cover that turns into a seat. This model is only available in England. But the good news is that over on Ana White’s website someone came up with plans based on the design. Option 2 would be simpler to make but would require some sort of fabric cover.  The one advantage with this one is that I could make it a little bit bigger without having to recalculate all of the dimensions for the plan. We are planning on picking up a couple of beach umbrellas to shade it similar to the Option 2.

The sandbox will sit in between some slate stones on the patio. It may seem like a strange spot, but I like that it is really visible from the kitchen window and will be close to the table if we are sitting outside. In the future this could also easily be filled in with a planting bed or more slate.

Another Rendering of the Back Deck with Slide

3. Slide

I still have plans of installing a slide right off of the deck (I would like to attach it to the bottom rail of the guardrail). I am actually on the hunt on Craigslist and Freecycle for one. I haven’t found quite the right one at the right price, but I have hopes in the next couple of weeks of finding one.

4. Chalkboard

I haven’t decided on a location yet, but I think a chalkboard made of exterior grade plywood would be a good idea. The kids love to draw and I think this might be the answer. I just need to find the right spot to put it.

5. Plants

I temporarily moved the birdbath to the spot in the photo, but I think I will need to move it further from the kid area. I think I will be planting this area with durable perennials and grasses. So far I am leaning towards hosta in the shadier spots and some shorter grasses in between.  I will also probably put in some small stepping stones in between the sandbox and deck.

Next Steps

The good news is that all of this work is doable in small increments. Last year I had bigger plans, that never got done because they couldn’t be broken down into little projects. The kids are old enough now that they will even “help” for brief periods of time, especially if it is for them.

First on the list is reinforcing the trellis. I’ve picked up the wood and just need to do a little cutting and screwing. The total cost so far is about $9.50. Next up will be moving the piece of slate where the sandbox will go and getting the spot ready for the sandbox. I probably won’t get around to building the sandbox for  a couple of weeks but the kids are super excited, which helps keep me motivated.

I hope everyone has a good weekend! We have some painting and cleaning to do in the basement.

My Garden Helpers

March 26, 2012

Ladybug Girl & Bumblebee Boy

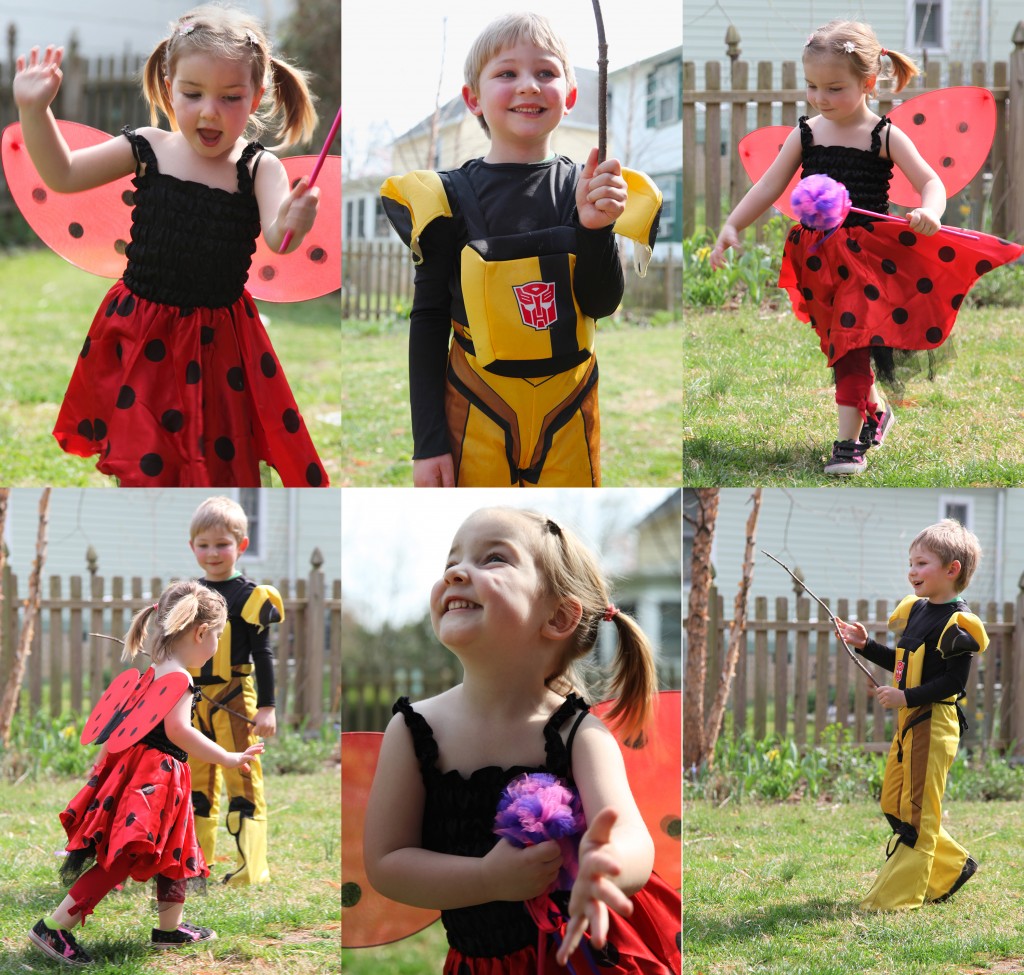
I hope everyone had a good weekend! Today is a busy day here, lots to do and so little time. I should have some exciting photos of the basement (which is reaching a close) tomorrow. But in the meantime I thought I would share my garden helpers, Ladybug Girl and Bumblebee Boy. Ladybug Girl enjoys running around the garden and can now identify crocuses, snowdrops and tulips. Bumblebee Boy enjoys digging holes in the ground and picking flowers. However we have had to have a talk about making friends with the other bumblebees.  On a nice day they can be found getting dirty in the backyard! Which reminds me that I need to get to work on creating some more kids friendly spaces outside  for them. I think I finally have a plan for a fort under the deck, a slide off of the deck, a sandbox next to the deck and a tire swing on the old pine tree. I need to get on that since the kids could really use some space out there. Maybe now that I am about done with the basement, I will have the energy to tackle some outside spaces.


Maisie is 3!

March 5, 2012

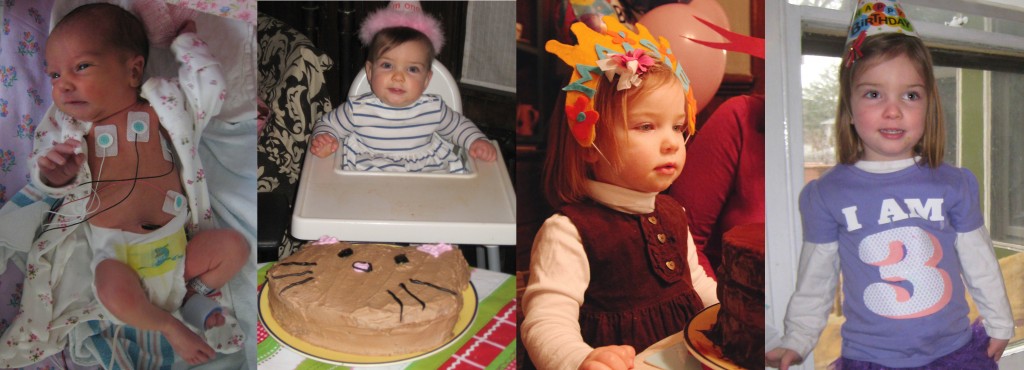
My girl at birth, first birthday, second birthday and third birthday

The last few days have been filled with family, friends and cake! Maisie now thinks that birthdays last for several days and involve multiple parties! We feel blessed that we have a healthy and happy big girl! We are no longer allowed to refer to her as a “baby” and she is very proud to be a “big girl”.

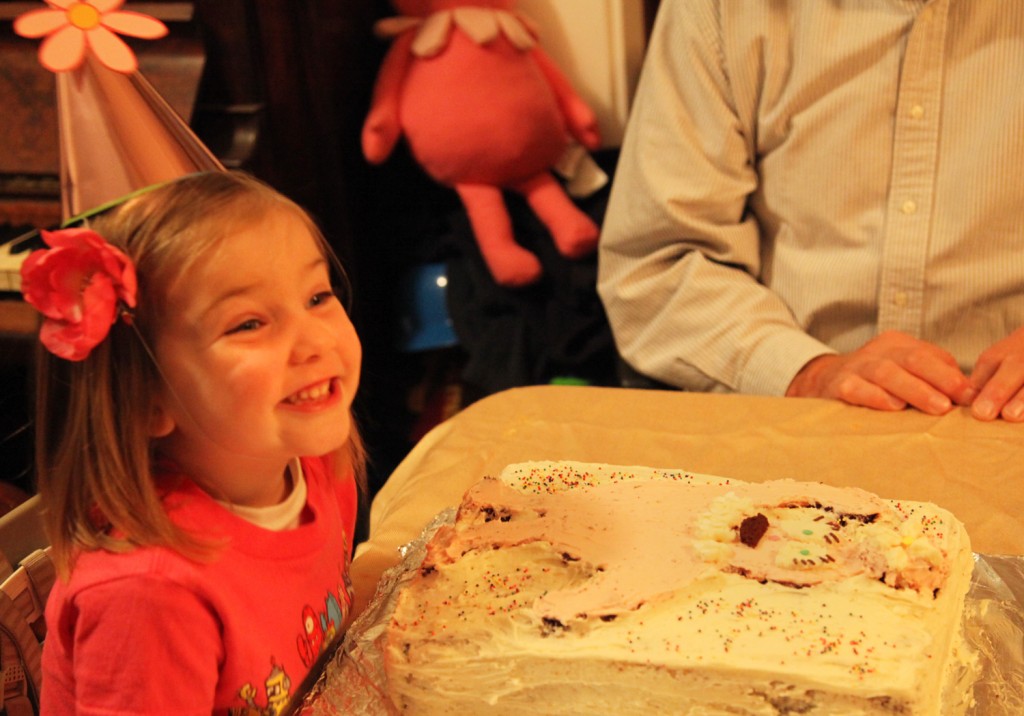
Maisie with her Foofa Cake

She requested a chocolate Foofa (from Yo Gabba Gabba) cake and is now in love with mermaids and ponies.

*I will be back later with an update on the basement.

Our House by Dan Bob Thompson circa 2006

I wrote my first post exactly one year ago today (wow, time flies)! I looked up some statistics just for fun. In the last year I’ve written 222 posts and I’ve had 22,087 visits from 125 countries. I suppose that I am no longer a novice at this! I am definitely not the best or funniest writer out there but I like to think that I am creating something worthwhile. So to my faithful readers: Thanks for reading! 

I have also been very fortunate to have a supportive family and friends while I try out new things, write this blog and take on more clients. To my family and friends: Thanks and love you all!

I am also starting to think about what changes and new ideas I can bring to the blog. Do you have any ideas for things you would like me to write about?

Many thanks!

Heidi
xoxo

P.S. We are off to Kindergarten Orientation tonight. I’m in a little bit of shock that my little man will be going to school next year. Sniff, Sniff…

P.P.S. To check out Dan Bob Thompson’s work click here or his blog here.

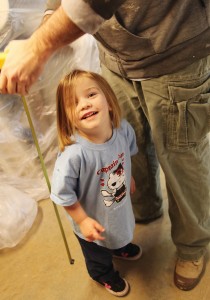
Helper #1

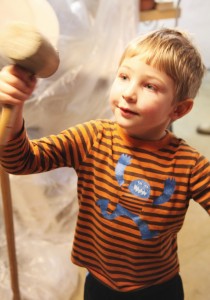
Helper #2

I have Jury Duty today, so I am little behind on things. We did manage to install most of the pink rigid polystyrene insulation in this weekend. There is still a little more to do, but we can’t do that until some more plumbing is run. The contractors now aren’t coming until Wednesday, but hopefully by this weekend they will have installed the concrete on the floor, placed the shower pan and run the plumbing so that we can finish the insulation. Since the pictures are still quite boring I thought I would show you our “helpers” instead. Hope everyone had a good weekend!

* To see all of the posts about our basement click here.

A Litte Scattered Today

January 23, 2012

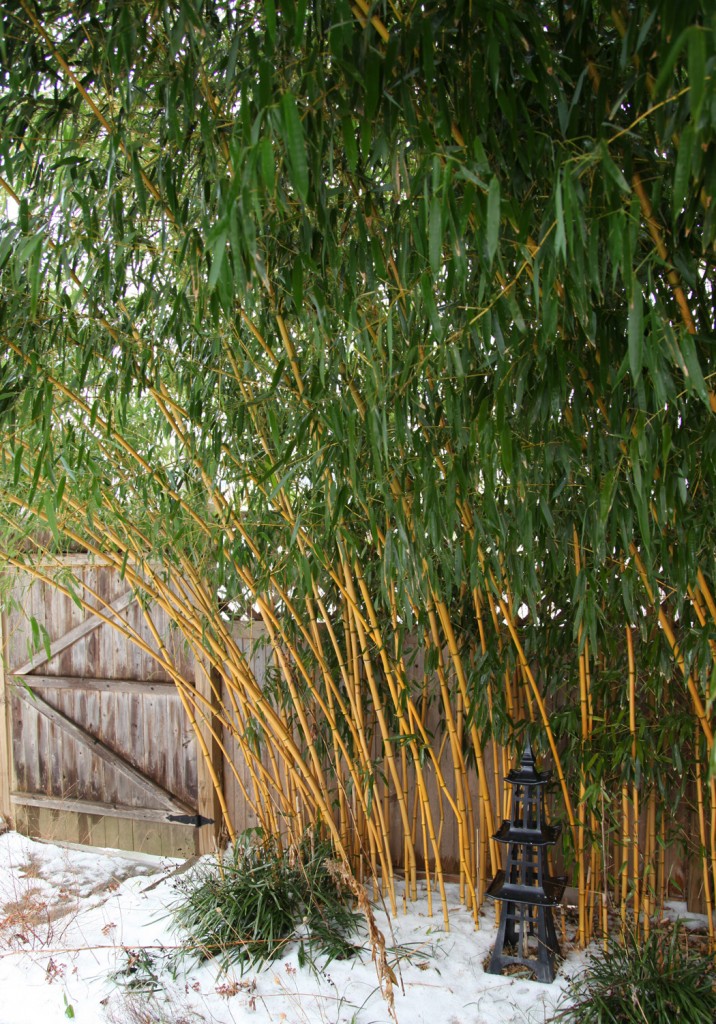
My Bamboo

I hope everyone had a good weekend! I’m feeling kind of scattered today. My list of work, errands and paperwork is long! The weather is really depressing, gray skies with periodic rain and melting snow. I don’t have much basement progress to report. We did manage to come up with a strategy on how we are going to install the rigid insulation in the basement(since ideally we won’t attach directly to the waterproofing membrane on the walls).  I’m also feeling sad about taking the bamboo out, I quite like how it droops in the snow.

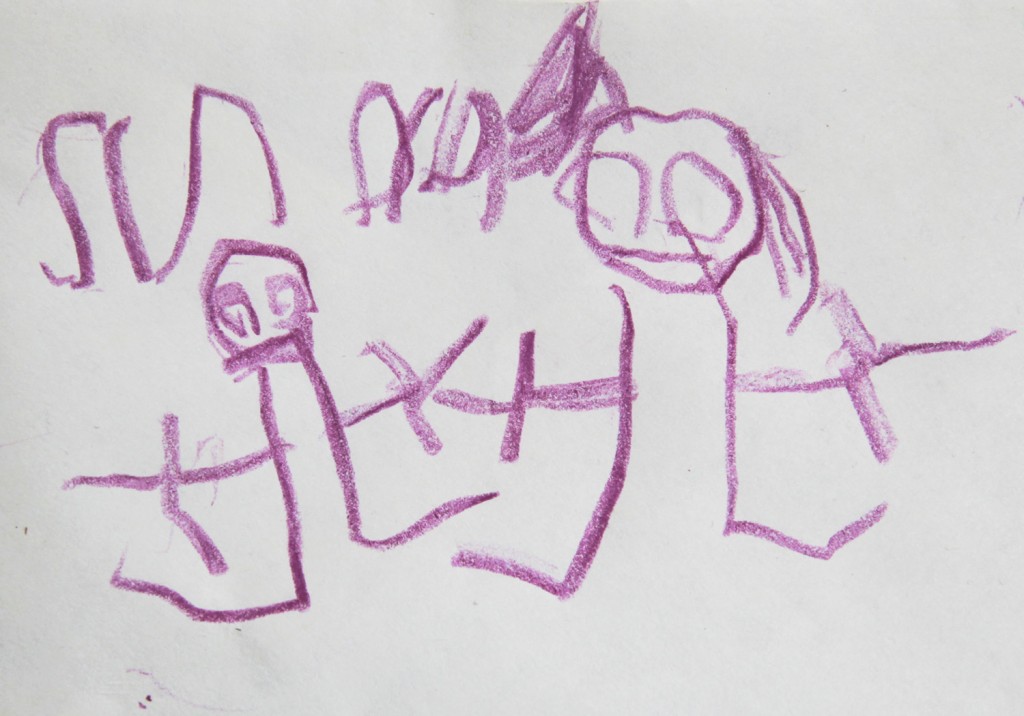
Sam & Me, drawn by Sam (I'm not quite sure what to think about my hair)

In other exciting family news Maisie is now potty trained (fingers crossed everything goes well at preschool today)! Sam also drew me a lovely picture of the two of us yesterday. So I will be back tomorrow with some more interesting things.

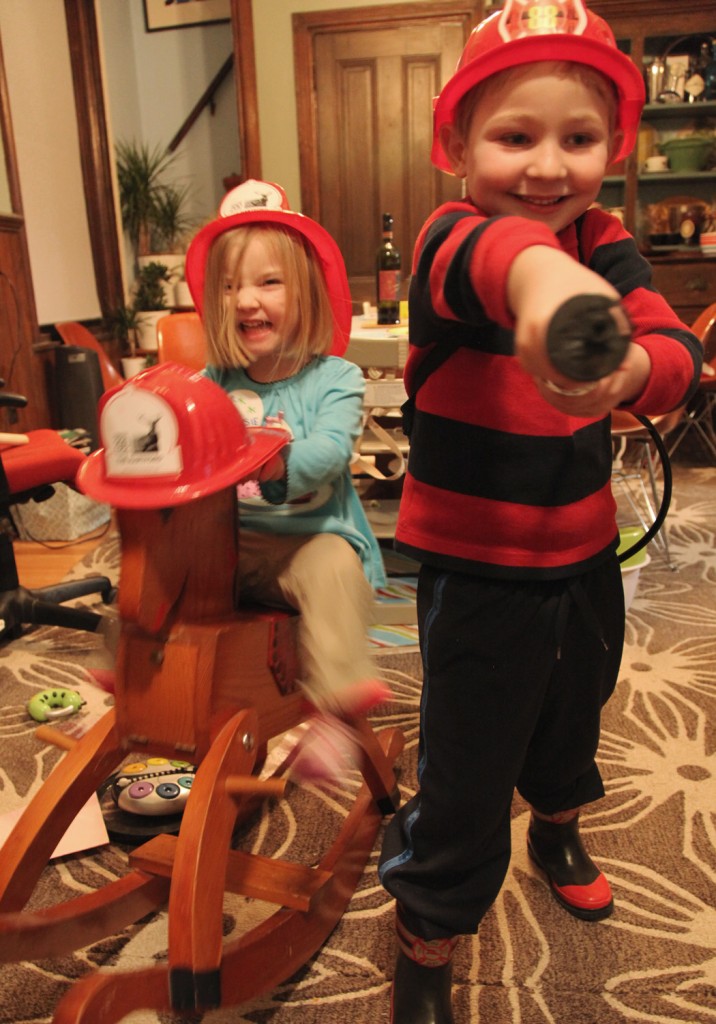
I will leave you with a picture of my firefighting duo.

Maisie & Sam in their fire gear!


Santa was Here!

December 27, 2011

Maisie and Sam with Santa this year!

One of the great things about living in a small town is that there are some things that they can do just because of the small size. Our town is only 4 blocks by 3 blocks so it is quite compact. That means that Santa makes an appearance at everyone’s house on Christmas Eve (thanks to our Fire Department). He rides on an awesome vintage trailer pulled by the fire truck. It is a big deal here when we hear the fire siren and go running out to see Santa. I LOVE this tradition and feel very fortunate that our kids get to experience it. Of course they think all kids get this kind of service!

Santa 2010!

Santa 2009!

Santa 2008!

Santa 2007!

So here is it for those who were waiting patiently….

I would like to wish everyone a joyous holiday season!


If you are one of my family member and you haven’t received our card yet, they are in the mail (really!).

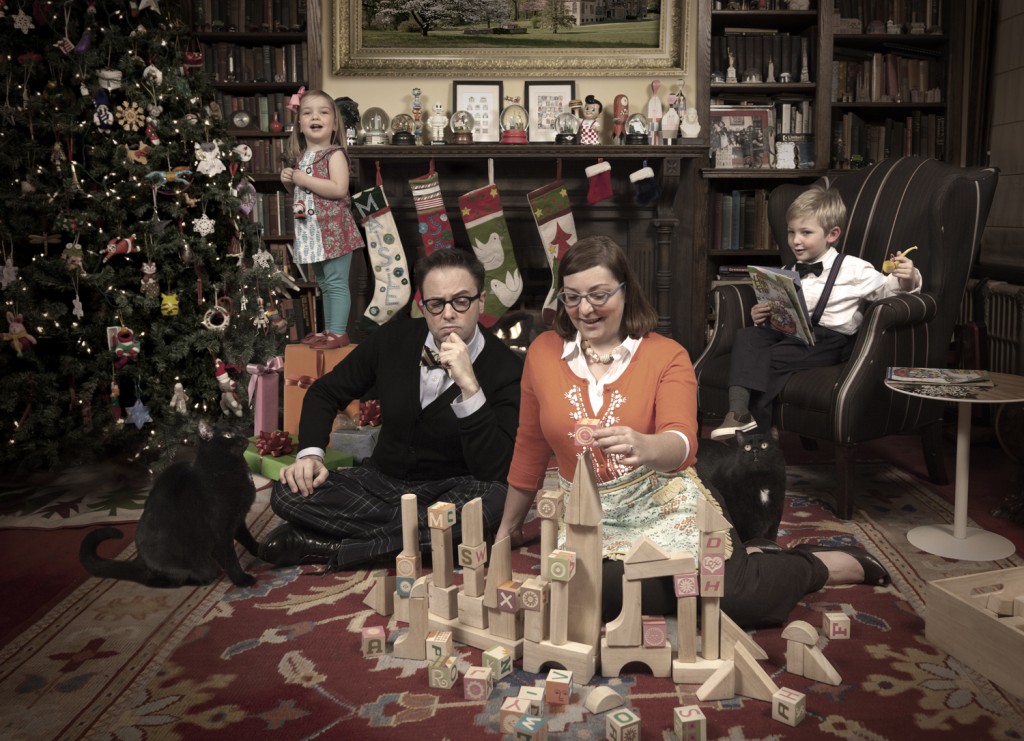
For this year’s card we decided to move everyone around the scene. And since Mr. S. & I still prefer the blocks to our kids it only seemed fitting that we should be playing with them.

The colorful blocks are the Alexander Girard Alphabet Blocks by House Industries. These were one of the first things we bought for Sam (even before he was born). They are a little pointy on the corners so they only come out on special occasions. They have carved letters, hand silk screens puzzle and letters. Plus one side has the beautiful carved suns on it (one of the things Alexander Girard is most famous for).

Girard Blocks

Girard Suns

*To see all of our holiday cards click here. Does anyone have a favorite?

**I will be posting a few things next week in between all of the family time.