Archives For FAMILY

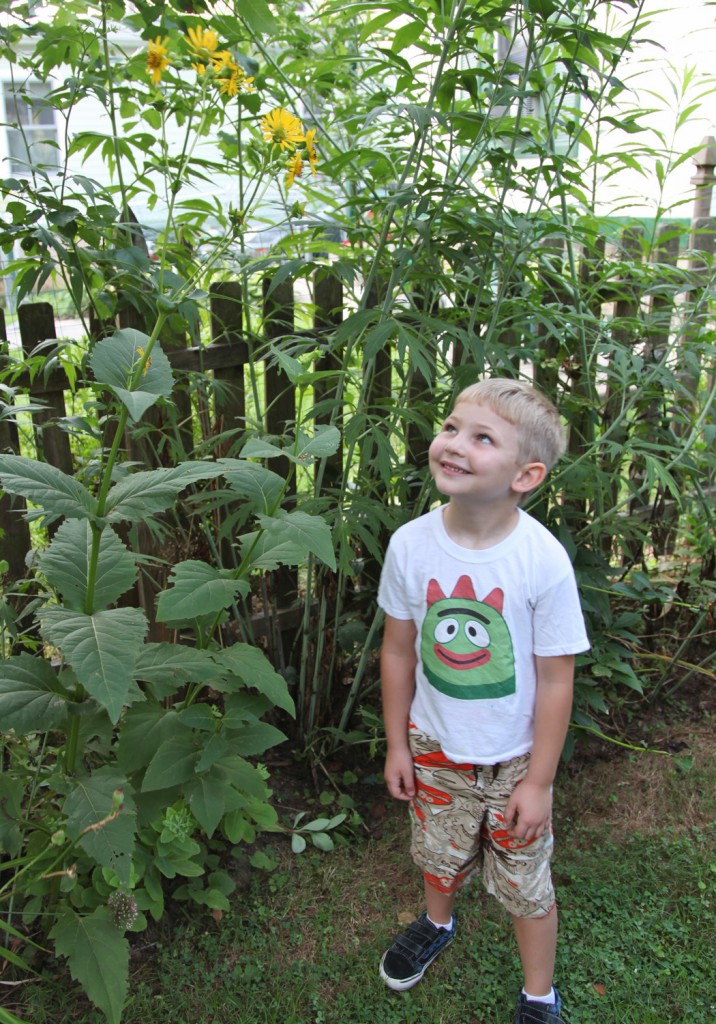
Sam with Silphium perfoliatum (Cup Plant) &   Helianthus angustifolius (swamp sunflower) behind. Both are giant native flowers that bloom in mid-late summer. Both self-seed but are impressive this time of year.

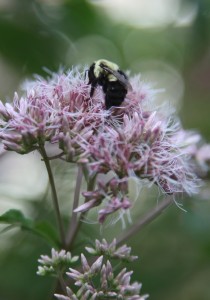
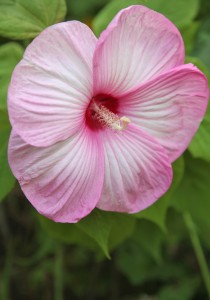
Yesterday morning I managed to get myself outside to take a few pictures of the garden with my helper. It has been so hot until this weekend, that I have just been running back and forth between the driveway and the house and spending as little time as possible outside. I hope you enjoy seeing some perennials that thrive in the heat! As you would expect it is a lot of the native flowers that are doing especially well, including the black-eyed susans, joe pye weed and hardy hibiscus.

On a personal note, I will be taking a break from the blog for a little bit. Life is been crazy (in both good and bad ways) so I have decided that I need to take a couple of things off of my plate for the time being, including writing in every day. So for the next couple of weeks you will be seeing less from me. Please still feel free to email me or send a comment. I love to hear from everyone! I hope to come back inspired and full of new ideas.

Black-Eyed Susans

Joe Pye Weed

Hardy Hibiscus

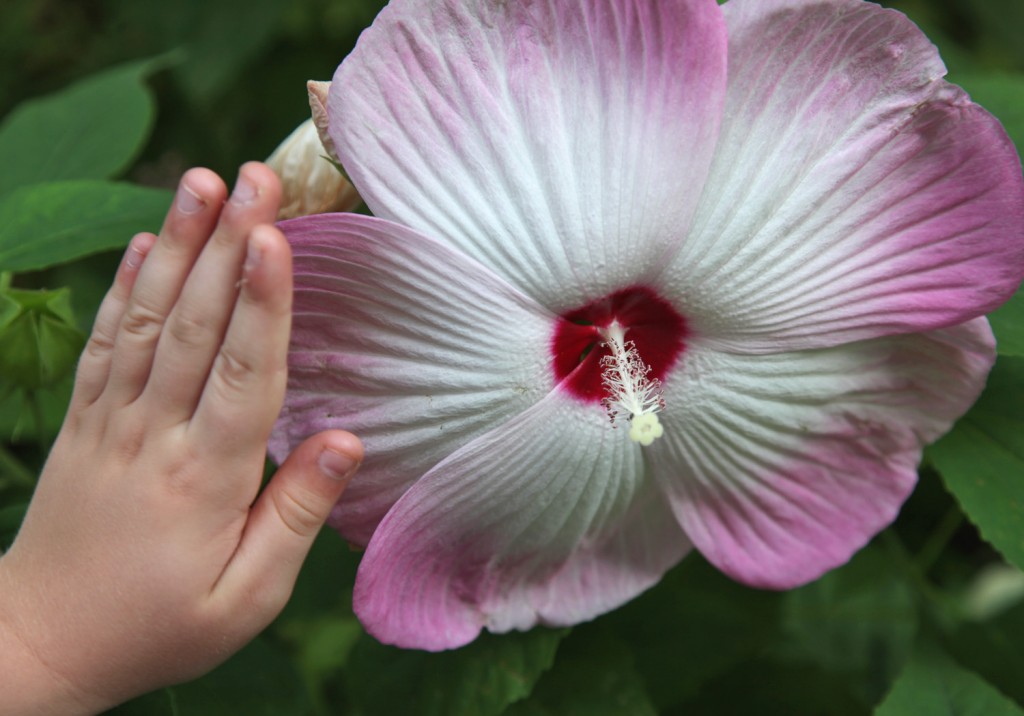
Sam’s Hand with the Giant Hardy Hibiscus (Disco Ball)

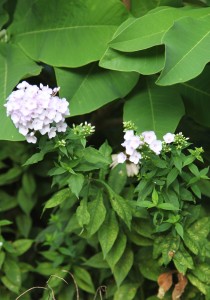
Standard Garden Phlox

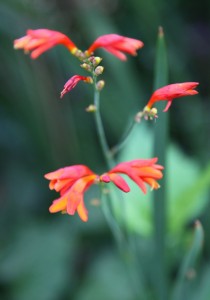
Crocosmia

Cherry Tomatoes

One surprise in the last week is that the crocosmia that I planted last year as bulbs have popped up in a couple of places. I have tried bulbs twice now and live plants once. I had finally given up thinking it wasn’t the right plant for my garden. It is not native but it is suppose to be an easy to grow bulb and thrives in hot sun and dry soil (the bulb can rot in wet soil). I planted this over a year ago (you typically plant them in the spring and they should bloom in the summer). I think I planted about 12 bulbs and have three blooming. It is nice to have this little garden present especially in this heat.

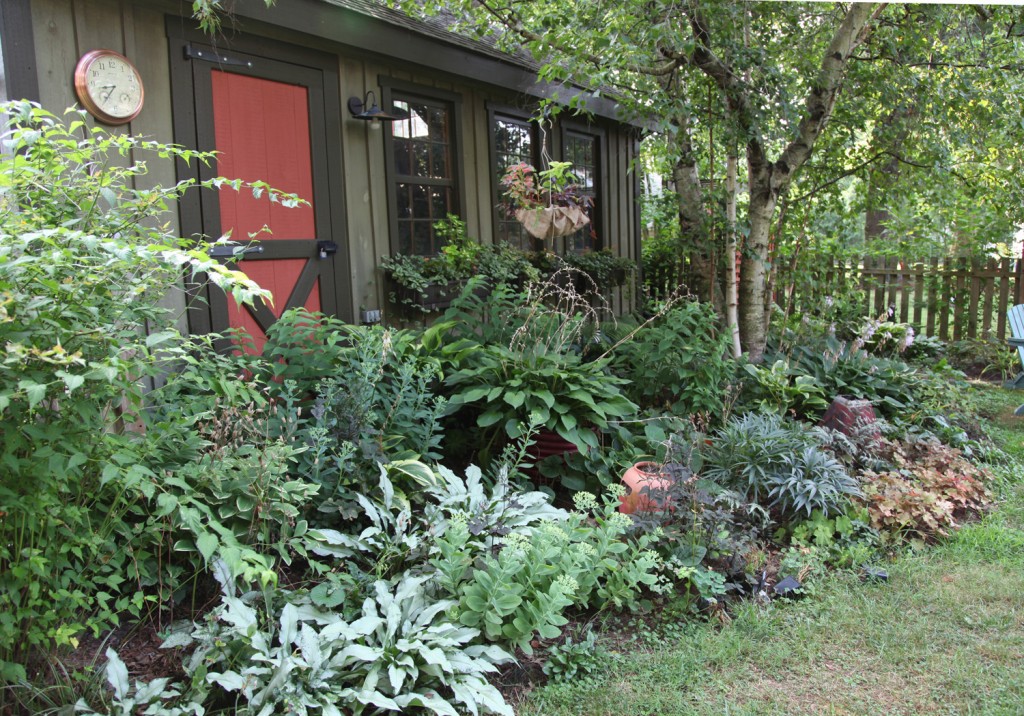
Shade Garden still looking pretty good without watering (and my new clock that I got for my birthday)!

My shade garden is also doing quite well given the weather. I think it helps that most of the plants are pretty established and it doesn’t get the crazy hot afternoon sun. Although all of the flowers on my hostas burned out in a couple of days.

What is blooming in your garden?

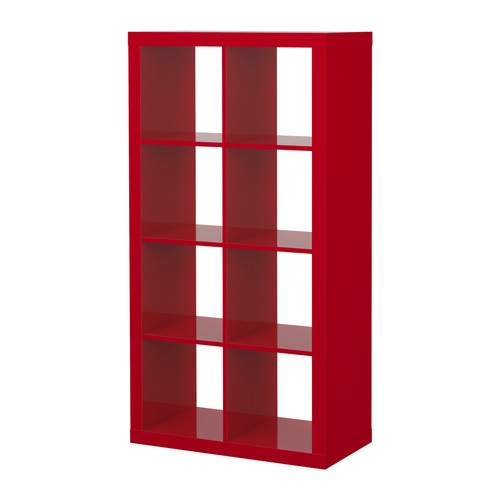
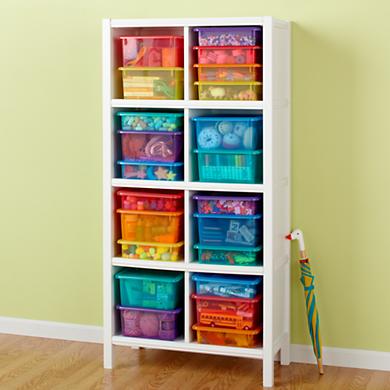
Expedit Shelving Unit from Ikea, $69.99

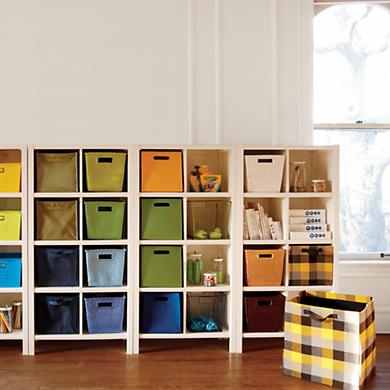
I would love to say that I have some new excited thing to show you. I don’t at the moment (although I have a few swirling around in my head). Instead I am feeling overwhelmed by the toys in our little house. We have officially entered toy storage hell. Okay, maybe that is an overstatement, but the toys are taking over, particularly the Legos and little characters. My old storage systems are no longer working now that the kids have gotten older (and the toys more plentiful). It is now time to rethink and readjust! The kids playroom (the old nursery) has become the holder of a lot of the toys, but it is chaos in there! There is dress up clothes all over and little characters and vehicles lining the floor. We have also entered small Lego world, which means stepping on them at least once a day. We don’t have a lot of shelves for toys right now. Before we relied on low bins and tables to house everything. I now need to think more vertically. I am also looking for some more storage for the kids clothes (particularly out of season and clothes that they haven’t grown into yet), plus artwork storage.

I’ve been perusing shelving and bin options and I pretty much always end up back at the Ikea Expedit. I don’t love it, but it is so functional and affordable. I feel like they are overused, but the other shelves with similar cubbies are 3 and 4 times the price. I have vowed not to buy cheaply made furniture anymore, but it may provide useful storage for the foreseeable future for the kids. I also need to decide on something and move forward.

Land of Nod Container Options

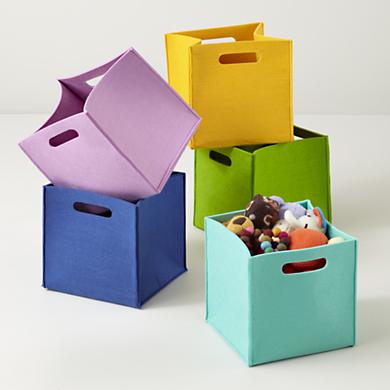
Land of Nod Felt Containers

One thing I am not a big fan of are the box and bin choices for the unit. Fortunately I received a new Land of Nod catalog the other day, and there looking at me (in lots of pretty colors) were some really nice bins, baskets and tubs. They are designed to fit their system (which appears to be about 12×12 verses 13×13 for the Expedit). I am willing to give up that inch to get better looking containers.

Land of Nod Plastic Containers

Of course now comes my second conundrum. I love the softer felt containers, but I’ve heard that clear plastic ones work better with kids so that they can see what is inside easily. I think I may need to compromise and use some of each. I am thinking of also mixing in some boxes from the Container Store. Now if I can just get Maisie to stop “packing for trips” and hoarding toys in strange places, we might be able to get our house back under control.

Does anyone have any advice for toy storage for kids in the 3-5 age group or older?

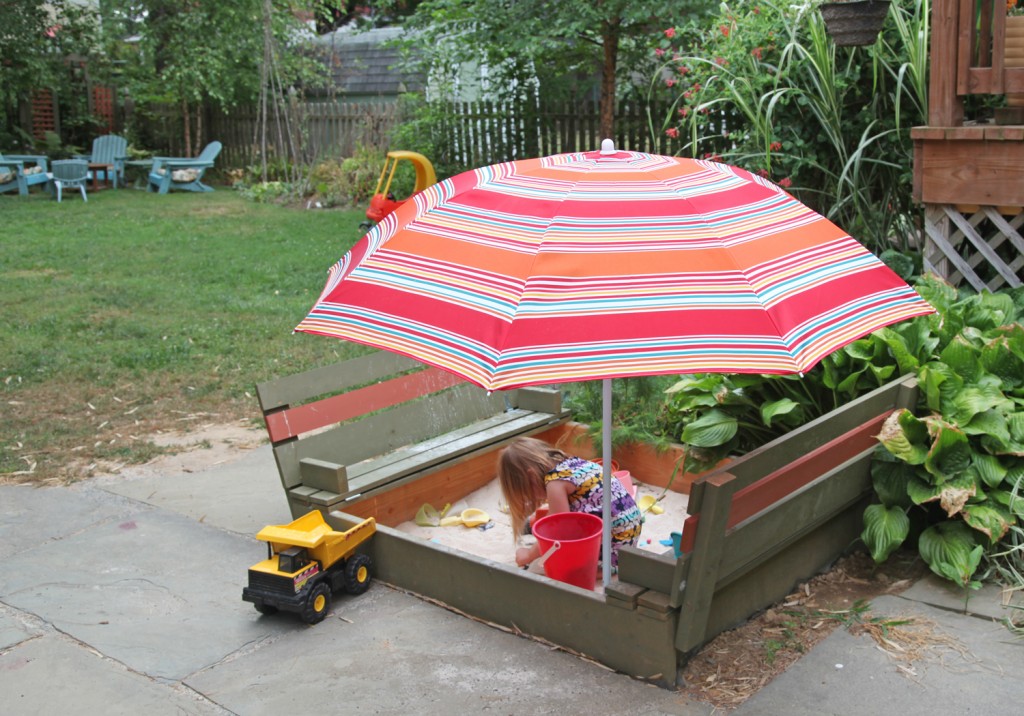
Completed DIY Sandbox w/ benches and Lid (and beach umbrella)

Today is my long overdue instructions on building our new sandbox! It seems like as soon as we had it finished the weather was too hot to use it. And now the mosquitoes are in rare form making it uncomfortable to be outside. Fortunately, I convinced Maisie that a little time out there this morning would be nice.

I wrote about the first part of the installation a while ago. I thought I would show Part 1 again so that everything was in one place.

Inspiration

Sandbox Design from Ana White’s website

We decided to go with the plans from Ana White’s website based on this design. Of course I had to tweak it a bit (when have I ever gone the easy way). The design is for a 4′x4′ model. We decided to go with a 5′x4′ design so that the kids would have a little bit more space for playing and to fill out the space. We also decided to use 2x10s for the sides. The design calls for 1x8s but since we wanted it deeper and we were widening it, I decided to increase the depth (plus a 1×10 and 2×10 are pretty much the same price). The nice thing about the plans is that they are designed to use standard length lumber, so all I needed to do was adjust a few pieces from 8′ lengths to 10′ lengths to make it work. I also added an extra piece to the back of the bench on each side to accommodate the extra foot (so there are 3 boards instead of two).

Site Leveled & Ready for Installation


Step 1: Locate the Sandbox and Prepare the Site

First on the list was moving the big piece of slate over to accommodate the sandbox. For this I used a spade and all of my arm strength to push it over the 5′. It was a pain and took me an embarrassing amount of time, but I managed to do it myself. Of course it wasn’t level! So it took last weekend with the help of Mr. S. holding it up to actually level it out. Then we leveled out the ground under the sandbox, moved/cut back a few plants and we were set. We also added the landscape/weed blocker fabric to the bottom, to help keep the sand separated from the dirt.

Wood Cut & Landscape Fabric Added

Step 2: Pick Up the Wood & Cut to Length

I went over to Home Depot and picked up the pine boards (I didn’t want to use pressure treated in an area with kids). I had the guy at HD cut the 2×10 boards for me, since my saw only cuts up to a 2×8 in one pass. Of course I hadn’t double checked my measurements so I still ended up having to cut the shorter pieces again at home. All told I spent about $96 for the wood, screws, glue and hinges. I spent about an hour measuring and cutting all of the wood.

 Step 3: Finish the Wood

This is by far the longest step. We are staining our wood green to match our garage and shed. We had some already, which was nice. The downside is that it is oil and takes a while to dry. Since almost all the wood will be visible depending on whether it is open or closed we need to finish all of the sides. I am using a small roller with the stain. I am still NOT finished with this. It needs 2 coats and so far only the bottom has 2 full coats. Everything else only has one coat right now. Unfortunately the weather has not been cooperating with us. I am hoping to have all of the staining done by the weekend so I can get this finished!

The kids taking a break from the water table to test out the sandbox

Step 4: Installing the Base/Sides:

Mr. S. stained the base 2x10s first, so those were ready to go in (we are leaving the side that will be exposed to the sand unfinished because I am concerned with it wearing off with the sand against it). We used nice long 3″ screws (3 per corner). I use almost exclusively screws with star bits. Home Depot now sells them (I use to have to hunt them down) in the deck screw area. I LOVE these! No slipping or stripped screws. Plus they are meant for exterior use, so they will hold up well. The Home Depot ones are tanish yellow in color and blend in pretty well with the wood.
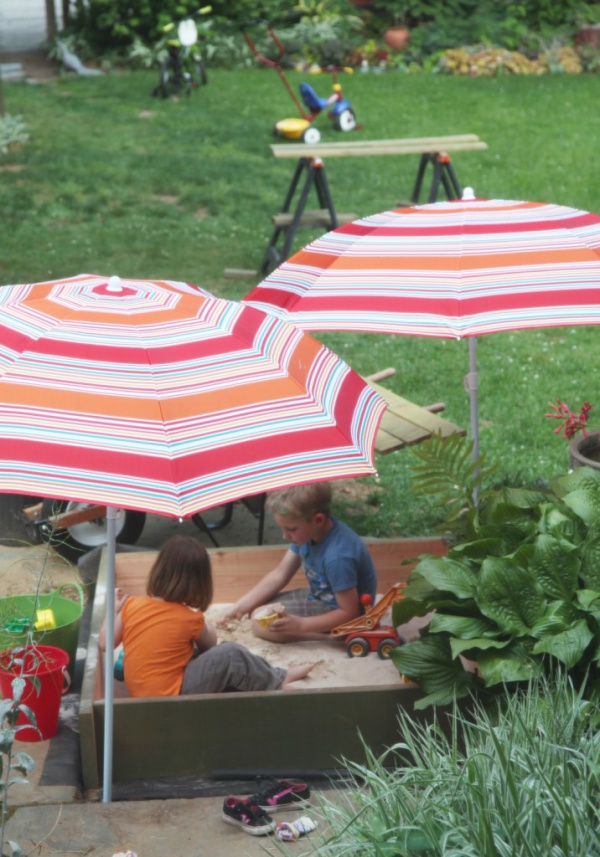
The kids using the sandbox for the first time

Step 5: Putting in the Sand

I bought six 50 lbs bags of play sand to get started (I think we will need another 6 or so to fill the 18 sf). I looked for play sand that had been “prewashed” to minimize any contaminants.
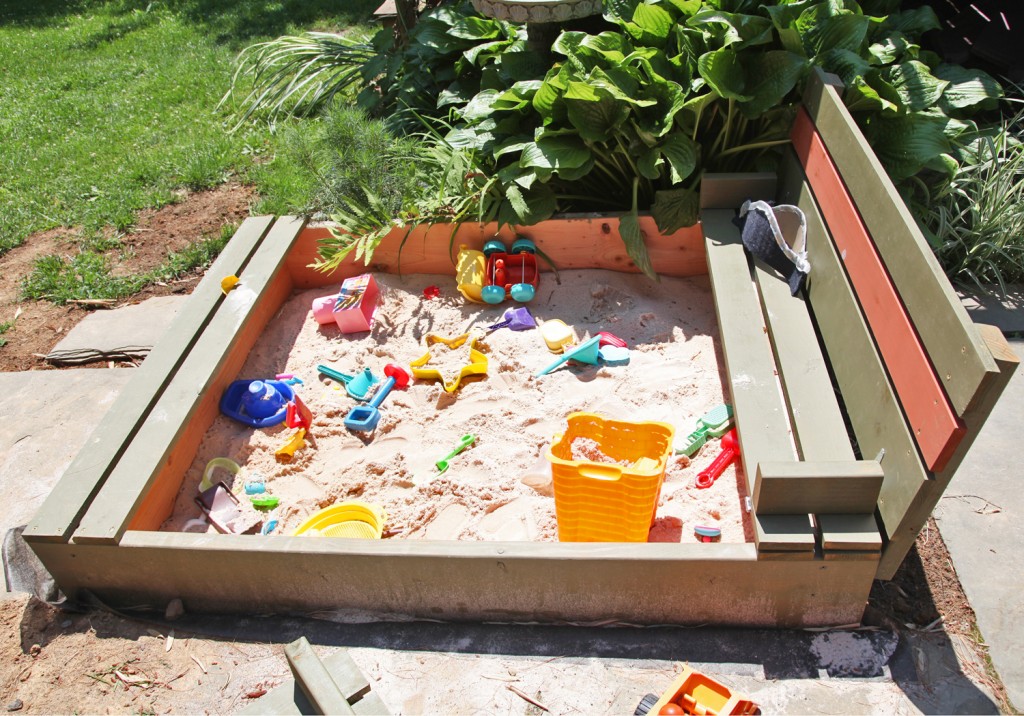
Half Finished Top/Bench

Step 6: Making the Lid

This is the most intimidating part of the project, but really isn’t that hard. We used 14 boards all together for this (+4 armrests & 4 back supports)

-2 1x4s on each side as the base for the seat (see left side of picture above). These are permanently screwed to the frame

-2 1x4s on each side for the seat (this part flips over and has the armrests on the inside)

-3 on each side for the back of the bench (2 1x4s and 1 1×6). On Ana White’s instructions they only use 2 1x4s but since we are a 1′ wider I need to add a 1×6 to each back.

A. The first thing you want to do is layout all of the boards to double check the spacing. We were in between 1/4″ and 1/2″ in between the boards. If you have a piece of scrap wood or cardboard and the right thickness this will help keep the joints even. I ended up using a piece of scrap Styrofoam that i had on hand from some packaging.

B. Screw in the permanently attached pieces on each side.

C. Screw the arm rests on to the seats (making sure that the spacing matches the pieces that you installed previously

D. Screw the back supports on to the back pieces.

E. Test fit the pieces to make sure everything is going to fit properly.
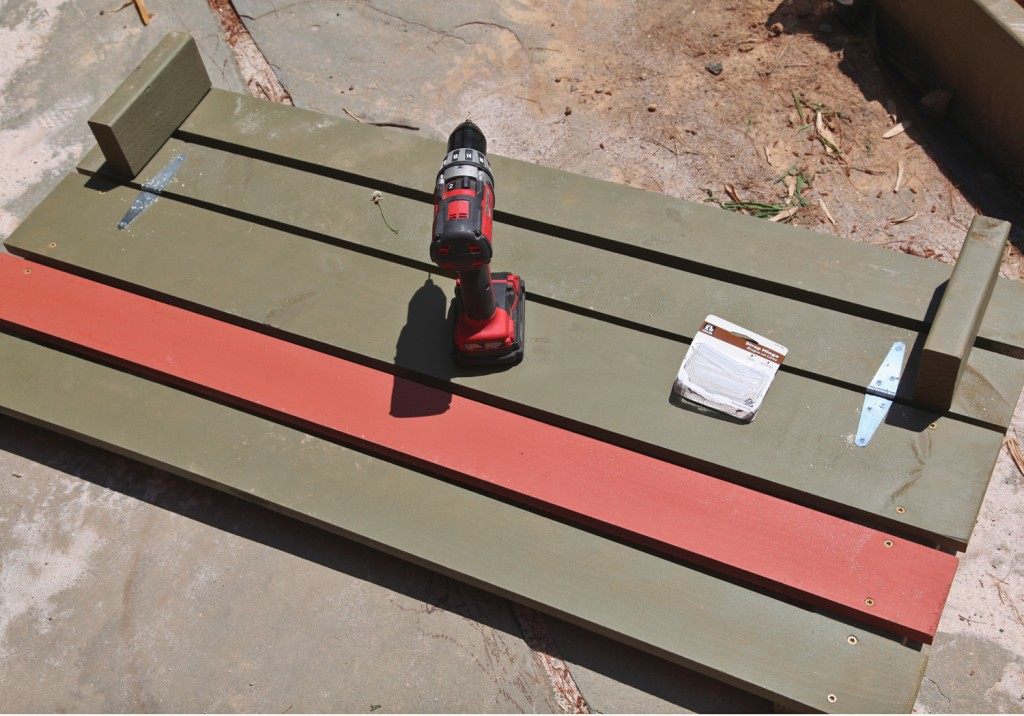
Back and seat being attached together with hinges

F. I found it was easiest to attach the back and seat together first. This allows you to install these in a flat position instead of at an angle (since these hinges are on the inside when the sandbox is closed). I used 3″ strap hinges that are galvanized.
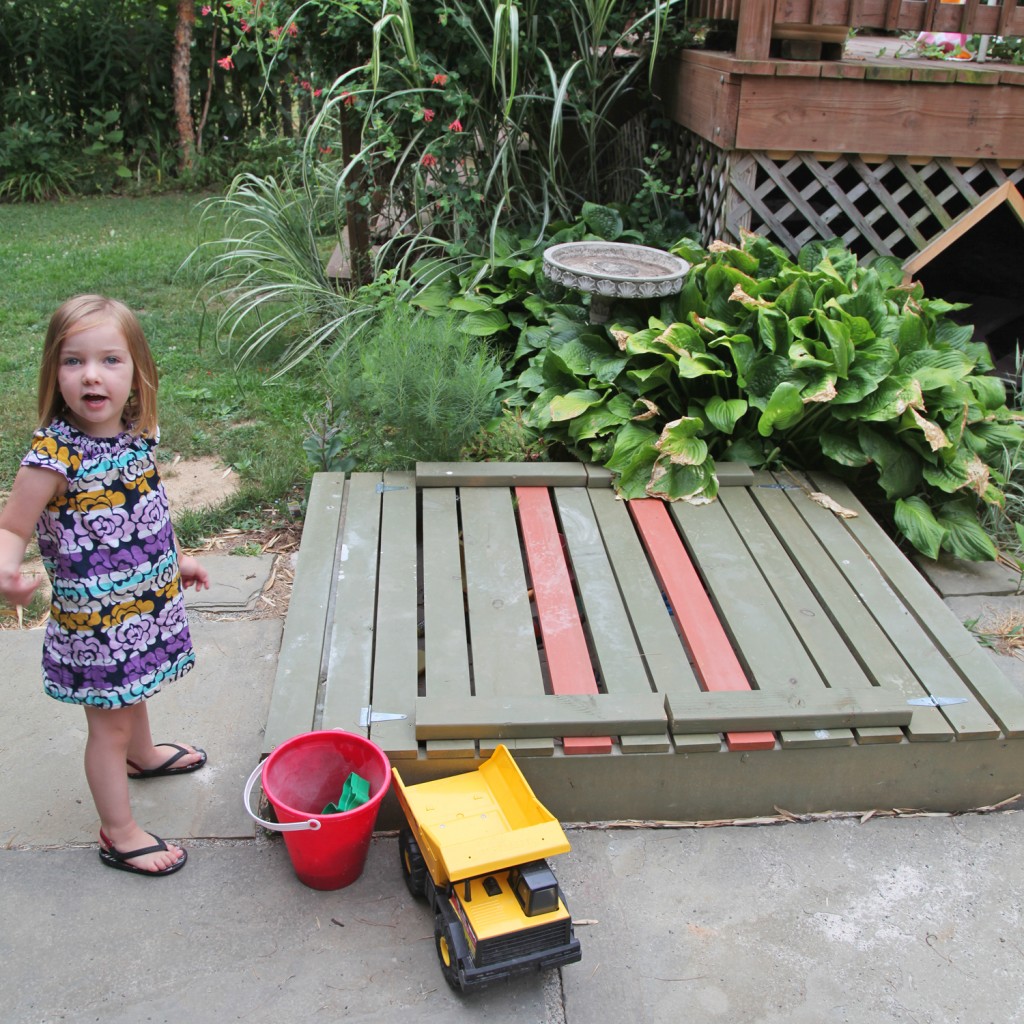
Sandbox in closed position

G. Attach the seat and back to the box with hinges while everything is flat.

H. Attach handles if you are using them (we chose not to since it is pretty easy to lift the way it is).
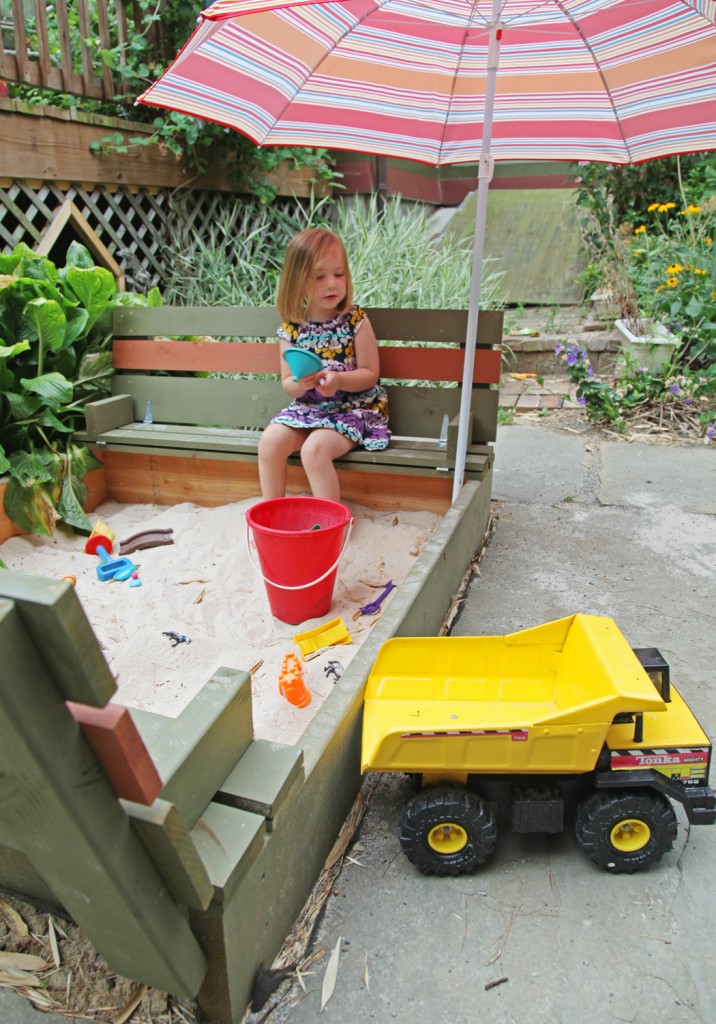
Maisie in the sandbox

Step 7: Test out the new sandbox!
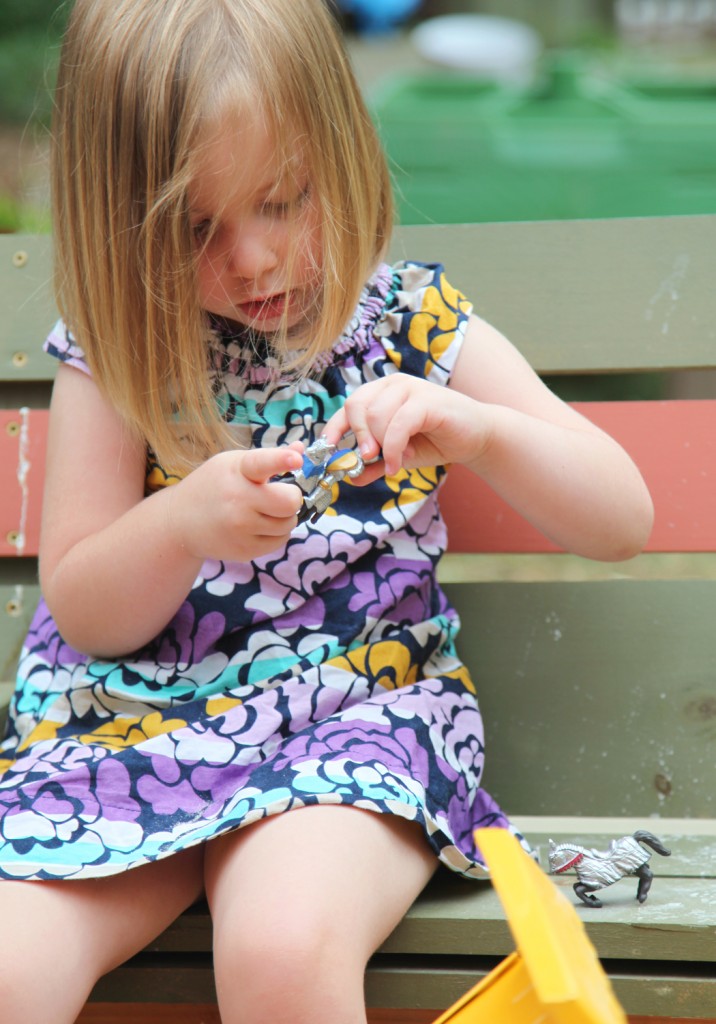
Maisie busy with some new sand toys

I hope everyone has a great weekend! We have a summer cold going through the house and are hoping a quiet weekend will give everyone the rest that they need.
Birthday

July 9, 2012

So today is my birthday. I am feeling a bit tired after a long weekend of running around. I also have lots to get done today, but I feel very blessed to have such loving family and friends. xoxo

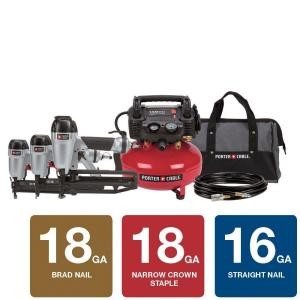
Mr S. let me open my presents yesterday. We have already made use of the ice cream maker (I am in love with Buttermilk Ice Cream) and my big present is an air compressor and nail gun kit by Porter Cable. I haven’t taken it out of the box yet, but I am already imagining the projects I can take on with it, including trim and uphostery. Does anyone have any tips for using an air compressor nail gun? I have only used the ones with the cartridges before (which I find too loud and heavy to use regularly).

Margaret’s Revenge! The pirates are ready to board the other floats.

We decided to have a pirate themed fourth this year. Sam says that pirates are patriot. Who knew?  I hope everyone has a great day and Happy Birthday to America!

We reused our boat from last year’s parade (George Washington crossing the Delaware) and added some cannons and port holes.

Pirate Maisie

Pirate Sam

Happy Pirates

More Happy Pirates

Sweaty Pirates!

Argh America!

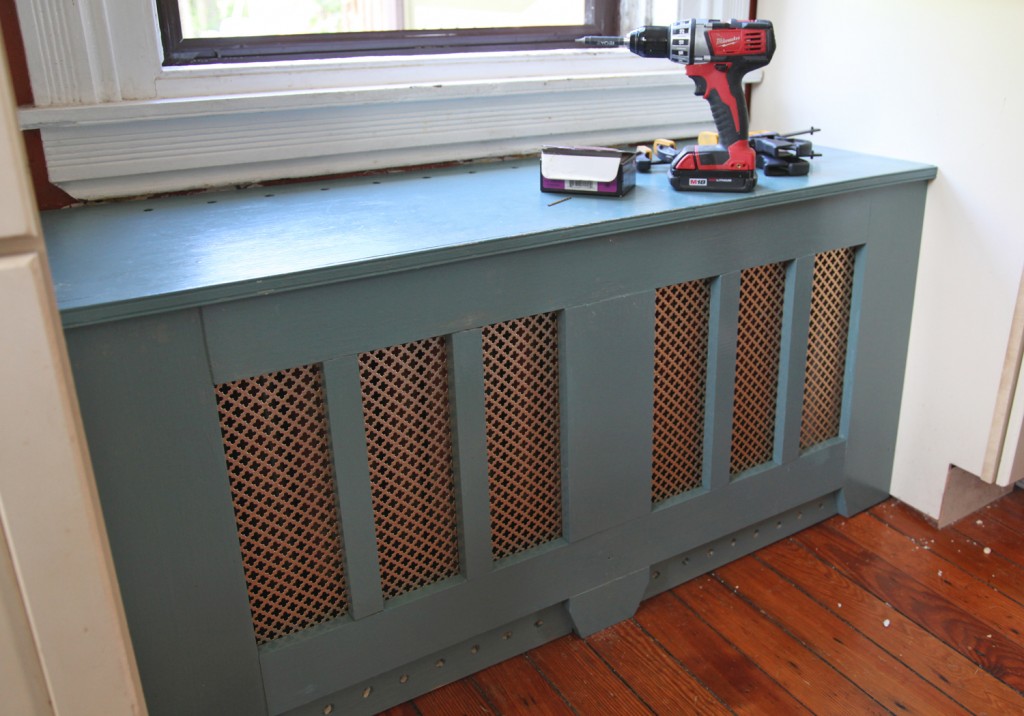
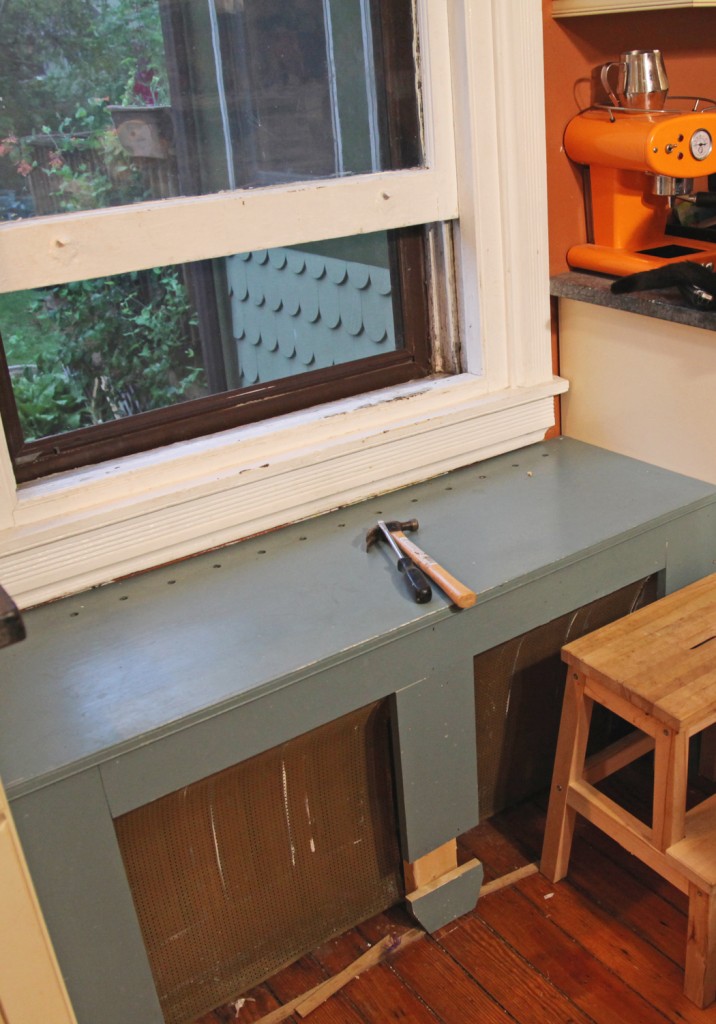
Radiator Cover & Bench after Repairing and Fixing it

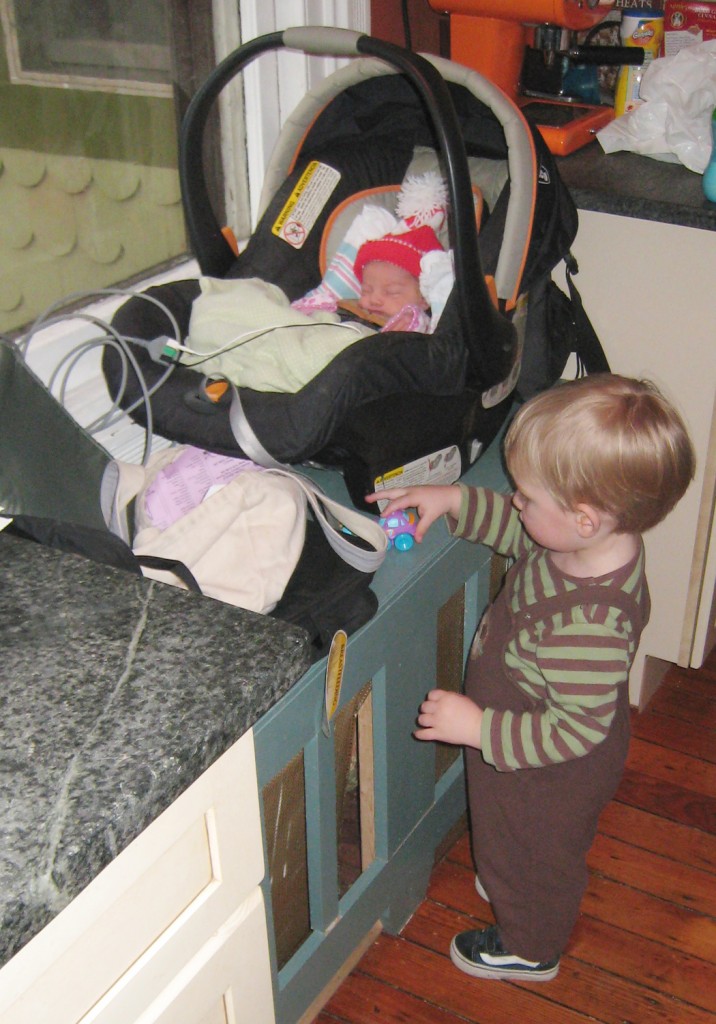
One of the things I wanted in our kitchen when I was designing it 6 years ago was a window seat. I think I looked at too many interior design magazines where I saw kids sitting happily on the window seats while their mom’s cooked. Well, I managed to fit one it, which was great. And I have to say I really do like having a place to sit while we cook. It has been used everyday since we put it in. It was where the babies took naps in their carseats, where they play with their toys and where they spend lots of time looking out the window. It is also a favorite spot for our cats (especially in the winter when the radiator is going).
Maisie in her carseat sitting on the bench  the day she came home from the NICU with Sam

We installed an old giant radiator underneath the back window it to heat the room (and replace 2 smaller ones that were in the way).  It also meant that we could keep the large window that overlooked the backyard (something I was pretty adamant about), while replacing the windows that faced the road with smaller windows that allowed for more counter space. When I made the cover I was in a bit of a hurry. I think it was before a holiday. Anyway, I made a 2×4 structure with various 1″ thick poplar pieces for the face. We also installed bronze grill in between the finished wood and the backup structure to hide the radiator. While the backup structure was screwed in, the cover pieces were nailed and glued. This held up fine until my kids started walking, since then it has been taking a beating from both kids and it didn’t pass the test!
Bench earlier this month before fixing it! (the extra pieces were in a box in the Dining Room)

It has been deteriorating for the past couple of years, as I tried to ignore it (and even managed to keep it out of the photos). Well with Sam’s Party approaching we put it on the list of items to fix. The good news is that my wood working skills and tools have improved since then! So I was able to take the pieces and reassemble them using my Kreg tool. Then I bought new bronze grill and added extra wood at the bottom to provide some extra structure.
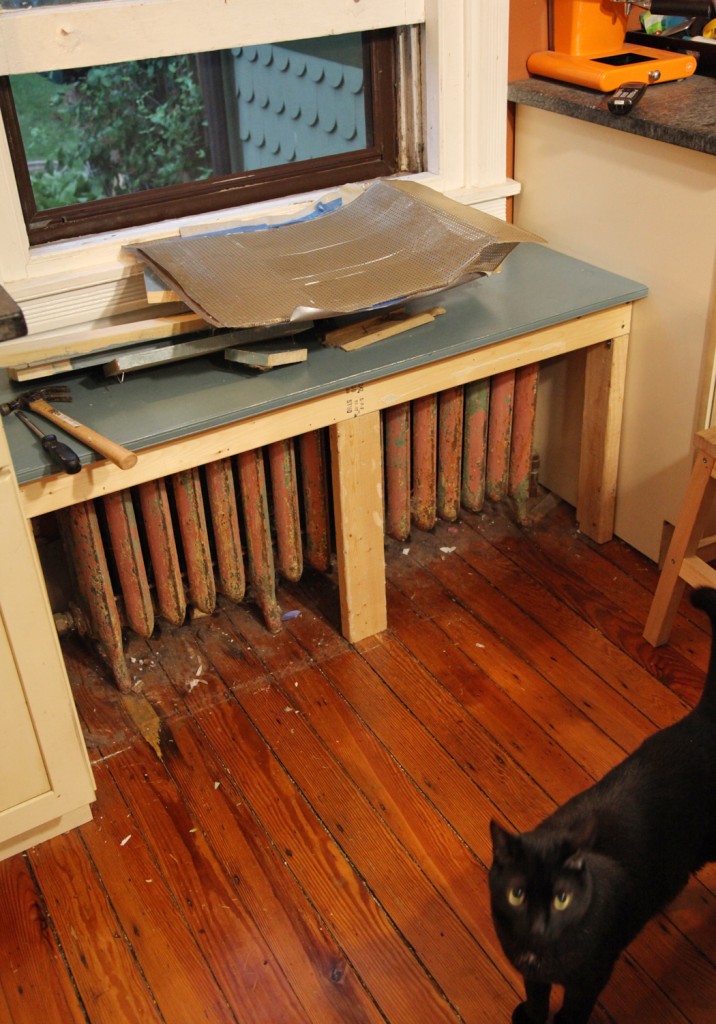
Bench striped back to its structure (with Spike)

I took off the remaining pieces (which took about 10 minutes). Spike our cat was very suspicious. I then took out all of the old nails and screws. While I was at it I added a couple of extra screws to the back up structure.

Bench front after installing pocket screws using the Kreg tool

Previously I had installed the pieces 1 by 1 onto the frame. This time I decided to make the frame one rigid piece with pocket screws (and the Kreg tool). As you can see, I used a LOT. I really don’t want this falling apart again. I also added 2 pieces at the bottom (with holes) to make it more rigid and prevent the kids from kicking the bottom of the bronze lattice. After this I tested to make sure it would slide into place (which it fortunately did).

Then I patched and painted the front (the same color as before so 1 coat was enough).

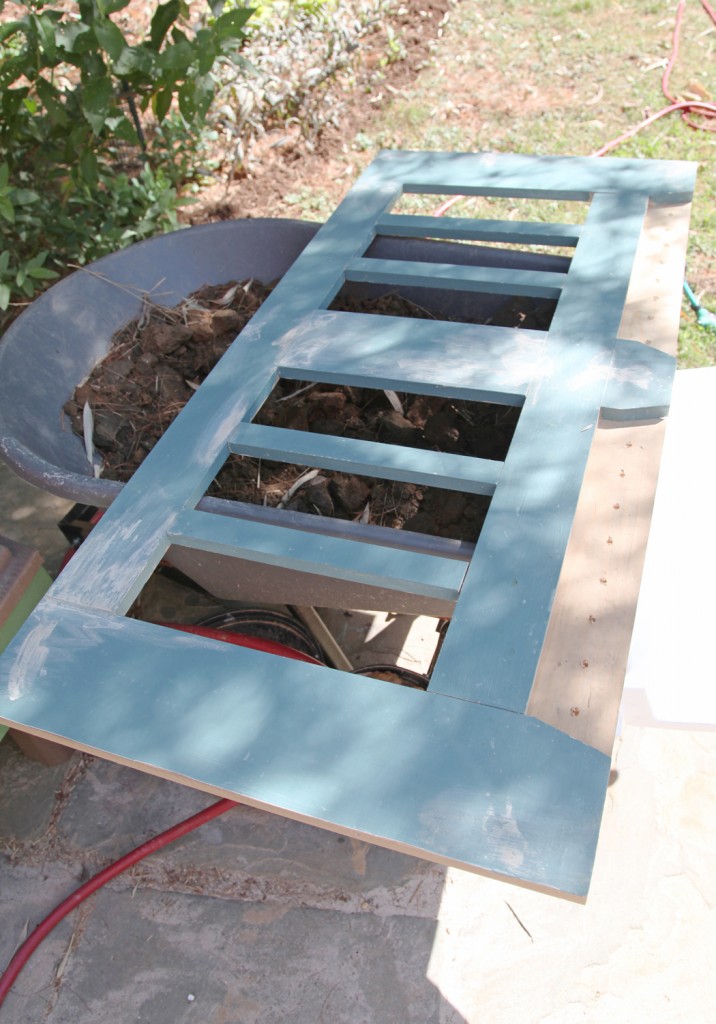
I patched and painted the front (which I had previously done it place). It was a lot easier to paint this before installing the bronze lattice. Plus the off-gassing from my old school oil paint was done outside.

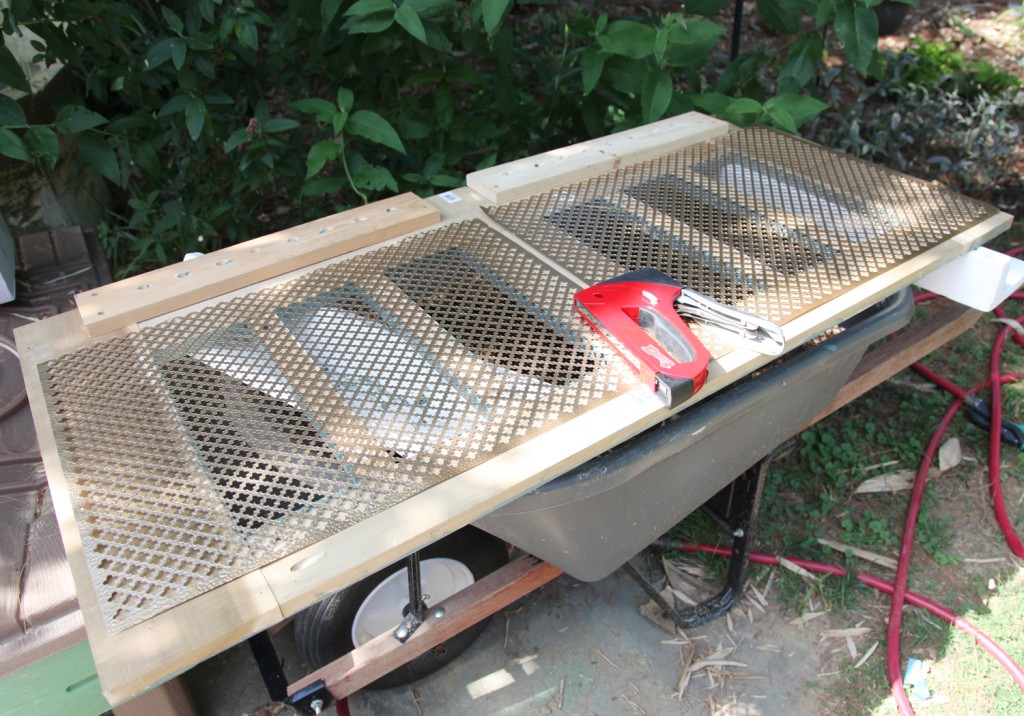
Stapling the bronze lattice to the back

After it was dry I flipped it over and installed the bronze lattice. We choose a quatrefoil pattern (from Killians Hardware in Chestnut Hill). I used my staple gun with 1/2″ staples and went to town. I used a LOT of them in both directions (I REALLY don’t want this come apart again). The good news is that this new lattice is stiffer then the old sheet, so hopefully it will hold up.

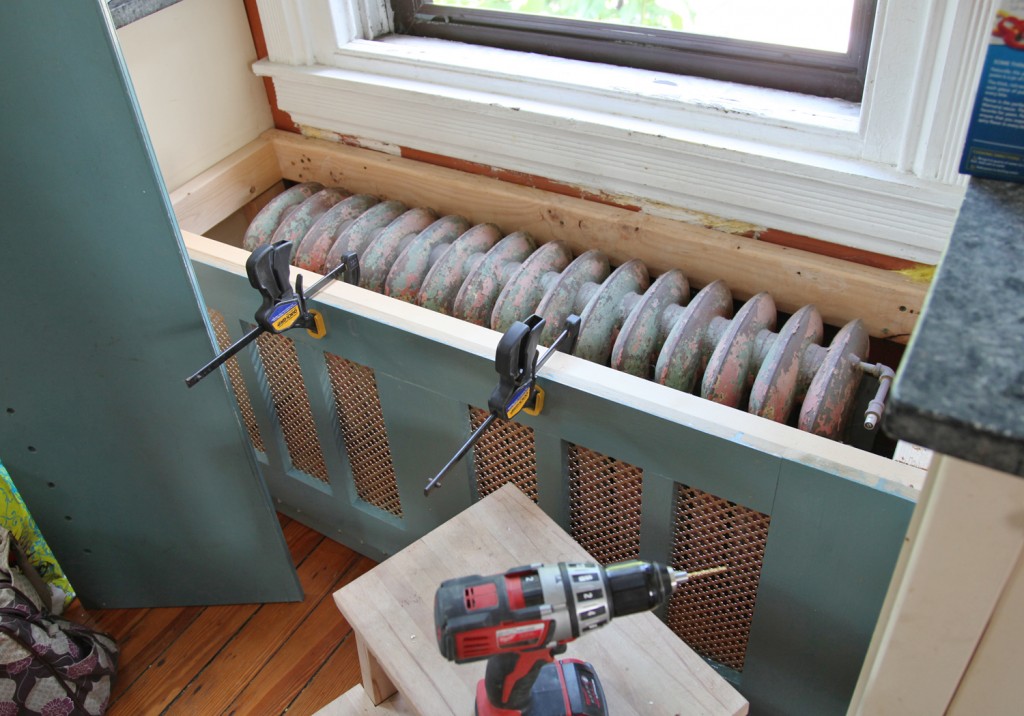
Reinstalling the front of the bench

Then I reinstalled the bench. On the top I screwed it in from the back. Towards the bottom I used several screws and countersunk them. The top has always been removable (to access the radiator).

Radiator Cover & Bench after Repairing and Fixing it!

So there you have it! The project took several hours over about 5 days. I don’t think I spent over an hour on it any one day. The new lattice is really nice (the photo doesn’t do it justice). Hopefully this one will hold up until the kids are old enough to fix it themselves.

Sam’s Top Chef Birthday Invite designed by Mr. S.

This was our first time hosting a kids birthday party. Sam first requested his Top Chef Birthday Party after seeing an episode last fall. We thought that sounded like a fun idea and have spent the last few months mulling it around in our heads. I thought I would give you some of the highlights. I won’t lie, it was a lot of work, but Sam had a great time and was super excited to have his friends over (including both his preschool classmates, his Friday friends and neighbors). Unfortunately, we didn’t get as many pictures as I would have liked because we were so busy. Mr. S. tells me that it is more important that Sam and his friends had fun then getting good photos. I agree in principle, but I am a little sad that I don’t have better pictures of some of the activities and the awesome food and aprons that the kids made.

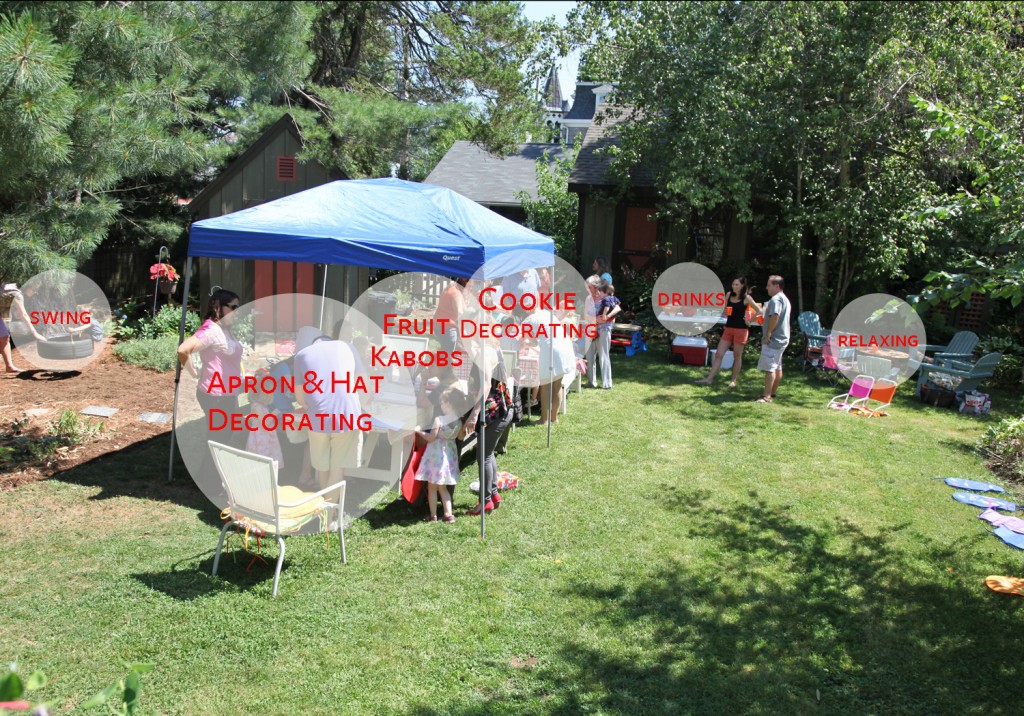
Backyard Set up with Activities

The Plan

I wanted to create several activities for the kids. Given the number coming I thought it would make sense to divide them into 3 groups of 8-9 kids and then rotate them after about 15-20 minutes. After the activites, the kids would eat the lunch they made and have cupcakes. We decided against having an actual competition, to avoid hurt feelings. There was one request to be Padma though.

Kids Aprons

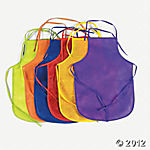
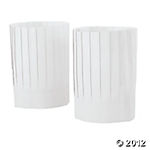
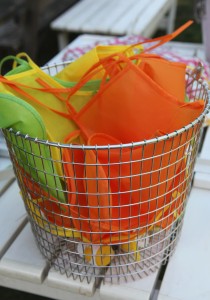
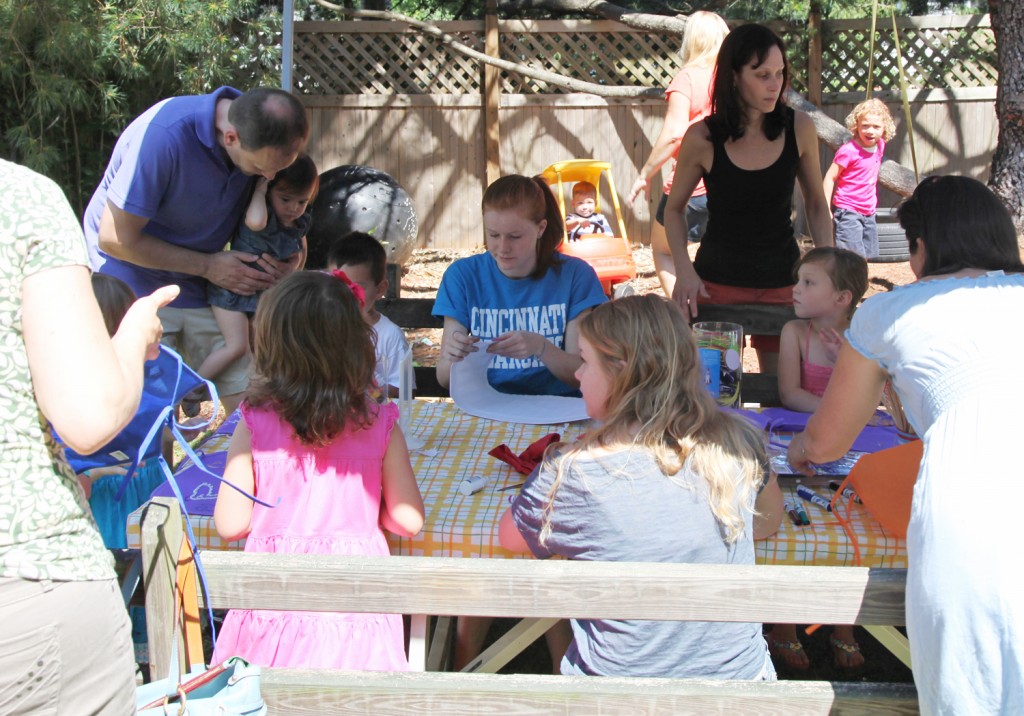
1. Decorate Aprons & Hats: I thought this would be a good activity while we waited for everyone to get here. I bought the hats and aprons from Oriental Trading. I also picked up puff fabric paint and markers from the craft store.  One thing I hadn’t accounted for was the paint drying (especially in the warm sun). Most of these ended up drying in the sun for the rest of the party. I also bought a bunch of foam stickers for the kids who didn’t want to paint. I bought pirate stickers, so not surprisingly most of the boys used markers and stickers and most of the girls used the glittery puff paint. Fortunately the aprons came in lots of colors, so everyone managed to get a color to their liking. A lot of the kids were not in favor of the hats (which definitely require additional double stick tape).

BBQ Skewers for Fruit Kabobs

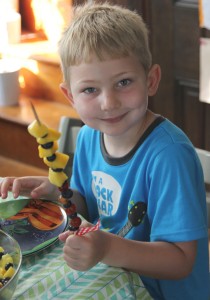
Fruit Kabobs made by Sam

Sam eating leftovers

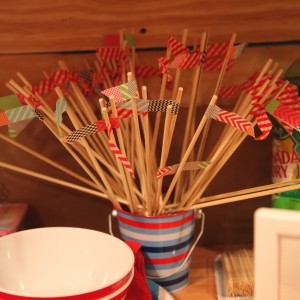
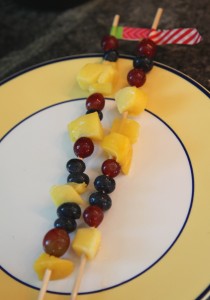
2. Fruit Kabobs: I wanted to offer something besides just junk food (although plenty of sugar was eaten). So I decided that fruit kabobs would be fun. I used 12″ wooden BBQ skewers from the grocery store. To add some color and keep the fruit from sliding off I added “flags” made of washi tape. This also gave us a space to write the kids names. Then we put them on big platters w/ mesh bug covers. I choose fruit to have all of the colors of the rainbow: red/strawberries, orange/mangos, yellow/pineapple, green/green grapes, blue/blueberries and purple/red grapes. The strawberries (all 3 pounds) were the first to go.

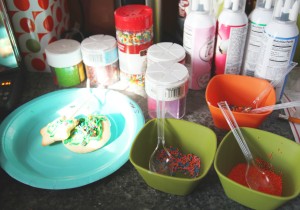
Cookie Supplies (after the party)

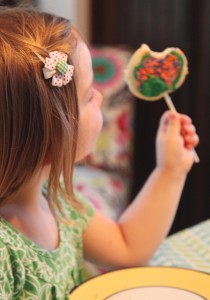
Maisie’s Cookies

Maisie eating her creation

3. Decorate Cookies: I decided rather than a lot of favors, I would have the kids decorate cookies and then have them bring them home. I made the cookies on lollipop sticks. I made 3 varieties of sugar cookies: chef hats/cupcakes, stars and circles. I also made a frosting that hardened well in several colors, in addition to lots of jimmies, sprinkles and decorative frosting in a can. I also tried small chocolate chips but they started to melt so we had to give up on those. I made the cookies ahead. It was pretty time consuming (especially battling the hot weather to keep them from getting to melty).

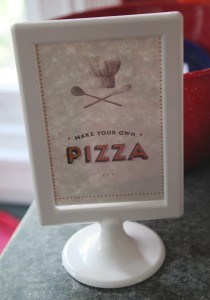
Pizza Sign

Pizza Making in Action

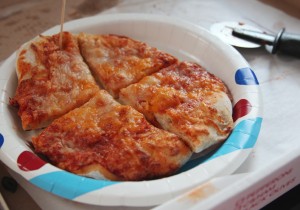
Maisie’s pizza

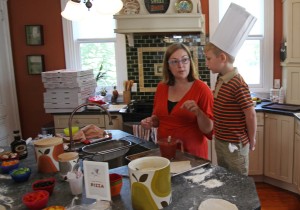
Sam & me working on his creation

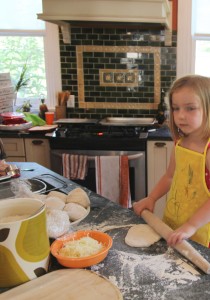
Maisie working on her pizza

4. Make Pizzas: This was definitely the most work and required careful timing, but I was really amazed at how well they came out. We divided each ball of pizza dough (from the local pizza shop) into 4 and wrapped each in plastic wrap the afternoon before. We preheated the oven to 525 about an hour before the party (and jacked up the AC). We were able to fit 2 pizzas per shelf (for 6 at a time). At that temperature they cooked in about 8 minutes. Given how some were full of sauce and thin and others were thick, I was pleasantly surprised at how well they all came out.  We offered tomato sauce, bbq sauce, mozzarella cheese, cheddar cheese, mushrooms, olives, red peppers, yellow peppers and green peppers.

Sam with his cupcake!

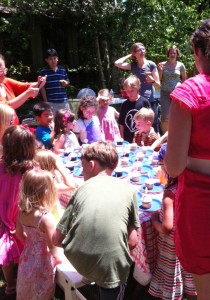
Sam with his friends

5. Eating:

After the activities were finished the kids ate (fortunately one of the other moms stepped in and cut all of the pizzas). While they were eating we packed the cookies up into bags and put out the duck favors. I used a fun circular punch for the thank you tags. Mr. S. designed them and printed them out on card stock for me. I used the same punch for name tags on the pizza (glued to toothpicks) and for cupcake toppers. On the backs of those I punched out colorful paper.

Apron & Hat Decorating

Lessons Learned

1. Get Help: It is a LOT of work to run a birthday party. We had one of the kids teachers help as well as 2 teenage girls (who babysit the kids). I put them each in charge of an activity while my sister-in-law and I manned the pizza station.  Mr. S. floated to keep an eye on everything and take pictures. In the future I think I would have assigned one of the other parents or an additional helper to take pictures. My helpers also stayed for a little bit after to help with clean up (which was definitely helpful).

2. Flexibility: The best plans require flexibility. I imagined that we would use a timer and rotate the kids at 15-20 minutes. In reality, as soon as they were done with an activity they ran to the next thing (or to play). I had to gather different kids to make pizza several times.

3. Timing: Younger kids tend to do well in the morning. We scheduled this party from 10:30-12:30. This worked out well because the kids tend to pay more attention this time of day. I think the 2 hours was just about right for the kids who ranged mostly from 2-5 years old. Much longer than this and they tend to get restless.

4. Have Fun: This is probably the hardest thing for me. I was worried about everything. But ultimately you are doing this for your child and they want to have a good time, and part of that is sharing it with you.

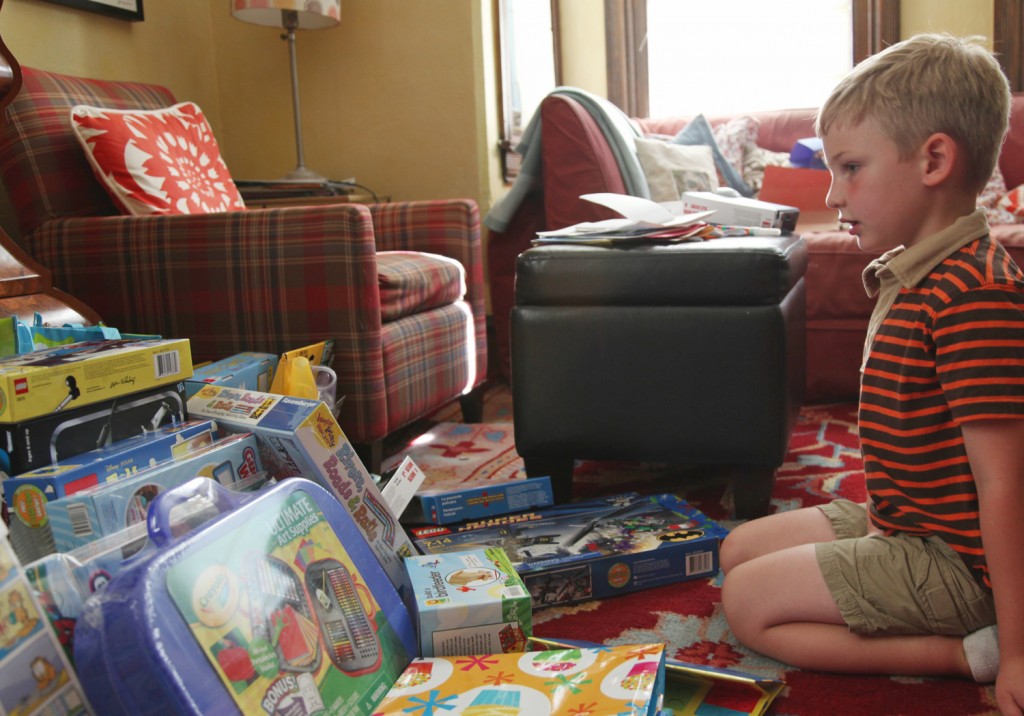
Sam and his loot!

The good news is that Sam and the kids had a great time! I should hopefully be recovered by next year. Thanks to everyone who came and helped to make my little guy’s birthday so special!

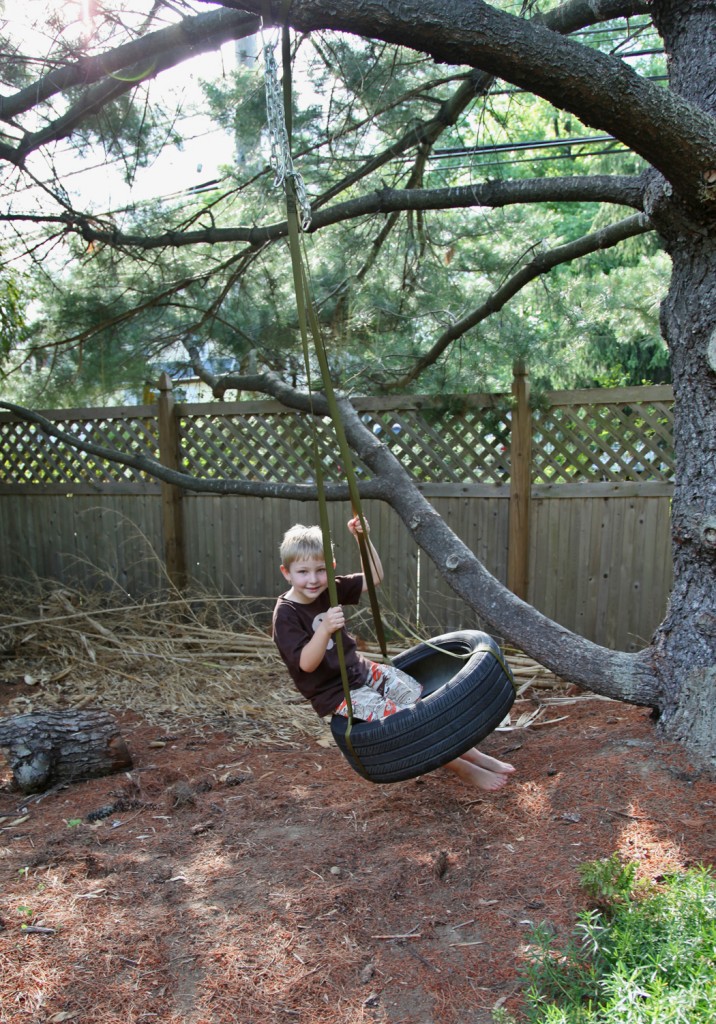
Sam using the new tire swing!

We have been meaning to hang a tire swing for over a year, but somehow never seemed to get around to it. Well I finally put it on the “Must Get Done This Spring” list.  Of course, my requirements were very specific (it always seems that the easy solution is not the one I pick). So the research began!

Tire Swing Requirements:

1. Design has to have a connection that won’t damage our old beloved pine tree. That immediately ruled out chain and thinner rope.

2. Tire swing that would hang horizontally to allow for holding 2-3 kids.

3. Reuse one of our old tires. Recycling at its best!

4. Ideally the design would not have unprotected chains adjacent to the tire (to prevent little pinched fingers).

5. Ideally it would come as a kit, so I wouldn’t have to source all the parts separately.

6. Be reasonably priced (I was hoping to spend about $40)

What I quickly learned is that most kits are designed to fit on a swing set and have a bolt connection. I also found several DIY instructions, but none of them dealt with how to attach it to the tree without using rope or chain. I also saw that a lot of them seemed overpriced to me. I also went over to Home Depot and found almost nothing that would work.I also discovered that covered chain is quite expensive.

Here are a few links to the options I found:

KITS

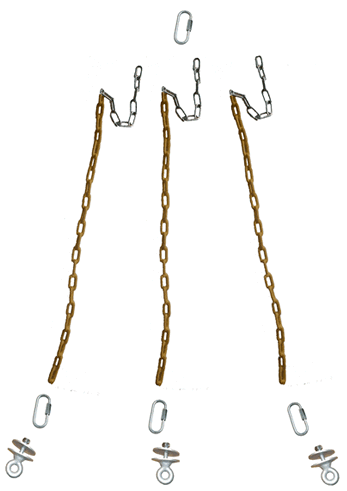
Tire Swing Kit #1

#2 Eye Swivel

#3 Tire Swing Option

#1: Tire Swing Kit w/ Coated Chains ($59.95). This also did not include the connection to the tree or extra chain.

#2:  Swivel for allowing the tire to spin without twisting the chain above. ($9.99)

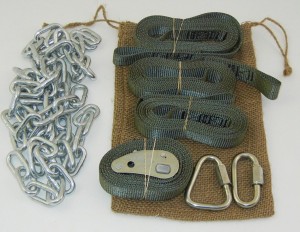
#3: Tire Swing Tree Hanger by Woss Gear ($37.49)

DIY Instructions

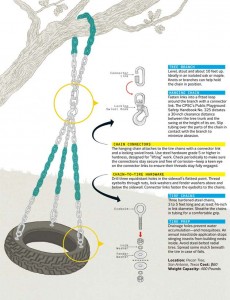
#4: Popular Mechanics Instructions

#5: Instructables Instructions

#4:  Popular Mechanics Instruction for Building a Tire Swing.

#5: Instructables: How to Make a Tire Swing.

I found these instructions useful but quickly realized that by the time I source all of the parts it was going to be difficult and expensive and I was concerned that I would end up with a weak link somewhere and it wouldn’t hold up.

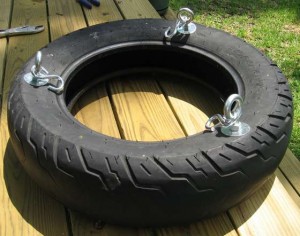
So after studying my options I went with #3. It looked durable, included everything but the swivel and met all of my requirements. I came out to a little more than $40 due to shipping, but it was a breeze to install (about a half hour). The only prep work required was drilling holes in the bottom of the tire so that water wouldn’t sit in there.

Woss Gear Tree Attachment

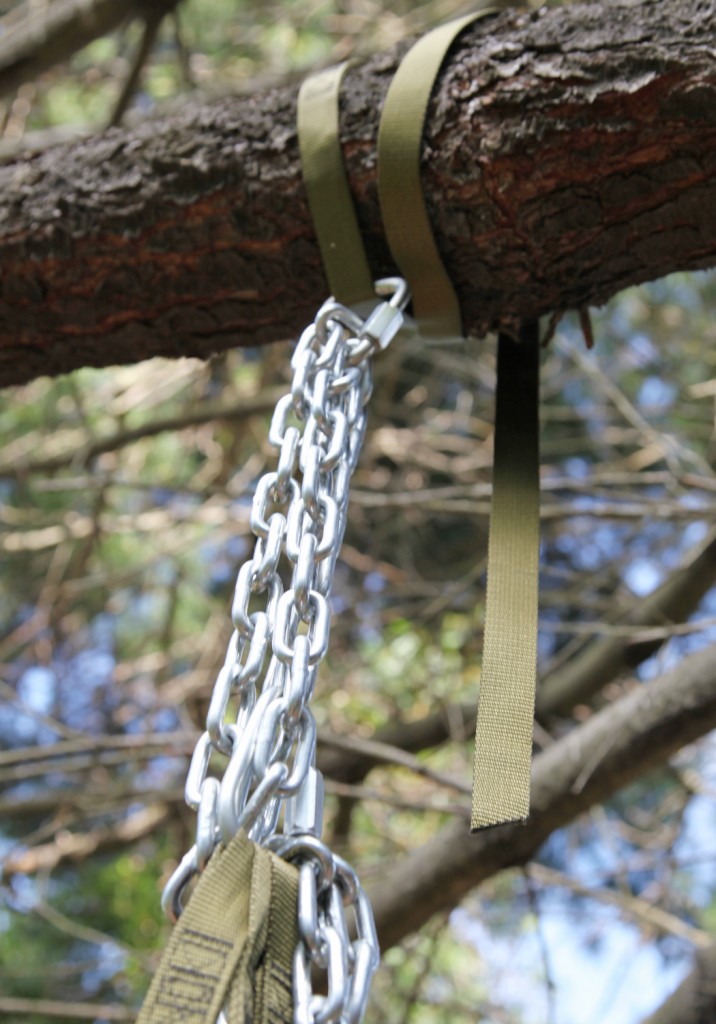
Heavy Duty Chain

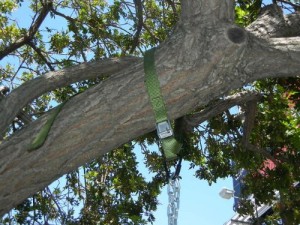
I really liked the mechanism for attaching it to the tree. It was simple webbing (good for the tree) and had a self-tightening cleat. I also liked the super durable triangular link that attached to the chain below.

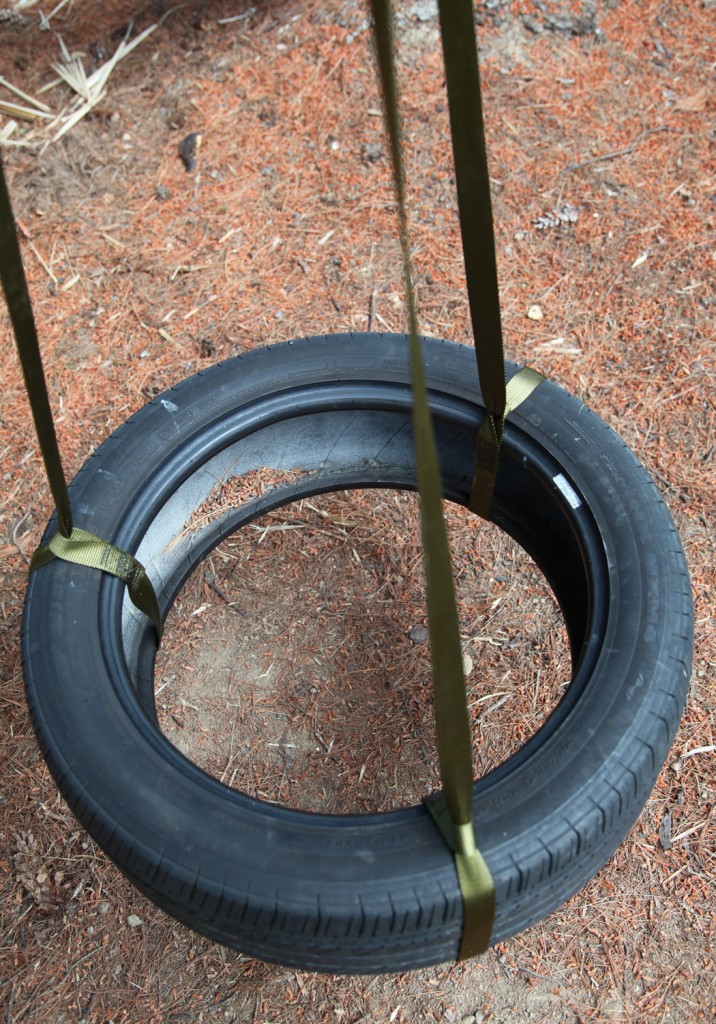
Tire Swing w/ webbing attachments

The tire itself is attached with webbing that is sewn into a loop, so you just pass the webbing around the tire and through the loop. Then the same piece has a sewn loop at the top to attach into the quick link that also attaches to the chain.

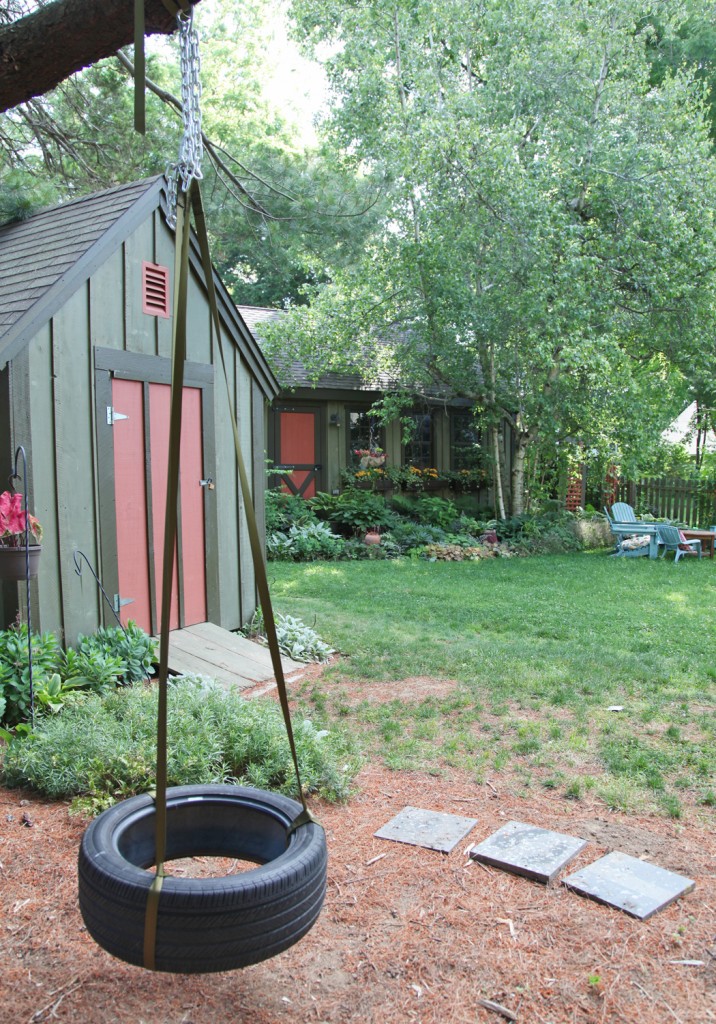
The New Tire Swing!

Sam is a big fan, although he mostly swings back and forth rather than around. I might still pick up the swivel separately, but for now he seems perfectly happy with it. I guess I need to get moving on the slide now!

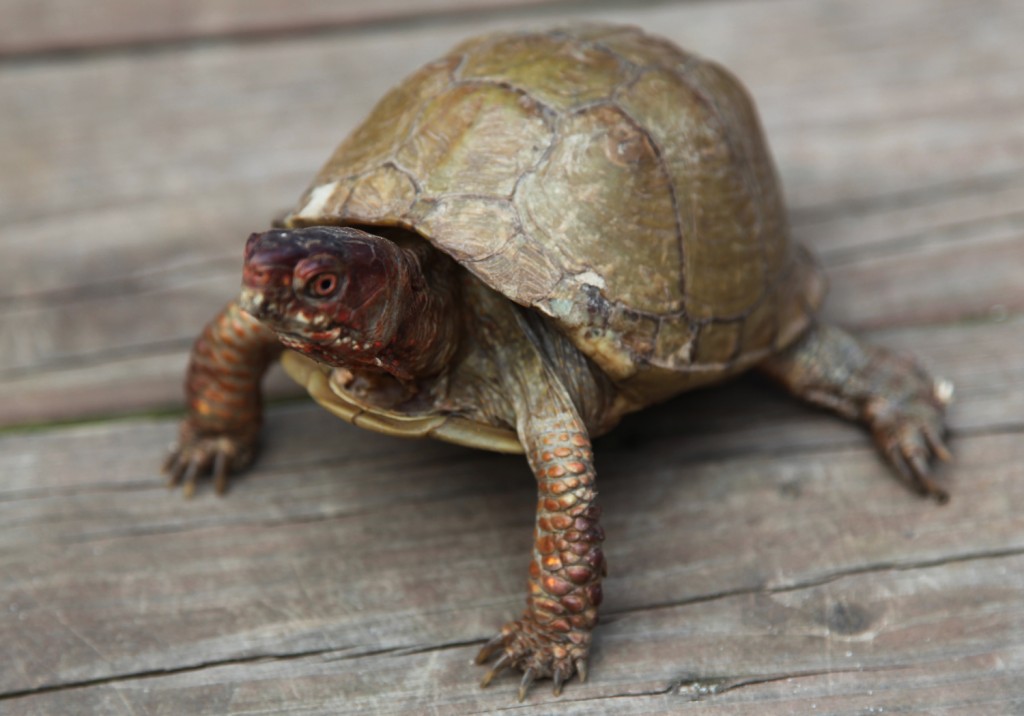
Bob the Box Turtle

I hope everyone had a lovely weekend. I would like to send out a special thanks to all of our troops, veterans and  their families!

It was terribly hot here, but we are very fortunate to belong to a local pool. We had a busy weekend of birthday parties, family and house projects (with some pool time mixed in). Yesterday morning we came downstairs and noticed the our cat Spot was in the back window staring at something outside (normally she is stalking the bunnies in the back). We were very surprised to see something all together different. It was a fairly large turtle all the way up on our bulkhead to the basement looking towards us.

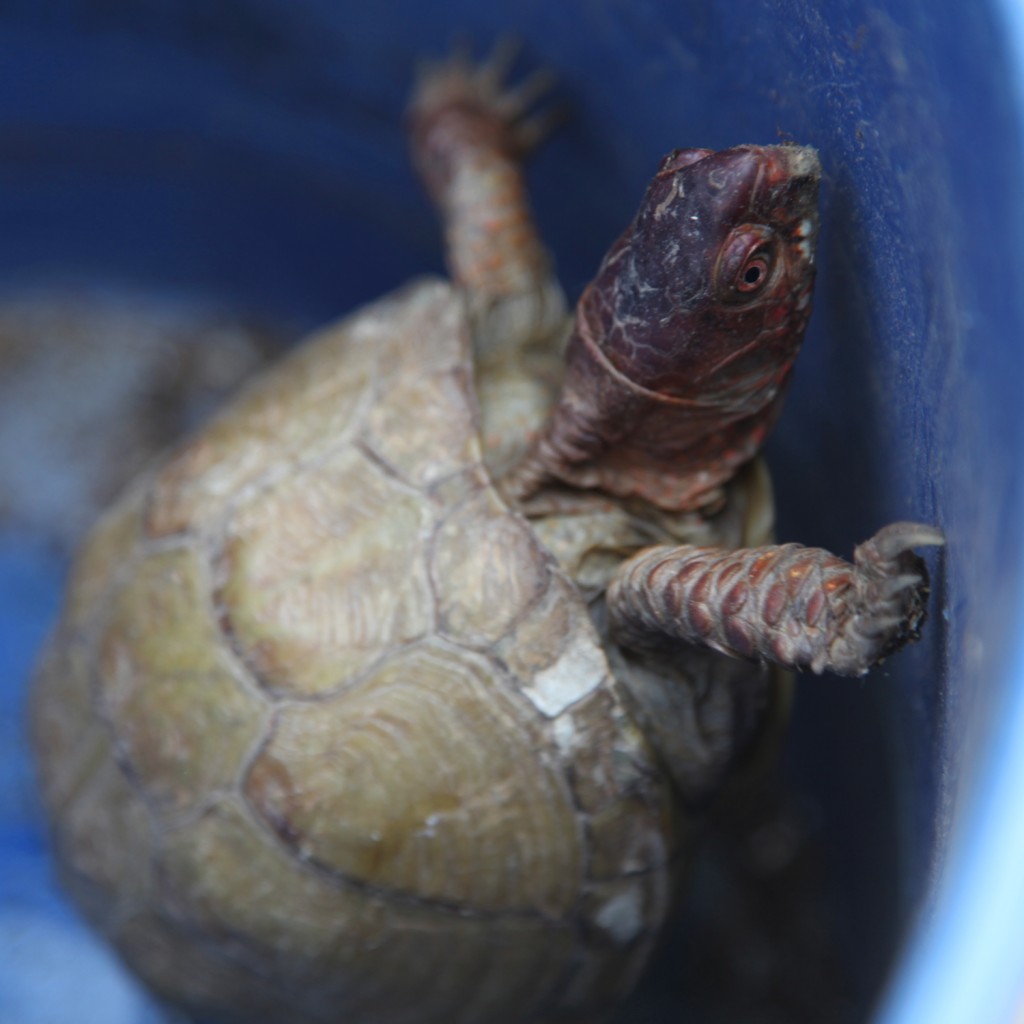
Turtle in its Temporary Accommodations

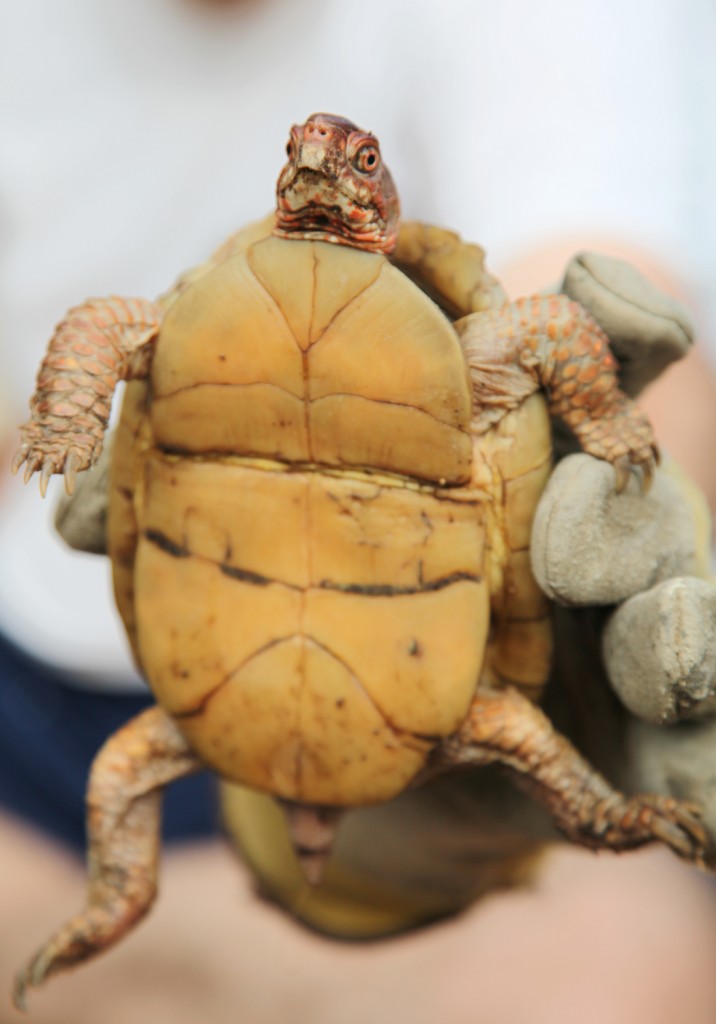
We aren’t sure exactly what type of turtle he is, he is the shape of a box turtle, but the wrong color. He is the right color of a mud or a musk turtle, but too big. His shell was somewhat beat up, we are guessing that he is an older box turtle (fortunately he wasn’t a snapping turtle). We searched online for native turtle to PA without a lot of luck. Mom-What do you think?

Underside of Turtle with Hinged shell underneath

We have NO IDEA how he got to our yard, except that maybe he got lost in all of the rain from the last couple of weeks. We are 6 blocks from the closest stream and quite a few yards and streets and he looked too weathered to be someone’s pet.

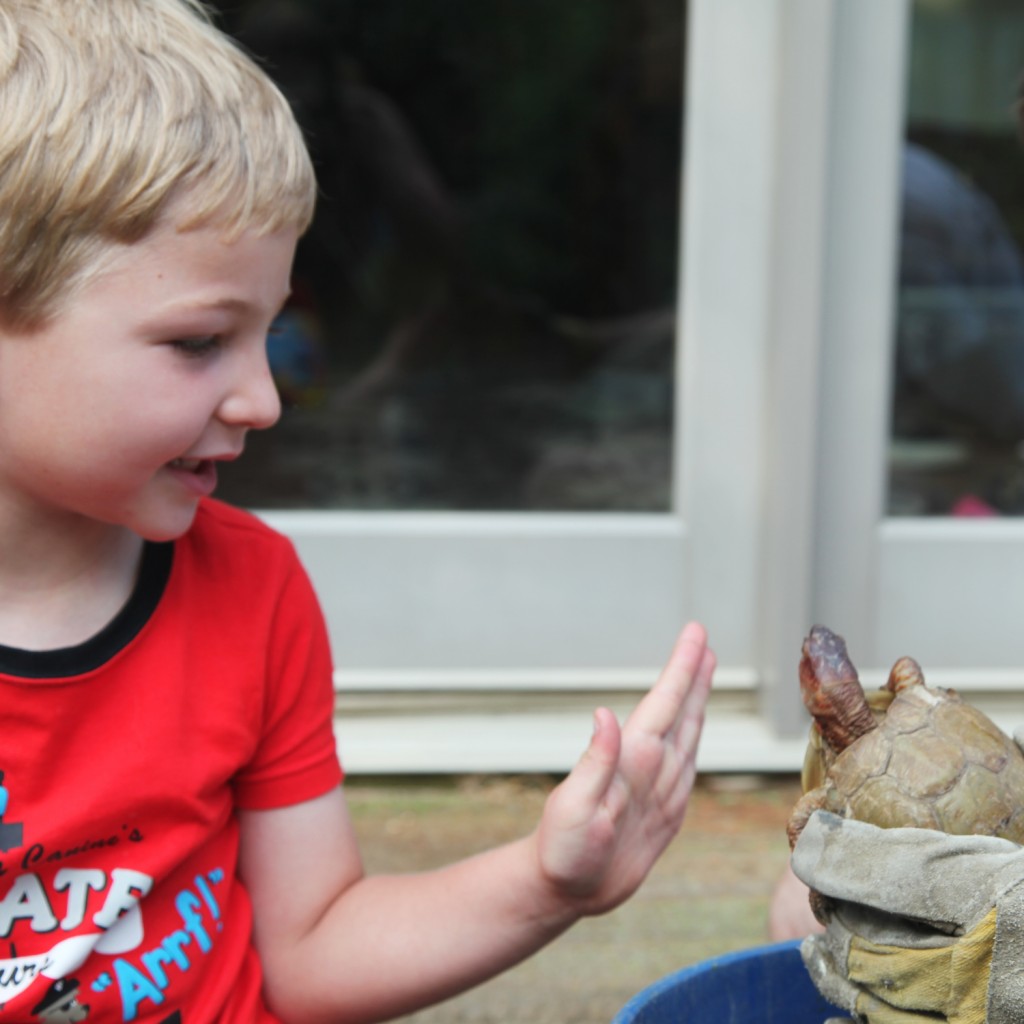
Sam was very excited to meet Bob

Mr. S. put him in a bucket so the kids could see him. After visiting with him we decided to take him to a park about 1/2 mile away that has some low land and and stream. The kids decided to name him Bob. Sam put on his gardening gloves and helped put him in the grass near the stream. Hopefully Bob is happy in his new home.

Anyone out there no what type of turtle or tortoise Bob is?

Sandbox Part 2

May 24, 2012

Sandbox looking from the Kitchen Window

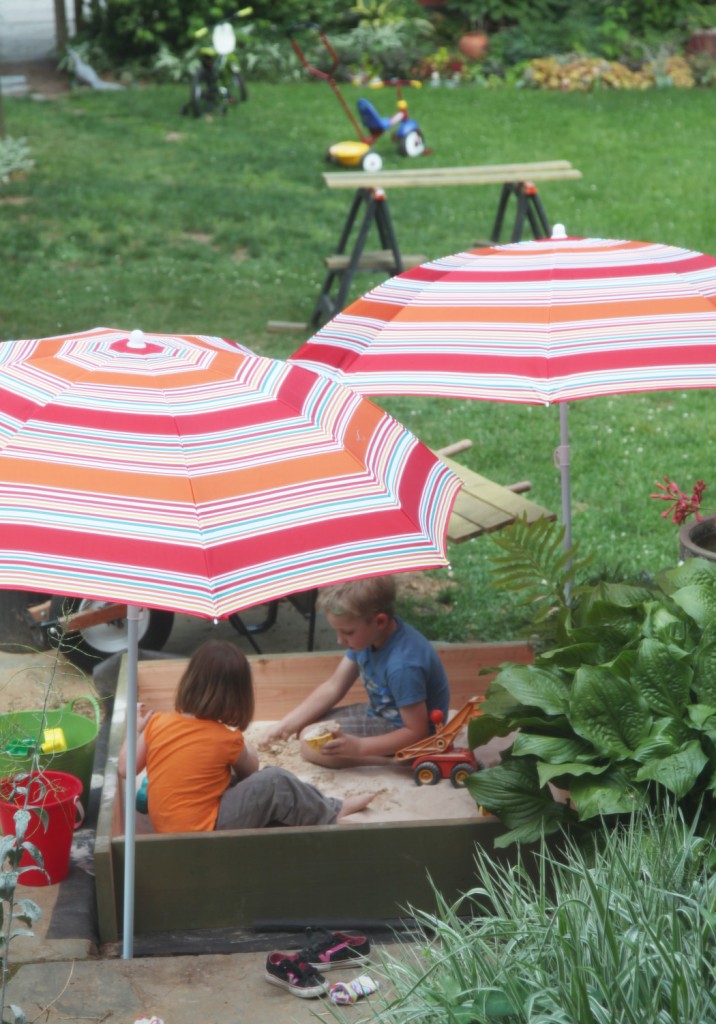
The kids made good use of the sandbox yesterday afternoon while I worked on staining the top. I bought six 50 lbs bags of play sand to get started (I think we will need another 6 or so to fill the 18 sf). I still have one more coat of stain to do on the backside of the boards for the top/seat. The stain is drying incredibly slowly (fingers crossed it will be dry by the weekend so I can get this guy finished).  I am also going to pick up some pvc pipe to mount on the inside of the box. These will be mounted on either side to hold up the beach umbrellas.

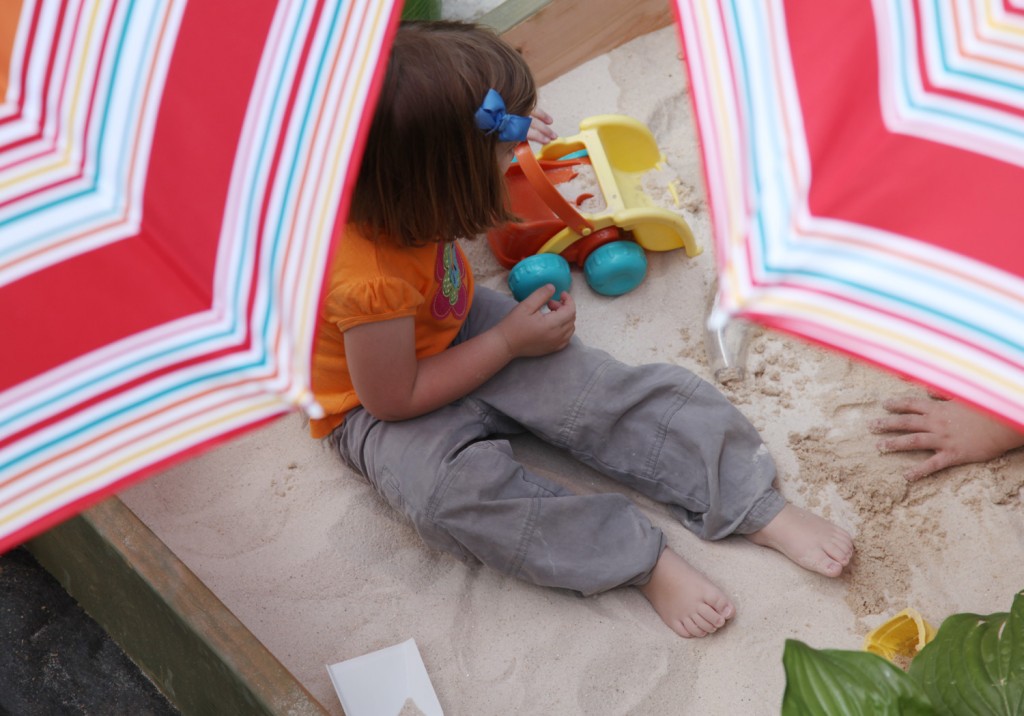
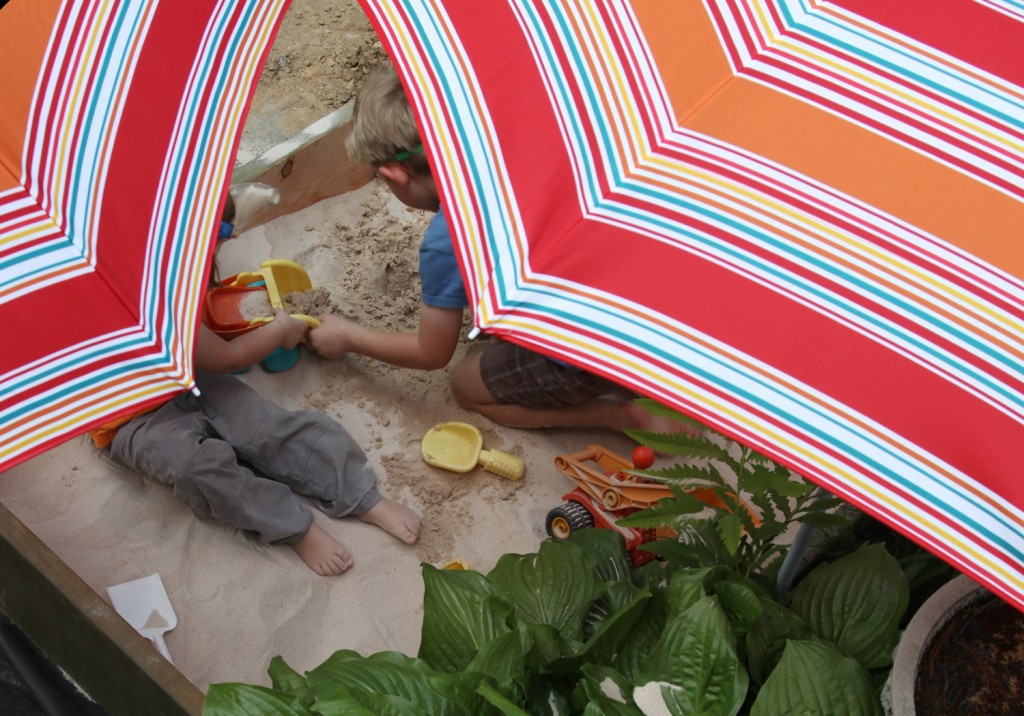
I am really happy that I could watch them from the kitchen and am pleased with the placement of the box directly in front of the window. The kids wasted no time taking off their shoes and socks. Now I have to make sure that I wipe the kids off before they come in the house. Sam also went and found his beach chair right later when Maisie was napping. He proceeding to lounge back and play quietly in the sand.

Maisie and the digger

Sam and Maisie playing together (at least for a brief moment)