Archives For CRAFTS

50 Cent Window Decorations

January 9, 2013

snowflake2

I have been trying to make an effort to do a few small things around the house to keep it festive for different holidays. The top of the piano is the main place where I have been putting my efforts, since it is where we come in and leave everyday and it is not in the general path of two rambunctious children. But today I thought I would show you my new decorations for winter and Valentine’s Day.

snowflake3

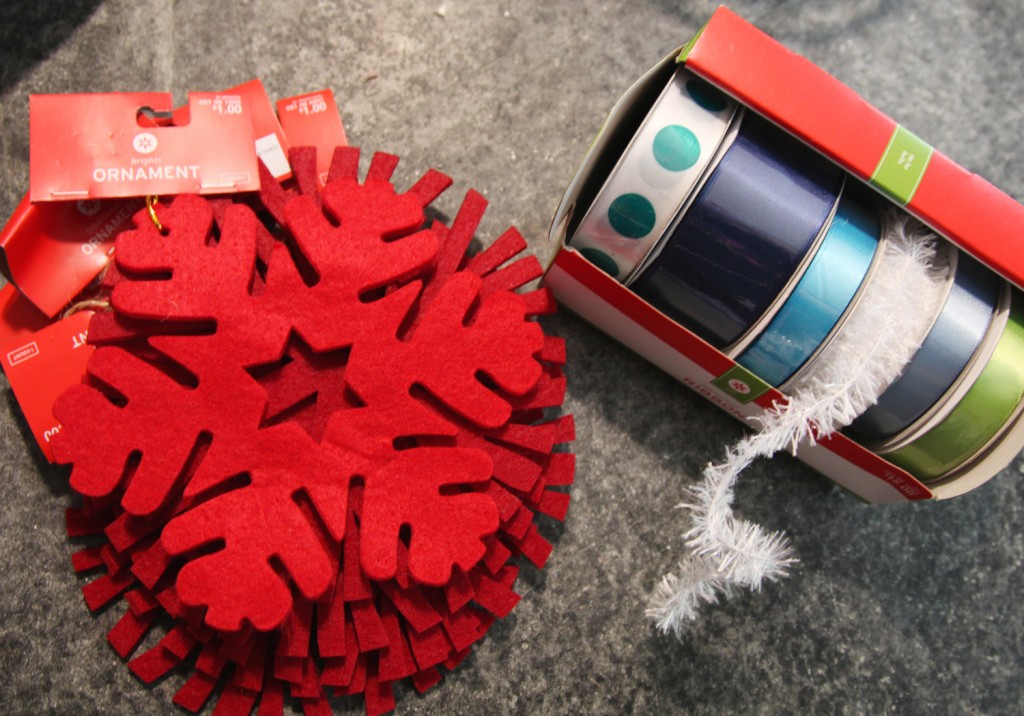
I was shopping at Target last week (I know what a surprise!) in the 70% off Christmas section and I came upon these red snowflakes and ribbon. The snowflakes were $.30 a piece and the box of ribbon was about $6.

merrychristmas1

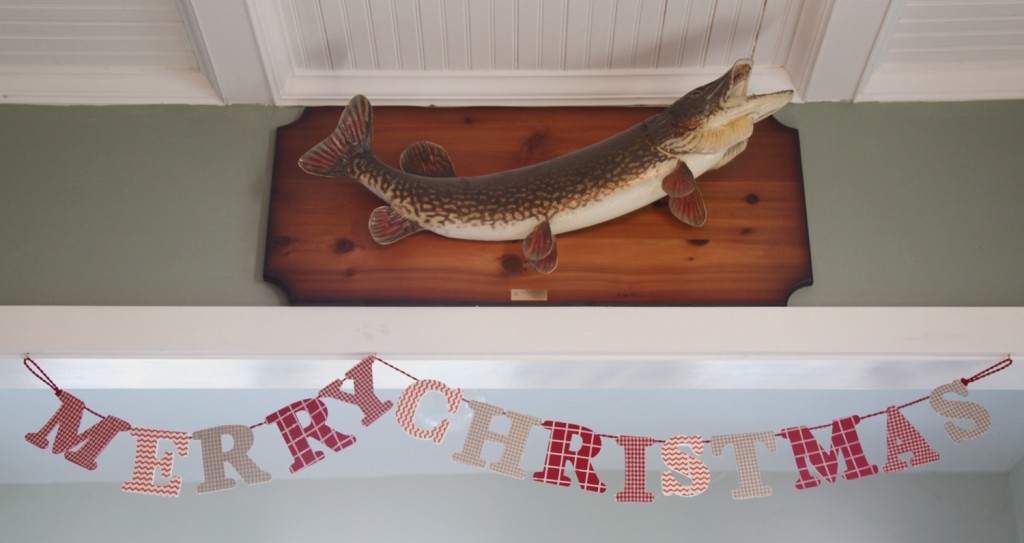
I was planning on using the snowflakes next Christmas with the cute garland I bought at Target earlier in the season. I really liked this garland and I think it was about $7. I was planning on making something similar but when I saw this I decided to just pick it up.

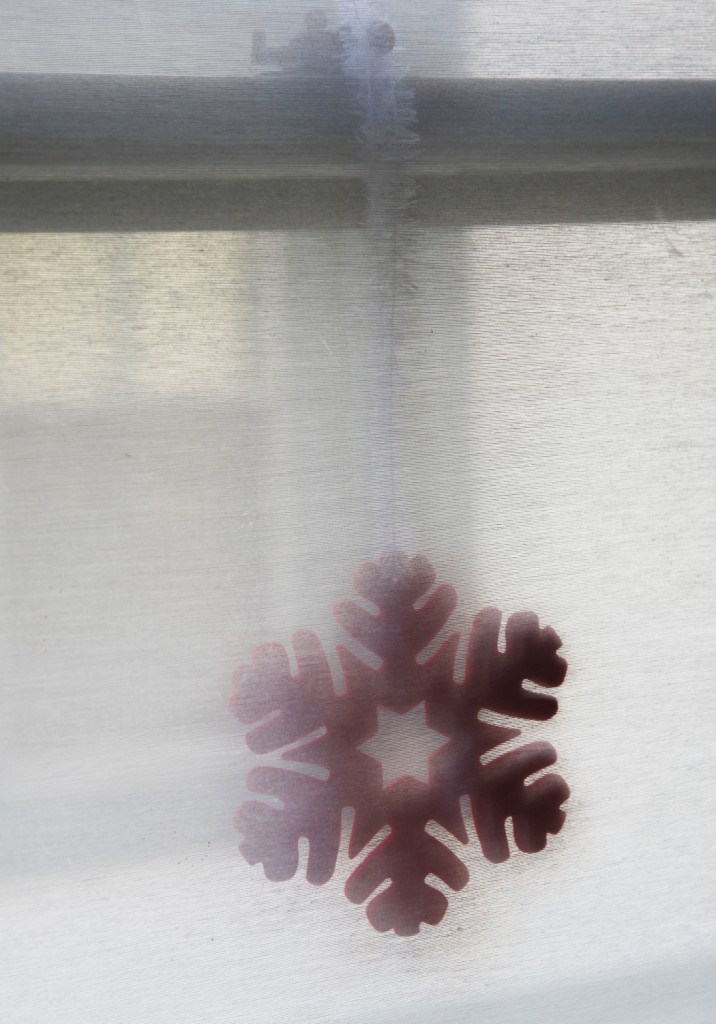
So anyway, I brought the snowflakes home and decided that they would be fun window decorations. The ribbon that came with them was pretty short so I decided to add some of my new ribbon (the white fluffy kind)  and give it a go. Maisie was in charge of putting the ribbon through the hole. I added them to 4 of our windows and will probably add some more around the downstairs.

snowflake1

So at about $.50 a piece including the ribbon, I am quite amused by them. I may also still use them with the garland next year. I especially like how they look through our Ikea solar shades.

Does anyone else have any fun decoration ideas for Valentine’s Day?

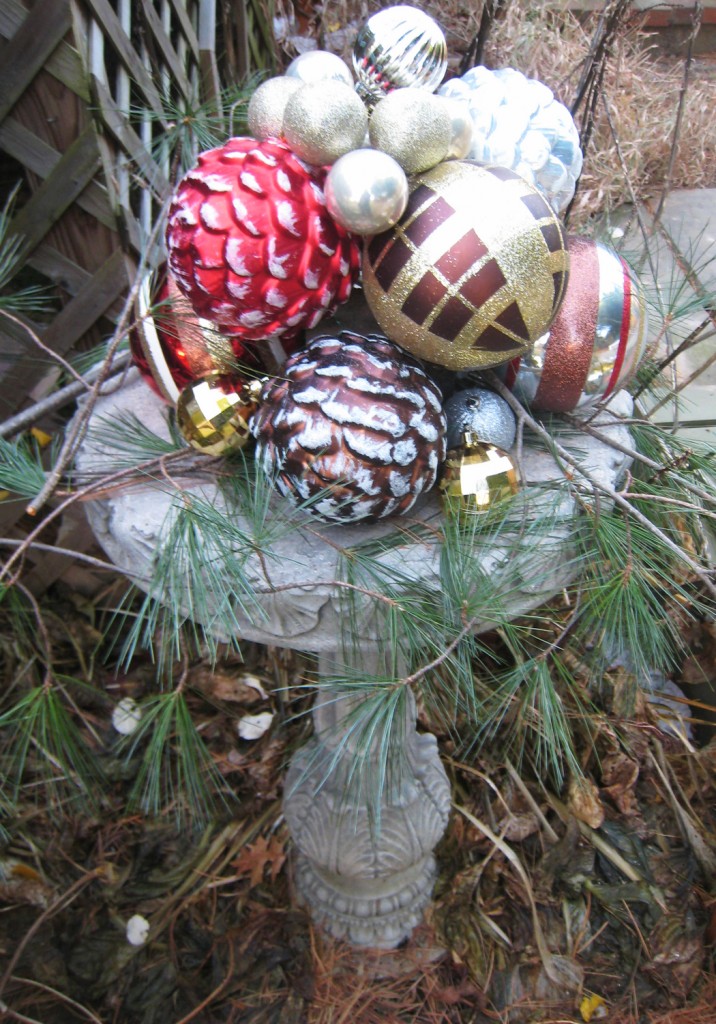
Birdbath Decorated for Christmas

Sorry about the lack of posts; life has been busy. Enough of the whining and on with the Christmas Decorating!

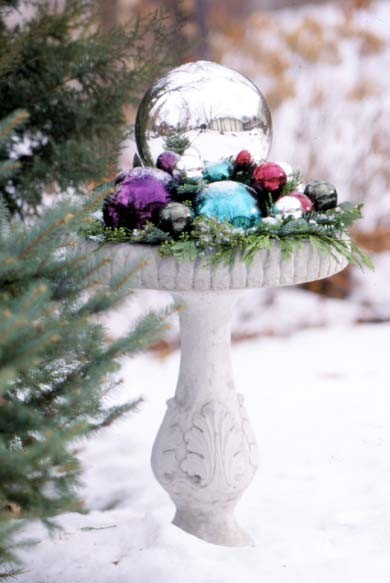
I decided that I wanted to put up a few decorations in the backyard. We walk through the yard several times a day to get to the driveway and garage. So the front yard decorations are mostly for the neighbors enjoyment. I thought it made sense to add some color to the area that we actually use. It all started months ago when I saw this image on Pinterest.

Image via BHG

I thought well that is pretty cool. I turn my birdbath upside down in the winter and it always looks a little sad. That would be a fun and relatively easy way to add some color in the middle of winter. So the other day a made a trip over to Home Depot to take a look at the Martha Stewart Christmas decorations. They had some nice sets, but when I saw these giant ones I was sold (similar to this set but bigger). It included 9 giant (approximately 8″ dia) ornaments and was $21.99. I also stopped by the dollar store to grab some smaller ornaments to fill in.

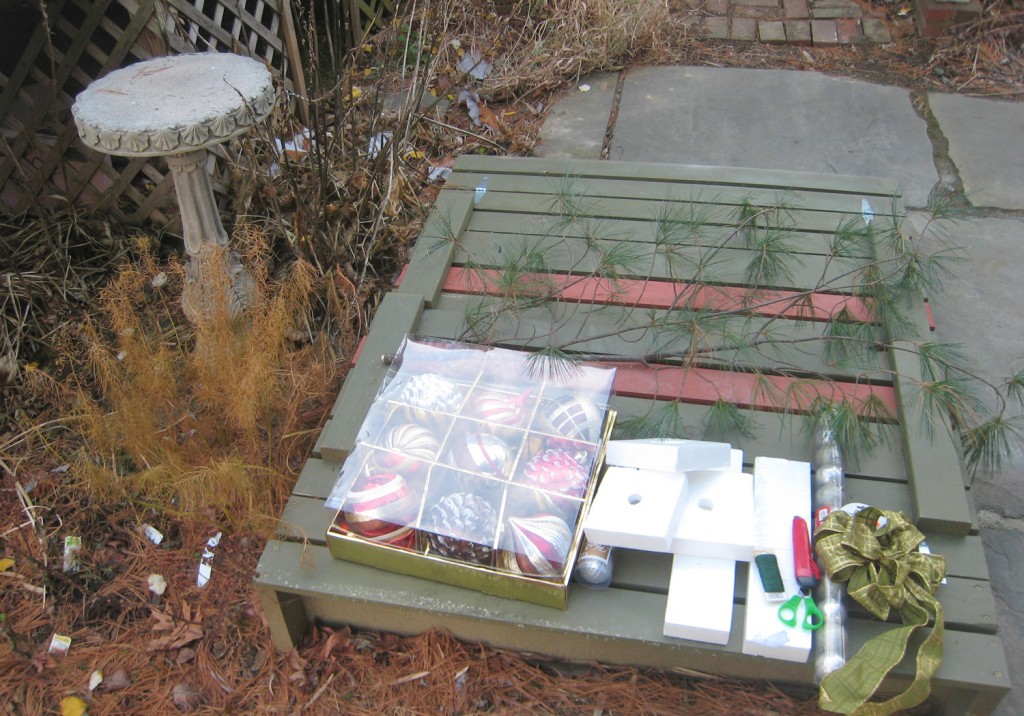
Everything Ready to Go

I got out some thin green florist wire, a pine branch, and some other random materials. First I had to figure out how I was going to lay out the ornaments. I tried several different stacking methods and decided that it made sense to start with 5 on the bottom.

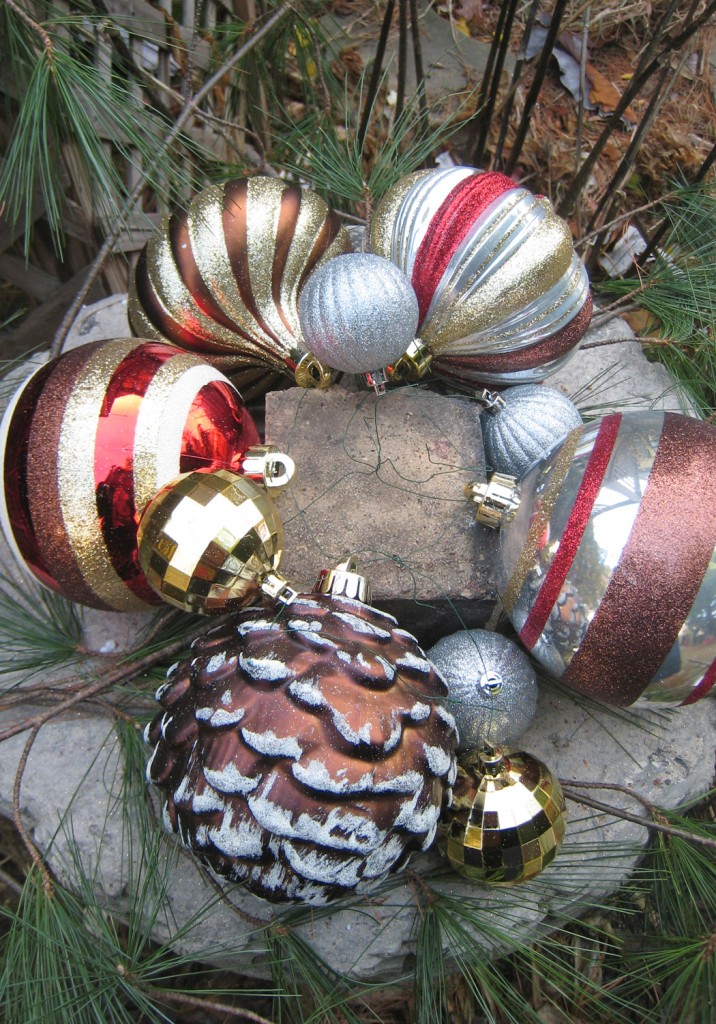
First Row of Ornaments attached to an old brick

After a good bit of trial and error including trying to use foam blocks, I went with a half brick with wire wrapped around it for the base. I attached the 5 large ornaments together with a single piece of wire and then attached that to the wire that was around the brick. I also infilled with a few smaller ornaments and tied them to the rest. Then I repeated with the remain 4 large ornaments and a few smaller ones, being careful to attach them all back to the bottom.

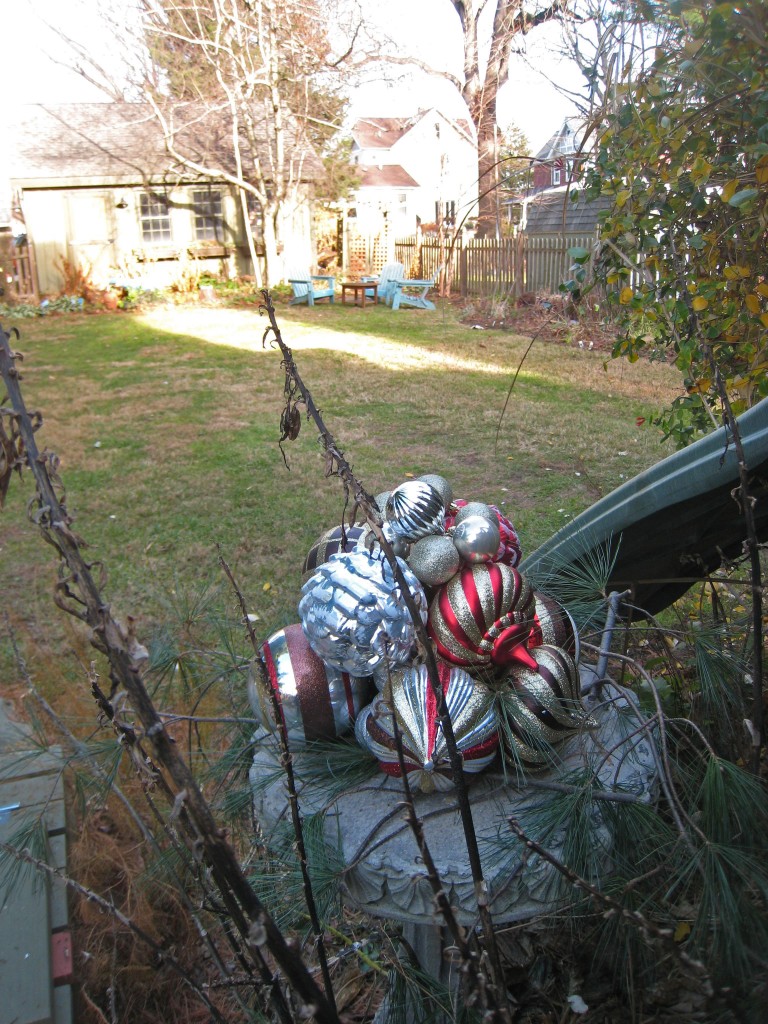
Birdbath looking from the House

I am happy with the result, especially considering it took about a half hour. It could use a little more fill in but it is not something I look at up close, so for now it is done. The ornaments are all the “shatter proof” variety. I assume this means that they are plastic and not glass. I am not sure how they will handle being outside for the season, but I decided it was worth a try.

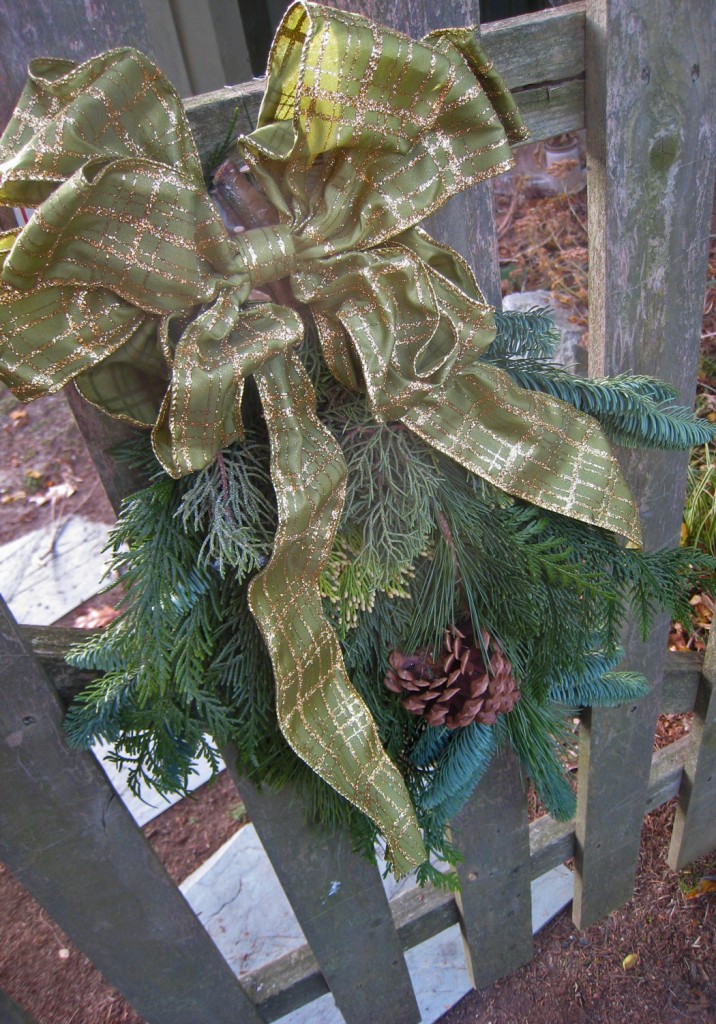
Greenery on the Back Gate

For good measure I also put up some greenery on the back gate, along with a pre-made bow.

All told I spent about $29 for the backyard. Not too bad.

Kids Arts & Crafts Storage

October 3, 2012

One of my goals for last weekend was to pick up some plastic storage for the playroom. So on Sunday after spending too long looking on the internet I headed over to Walmart to see what I could find. On their website they had some storage that looked promising and was a lot less expensive then the Land of Nod colorful plastic containers. I ended up buying a couple of different sizes of plastic containers in clear and blue. Of course once I got them home I started thinking about how else I could use them, which led to me reorganizing the kids’ arts and crafts area in the Dining Room and using some of the new storage boxes here. I thought I would give you a quick run down.

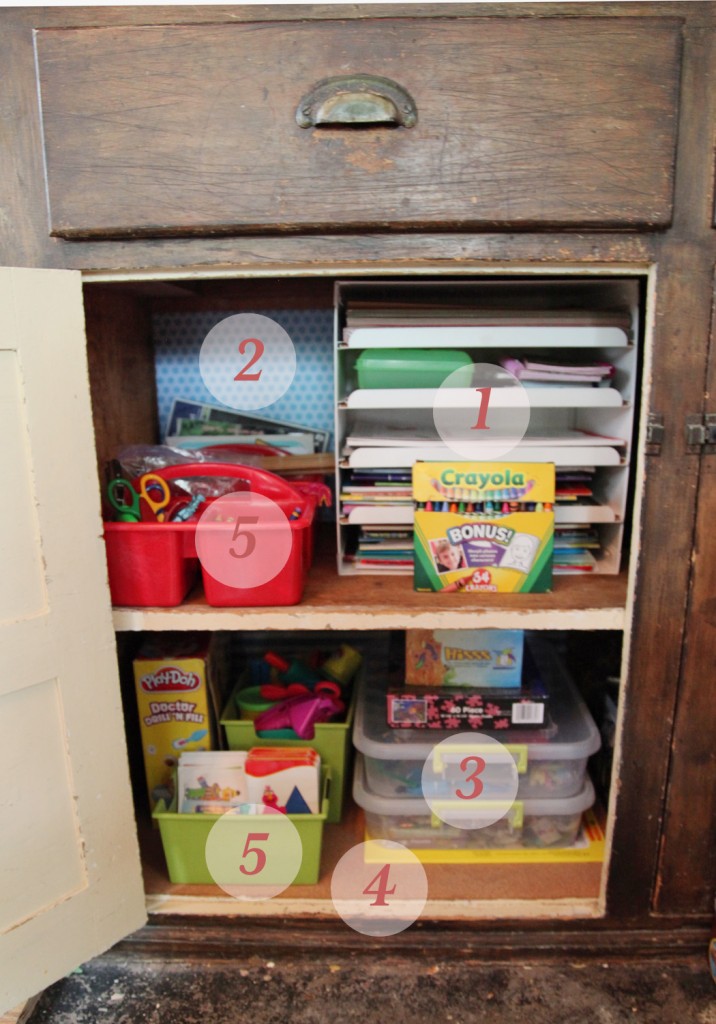
Kids Arts & Crafts Storage Area in the Dining Room

This area is used a LOT. My budding artists are always looking for their supplies and I have been working on making them as accessible as possible, while trying to keep them organized.

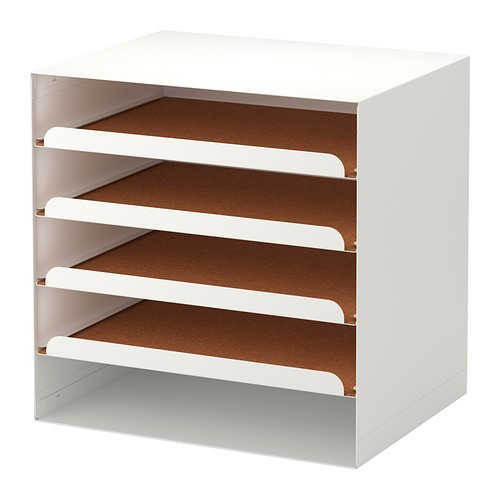
Kvissle Letter Tray from Ikea, $20

1. Kvissle Letter Tray (Ikea, $20): I bought this a couple of months ago to help store the kids paper and coloring books. I quite like it. The only downside is that the “drawers” pull all the way out. I solved that by having it overlap with the cabinet framing by an inch, which acts as a stop.

2. Scrapbook Paper: I don’t scrapbook (I don’t have the patience) but I do like the paper. When I see cute packs on sale at Michael’s or JoAnn’s I will pick them up. I have a pack that I picked up in June for Sam’s party. I still have a lot left over. Fortunately the paper fit almost perfectly at the back of the cabinet. I just used permanent double stick tape to put it in place. You can’t see but I have a stripe in the same color at the back of the bottom shelf.

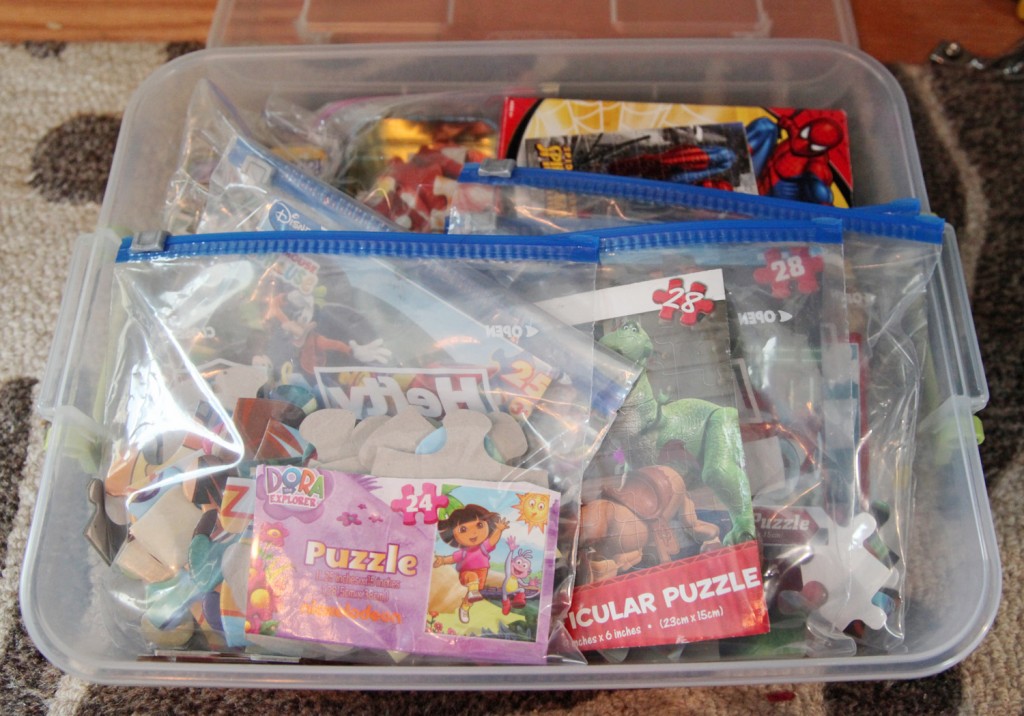
Kids Puzzles packaged in baggies: They take up a lot less space now but are easy to find

3. Sterlite Latch Box (1.55 Gallon $3.75): I like the size of these containers (11.5″x15″x 3.25″). They will fit a piece of paper and are shallow enough not to loose stuff. They also fit well in the Expedit shelves. So far I have used 2 of them. One for puzzles and one for smaller arts and crafts supplies. I heard rumors that Walmart is discontinuing this model (of course now that I found something I like). So I am considering picking up some more. I really like how the handles keep the box snapped in place. They also stack well and are designed to stack with the smaller sizes. I also picked up some that are 1/4 this size (so 4 fit nicely on top).

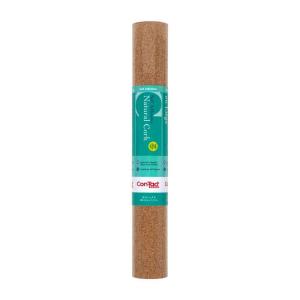
Cork Liner, Home Depot $9.95 for 18″x48″ piece

4. Cork Bottom/Liner: I had some leftover cork from a project a few years ago. It had started to dry out and crack so I wasn’t sure if it was going to be useable, but after removing the gross 1970s wallpaper that was covering the bottom of this shelf I decided that cork would be perfect here. The bottom was pretty gross and I was going to either have to do a lot of prep to paint it or just clean it and glue down some cork. Fortunately the old cork adhered pretty well and the cracks mostly disappeared once it was glued in place. I need to buy some more for the top shelf, but fortunately it is quite reasonably priced.

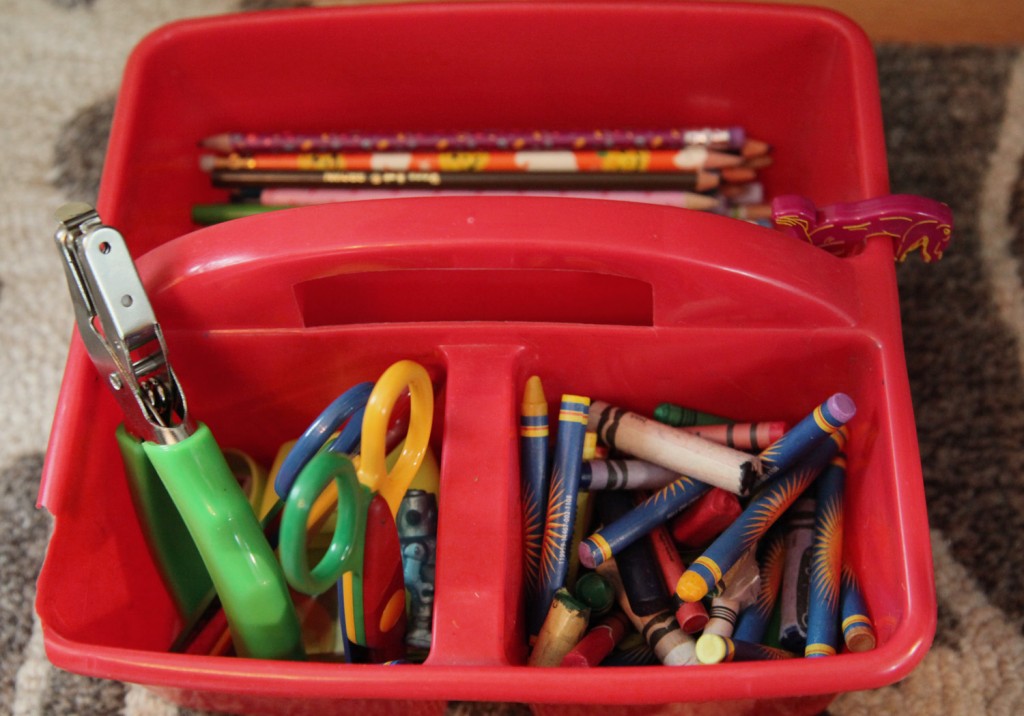
Drawing Bucket from the $1 section at Target

5. Miscellaneous Open Storage: I also have a mix of plastic open storage buckets and boxes. Most of these came from the $1 store or target. These red buckets that store the kids everyday coloring and drawing stuff is a favorite. They are good about pulling these out and putting them back when they are done.

We also have other arts and crafts supplies stored up high (where little fingers can’t reach)that are only for when they are supervised (including markers, paints, specialty paper and stickers).

Does anyone else have good storage ideas for the kids arts and crafts stuff?


Sam’s Top Chef Birthday Invite designed by Mr. S.

This was our first time hosting a kids birthday party. Sam first requested his Top Chef Birthday Party after seeing an episode last fall. We thought that sounded like a fun idea and have spent the last few months mulling it around in our heads. I thought I would give you some of the highlights. I won’t lie, it was a lot of work, but Sam had a great time and was super excited to have his friends over (including both his preschool classmates, his Friday friends and neighbors). Unfortunately, we didn’t get as many pictures as I would have liked because we were so busy. Mr. S. tells me that it is more important that Sam and his friends had fun then getting good photos. I agree in principle, but I am a little sad that I don’t have better pictures of some of the activities and the awesome food and aprons that the kids made.
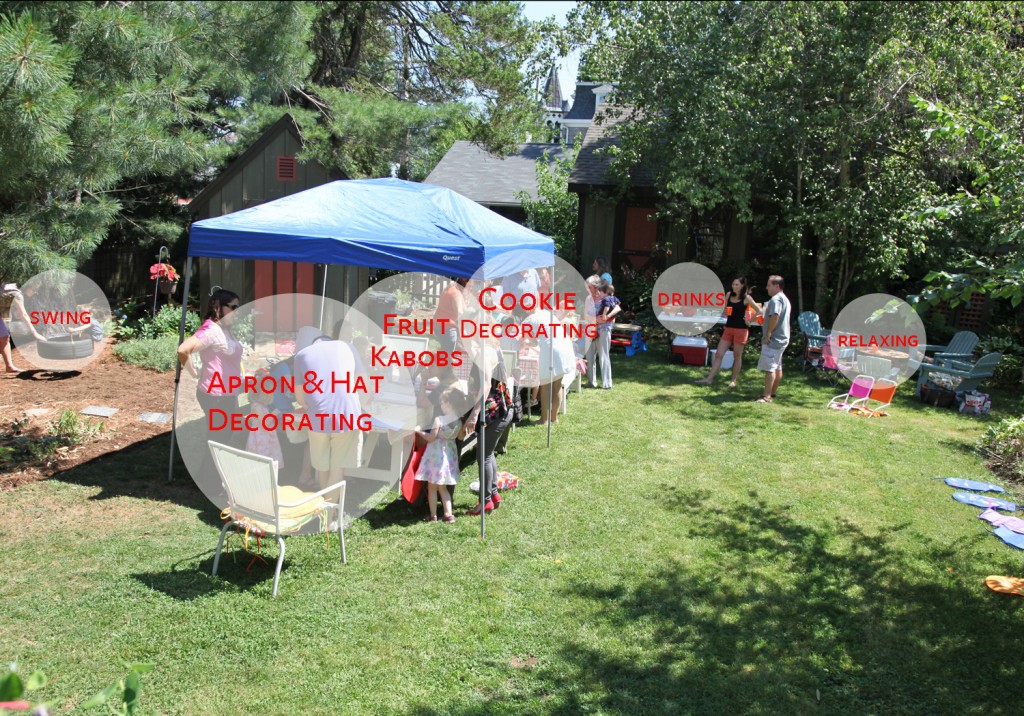
Backyard Set up with Activities

The Plan

I wanted to create several activities for the kids. Given the number coming I thought it would make sense to divide them into 3 groups of 8-9 kids and then rotate them after about 15-20 minutes. After the activites, the kids would eat the lunch they made and have cupcakes. We decided against having an actual competition, to avoid hurt feelings. There was one request to be Padma though.
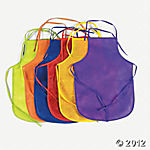
Kids Aprons

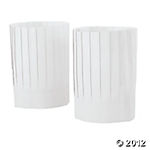
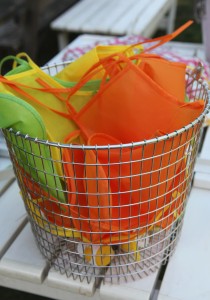
1. Decorate Aprons & Hats: I thought this would be a good activity while we waited for everyone to get here. I bought the hats and aprons from Oriental Trading. I also picked up puff fabric paint and markers from the craft store.  One thing I hadn’t accounted for was the paint drying (especially in the warm sun). Most of these ended up drying in the sun for the rest of the party. I also bought a bunch of foam stickers for the kids who didn’t want to paint. I bought pirate stickers, so not surprisingly most of the boys used markers and stickers and most of the girls used the glittery puff paint. Fortunately the aprons came in lots of colors, so everyone managed to get a color to their liking. A lot of the kids were not in favor of the hats (which definitely require additional double stick tape).
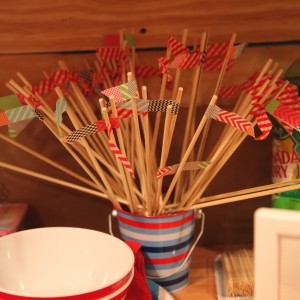
BBQ Skewers for Fruit Kabobs
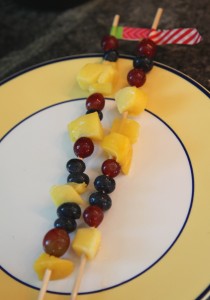
Fruit Kabobs made by Sam
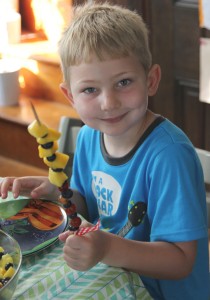
Sam eating leftovers

2. Fruit Kabobs: I wanted to offer something besides just junk food (although plenty of sugar was eaten). So I decided that fruit kabobs would be fun. I used 12″ wooden BBQ skewers from the grocery store. To add some color and keep the fruit from sliding off I added “flags” made of washi tape. This also gave us a space to write the kids names. Then we put them on big platters w/ mesh bug covers. I choose fruit to have all of the colors of the rainbow: red/strawberries, orange/mangos, yellow/pineapple, green/green grapes, blue/blueberries and purple/red grapes. The strawberries (all 3 pounds) were the first to go.
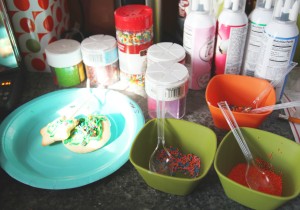
Cookie Supplies (after the party)
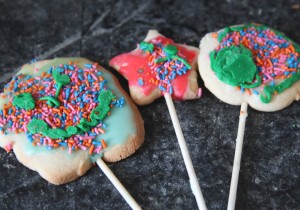
Maisie’s Cookies
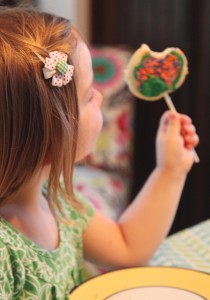
Maisie eating her creation

3. Decorate Cookies: I decided rather than a lot of favors, I would have the kids decorate cookies and then have them bring them home. I made the cookies on lollipop sticks. I made 3 varieties of sugar cookies: chef hats/cupcakes, stars and circles. I also made a frosting that hardened well in several colors, in addition to lots of jimmies, sprinkles and decorative frosting in a can. I also tried small chocolate chips but they started to melt so we had to give up on those. I made the cookies ahead. It was pretty time consuming (especially battling the hot weather to keep them from getting to melty).
Pizza Sign
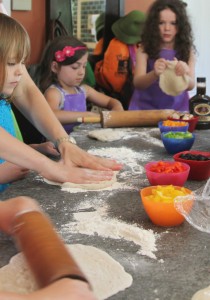
Pizza Making in Action
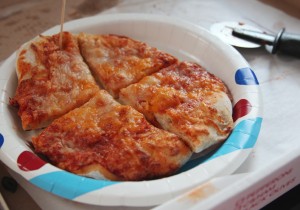
Maisie’s pizza
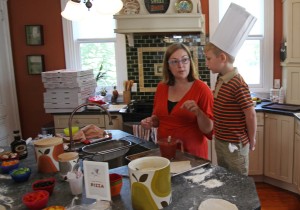
Sam & me working on his creation
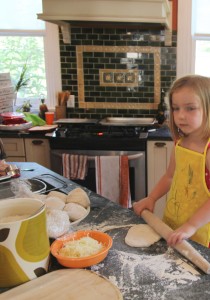
Maisie working on her pizza

4. Make Pizzas: This was definitely the most work and required careful timing, but I was really amazed at how well they came out. We divided each ball of pizza dough (from the local pizza shop) into 4 and wrapped each in plastic wrap the afternoon before. We preheated the oven to 525 about an hour before the party (and jacked up the AC). We were able to fit 2 pizzas per shelf (for 6 at a time). At that temperature they cooked in about 8 minutes. Given how some were full of sauce and thin and others were thick, I was pleasantly surprised at how well they all came out.  We offered tomato sauce, bbq sauce, mozzarella cheese, cheddar cheese, mushrooms, olives, red peppers, yellow peppers and green peppers.
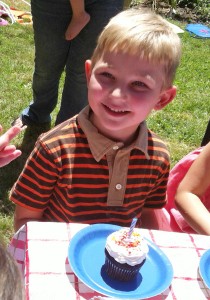
Sam with his cupcake!
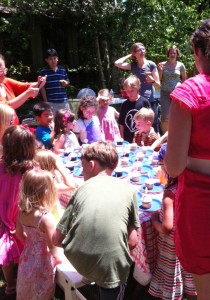
Sam with his friends

5. Eating:

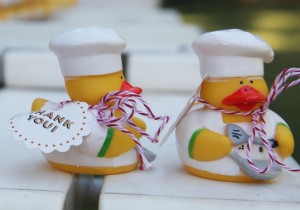
After the activities were finished the kids ate (fortunately one of the other moms stepped in and cut all of the pizzas). While they were eating we packed the cookies up into bags and put out the duck favors. I used a fun circular punch for the thank you tags. Mr. S. designed them and printed them out on card stock for me. I used the same punch for name tags on the pizza (glued to toothpicks) and for cupcake toppers. On the backs of those I punched out colorful paper.
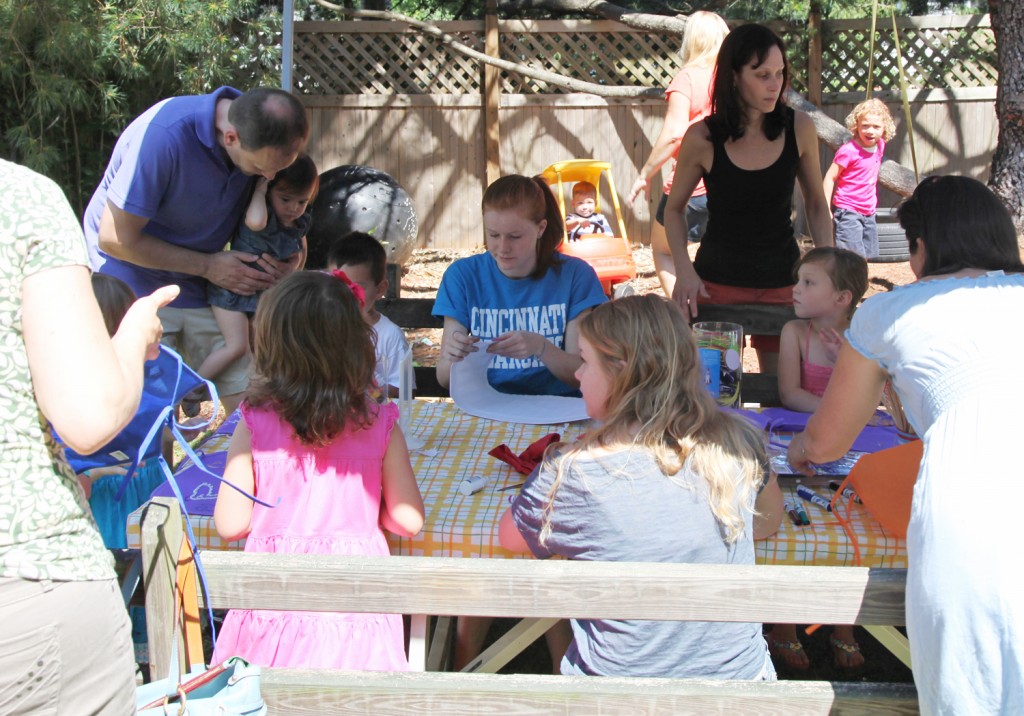
Apron & Hat Decorating

Lessons Learned

1. Get Help: It is a LOT of work to run a birthday party. We had one of the kids teachers help as well as 2 teenage girls (who babysit the kids). I put them each in charge of an activity while my sister-in-law and I manned the pizza station.  Mr. S. floated to keep an eye on everything and take pictures. In the future I think I would have assigned one of the other parents or an additional helper to take pictures. My helpers also stayed for a little bit after to help with clean up (which was definitely helpful).

2. Flexibility: The best plans require flexibility. I imagined that we would use a timer and rotate the kids at 15-20 minutes. In reality, as soon as they were done with an activity they ran to the next thing (or to play). I had to gather different kids to make pizza several times.

3. Timing: Younger kids tend to do well in the morning. We scheduled this party from 10:30-12:30. This worked out well because the kids tend to pay more attention this time of day. I think the 2 hours was just about right for the kids who ranged mostly from 2-5 years old. Much longer than this and they tend to get restless.

4. Have Fun: This is probably the hardest thing for me. I was worried about everything. But ultimately you are doing this for your child and they want to have a good time, and part of that is sharing it with you.
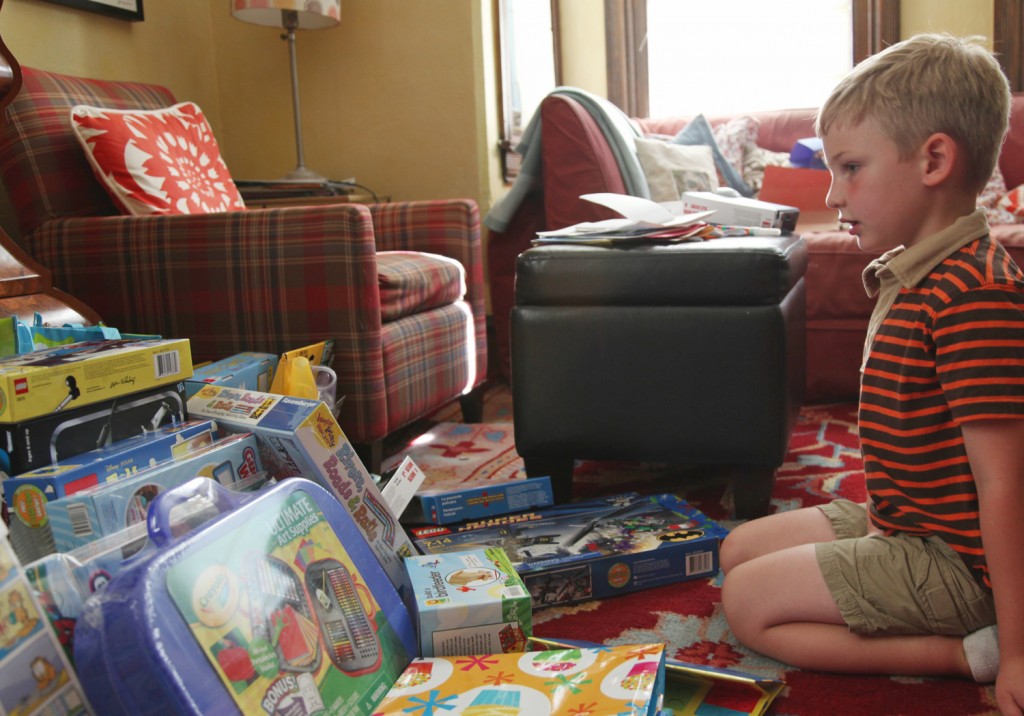
Sam and his loot!

The good news is that Sam and the kids had a great time! I should hopefully be recovered by next year. Thanks to everyone who came and helped to make my little guy’s birthday so special!

Completed Bouquets, All Ready to Be Delivered

It is Teacher Appreciation week here, so it is time for me to make some bouquets. The parent group from our preschool tries to have something special for each day of the week for the teachers. I signed up last year to put together flowers for the teachers. This year, I signed up again. It is hard work and a bit tedious but our teachers work really hard, so I feel like it is the least I can do. This year there are 33 teachers and assistant teachers (plus 3 office staff). My goal is the same as last year, to make pretty small bouquets for under $50 (I spent $37 last year).

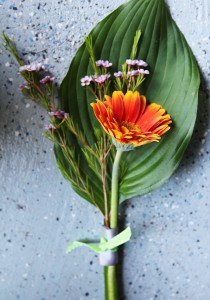
Gerber Daisy

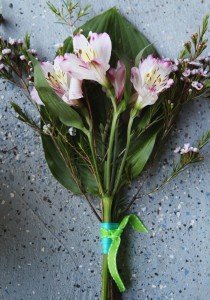
Freesia

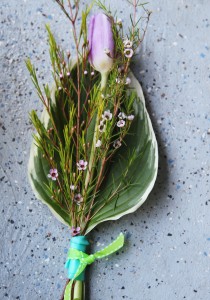
Tulip

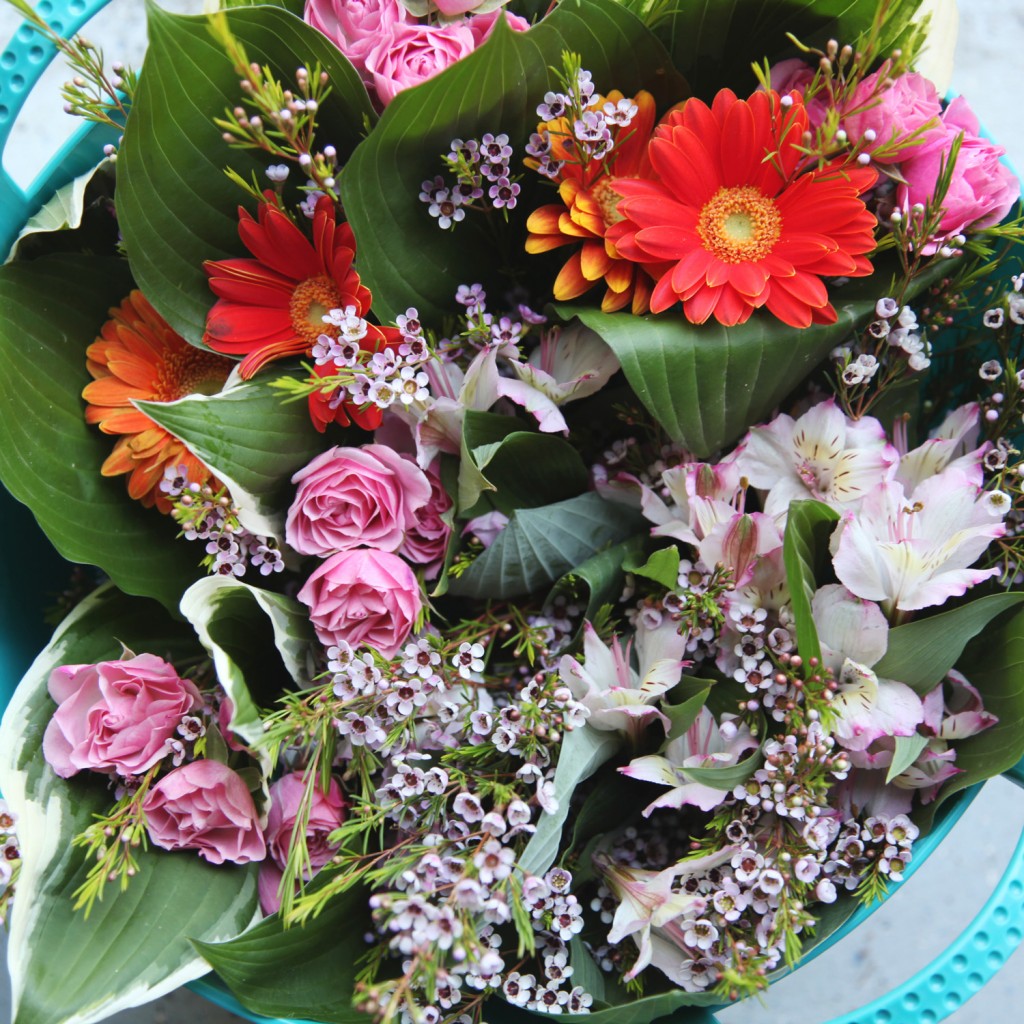
I decided my best course of action was Trader Joe’s, since I was overdue for a trip anyway (since it is a bit out of the way I try to only go about every 3 weeks or so).  Their flowers are always reasonably priced, and they usually have a good selection. I first walked in and was disappointed (and I was thinking that I was going to have to go elsewhere). Fortunately around the corner in their seasonal section, they had beautiful bouquets for Mother’s Day. At $9.99 a piece, they already had a good mix of flowers to choose from. Score! I picked up 3, after looking through them and picking the bouquets with the most big flowers per bunch (yes, I’m sure they thought I was a little strange crouching over the flowers counting). I also picked up one bunch of freesia(?)  alstroemeria for $3.99 to round out the mix. I tried mixing up the flowers a little this year. Last year I did all tulips, this year I picked up tulips, gerber daisies & roses (with lots of wax flowers). Fortunately, I still had left over ribbon from last year (yeah! no trip to the craft store with two grabby children).
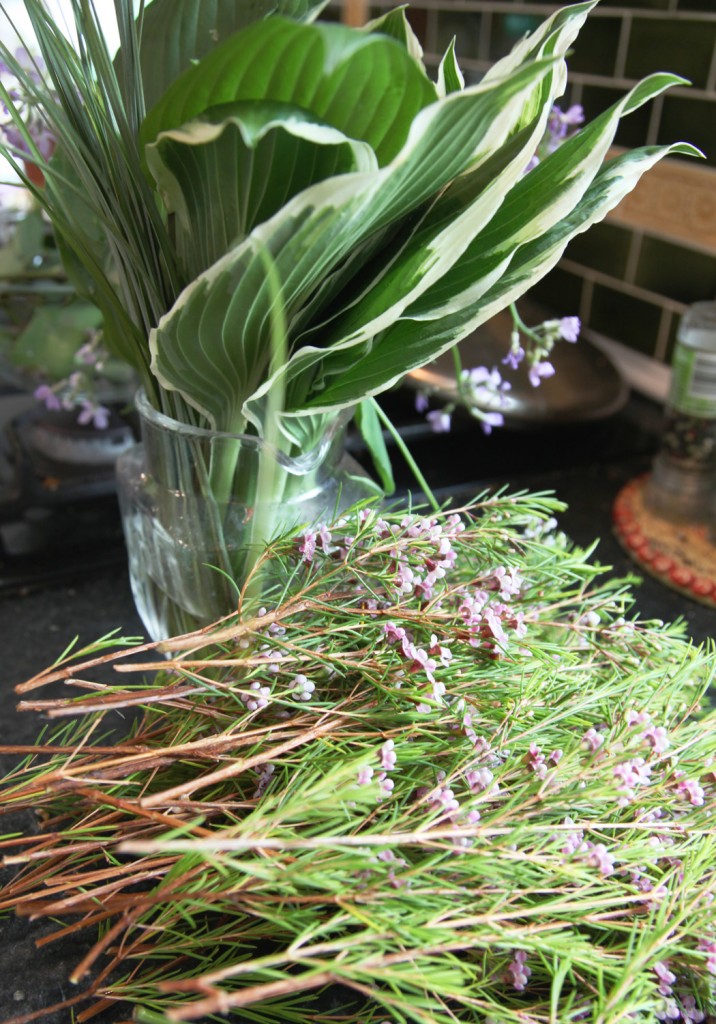
Hosta leaves & Wax Flowers Cut to Size

The Plan

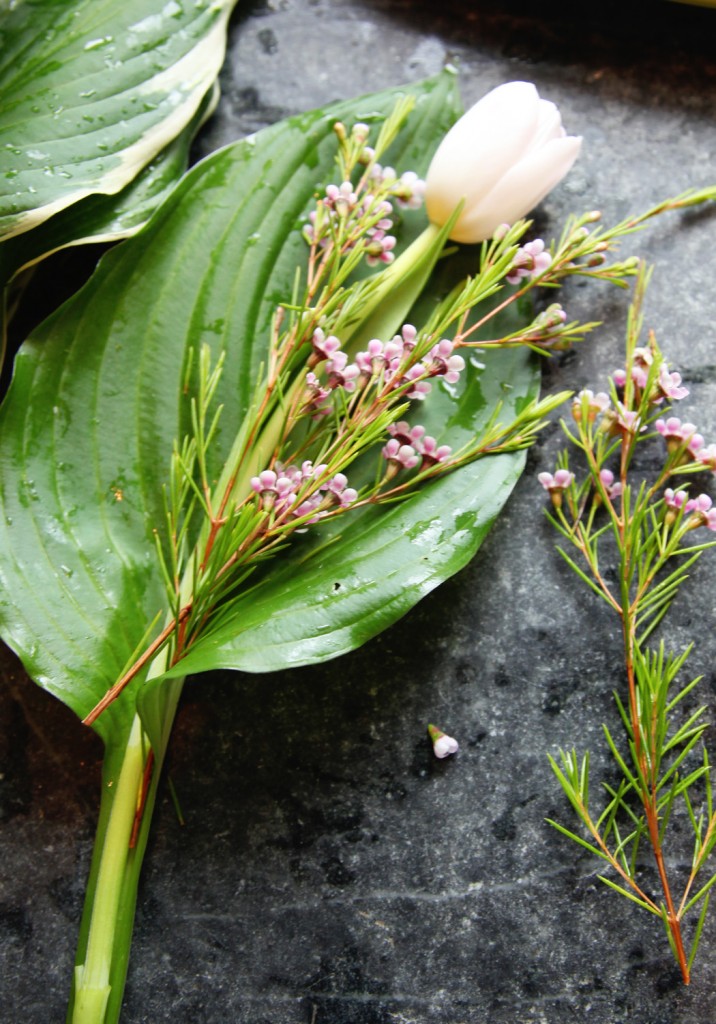
In general I wanted to follow the plan from last year, except I relied on tulip leaves for the back of the bouquet before, and I wasn’t going to have enough this time around. Fortunately, my hostas are going strong, so I ran out in the rain and cut some leaves off (where they were crowding out other plants). One nice thing about the hosta leaves is that they give the bouquet a nice scale. The second convenient feature is that their stems are indented, so it is the perfect place to put the flower stems.

One of the tedious tasks is cutting down the wax flowers. They tend to be on bigger branches, and I needed smaller clusters (with stems long enough to reach the bottom of the arrangement).

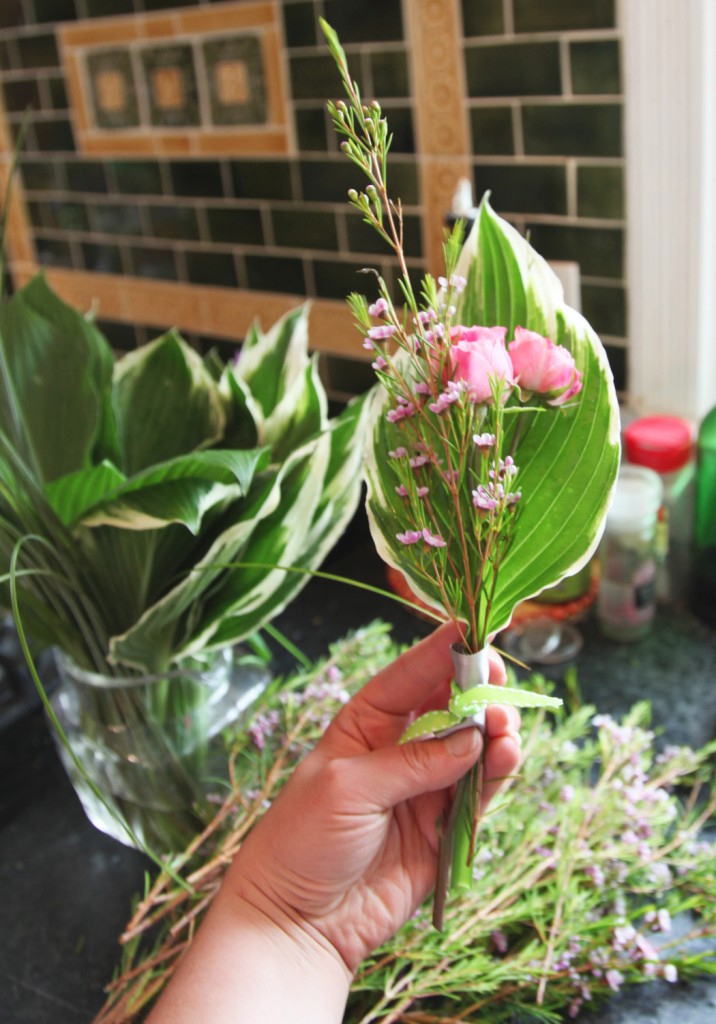
Flower Bouquet in Progress

1. To start the bouquet I put down a hosta leaf and picked out one of the big flowers.

2. Hunt through the wax flowers for a branch that was the right size for to go with the flower (i.e. taller for some, fuller for others).

3. Fuss with flowers to get them in a pleasing arrangement.

4. Cut wide ribbon in about a 4″ length. Wrap ribbon around flowers as high as possible. (just below the hosta leaf).

5. Fold end of ribbon and pin in place.

6. Cut 6-8″ length of narrow ribbon. Tie bouquet tight into a knot.

7. Remove pin.

8. Adjust flowers to final arrangement.

9. Cut bottom of stems even.

10. Place in water. (I used plastic cups with water in a big garden tub with handles for transport.)

Bouquet before cutting bottom stems

FIrst 2 Bouquets

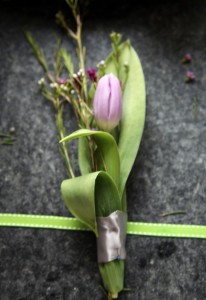
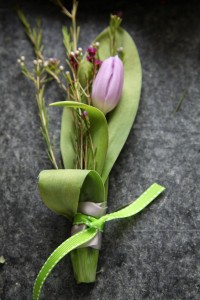
In the end I spent about $38 (if you include the ribbon that I bought last year). Start to finish the 36 bouquets and 1 boutonniere took 3 1/2 hours to make. Phew! The good news is that the teachers seemed to really like them.

I hope everyone has a lovely Mother’s Day! I am looking forward to spending a relaxing day with my family.

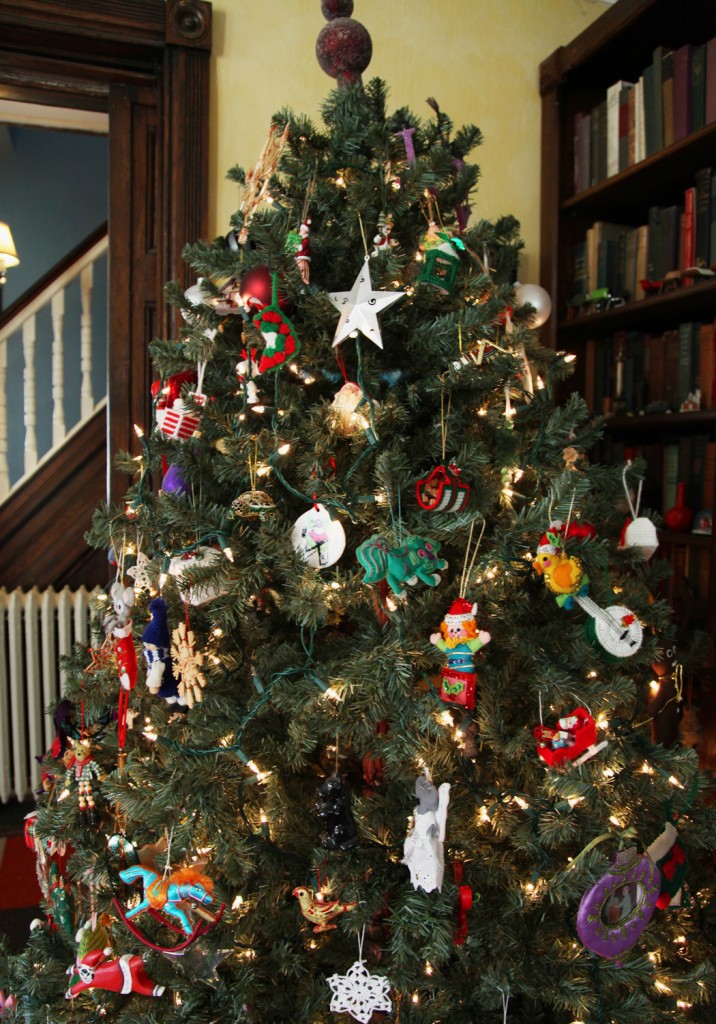
Our Christmas Tree

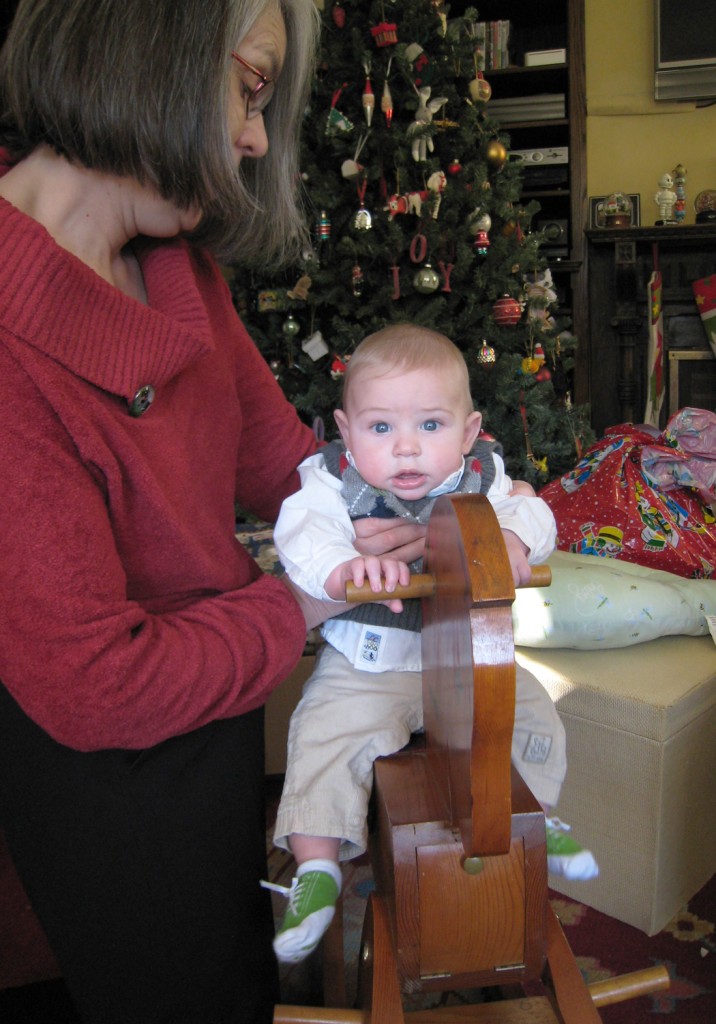
I like crafts, but I can’t say that I am gifted in the crafting arts. However there is one person who I look back on and am amazed at the things she created, my Great Aunt Emily. My grandfather’s family was full of very creative people. My grandfather was amazing at making things, including our beloved rocking horse Horsey (which he made for my mom when she was a little girl). I still remember him putting together little buildings for my brother’s train set. They were all PERFECT (he wouldn’t except anything less). One of his brothers was even a professional artist who painted many magazine covers. But my grandfather’s sister Aunt Emily was the master of crafts. She sewed quilts, knitted blankets, painted ceramics and made elaborate Christmas cookies. But my very favorite thing was her Christmas ornaments! Every year for Christmas when I was growing up I would receive a box containing several handmade ornaments. Depending on the year they varied but they were always so amazing. Even as her eyesight started to fail, she shifted into using simpler cross stitch and yarn.  I thought I would post up a few of my favorites. The kids ADORE them! We have a hard time keeping them on the tree. As you can see they are very well loved!

Some of my Aunt Emily's Christmas Ornaments


Sam's first Christmas riding on Horsey w/ Grandma

*Tomorrow I will post up our 2011 Holiday Card. I am waiting until most of my family gets them in the mail (which will hopefully be today and tomorrow!).

Flower Bouquets

May 4, 2011

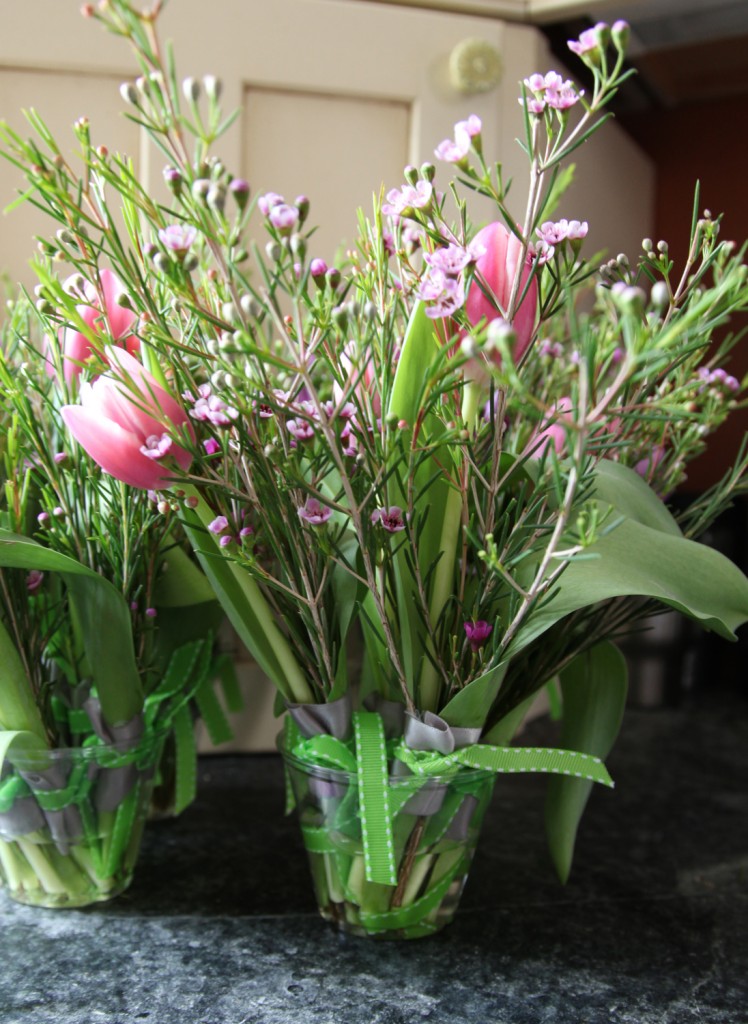
Finished Bouquets in Plastic Cups (ready to be delivered)

Sorry I have been slow to post this week. I had a ground breaking for the Science Center at Cheyney University yesterday and it is Teacher Appreciation Week at school. I signed up to make 32 bouquets for the teachers at my kids’ school. I am not particularly crafty but I decided to pretend to be Martha for a couple of hours and put them together.

Goal: Create small pretty bouquets with at least one large flower in each

Budget: $50 tops

Breakdown:
Flowers:
3 bunches of Tulips: 3 x $6.99 (at the Grocery Store)
3 bunch of Wax Flowers: 3 x $3.99 (at the Grocery Store)
Ribbon:
2 spools of ribbon (1 thick roll (3 yards) & 2 thin role (10 yards) on sale at Michaels: 2 x $1.99

Total: $37

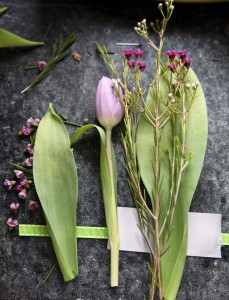
Tulip Leaf, Tulip, Wax Flower, Tulip Leaf, Thick & Thin Ribbon

Thick ribbon temporarily attached with pin

Finished Bouquet


Instructions:
1. Buy 1 type large flower & 1 type small flower in complementary colors.

2. Buy 2 types of ribbon (1 thick & 1 thin)

3. Put all of the flowers in  a large vase or bucket

4. Cut smaller flowers into short pieces (These were about 9 inches)

5. Cut thick ribbon to about 4-6 inches (this will hold the bouquet together)

6. Cut thin ribbon to about 12″.

7. Pick out large flower and cut. I also used a leaf from each tulip to help wrap the back of the bouquet.

8. Add a couple of pieces of the smaller flower in front of large leaf.

9. Add large flower

10. Wrap with thick ribbon and fold over end. (Or you could use a rubber band underneath)

11. Pin temporarily in place.

12. Wrap with thin ribbon and tie.

13. Take out pin.

14. Place in water.