Archives For INTERIOR PRODUCTS, FURNITURE & FABRICS

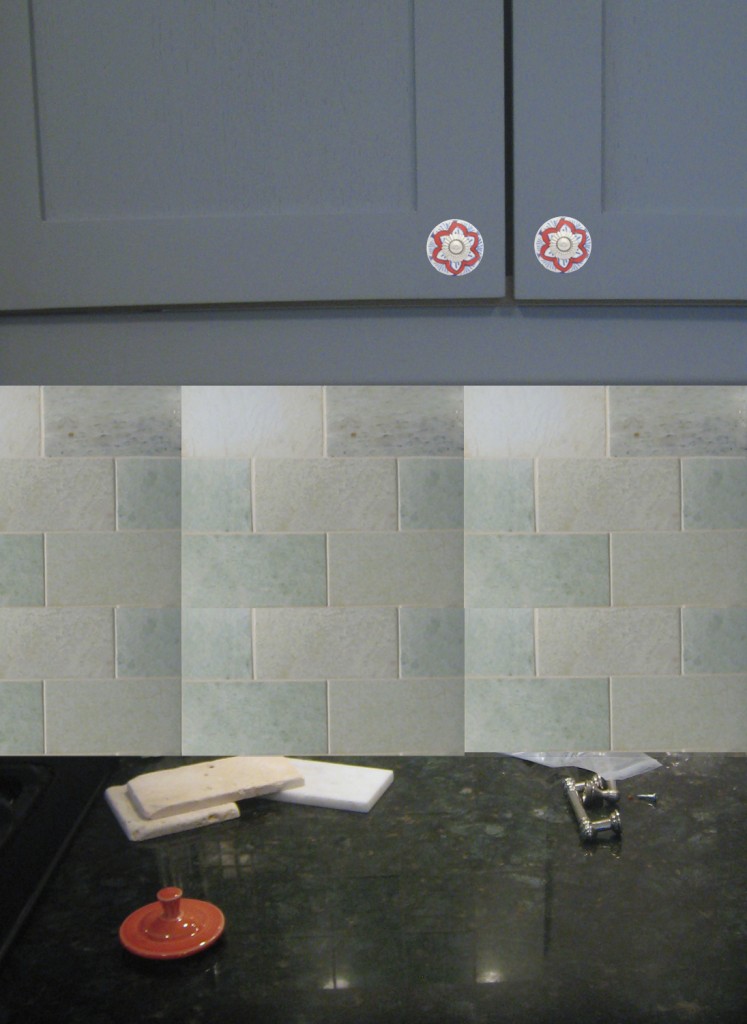
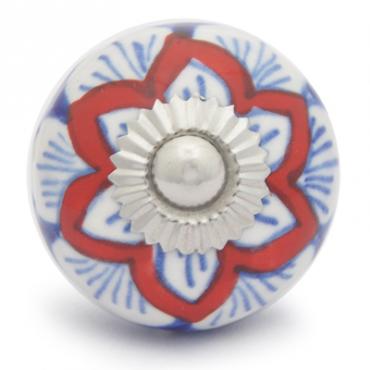
Hand Painted Red & Blue Knob w/ Silver Insert, $7.99 from potteryknobs.com

After lots of debate Andi and Neil have agreed on a hand painted ceramic knob for their kitchen cabinets! It only took 44 knob choices on Pinterest. I’m very glad that they decided on one that they can both live with. I think it is a lovely choice. Which is great news because I was starting to picture someone feeling angry every time they opened their cabinet doors!

Tile and Knob Rendering

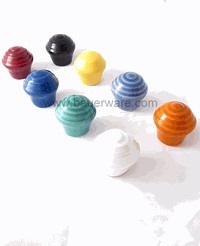
As a side note, we looked for a knob that matched their Fiestaware. It turns out such a knob exists! The company (Bauerware) just appears to be VERY bad at advertising. It took a LOT of searching, but here it is….

Fiestaware Inspired Ceramic Knobs, $15 by Bauerware

These are available in a couple of different sizes for all of your retro cabinet needs.


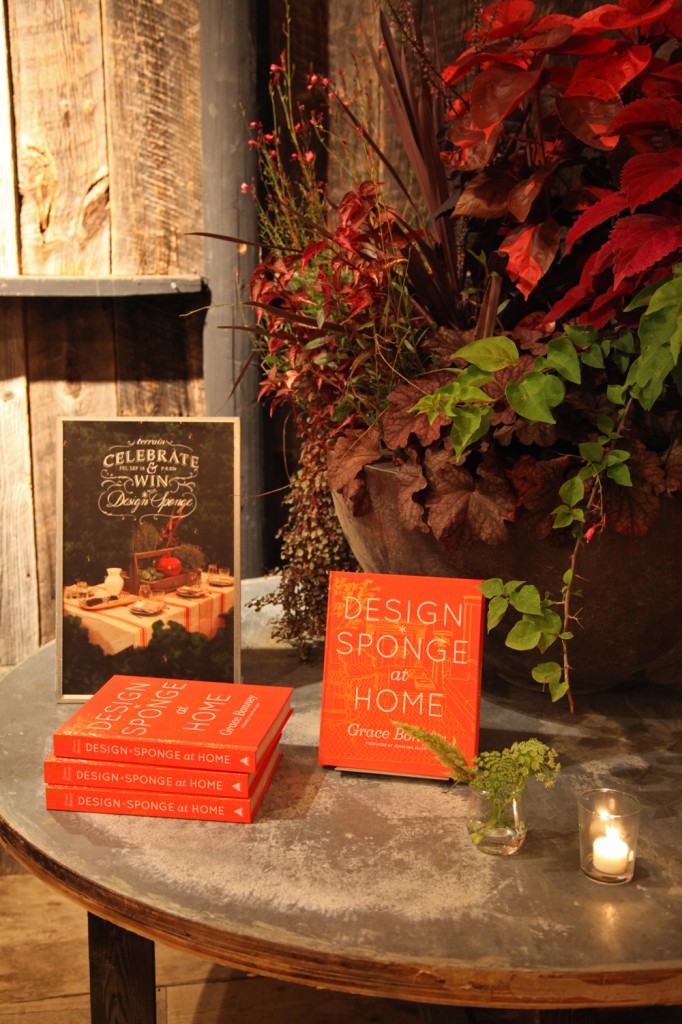
Design*Sponge at Home Book on Display

Grace and Amy

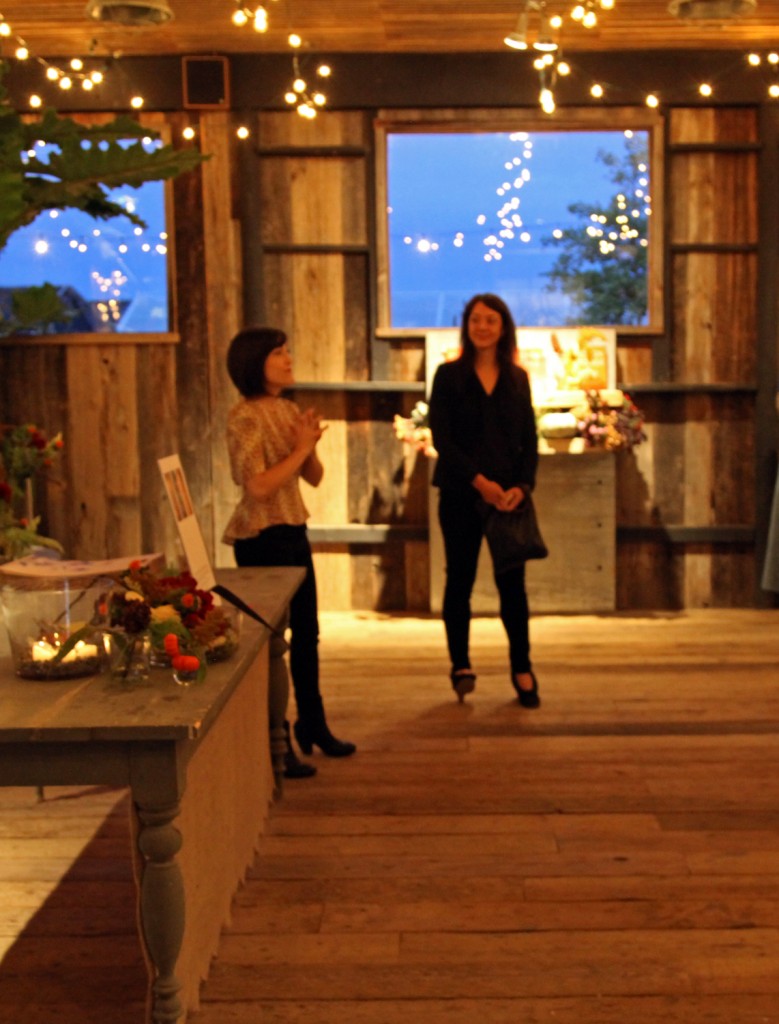
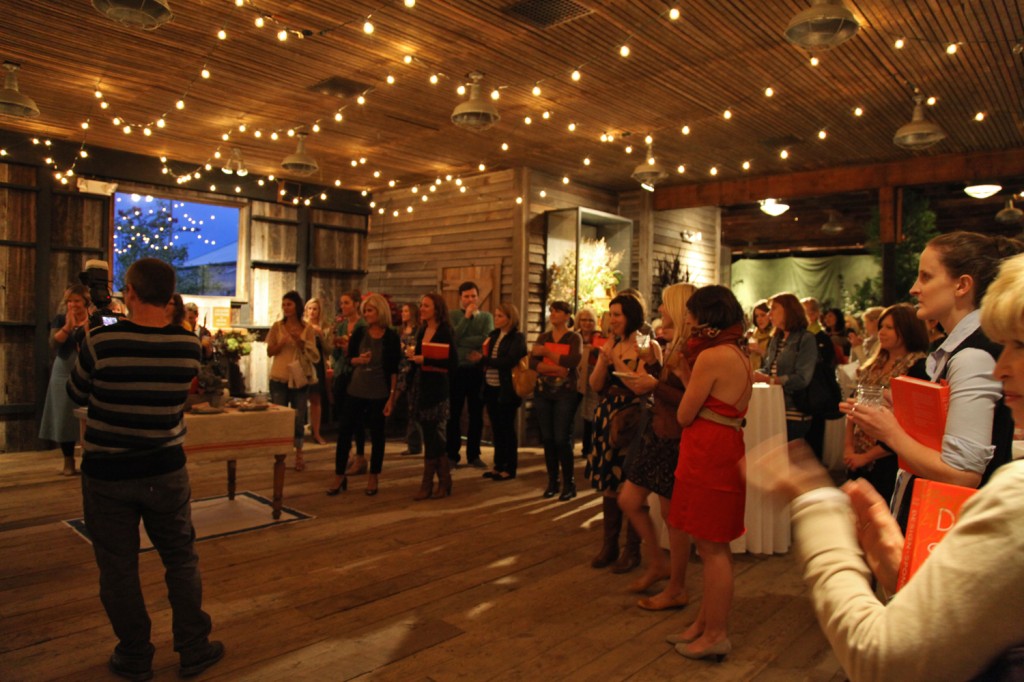
The crowd with all of the twinkle lights

I had a lovely ladies night out on Friday at Terrain at Styers. It was the book signing party for the new Design*Sponge at Home book by Grace Bonney. The party was pretty short, but I did manage to get my book signed and a picture.

Grace and me

Terrain at Styers (owned by the parent company of Urban Outfitters and Anthropologie) is always full of LOTS of eye candy in the form of plants, pots and old wood. The party was in one of the old barns on site. The classic twinkle lights hung on the ceiling made the space feel really initiate (although a little dark for shooting photos). They served a delicious punch (I should have asked for the recipe) in jelly jars w/ little ribbon stirrers. They also had a raffle for a beautiful table spread (items were picked out by Grace and Amy from Terrain). I didn’t win, but it was still pretty to look at. All in all a good time, especially considering I heard Grace speak in the same space over a year ago when she was finishing up putting the book together. Grace is lovely and gracious, just as one would expect!

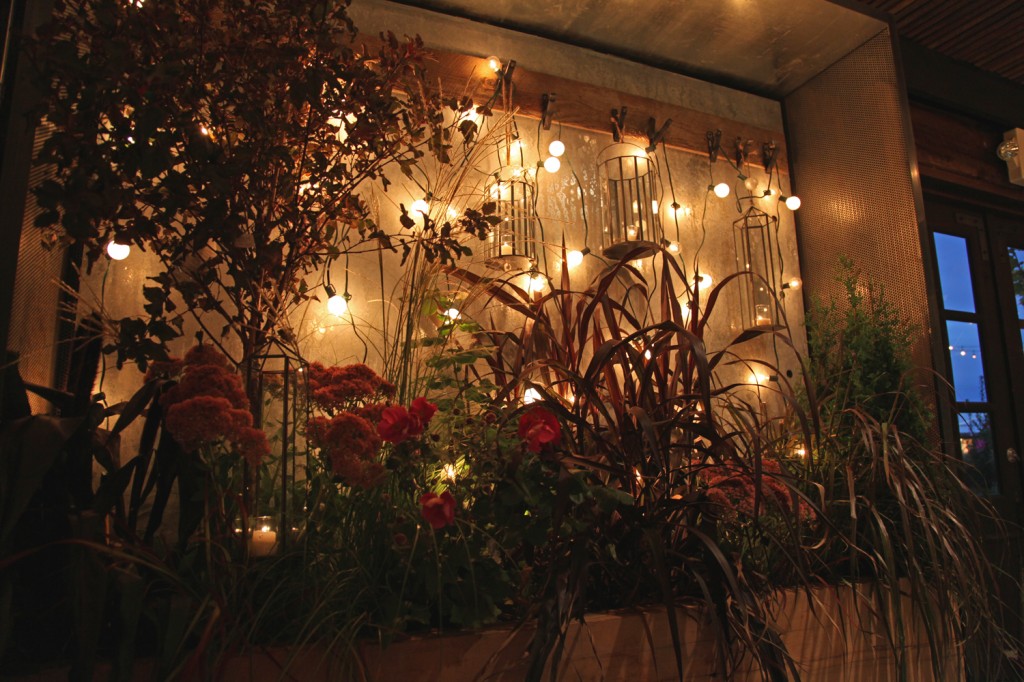
Lantern and Plant Display

Beautiful Plant Display mixed with rough wood

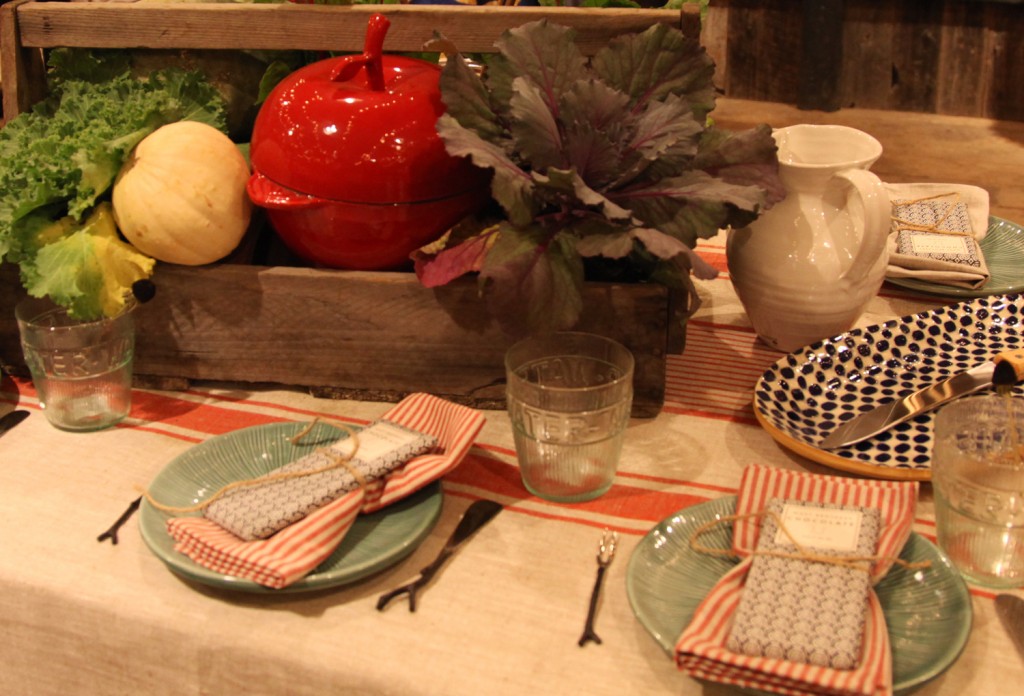
Table display that was auctioned off. I really love the apple pot, not that I would ever actually use it.


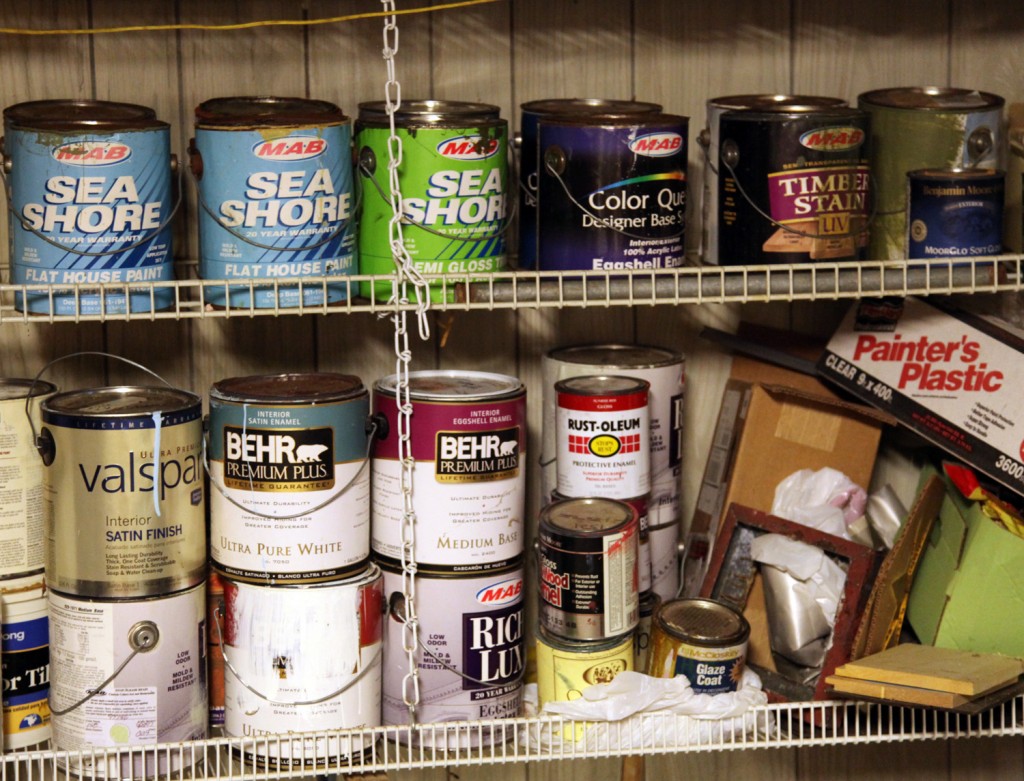
This is the shelf AFTER I got rid of the old paint cans. The top shelf is exterior paint and the bottom shelf is interior.

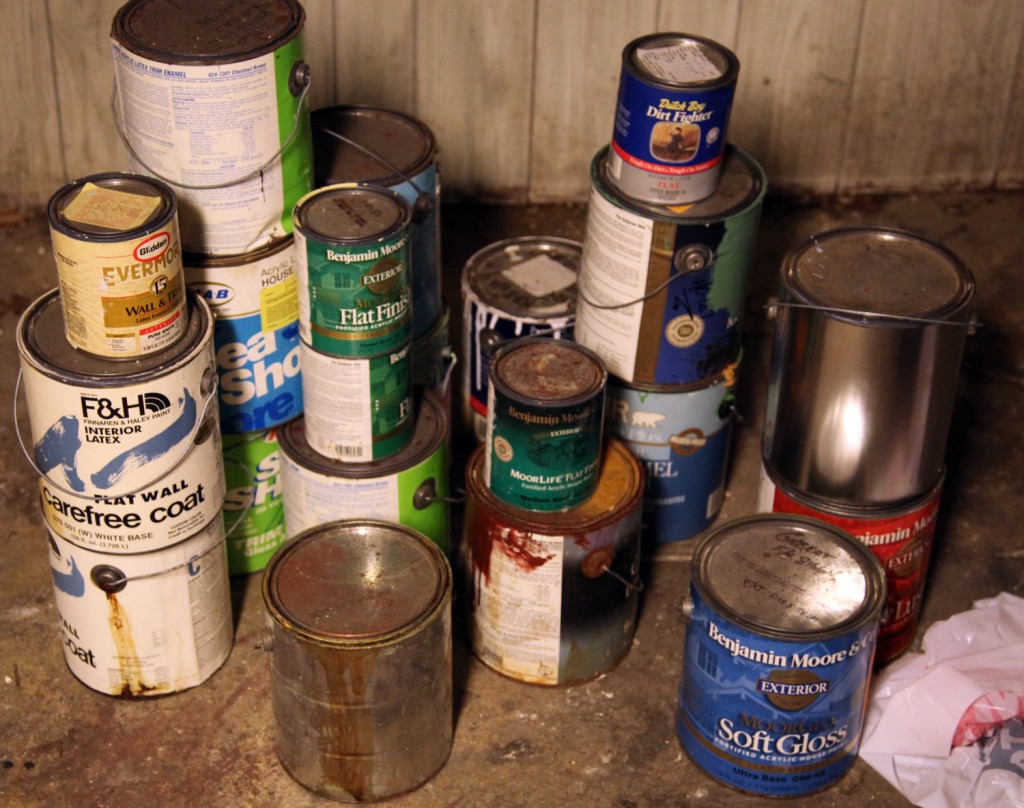
So it is time for some more embarrassing photos of the house! Believe it or not I just got rid of about 12 oil based paint cans and miscellaneous chemicals today (before these photos were taken). It was hazardous waste drop off day at one of the local parks. If I had been more organized I would have dropped off some old computer equipment too, but I was proud of myself for at least getting rid of some gross old paint cans. Since we are now trying to deal more proactively with our basement (which is putting a damper on the master bedroom work) I decided it was time to spend a couple of hours sorting through the paint. So on Sunday I spent the time while Maisie was napping trying to get rid of some of the paint. It doesn’t help that we have 6 7 colors of paint on the exterior of the house. We also had left over paint from the “not quite right” color selections. Plus we have matching stain from the garage and shed. As a side note, I guess you can see our preferred exterior paint provider. I love my MAB exterior paint. MAB is now owned by Sherwin Williams, and I am waiting for them to close my local MAB store (where there is a Sherwin Williams only a couple of blocks away). Then I won’t be able to get my beloved Seashore paint! Our whole exterior is painted in the seashore paint. You can see that I am not as loyal with my interior paint. Most of the time for that I am lazy and hop over to the local Home Depot.  For our next painting project I am looking forward to trying the relatively new Behr Ultra (primer and paint in one with low VOC).

Pile of latex paint cans waiting to be dried out for the garbage.

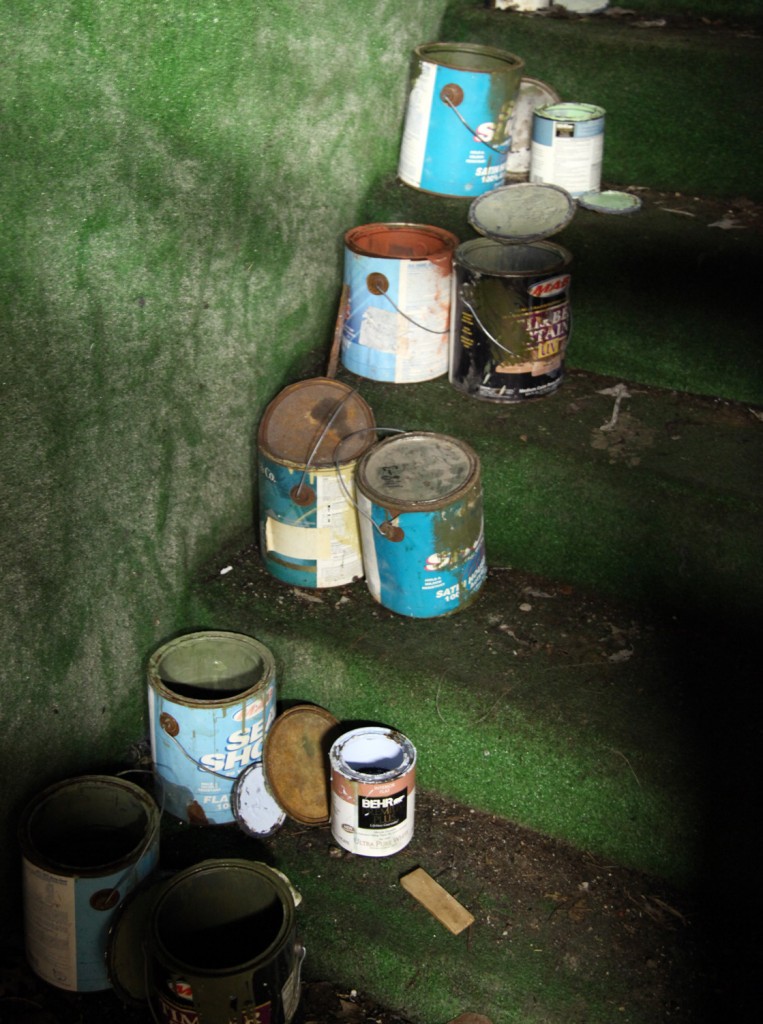
Latex Paint Cans drying out on the steps to the basement so that they can be thrown out (don't you just love astroturf).

The pile on the floor is the paint that will be next to be set out for drying and throwing out. I am currently using the back steps to the basement. These are covered by a plywood door (to keep unsuspecting animals from investigating) but won’t be offgassing into the house. Hopefully these will be dry for next week’s garbage. If not I may need to resort to the kitty litter method, which involves pouring the old latex paint into a cardboard box with a bunch of kitty litter to help it dry out more quickly. So far I think most of this paint will dry on its own. A lot of it is quite old, so the drying process started long ago!

I did manage to combine a bunch of the exterior paint cans. Because of the complicated house paint scheme we ended up with at least 2 partially opened cans of each of the main colors. Fortunately now that has been compressed and now I will be able to find each color more easily for projects like the porch swing.

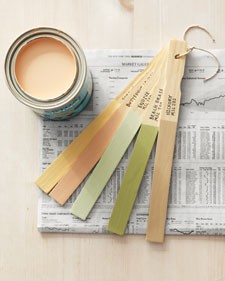
Paint Sample Reference from www.domestically-speaking.com

I also have plans of putting together a couple of rings of paint sticks containing all of the interior and exterior paint colors, for handy reference. Kind of like this one I found on Pinterest which was from Domestically Speaking.

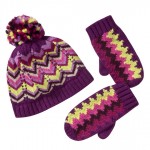
Toddler Hat & Mittens

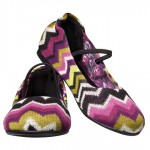
Toddler Shoes

Papergoods

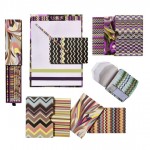
Today was the day for the Missoni Collection at Target to premiere. I love good design, so even though I am not the biggest Missoni fan, I still needed to check out what was available. Missoni, known for their colorful zigzag pattern, is one of those brands that most of us cannot afford normally, so when it shows up at Target it is a pretty good deal, even if it is expensive by Target standards. Two years ago they featured Orla Kiely housewares (which was SUPER awesome). I wanted to buy EVERYTHING (and bought quite a bit for our kitchen and for Maisie’s room)! Last year they featured Liberty of London which was also pretty cool, although I didn’t buy very much.

So this morning I tried to go to the Target website, but it was down. Was it down because of the Missoni collection? Are there really that many Missoni fans? Are there a lot of speculators trying to buy it up to resell on ebay (I just checked and there are already 6233 items on ebay for sale)? I did finally see that yes in fact it was all the Missoni fans crashing their site, and in fact the website is still extremely glitchy this afternoon and it keeps crashing on me. I also saw this article about a mobbed Target in LA.  So this afternoon with my novacaned up mouth, jaw and tongue (thanks to having a cavity filled this morning),  I meandered over to Target to see what they had. We have 2 targets within 3 miles of our house (totally crazy I know). There were a bunch of empty shelves with Missoni labels on them.  Although I did find a few things that I decided to pick up, figuring if I change my mind there is always ebay or I could just return it. I picked up 2 small boxes (I have these same boxes in an Orla Kiely pattern from 2 years ago), a pad of paper and a cup. Then I picked up a couple of things for Maisie, a really cute dress and matching shoes. I also picked up mittens and a hat in the same pattern. The dress and shoes will be for next year, but the mittens and hat will be for this winter, now I just need to find a winter coat to match! If they had everything in stock I would have probably picked up a couple more boxes, a cute zigzag hand towel and a cardigan for myself.

I thought I would add a comment about the quality. On the little girls clothes, I thought the quality was quite nice on the dress (for $29.99 I feel like it should be). The shoes (@$19.99) look like okay quality. The shoes are fabric with plastic bottoms, so I doubt the lifespan will be very long on them, but we will be using them for special occasions. The more expensive housewares (i.e. vases) that are porcelain looked like a nice quality. The melamine plates looked okay, although I’m not a big fan because I find that the melamine scratches pretty easily (although I do have a number of melamine plates on display). I can’t comment on the women’s clothes (since it was so picked over) or the towels which were non-existent at the store.

The only funny story from my adventure is that the only reason that I ended up with the 2 boxes was that someone had left them on top of the drink fridge at the checkout and the saleslady told me that they had been there for a long time so I was free to purchase them (which I quickly did).

Are there any designers that make you go out of your way?

Pillows at One Kings Lane

September 7, 2011

Yesterday I was looking at the daily sales on One Kings Lane. I have found some things I really like at a good price (and some things at not such a good price). I think the website does a pretty good job of highlighting products that are in style and are somewhat reasonably priced. But if I put something in my basket, I always do a quick check online to see if anyone else is selling it at a similar price. So when I saw that they had a Prints and Patterns category yesterday I was eager to see what they had for sale! So I got a good laugh out of what I found…

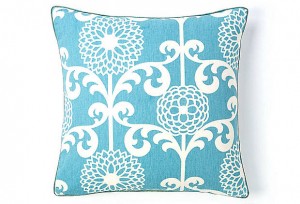
20x20 Jiti Pillow,$79 at IKL, $175 Retail (sold out)

20x20 Jiti Pillow, $79 at OKL $175 retail

Look familiar?

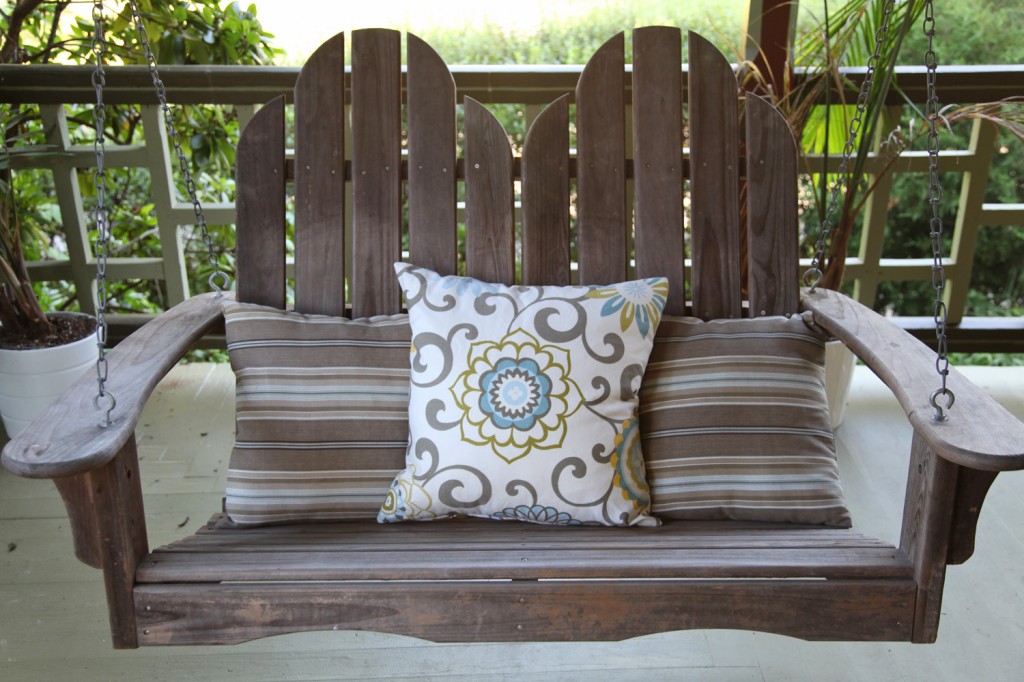
My Porch Swing with my new pillows

The Porch Swing with the outdoor Waverly fabrics from their Modern Essential line. I bought these on sale at JoAnns for $9.99 a yard

It appears that their version by Jiti uses a down insert (good for comfort but not for outdoors). I used an outdoor pillow form. I spent about $13 on fabric (1 1/3 yards for 2 pillows), $14 for each insert (a 20×20 outdoor pillow form) and about $5 for 2 zippers for a total of about $23 per pillow. I spent a couple of hours making them, after experimenting with putting in a zipper. It is funny because it took me months to decide on a fabric for the pillows. I even considered a couple of the Jiti pillows that were on sale at OKL earlier in the spring, but the price seemed high. So I gave myself a little pat on the back.

Have you ever made something and then found it for sale somewhere?

West Elm Product Round Up

August 24, 2011

I am loving quite a few things over at West Elm these days. I thought I would show you a few of my favorite things at the moment.  For me what these have items have in common is a beautiful texture and using quality artisans with conjunction with innovative designers. What is striking your fancy?

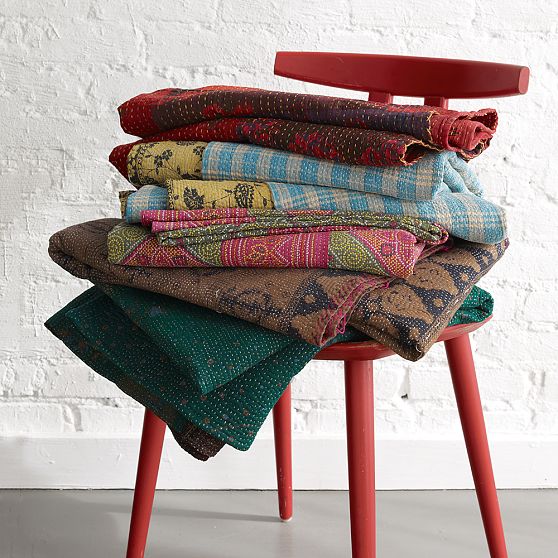
Kantha Quilted Throw: Not sure if they are selling these in the store but they look stuning in the pictures. I think I would need to see one in person before buying one though., $99. Made from vintage saris.

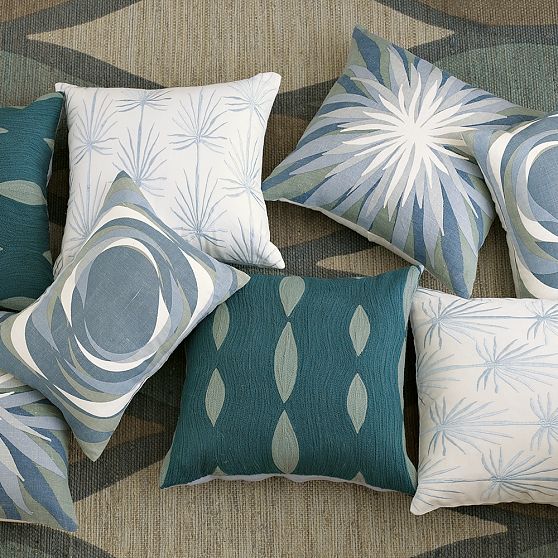
Allegra Hicks line of fabrics and rugs. The textures and patterns are stunning and look so expensive.

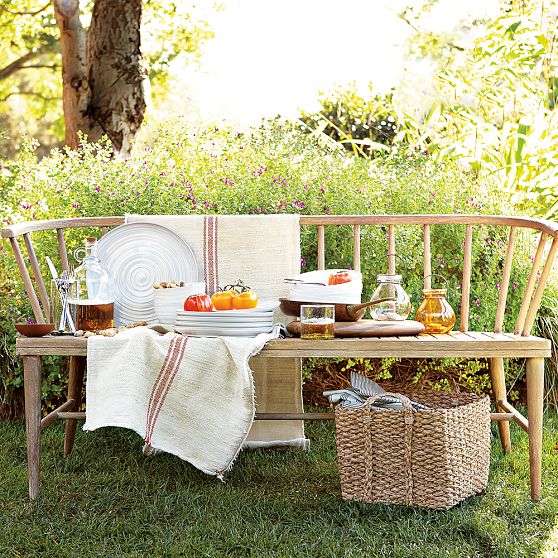
Dexter outdoor bench, $329. This bench came out this spring and I keep coming back to its beautiful simplicity.

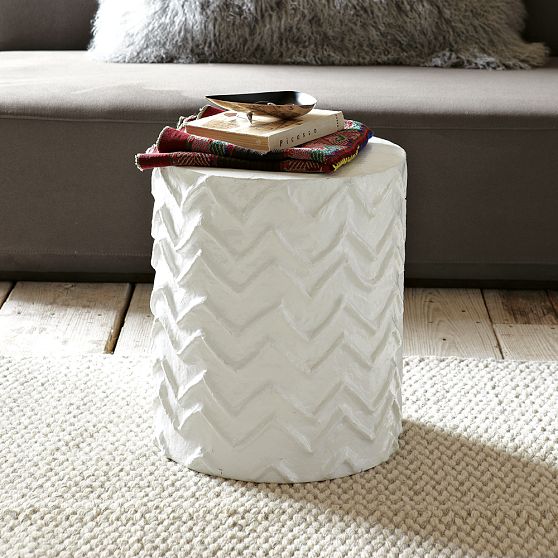
Strat Dog Design Drum Side Table, $149. The texture is quite beautiful.

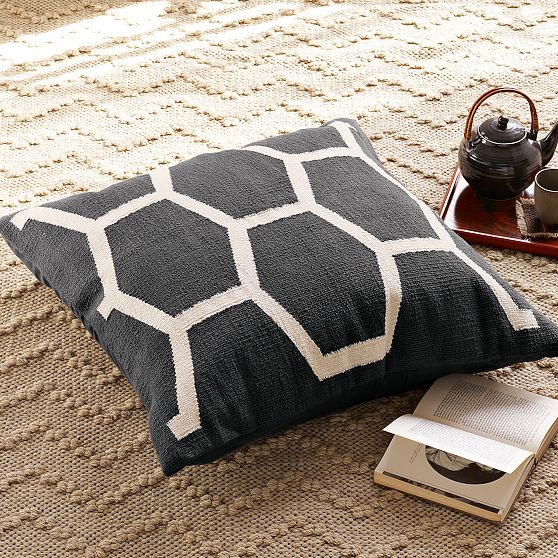
Honeycomb Floor Cushion, $79 ($109 w/ pillow). It looks more durable then a lot of floor cushions and I like the texture and large pattern.

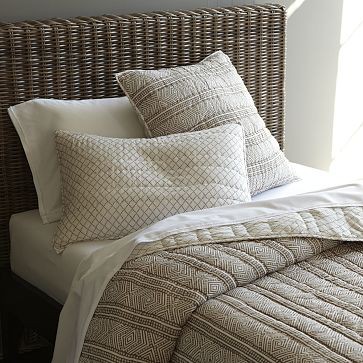
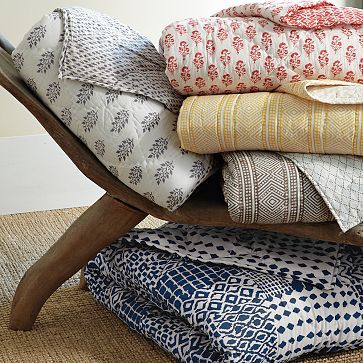
 Hand-Blocked West Elm Leaf Quilt, $69 for King Size

Hand-Blocked Quilts from West Elm

We haven’t made much progress on our bedroom. We are still trying to schedule the contractor and trying to make some final decisions but we did finally decide on a new quilt. I had been going back and forth between using a simple white duvet cover and something with some pattern. I didn’t want it to have too much pattern or color because we already have a lot going on in the room. I love the brightly colored duvet color that we have now but it has a couple of small holes in it and doesn’t go with the new color palette. We also wanted to switch to a king size comforter to minimize waking up in the middle of night freezing because someone pulled it to their side (and of course by “someone” I am actually referring to the cats).  I am quite pleased that I found this one at West Elm on sale. It is an Indian handblocked fabric by Craftmark-certified artisans (ensuring that the product is handmade by fairly paid artisans). There is even a video of the craftsmen at work.  At $69 for a king size it was quite reasonable. I think we will be putting the smaller pattern up and have the busier pattern peaking up. I’m not sure how heavy weight it is, we may need to an extra blanket in winter. I also picked up a pair of the matching pillow shams for $9.99 a piece. I also considering a red pillow cover but those aren’t on sale, so  I have some time to think about it.

I have to say that I am a much bigger fan of West Elm then I use to be. When they first opened up all of the furniture seemed flimsy and everything was a bit bland. I think that they have finally found their niche with some of the designers that they have been working with (including the exciting new line from Allegra Hicks) and using more organic and interesting fabrics. I think I will have to do a little round up of all the cool stuff they are currently offering. Anything striking your fancy right now?

Porch Swing (still needs to be painted) & New Pillow. Try to ignore the half dead plants.

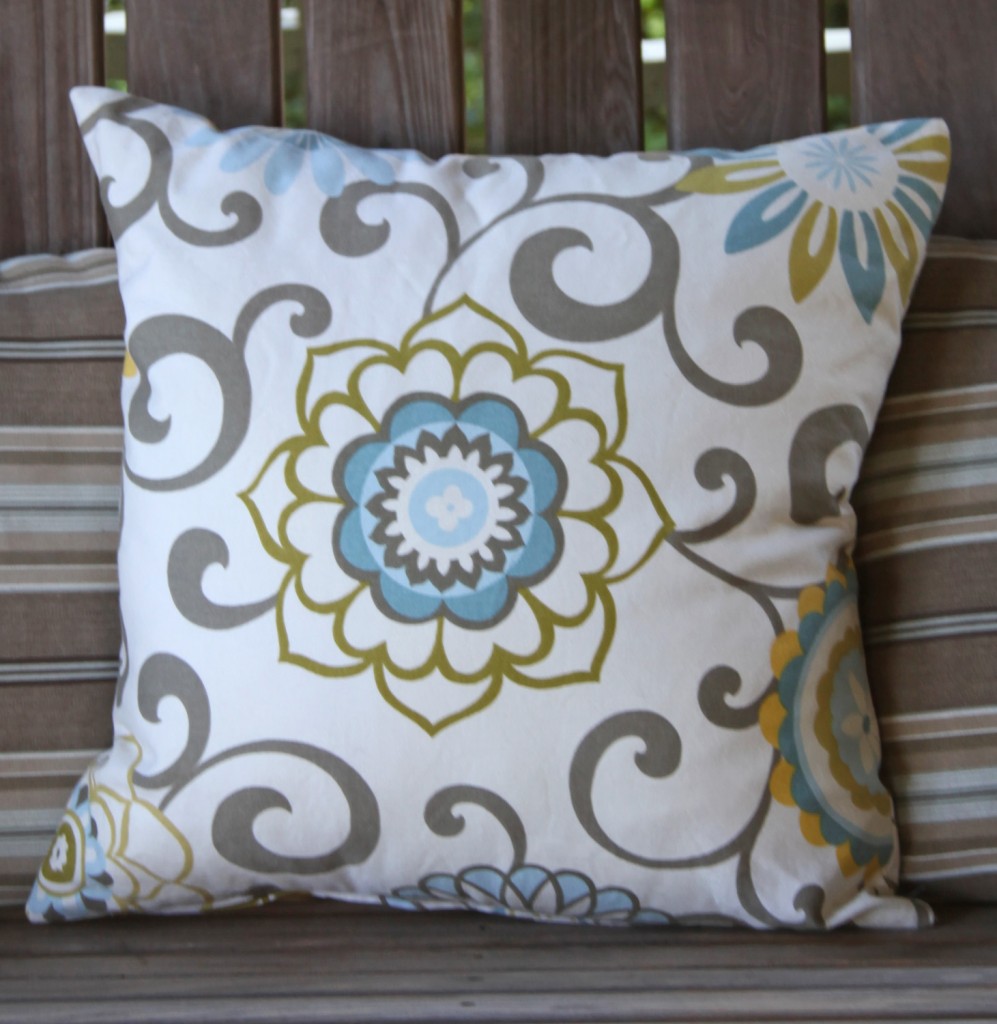
My new pillow (the flower is centered but because of the swirls being asymmetrical it looks off)

In the last week we have had about 10″ of rain (mostly concentrated on Sunday). So in addition to getting water in the basement (literally seeping up from the slab)  it is looking like a jungle outside am I am not looking forward to taming it. At least the weather was pretty nice yesterday afternoon  (for the first time in a while) so the kids and I put on our bug repellent and spent some time outside, which was lovely. Earlier in the day while we were waiting for the clouds to go away, I decided that I should finally work on the pillows for the porch swing. So during Maisie’s nap I managed to get one finished. I should say that I have made a number of pillow covers in my day, but never one with a zipper. My mom always said that zippers were really hard to install, but I saw this great tutorial from designsponge/sewing in a straight line for how to sew a pillow cover with a zipper. It looked pretty straight forward so I decided I would give it a try. We had a few technical difficulties, but overall it went pretty well.  Here are the steps I followed:

Making an Outdoor Pillow Cover:

1. Bought outdoor fabric and two 16″ zippers at JoAnns. I bought 4′ (1 1/3 yards) of 2 fabrics since I wasn’t sure which one I was going to use. It is a Waverly fabric callled “Pom Pom Play” in Spa from their Modern Essential line. I just found this link showing the whole line of fabric, which I think are pretty and modern.

2. Ordered two 20″ square outdoor polyester pillow forms. The only ones I could find were from fabric.com. They are nice and squishy. You could also cover over a pre-made outdoor pillow. I looked around to see if I could find any on sale but I couldn’t find any in this larger size.

3. Put off doing project for about 6 weeks. Have cats sit on fabric. Wash fabric to remove cat hair and keep in a place where cats don’t sit.

4. Cut four 20″ squares for the 2 pillows. This was more difficult then I was anticipating because the repeat is really big on this fabric. I bought a yard and a third (4′) of fabric so I had a good amount to work with. In the end I went with centering one flower on 2 of the panels and on the other 2 I have 3 flowers off center. I ended up needing all of the fabric to be able to make 2 matching pillows and was really close to not having enough. Sam “helped me measure” the fabric for the pillow.

5. Iron fabric to get out creases from having it folded.

6. Pin one side together good sides facing each other. Mark 3″ in from each side.

7. Sew from corner to mark on each side (including backstitching to prevent unraveling). Use a 1/2″ seam allowance all the way around. I also used a polyester thread.

8. If you have a modern sewing machine you can apparently set it to “basting” to sew the remainder of the side. I have my old school 1940s singer which only sews one kind of stitch so I hand basted the rest of the side.

9. Iron seam flat.

10. Pin zipper so that it aligns with basted seam. Zipper should be closed and face down.

11. Sew to one side of the zipper. Most sewing machines have a zipper foot that you can install that leaves one side of the needle free so that you can sew next to your zipper without the foot getting caught in it. Of course I do not have one so I decided to wing it. I sewed with the zipper on the right of the foot since on my machine the foot is narrower on that side (I was probably about 1/4″ off of the zipper). Once you have gone down one side then turn 90 degrees and sew across. Then repeat down the other side.

12. Cut out baste stitching and check to make sure the zipper is working. Miraculously it worked! Keep zipper open (I foolishly kept mine closed and then had to carefully open it after the pillow was finished)

13. Pin and sew the other 3 sides.

14. Turn right side out and iron.

15. Put in pillow form and close zipper!

16. Put on front porch. Have kids lay on it!

17. Find time to make second pillow. Consider ordering a zipper foot for my sewing machine.

Does anyone else still have outdoor projects to finish?

Picture Frames Roundup

August 11, 2011

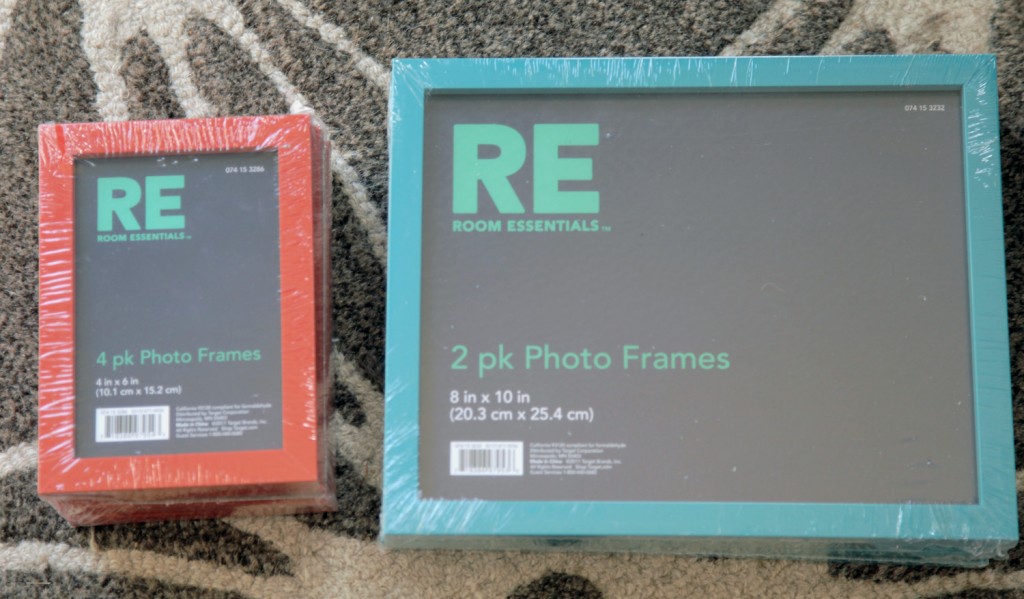
At $4.99 a pack these are hard to beat! Target currently has these in red, turquoise, majenta, green and silver. They only seem to offer these during the "back to school" months, so stock up now. These will probably go in Maisie's room. I have some artwork that is waiting to be framed.Â

I was at Target yesterday and I saw that they have some of my favorite frames in stock again. So I thought I would do a little round up of some of my favorite frames. Picture frames run the gamut of inexpensive to really expensive. Over the years I have had custom frames made, bought lots of stock frames and picked up old frames. Nowadays I try to stock up when I see them on sale. For the mattes I tend to use a combination of standard ones, cut my own w/ an exacto or my matte cutter (which never comes out as nice as I would like), or if it is a nicer piece of art I have my local art store cut it for me. I also recommend picking up a roll of acid free mounting tape designed for hanging prints. It is sticky but not too sticky and it shouldn’t leave a yellow mark on your artwork. I have a roll that I bought about 15 years ago at Pearl. I still pull it out for all of framing. I also recommend getting acid free mattes if it is nicer piece of art that you don’t want to degrade over time.

Here are the places where I normally pick up my frames:
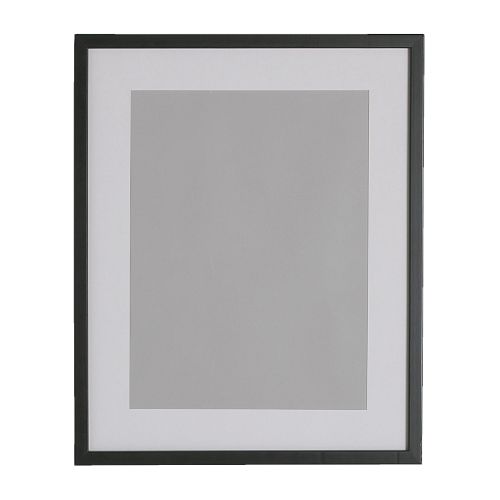
The RIBBA Frame from Ikea.Â

Ikea:

Pros: Inexpensive simple white, black and wood frames. Also they are now offering acid free matting, which is nice for the long term preservation of your artwork. I have used countless numbers of RIBBA Frames over the years.

Cons: Non-standard American sizes, which means you almost always have to cut the mat. Also I wish that they had a couple of other medium sizes. Often I can’t find one that is a good size for what I am framing. The other thing that I hate about their frames is the tabs on the back. They are a pain to bend back and forth. I use a flathead screwdriver, but it still is annoying, especially if you need to do any adjusting. Jenny from Little Green Notebook had a great post about using a standard Ikea frame and painting the piece of paper behind the matte to give it a custom look.
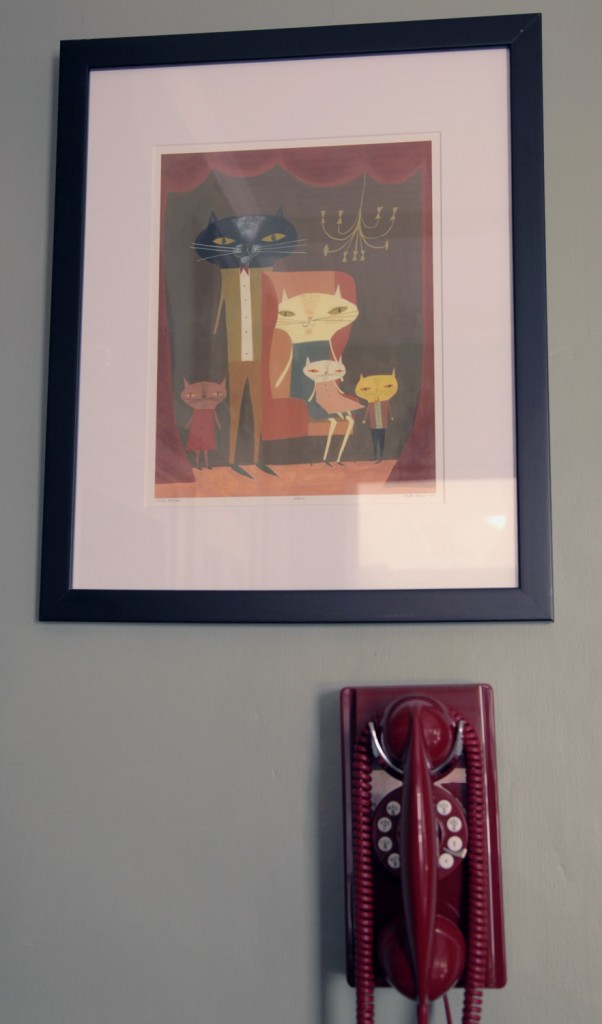
Micaels Frame & Standard White Matte in our Dining Room (print is by Matte Stephens)

Michaels:

Pros: The Michaels by us has a very good selection of frames in all different sizes, I can almost always find a frame that will work. I also think that in general their quality is pretty good. They also sell standard mattes in different colors that will fit a lot of the frames they offer. I haven’t tried this service, but you can pick out a standard frame and they will matte your artwork in it fairly inexpensively and in a short period of time.

Cons: You will want to wait for a sale. Fortunately they have lots of 50% off sales and they sometimes have coupons as well.  So with a good sale you can get a pretty reasonable price.

Target:

Pros: They have some nice simple frames. They also offer some really fun colorful frames both in solid and patterns (which I haven’t found anywhere else).

Cons: Most of the time their frames are priced okay, but not as inexpensive as Michael’s on sale, but in the fall they usually offer packs of their RE Frames (Room Essentials). These are only available in the store. Our store currently has them on an end cap near the back to school stuff.
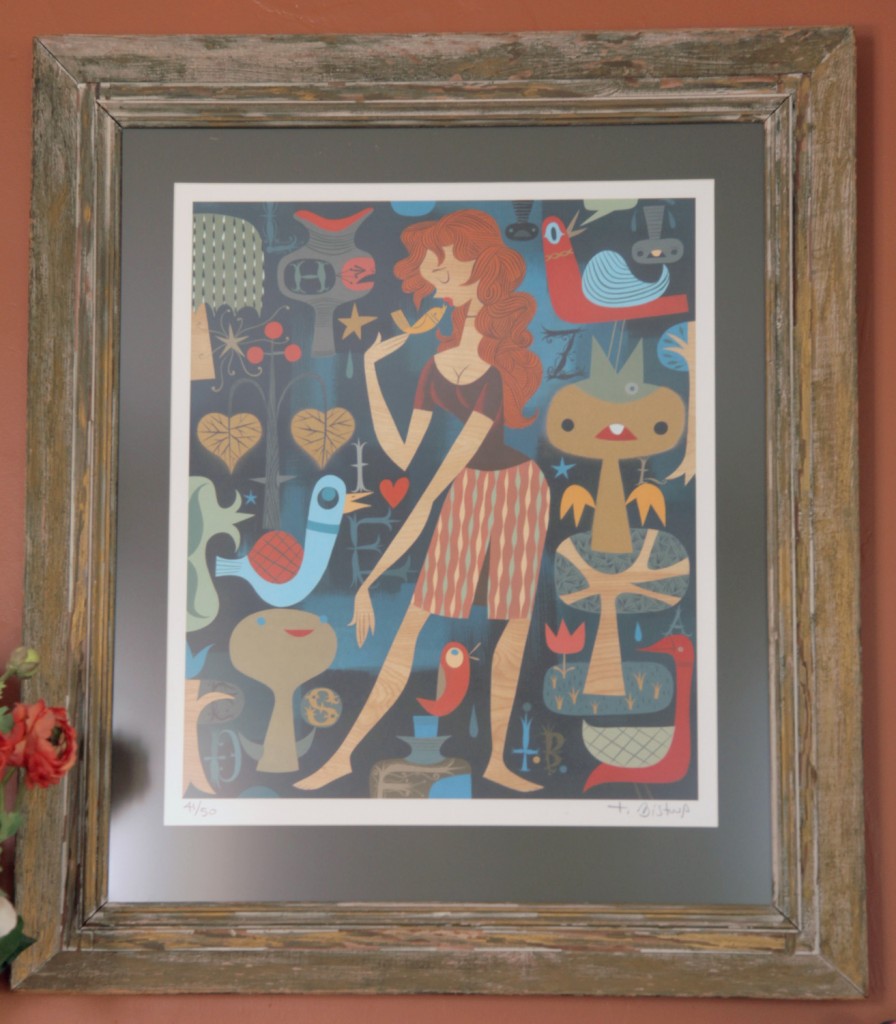
Frame from a Salvage store w/ custom matte and low reflective glass installed at our local frame shop (print is by Tim Biskup)

Thrift Stores & Garage Sales:

We bought my favorite frame at an architectural salvage store in Philadelphia. It was cheap and I love the patina. We then had glass installed and a custom matte made at our local frame shop.

Pros: INEXPENSIVE!

Cons: A lot of the time you need to paint the frames and you may need to get a custom matte made to fit the frame. Requires spending some time hunting down a deal.
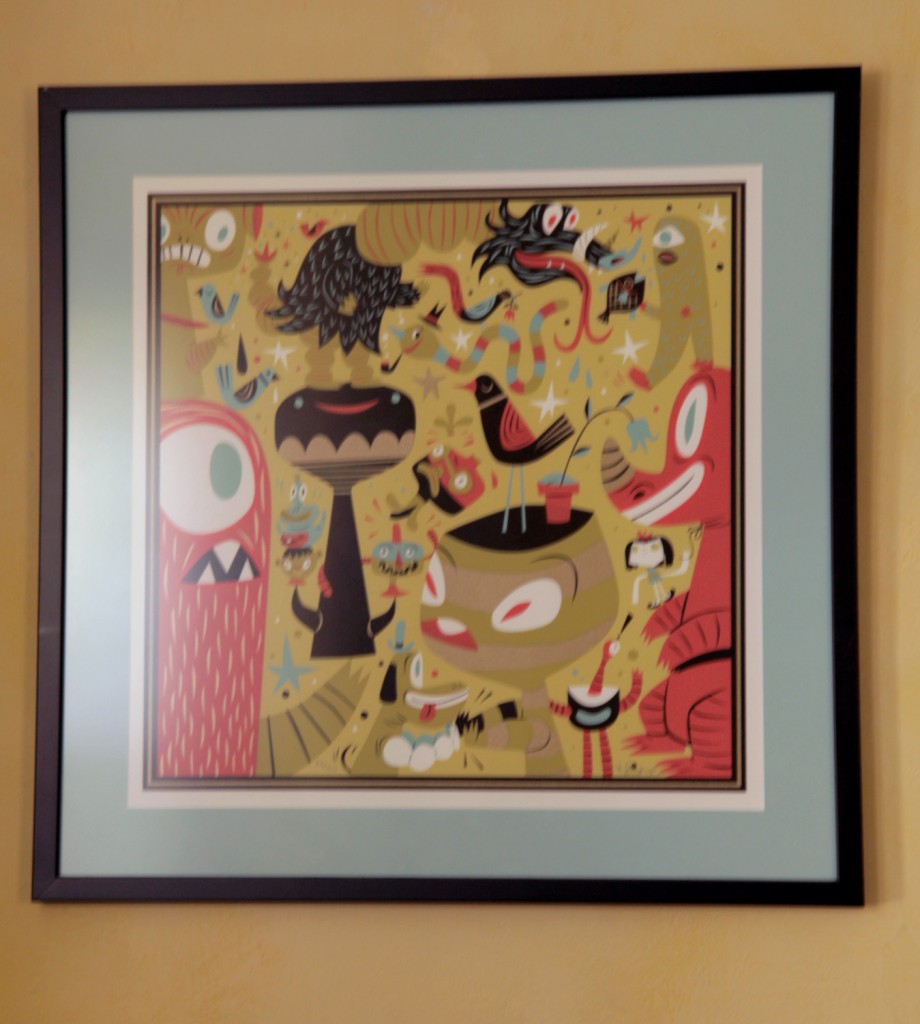
Custom Frame and Matte w/ low reflection glass (print is by Tim Biskup)

Custom Frame Store:

Pros: A perfectly sized frame and matte! Plus they typically even install the wire on the back, so all you need to do is pick it up. You can also order what ever color matte you want and choose low reflective or protective glass.

Cons: Custom frames are expensive! They can also take a while to finish it (while they wait for the frame and matte to be delivered and then cut and fit). Definitely worth shopping around for a place you feel comfortable with and that offers a good selection of frames and mattes.

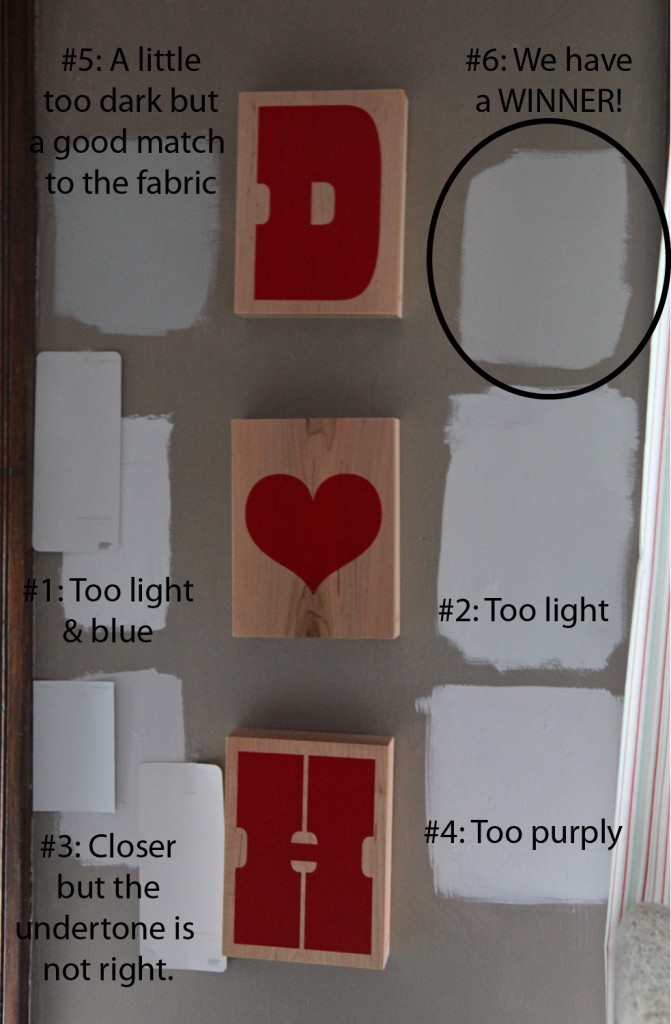
Paint Samples on the Wall in our Bedroom

The winning paint swatch with the fabric samples for the curtain and chair.
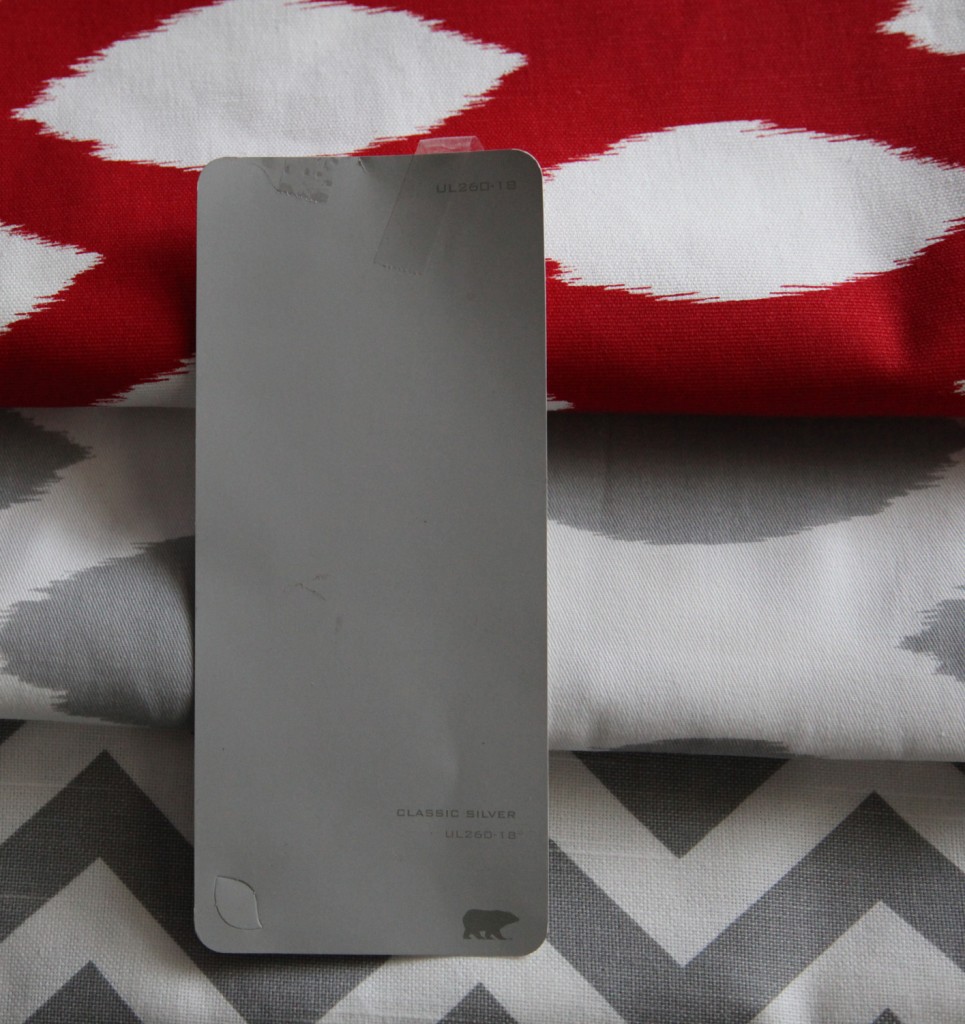
In my case, it takes 6 gray paint samples and over a month to find the right one for our bedroom! Fortunately almost all of the paint sellers now sell little sample jars so I don’t have to feel bad about it. At $2.99 a pop, I am still out less than $20. And the winner is Behr Ultra Premium Plus in Classic Silver from Home Depot. Phew! I was beginning to think I was being too picky. For the last two samples I waited until my fabric samples arrived so I could use those for reference. I wanted the gray to be similar but slightly lighter. I definitely needed a cool gray rather than a more taupe warm gray, but a lot of the samples I came home with had a blue or purple undertone that I didn’t like.

I now have the urge to paint! Of course there is a lot to do before that, although I am thinking of painting a larger sample. I think that will make me feel better! On the list today is to go out to the garage and look at my Best panels to see which 4 I actually have. I took a quick peak yesterday and there is more red in them then I was expecting. hmmm…