Upstairs To Do List

January 27, 2013 — 4 Comments

hall-before2

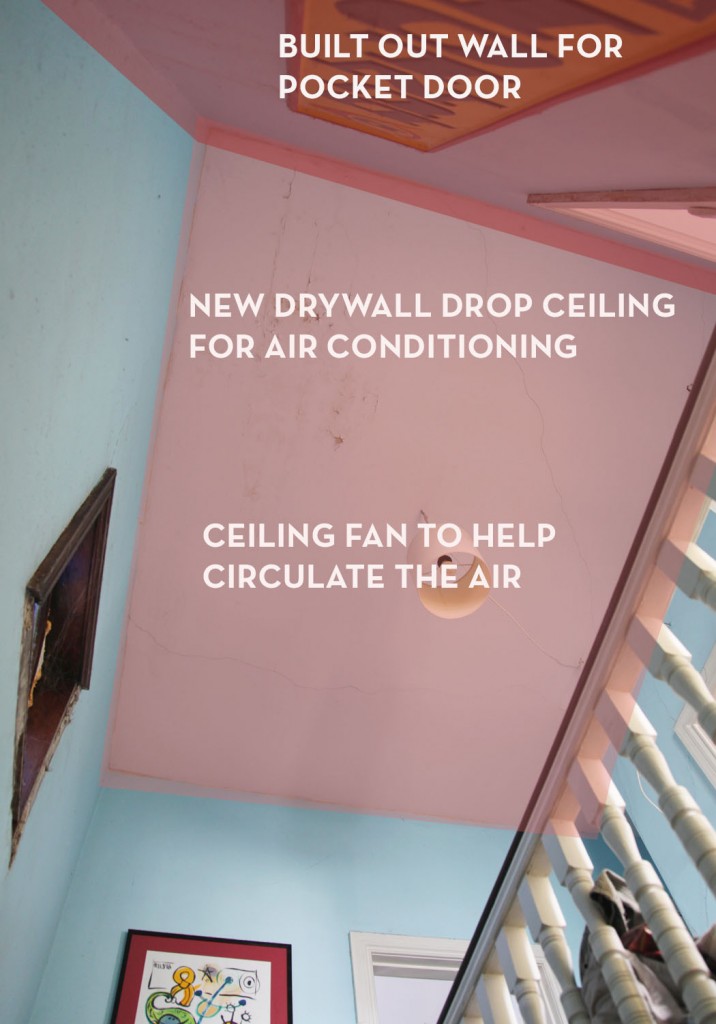
I mentioned a couple of weeks ago that we are looking into installing air conditioning in the house, namely in the second and third floor. I am pretty much sold on the concept of running it in our second floor hallway ceiling and then installing a new lower drywall ceiling below. This would allow us to keep the ceilings in the bedrooms high while sacrificing some height in the 9 1/2′ high  hallway. As you can see it would also solve the existing ceiling issues left over from a leak years ago. I still need to call in some air conditioning contractors to see if they agree with my strategy. Of course to make all of this work there are a bunch of other things that also need to happen (in a specific order). As with these types of project scope creep is inevitable.  This project I imagine will take us most of the year to complete (with some pieces taking possibly longer). We are hoping to be able to have air conditioning by summer (fingers crossed!). So even though the weather is absolutely freezing here, I am thinking about more cold air.

House To Do List 2013

roofflashing

Step 1. Fix roof flashing in several locations.

I should start by saying that we had the house re-roofed in 2001.  It was the first big project that we dealt with when we bought the house. We knew that it needed  a new roof, it still had the original cedar and then 2 layers of asphalt on top. It required adding plywood underneath (cedar is installed on thin slats). It also required several flat roofs to be replaced with membranes. Did I mention that they also replaced the gutters and the beadboard ceiling on the porch? So the downside. We went with the least expensive contractor. We didn’t really have too much of choice since the other contractor was twice the price (which was out of our budget) and I couldn’t get any other roofers to give us a quote. I actually saw a roofer pull up, look and then drive away. It was our first experience in the dangers of owning an old house (with a very steeply pitched roof). Needless to say our roofing contractor was in over his head and some of the flashing details were not the best.The main roof itself is actually fine (knock on wood) but there are several conditions that need help.

towerroof1-before

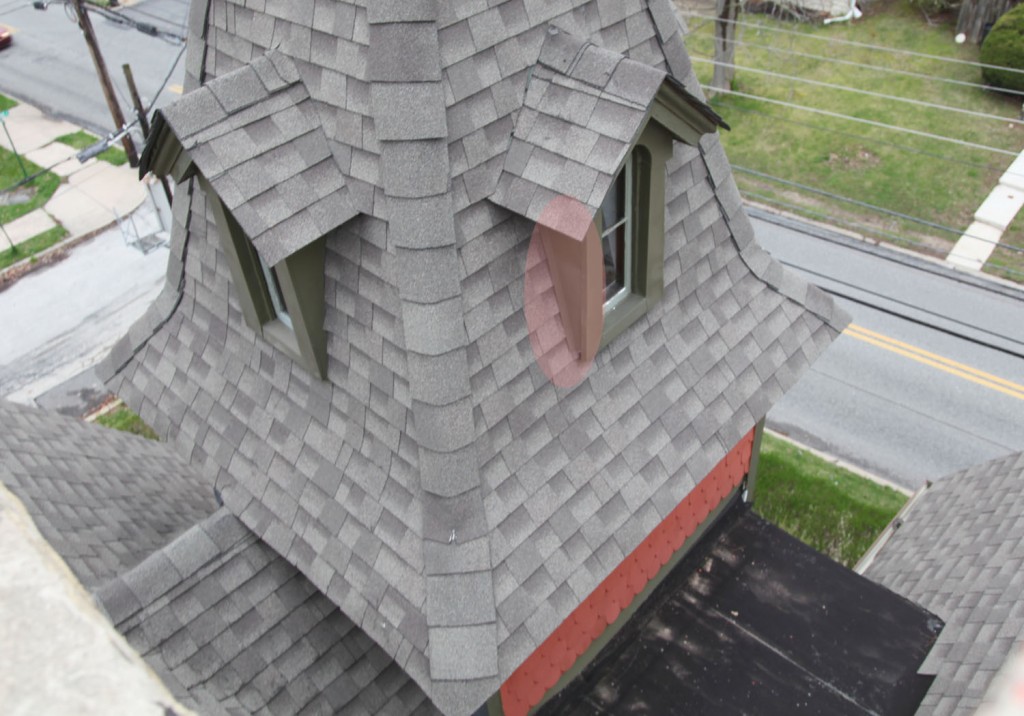
The biggest of these are the tower windows, (which are scary high). I actually got a look at them when the chimney guys were here and I got to take a ride in the fancy crane. Some of the windows were flashed incorrectly (i.e. the flashing was not installed behind the roofing material but in front). All of this work needs to be taken care of before we can proceed with insulating the roof. Of course this will have to wait until the weather is a little bit warmer.

2. Empty out Third Floor.

Since we don’t have an attic, the third floor has become a dumping ground. We don’t necessarily have to take everything out, but we do need to take a large portion of things out (a lot of which we just need to get rid of).

section1d

3. Demolish part of the third floor plaster eaves to allow for access for insulation and ducting.

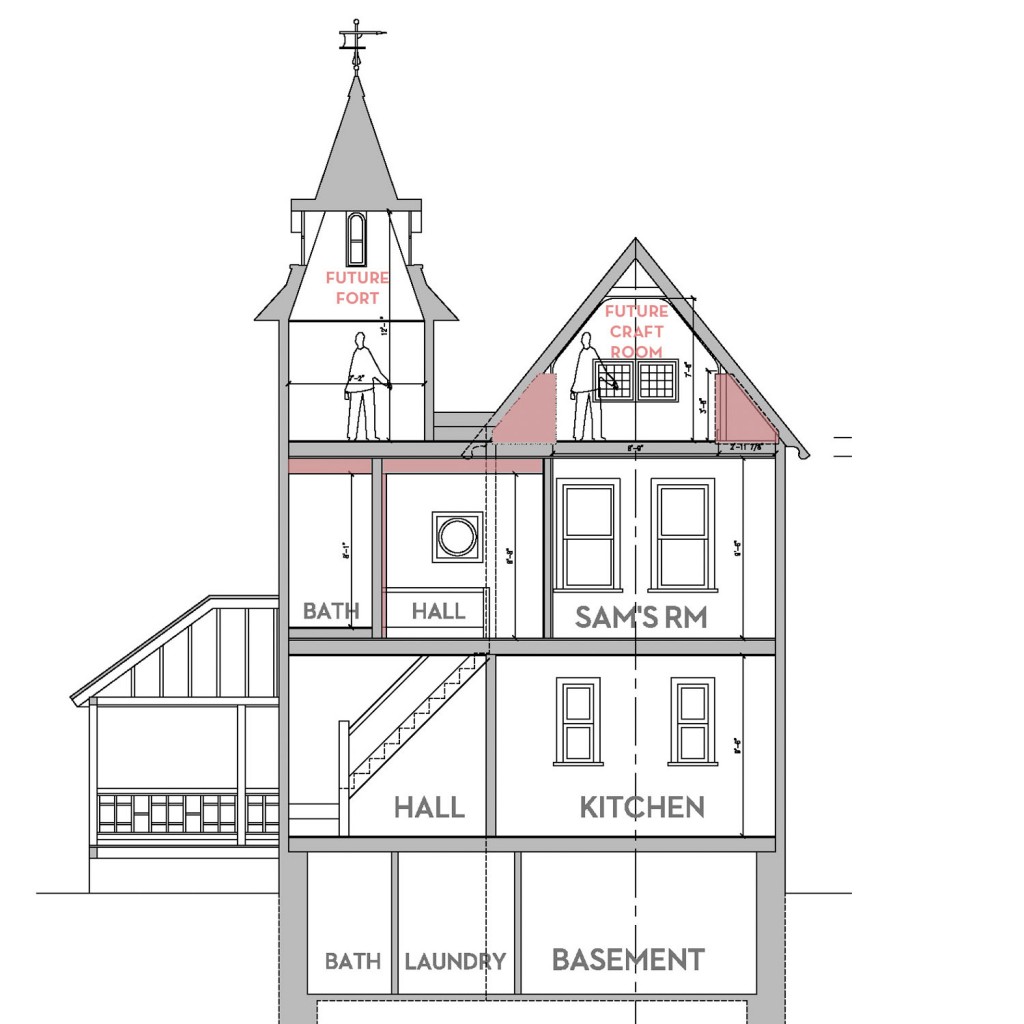
Above is a section through the house at the hallway. The areas in pink are the spaces that we will be doing most of the work. It was a pretty good exercise to draw this up. Based on looking outside, we should have some extra cavity above a portion of the corridor. Interesting, very interesting! We are currently evaluating the best way to take out a portion of the lower plaster while keeping the upper portion in place.

4. Have the roof insulated (including sloped roof, flat roof over hallway and tower roof)

I am really hoping to use closed cell spray foam. It takes a very specific contractor to do this in existing walls. Fingers crossed we will be able to find someone.

secondfloorplan-before2

5. Demolish plaster in part of second floor hallway to allow for door to master bedroom to be shifted, to allow for new closet

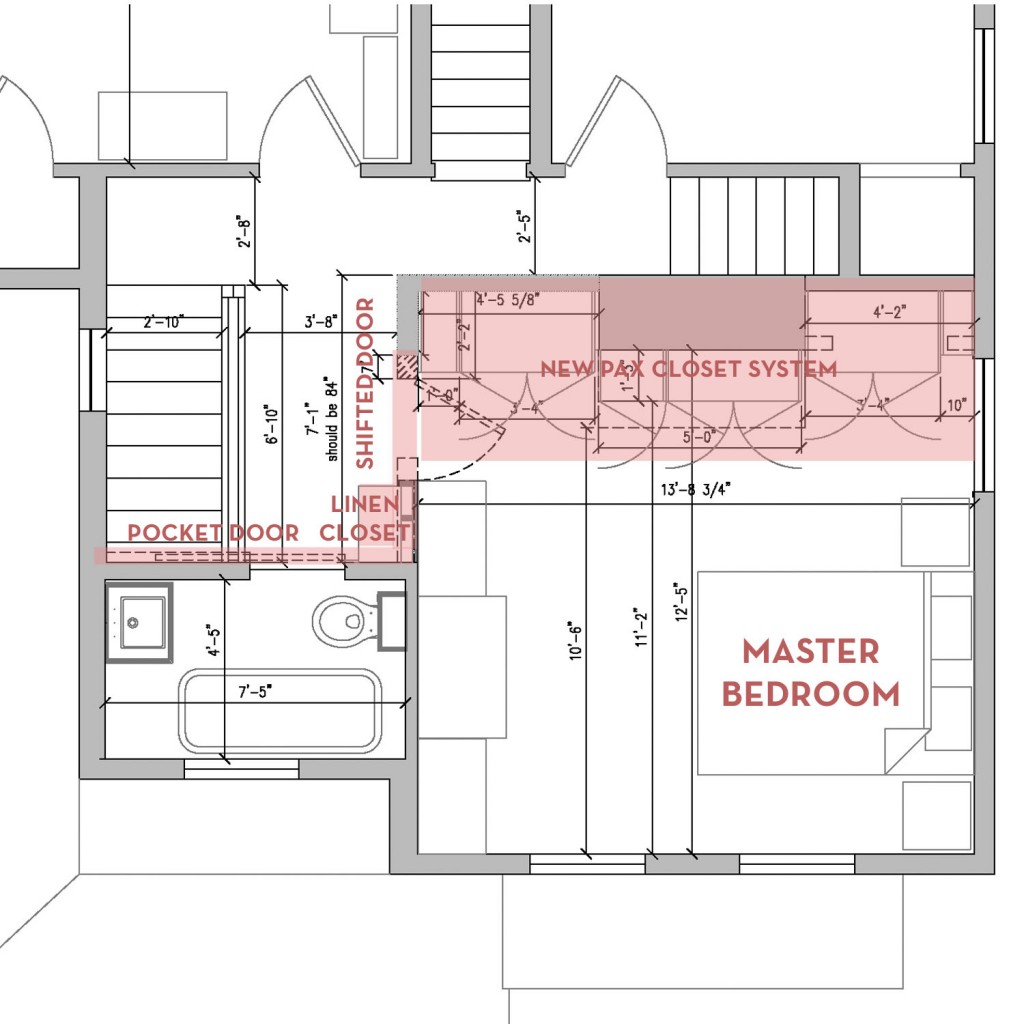
To make the closet system work we need to shift the Master Bedroom door 7″. This will allow for a full depth Ikea PAX Closet System to be installed behind the door. I can’t tell you how much I dream of the day that this will be in place! We are also planning on running conduit in the wall that we are shifting for both the second and third floors.

6. Shift door to master bedroom and frame out for new pocket door for bathroom.

The wall to the Master Bedroom is structural, so it will need to be carefully structured.

7. Frame out area in Third Floor for Air Conditioning Unit

We will be adding a “closet” in one of the third floor rooms to house this unit. I still don’t know how big this thing will be. Hopefully not TOO big.

8. Run required electric up to second and third floor for air conditioning, ceiling fans and new third floor outlets.

9. Install air conditioning unit and ducts (in hallway and up to third floor through eaves)

10. Install new exhaust fan/heater in bathroom

I’m not sure whether we will need to drop the ceiling in the bathroom yet. I do want to install an exhaust fan/heating unit like the one in the basement bedroom. We will have to see what we can make work.

11. Install new drywall ceiling in hallway, master bedroom and bathroom.

This will require framing below the new ductwork, but I can’t wait until we have a lovely new ceiling and some ceiling trim.

12. Install new linen closet in hallway and pocket door for bathroom.

The pocket door for the bathroom is really important, to avoid this door from interfering with the shifted bedroom door. It also allows for a small linen closet. We are hoping to reuse the bathroom door and reusing a couple of old cabinet doors that use to live in our basement. We currently store sheets in our bedroom closet and the towel are in a basket in the bathroom. It would be awesome to find a place for these things.

13. Install new closets in Master Bedroom

Did I mention that I can’t wait for these? I dream of all of the cool pullouts that I ooogle everytime I go to Ikea.

14. Install new trim in Master Bedroom and finally finish painting all of the old trim white.

15. Design and Install storage in the eaves on the third floor.

This I’m sure will be a longer project, but I imagine all of that unused space!

16. Enjoy cool air conditioning.

Phew! I’m tired just looking at this list (and it took me 3 days to write this).

4 Comments

Blog Update Coming Soon!

January 23, 2013 — 2 Comments

weathervane

Behind the scenes over here we (as in one part me and three parts Mr. S.) have been working on updating the blog design. Although I am still generally happy with the current design, we have been running into problems with it working with the latest version of WordPress.  This lead to Mr. S. suggesting a redesign (Yes I know I am really lucky!). We are really close to launching (Yeah!) but of course this means that I am behind in new posts (Boo!). I thought I would show you some of the patterns and colors I am working with though. Because after all I can’t seem to get enough of either!

weathervane

We are still tweaking the scale and colors but I am really liking where this is going. I got some inspiration from the Pantone Colors for Spring 2013 along with some artwork and prints that I love. There will also be more white on the site, which is new for me, but will hopefully offset the color nicely. I am also working on adding some new features (which will probably take longer to fully implement).  The blog itself is also going to be updated with the latest versions of code and will be scalable for different viewing platforms including mobile devices and ipads, which is pretty darn cool (I am so lucky to have a husband who can code!). I am hoping that we will go live by next week, so THANKS for being patient and stay tuned!

Also if anyone has any opinions on topics or things you would like to see covered on the blog please let me know!

2 Comments

turkishtowel4

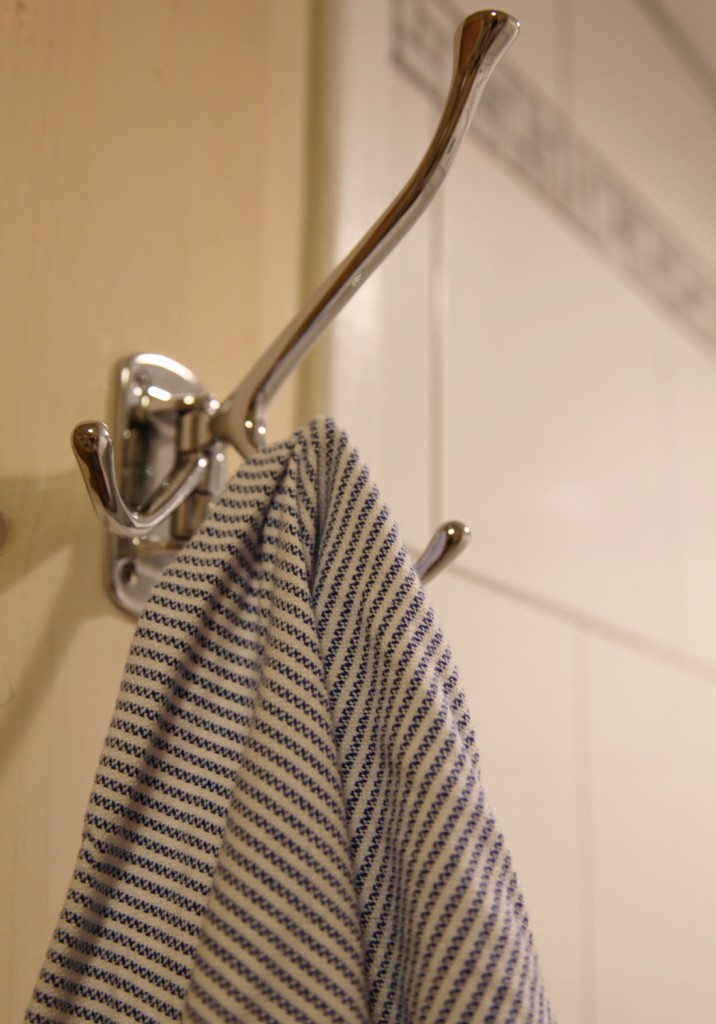
I know it is a major trend right now, but I decided to give Turkish or Fouta or Peshtemal towels a try. I actually tried them years ago when I was in college and visiting Istanbul for a few days while studying abroad. At the time I was confused and definitely not convinced. I thought these sheet like things are suppose to be towels? They seemed stiff (possibly starched) at the time and not at all luxurious (of course I was staying at an inexpensive hotel not really made for tourists).
turkishtowel3

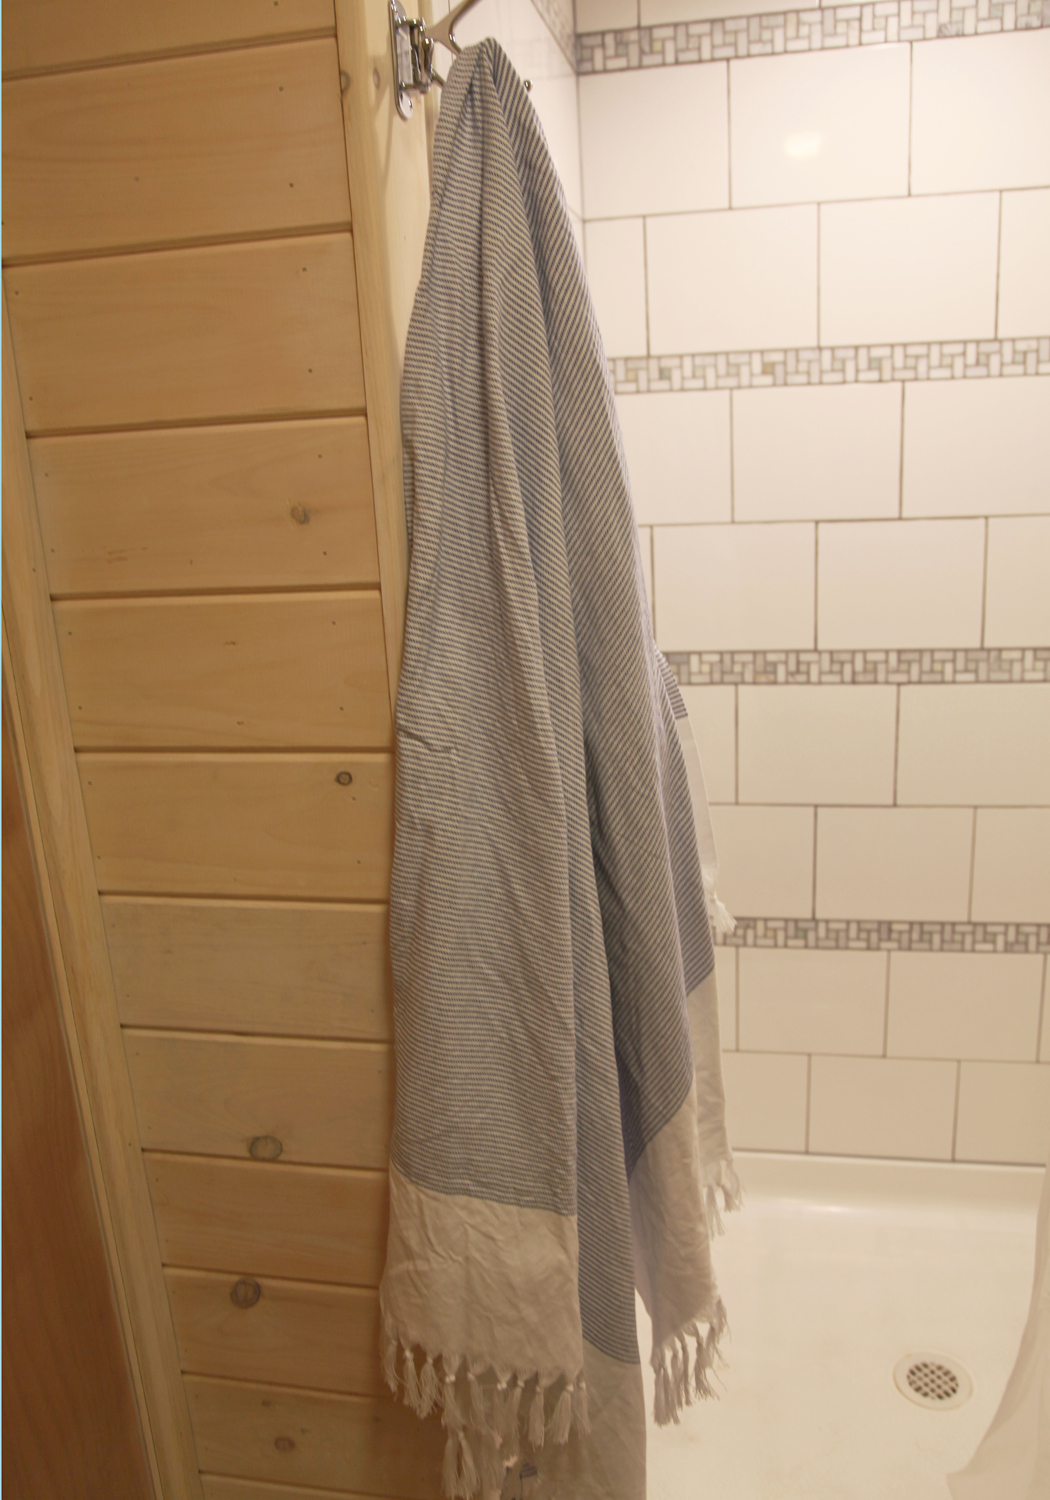
So anyway, back to now. I have been seeing them pop up on a number of the sale sites and in some of the catalogs I get in the mail. I couldn’t believe how pricey they were ($40-60 a piece), although they are super colorful with fun patterns. But what finally convinced me to give them a try was reading a review of them on House*Tweaking. She is using them on hooks (like we do) and said that they dried more quickly. We have problems in the summer with the towels drying out properly, which leads to going through a lot of towels and spending more time then I would like ensuring that they are washed properly to get the mustiness out. Dana recommended this etsy shop. They have them in the $24 to $28 range, which compared to some of the other prices I have seen, wasn’t bad, but it still felt a little pricey for something I wasn’t totally convinced about.

turkishtowel1

So I had the idea stewing around in my head for a while.Then I saw a link on Little Green Notebook for a company that I hadn’t seen before called Nine Space. And as a bonus they are offering 20% off with the her discount code (LGN20). So I went over there and found some awesome deals in their sale section.
lapizfoutatowel

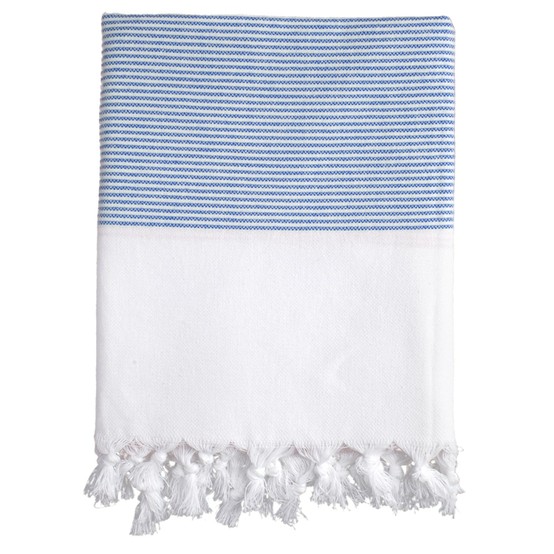
I ended up with the Lapiz Fouta Towel in navy. It is now listed at $29 but  a couple of weeks ago they had it for $16.99 + 20% off. So I decided to order 2.

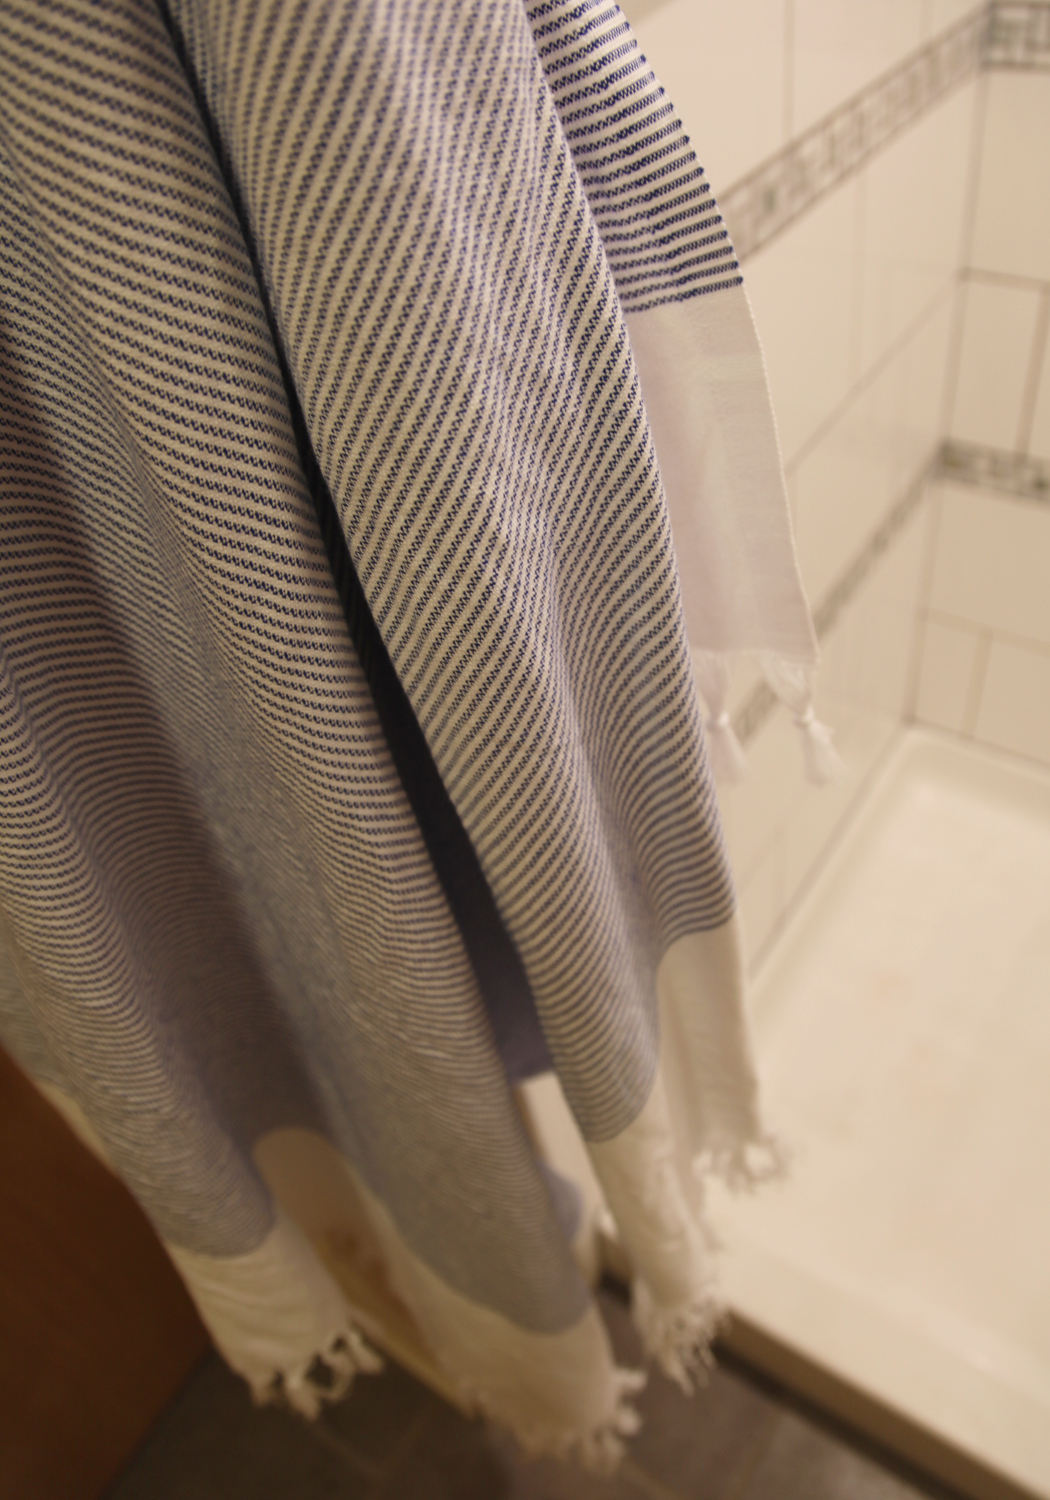
So the verdict? These are generously sized at 40×71 and I quite like them. It is definitely a different feel, but I felt like it did as good of job as a plush towel. They are suppose to get more absorbent the more they are washed, so we will see how I feel about them in a couple of months. Mr. S. is still deciding undecided/not fully convinced. I think my favorite part is the nice texture of the cotton.  They hang nicely and up close the weaving is very pretty. I also picked up a turquoise one for the pool and to use as a wrap, which I think will be a much needed stylish upgrade.

Has anyone else given these a try?

4 Comments

basement-artwork1

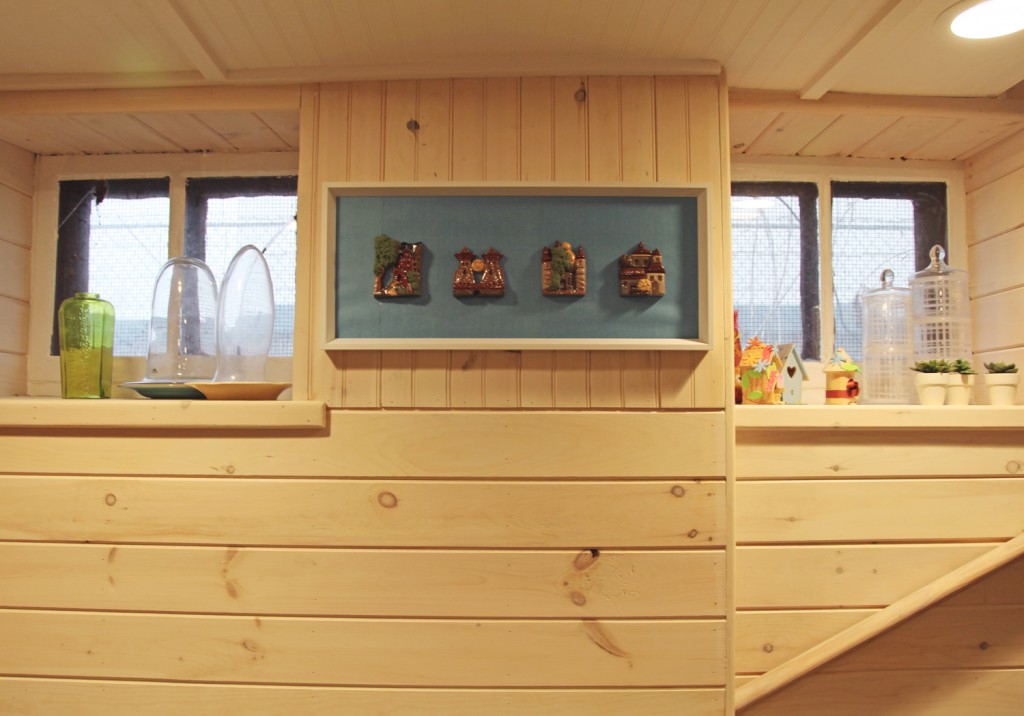
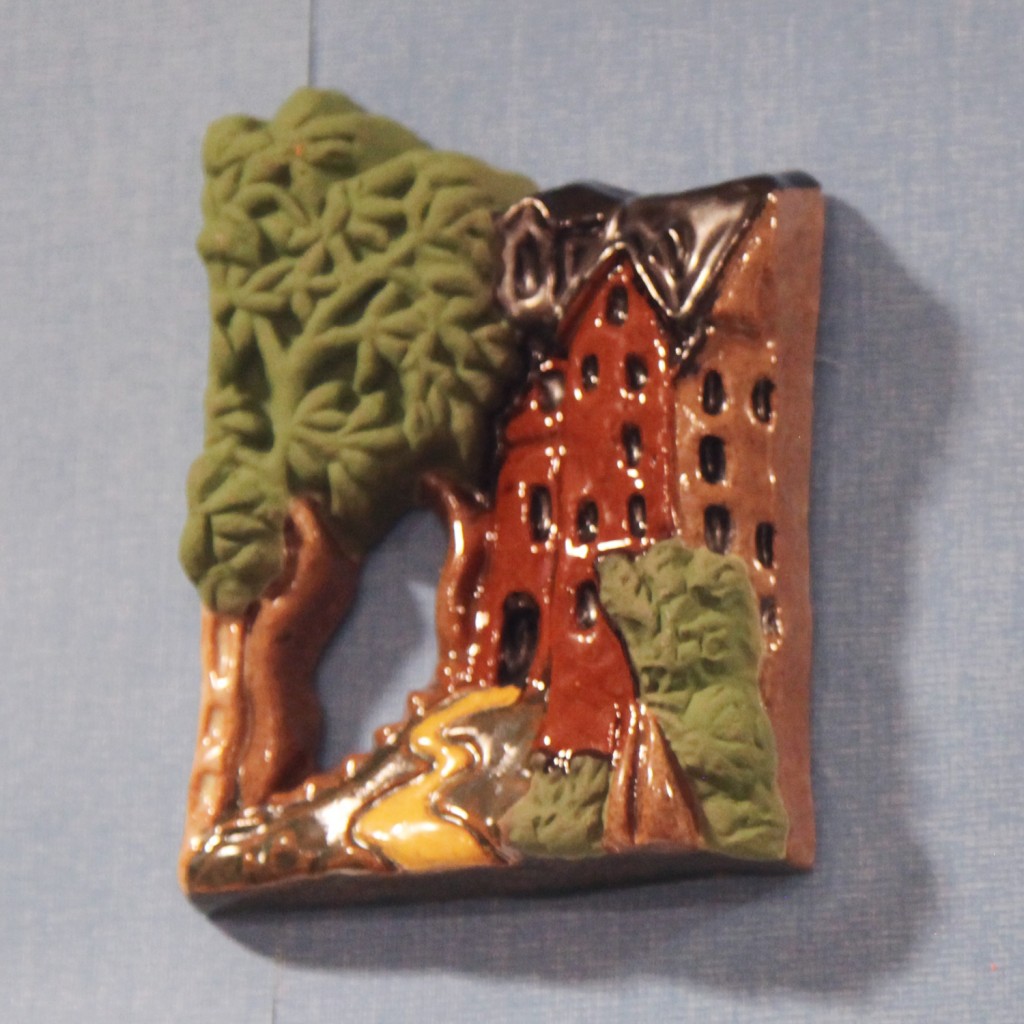
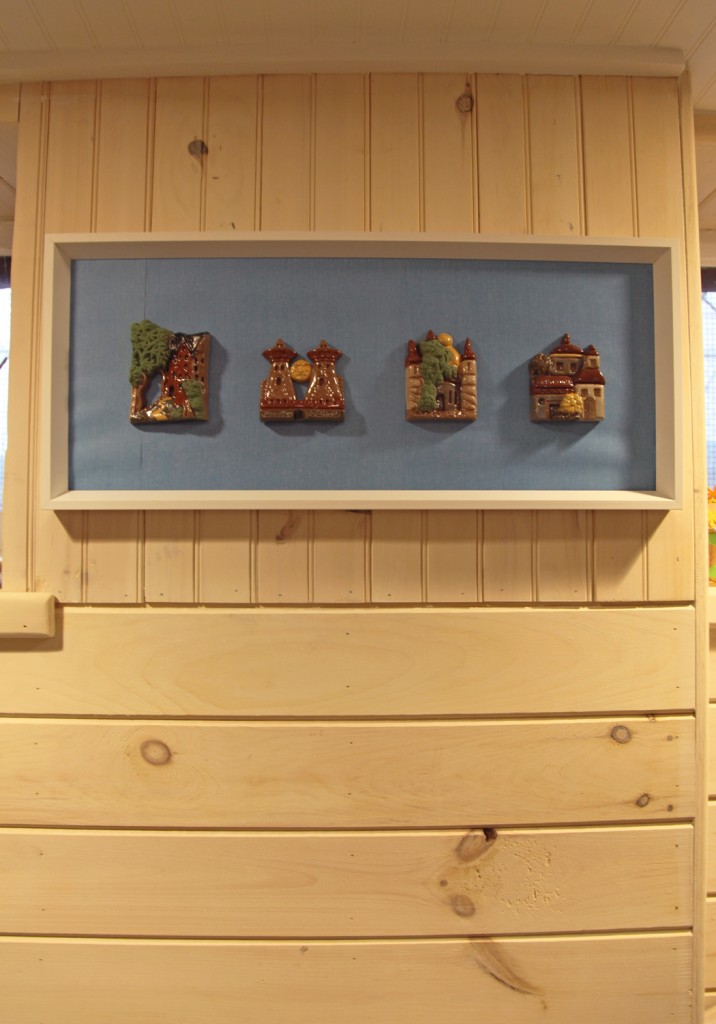
As part of my New Year’s resolutions for our home, I am trying to try mix some small fun projects in with the big, expensive and laborious ones. So one of the first things on this list was hanging up the Moravian Tile that Mr. S. bought me for our Anniversary last year (or was it Mother’s Day). Moravian Pottery & Tileworks is adjacent to Fonthill (where we got married), so there is a lot of sentimental attachment to these, especially the one on the left, as it resembles Fonthill.

I picked up a frame at Ikea a few months ago (which appears to no longer be available). I liked that it had some dimension to it, so that the tile would be recessed in the frame. The first step was choosing a background paper. The frame came with either a white or black board as the backer, but I thought they were a little boring. So I went through a pad of scrapbook paper that I had on hand.

basement-artwork4

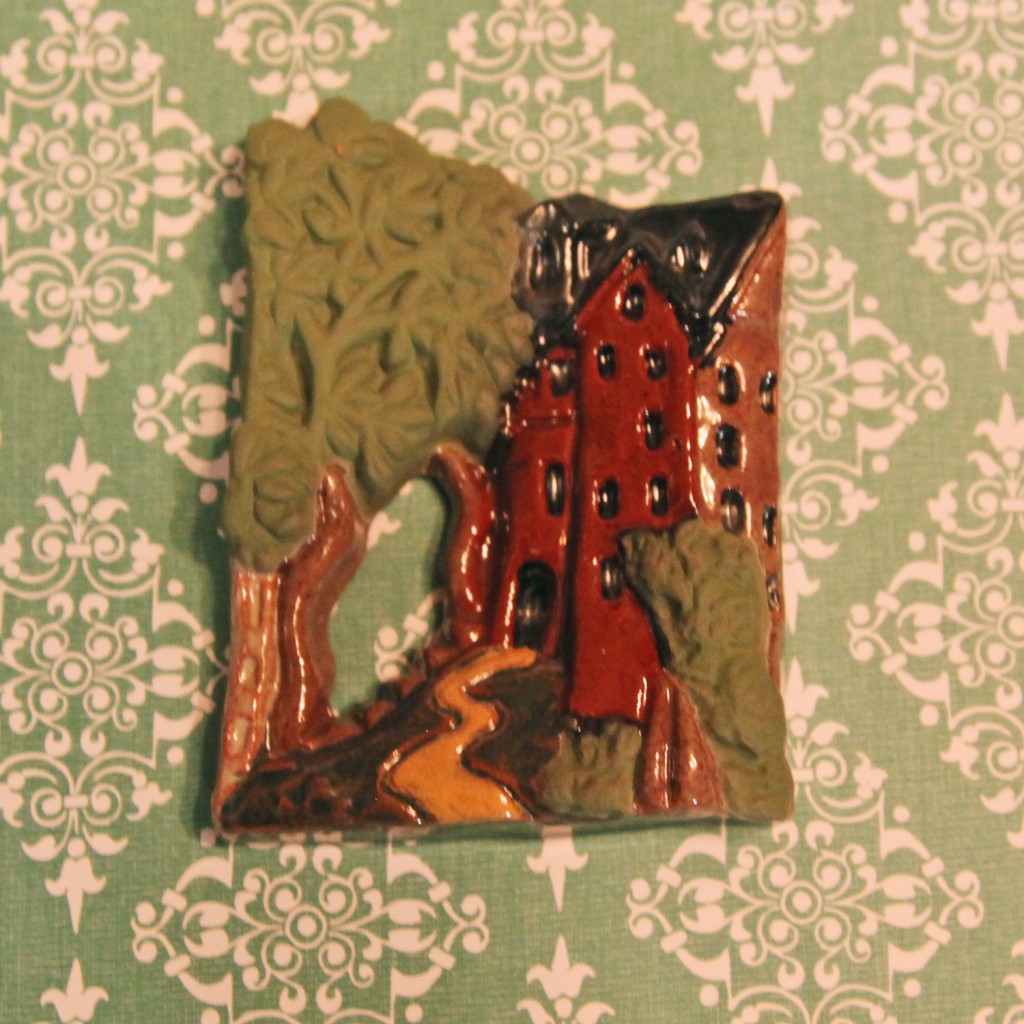
I tried a bunch of patterns including this crazy one but settled on this blue textured pattern instead.

basement-artwork3

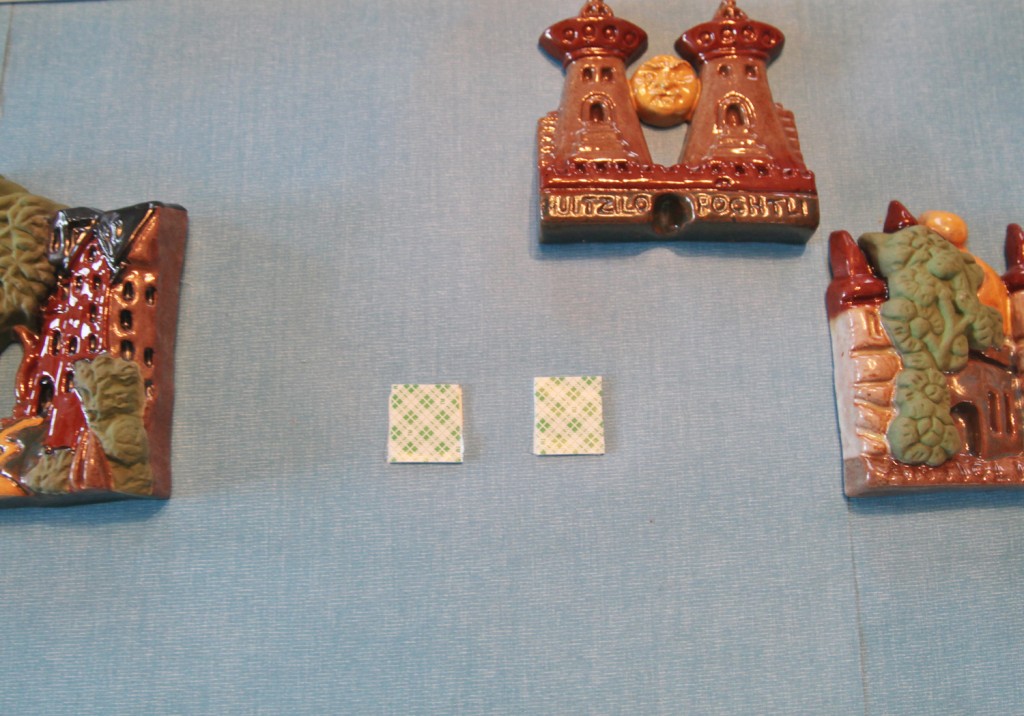
I mounted the tiles with Scott Permanent Mounting tape (it is about 1/8″ thick and a little squishy) that I picked up at Staples.

basement-artwork5

I cut holes with an exacto through the paper to allow the tile to adhere directly to the backerboard from the frame. The tape claims that 4 pieces hold 1 lb so I should be well covered (I used between 2 and 3 on each depending on the shape).

basement-artwork2

I spent about a half hour on the project (not including going to the store to get the tape). I am pleased that the tile are up but I am not happy with the paper backing. It is a little puckered and the seams are visible. I think I am going to see if I can find a piece of scrap wallpaper or something and try again.  At least for now they are up and not sitting in the drawer.

Does anyone have any other ideas for mounting these?

3 Comments

cabbage1

With the unseasonably warm weather I thought it was about time that I headed outside to check on the garden. We have only had a couple of really cold days this season, so a number of plants are confused. I have been very pleasantly surprised with a couple of the cabbages that I bought this fall. This is the first time I have planted these and I thought that they would be long gone by now. The pink ones are fairing better than the darker purple ones, but the fact that they aren’t all shriveled up but nice and full is impressive.

succulent2

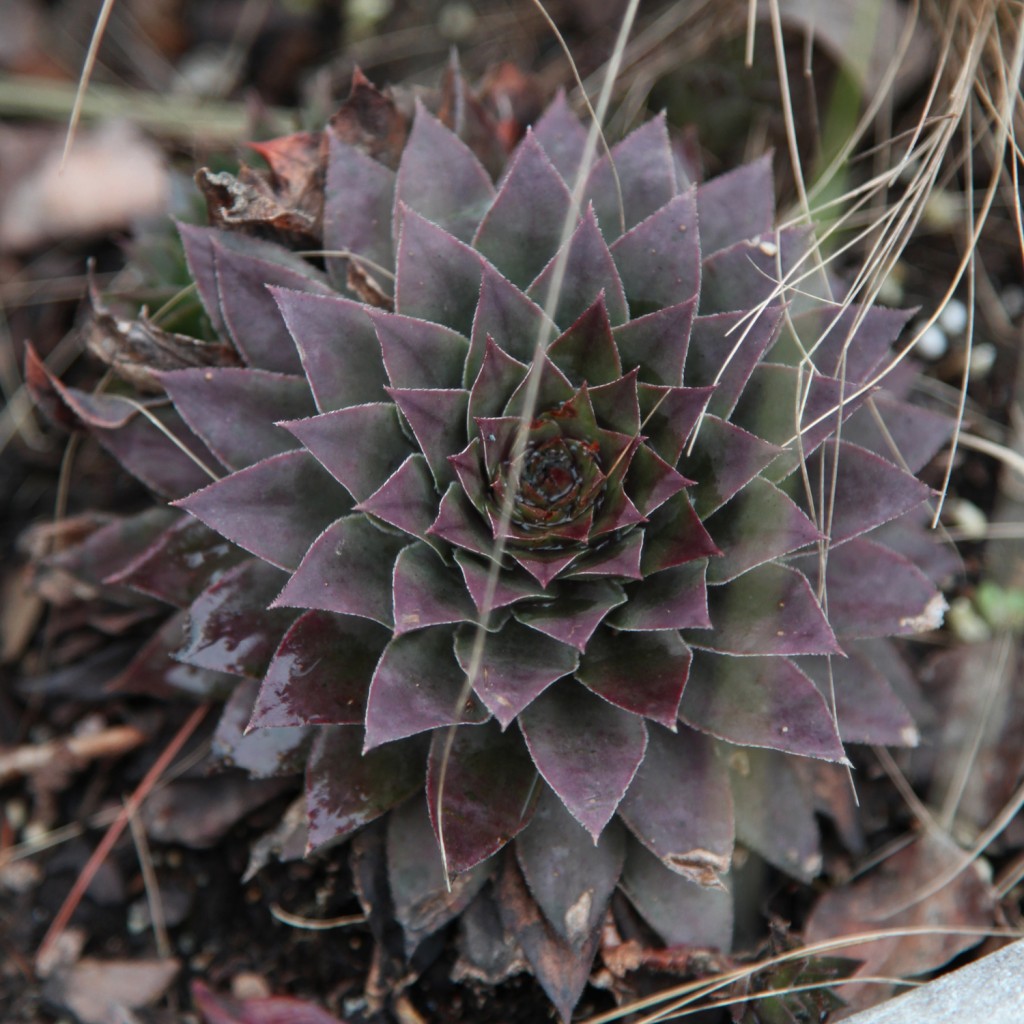
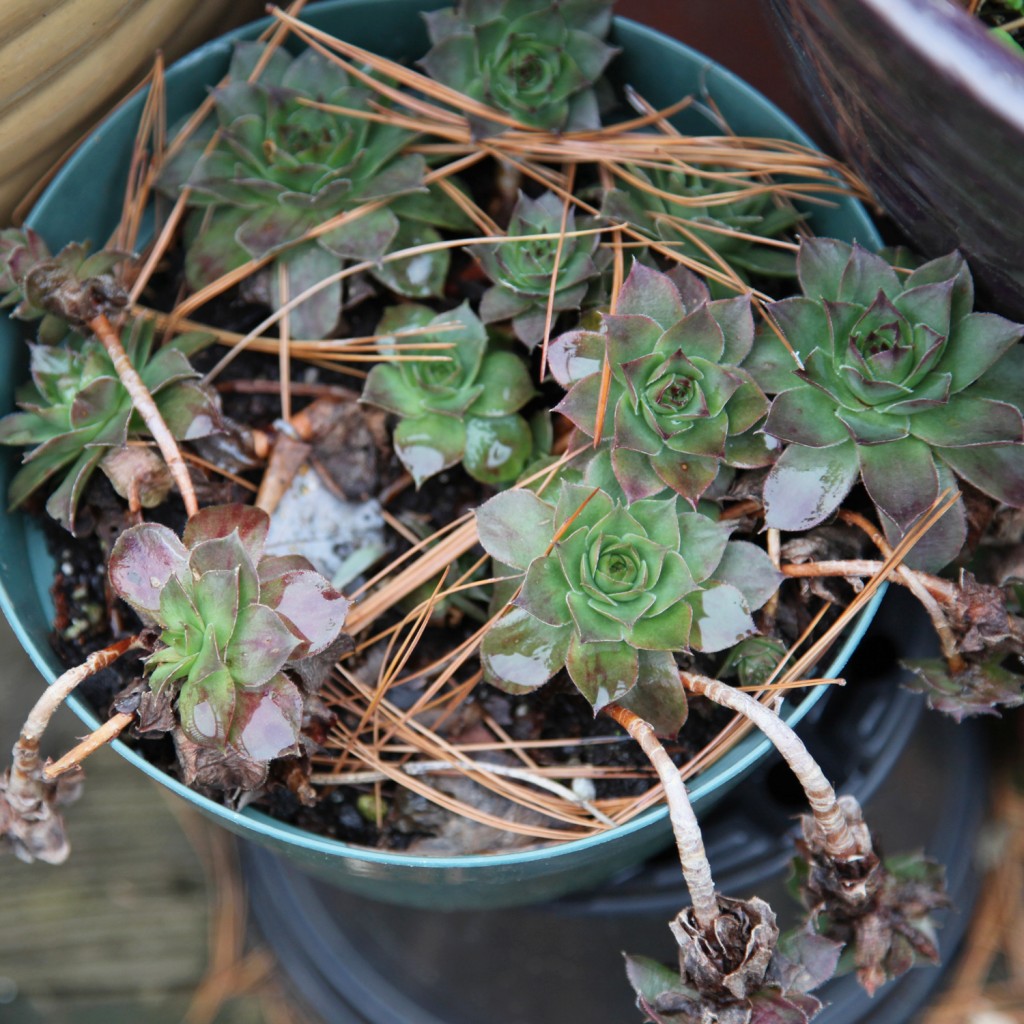
A couple of my succulents (hen and chicks) have also been quite happy. The one above is in my front urn. The one below is still in the nursery pot because I never got around to planting it. I am really liking these little guys as fillers for my pots and planters. They tend to get a little lost when the other plants are in full bloom, but they sit there so nicely, helping to fend off the weeds. And now that most everything has died back, they provide nice texture and color. Both of these are mostly green in the summer, but with the colder weather have added a nice red to the tips.

succulent1

autumnjoy1

Speaking of succulents, my Autumn Joy Sedum are sprouting. I thought that they sprouted early last year at the end of February. I guess we will see if we get some serious snow or cold, how they fair.

nandina1

I am still in love with the Nandina Domestica ‘Gulf Stream’ (Heavenly Bamboo) that I planted in the fall of 2011. This miniature variety does not produce berries, but the colors are so nice and it looks so good this time of year (all year for that matter). I also planted a regular one with berries by our driveway and it is doing equally well.

hellebore2

Finally I thought I would show you some of the hellebores. My main grouping of common hellebores have not started blooming yet, but this other patch of Helleborus foetidus are just starting to. I picked these up at the Scott Arboretum Plant Exchange a couple of years ago but this is the first time that they are going to bloom for me, so I am pretty excited about that. The only issue is that they are kind of tall, so I may need to do some more rearranging in the planting bed later this spring.

hellebore1

Do you have anything interesting blooming in your garden?

P.S. To see previous Blooming This Week posts (and imagine warmer weather) click here.

Leave a comment

piano-valentinesday

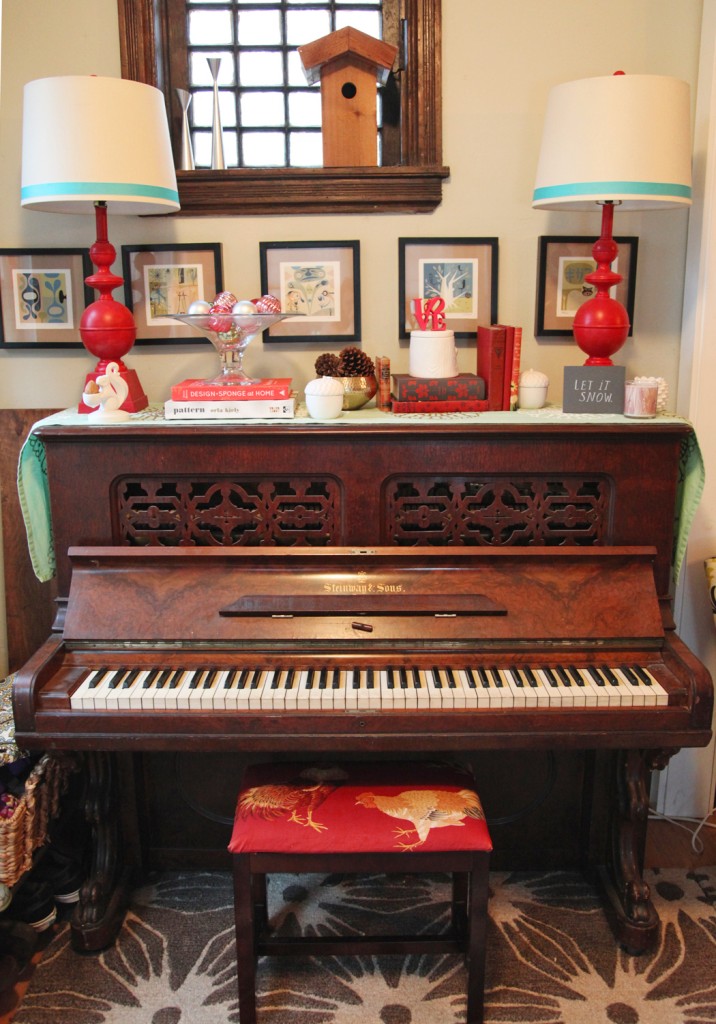
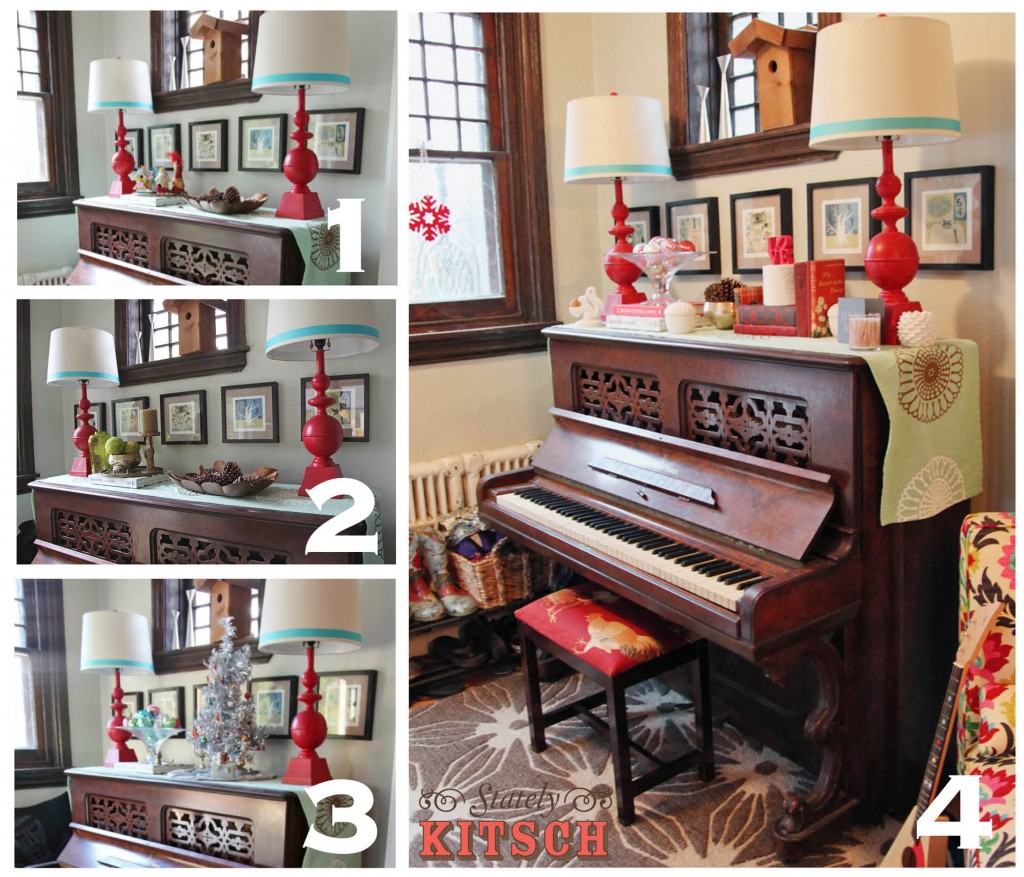
I hope everyone had a nice weekend! We had a good one here. I am finally feeling better and some time with the family was just what I needed. So for once I actually have my decorations up early! I was taking down some more of the Christmas decorations and I decided to go ahead and decorate for Valentine’s Day.

piano-valentinesday4

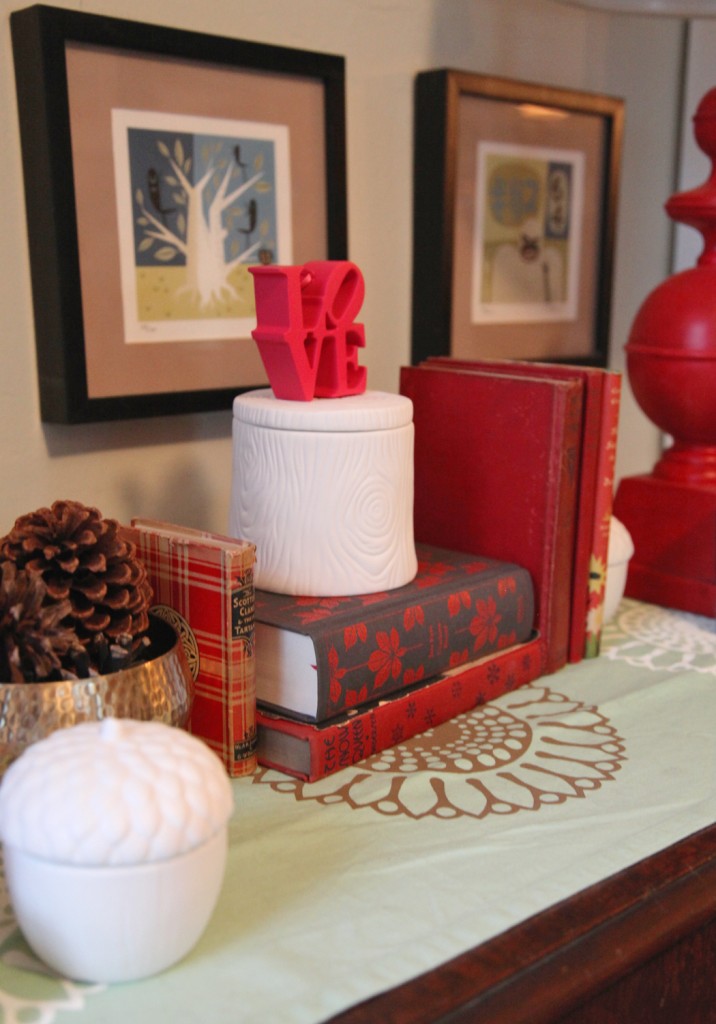
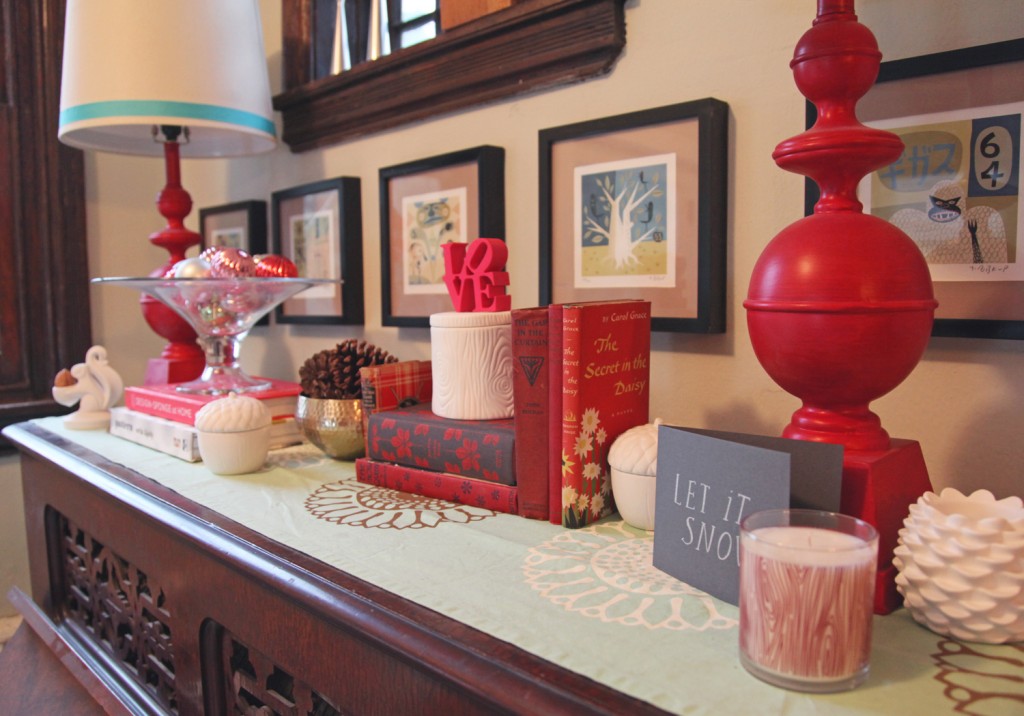
Funny enough the inspiration came from a Christmas ornament. I ordered a couple of clearance ornaments at Urban Outfitters a couple of weeks ago. One of them was this LOVE one, no doubt inspired by Robert Indiana’s LOVE sculpture in Philadelphia (a favorite of mine). I was getting ready to put it away for next year, but then I thought it might make for a good Valentine’s Day decoration.  I pulled out some red books from the Living Room bookcase and decided to leave out some of the pink Christmas ornaments. Finally I mixed in some white ceramics that I am starting to collect.

piano-valentinesday3

The tree stump ceramic box is new. I picked it up at 90% off at Target. It is actually from GamaGo (which is usually known for its cartoon characters and t-shirts). I had seen it right before Christmas and thought it was cool, but for $19.99 decided to pass. When I saw it in the clearance section it didn’t even have a tag so I brought it over to the price check machine and was happily surprised when it came up at $1.99. There was only one, so I quickly put it in my basket. The ceramic acorns and pine cones are also a post Christmas 70% off sale from Target. The squirrel unfortunately is not. He is from Jonathan Adler, we picked him up this summer on our trip to NYC. He usually lives on our desk.

piano-season1

I like to think that I am getting better at “staging” this area. I guess there is nothing like practice and spending some time looking through a camera lens.

3 Comments

Shattered Stool & Germs

January 11, 2013 — 1 Comment

silviastool

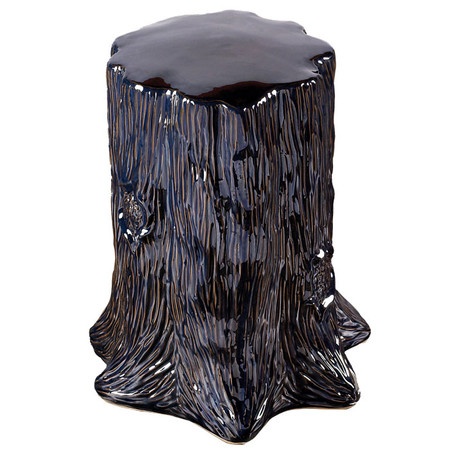
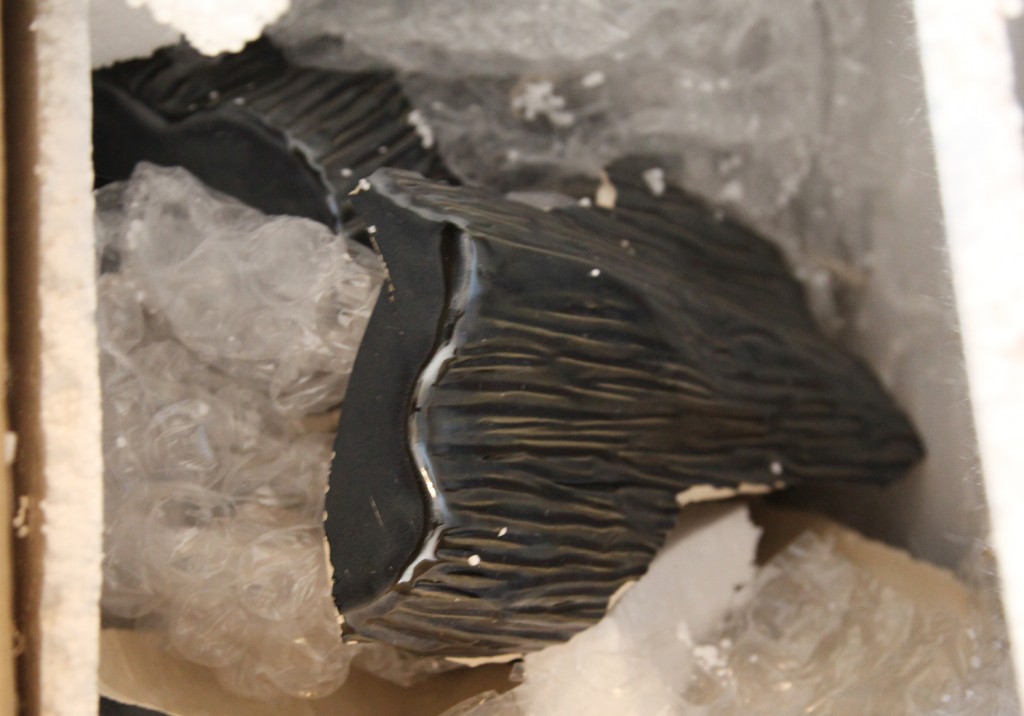
I ordered this beautiful ceramic wood stump table (Silvia Stool, $99)over the holidays from Joss & Main, one of my favorite flash/private sale sites. Isn’t it kind of ridiculous? Unfortunately when it arrived the other day it look like this:

silviastool1

I knew it was a bad sign when the box was wrapped with an extra layer of bubble wrap on the outside. I was planning on using it back by the piano and colorful chair kind of like this:

chairandstool

Alas it was not meant to be. Joss & Main was really good about giving me a credit back for the full amount and shipping but they don’t have any extra. It is one of those purchases that I looked at a bunch of times over a couple of days before ordering. Mr. S. even weighed in on which one he preferred, so I was pretty excited to get it. I did learn that it was made by Statements by J who I see makes quite a bit of stuff for both J&M and One Kings Lane. So I guess I will be keeping an eye out for something similiar. I was planning on using it to hold my coffee cup for when I sit in this chair and talk to Mr. S. while he works on the computer.  Oh well.

In other news the stomach bug has struck again (this time it was me). Yuck! After Sam was sick on Saturday I scrubbed the house down with Lysol wipes and washed all of the sheets, towels and blankets. I guess it wasn’t enough. I spent yesterday in bed watching bad tv. I’m up today and except for being really tired and not very hungry appear to be mostly better. Now if I could just get someone to do all of the other work I missed I would be all set.

I hope everyone has a great weekend, and may the bad germs stay away from you!

1 Comment

snowflake2

I have been trying to make an effort to do a few small things around the house to keep it festive for different holidays. The top of the piano is the main place where I have been putting my efforts, since it is where we come in and leave everyday and it is not in the general path of two rambunctious children. But today I thought I would show you my new decorations for winter and Valentine’s Day.

snowflake3

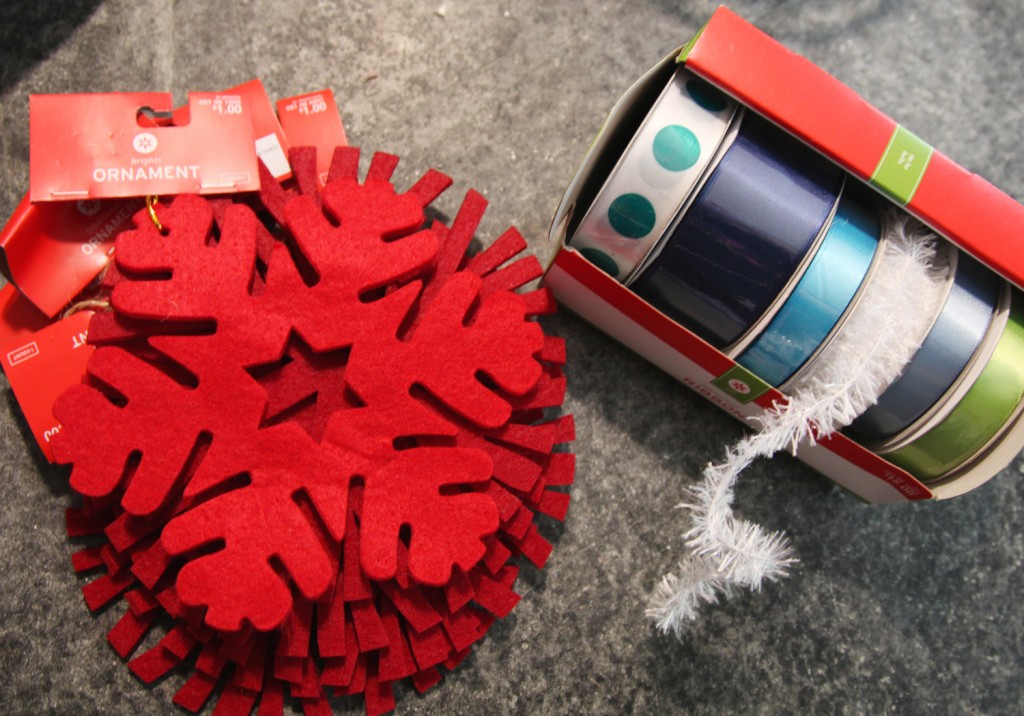
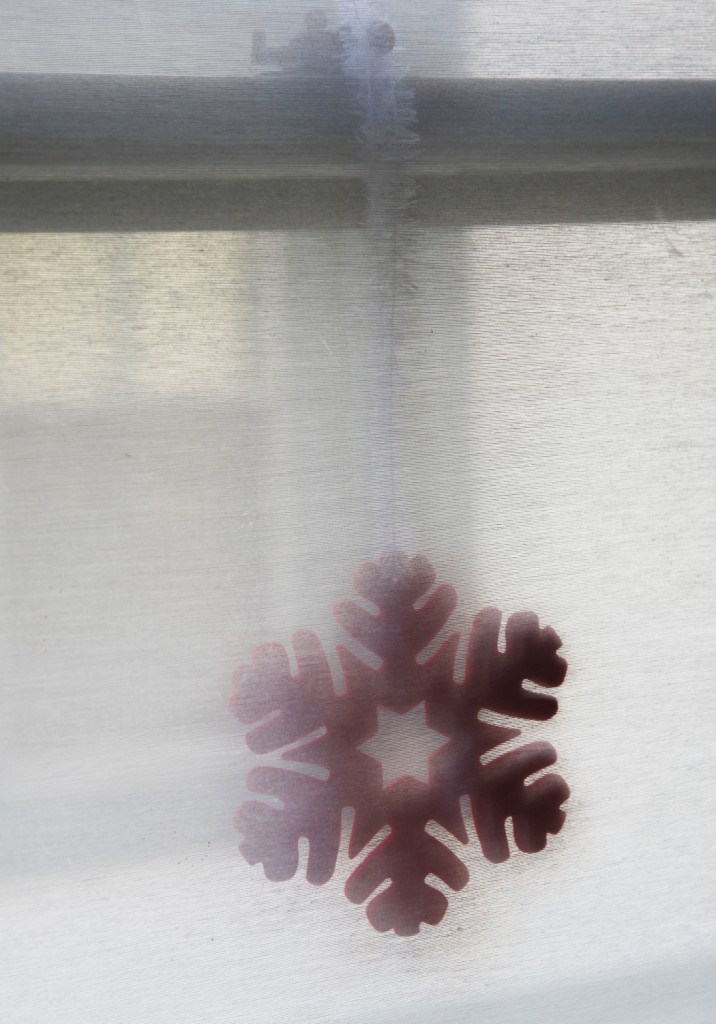
I was shopping at Target last week (I know what a surprise!) in the 70% off Christmas section and I came upon these red snowflakes and ribbon. The snowflakes were $.30 a piece and the box of ribbon was about $6.

merrychristmas1

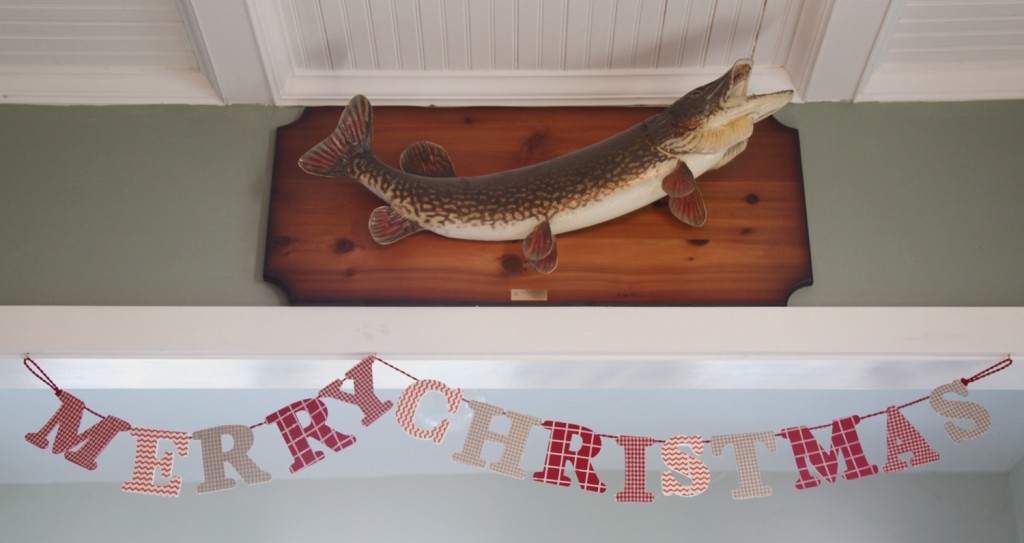
I was planning on using the snowflakes next Christmas with the cute garland I bought at Target earlier in the season. I really liked this garland and I think it was about $7. I was planning on making something similar but when I saw this I decided to just pick it up.

So anyway, I brought the snowflakes home and decided that they would be fun window decorations. The ribbon that came with them was pretty short so I decided to add some of my new ribbon (the white fluffy kind)  and give it a go. Maisie was in charge of putting the ribbon through the hole. I added them to 4 of our windows and will probably add some more around the downstairs.

snowflake1

So at about $.50 a piece including the ribbon, I am quite amused by them. I may also still use them with the garland next year. I especially like how they look through our Ikea solar shades.

Does anyone else have any fun decoration ideas for Valentine’s Day?

Leave a comment

hallway15

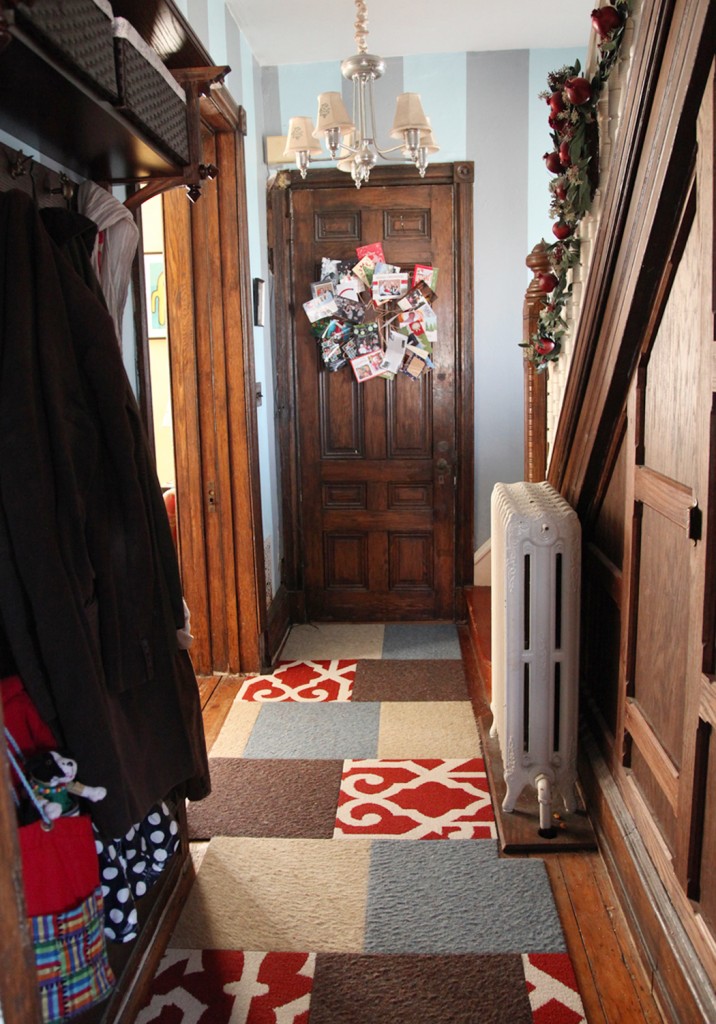
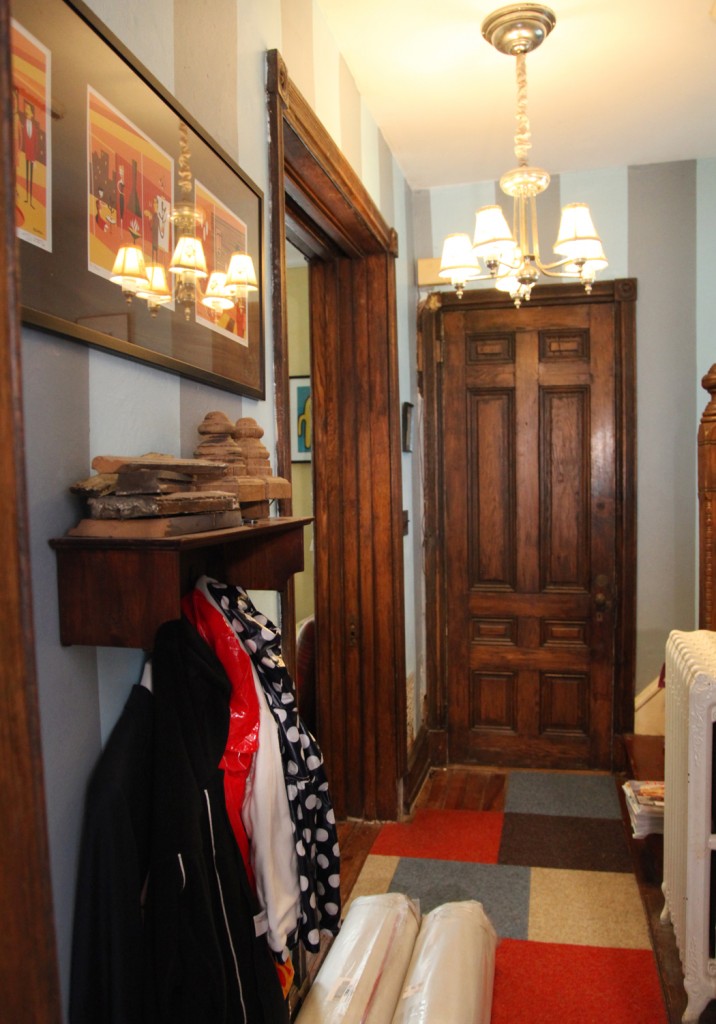
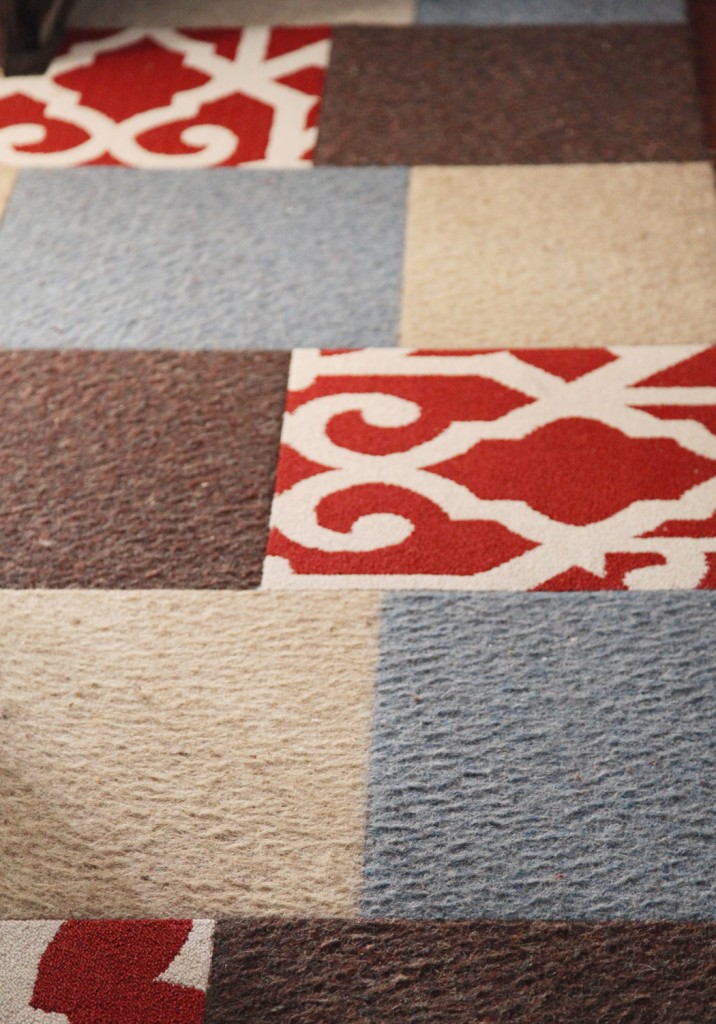
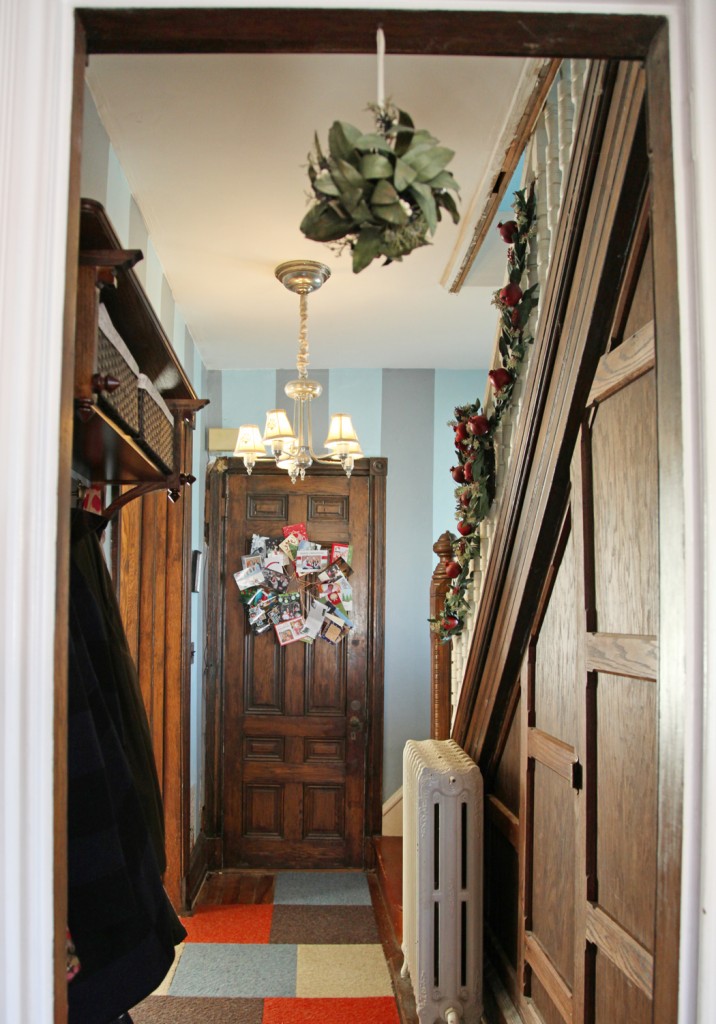
Today I wanted to show off my new carpet squares for the hallway. I decided to replace the 4 orange squares with patterned red squares (lasting grace, $14 each). I have been meaning to do this for a while, but now that I have been spending so much time thinking about the space I decided to finally take the plunge and order up 4 red FLOR tiles (of course after finding a coupon). I decided to go with a big pattern to add a little more fun to the space and pick up on some of the pattern in our Living Room rug. I am very happy with the result, especially considering it only took me about a half hour to cut and install them. Lets here it for short and was relatively inexpensive projects!

Here is was before with the orange:

hallway12

And here it is now:

hallway14

It is not like I don’t like orange, heck I pretty much like all colors, but for some reason it was no longer working for me. And for now I have the orange tiles up on the third floor in case I change my mind. The rest of the tiles are House Pet, which are about 7 years old and are super durable. They aren’t super soft on the feet but my cats scratch on them on a daily basis and they still look the same, which cannot be said for any of the other things that they put their claws into. Now if I can just get around to refinishing the floor and adding some crown molding.

What do you think?

Leave a comment

Hallway Coatrack Update!

January 4, 2013 — 4 Comments

hallway11

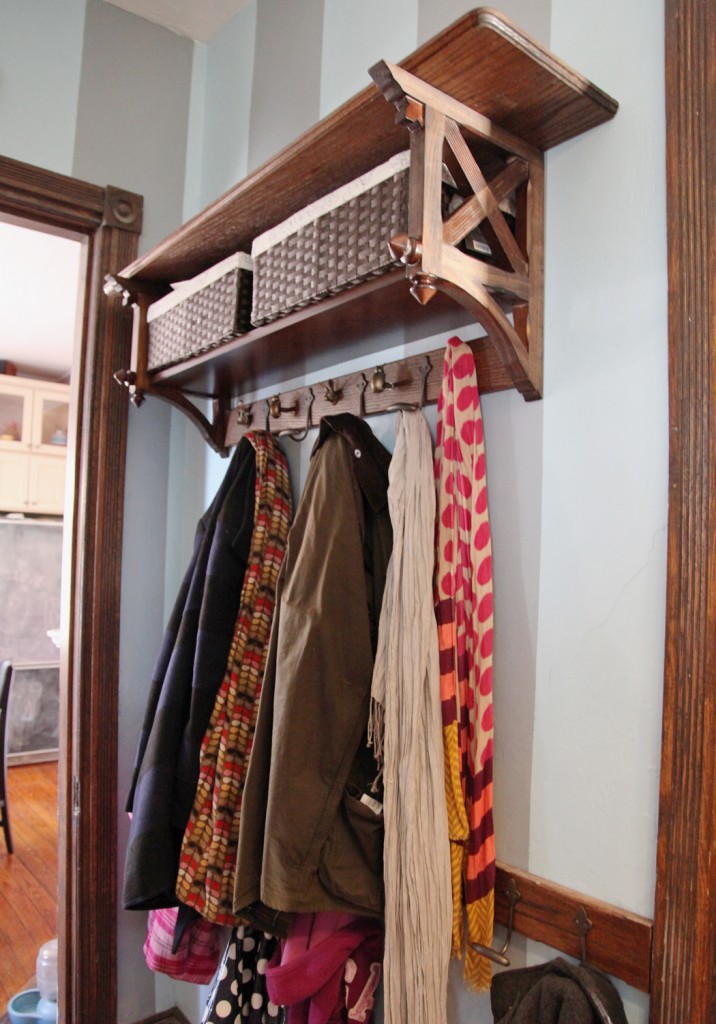
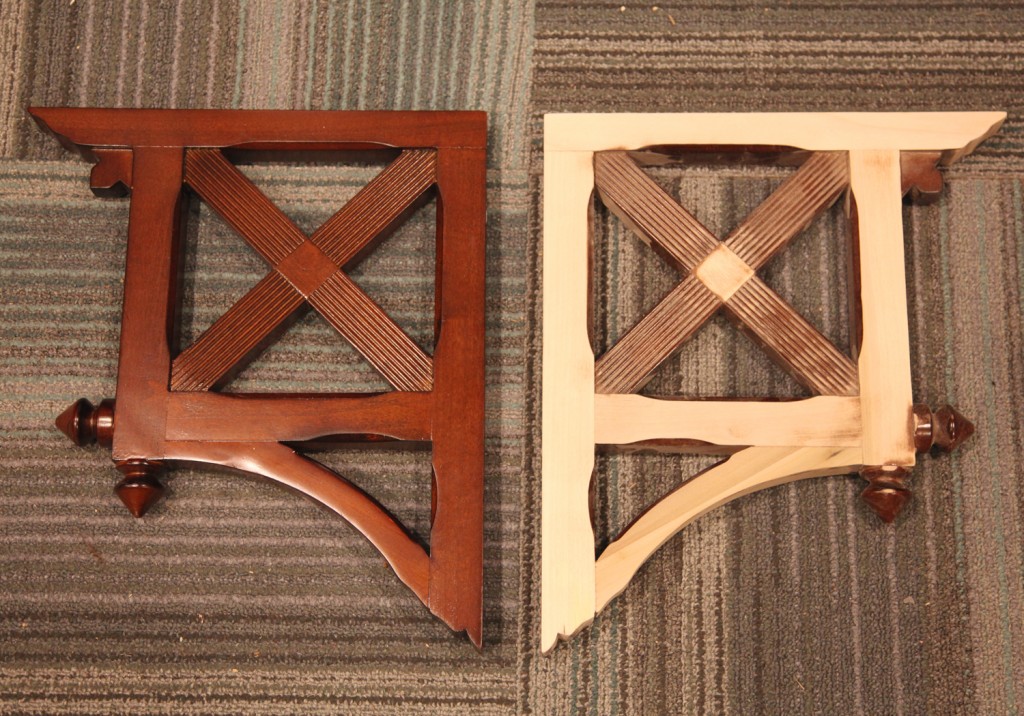
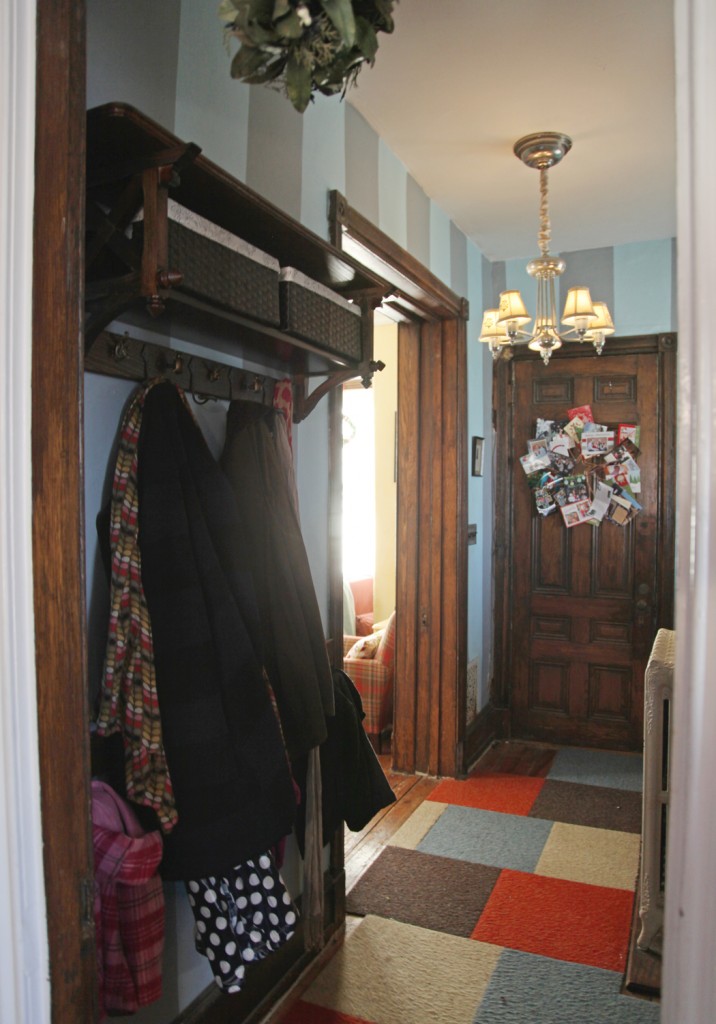
A month late, but it is done! We have hooks and storage and it was finished just in time for Christmas. I think I made it harder on myself by modifying a Martha Stewart Shelf from Home Decorators. Although it at least gave me a starting point, which until recently I was lacking.

hallway5

I spent a good portion of time sanding off the finish so I could put on a walnut finish to match the other trim in the hallway. I also made a different top that was longer, shallower and solid oak (1×12). I went back and forth on the shape of the corners and actually planned to make a more complicated corner, but I wanted to route the edge so in the end I cut a corner with a jigsaw and sanded it into a radius, which I think looks pretty nice. Finally we (i.e. Mr. S.) routed the nice edge detail around the 3 sides.

hallway12

The narrower depth also made sure that the shelf didn’t over take the hallway which I was concerned about. The lower shelf is the one that came with the shelf. Fortunately it is in shadow so it isn’t too noticeable that the finish is different.

hallway6

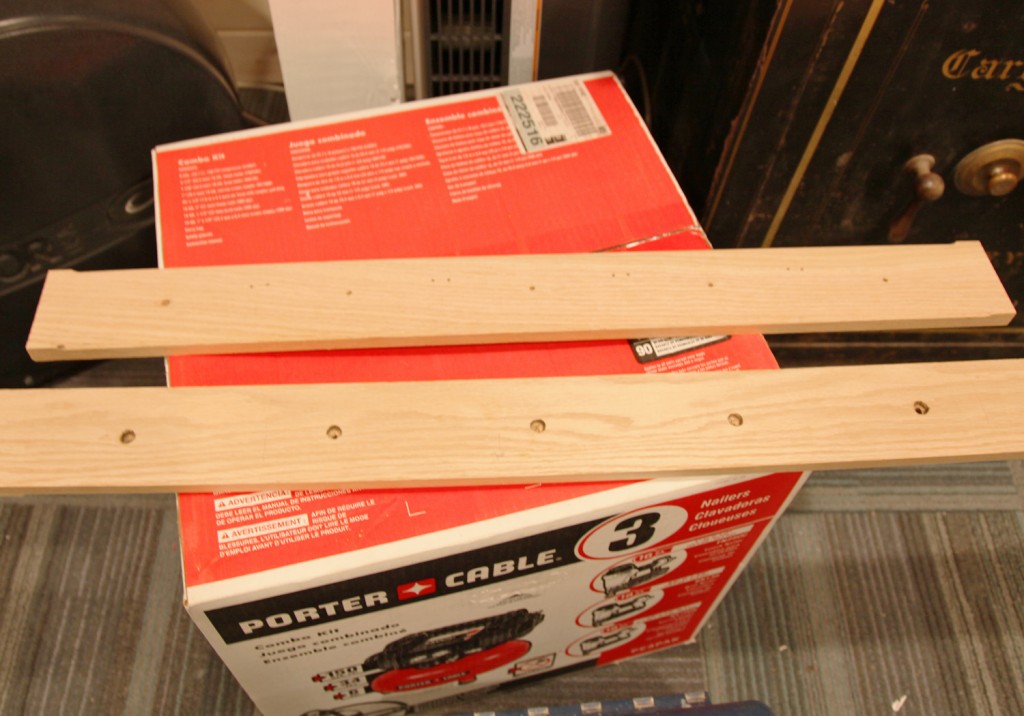
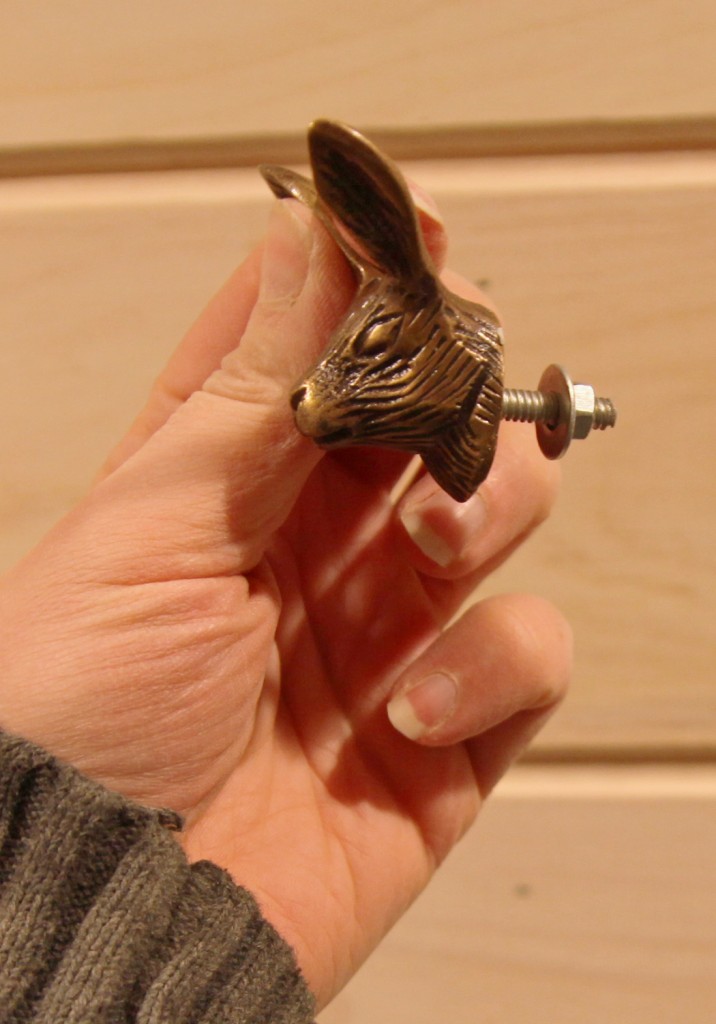
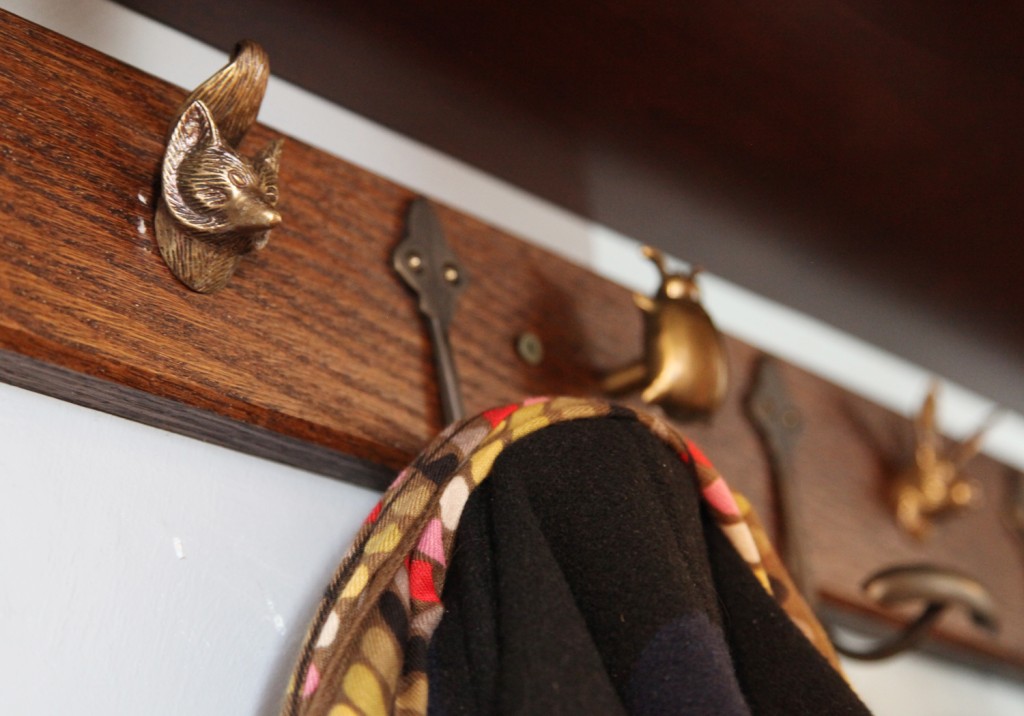
I also added the very important backer boards for the hooks (which makes installing the hooks much easier and gives it a more polished look). I used 1×4 oak and routed a chamfer on the top and bottom. Since I decided to use animal knobs for the smaller hooks, I had to spend way too long drilling larger holes on the back to allow for the nuts and washers.

hallway7

I also spent a couple of hours cutting the bolts down to fit without sticking out the back. Then I applied 2 coats of walnut stain to all of the bare wood. I  hung the lower backer board first since it didn’t need to fit in between the shelf and i was getting desperate for coat storage.

hallway10

Then I hung the shelf using the hardware provided and finally screwed the upper hook backer board in last. Finally I picked up a couple of baskets at Target. These are now holding the mail and the kids artwork (2 items that were taking over the kitchen counters).

hallway-before1-716x1024_jpg_pagespeed_ce_TjiX04N0Ea

Here is how it was before. I’m not quite sure why I left that small coat rack for so long.

hallway13

And here is a detail of my hooks. I am totally in love with these animal knobs. I still have a couple more things to do in the hallway (i.e. some new carpet tiles) but it is such a relief to have this up and working. So far the kids have actually been reasonably good about using it.

What do you think?

4 Comments