This time of year things are popping up daily in the garden! I was removing some leaves in my shade bed today yesterday. And look what I found! Baby Hellebores! There were between 10 and 12 seedlings and they even planted themselves in a good location. Made my day (I guess that is kind of lame but so it goes). I also found some brunnera seedlings and a couple of the ostrich ferns are starting to appear. I also noticed some leaves starting to form on my hydrangeas.
There were a couple of perennials that I really liked at our visit to Terrain. My favorite was the Euphorbia variety Tiny Tim. Euphorbia is a relatively new plant for me. I have a couple in the yard from the plant exchange, but the ones I have aren’t that exciting. The colors on this one were really unique. I didn’t buy it, but I think I might have to pick this one up. My only hesitation is that I’ve heard that they can irritate your skin if you aren’t careful. It also sounds like in warmer clients that they can be aggressive. I also liked this tassel fern. It had nice shiny leaves. Finally I liked this variety of Jacobs Ladder. I have a much larger version but it doesn’t flower like this one.
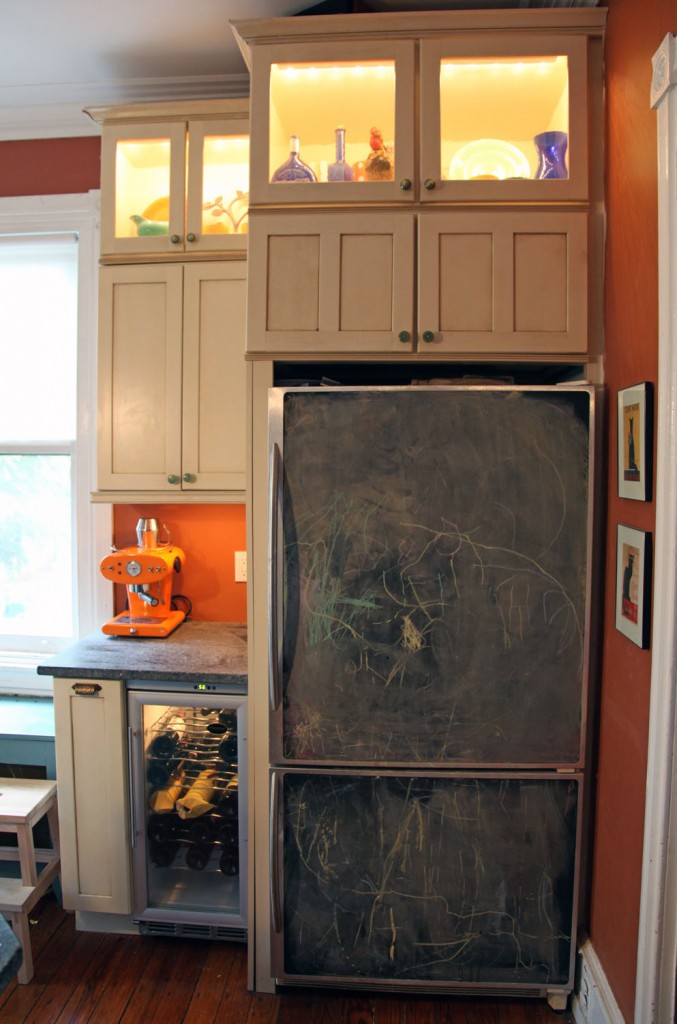
I’ve been really slow to take pictures of the inside of the house. It is probably because I always feel like nothing is ever finished. There are always more projects to do, but I have decided that I should give a mini house tour. I can at least highlight the things I like about each room and what is left to do. So without further ado here is the kitchen (aka the old Dining Room).
Favorite Things: I love the space and the light. It is really the center of the home. We both love to cook and this kitchen gives us lots of space to do that. I also love all of the color. We went fairly neutral on the cabinets but we went bright on the walls and with the accessories. I also love the soapstone countertops.
Things that Didn’t Fit: In order to make this room the kitchen, I was a little short on storage (partially because we have so few upper cabinets). I didn’t have enough space for a pull out pantry or a pull out garbage can. We use the old island in the basement for extra storage and I don’t mind having a freestanding garbage can.
Stuff left to do: Trim around the fridge, redo the front of the bench (where the kids have banged up the radiator grating and trim), and add some additional floor molding.
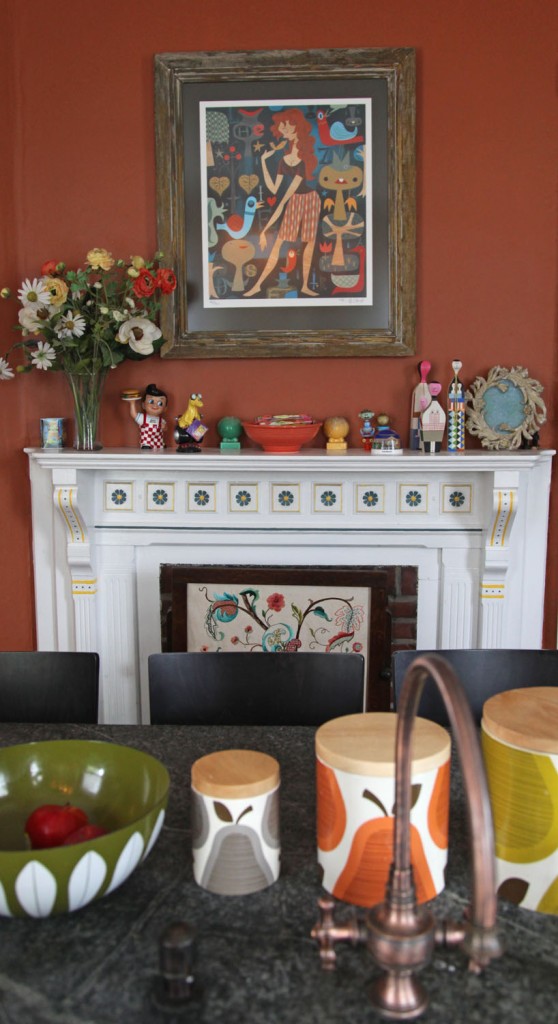
View from the sink. I love that I get to look at the old mantle and all of the funny tchockies and art we have collected as I do the dishes. The print is by Tim Biskup and the canisters are by Orla Kiely (for Target).
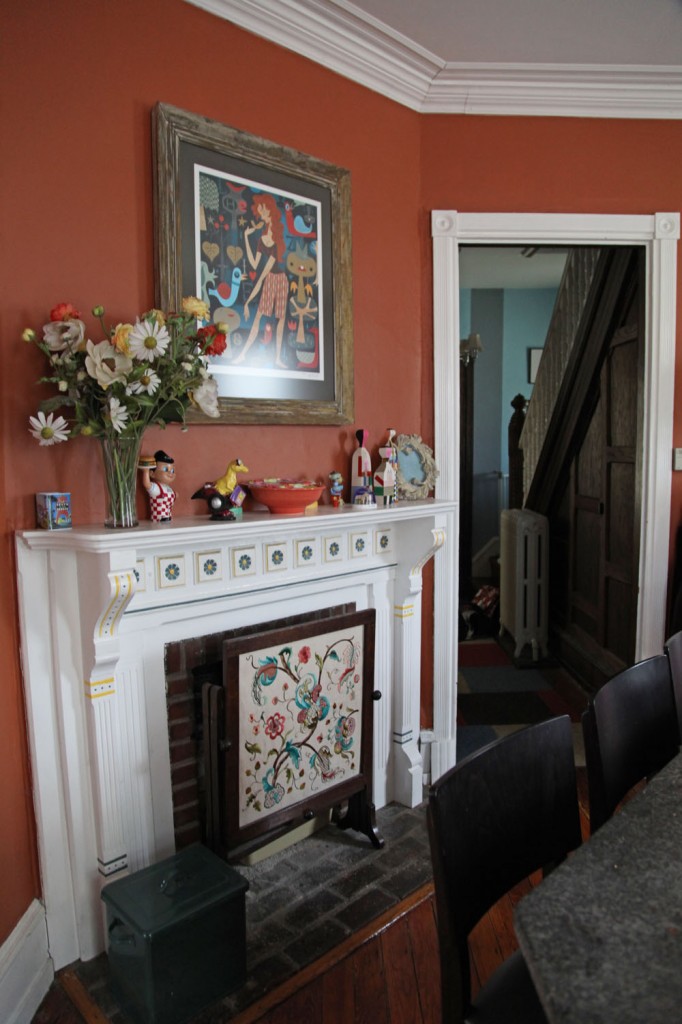
The mantle complete with vintage fireplace screen. The screen hides the litter box. The front hall is in the distance.
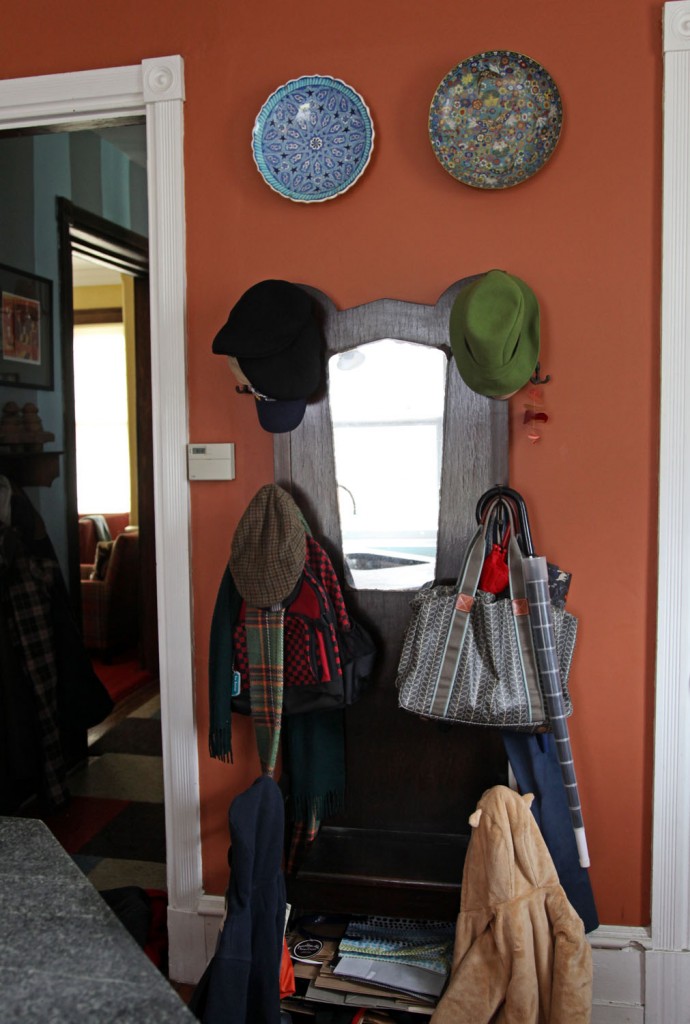
The vintage coat tree. The kids use the lower legs to hang their coats. The front hall is to the left. There use to be a door here to the closet (now the half bath).
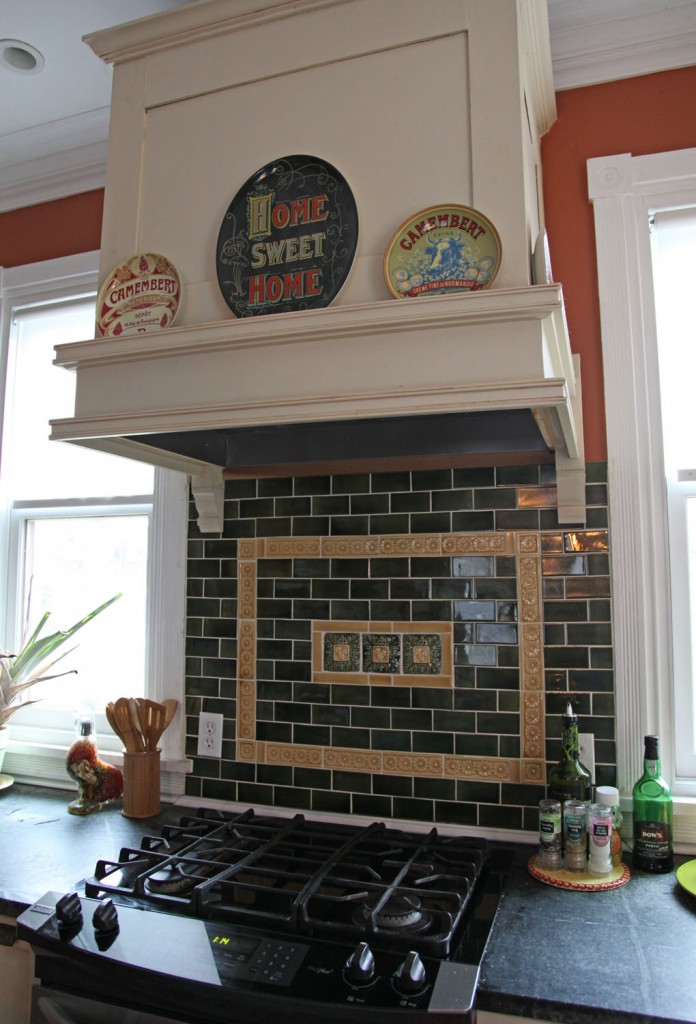
The stove with a custom hood that we built. We had to change out the windows for smaller ones to make this work but I love how it came out. I can look out the window while I cook and the tile is beautiful.
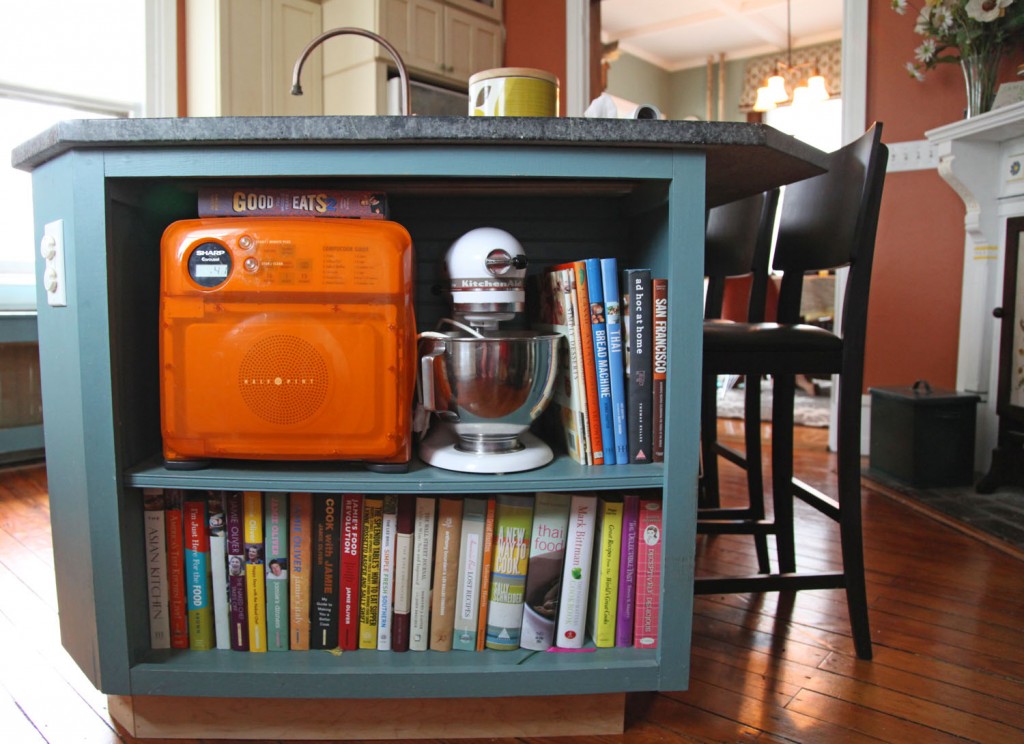
The end of the island. This houses most of our cookbooks and our microwave. When I designed the kitchen I really wanted a place to hide the microwave and to store the cookbooks.
Today I thought I would share some of the interesting and pretty plants that we saw while at on Terrain visit on Saturday. We were looking mostly for shrub options for Stacey’s garden (both medium and smaller size) to mix with a couple that she has already selected. So far the shrubs that are on the list include:
Already Selected:

Purple Smokebush (Cotinus coggygria) Info: Zones 5-9, Full Sun to Part Shade, 8'-10' tall. Known for its purple leaves and giant "smoky" flowers.

Red Twig Dogwood (cornus alba) Info: Zones 3-8, Full Sun to Part Shade, 8'-10' tall. Known for it red branches in winter and its varigated leaf.
Some New Considerations:
Larger Shrubs/Bushes:

Cherry Laurel (Prunus laurocerasus) Varieties vary from 5'-10' tall, evergreen leaves. White flowers in late spring.

Cryptomeria Japonica variety elegans viridis. Grows 10'-20' tall and wide. Beautiful soft feathery green foliage.

Magnolia Grandiflora variety 'Little Gem', Beautiful glossy evergreen foliage with soft brown underside. 15'-20' tall. Large white flowers in summer.

Burkwood Spice Viburnum (Viburnum x burkwoodii), 6'-8' tall. In spring pink tipped buds open to fragrant white flowers. 6'-8' tall w/ semi-evergreen foliage.
Smaller Shrubs/Bushes:

Arborvitae variety Mr. Bowling Ball (Thuja occidentalis bobozam). Forms a perfect dense ball without pruning. 3'x3'. Full to Part Sun.Â

Pieris Japonica variety 'Little Heath". Variegated evergreen foliage. 2'-3' tall and wide. Part Sun to Part Shade.
Stay tuned for a few interesting perennials that we spotted!
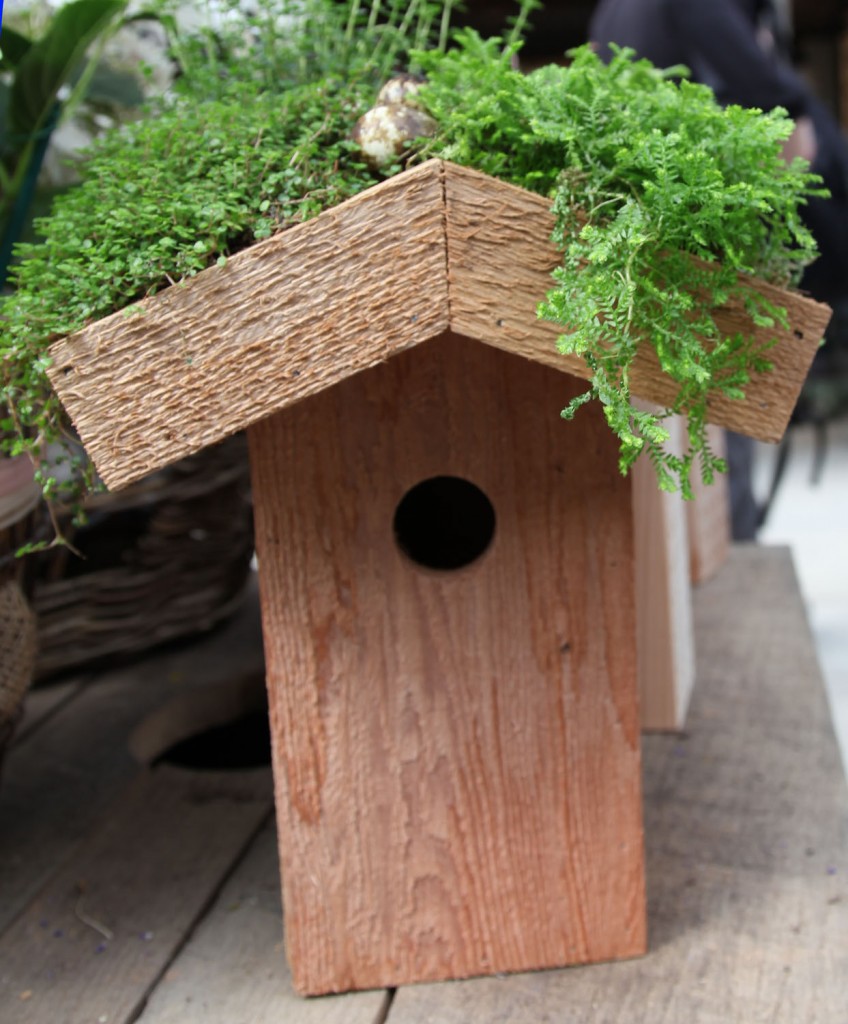
Bird House with a Green Roof! I saw one like this at the Philadelphia Flower Show. I'm considering making one.
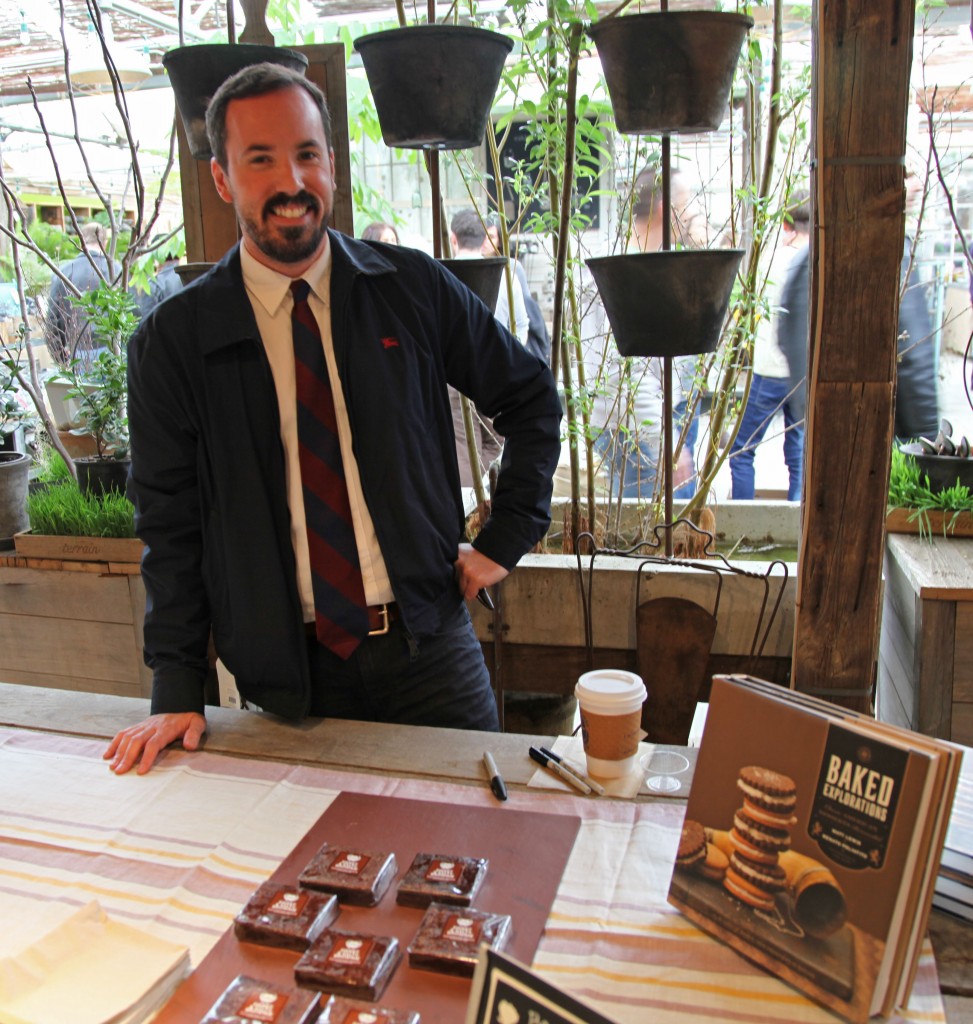
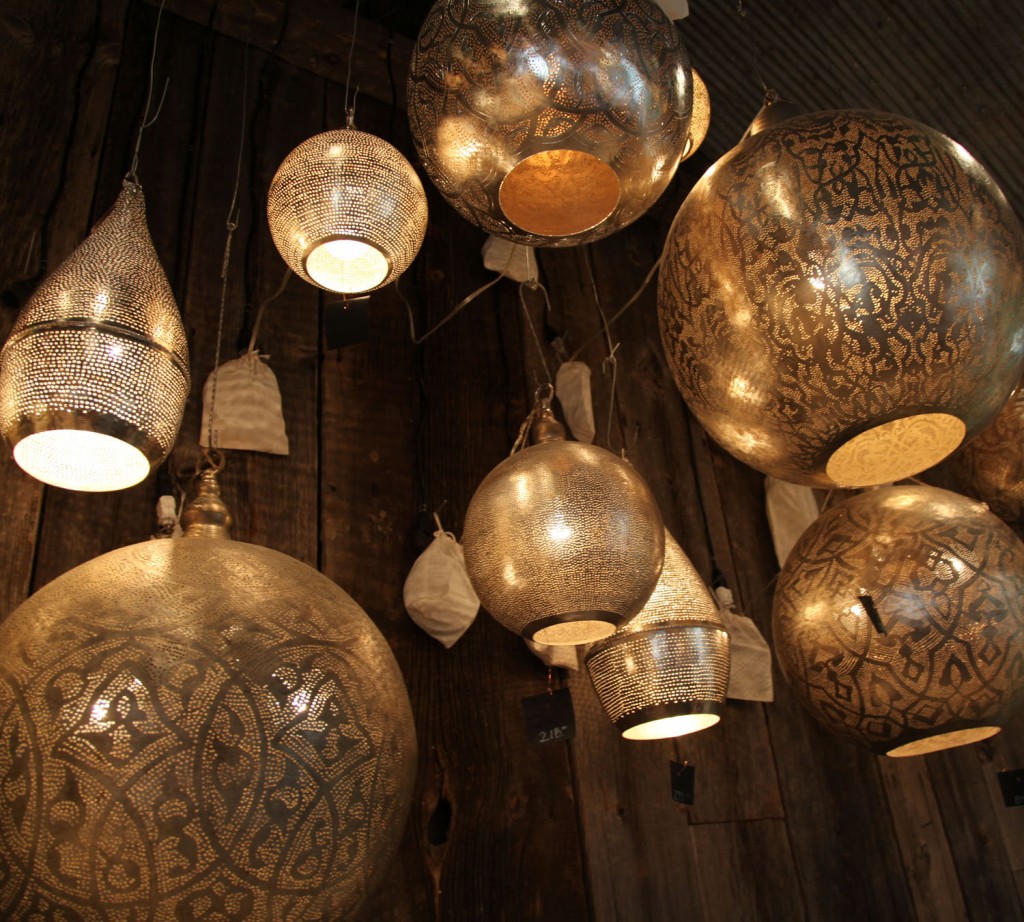
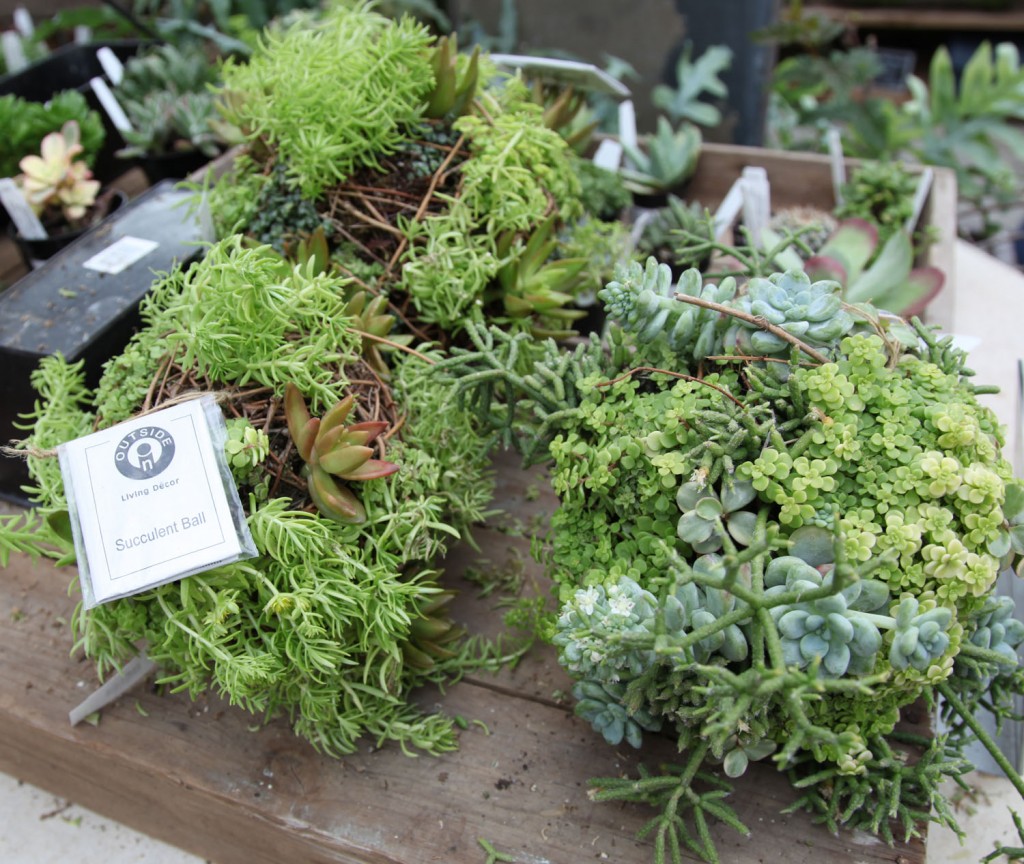
On Saturday, my friend Stacey and I decided to check out Brooklyn Day at Terrain at Styer’s in Concordville/Glenn Mills, PA. We also wanted to see what kind of perennials and shrubs were on display (for ideas for her garden). I am going to write a second post on specific plants (stay tuned). While we were there we got to meet the founder of the Brooklyn based bakery Baked, Matt Lewis and Renato Poliafito Their second cookbook is out, and looks amazing. We also tried some delicious pickles and granola from other Brooklynites. As usual there was lots of pretty stuff to see and lust after admire.
For anyone not familiar with Terrain it is worth a visit if you live in the Philly area. It is the brainchild of Urban Outfitters and Anthropologie founder Richard Hayne. Opened in 2008, it took over Styer’s Nursery (where I have been shopping for years). I had mixed feeling when it first opened, since I really liked the knowledgeable staff at Styer’s, but now I love it for its atmosphere (not to mention a delicious restaurant) and do lots of window shopping there, along with a little bit of actual shopping. Now it is a little harder to find a plant expert and the prices of some of the plants are overpriced, but they do have a beautiful selection of plants as well as garden pots, accessories and generally pretty items (and some pretty good sales). Also they offer classes and activities through out the year. Check out their calender.
The Backstory:
When we bought our house it was full of frilly curtains everywhere. One of the first things I did was take them down. They blocked a lot of the light and were needless to say not my style. For a long time we relied on semi-sheer curtains and blinds (or nothing at all). Now that our style is a little more defined, I feel like the windows could use a little punch. However there are two issues that we keep running into. First is that I do not want to hide all of the window molding (this is partially why we bought our old house) and second is that we have a radiator under almost all of our windows limiting the placement of curtains.
The Design:
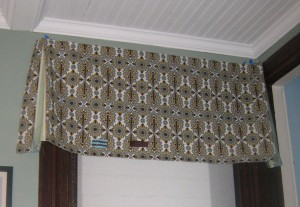
When I think of valances the first thing that comes to mind are very fancy frilly window dressings. That is not what I had in mind! I put up valances in my daughter’s room a couple of years ago. These were made out of Orla Kiely dishtowels (from Target). It was a really inexpensive and easy project, so I thought I would do something similar but a little more tailored. I looked online for tutorials and only found 1 that I liked. Pam from Bibbidi-Bobbidi-Beautiful (via Little Green Notebook) made a beautiful curtain/valance out of a king sized sheet. I liked the style a lot but I did not like that she installed the valance with duct tape on cardboard. So I took her inspiration and made mine using a 1×3 piece of pine for structure a the top and attached it to the wall with 2×2 angle supports.
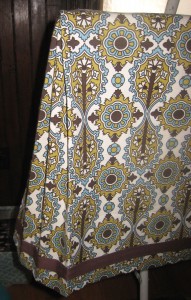
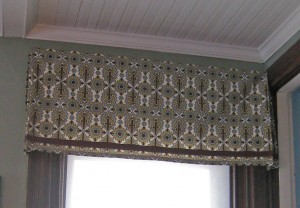
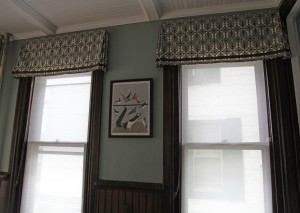
For the fabric, I wanted something that would pick up the blue color on the kitchen island and the dining room hutch, while also looking somewhat Victorian. I also needed something that would go with the new rug. In the end, I selected this beautiful fabric called Elizabeth in Chocolate. The ribbon is from JoAnn’s and is a simple 1″ wide brown ribbon.
The Install:
1. Determine the height and width of the valance. I marked the proposed height with a piece of painter tape before deciding on the height. I decided to go 1/2″ wider on each side of the window trim. Because these windows do not have rosette corners I didn’t mind covering up the top of the window. Also I recommend mounting it a few inches above your window to make the window appear taller (I mounted mine about 7″ above the window frame and aligned it with the door frame for the back stairs). In the picture on the left you can see that in the first version it was too long (about 21″) I used the entire width (about 55″)Â of the fabric and used the excess width in the pleats. In the end mine are about 18″ high.
2. Cut 1×3 pine to proper length.
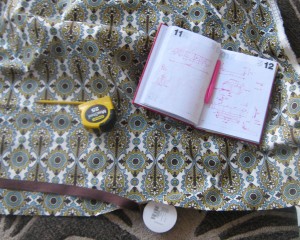
2. Cut fabric (keeping in mind that if you are using a pattern with a horizontal repeat that you may have to cut some extra fabric to make sure that the pattern aligns in on all of the valances). I also kept the selvage on and turned it under on the side the seams).
3. Iron seams for the 2 ends. Iron the seam for the bottom.
4. Sew the 3 seams.
5. Iron on the ribbon detail with iron on tape (you could also use fabric glue or sew this on).
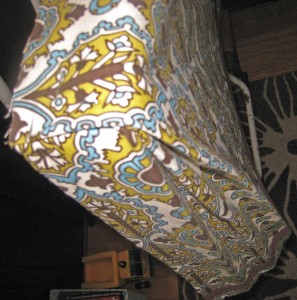
6. Iron the pleat locations. I used the wood as a template and marked the fabric with a pin for the corners. You are going to be making “hospital corners”. To do this locate the corner of the side and front. Then fold the remaining middle fabric in half. This spot will also be at the front of the pleat. You need to make basically make a w shape with the fabric. I then ironed this flat and pinned them all together.
7. Staple the fabric to the wood with a heavy duty stapler. I tacked one staple in the middle first then start on one side. First I tacked the side part at the right spot. Then I placed the remainder of the corner pleat on top and fidgeted with it until it was aligned to my liking. Then I stapled over the corner. Repeat on the other side. Then fill in will staples across the top.
8. Attach 2 2×2 angles to the 1×3 pine (you could also do this before you put the fabric on) with a 1/2″ long wood screw.
9. Locate the valance on the wall. Mark holes for wall screws.
10. Install mollies or whatever works best for your wall. In my case because they are so light and I have plaster walls. I just used a 1″ self tapping wood screw.
11. Screw into wall (you may want someone to hold the valance why you do this).
Double valance over the Desk Area. This required 2 pieces of fabric sewn together and hidden in the middle pleat (please pardon the appearance of our desk).
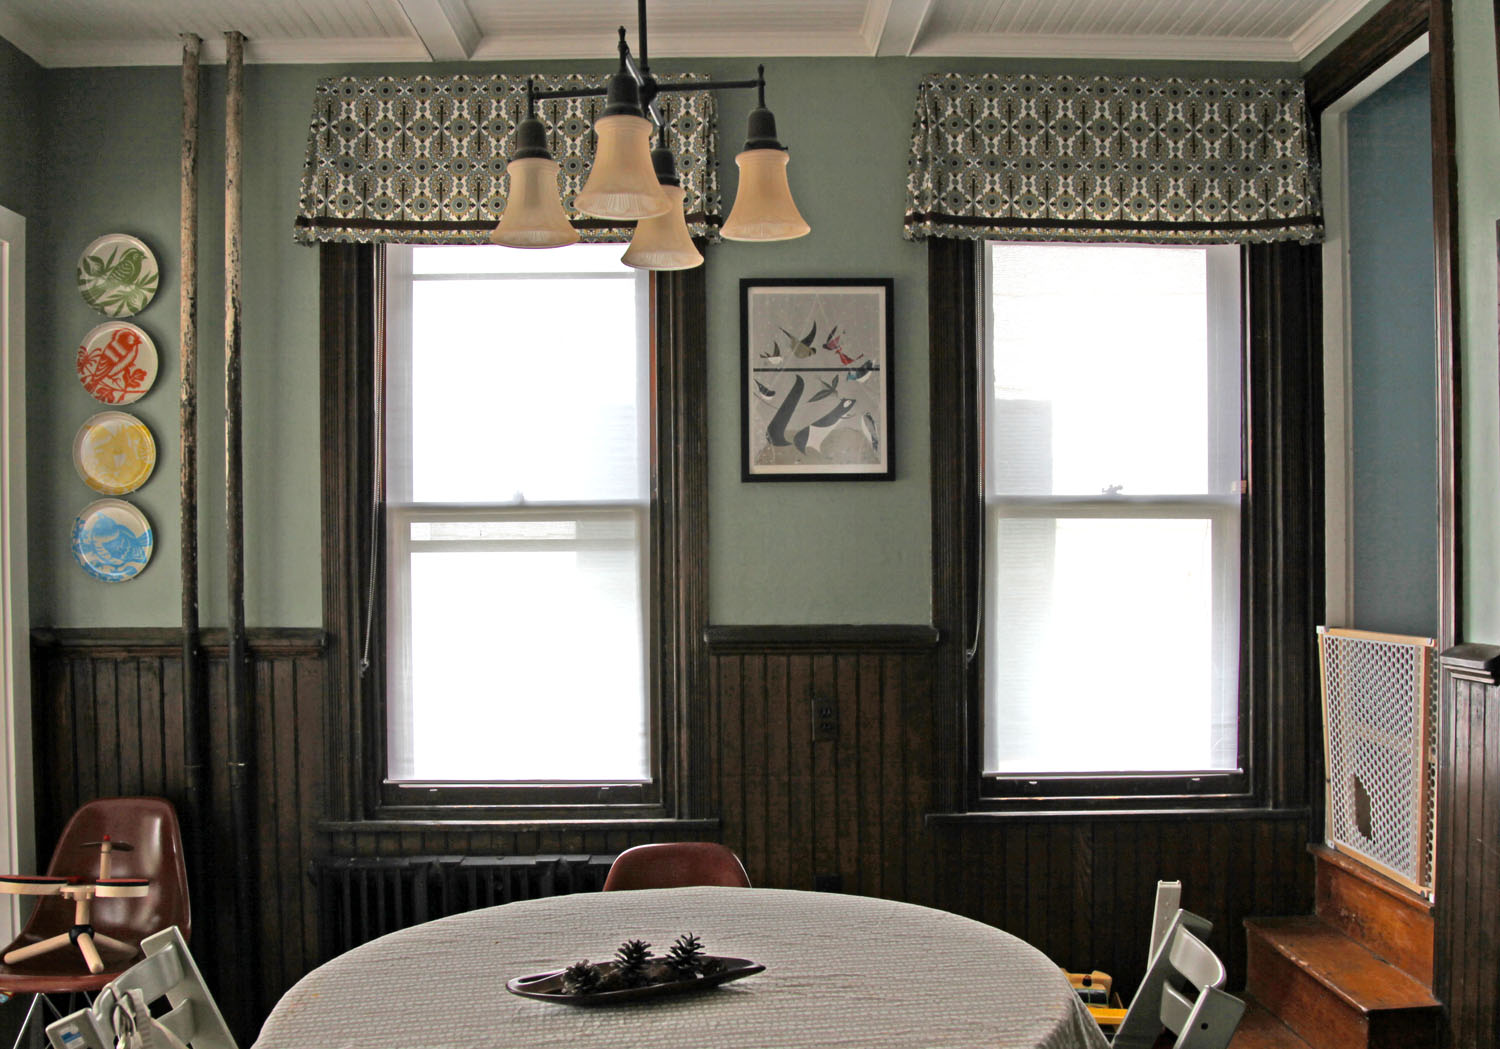
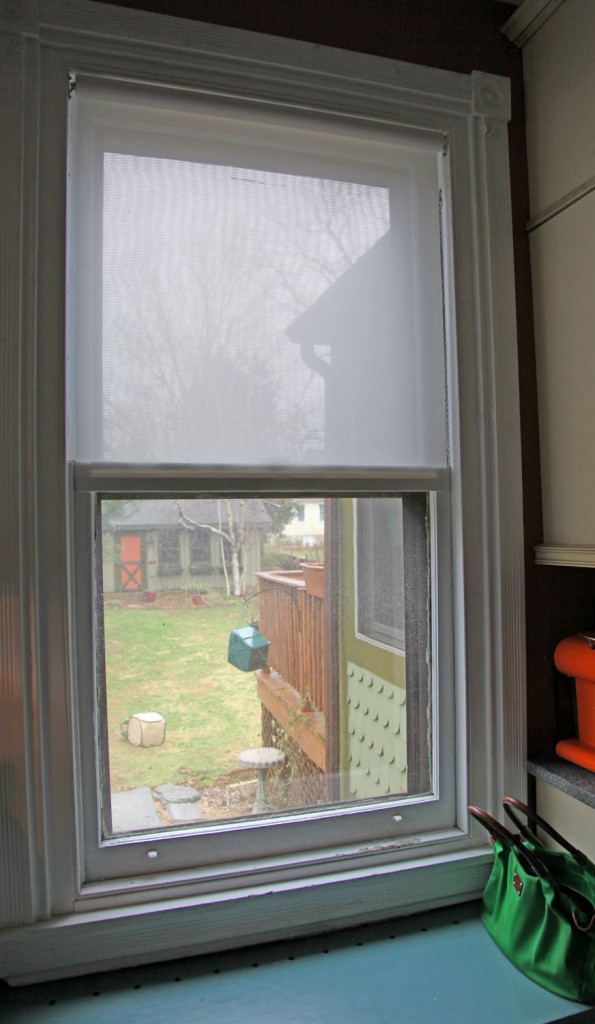
Dining Room w/ new paint, solar shades and Valances (The child gate is an evil necessity with a set of back stairs like ours. The hole is so that our cats can get through.)
I have been so busy thinking about and working in the yard that I have not made as much progress on my Dining Room as I would have liked. I did manage to mostly finished the window treatments a little while ago. I thought I would give a quick rundown.
The Background:
Our old roman shades had been recalled from Ikea a while back because they were considered a choking hazard. We cut the cords on the back rather than taking them down, since we did not usually open them anyway. But they were still looking pretty dingy after many years of service (including when this room was our kitchen).
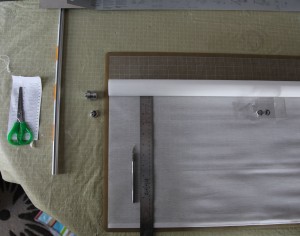
Shade taken apart for cutting. I used the self-healing cutting mat with a grid to help make a straight cut. Because the fabric is semi-sheer I could see the grid behind.
The Roller Shade:
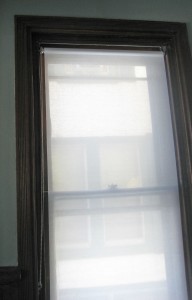
I didn’t want to pay for custom roller shades so I looked at Ikea for options. I found the ENJE solar shade (semi-transparent) but of course it wasn’t the right size and I really wanted an inside mount fit so we wouldn’t cover the window molding. After a little searching online I found that several people have “hacked” the ENJE shade to custom sizes. Check out Door Sixteen for her full details with lots of pictures (which she unfortunately didn’t post until after I had already cut mine).
The Install:
1. Buy ENJE shade in a width wider than what you need (for my 30″ windows I bought the 32″ wide for $24.99)
2. Figure out the width you want including the hardware.
I had to subtract about an 1 1/2″ from the clear width to the final fabric width to include the chain mechanism and the mounting hardware.
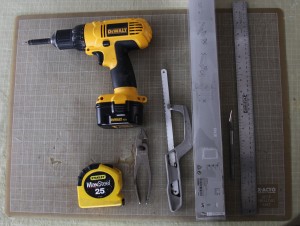
3. Carefully disassemble the shade. This includes taking off the bottom rail and the mounting hardware on the top with a wrench or screwdriver.
4. Cut the side of the shade fabric with an exacto or scissors (see picture).
5. Cut the lower rail with a hacksaw.
6. Cut the upper rod with a hacksaw (protect shade fabric with painters tape). I managed to gouge my finger doing this so be careful.
7. Reassemble.
8. Hang. (you will need wood screws for this since Ikea does not provide them).
The first one took me about an hour and a half. The rest took about 45 minutes. I have finished 4 windows and I am still debating whether to put shades on two of the smaller windows. i really like them. They are unobtrusive but provide a nice amount of privacy.
Since I was writing about alternatives to vinca yesterday, I decided that I should highlight one of the plants I listed.
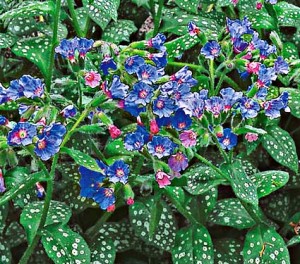
Pulmonaria Saccharata
(Lungwort, Bethlehem Sage, Jerusalem Sage)
Type: Perennial (Zones 2/3-9)
Light Requirements: Part Shade to Shade
Moisture: prefer moist soil, does not do well in dry areas.
Blooms: Early/Mid spring (start to bloom in March here along side the daffodils). Blooms last for several weeks.
Leaves: Green with beautiful polka dots (other varieties have more silvery leaves)! Sprout in later winter and keeps its leaves through late fall.
Size: Height: 9-12″ Â Width: 12″-18″
Pros: They are very easy to take care of and provide nice foliage for most of the year.
Cons: If you don’t like to divide them, they can start to look leggy after a few years.
Division: Divide in spring or fall. If you divide in the summer (which I have done before) the leaves will tend to die back, but usually by fall they will sprout again. I received mine from divisions from my mom’s garden. I have since divided mine several times in the last 6-7 years or so.
Origin: Native to Europe and Western Asia. The name comes from the spotted oval leaves that were thought to symbolize diseased, ulcerated lungs, and so were used to treat pulmonary infections.
Varieties: There are quite a few varieties with different spot patterns and different colored flowers. I also have ‘Majeste’ which has mostly a silvery leaf and less prominent pink flowers.
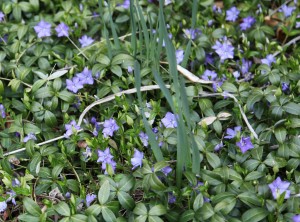
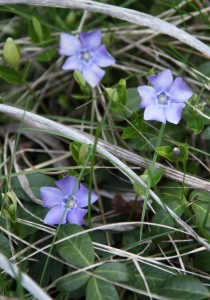
Vinca (aka Vinca Minor, Periwinkle, Myrtle)
I use to LOVE vinca. However that love affair is long gone as I try to extract it from my garden. Don’t get me wrong, it has a place in larger yards where you want minimal maintenance in shady spots and you don’t want to grow anything else with it. However in my small plot of land it has got to go! It is my own fault, I loved it at my parent’s house and my mom brought some to our house at my request about 8 years ago.
Things to love about Vinca:
-The beautiful blueish-purple flowers that bloom in the spring alongside the daffodils
-The green carpet that it provides year around in either sun or shade.
-Unlike ivy it doesn’t grow up trees and shrubs
Things to hate about Vinca:
-It is aggressive and forms large tendrils that block out everything else including bulbs and perennials
-It grows into the adjacent beds
-It is difficult to pull up because it attaches to the ground at so many points, you almost always have to come back later in the season and the following year to pull more out
Now I am in year 2 of a several year plan to extract it! In the meantime I have put together a list of bulbs to replace it. The good news is that most of these are easy to grow and fairly inexpensive. They won’t typically provide any of the “ground cover” capabilities, but in my case I am not looking for a ground cover so much as a flower alternative to the blueish-purple flowers in the spring. In fact most of these will die back by summer and you won’t even know that they are there. The only downside to me is that with these type of small bulbs you don’t want to put them in until after most of your perennials are in place, otherwise you will be constantly pulling them out by accident (which means I haven’t been able to put any in yet).
Alternates:
Fall Bulbs:
–Muscari (Grape Hyacinth): Flowers at the right time and easy to find in the fall, Â but I don’t love the appearance of the flowers. Plant in Full Sun to Part Shade.
–Dwarf Iris: I Â haven’t tried these but it is definitely a possibility. I grow a number of other irises. Plant in Full Sun.
–Crocus: Comes in purple, blooms at the right time, although the squirrels love these. Plant in Full Sun to Part Shade.
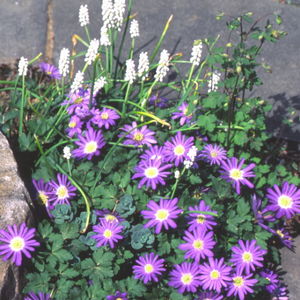
–Anemone Blanda: I particularly like the “Blue Shades” pictured. Plant in Full Sun to Part Shade.
Perennials:
–Lungwort (Pulmonaria): If you are looking for more of a groundcover for the shade I would recommend Lungwort. It has beautiful polka dotted leaves and has purple and pink flowers in the spring. I use this quite a bit in the backyard. These grow quite easily and can be divided every couple of years. I recommend finding a gardener who has some of this because typically they would be glad to pass some along.
And the Winner:
–Chionodoxa (Glory of the snow): Comes in Blue and Purple, small similar flower shape to the vinca, tends to self-seed (there are a couple growing in our lawn right now!), SIGN ME UP! I think these are perfect and I might even need to extend these into the lawn! If you do a websearch you can see some wonderful examples of large fields full of these. Plant in Full Sun to Part Shade.


