The Chimney Update: Day 4

April 14, 2011 — 1 Comment

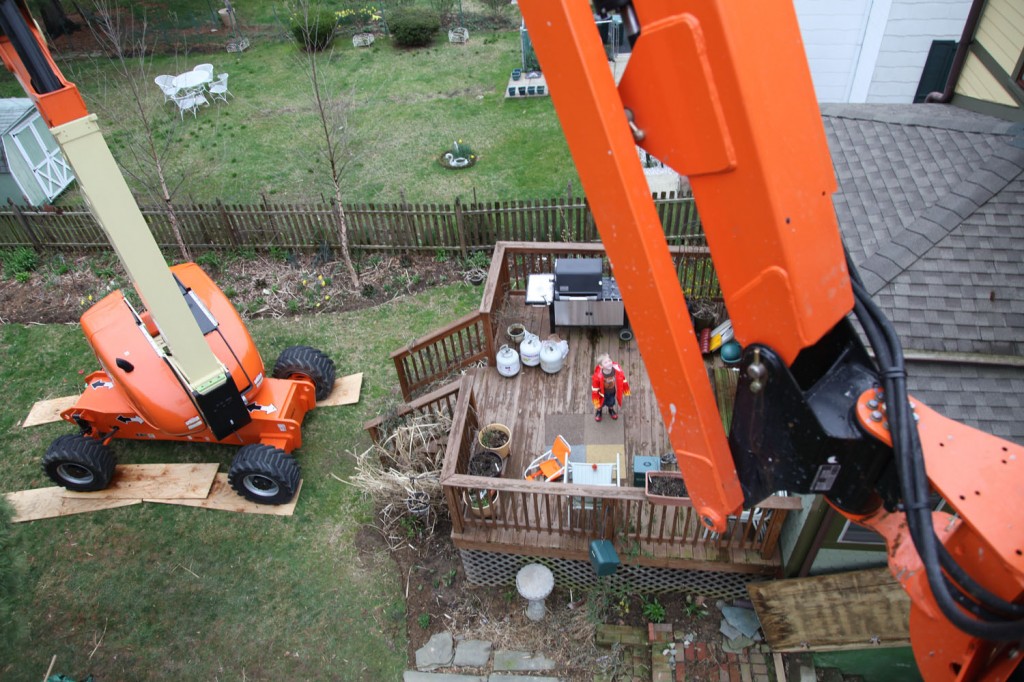
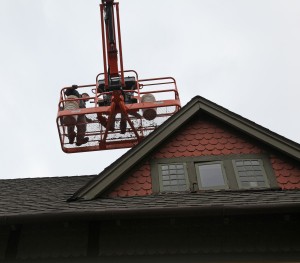
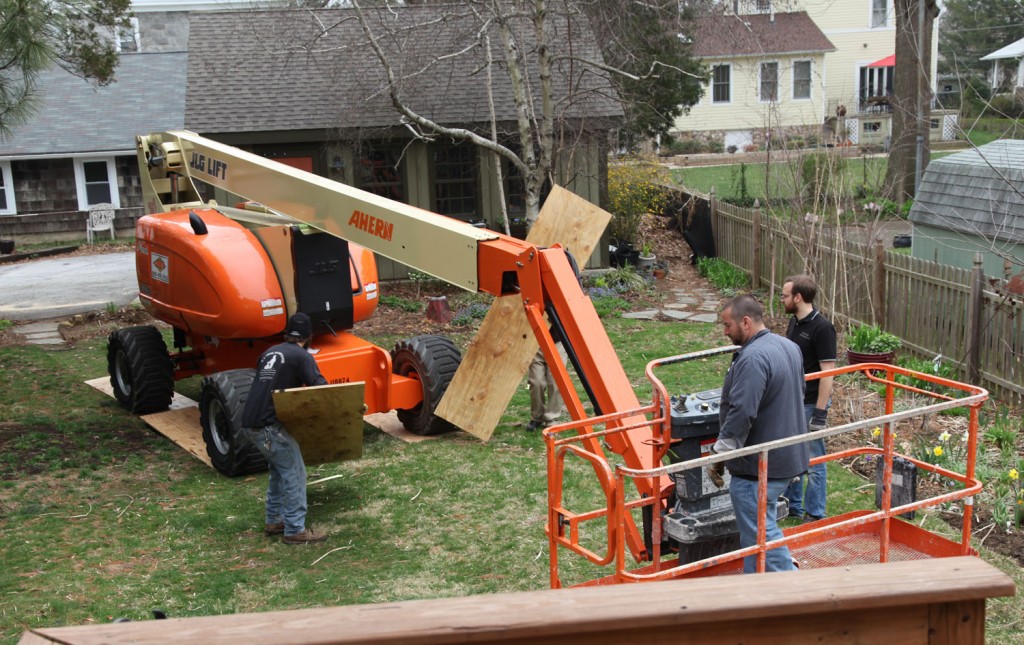
Checking for level


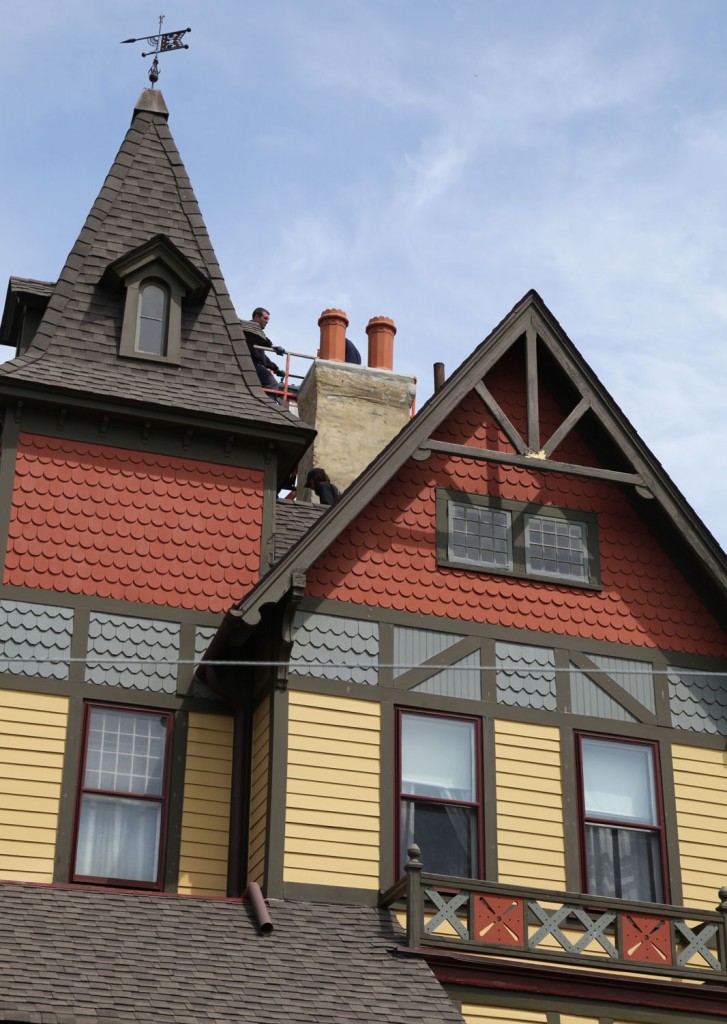
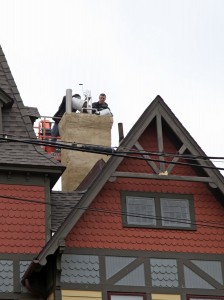
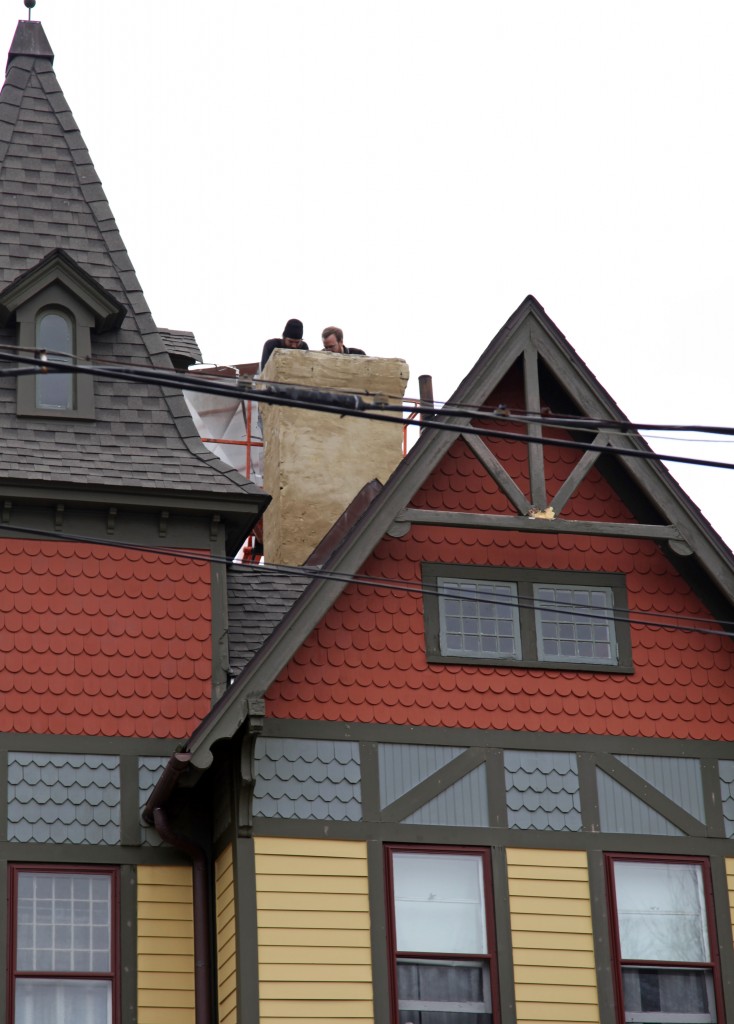
Installing the Bluestone Cap

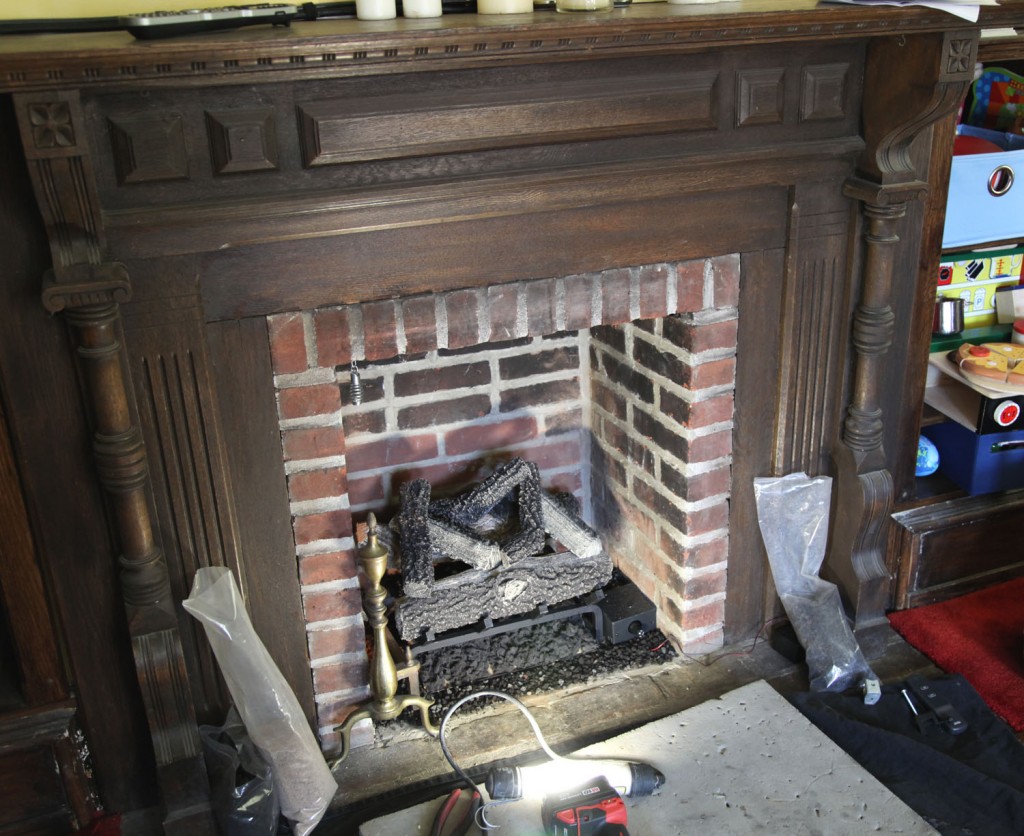
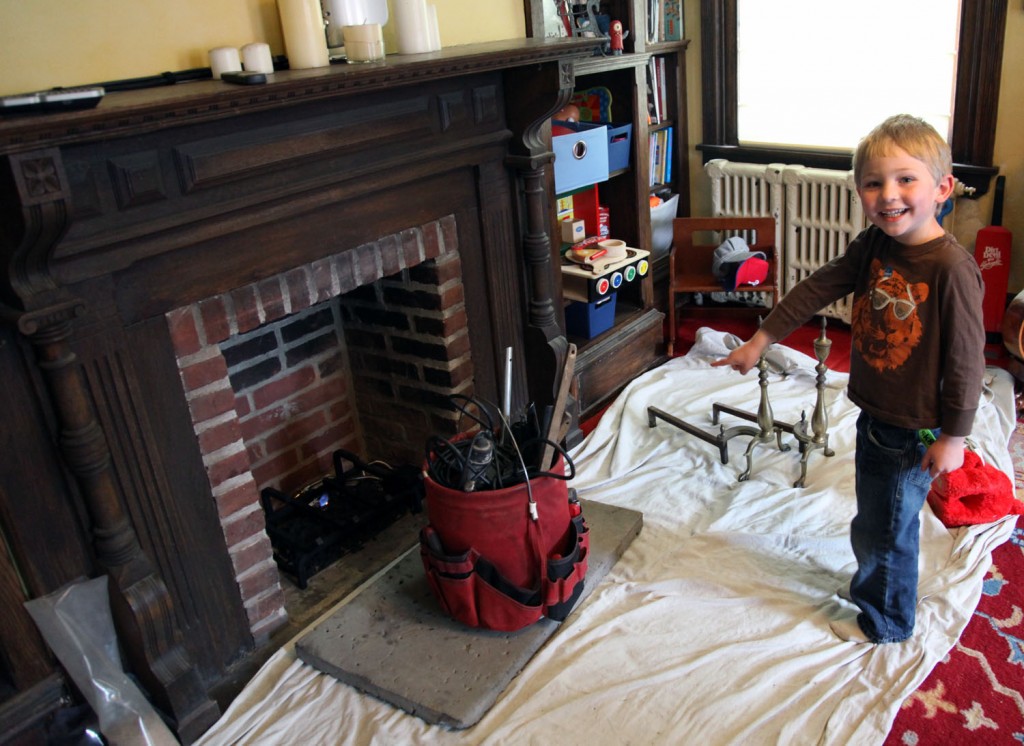
Gas logs in Progress in the Living Room

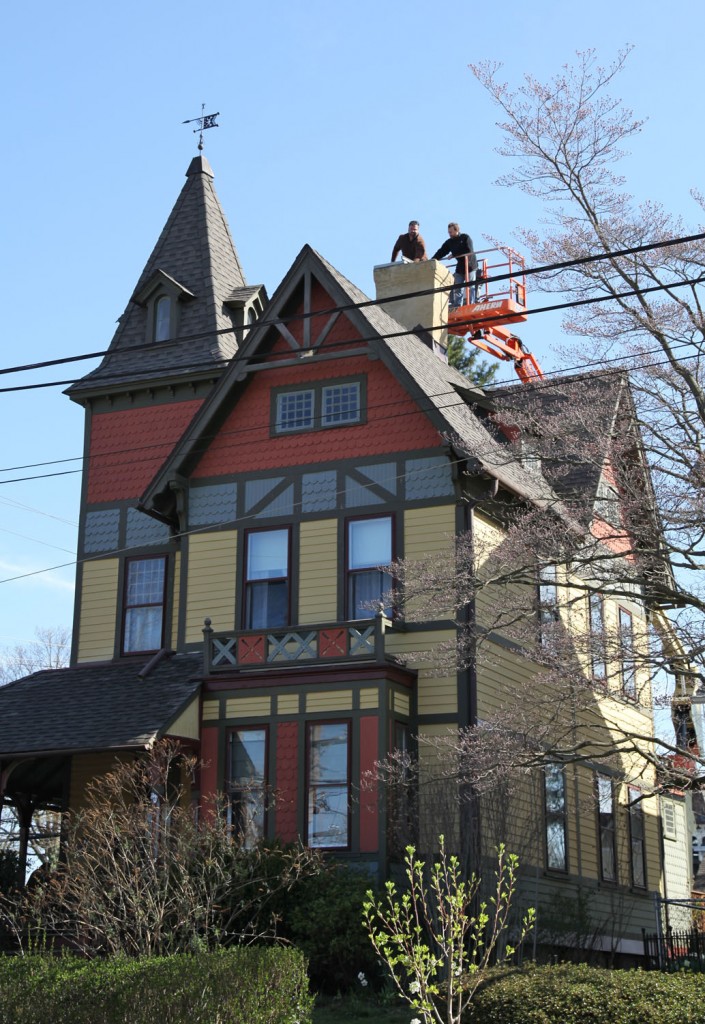
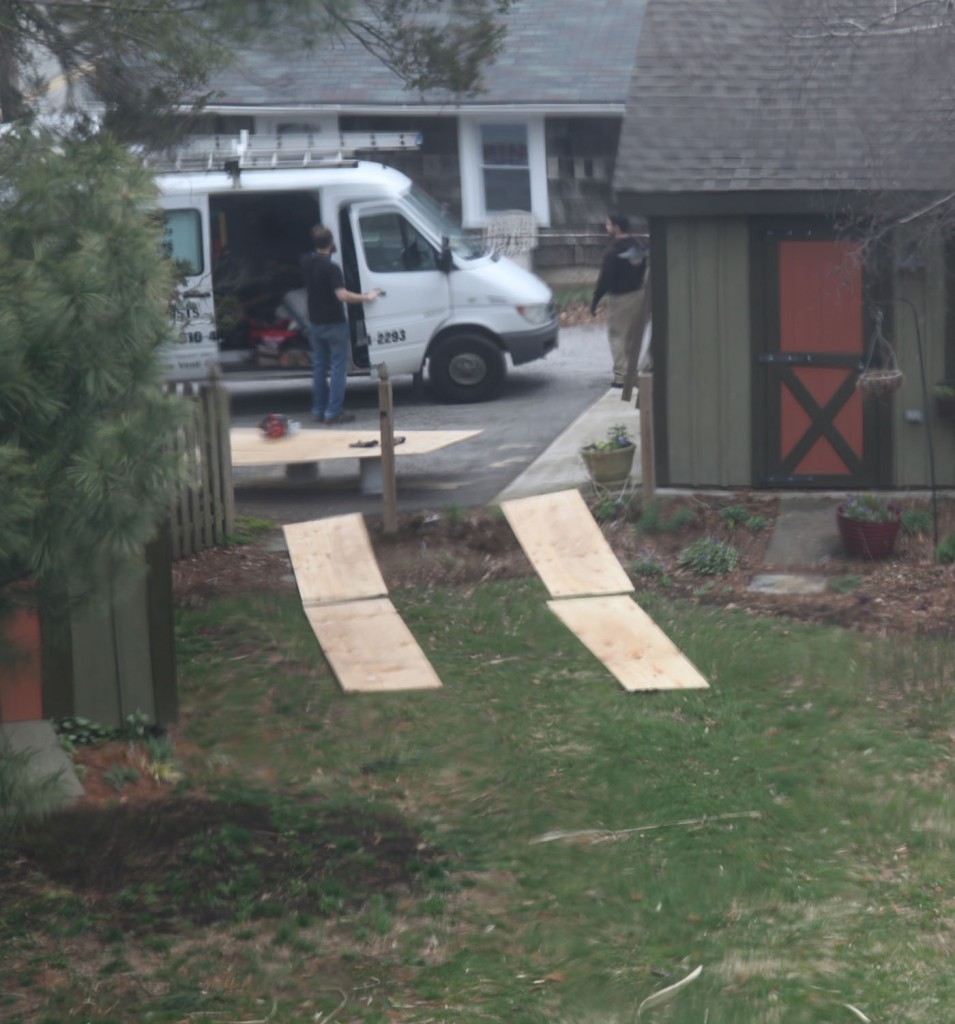
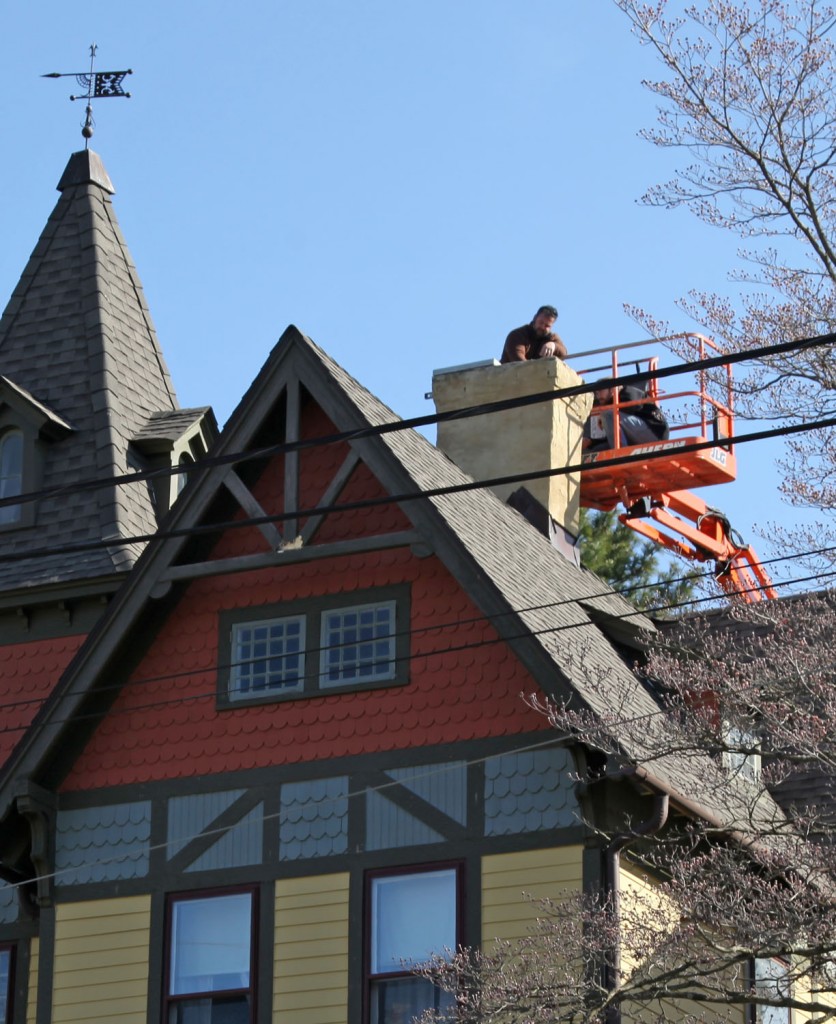
My chimney guys are back and they have a nice dry day to finish things up! So far this morning they have install the bluestone cap on top of the chimney (this sits below the pretty new fancy caps), started installing the logs for the fireplace, and started scraping the painted stucco on the chimney. I picked a paint color for the chimney (portobello). The chimney should end up a little darker and a warm grey as opposed to the yellowish/tan color it is now.

Things left to do:

-Install the Fancy Chimney Caps

-Finish scraping the chimney to get it ready for paint

-Prime and Paint the Chimney (tomorrow)

-Finish installing the gas logs in the Living Room

-Remove Crane (next week)

-Replace Fence (next week)

Things left for me to do:

-Go back on the lift this afternoon to get measurements for the King’s Post (to see if I can pick up a piece of wood this afternoon)

-Tonight my neighbor/carpenter is suppose to come by to look at the King’s Post

-Pick out a new fireplace screen for the fireplace. I found a pretty good price on a custom one from Northline Express since none of the standard size screens come close to fitting our old fireplace. We are thinking of having it fit just inside the opening.

Update:

The guys are done with the chimney and the gas logs (except for the paint)!

Installing the Chimney Pots!

1 Comment

Aerial Shots of the House

April 13, 2011 — 1 Comment

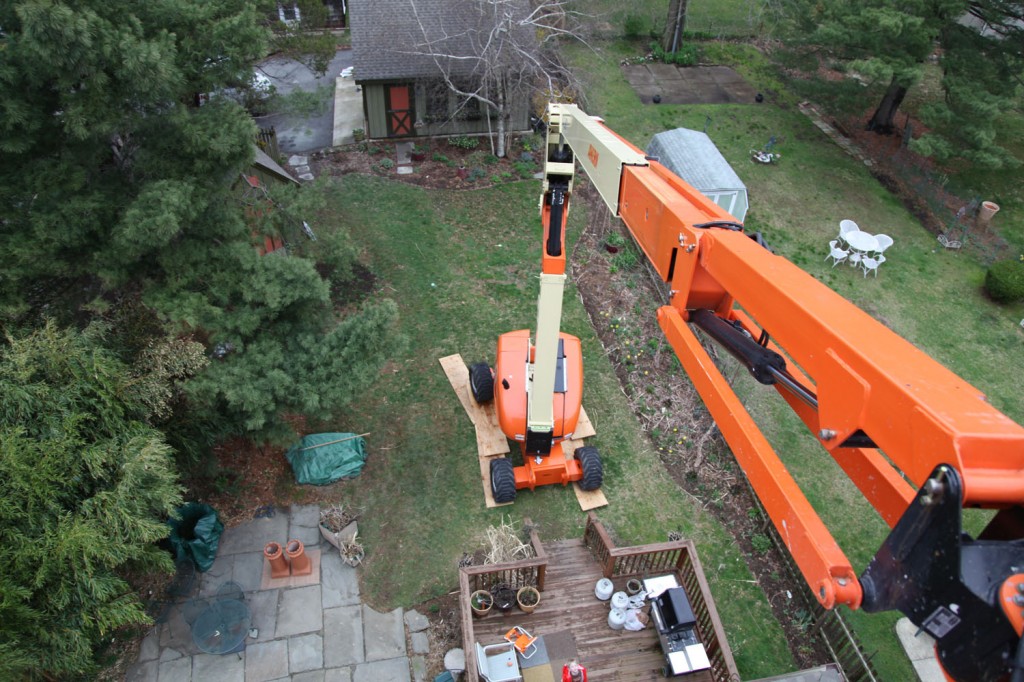
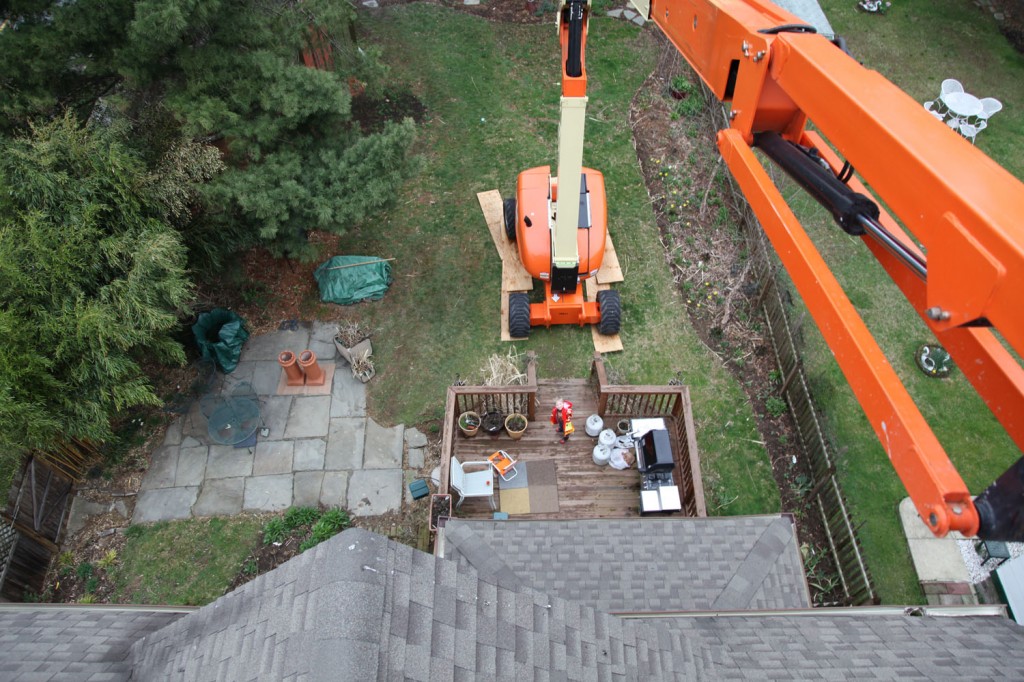
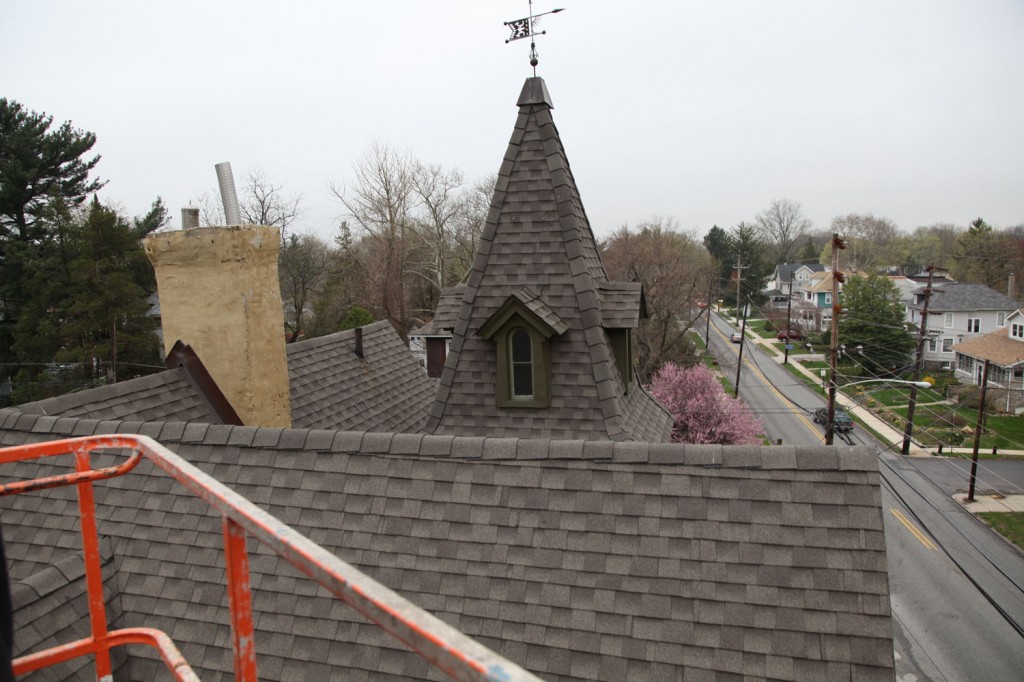
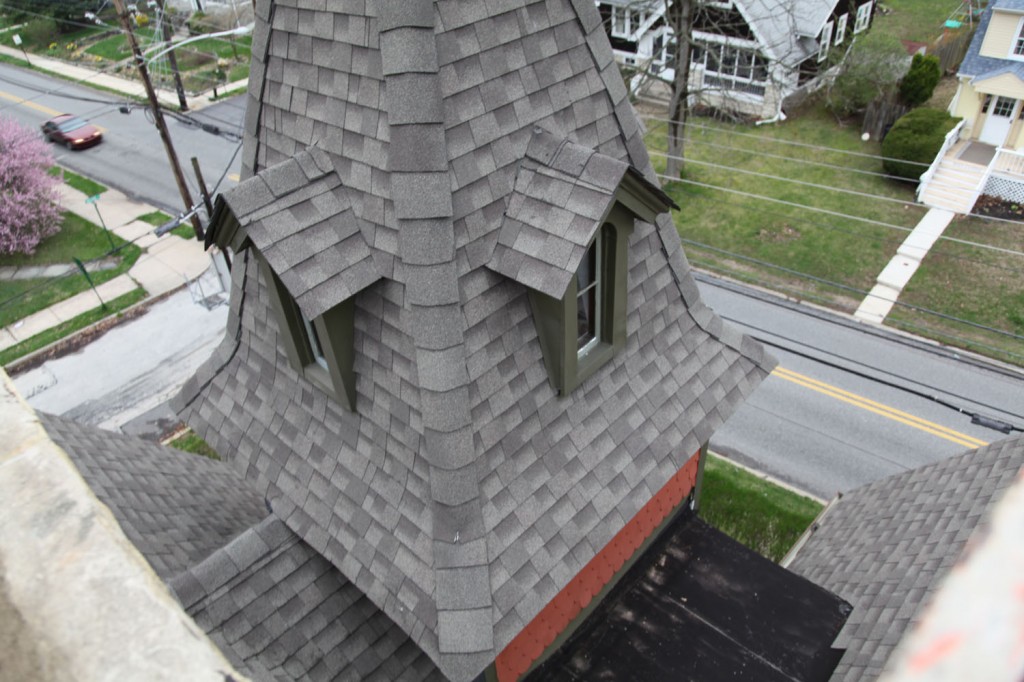
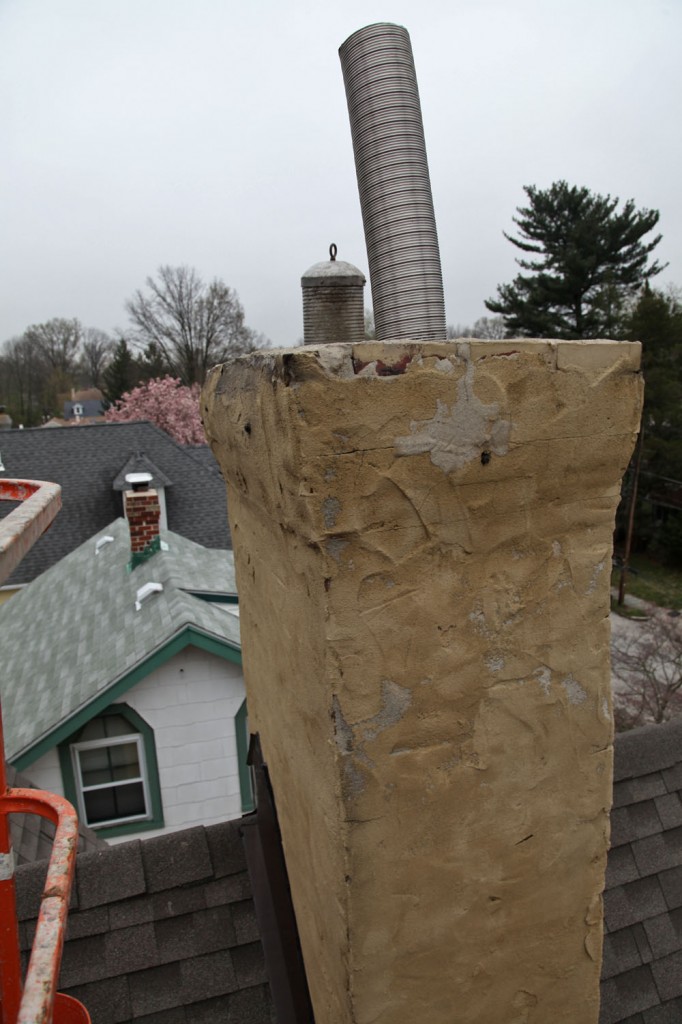
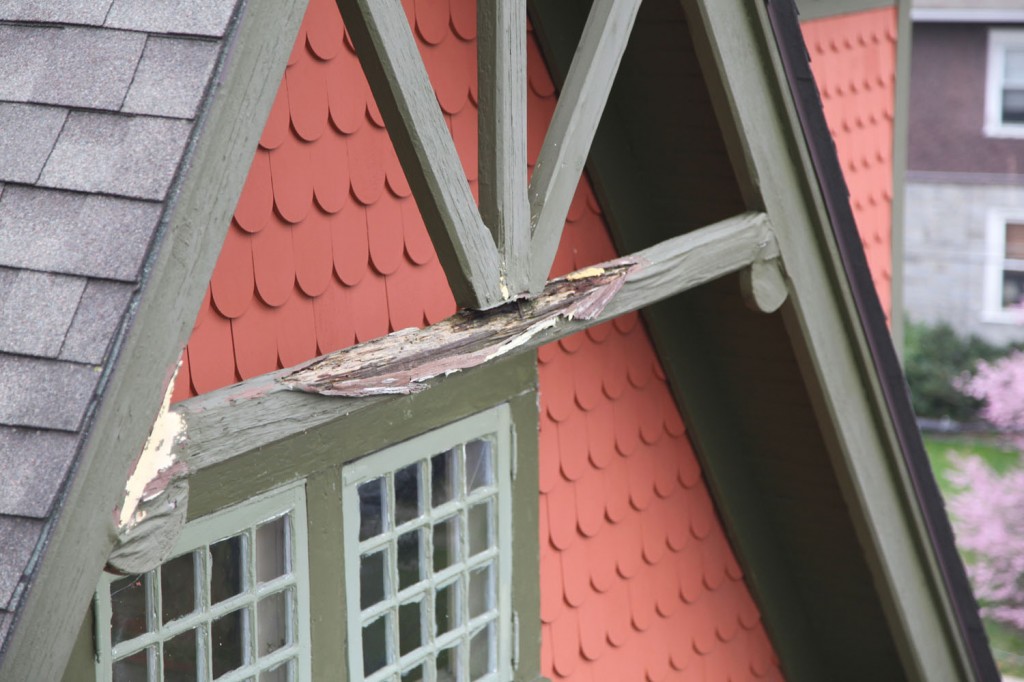
I got to ride in the lift/crane this afternoon! The chimney guys wanted to show me the condition of the stucco on the chimney, but we also got to take a look at the rotted king’s post on the side of the house and the windows on back side of the turret. It was REALLY cool (and I am even afraid of heights)! Now for the photos….


On the way up!

Just above the roof.

At the top of the peak!


the tower & chimney

the tower and flat roof

the chimney

the rotted king's post

Now I am in a mad rush to see if I can find someone to replace the piece of the king’s post while the crane is still here! I am going to see if the guys might be willing to let me go up again tomorrow and see if I could take some measurements and possibly get it down myself.

1 Comment

The Chimney Update: Day 3

April 13, 2011 — 1 Comment

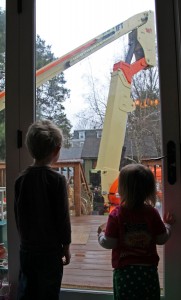
Sam, Maisie and the Crane

Maisie is busy putting on her rain boots and coat but Sam is still watching the crane.


The kids are home today and will probably be spending a good part of the day watching the crane! Sam has requested a crane like this one for his birthday. He said, “Don’t worry mom, it will be an outside toy. It won’t fit through the door.”

The guys are busy finishing up the insulation. The plumber will be here to install the gas line for the gas logs later this morning. Fingers crossed, all will go well and they will be mostly finished today.

Update: The plumber has been here and the gas is now hooked up to the gas logs and the guys are still working on the top of the chimney. The other new development is the condition of the stucco on the chimney. It is currently painted (was probably painted about 13-15 years ago) and it is starting to flake. So we 2 options: have them scrape and repaint or have it stuccoed and smoothed out. We are waiting on a cost for the stucco. The question now is what color? hmmm… I will have to photoshop some options.

1 Comment

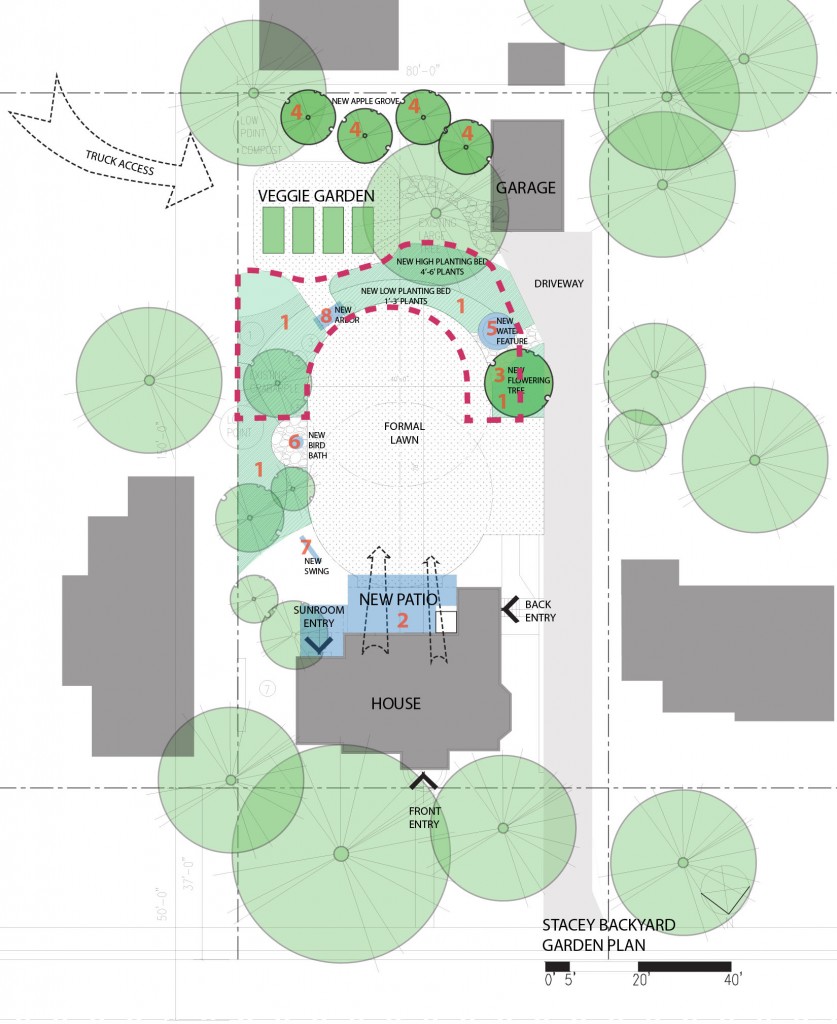
Updated Plan. The red line shows the modified location of the Phase 1 bed.

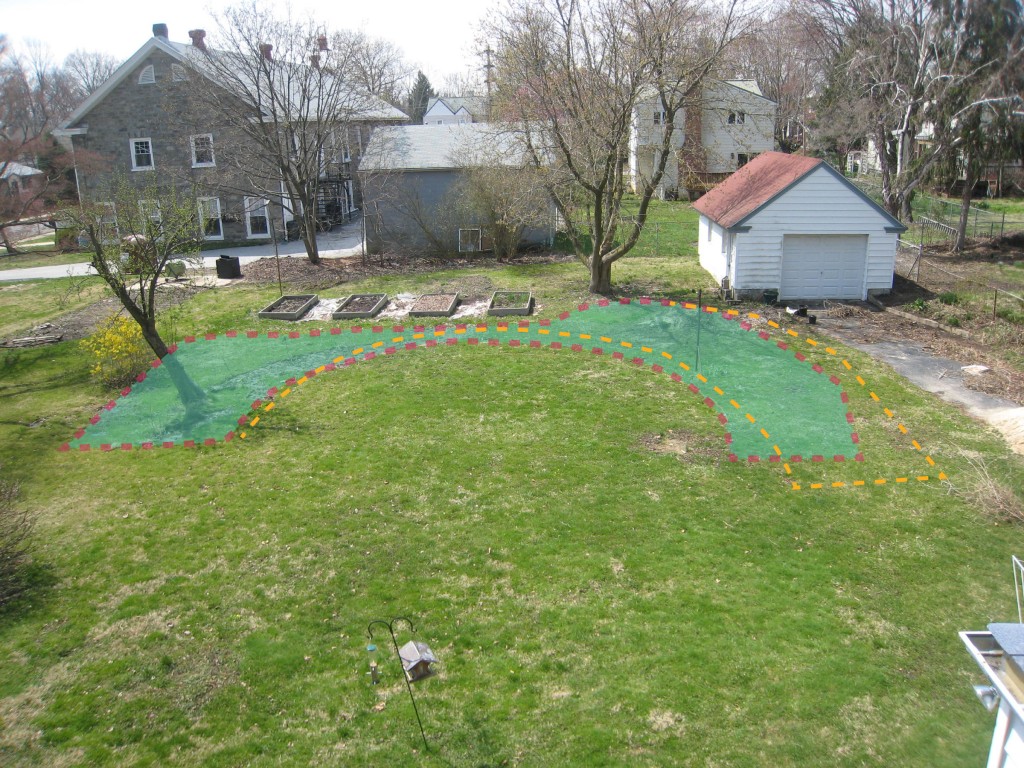
The red line and green show the proposed bed. The orange line shows the original location from my plan.

We are still working on the final plant list. In the meantime, Stacey is working on clearing the ground. She has a hand sod remover tool and has been slowly taking the grass away.  She is considering getting the big guns out and renting a big sod remover.  Gotta love big power tools! The grass will soon be replaced new beds of wet newspaper, good soil, possibly more newspaper and finally mulch in preparation for the new plants.

I headed over to finalize the shape of the circle for the back bed (Phase 1). The original plan shows a 20′ diameter half circle. Stacey had done some preliminary markings with a 15′ diameter. In the end, we went with an 18′ diameter centered on the future patio. In addition to aligning with the patio, this will allow her to leave an existing post and use it for a bird house.  This does leave the area closest to the driveway a little in flux (maybe a gravel edge) as the planting be might be too wide in this area.

One thing I have found with landscaping as opposed to other forms of home improvement is that you often have to tweak the layout a little bit on site until it feel just right.


Leave a comment

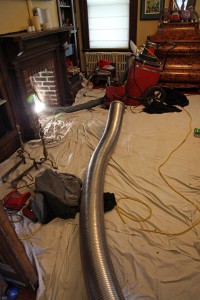
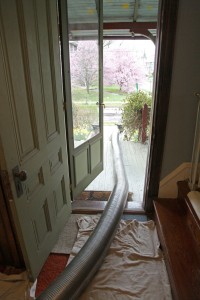
The stainless steel liner for the fireplace waiting to be installed

The rest of the very long piece of liner!


The chimney guys have been busy at work here! Yesterday they managed to install the liner for the boiler and hot water heater. They left mid-afternoon yesterday to head back to the shop to get everything ready for today. They were back this morning with the fireplace liner. It is rainy here today but that doesn’t seem to have slowed them down.  The lining is now in the fireplace (the picture is from this morning). If all goes well the chimney pots will go up tomorrow.

Update: The guys are done here for the day. They have put in a good portion of the insulation (a special perlite, concrete mix). The specialty product  hardens to keep the stainless steel liners in place while preventing any chance of a fire or spark from coming through the flues. They are installing this all the way up the chimney. I think they have a whole pallet load of this stuff and one guy mixing on the ground while the other two go up on the lift, carefully pour it down the 3 flues and then come back down on the lift.

If all goes well the chimney caps will go up tomorrow. They have some more structural work to do at the top in the morning to get ready for the caps.


The guys installing the insulation in each of the 3 flues.

The guys coming back down for another load of insulation.

Leave a comment

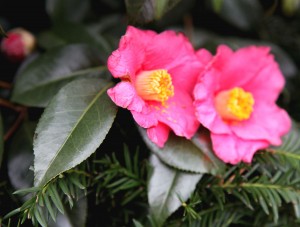
Camellia

Close up of Flower


I did not get a chance to list my plant of the week last week, so here it is a little late. I try and focus on plants that are doing well in my yard. Today I am switching it up and highlighting one in my neighbor’s yard. She has a beautiful Camellia growing near her front steps. It is quite large (6′ tall) and has been there for several years now. It is in a part shade location on the northwest side of the house.  We are at the northern edge of where Camellia’s grow so you have to be careful to pick the right variety (and may get some winter burn). But if you get it right, you get such a beautiful show (normally only available to our southern friends)!

Camellia Japonica
(Japanese Camellia)

Type: Perennial Evergreen Shrub (Zones 6b/7a-10)
Light Requirements: Part Sun to Part Shade
Moisture/Soil: Average moisture with acidic soil. Protect shallow roots with mulch.
Blooms: Early/Mid spring.  Blooms last for several weeks. (in our climate, blooms in winter in the south)
Leaves: Dark Green glossy leaves.
Size: Height: 6-10+’  Width: 5′-8′
Additional Info: Can suffer from wind burn. Ideally plant in a protected area. Should plant in the spring to give it time to acclimate.

Pros: They are beautiful and have nice evergreen foliage.

Cons: You have to be careful to situate these in a suitable location.

Origin: Native to Eastern Asia.

Varieties: There are many varieties to choose from in a number of different colors. Ones that tend to do well in colder climates include Camellia Japonica ‘kumasaka’, Camellia sasanqua ‘Kanjiro’ , Camellia japonica ‘Spring’s Promise’ (good to Zone 6), Camellia x ‘Winter’s Snowman’ (good to one 6).

P.S. Anyone have any other recommendations for our 7a/6b climate?

1 Comment

The crane has been here for 10 minutes and they have already been up to the chimney and taken off the cap!

The Crane!

Getting Ready for the Crane

The day has finally come for the chimney lining! I’m so excited! The guys are here (the guys being DJ Cross Inc from Media).  They are waiting on the overdue crane (oh wait, now it is here!)

In the meantime they have taken down part of the back fence and are already down in the basement starting to work! Fingers crossed that all goes well. I will post pictures as they start making progress.

Also I have my plants safely tucked away in the compost pile (in the back right side of the picture).

Leave a comment

Octopus Print

Sea Urchin Print

Jellyfish Print


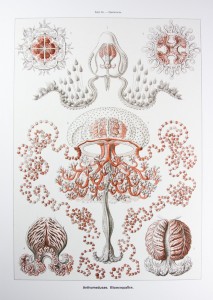
I wanted to find something interesting for the artwork for Sarah’s bathroom. I had octopus and sea creatures on my mind because of a beautiful Japanese octopus print that her daughter had hanging in her room. I also thought something with seashells would work with the iridescent accent tiles. So I did some searching around on Etsy. There were a surprising number of octopus prints to choose from. It appears that they are quite popular at the moment! Anyway after looking for around for a while I found the perfect fit; the sea creature prints of Ernst Haeckel.  I had never heard of him before but his drawings are very beautiful and also have a fantastic graphic quality. The colors also looked good with the room! I also discovered that several of his books are still in print. I had Sarah order up Art Forms in Nature: the Prints of Ernst Haeckel.  Now she can choose from the many beautiful prints in the book. We are currently planning on putting one above each hook. And the nice thing is that she can change these out and she does not need to worry if they get a little damp. There are also several Etsy vendors selling prints.

Leave a comment

The Living Room

April 7, 2011 — 2 Comments


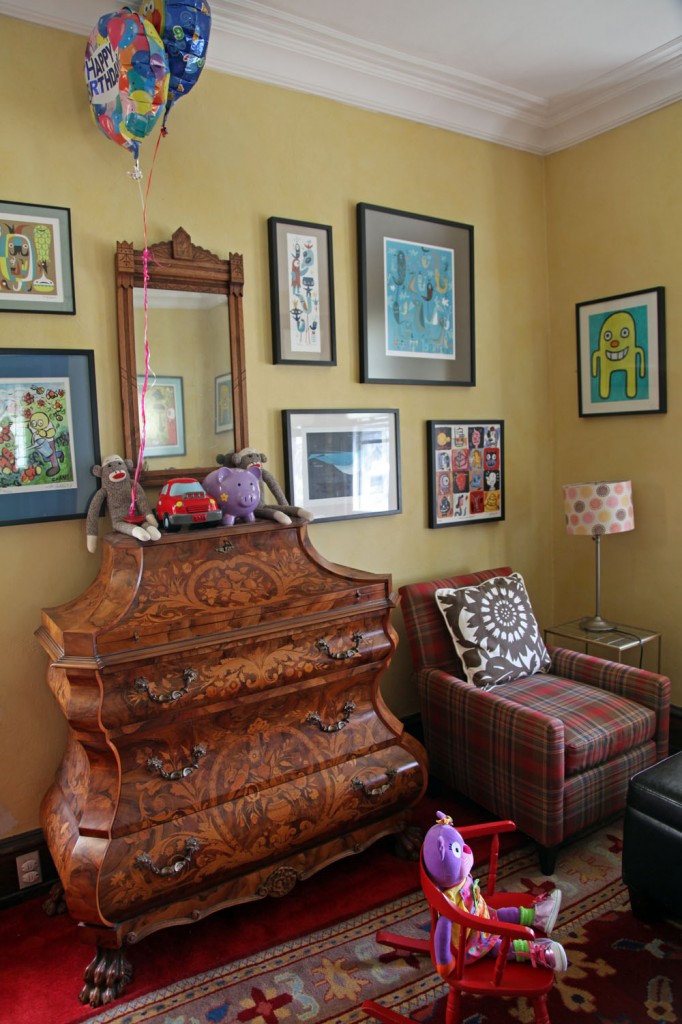
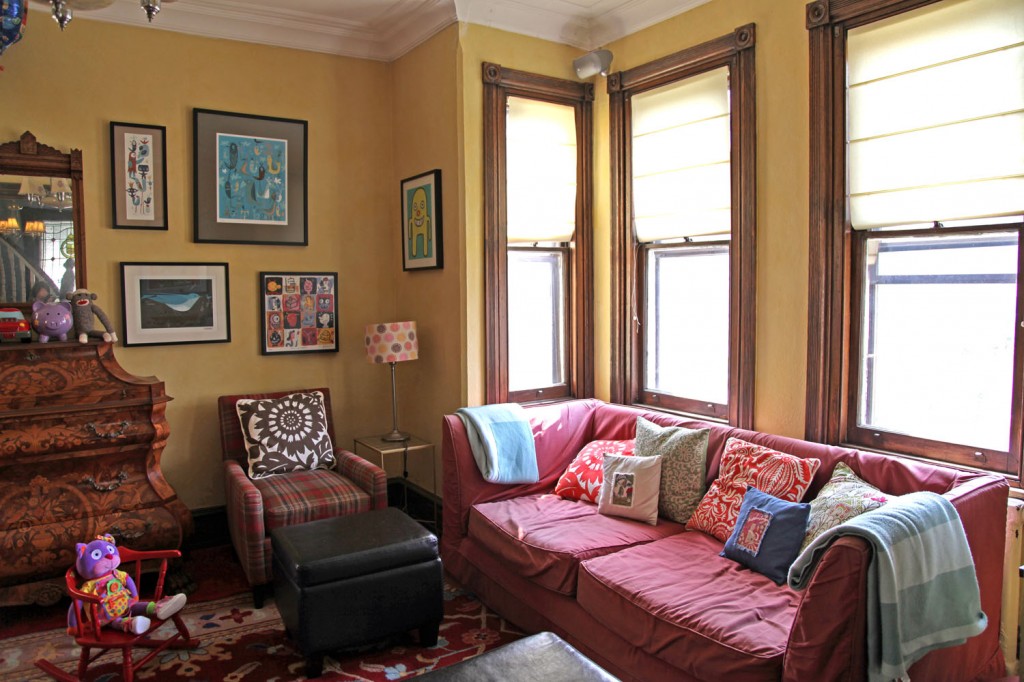
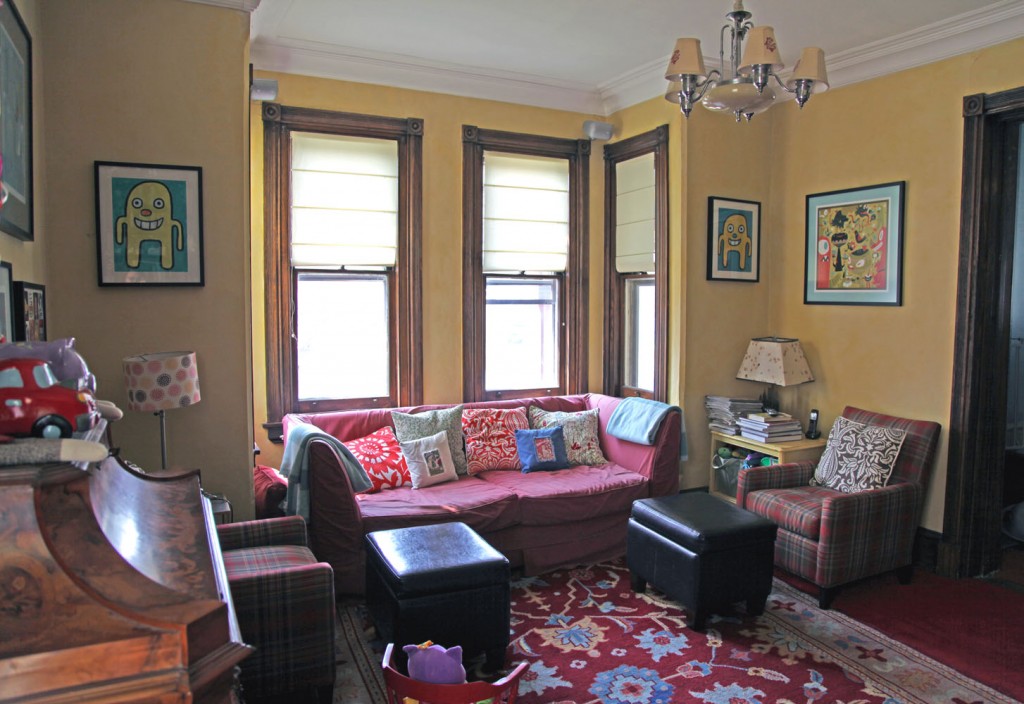
Our Living Room is a very well used room. We don’t have a Family Room or a Play Room so this is it for hanging out, watching tv, playing with the kids and playing wii (with the kids). I have tinkered with the furniture placement a lot over the years. The current arrangement is designed to give the kids as much floor space as possible (and also allow for optimum wii playing).

The Stats:

The Built-in Bookcases and Mantle:

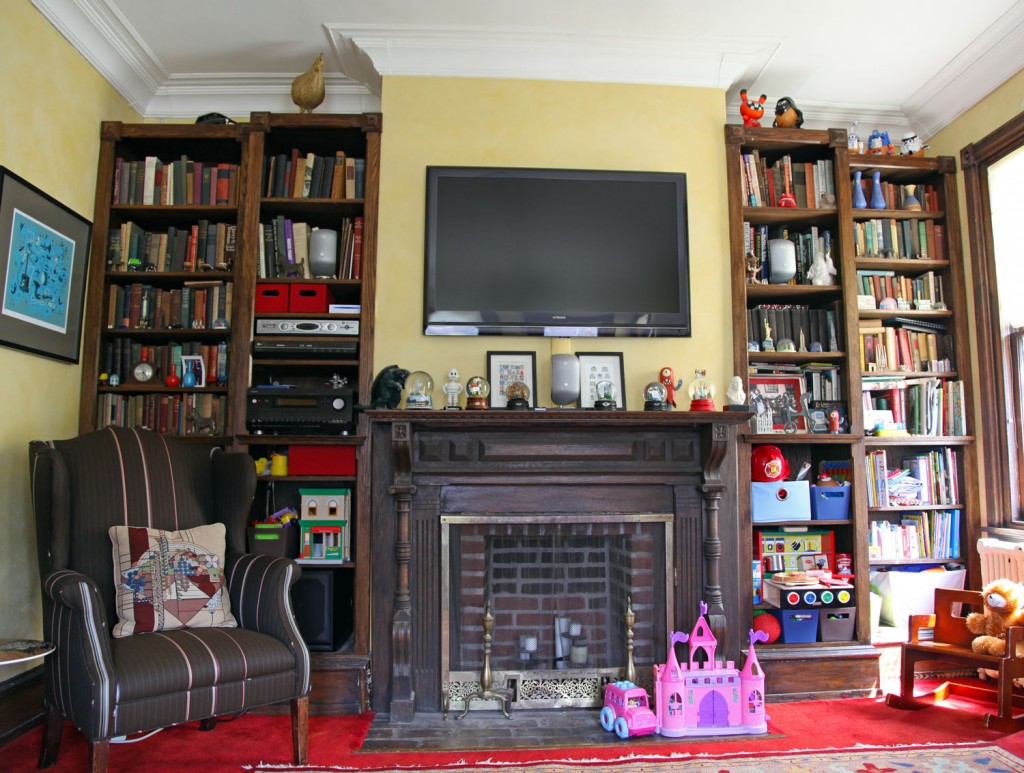
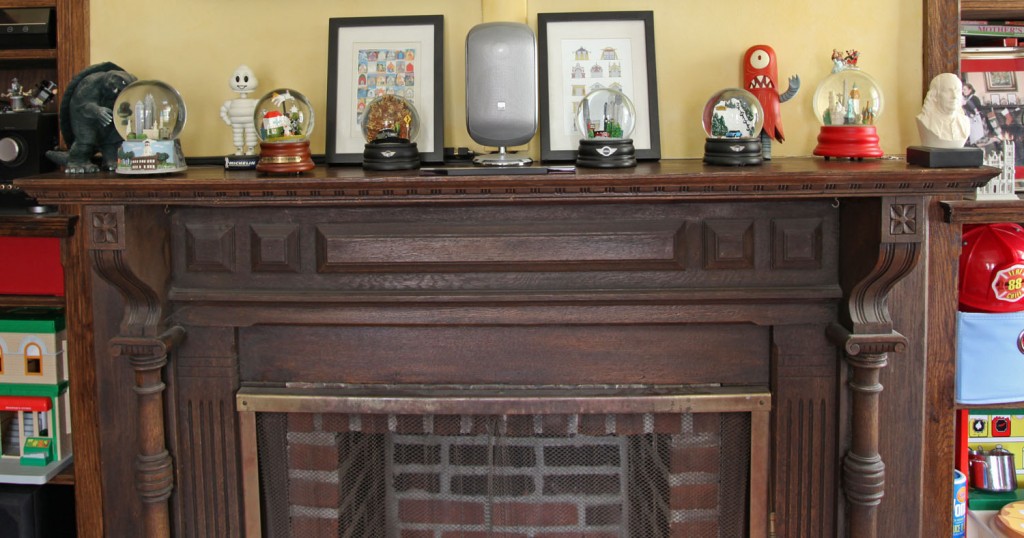
We built the bookcases that flank the fireplace about 7 years ago. We tried to match the style of the original 1888 mantel while keeping them fairly simple. The shelves on the bookcases started out being filled with vintage books! As the kids have gotten bigger and their toys have grown exponentially, we have been giving over more and more of the lower shelves to them. We built the shelves in 4 parts. The interesting thing is that although the widths of the spaces on either side of the fireplace were the same, the depths were not so each section is different. We also had to avoid the window and radiator on the right side.We also added the crown molding, ceiling medallion and light fixture at the same time.

We have always collected kitschy nicknacks and we try and show them off and think they offer a nice contrast to the formality of the fireplace mantel and shelves. As a bonus the kids toys fit right in!

And next week if all goes well we will have new gas logs in the fireplace! The chimney guys are scheduled and fingers crossed the weather will cooperate!

Artwork & Accessories:

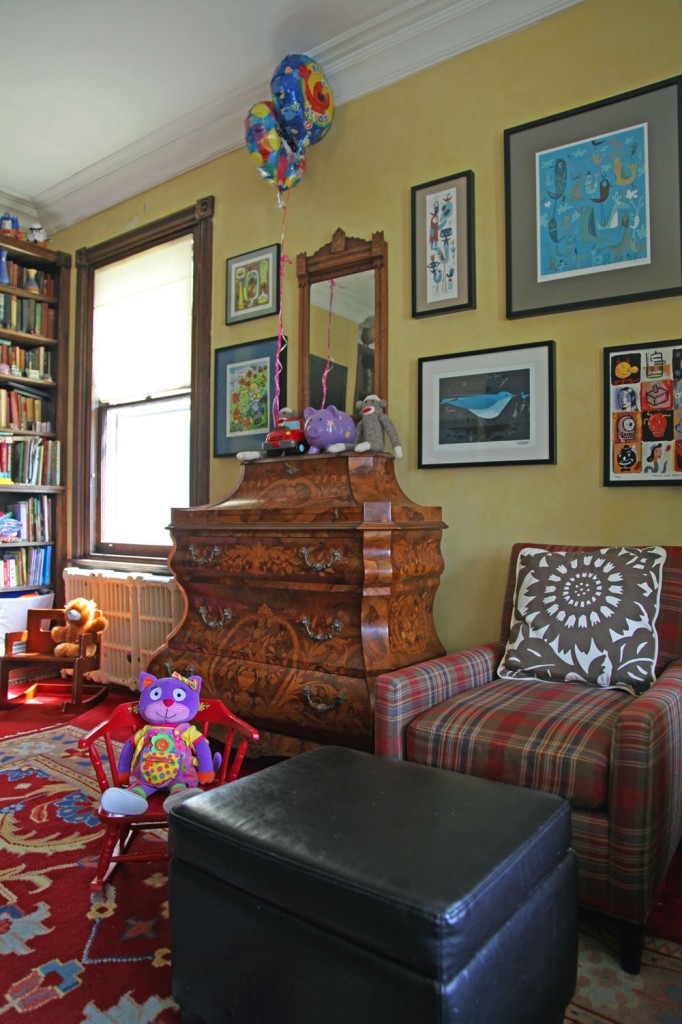
We use to collect quite a bit of artwork (mostly prints). Artists in the Living Room: Tim Biskup, Charlie Harper, Gary Baseman, daVE and Chank. Let me know if anyone wants a more detailed list.

We also have a lot of smaller things around the room that make us feel at home. The piggy banks on the dresser are for the kids. The monkeys were a gift before we had kids and use to sit there by themselves. The mirror is vintage from ebay.

The rug is from Ikea (about 8 years ago).

Furniture:

The Dresser: We always seem to get questions about our dresser/desk. No it isn’t an antique. It is a reproduction with lots of inlaid wood. The top opens to form a small desk. My mom and I picked it up at an auction years ago. The only reason I ended up with it is that my dad thought it was really ugly. Oh well, their loss is our gain.

The Striped Chair: This is an 18th century antique that my husband inherited. We had it reupholstered in Paul Smith fabric from Maharam.

The Plaid Chairs: From Crate and Barrel. I don’t think they make them anymore. I like that they are small but comfortable.

The Couch: Old and comfy. From the long defunct furniture.com. The funny thing about it is that we paid for it by reselling Bruce Springsteen tickets back when we lived in the City. The pillows are a mix of Thomas Paul and Pottery Barn.

The Ottomans: From Target. These faux leather ottomans are workhorses! They hold legos and blocks. The kids sit in them and on top of them. They jump off of them. They spill lots of food and drinks on them. Fortunately a little kitchen spray and they are as good as new!

The Kids Rocking Chairs: The red one is mine from when I was a girl. Apparently when I was about 2, I sat down in it in a toy store and wouldn’t get out of it until my parents agreed to take it home. I’m drawing a blank on the manufacturer of the brown rocking chair. Let me know if anyone wants me to look it up.

To Do List:

-Strip the radiators back to their original metallic appearance.
-Minor wall patching.
-Remove the red carpet and refinish the wood floor underneath.

2 Comments

Sam’s Guys

April 7, 2011 — 1 Comment

Tootie and Doggie

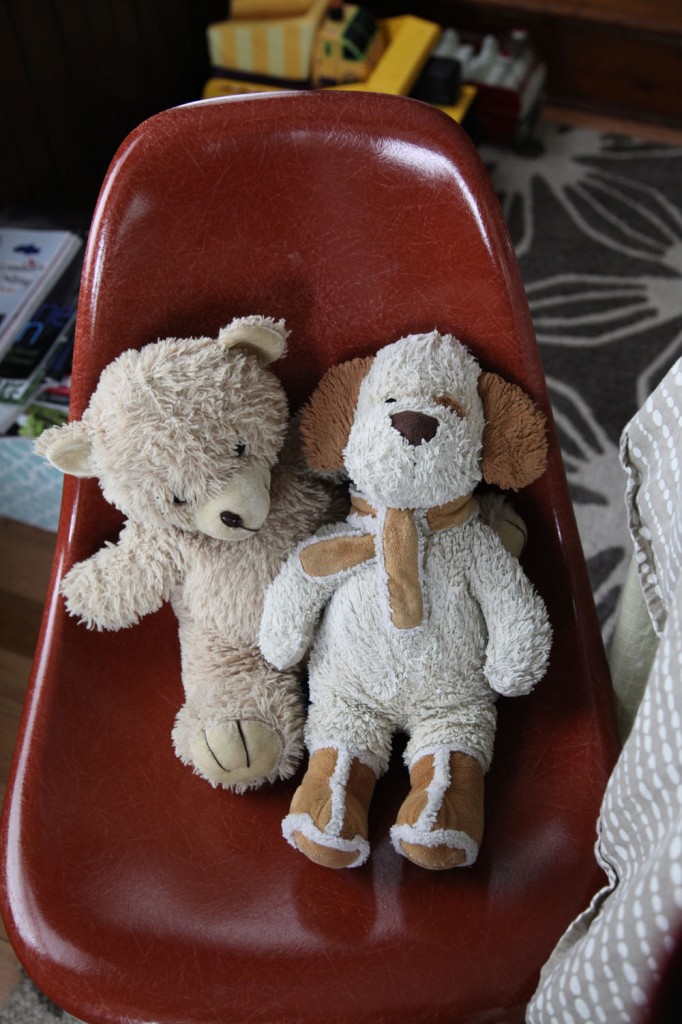
Sam calls his favorite stuffed animals “My Guys”. This morning it was decided that Tootie (who is a girl) and Doggie should wait for him right near the back door so that he could wave goodbye and he could see them as soon as he got home from preschool. So sweet!

1 Comment