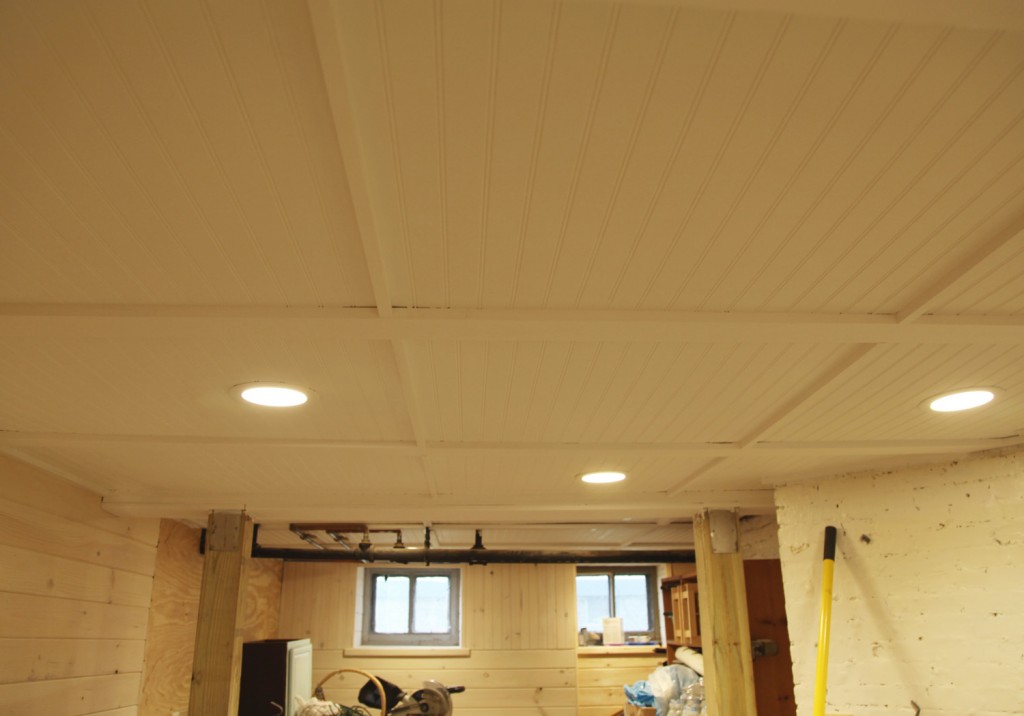
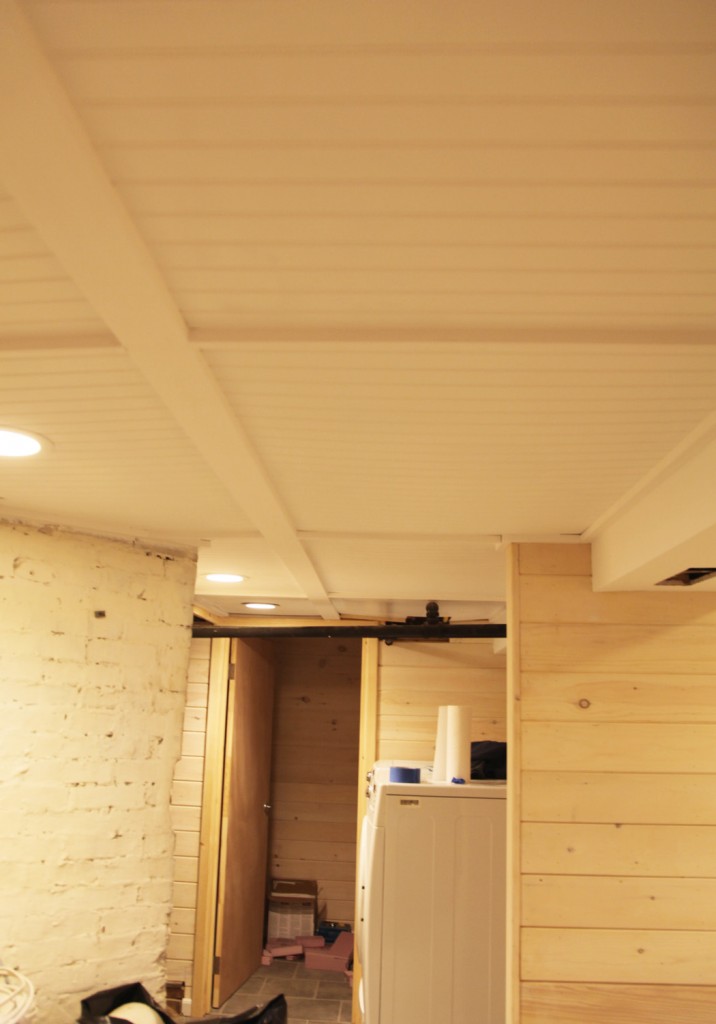
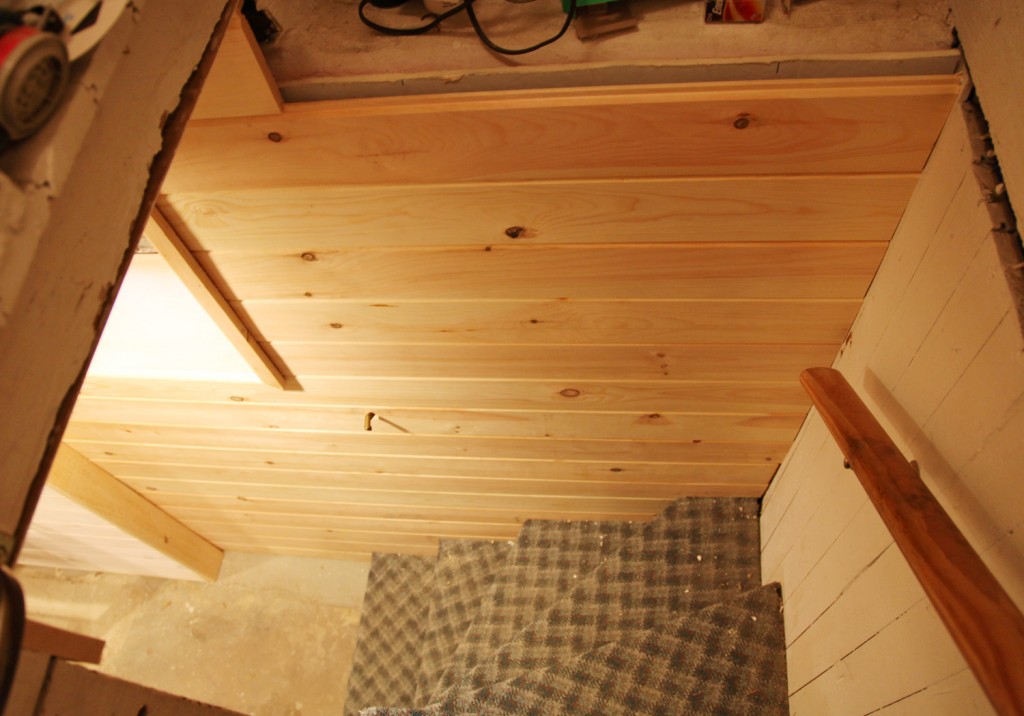
My neck (and Mr. S’s) is a little sore but the ceiling is painted! Yeah! It took a couple of coats of ceiling paint but it is finished. We used 1 coat on the beadboard panels themselves (which were already white) and 2 coats on the wood beams. Mr S. manned the paintbrush and I used the small roller. The great news about this being finished is that we are one step closer to installing carpet. We still have a fair amount of trim to paint (mostly in the windows) but most of the large surfaces are finished, which feels great.
The Work Room
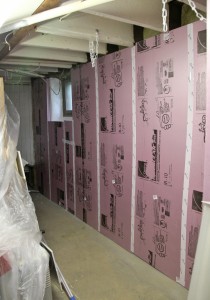
We also managed to clear out some space in the work room so our contractors can install drywall this week. Besides drywall they are going to relocate a few of our old florescent fixtures for the room and put them on a switch for us. We are not going to put a ceiling in here right now and I don’t want to spend more than we have to in this space, so we thought reusing the old lights in here made the most sense (at least for now).
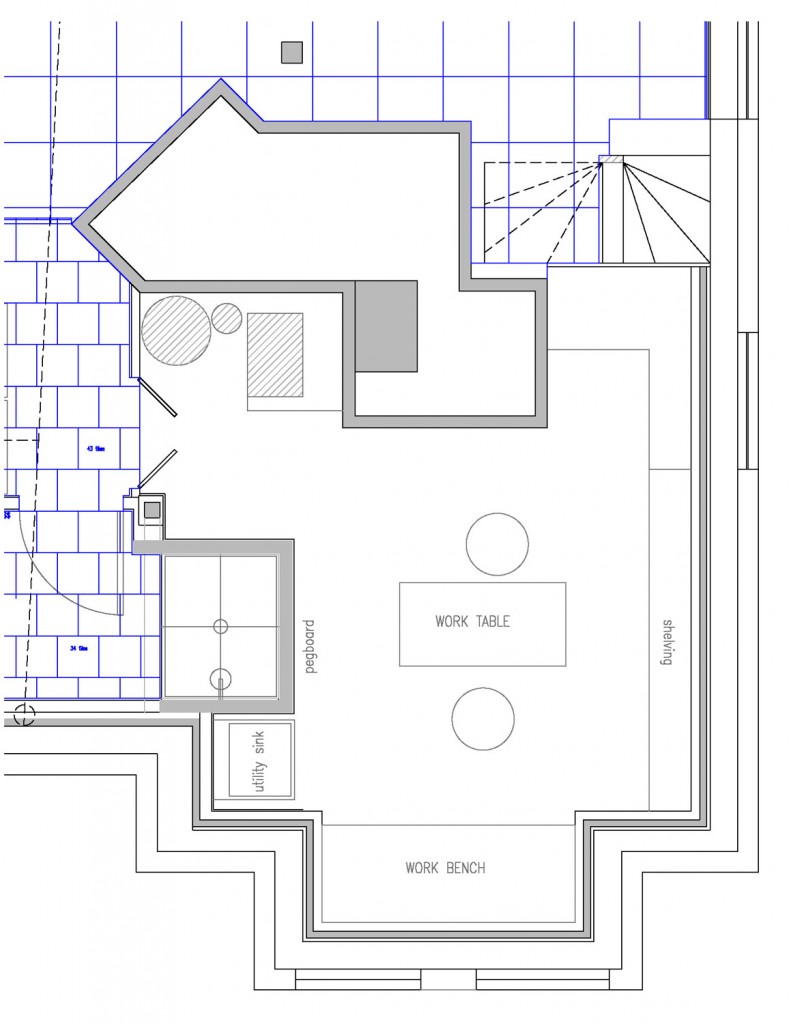
The plan for this room is that it will be for using all of our wood working tools and for house projects. It is hard to see the space right now because we have shelves awkwardly placed in the middle of the room but there should be space for:
1. Work Bench: This will go in the front bay and have some open shelving below to hold some of our power tools. I actually already own the legs for this and it should be a fairly quick install.
2. Long Wall of Shelves: We haven’t decided what kind (whether we will reuse our old wood ikea shelves or the old wire shelves that were there before). This will hold paint, wood & miscellaneous house parts. The old shelves were never used very efficiently, so I hope to remedy this with the new layout.
3. Peg Board: We are going to install peg board on the short wall next to the utility sink. This will be good for some of the small hand tools. I plan on painting it blue.
4. Work Table: Fingers crossed there will be enough space for a medium size work table in the middle of the room. This would be on casters so it could move around. When we do some of our bigger projects there are times that I really need some space to set out my work.
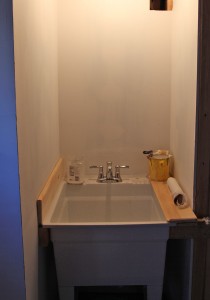
5. Utility Sink: This is already installed and ready to go! I’ve already made good use of this. It is a little alcove behind the shower. I went with an inexpensive model from Home Depot. I should have upgraded to a better made model. We had to shim the front legs to get the drainage to work at the bottom of the sink. It also required lots of extra support to keep it sitting firmly.
* To see all of the posts about our basement click here.

