Completed Bouquets, All Ready to Be Delivered

It is Teacher Appreciation week here, so it is time for me to make some bouquets. The parent group from our preschool tries to have something special for each day of the week for the teachers. I signed up last year to put together flowers for the teachers. This year, I signed up again. It is hard work and a bit tedious but our teachers work really hard, so I feel like it is the least I can do. This year there are 33 teachers and assistant teachers (plus 3 office staff). My goal is the same as last year, to make pretty small bouquets for under $50 (I spent $37 last year).

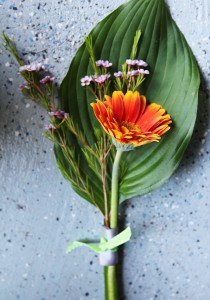
Gerber Daisy

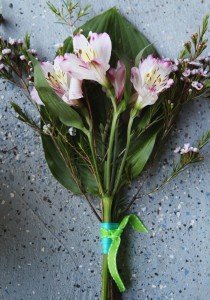
Freesia

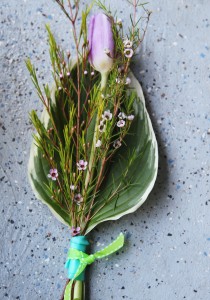
Tulip

I decided my best course of action was Trader Joe’s, since I was overdue for a trip anyway (since it is a bit out of the way I try to only go about every 3 weeks or so).  Their flowers are always reasonably priced, and they usually have a good selection. I first walked in and was disappointed (and I was thinking that I was going to have to go elsewhere). Fortunately around the corner in their seasonal section, they had beautiful bouquets for Mother’s Day. At $9.99 a piece, they already had a good mix of flowers to choose from. Score! I picked up 3, after looking through them and picking the bouquets with the most big flowers per bunch (yes, I’m sure they thought I was a little strange crouching over the flowers counting). I also picked up one bunch of freesia(?)  alstroemeria for $3.99 to round out the mix. I tried mixing up the flowers a little this year. Last year I did all tulips, this year I picked up tulips, gerber daisies & roses (with lots of wax flowers). Fortunately, I still had left over ribbon from last year (yeah! no trip to the craft store with two grabby children).

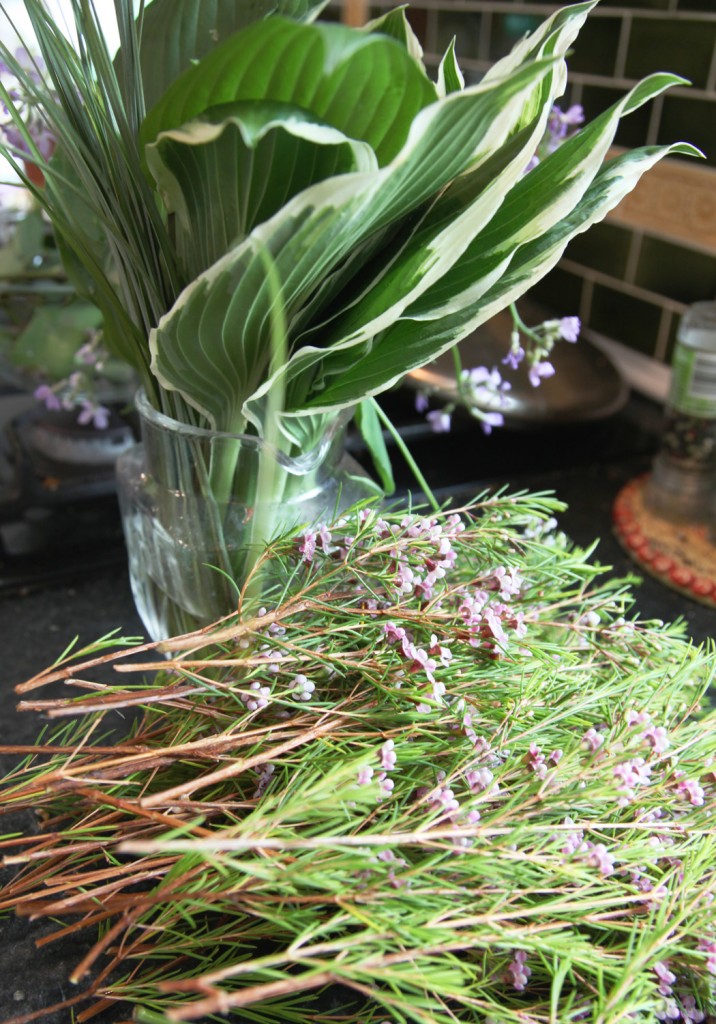
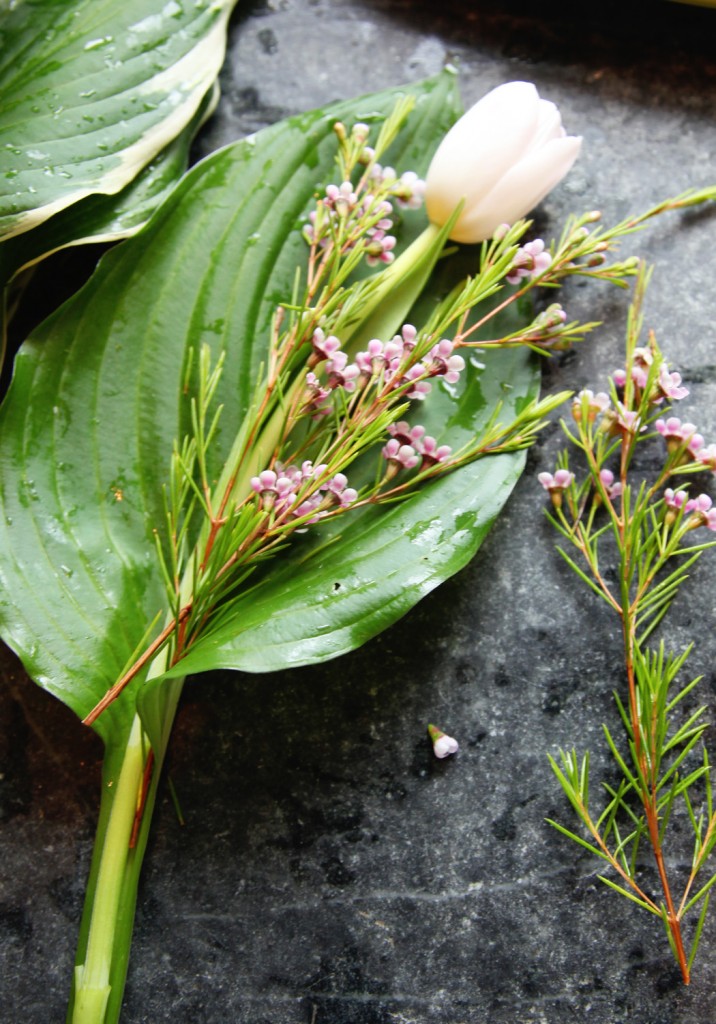
Hosta leaves & Wax Flowers Cut to Size

The Plan

In general I wanted to follow the plan from last year, except I relied on tulip leaves for the back of the bouquet before, and I wasn’t going to have enough this time around. Fortunately, my hostas are going strong, so I ran out in the rain and cut some leaves off (where they were crowding out other plants). One nice thing about the hosta leaves is that they give the bouquet a nice scale. The second convenient feature is that their stems are indented, so it is the perfect place to put the flower stems.

One of the tedious tasks is cutting down the wax flowers. They tend to be on bigger branches, and I needed smaller clusters (with stems long enough to reach the bottom of the arrangement).

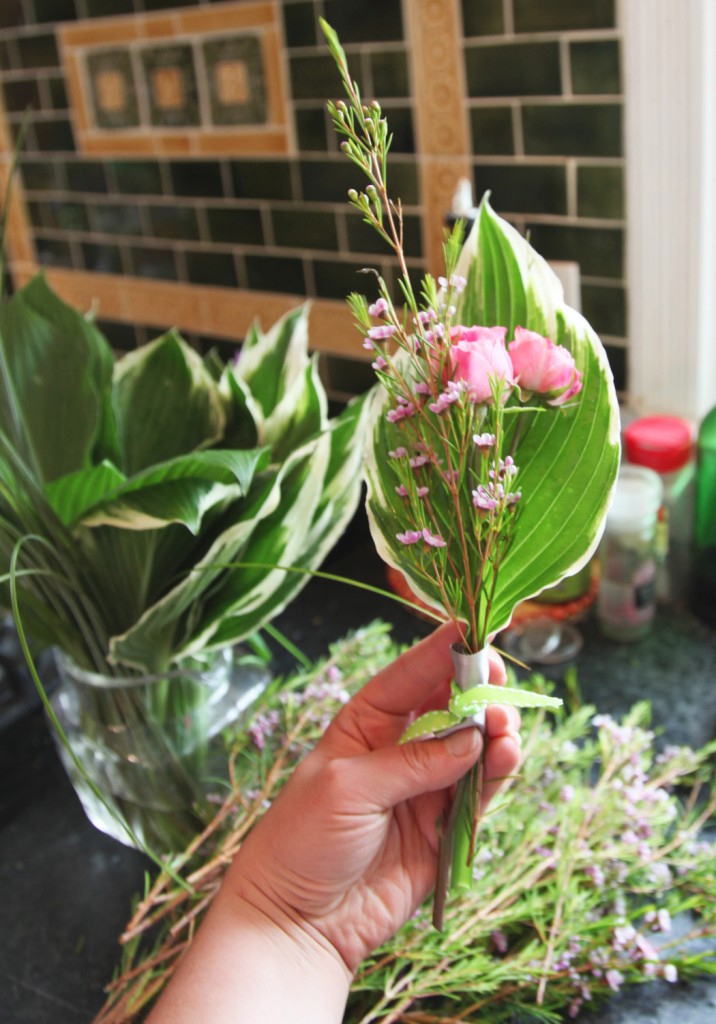
Flower Bouquet in Progress

1. To start the bouquet I put down a hosta leaf and picked out one of the big flowers.

2. Hunt through the wax flowers for a branch that was the right size for to go with the flower (i.e. taller for some, fuller for others).

3. Fuss with flowers to get them in a pleasing arrangement.

4. Cut wide ribbon in about a 4″ length. Wrap ribbon around flowers as high as possible. (just below the hosta leaf).

5. Fold end of ribbon and pin in place.

6. Cut 6-8″ length of narrow ribbon. Tie bouquet tight into a knot.

7. Remove pin.

8. Adjust flowers to final arrangement.

9. Cut bottom of stems even.

10. Place in water. (I used plastic cups with water in a big garden tub with handles for transport.)

Bouquet before cutting bottom stems

FIrst 2 Bouquets

In the end I spent about $38 (if you include the ribbon that I bought last year). Start to finish the 36 bouquets and 1 boutonniere took 3 1/2 hours to make. Phew! The good news is that the teachers seemed to really like them.

I hope everyone has a lovely Mother’s Day! I am looking forward to spending a relaxing day with my family.


2 Comments

Front Garden Texture: Allium Shubertii, Peonies & Penstemon 'Husker Red'

It has been raining for days here, okay so it is more like rain, drizzle, gray skies, repeat. This morning was the first real blue sky I have seen in a while. So I took this opportunity to take my weekly garden photos. What is hard to see in the photos is that everything grew at least 6″ in the last week. I think the plants really enjoyed the cooler weather and rain, but I have been itching to get outside.

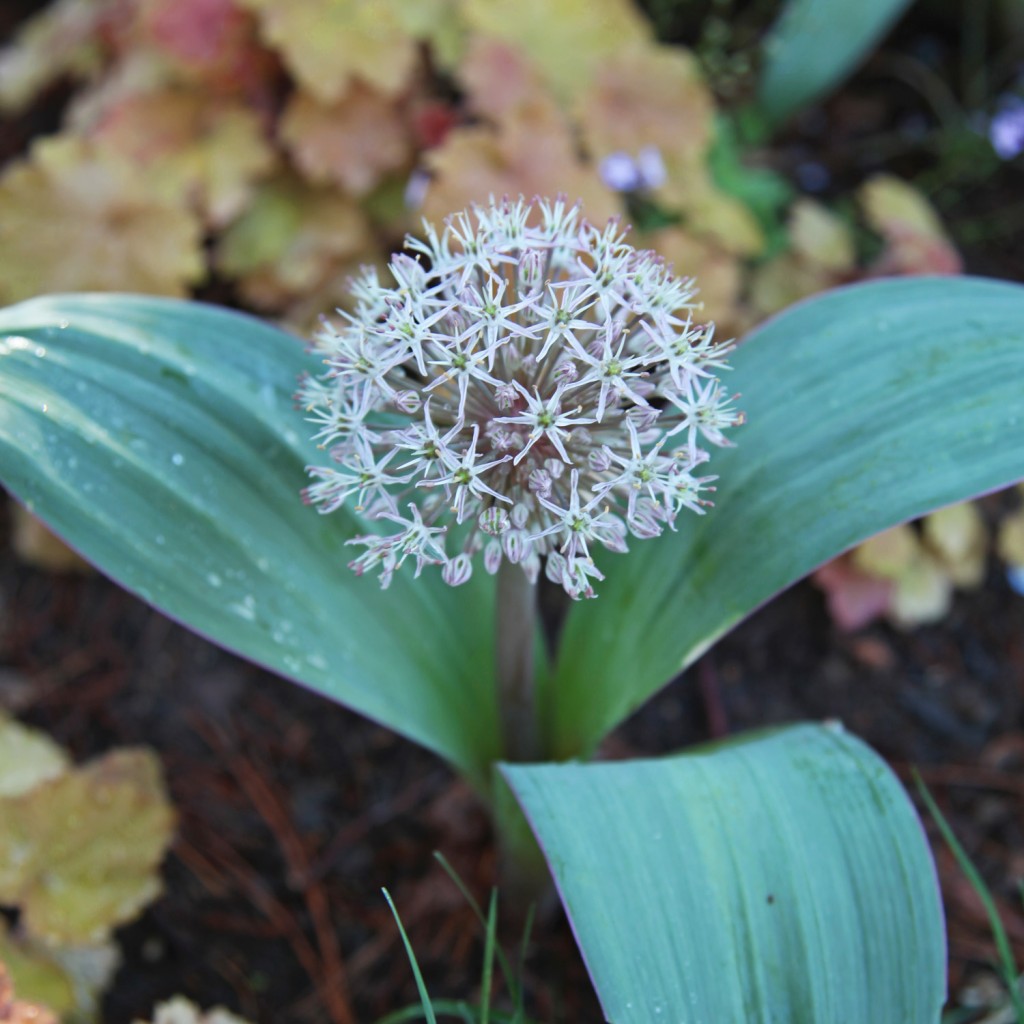
Allium 'Karataviense'

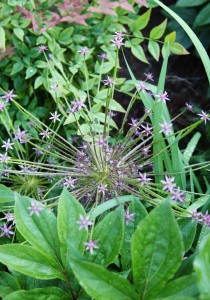
I have been waiting for weeks to finally see my newly planted Allium ‘Karataviense’ to bloom alongside my caramel heuchera, and they finally popped a couple of days ago.

Allium & Huechera

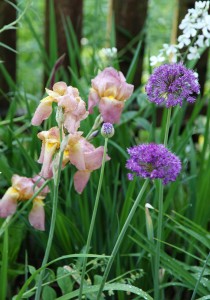
Allium & Irises

Allium Shubertii

My Allium ‘Purple Sensations’ got a little pummeled by the rain, but most seem to have survived, if a little droopy. My Allium ‘Shubertii’ is HUGE (think beach ball sized). Can you tell how much I am loving my alliums right now?

False Indigo

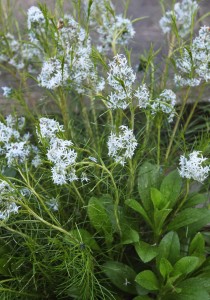
Amsonia (Blue star)

Rhododendron

The Baptisias (False Indigo) that I planted last year are looking great. I’ve heard that they don’t transplant well but if you leave them alone they will grow very nicely with little water. So far so good. Typically they come in blue and purple, but I quite like the yellow. My Amsonias (Bluestar) are also doing quite well. They tend to look a little sparse the first couple of years, but once they are happy they will also do quite well with little water. I guess it helps that both are native plants.

My big old Rhododendron is also blooming. It is at least 50 years old based on the trunk. I actually need to do quite a bit of pruning on it this year, to thin out some old branches and cut it back to size, but that will have to wait until after I enjoy its blooms.

What is blooming in your garden right now?

Leave a comment

Old Electrical Box w/ Sam's Guitar

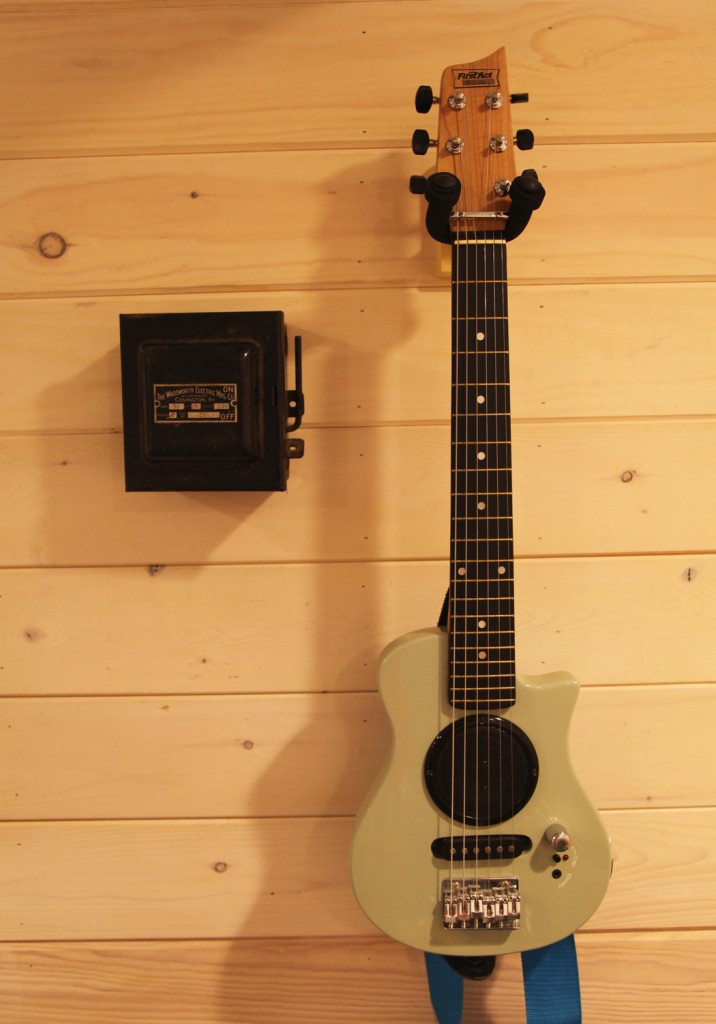
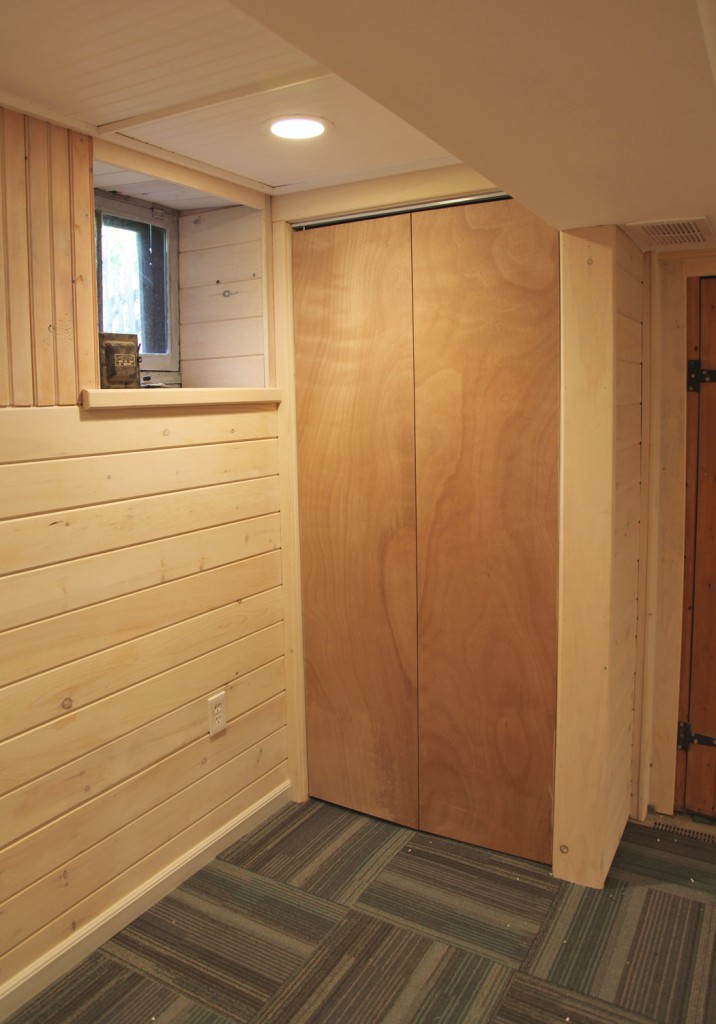
I have been trying to break up the long tasks of making the basement usable by starting to bring in some of the fun accessories for the space. My favorite right now is our old electrical box, now used to hold extra guitar strings and picks. This OLD electical box was actually in use when we bought the house! It connected our ancient oil boiler to the more up to date electrical. Since we replaced the boiler 6 years ago it has been sitting in a box, waiting to be used (after our plumber briefly freaked out and threw it in the garbage). I was really excited to see that it perfectly fits a couple packs of strings and guitar picks.

Blue Beadboard Door to the Backyard

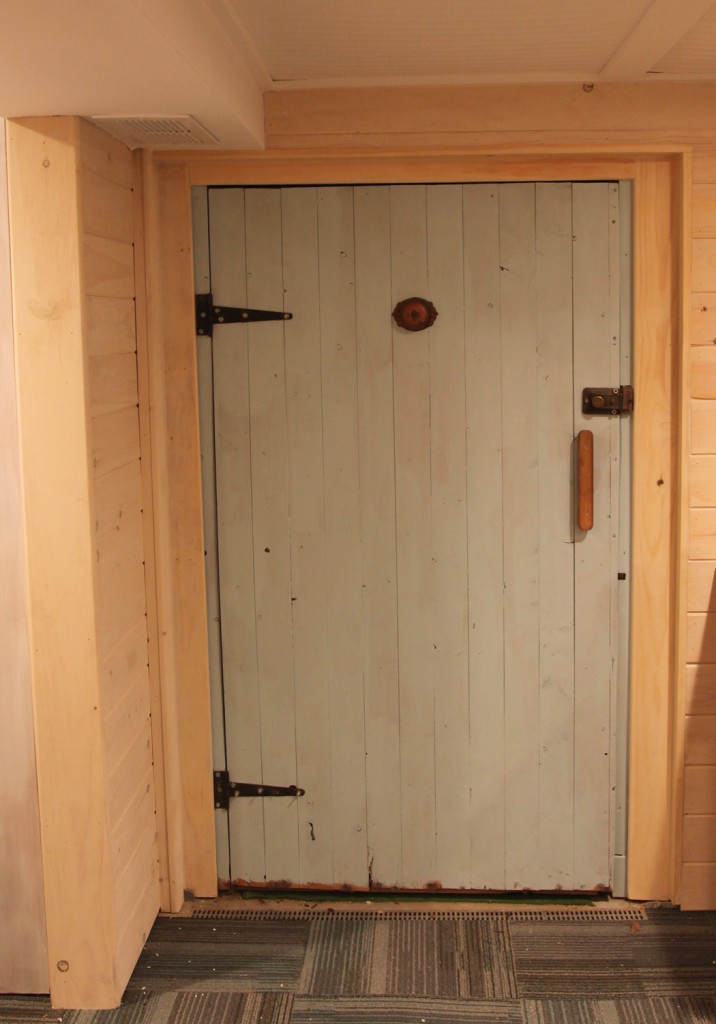
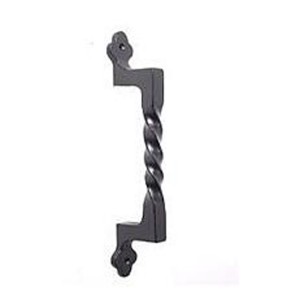
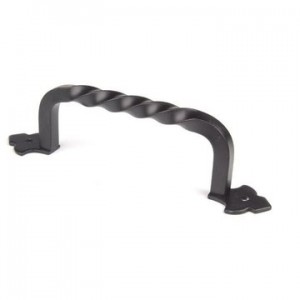
I also painted the old beadboard door to the backyard over the weekend. I am not loving the color, I think I am going to repaint it darker, but I do like that it provides some color to the space. I am leaning towards a dark moody blue-gray. I don’t want it to look too much like I am matching the carpet, so I think I will have to get some more paint chips and see what I can come up with. Also in the works is a new handle for the door. We already have a vintage bell (in the middle of the door) and some old school gate hinges. Now that the door is painted the old wood handle feels a little out of place. I am thinking of something like this or this:

Handle 1: 13" Twist & Clover Leaf Handle, $16.79

Handle 2: 11" Top Knobs Normandy Collection, $10.79

Ironing Board & Garbage Bin

Ironing Board Fabric & Garbage Bin

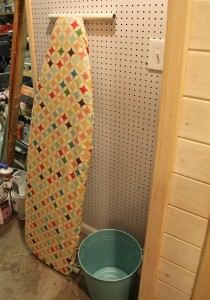
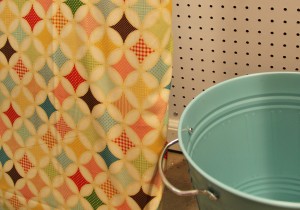
I haven’t painted the pegboard in the workroom yet either, but I thought I would show you the pretty ironing board cover  that will go on the pegboard that faces towards the laundry area. I also picked up the cutest garbage bin (Knodd Bin) at Ikea yesterday. Anything that will inspire me to do laundry is a good thing!

Basement Window in Progress

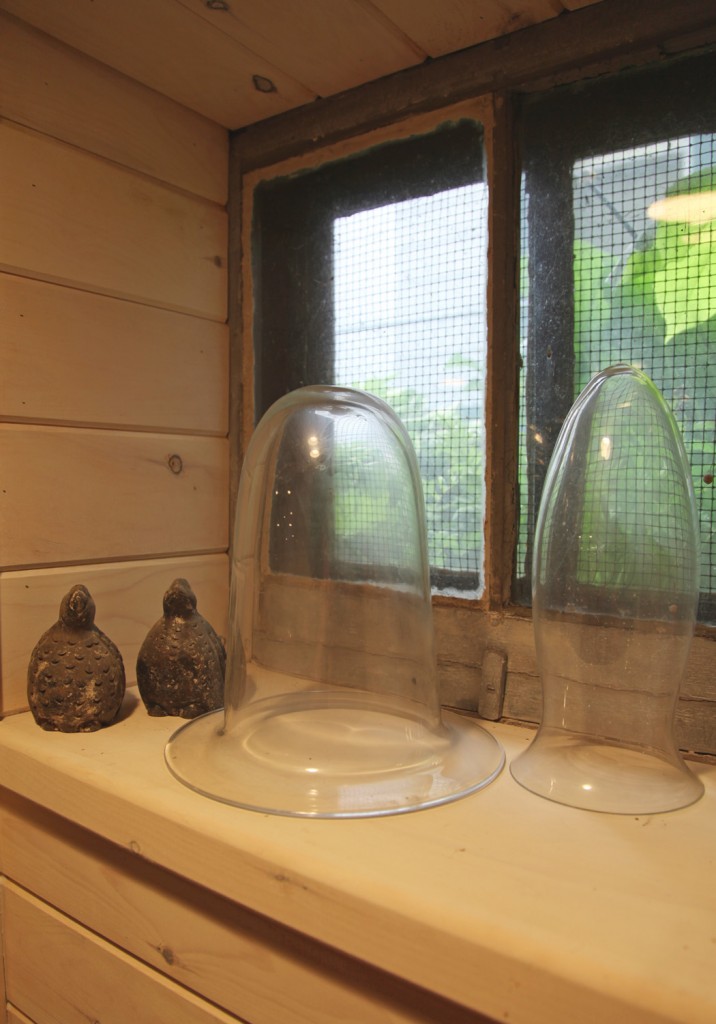
I have started to work on a vignette for the basement window (the one that you see as you come down the stairs). I have had these old glass vessels for years (ever since I took them out of a dumpster when I worked in the city next to a certain retailer). It is funny that I had always planned on making them into terrariums, and now I have waited long enough it is really popular so it will be pretty easy to get supplies. I am thinking possibly a violet and fern (things that like low light). I think a trip to Terrain may be in order!

2 Comments

Painted Brick Walls (area to the left is going to become a closet and columns still need to be routed and painted)

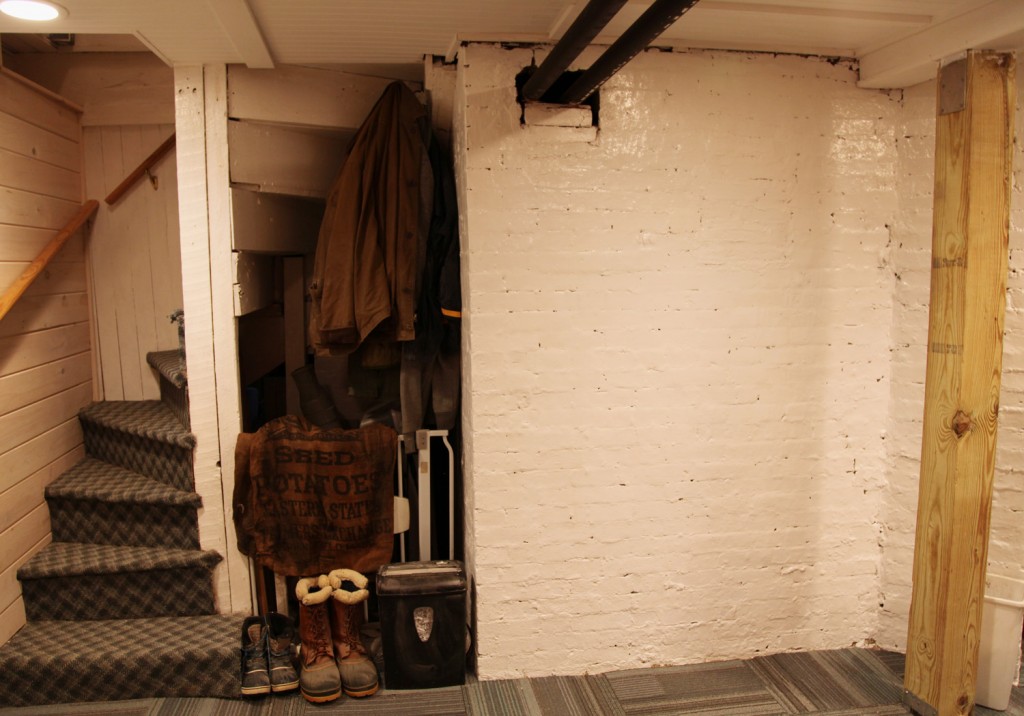
I hope everyone had a lovely weekend. We had a productive and fun weekend. It is really nice now that the basement is far enough along that the kids can come downstairs and “help”. My parents came down on Saturday, so we took the opportunity to scrape and paint the brick walls (the bottom of the fireplaces) in the basement while the kids were down at the park, since those were not activities that could be done while they were there (i.e. lead paint and wet walls). We also cleaned the last corner that still had dust from the renovation (future closet), and although there are still a lot of things that are not in their final resting place, it is feeling nice down there.  The carpet is almost all in (minus some at the pantry area that I won’t install until we have everything). We are still in discussions about where to put furniture in the main space, although we did manage to decide on a general direction for the panty/wine storage. Mr. S thought that the Ikea options were too Euro, so I drew up some ideas for wall mounted wine racks.

I have always liked the look of the X type storage, so I think we are going to go with that. I looked online first for kits and plans but couldn’t come up with anything that I liked, that wasn’t overly complicated or didn’t involve a million little pieces.

DIY Network X Wine Rack

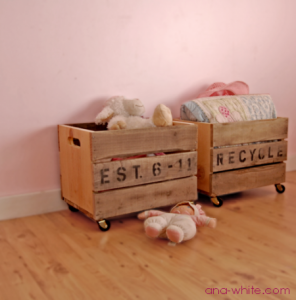
Ana White's Pallet Crates

The closest wall mounted wine rack was this from the DIY network. I also looked at these pallet crates from Ana White’s site for ideas. The DIY version, was overly complicated with lots of unnecessary cutting and fitting. I liked the pallet crates from Ana’s website but obviously that needs a fair amount of tweaking to work.

My Sketches for DIY Wine Rack

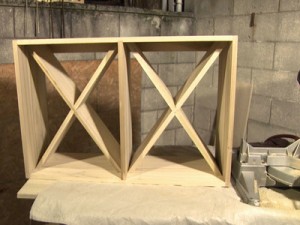
My plan uses pine 1x12s as the frame and 1x8s for the back. I looked at Home Depot to price it out, and this should be less expensive than using Home Depot Cabinets, and then it can be whitewashed to match the rest of the beadboard. I plan on rabbiting the verticals into the horizontal members with our router (which I don’t think you would have to do, but will add to the strength). The back pieces will screw into the frame. The nice thing is that I can also screw into the back of the diagonals, making it quite a bit more rigid. Then I can screw the unit up to the studs from the top of the back piece. For the cabinet to the right, I haven’t decided whether we are going to go with a standard wood cabinet from Home Depot or make our own to match (in my sketch I have drawn out a beadboard door for the cabinet). For the bottom drawer cabinet, I am still planning using an ikea cabinet, since they are still the best deal on full extension drawer cabinets, and I really need the storage.

Pantry/Wine/Storage Area

I still have to decide on a wall treatment for behind and above the wine storage. My friends have weighed in on the backsplash and are heavily in favor of the bottle cap option. So, time to start saving up those caps! So if you are my favorite sister-in-law, I am making my official request for you to start saving some interesting beer caps for us! I am also thinking up some fun ways to make the fridge and freezer better looking, since they will be arriving in white (the only color that the freezer is available in).

Tomorrow I will show you a couple of the fun details that we are working on elsewhere in the basement.

* To see all of the posts about our basement click here.


Leave a comment

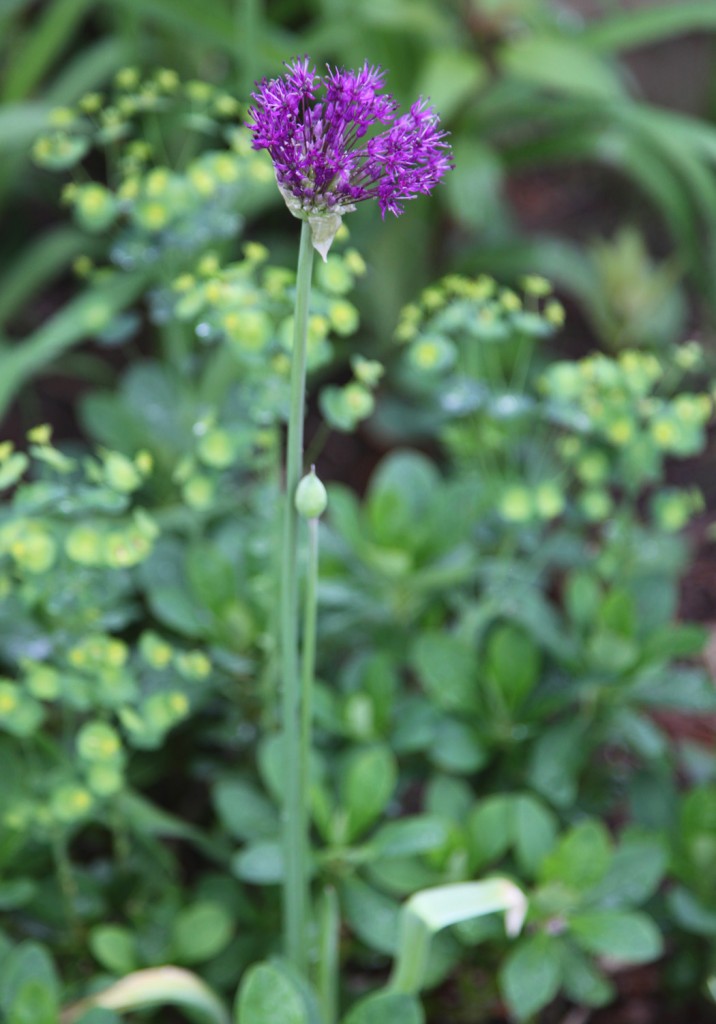
Allium 'Purple Sensation' w/ Euphorbia

It has rained quite a bit in the last week, so everything is looking quite green (even our sorry looking lawn). But Best of all right now are all of the alliums! There are Purple Sensations starting to bloom all over the yard. They are nice and tall so they POP beautifully out of the planting beds! One of the advantages of these easy to grow bulbs that they fill in the blooming period of the spring bulbs and the summer perennials. My new favorite combination is the Allium ‘Purple Sensation’ with the Euphoria (which is towards the end of its bloom time). I think I will also look at pairing it with my Carolina Phlox, since their bloom times are quite similar as are their heights.

Giant Allium Shubertii

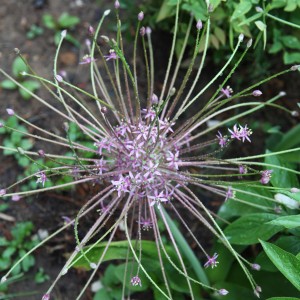
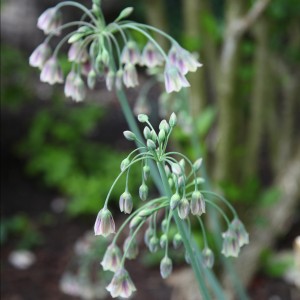
Nectaroscordum (similar to Alliums)

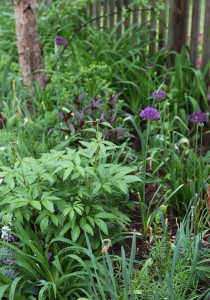
Planting Bed w/ Alliums

Native Honeysuckle Taking Over

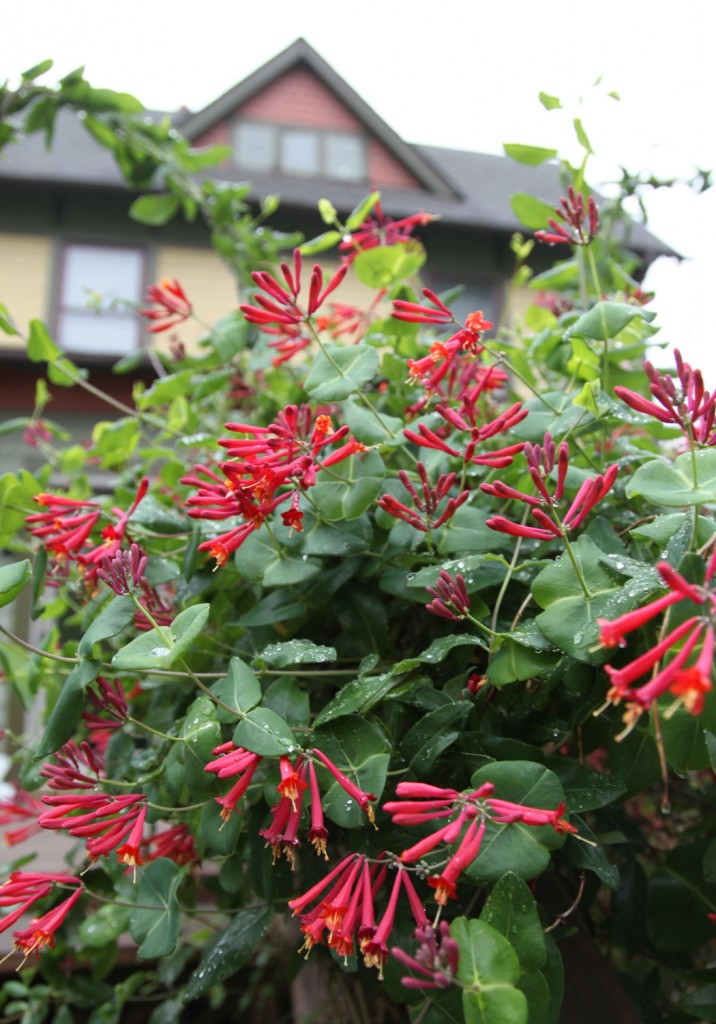
Native Honeysuckle reaching out to grab you!

Thanks to all of the rain, the Native Honeysuckle on the Back Deck is going CRAZY! I guess it likes the weather this year. I’ve already trimmed it once but it is in need of another haircut SOON! Mr. S. made a face at it this morning as he was leaving for work (which means cut that thing before I do it!). It does sort of look like it is going to grab you.

What is blooming in your yard right now?

Leave a comment

Pantry & Wine Storage Area

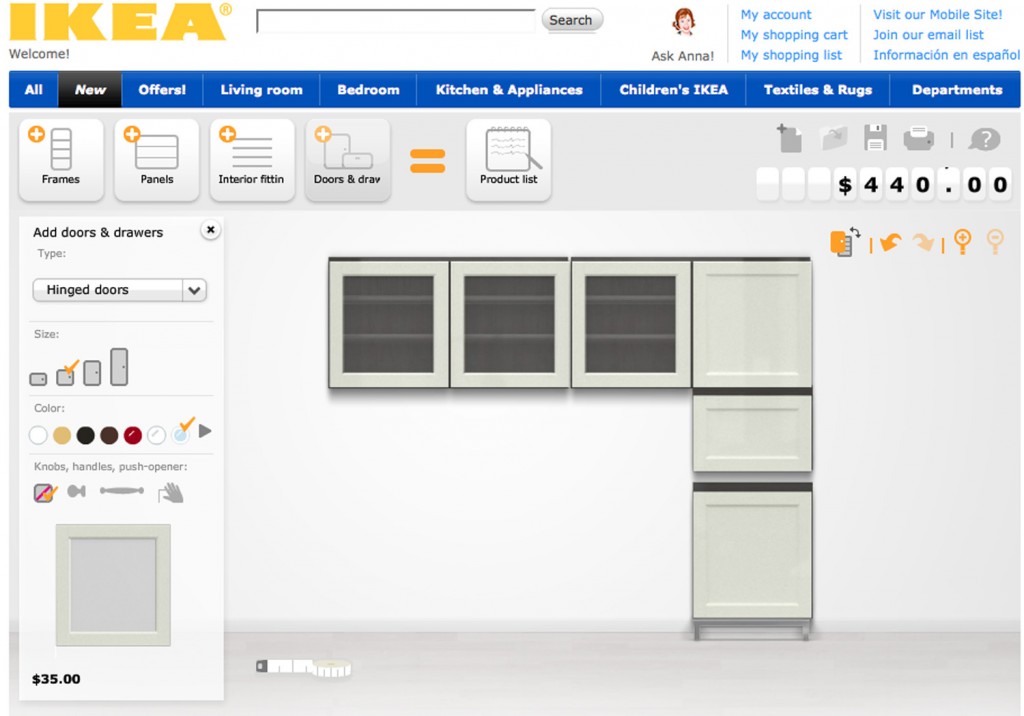
I have been doing some research and looking at my options for the pantry and wine storage area in the basement, since the space is now screaming at me every time I pass it. I need a mix of closed storage for my miscellaneous pantry items and wine storage that can be open or closed. I was looking at the Ikea hackers website  when I discovered that Ikea in fact makes a  metal wine rack for its Besta line. I like the Besta line, which is a modular storage for the living room. The nice thing is that they offer the wall shelves with a metal cleat that attaches to the wall (very similar to their kitchen cabinets). The difference is that the Besta are 15 3/4″ deep instead of 12 3/4″ for the kitchen cabinets. The system comes in some suitable sizes but I am not sure if they are quite as sturdy as the kitchen cabinets (which has me a little worried especially if I fill them up with wine). I used Ikea’s Besta Builder and Kitchen Builder to get a general idea of my options. One of the benefits to the Besta is that with the deeper box you could close the cabinet doors even if it was full of wine. The kitchen cabinets would have to be left open without doors since the wine bottles are about 12-14″ long.

Option 1: Besta w/ White Glass Doors

Option 1: I‘ve used the Besta for the 4 upper cabinets, plus a 5th cabinet that would sit on the counter and then a Besta shelf with legs that would sit on the floor. This would leave a gap above it and below the counter and I would loose the back 9″ behind it since it is only 15″ deep. I am also liking the dark brown/black boxes with the white door.

Option 2: Besta with Red Glossy Doors

Option 2: Similar layout to Option 1 but with open shelves for wine storage and bright red shiny doors. I am thinking if I went this route I might use white boxes instead. hmmm…

Option 3: Using Ikea Kitchen Cabinets

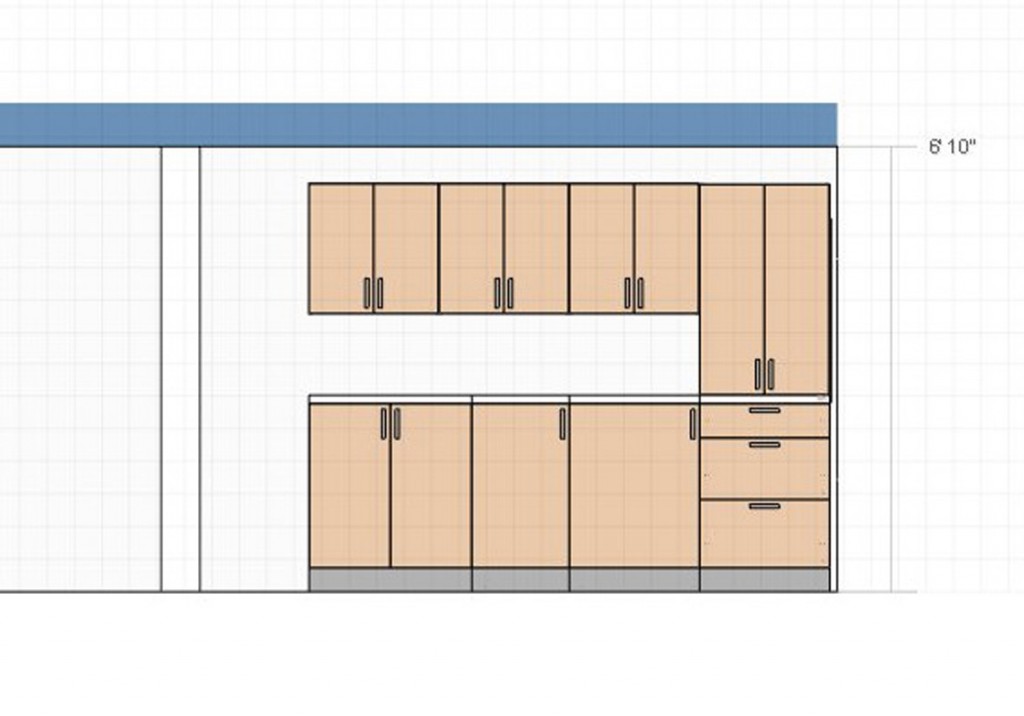
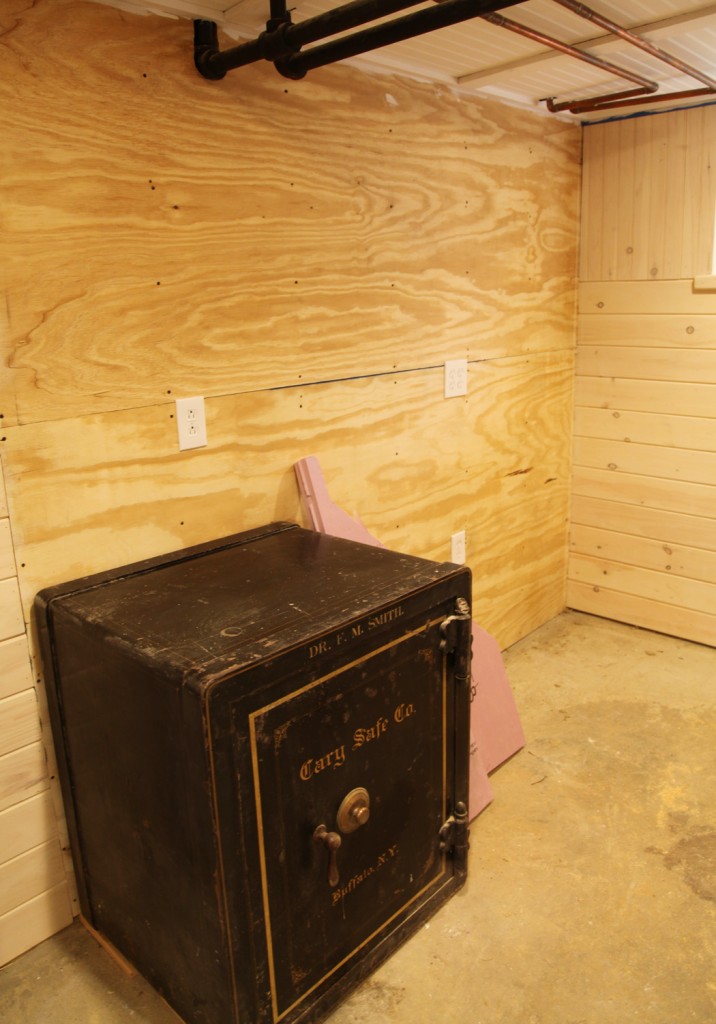
Option 3: This is using Ikea kitchen cabinets. The three upper cabinets to the left would be open (without doors). The lower 3 cabinets represent the safe, the fridge & the freezer. This would work although I would end up with white boxes and I’m not sure which door I would use since they discontinued my favorite door.

Sketch Elevation in AutoCAD

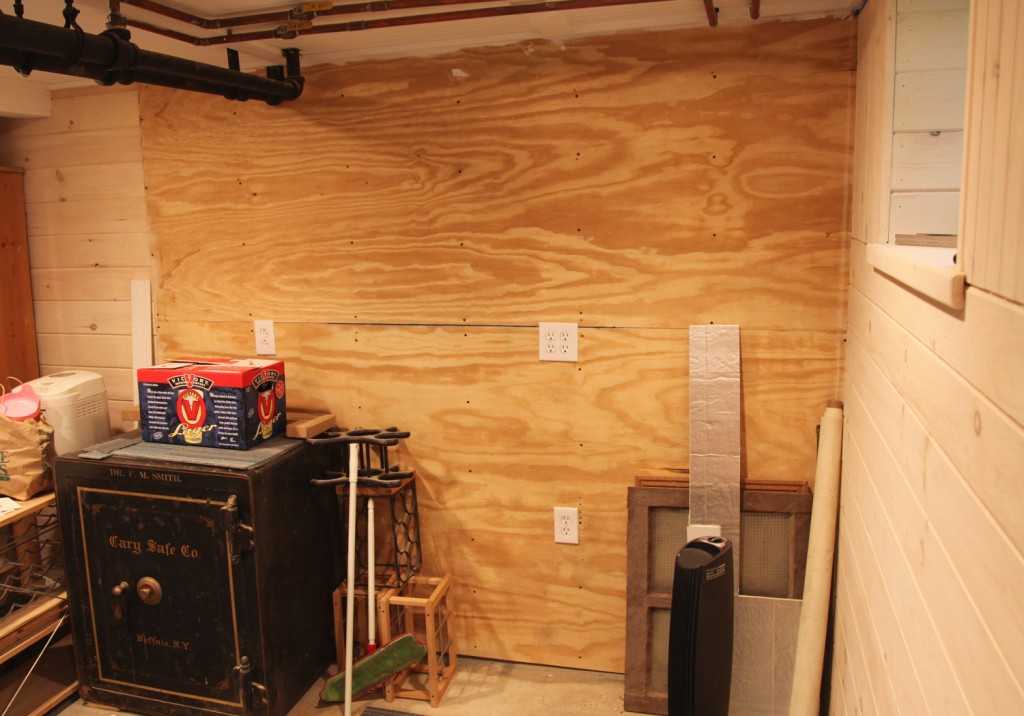
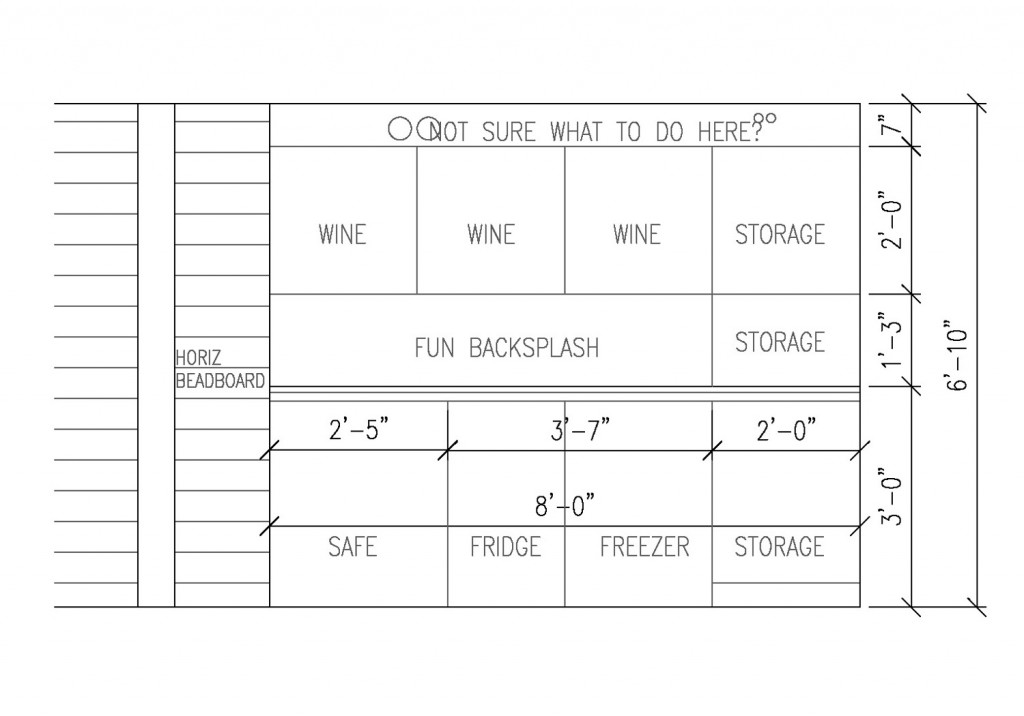
I also put the elevation and plan into autocad to check some dimensions. Now that I have double checked the measurements I can pick a fridge and freezer (which I have been reluctant to do until now). It also shows me that I’ve got to deal with the gap above the cabinets. This section of wall has plywood instead of the horizontal beadboard, so I don’t think it will look nice if I keep it exposed. Depending on the color of the upper cabinets maybe I will paint it to match. hmmm…so much to decide.

1 Comment

Basement Window w/ Ferns and Hostas

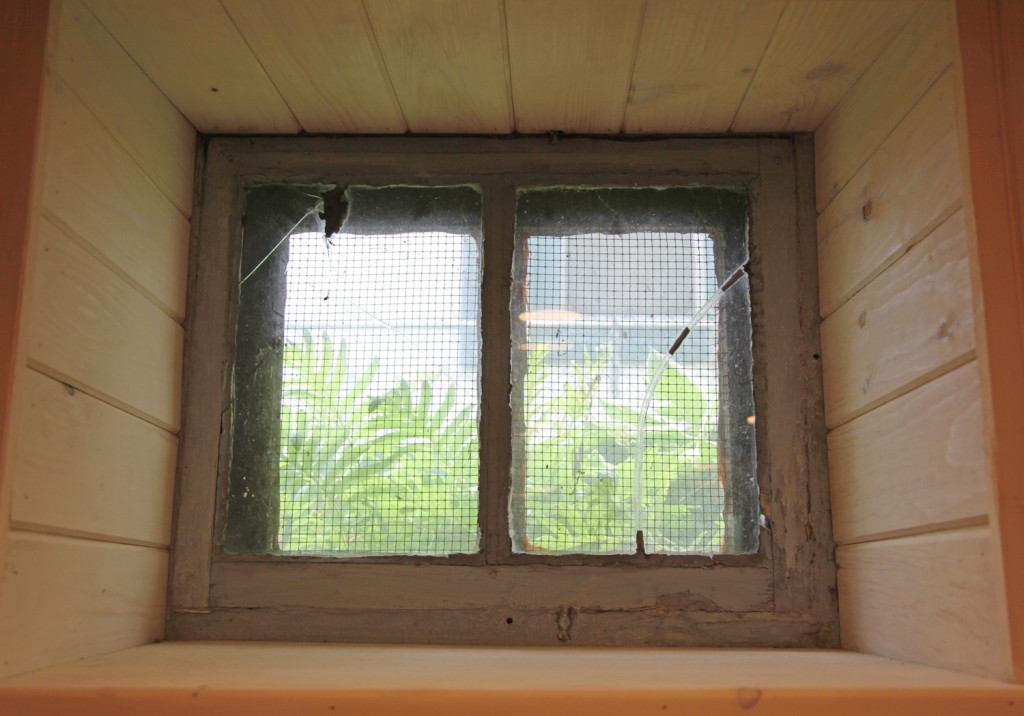
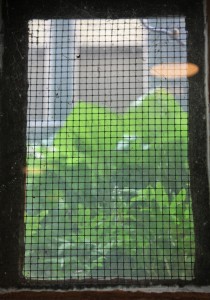
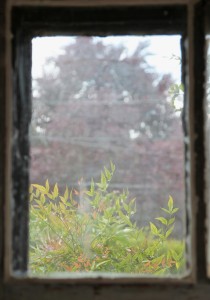
Our basement windows are in a desperate need of a cleaning, but I wanted to take a minute to talk about them. They are original to the house and consist of an outer and inner sash. I have chosen not to replace these, since they match the rest of the windows in the house and since there is already a storm, we wouldn’t gain much energy savings by replacing them. As part of the basement project I will be sealing them with caulk, since there is no reason to make them operable (we have a basement door that we can put a fan in if we need to exhaust something). One of my favorite features of them is that the exterior window has chicken wire installed against the inside of the glass. It gives it a really nice texture.  The other nice thing is that it provides an extra security measure (probably why it was put in). I haven’t ever seen any other Victorians with this detail, but I quite like it. Unfortunately one of the windows is missing the chicken wire on the front and I need to add it, fingers crossed I will be able to get it open.

Sensitive Fern

Ferns and Hosta

Nandina

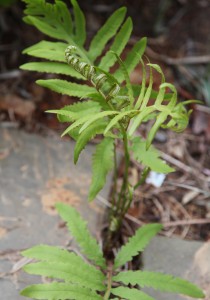
The other thing, which I have never heard talked about before, but is important to me is the view outside the window. The bottom of our windows sit more or less flush with the ground. This give us a view of the planting beds around the house at eye level. I planted sensitive ferns on the one side of the house shortly after we moved in and I remember realizing that I could see them out the window as I went down the staircase and really liking that. It is an interesting view, since you don’t often get to see plants from that low of an angle. I think the ferns are an excellent choice since they still let some light in and change in the wind. On the other side we have a hydrangea bush. I quiet like seeing the back of the shrub and some of the flowers. Fortunately it doesn’t totally block the window and there are a few flowers that I have been trying to grow in that vicinity to add to the view. I am thinking of adding some columbines since they are not fussy about the light and they have such nice foliage. At the front of the house I added the nandina in the fall. I will have to think about something to plant between those and the window, maybe some more ferns or small grasses.

Has anyone else thought about the view from their basement windows before?

Leave a comment


Our Little Man, Rocking Out in the Mancave

I hope everyone had a lovely weekend! We managed to get some work done in the basement and find time to hang out outside. : )

Two weekends ago we took a break from some of the more boring basement tasks and hung up the guitars on the wall. Is it really a mancave? More of a boy cave? Mr. S. has been waiting patiently for the last 11 3/4 years to find a space for his guitar, bass and amp. Well we finally have the perfect spot! The boys had been rocking out up in the dining room/study area, but it was really too tight and not suited for an amp. So now they can REALLY rock out down here. Sam and Maisie have also formed a band called the ‘Weirdo Fish’. There are a couple of song in the works but no record deal yet. Maisie has been joining in on drums on occasion (which are a set of old stools). There is already talk of a drum set. There is still much to do in the space, but fortunately the kids are happy.

Mechanical Closet Door: Maybe chalkboard paint?

This door is opposite the guitar wall. I was planning on finishing it off with beadboard, similar to the back door. But while I was down there this weekend I was thinking that maybe I would use chalkboard paint instead. I thought it could be a good place for the kids to draw and work on their song list.

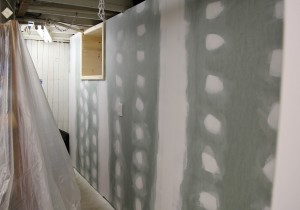
Workroom w/Drywall

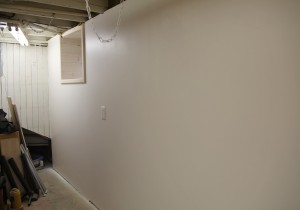
Workroom w/ Painted Walls

Workroom w/ Shelves

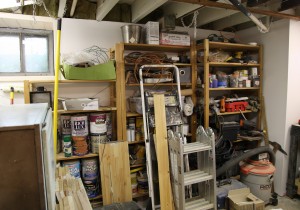
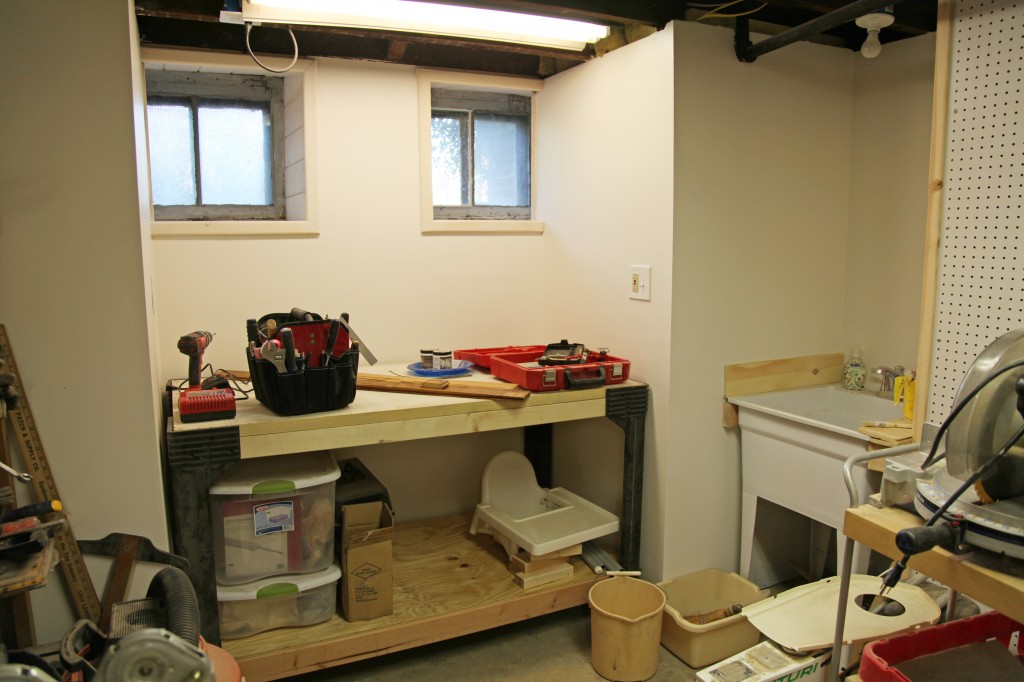
This past weekend we rolled up our sleeves and got to work on some of the outstanding projects left. We primed and painted the Workroom, moved the shelves and built a workbench.

I think this is the most boring color I have ever chosen! We went with the same warm off-white that we used as a whitewash for the beadboard walls.  I considered lots of colors, but in the end it is a dark basement room, that we will be using for lots of projects, so I thought I would keep it neutral. I am still planning on painting the pegboard a fun color as an accent. I am also considering painting the center of the concrete floor, to give it a little more contrast and even out the very rough look (old paint mixed with old adhesive). Please excuse the messy state of the room. Believe it or not a lot of stuff is in the right general spot, but it needs lots of tweaking (never mind making it pretty)!

New Workbench

We also managed to make and install a new workbench for the bay area. We have had the kit for a couple of years, but never got around to putting it together. It is by 2×4 Basics and it consists of the heavy duty plastic legs and screws, then you buy the 2x4s and plywood to make the bench to whatever size you need. Given the final size we needed, we only used 2-2x4s, 2 2x3s, 1 piece of plywood and an old hollow core door cut down to size. It has space for a shelf in the middle but we decided against it, to give us room for larger storage. It went together in under an hour, once we had all the parts, although it is definitely a 2 person job (to help hold everything together as you screw). I would definitely recommend it! It is super sturdy and quite affordable!


Future Counter & Pantry Area

A good chunk of our basement work has involved moving stuff from one corner to another, to make way for all of the work. Now that most of the walls are complete, we can finally begin putting things in the right space! We are far from done with prettying the space up, but it is big step forward to actually put most of the stuff in the right general vicinity, which means that we finally managed to clear out the pantry area. There will be a wood counter in this area with an under counter fridge and freezer. In addition there should be space for a small cabinet or roll out for extra pantry storage. I have been waiting to buy the fridge and freezer until after we had space, so I am excited about filling out this space!

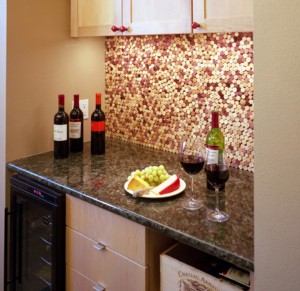
Winecork Backsplash via Pinterest

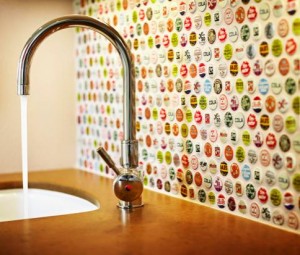
Bottlecap Backsplash via Pinterest

I haven’t decided on a backsplash yet. I am considering wine corks or bottlecaps (or maybe both).  Definitely something fun! We decided to use our old upper cabinets in the workroom, so I need to also decide on what we want to do with upper storage. I could do open shelves, but I am a little worried about dust collecting. I also have to contend with the pipes in the ceiling. I would also like to have a fair amount of wine storage above. I’ve been looking at old wooden crates as well.

What do you think?

Leave a comment

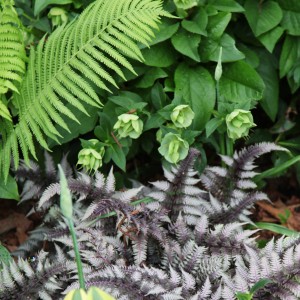
Japanese Painted Ferns

Golden Spiderwort

Cranesbill Geranium

When we came back from vacation I looked around the garden and thought that I hadn’t missed much, but this morning as I took my pictures I realized that quite a lot had happened. Of course the rain over the weekend probably helped the most. With the warm weather some of my plants are still blooming extremely early, while others are more or less on track. You can see that there are a lot of new things to show this week!

Allium 'Purple Sensation'

Allium 'Purple Sensation'

Allium 'Purple Sensation'

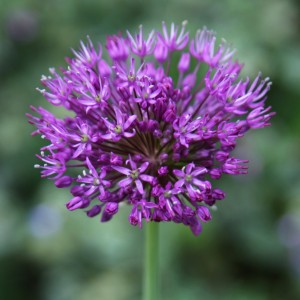
When we left a week and a half ago most of my alliums had barely come out of the ground. And yesterday I already saw the first of the flowers. Alliums are definitely in my top ten garden plants and this year I planted a bunch more of the Purple Sensation last fall. I had even forgotten all of the random places I planted the bulbs, so it is nice to see them in all different parts of the yard. They typically call for full sun but I put them in anything from full sun to part shade. The ones in full sun actually have burned leaves but the ones in the part sun to part shade seem just fine. I wonder if they put up with the part shade because the leaves are just filling out now, so they are really in more sun for most of their growing period.

Allium 'Schubertii'

Allium 'Karataviense'

Allium ''Karataviense'

I am also trying Allium Karataviense this year, which is much more petite but has beautiful leaves. Additionally I have a few allium schubertii from a few years ago. They were getting dwarfed by a bush in the front yard but I took that one out in the fall. Now they are partially obscured by the peonies, but at least they survived removing the old shrub and planting the new ones. After they bloom I will move them to in front of the peonies, where I think they will look fabulous. I think I will also add some to my fall bulb list.

Columbine

Columbine

Columbine

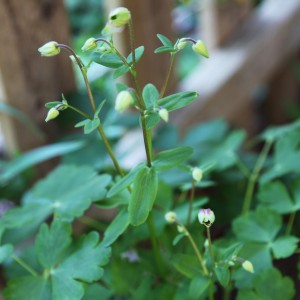
The columbines in my yard are in full bloom. I have several colors and flower types. I bought the pinky/red one last year at HD and it is pretty but I think I prefer the more native blueish purple ones. I also really love the leaves, which look great most of the season. Mine have self seeded and I have replanted them in quite a few places in the year. It takes a little patience since they don’t tend to bloom until the second year, but my persistence is starting the pay off. This is another plant that I grow in a number of different locations, from hot sun to damp shade, and it seems to do fine in almost all locations, although the darker flowers tend to bleach out in the sun.

Native Honeysuckle

Lilac Bush

Mountain Laurel

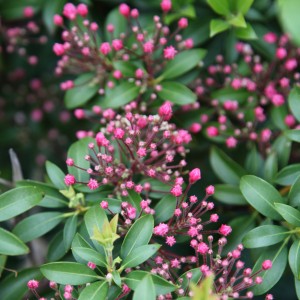
My native honeysuckle (not to be confused with Japanese Honeysuckle) is blooming quite early, at least a month. It grew gangbusters while we were gone even though I had already trimmed it once this season. But alas I do love it so and it should keep blooming all summer. When the weather warms up a little more I expect to see the hummingbirds again.  Also in bloom is my lilac bush (I cut some blooms to bring inside so I could enjoy the lovely scent). The mountain laurel is also budding. I quite like the Mountain Laurel and think it is totally underused in gardens today. It is our state flower, which I why I first thought of using it. I favor its more polite flowers to most of the bright azaleas that I see around. Plus I like that they are a native choice.

Carolina Phlox

False Indigo

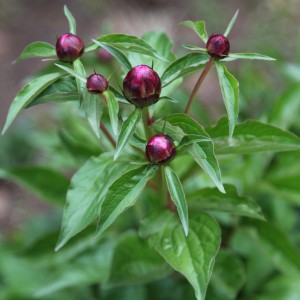
Peony Buds

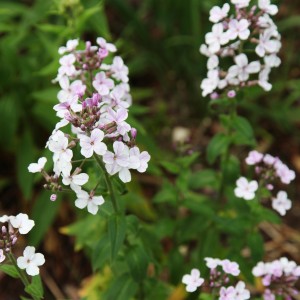
Lastly my Carolina Phlox (or at least that is what I think it is) is blooming away. I picked up a few of these at the Scott Arboretum Plant Exchange a few years ago. It self seeds quite heavily but I just move the babies around. This variety bloom quite a bit earlier than regular garden phlox and is taller and more wild looking. It is fairly tall 2-3′ tall, so I have been moving it to the back sections of several of my planting beds. After they bloom I will cut them back aggressively and then I should get some additional blooms in late summer.

What is blooming in your yard this week?

Leave a comment

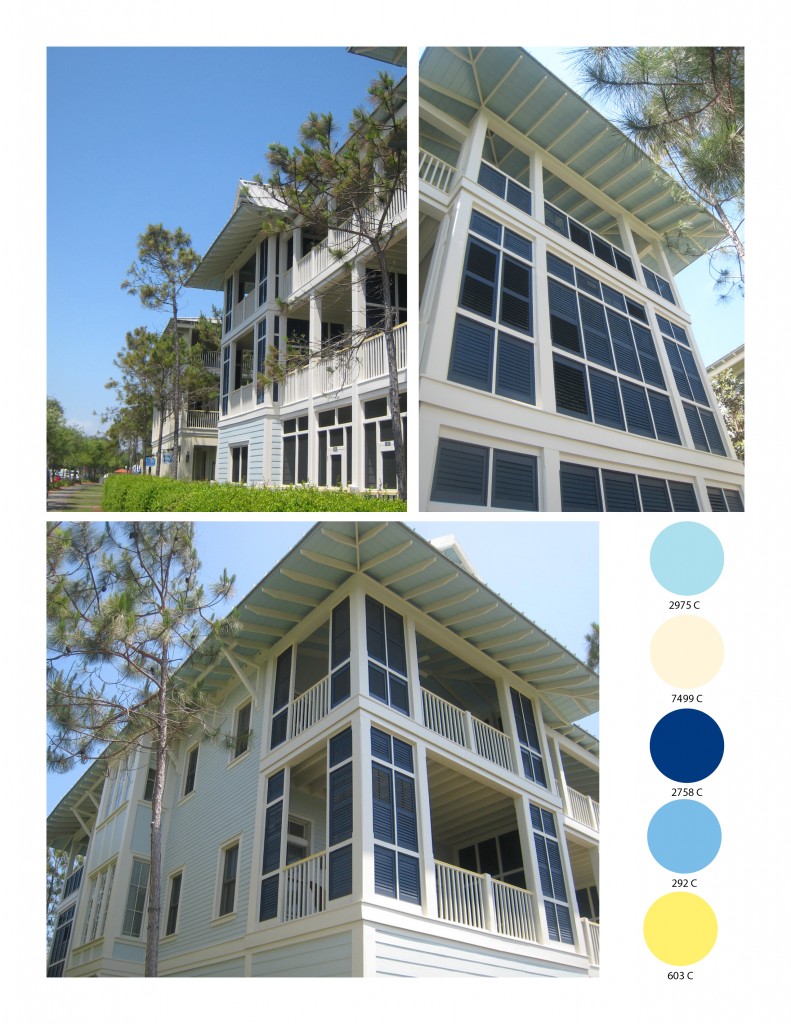
On our vacation one of the things that really caught my eye were some amazing exterior paint color schemes. So today I thought I would show you a couple of my favorites. Typically you would adjust these colors based on your climate. For example these colors are in full Florida sun, so in a cooler grayer climate you would tone them down accordinglt. I have listed the closest Pantone color for reference.

Color Scheme 1: Aqua w/ Cream Trim

Color Scheme 1 comes from the unit where we stayed.  The aqua color was really appealing with the cream trim, but what made it a little more unique was the dark blue (not quite navy) shutters and a hint of bright yellow (on the railings). There was also a slightly brighter cooler blue on the porch ceilings. Another interesting detail to note on this unit is the use of shutter panels to create privacy and hide elements that are not as attractive. They use these quite often down here to good effect.

Color Scheme 2: Yellow House w/ White Trim

Color Scheme 2 comes from a lovely cottage with a side porch. They yellow paint scheme is very friendly. The olive green shutters look nice against the yellow and again offer privacy from the street. The side porch was very popular in Savannah and Charleston back in the day. Here they have left it quite open and used a mix of gray, metallic and red accents.
Gotta run but I will be back later this week with some more color schemes.

Leave a comment