Bathroom with new shelf

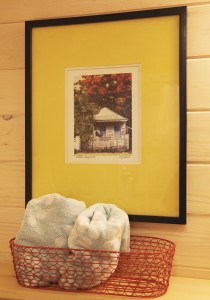
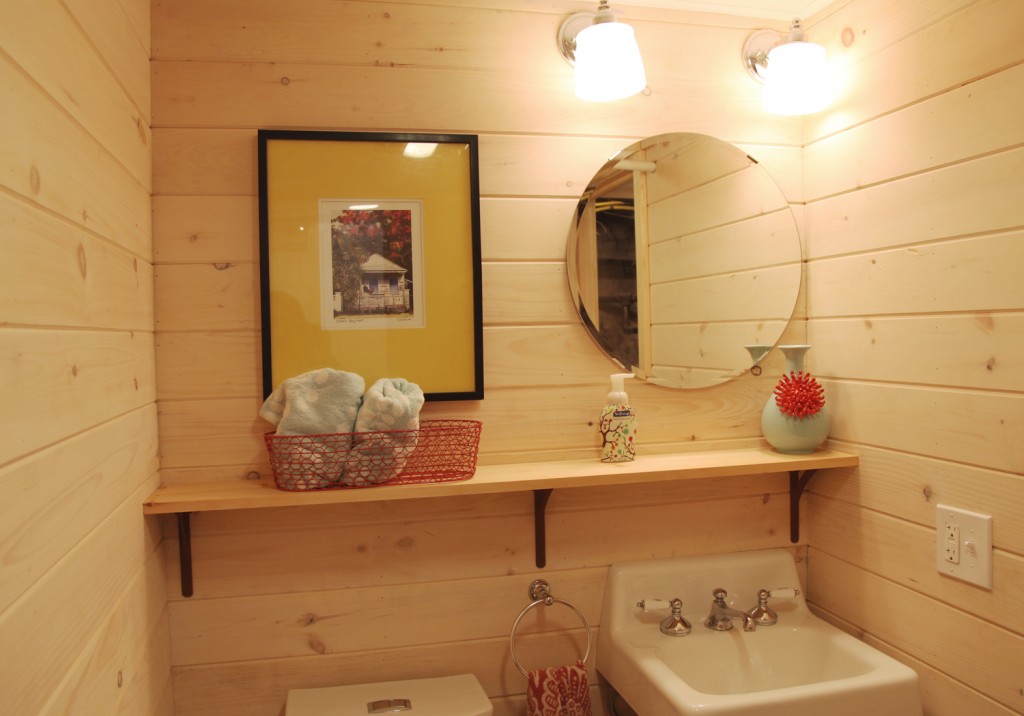
This past weekend we continued to plug along on the basement. Mr S. painted some more trim including the windows and the columns. I worked on the bathroom and finally installed the first shelf. I also hung a couple pieces of art, because I couldn’t stand the bare walls anymore!

Key West Photo by C.J. Groth

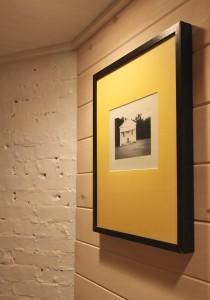
Photo of an old Building outside of Watkins Glen, NY

This art use to hang in our Dining Room (before it became the kitchen). I still quite like the photos, so I am happy to give them a new home. I will also be replacing the mats with white instead of the bright gold/yellow. The Key West photo is by C.J. Groth and we picked it up years ago while on vacation. The old building outside of Watkins Glen is a favorite of mine. I took this picture years ago and Mr. S. colorized it for me. It is now across from the washer and dryer.

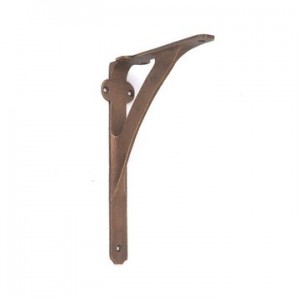
Metal Shelf Bracket, $12.99 a pair in Rusty Iron

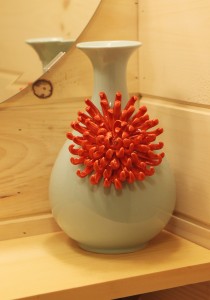
Flower Vase from Anthropologie

The shelf is a 1×8 piece of pine (that needs to be whitewashed to match the walls). For the brackets I gave up waiting for the ones I wanted that are now backordered until August and ordered these rust ones  from VanDykes instead. I have more, and will probably eventually add 2 more shelves above the toilet area (and move the picture). But for now I like how this looks. We will see how much more storage I need in the future.

I am so happy to have my vase finally in place. It looks fabulous. I just need to find a better spot for the liquid soap, so the kids don’t try and reach up to the shelf (and potential knock the vase over).

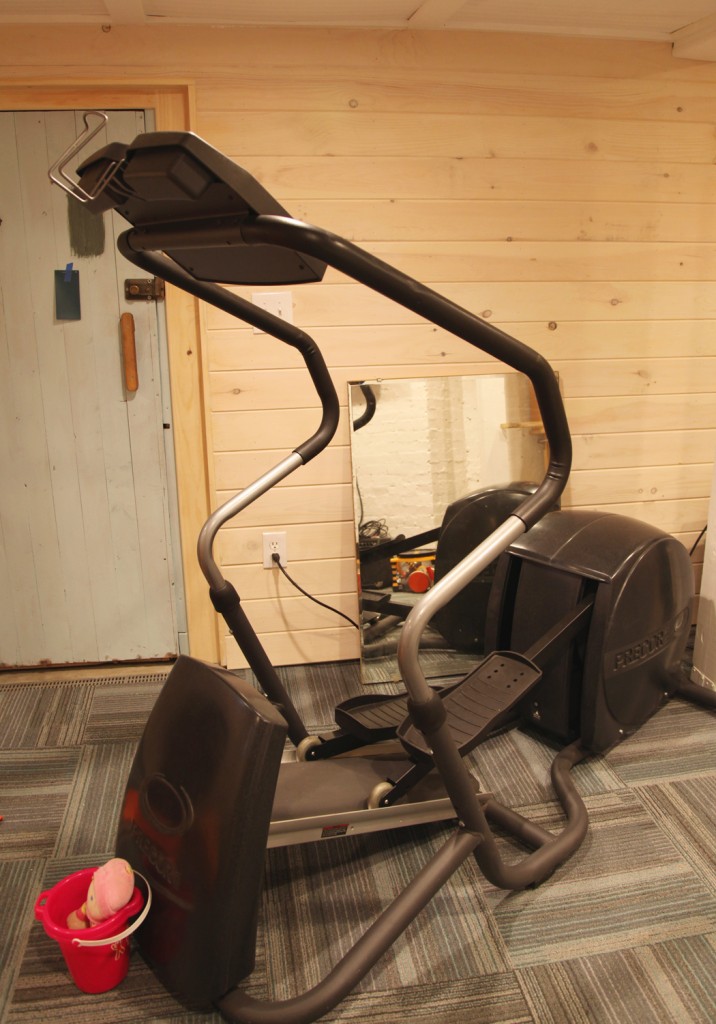
Giant Elliptical Machine Taking Over our Basement

We also finally brought down and assembled the elliptical machine, which has been sitting in various locations for the past 7 years waiting for a home. And now that it is in, WOW it is big! A big part of finishing the basement was to give us a place to exercise. This has been re-thought as the space has come together and quickly become a summer living room (thanks to the early summer weather). Fortunately the couch should still fit okay, although for anyone staying over, you will have an exercise machine looming over you.

We also ordered the couch and the counter top. It will probably be another week and half or so until they arrive. In the meantime the mirror behind the elliptical machine will hopefully get hung in the bathroom tonight. I can’t wait to show you that with my new garden stool!

* To see all of the posts about our basement click here.


Leave a comment

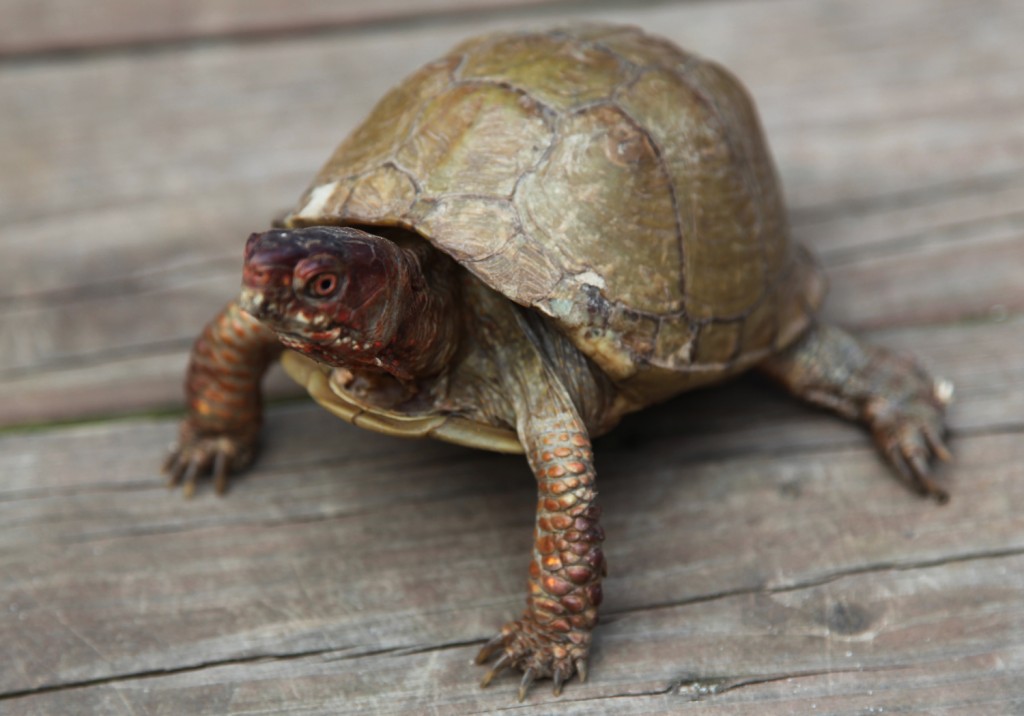
Bob the Box Turtle

I hope everyone had a lovely weekend. I would like to send out a special thanks to all of our troops, veterans and  their families!

It was terribly hot here, but we are very fortunate to belong to a local pool. We had a busy weekend of birthday parties, family and house projects (with some pool time mixed in). Yesterday morning we came downstairs and noticed the our cat Spot was in the back window staring at something outside (normally she is stalking the bunnies in the back). We were very surprised to see something all together different. It was a fairly large turtle all the way up on our bulkhead to the basement looking towards us.

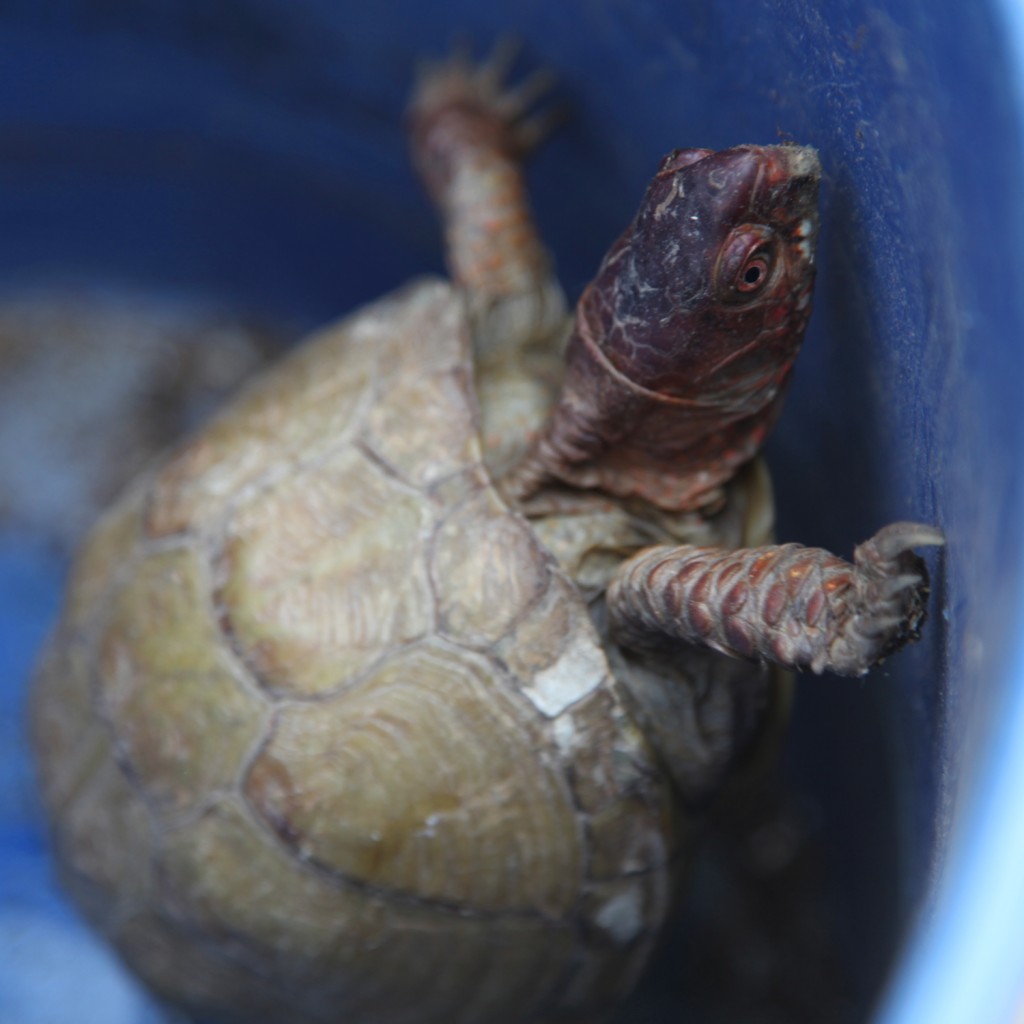
Turtle in its Temporary Accommodations

We aren’t sure exactly what type of turtle he is, he is the shape of a box turtle, but the wrong color. He is the right color of a mud or a musk turtle, but too big. His shell was somewhat beat up, we are guessing that he is an older box turtle (fortunately he wasn’t a snapping turtle). We searched online for native turtle to PA without a lot of luck. Mom-What do you think?

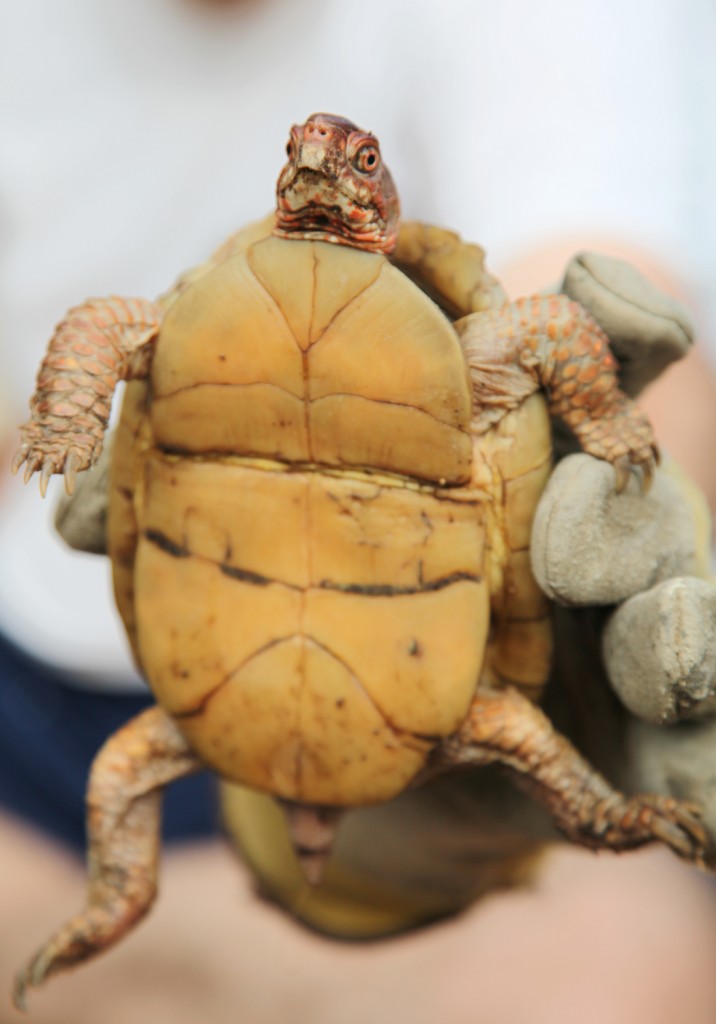
Underside of Turtle with Hinged shell underneath

We have NO IDEA how he got to our yard, except that maybe he got lost in all of the rain from the last couple of weeks. We are 6 blocks from the closest stream and quite a few yards and streets and he looked too weathered to be someone’s pet.

Sam was very excited to meet Bob

Mr. S. put him in a bucket so the kids could see him. After visiting with him we decided to take him to a park about 1/2 mile away that has some low land and and stream. The kids decided to name him Bob. Sam put on his gardening gloves and helped put him in the grass near the stream. Hopefully Bob is happy in his new home.

Anyone out there no what type of turtle or tortoise Bob is?

1 Comment

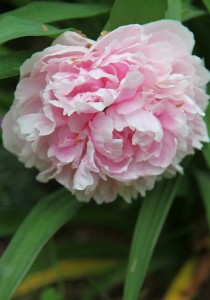
Pink Peony

Japanese Iris

We had more rain this week, with only a little bit of sun mixed in. A lot of my plants are looking quite leggy at the moment. I might need to get out there and cut some back so that they will be bushier later in the summer (which I am always afraid to do).

The peonies in my front yard (fun hot south sun) have faded but the light pink ones in the back garden are blooming now. They are all pretty droopy but they still look and smell lovely. I’m afraid the hot weather predicted for the next several days will do them in. I know it is Memorial Weekend, but I don’t think I am ready for a heatwave yet!

Some of my Japanese Irises are also blooming, while most of the bearded irises are finished. I bought these as bulbs years ago and unfortunately I have no idea what variety they are, which is unfortunate because I think that they are such a beautiful flower. So striking in their shape and size.

Pink Cranesbill w/ Saliva

Purple Cranesbill Geraniums

My cranesbill geraniums are also blooming in the sun and the shade beds. I have pink ones in full sun the front yard (paired with purple salvia). In back yard I have blue and purple cranesbill paired with several different shade plants including forget-me-knots and coral bells. These plants roots grow are very shallow and grow sideways forming a sort of groundcover. So I grow mine at the front of the bed where I let them fill out and cover the bottoms of some of the other taller plants.  I also find that they do best in part-sun although put up with both brighter and darker conditions. I have a couple of newer varieties that I picked up at the plant exchange, including ‘confetti’ which has variegated leaves.

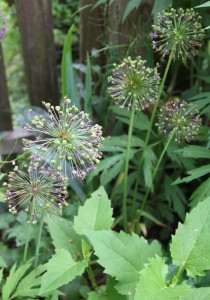
Alliums w/ Seed Heads Starting to Form

Allium w/ Caramel Coral Bells

I promise I will stop talking about my alliums very soon, but I thought I would show you what the seed heads look like on the ‘Purple Sensation’ once they start to form. I think they are such an interesting form. My Allium ‘Karataviense’ are starting to fade and I’m not sure what kind of seed head it will make yet.

Spiderwort 'Sweet Kate'

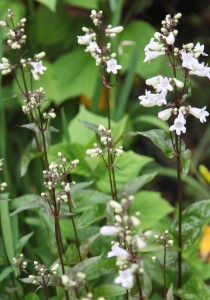
Penstemon 'Husker Red'

My spiderworts ‘Sweet Kate’ that I planted last year are looking great in the shade bed. These will tend to disappear in the middle of summer, but for the moment the foilage and flowers are little stars in the shade bed.

Also in my sunny beds several of my penstemon ‘Husker Red’ are starting to bloom. I also managed to score a few of these at the Scott Plant Exchange this year, which I was pretty excited about since I had originally bought mine at Home Depot and was looking for more but they weren’t carrying any this year. They offer a nice bit of red leaves and stems to a mostly green planting bed. Once they bloom I will cut them back for a second bloom.

Lipstick Begonia w/ Coleus

I will leave you with a picture of my favorite hanging basket. This week I finally managed to put some annuals in my hanging baskets and window boxes. Last year I fell in love with a lipstick begonia. I stopped by Terrain figuring that they would have it and as it turned out they had LOTS of amazing begonias to choose from. I also added some new burlap for the underside of this pot (I bought some online and have a couple of project in mine for the back with it). Above this I have water absorbing pad (that releases water slowly). As this fills in it should be fantastic.

What is blooming in your yard this week?

Leave a comment

Sandbox Part 2

May 24, 2012 — Leave a comment

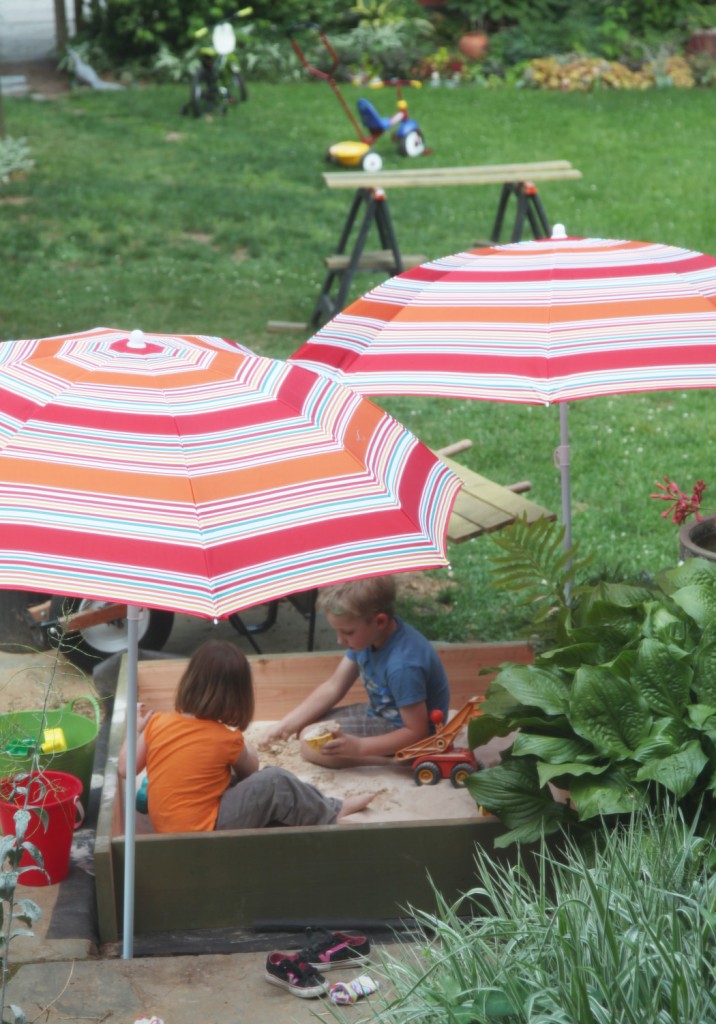
Sandbox looking from the Kitchen Window

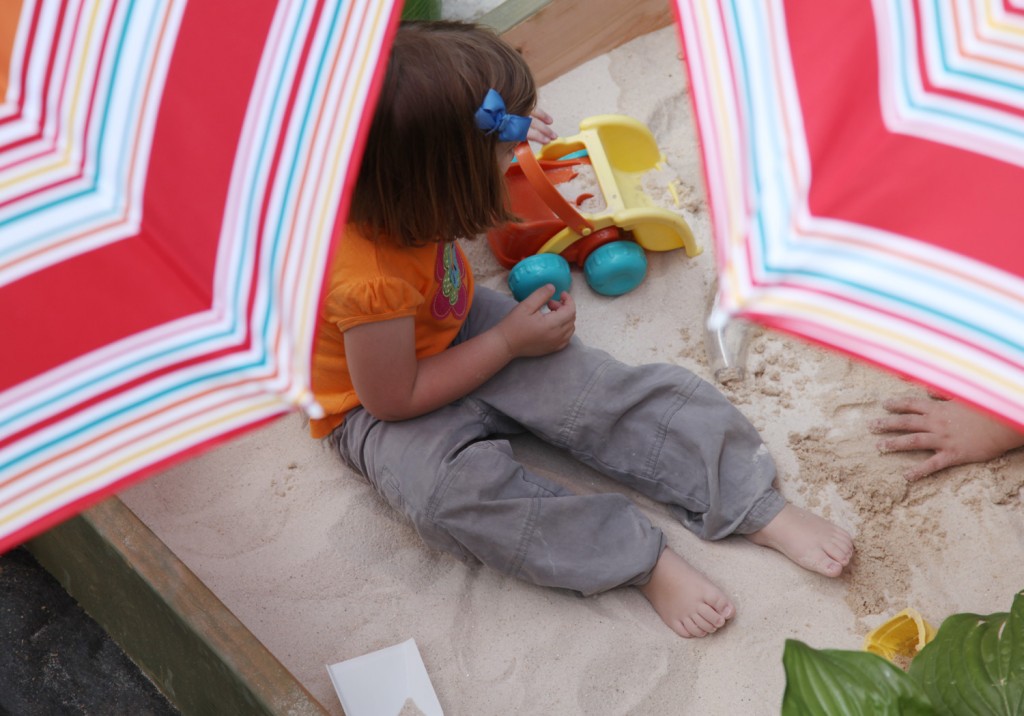
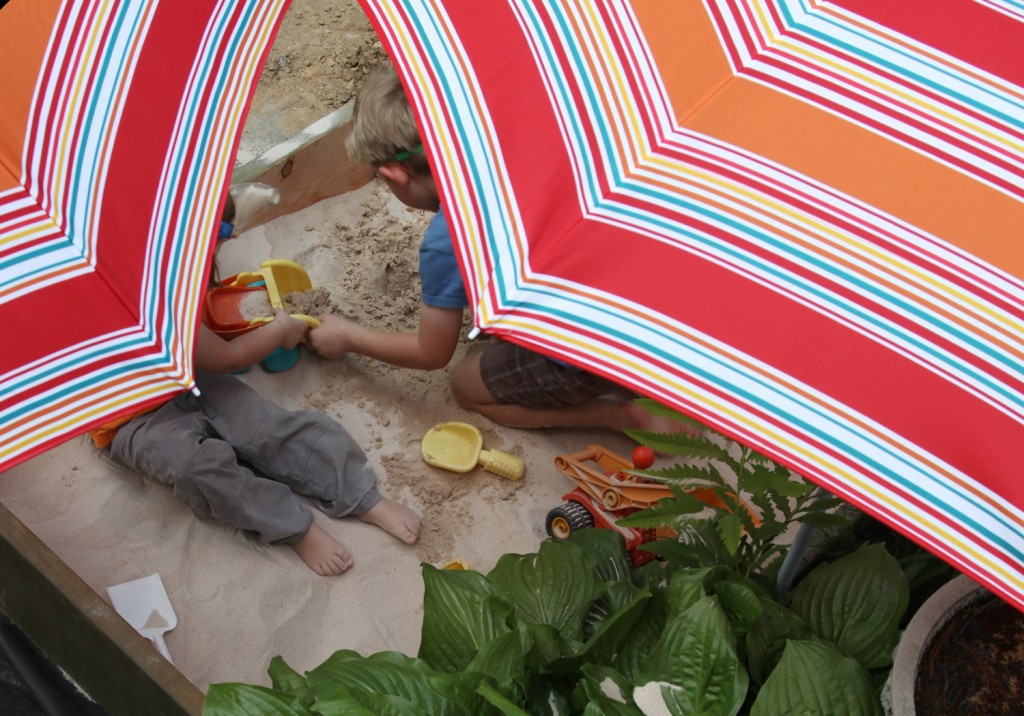
The kids made good use of the sandbox yesterday afternoon while I worked on staining the top. I bought six 50 lbs bags of play sand to get started (I think we will need another 6 or so to fill the 18 sf). I still have one more coat of stain to do on the backside of the boards for the top/seat. The stain is drying incredibly slowly (fingers crossed it will be dry by the weekend so I can get this guy finished).  I am also going to pick up some pvc pipe to mount on the inside of the box. These will be mounted on either side to hold up the beach umbrellas.

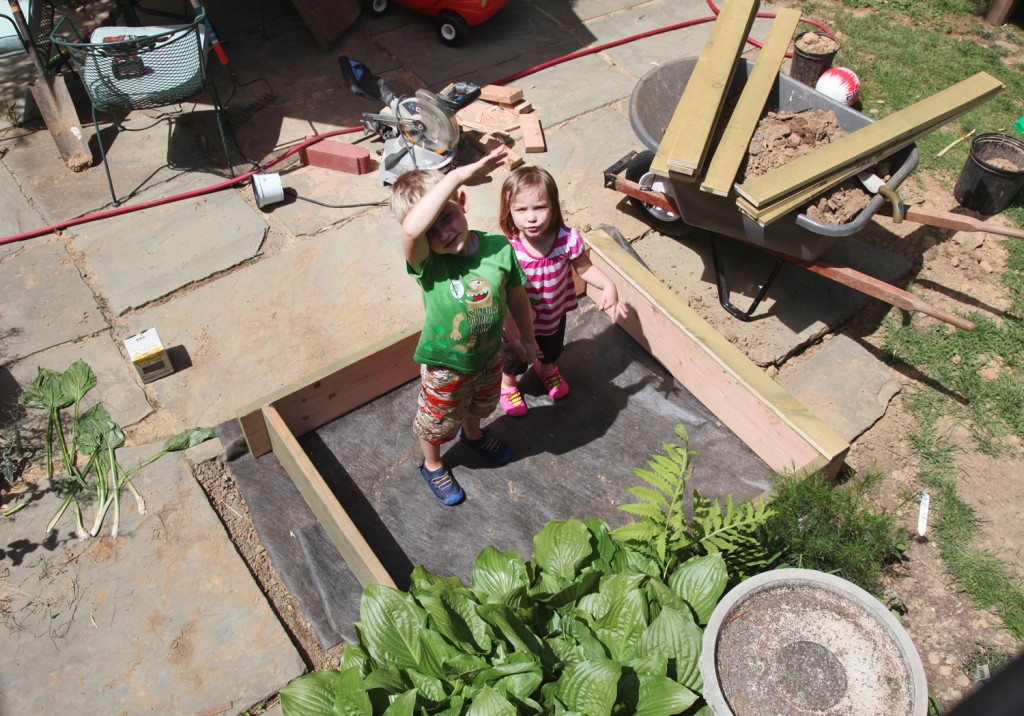
I am really happy that I could watch them from the kitchen and am pleased with the placement of the box directly in front of the window. The kids wasted no time taking off their shoes and socks. Now I have to make sure that I wipe the kids off before they come in the house. Sam also went and found his beach chair right later when Maisie was napping. He proceeding to lounge back and play quietly in the sand.

Maisie and the digger

Sam and Maisie playing together (at least for a brief moment)

Leave a comment

Sandbox Part 1

May 23, 2012 — 1 Comment

Sandbox in Progress

I first wrote about the sandbox almost 2 months ago. I think it is time to get moving! The basement has taken precedence for a while, but the kids are getting impatient and I am looking forward to them having some additional play space outside.

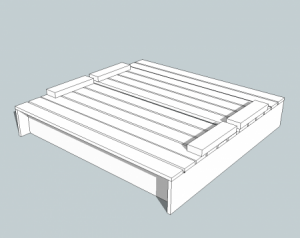
Inspiration Sandbox Design

Sandbox Design from Ana White

We decided to go with the plans from Ana White’s website based on this design. Of course I had to tweak it a bit (when have I ever gone the easy way). The design is for a 4’x4′ model. We decided to go with a 5’x4′ design so that the kids would have a little bit more space for playing and to fill out the space. We also decided to use 2x10s for the sides. The design calls for 1x8s but since we wanted it deeper and we were widening it, I decided to increase the depth (plus a 1×10 and 2×10 are pretty much the same price). The nice thing about the plans is that they are designed to use standard length lumber, so all I needed to do was adjust a few pieces from 8′ lengths to 10′ lengths to make it work. I also added an extra piece to the back on each side to accommodate the extra foot.

March

April

Mother's Day

Site Leveled


Step 1: Locate the Sandbox and Prepare the Site

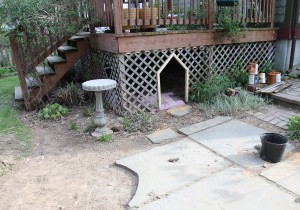
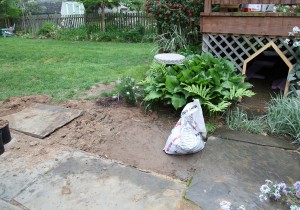
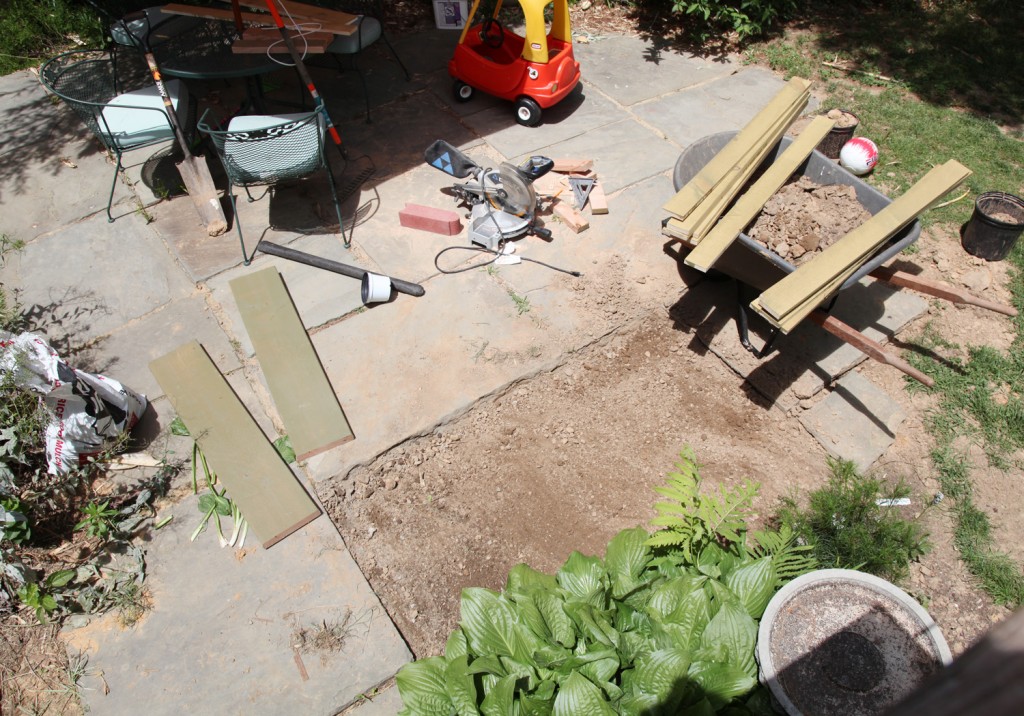
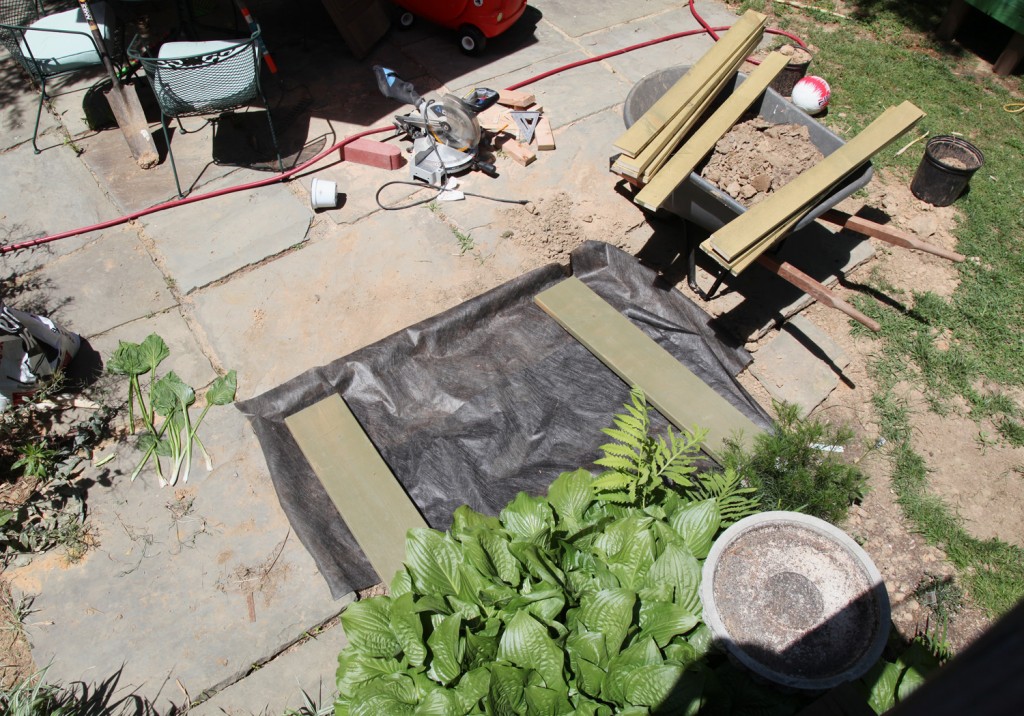
First on the list was moving the big piece of slate over to accommodate the sandbox. For this I used a spade and all of my arm strength to push it over the 5′. It was a pain and took me an embarrassing amount of time, but I managed to do it myself. Of course it wasn’t level! So it took last weekend with the help of Mr. S. holding it up to actually level it out. Then we leveled out the ground under the sandbox, moved/cut back a few plants and we were set. We also added the landscape/weed blocker fabric to the bottom, to help keep the sand separated from the dirt.

Wood Cut & Landscape Fabric Added

Step 2: Pick Up the Wood & Cut to Length

I went over to Home Depot and picked up the pine boards (I didn’t want to use pressure treated in an area with kids). I had the guy at HD cut the 2×10 boards for me, since my saw only cuts up to a 2×8 in one pass. Of course I hadn’t double checked my measurements so I still ended up having to cut the shorter pieces again at home. All told I spent about $96 for the wood, screws, glue and hinges. I spent about an hour measuring and cutting all of the wood.

 Step 3: Finish the Wood

This is by far the longest step. We are staining our wood green to match our garage and shed. We had some already, which was nice. The downside is that it is oil and takes a while to dry. Since almost all the wood will be visible depending on whether it is open or closed we need to finish all of the sides. I am using a small roller with the stain. I am still NOT finished with this. It needs 2 coats and so far only the bottom has 2 full coats. Everything else only has one coat right now. Unfortunately the weather has not been cooperating with us. I am hoping to have all of the staining done by the weekend so I can get this finished!

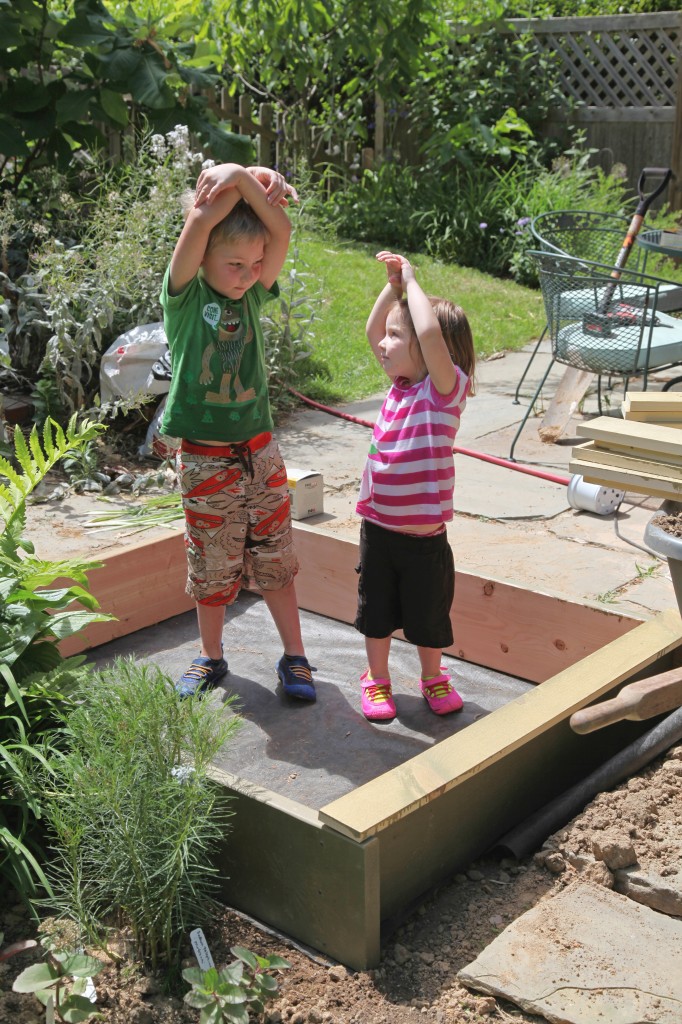
The kids taking a break from the water table to test out the sandbox

Step 4: Installing the Base/Sides:

Mr. S. stained the base 2x10s first, so those were ready to go in (we are leaving the side that will be exposed to the sand unfinished because I am concerned with it wearing off with the sand against it). We used nice long 3″ screws (3 per corner). I use almost exclusively screws with star bits. Home Depot now sells them (I use to have to hunt them down) in the deck screw area. I LOVE these! No slipping or stripped screws. Plus they are meant for exterior use, so they will hold up well. The Home Depot ones are tanish yellow in color and blend in pretty well with the wood.

Step 5: Putting in the Sand

Goal for today, so stay tuned!

1 Comment

Big Room Progress: We need a shelf for below the TV to hold the computer

We had a busy weekend working on the basement and on the sandbox this weekend. The weather was beautiful (although a little hot for the middle of May). For the basement, it is time to start thinking about furniture layout, while trying to keep enough momentum to finish up the countless little projects. We even squeezed in a reconnaissance mission to Ikea on Saturday night with the kids.  The goal was to look for a sofa (since it looks like this space may become our summer hangout, thanks to the cool temperatures), some kind of shelf or cabinet for under the TV and a countertop for the pantry/wine area.

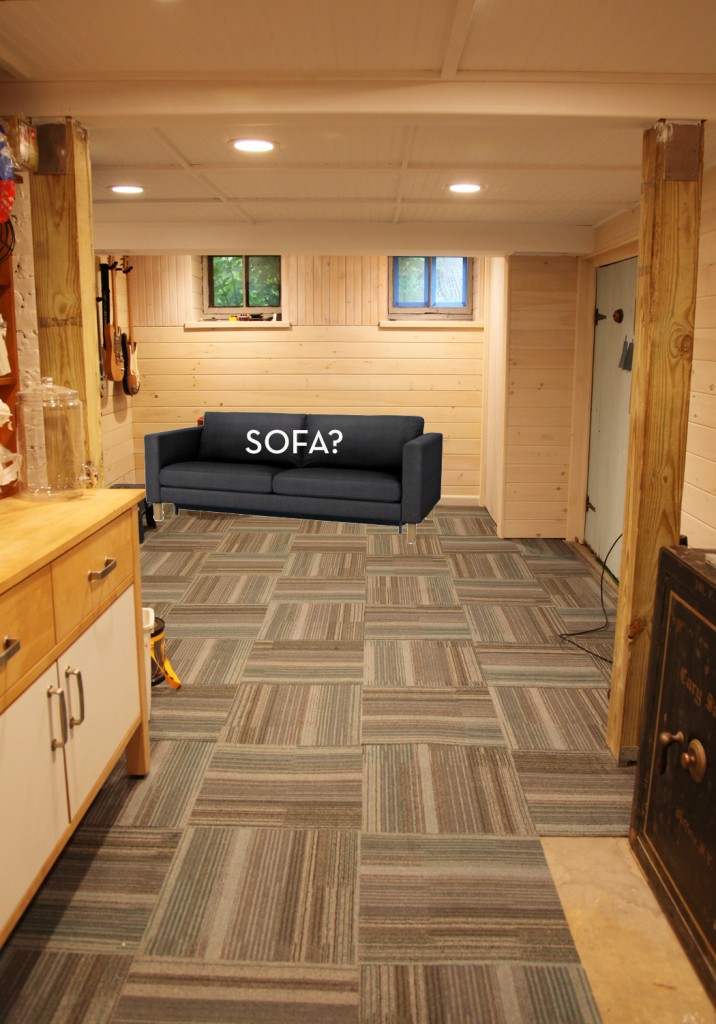
Cleaned Out Big Room w/ Proposed Karlstad Sofabed

We checked out the Karlstad sofabed in dark gray. I have seen several good reviews for the Karlstad sofa and the dark gray material which is machine washable. The only strange thing about the bed part is that you lay sideways on the sofa, so if you are on the inside it is difficult to get out. We tested it out and thought it was pretty comfy though. We weren’t originally planning on having a sofa down here (and certainly not a sofabed), but now that the space is finished, and we have a bathroom with a shower, it actually seems like it would make a reasonably good guest suite, since it is on its own floor, far away from the kids. The sofa is quite long (longer than it looks in the picture) but it should fit okay.  Is it wrong to have a nicer sofa in your basement than in your living room?

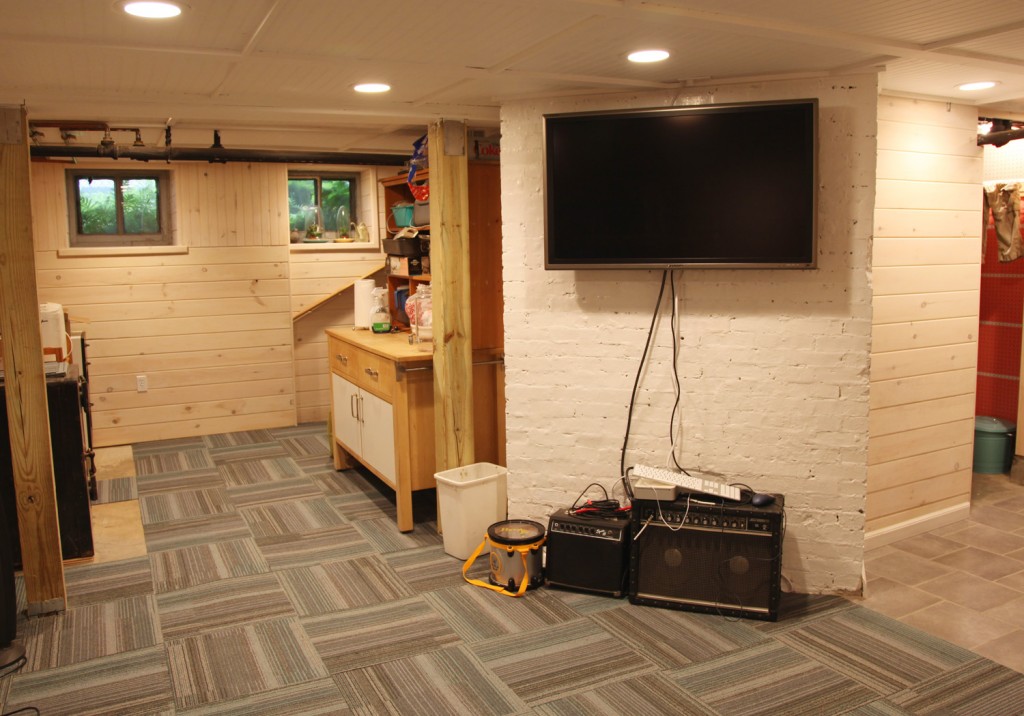
TV mounted on Brick Wall

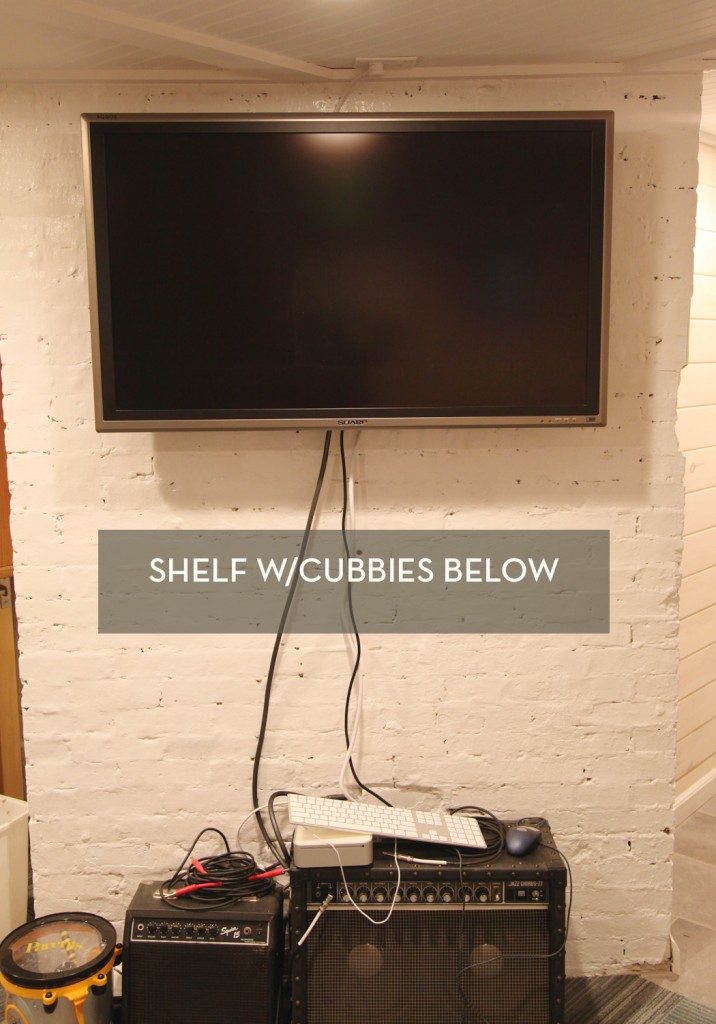
As part of the work down here, Mr. S. has been looking at the best options for hooking up our old TV. We have gone back and forth several times about how it should be configured. In the end we have decided to only hook it up to the computer, which will minimize the amount of stuff we have to mount below it. We have an old Mac Mini (about 6″x6″) that will sit on a shelf along with a mouse and keyboard. We looked at a bunch of shelf options from Ikea but I think we are going to make something (nothing was quite the right size). The design will be to have 2 or three cubbies below. One or two will have baskets to store stuff and one will have a little door on it and house the electrical hookups. The shelf will float and the guitar amps will sit below. It looks a little crazy right now, but I actually really like the look of the amp with the brick wall. We also need to put in the baseboard here.

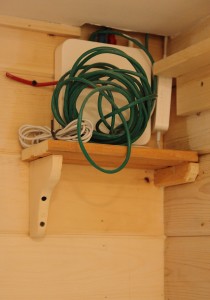
Old Location for Wireless Router

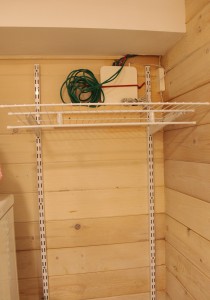
New location w/ vertical installed for shelving

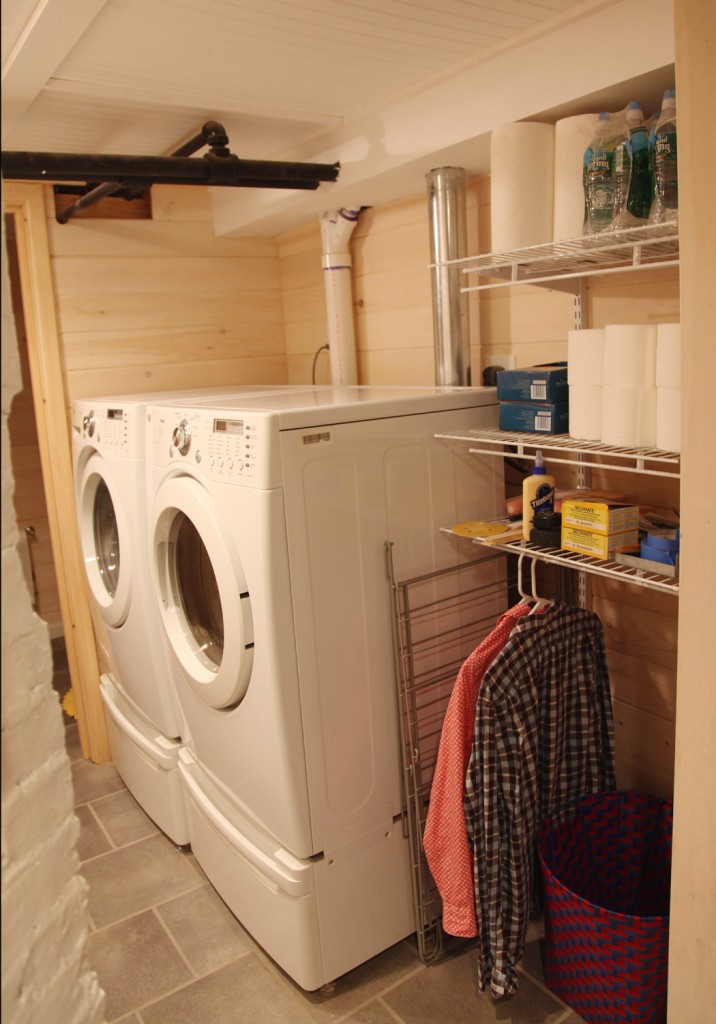
I also finally got around to installing the standard and bracket metal shelves for the laundry area. First I had to move the wireless router, which meant making a new shelf for it. My contractor had made a shelf out of scrap (which looked pretty wonky). I used some 1×3 scrap and made a new shelf by glueing and screwing the two pieces together at 90 degrees. Then I screwed the bottom piece into the beadboard. I mounted it in between the two vertical standards. Then I installed the shelves (I had them cut at Lowes where I bought a 6′ length and had them cut down into 3 2′ lengths).

New standard and bracket shelving w/ bar for hanging clothes

It may not be the prettiest set of shelves, but they are really practical. I have space below for a laundry basket, I can hang shirts to dry, and I finally have a place to put toilet paper and paper towels! I also have a shelf set aside right now for the current project (in this case the bottom shelf has all of the miscellaneous stuff I need for making the sandbox). I still need to decide what to do with the area behind the washer and dryer. I am leaning towards some burlap curtains and maybe some smaller shelves in between the dryer vent and waste pipe that would be hidden by the curtain.

I will be back tomorrow with the sandbox progress (not finished but at least well underway).

* To see all of the posts about our basement click here.
Leave a comment

Purple Bearded Iris

We have had some crazy weather in the last week. Rain, rain, hail followed by hot and humid weather. Today it actually lovely, sunny and warm. Given the conditions my plants have fared pretty well, especially considering the hail. We are reaching the point in the season where not quite as much is blooming, it is too early for the summer bloomers and most of the spring bloomers are done. But the bearded irises and peonies are definitely at their peak (if a little beaten down).

Bearded Iris

Purple Irises with Allium

Pink Peonies

All of my bearded irises have come from the Scott Plant Exchange. I have purple and peach colors. I don’t love them, mostly because the blooms don’t last that long, but they are impressive while they bloom and multiply quite well. I have several other kinds of irises including dutch irises and Japanese irises that I have picked up as bulbs. They also multiply quite well.

My peonies are from Home Depot years ago. Peonies are one of those few perennials that will last for a LONG time. The plant just gets bigger and bigger. Mine have certainly done so, and their color is really impressive.

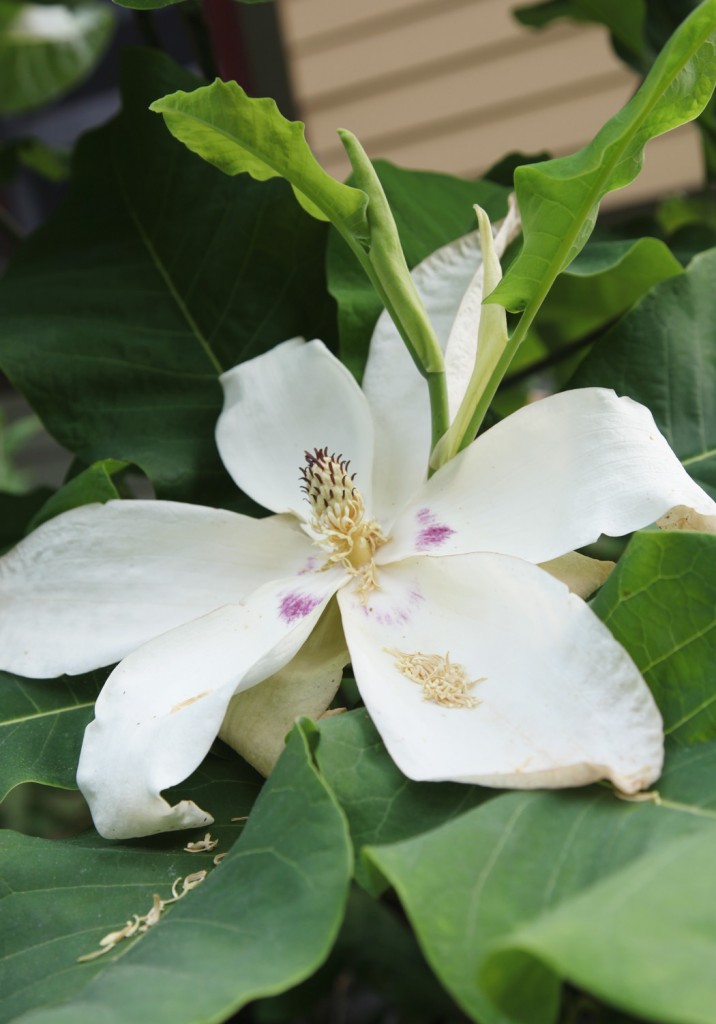
Big Leaf Magnolia (12" wide flower) Magnolia Ashei

My big leaf magnolia (magnolia ashei) is blooming. Unfortunately the weather hasn’t been so kind to its giant flowers. Most of them burned out in the heat very quickly. There are a few flowers that haven’t bloomed, but of the ones on the tree this is the only one that looks nice. It is pretty stunning though, at about 12″ across.

P.S. I’ve got a sick kiddo so I may not get my post in tomorrow. If I don’t I hope everyone has a lovely weekend and enjoys the nice weather!

Leave a comment

New Handle

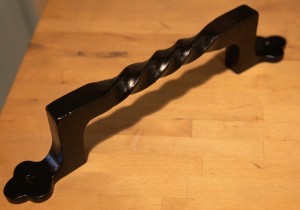
13" Clover Leaf Door Handle in Black, $17.99

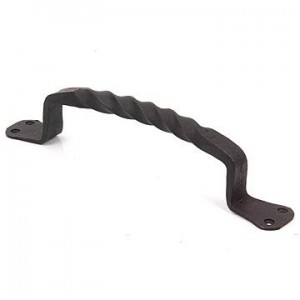
9" Bulkhead Handle, $10.99

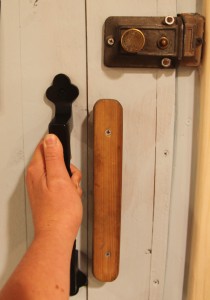
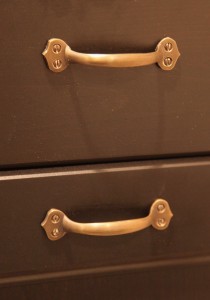
After I painted our backdoor last week I realized that it was in desperate need of a new handle (somehow the home made 20 year old one wasn’t cutting it anymore). I also needed to pick out pulls for the new lower cabinet drawer unit at the pantry/wine area. So I took a look an VanDykes’s Restorers and they were having a sale on most of their handles! Fortunately they arrived quickly and I have installed the handles for the drawers and I will probably get around to installing the backdoor handle this weekend. I also picked up handles for the bulkhead door (for when we get around to making new doors).

For the backdoor I chose this beautiful clover leaf handle.  It is super heavy and slightly rustic looking in person. I think it is going to look great once I repaint the door a darker color and install it. I will also be installing a matching one on the outside (since this handle is suitable for outdoor exposure). I also picked up a similar, although slightly smaller set for the future bulkhead doors (currently we have a piece of exterior plywood on hinges).

New Cabinet Pulls, $3.49

Victorian Safe

For the cabinet pulls I decided to go with a similiar finish to the safe handle. In this case I chose a an antique brass finish (not something I would normally choose) and I think it looks great against the brown/black finish of the Ikea drawer unit. In between these two units will go the fridge and freezer. Right now I am leaning towards a white freezer (unfortunately the model that I want only comes in white). My plan is to use chalkboard contact paper and cover it. Then finish it off with some gold/brass colored vinyl details and maybe some fun lettering to match the safe.

I also need to pick up the wood counter from Ikea. When I checked last week it was out of stock, but hopefully it be back soon. I can’t wait to get this area further along. Now I just need to get moving!

2 Comments

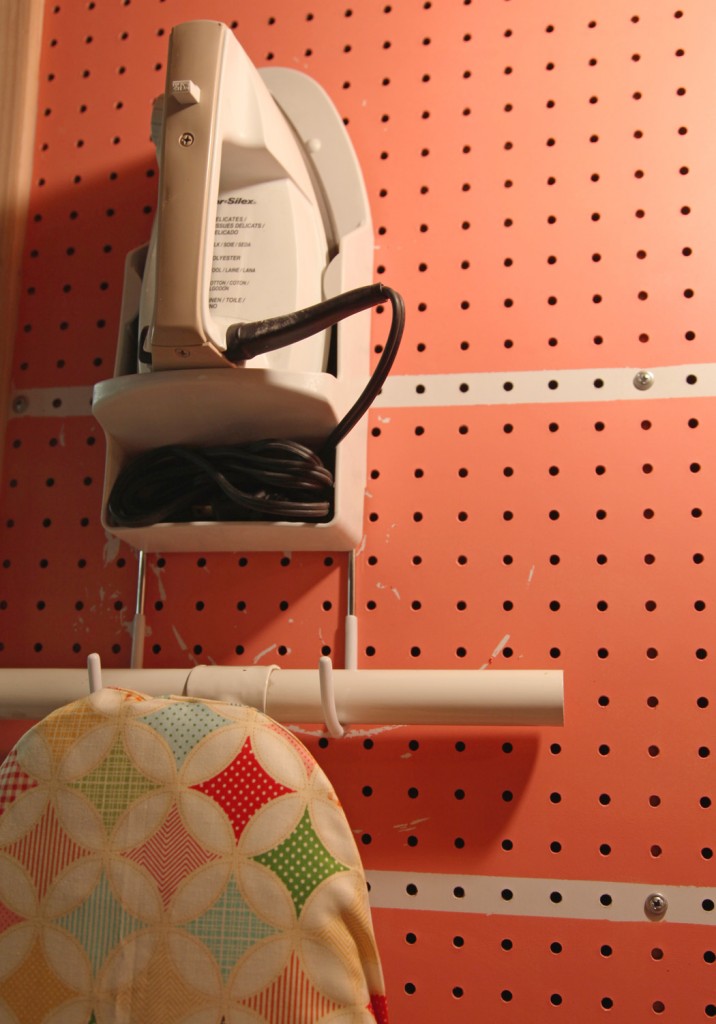
Coral Pegboard w/ Ironing Board (and all of the marks from installing the ironing board bracket)

This is an oops moment and it is totally my fault. I don’t have anyone to blame but myself.  I insisted on painting the pegboard in the basement. It had a nice white smooth finish on it, but I was not happy about it. Too boring I thought! Mr. S. thought it was kind of silly to paint it, but I insisted. So now I have to deal with the consequences! At first I was worried about painting the screws, since  I liked the pattern that they made on the board. Then I realized that I could use some masking tape and stripe off those areas and then paint the rest. I picked up the paint samples on Friday and went to town. It was Friday night by the time I actually painted and I wanted to get this project done (yes, that is the kind of life I lead, painting on weekend night). So I taped everything up, and then brushed on a first coat in sections and smoothing it out with a smooth foam roller. Then I repeated about an hour later. I peeled back the paint and went to bed.


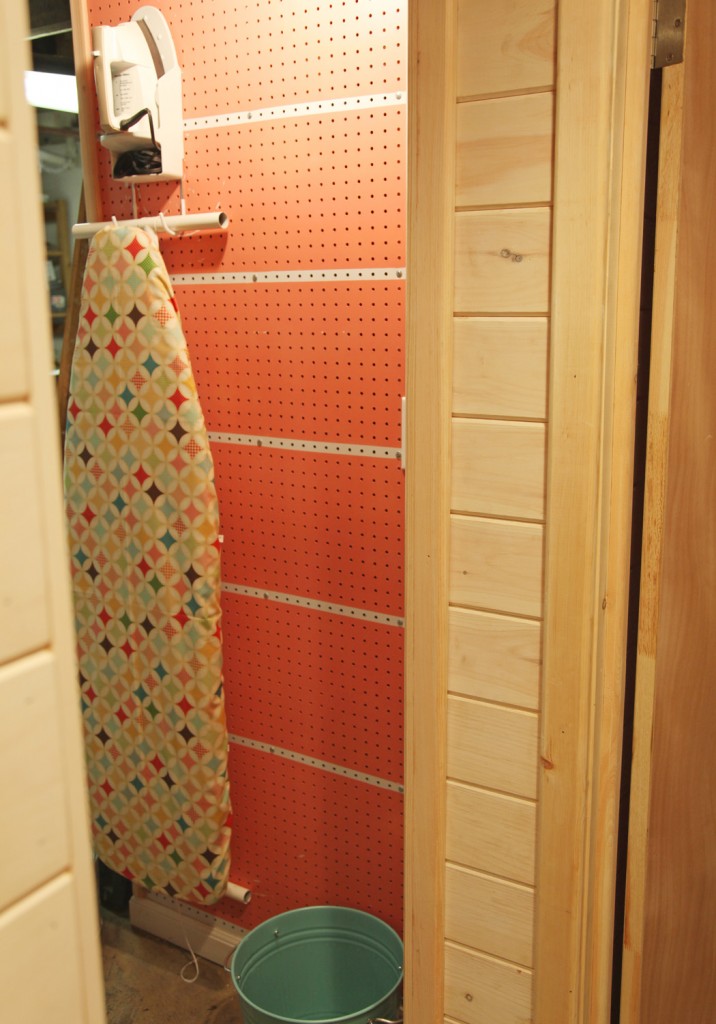
Coral Pegboard looking from laundry area

So when I went to check on it on Sunday, I was disappointed to find that the paint did NOT adhere very well. I guess I really should have sanded it first. errr…. My next stupid move was deciding to hang the ironing board bracket anyways (by myself). I just wanted it done and I really wanted to get the ironing board off the floor. My first mistake was mounting it too close to the corner. But the bigger mistake was trying to hold it in place by myself while screwing it in. It turned and wiggled and scratched the crap out of the wall. Alas I hung it up anyway, feeling completely defeated. I’m not sure when I will get around to re-taping, sanding, and painting again. I fortunately did not do the other side around the corner yet. This side will have lots of hooks for tools, so the finish is even more important. I may need to do some testing on that side first. hmmm…

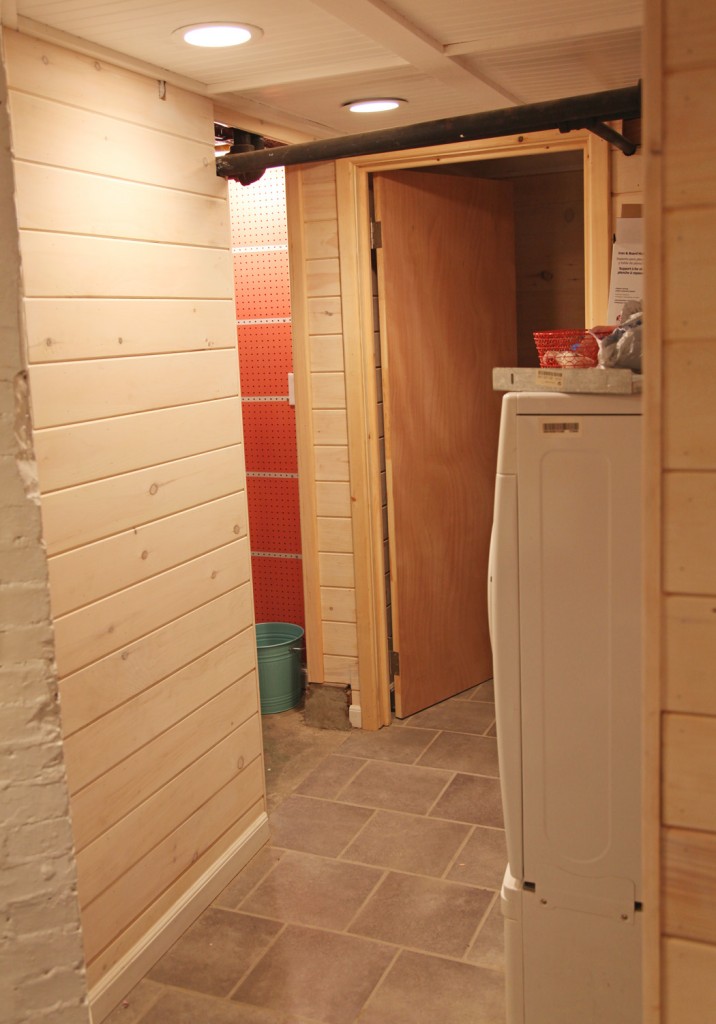
Hint of Coral Pegboard from the Main Room

At least I really like the color  (Behr “Mellow Coral” which is not actually mellow at all). The one interesting thing with the color is that it almost looks like I did an umbre with the stripes because of the bare light bulb above (which I totally didn’t do). Oh well, I guess it is just paint.

Does anyone have any good DIY disasters to share?

Leave a comment

Plants from the Plant Exchange & Sale

I hope everyone had a lovely Mother’s Day! I spent a good part of the day in the garden and am a bit sore today. I only managed to get one of the things on my outdoor list done, but it was important, so I will try and count the day as a success. Saturday was the Scott Arboretum Plant Exchange, which is one of my favorite events of the year! Members bring in plants (and the arboretum donates their extras) and then you exchange and/or buy new plants. The best part is that the plants that you “buy” after some plants are “exchanged” are only $1. I donated 6 plants (sensitive ferns & big ear lambs ear) and came home with 38 plants. I am usually in the 40-50 range on the plants, so this was a paired down year.

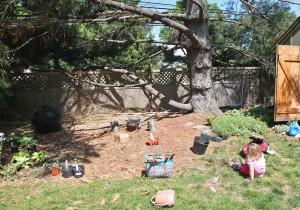
Pine Tree Shade Garden Before (Lamium)

Garden after removing the groundcover

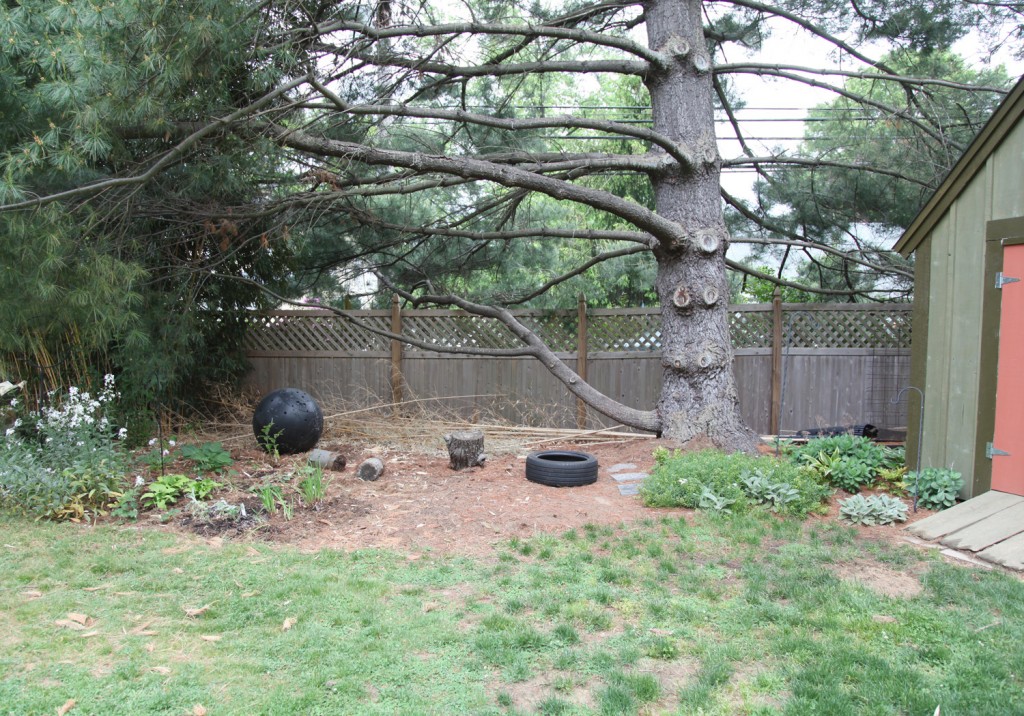
I decided to take advantage of the exchange this year and use the opportunity to work on my shade garden underneath my pine tree. This area has been neglected for a while, I have been using ground cover as a place holder. So last week I pulled out the lamium (dead nettle) which is quite aggressive and tried to make some space for new plants. This space will also house a tire swing, so I need to leave some space for the kids in the middle.

Pine Tree Shade Garden Today (Tire is located where the swing will go)

It is interesting that the plants never go as far as you think they will, and I am still in need of more. but the good news is that I have some plants in the main shade garden that I can divide. I also need to move the kids tree stump table over a bit. It looks a bit sad I know, but the good thing about plants is that they grow and fill in.
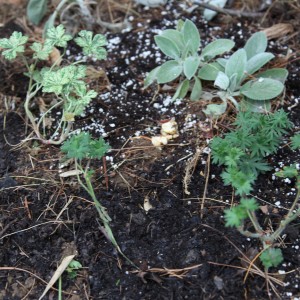
Close up of New Garden

Cranesbill & Lambs Ear

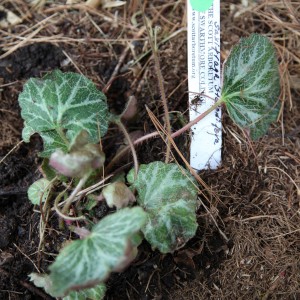
Saxifraga Stolonifera

Wild Ginger

I am pleased that I  a nice variety of texture and color. Some of the plants that I picked up for this area include: cranesbill geraniums for the front (part sun/part shade), irises (usually more of a sun plant but seem to put up with part sun), hostas (divided from my garden), sedge (divided from my garden), lambs ear ‘big ear’ (divided from my garden), saxifraga stolonifera , asarum canadense (wild ginger), and variegated soloman’s seal, and bleeding hearts. It will probably be next year before I know how well these plants acclimate, in the mean time I need to keep them watered. This area is quite dry and it is a challenging spot with the pine roots. Fingers crossed at least some of these plants will think it makes a nice home and the bunnies won’t think that they are dessert.

3 Comments