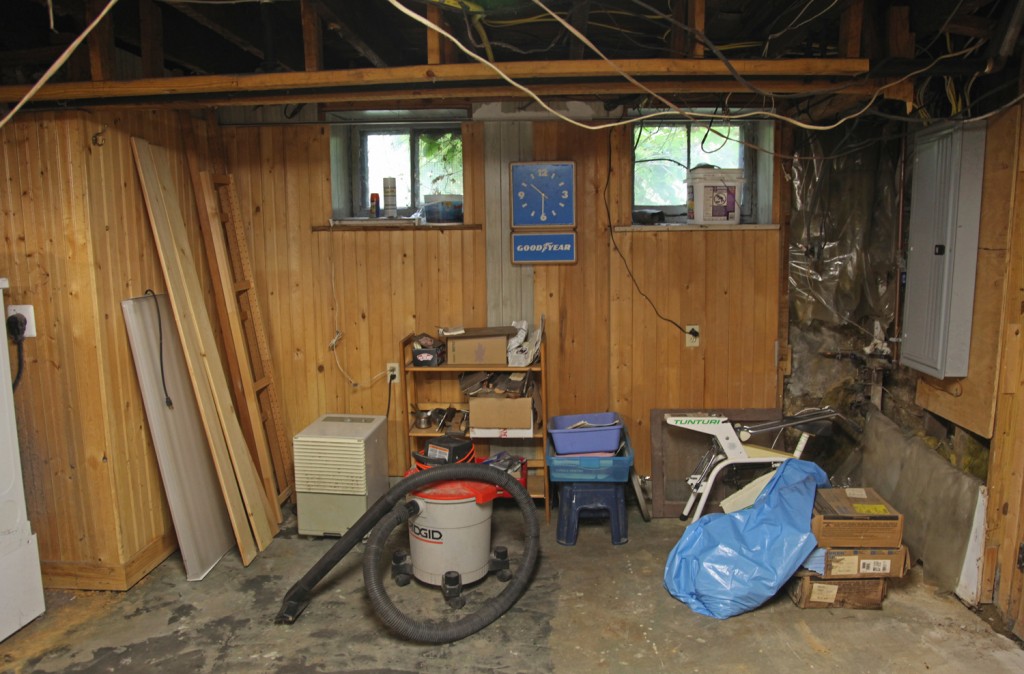
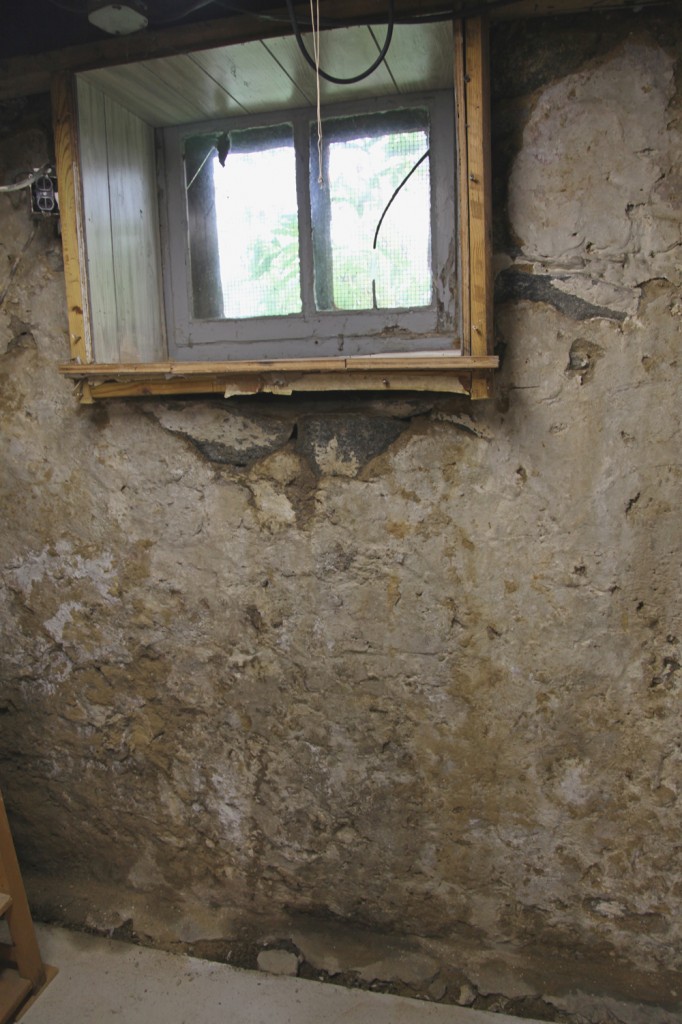
I wish I had more exciting images to show today but we spent a good part of the weekend working on the basement (and emptying out what we could to the garage storage loft). Basements in old houses are a funny thing, they were never meant to serve a purpose except house the boiler/furnace. They usually only had dirt floors and very low ceilings. The walls are typically stone rubble with a parge coat on it to keep the water out. Our basement has unusually high ceilings for a house of our vintage (that may be because it was built up on a mound). The previous owner (aka Tony that Cheap SOB) “finished our basement” back in the 1970s. That meant that he covered the exterior foundation walls with a stud wall, filled it with insulation, put up a plastic vapor barrier and covered with paneling. Unfortunately before he did this, he did not find a way to remove the inevitable moisture build up from the walls. Instead that moisture has been stuck behind these walls for 30+ years, creating a nasty mess! We have known of the potential issues for a while, but with the summer rain (20+ inches in August alone) we have had to make the basement a priority. So for the time being the plans for the Master Bedroom are on hold while we do some demolition and come up with a game plan for the basement.
What to do with an old basement?
Ideally in a basement like ours, which gets damp in the summer and wet in extreme weather (when the water table rises to a high level) you would parge the walls, install a french drain around the inside perimeter, connect this to a sump pump, seal the slab with a water barrier and call it a day.
In our case we need to use the basement, not for every day living but for:
-laundry (oh, how I wish we had space for an upstairs laundry)
-storage and use of our various tools
-extra pantry storage
-bathroom (there is one down there now, I don’t think I would have added one otherwise)
-My dream of an extra space for possibly an elliptical machine or for working on larger projects
-or Mr. S’s dream of a space to play drums and rock out with the kids
The Game Plan
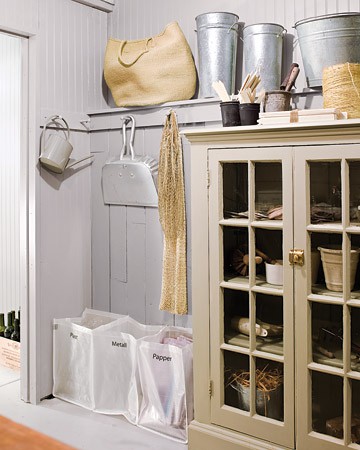
Create a rustic but usable basement! Kind of like the image above from Martha Stewart Living (image from Designer Tricia Foley‘s basement. Photographed by Eric Piasecki). I first saw this basement on doorsixteen.
October:
-Finish Demolishing the stud walls in front of all of the foundation walls (we always wear special replaceable cartridge masks that are recommended for both mold, lead and asbestos and clothes that immediately go into the wash after working).
-Salvage beadboard where possible for re-installation
-Demolish the old shower and prep the connections for a future bath
-Demolish the couple of interior walls
-Remove all of the old electric, including lights and outlets
-Install 2 new columns and footings (per my structural engineer’s recommendations)
-Install new angle per structural engineer’s recommendation
-Have Drainage contractor out (it took over a month to get an appointment to have him even look at it!)
November (somehow I have a feeling this may be later then this):
-Clean up and parge foundation walls
-Cut out foundation at exterior walls and install french drain system (this will have a special lip to collect water from the walls and send it to the sump pump)
-Install new sump pump system w/ battery backup (drain out front of house)
-Install new skim coat to concrete floor w/ waterproofing layer
December:
-Have my general contractor install new walls in front of foundation walls using an air gap, pressure-treated sill plates, mineral wool insulation (which isn’t affected by moisture) and cladding walls with horizontal beadboard, using a plastic baseboard product that will have exposed screws, such that we can check the condition of the wall behind
-Install new electrical outlets and lights (I am thinking LED downlights)
-Install new interior partitions to create a bath w/ shower, laundry nook, workroom and large double room space for storage and multifunction use.
-Install new plumbing fixtures
-Install a new ceiling using a beadboard system that would allow access above in certain areas (i.e. where the electric and plumbing come into the building and where there are water connections)
-Whitewash all of the beadboard
-Install a yet to be determined floor (Mr. S. likes cork, I’m still investigating whether it will be suitable for a basement application installed over a plastic and plywood sub-floor product).
Phew, I’m tired just thinking about it!


