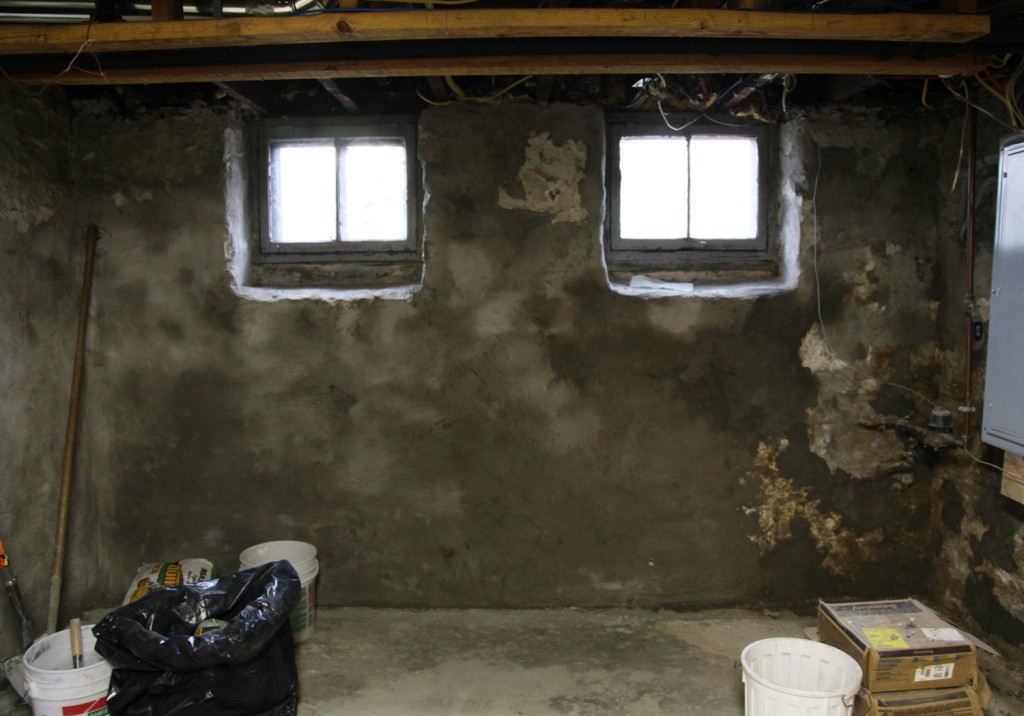
So this is not one of my pretty posts. Somehow looking at foundation walls is not a particularly eye catching thing to do. But for us, this means that we are one step further to having pretty finished walls! My contractors (Kent, Chris & Nate) have been busy down in the basement this week. They were here for 2 days this week and probably have 1 more day to wrap things up (at least until the drainage specialists show up). They are about 2/3 of the way done with the parging on the walls. Parging is basically a skim coat of mortar that is applied to the stone (rubble) foundation. Since the foundation is made up of lots of smaller stones this help to even out the wall and help minimize the potential for leaks and spots for bugs and mice to enter. Inevitably the parging starts to deteriorate after a certain point (with years of moisture from the outside making its way inside). Ours was probably last parged about 50-70 years ago. The process consists of using a wire brush/chisel to remove all of the lose parging. In our case the parging was generally in good condition above the ground line and in varying degrees of deterioration below the ground line. We also noticed that once we removed the interior walls in front that the stone walls that the walls dried out quite a bit and more parging fell off. Then they fill any of the larger cavities/holes first. Then they come back with a thinner coat to skim coat the walls.
This is only the first step in our wall construction. After parging comes a special fabric that is applied to the walls that will keep any moisture away from the inside. This will attach to the new perimeter drain system with a special lip that will allow all of the moisture to drain into the new perimeter drain and back to the sump pump to take it away (back outside).
After the drainage system is complete we will be adding rigid extruded insulation to the inside along with stud walls. We will also be adding new mineral wool insulation just above the foundation at the sill plate. There is a mix of insulation in there now that we are going to take out and replace for consistency. Mineral wool which is made from molten rock (and now from slag leftover from the steel making process). It has a couple of advantages over other insulation. It is an excellent fire retardant, doesn’t deteriorate or lose its insulative properties when wet, has a better R-value per inch then fiberglass and is a excellent sound attenuation. I’m still working out the exact detail for this location to maximize R-value and fire separation. I also had to special order the mineral wool (usually listed as Rockwool or Thermafiber).
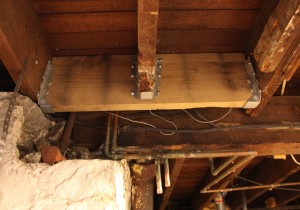
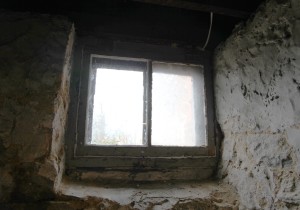
So along with this process they also fixed an unsupported floor joist (it has only been unsupported for about 100 years ago), put in a new exhaust line for the dryer, added a new exterior electrical outlet to the front of the house, reglazed one of the windows, temporarily hung our electrical box so that the drainage guys could work underneath it, and extended one of our gutters so that we minimize water collection in one corner! Phew! It was like Christmas all over for us.
We also managed to make it over to Home Depot to look at some products and finishes without the kids yesterday. We decided on a floor!! And found some great affordable LED recessed lights. So stay tuned for more developments!
May everyone have an amazing 2012! Thanks for reading!
*For all of our Basement progress click here.


