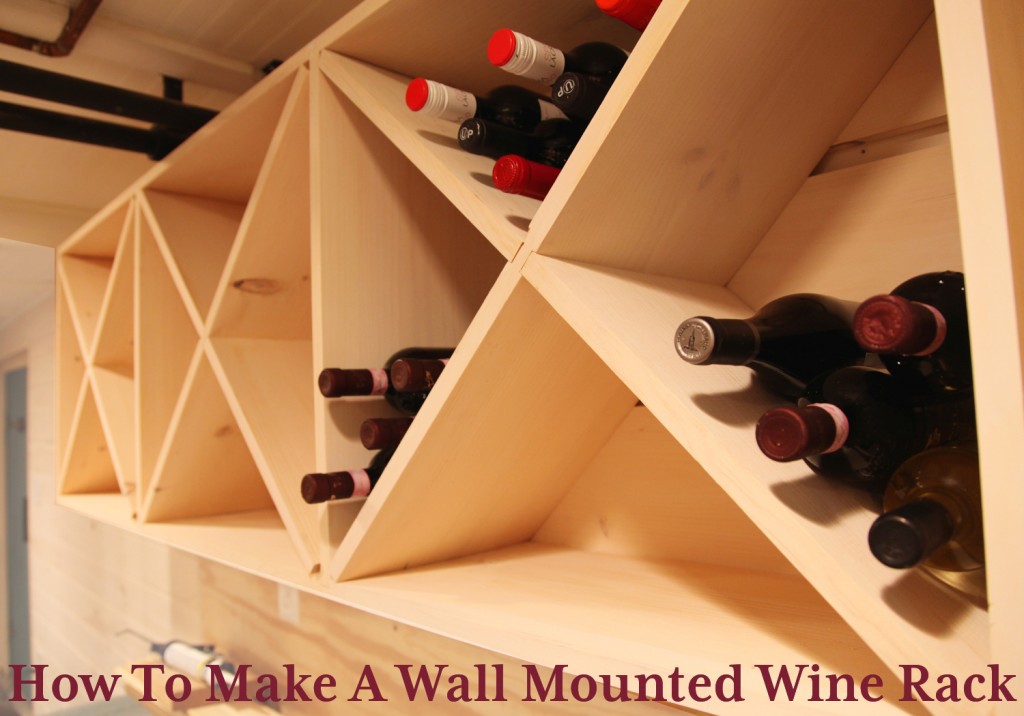
It is finished! Yeah! After looking at options and more options, it is done and I love it. Of course I would have changed a few things if I had to do it over again, but overall it was pretty straightforward and I really liked how it came out.
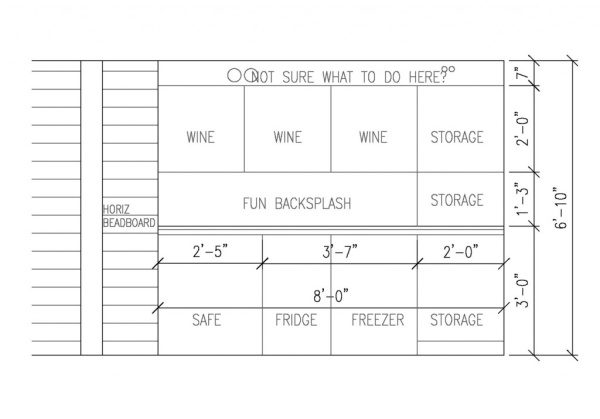
I started out with this AutoCAD drawing above, laying out the wall.
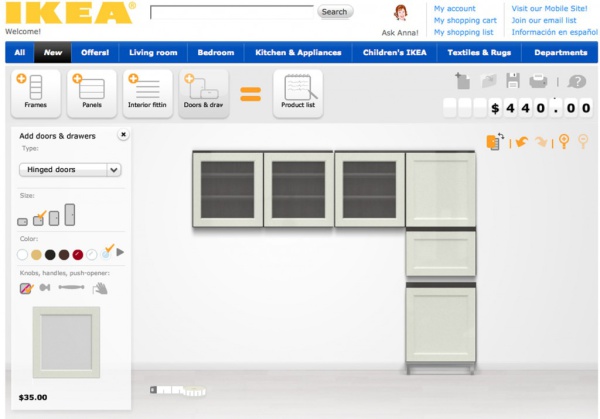
Then I considered this Ikea Besta Option (but was concerned that it could actually support the weight of the wine. Plus Mr. S. thought it looked too “kitcheny” and not rustic enough for our wood wonderland. Which lead to me looking for a design, only to be out of luck. So I ended up making up my own design.
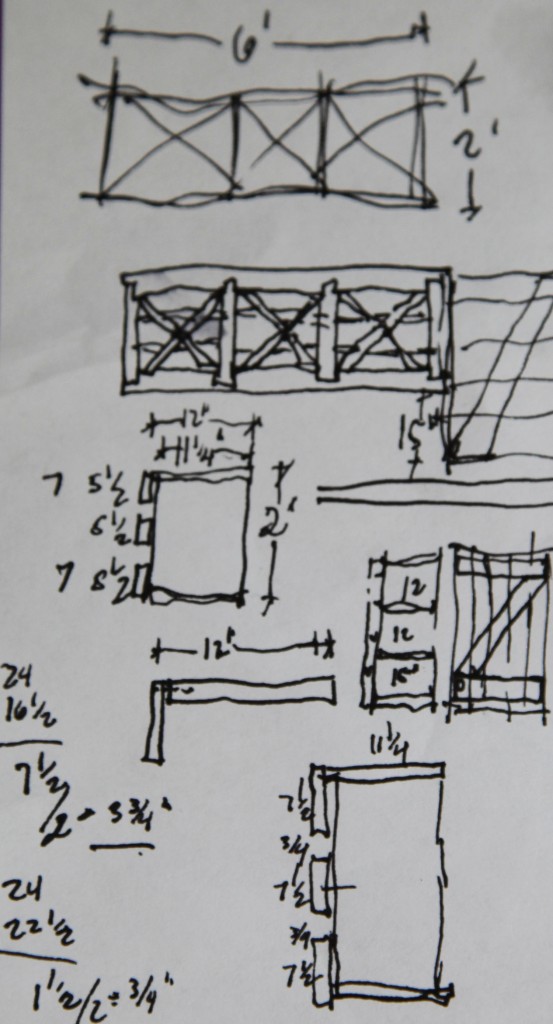
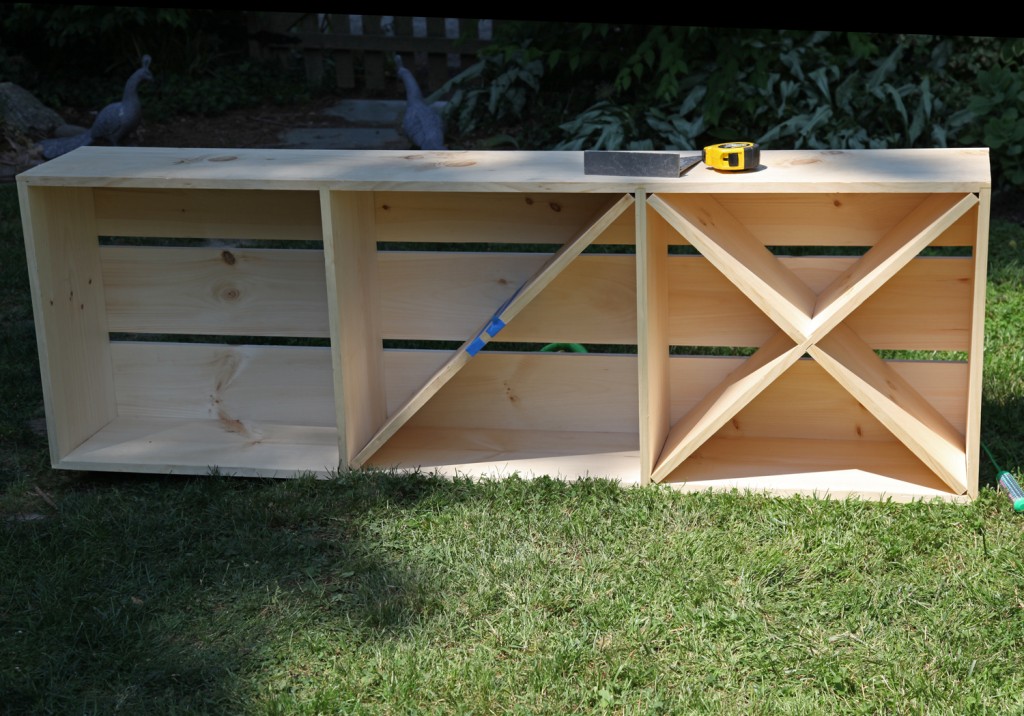
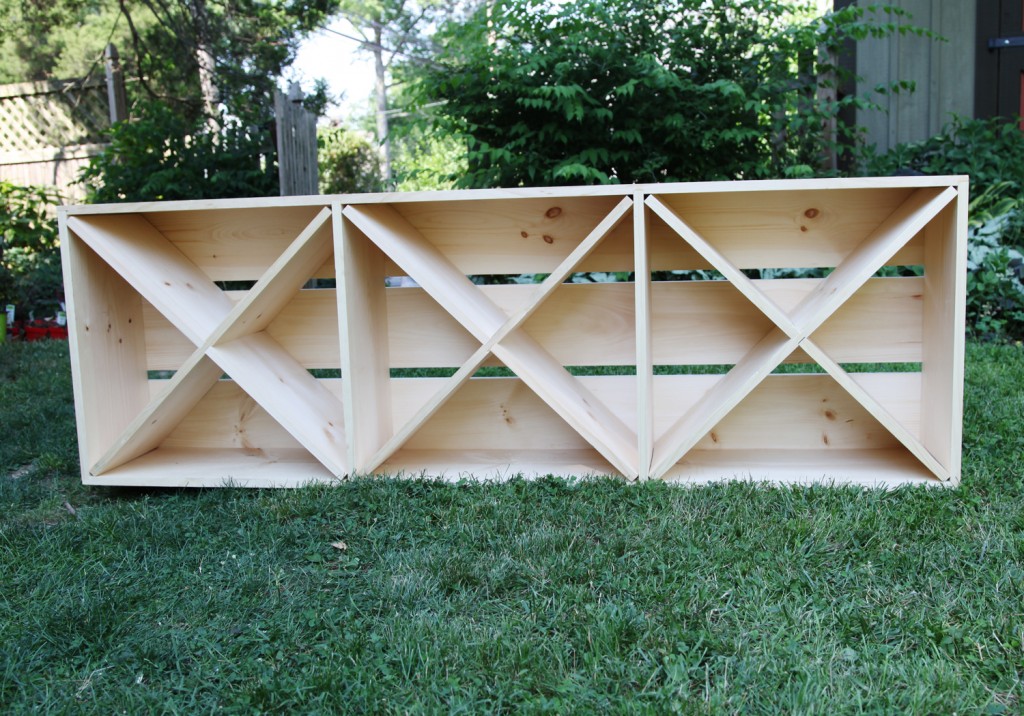
This is pretty much what I went with, with the toughest decision being whether or not to rout out the horizontal pieces and diagonal pieces. In the end I decided that the pressure from the diagonal pieces holding the wine meant that I really wanted a durable consistent joint in the corners of the main box, so it meant getting out the router to do it. I have to say that I have a love-hate relationship with our router. I love what it can do, but it is a beast, definitely designed for someone with big hands. It actually takes both Mr. S. and I to make the height adjustments, and it is very difficult for me to switch blades. Additionally, I can use it, but the on/off button is out of my reach, so I have to temporarily support it while I turn it on, which is annoying and a little bit dangerous. Ours is a Craftsman (although I think it should be call CraftsMANonly). We bought it on short notice at Sears years ago. I should have ordered a Makita one that had better features, but it meant waiting a week to get it in the mail, which at time was too long. This model was also less expensive. Oh, well, someday maybe I will get a new one, it is not like I use it THAT often. And I have other tools on my list first (i.e. a nail gun).
Materials
2-2x12x6′ (for the top and bottom). Look for pieces that are as flat as possible, to allow for a good fit.
1-2x12x8′ (4 vertical pieces)
3-2x8x6′ (for the back)
3-2x10x6′ (for the diagonals)
Wood Glue
Wood Screws (I used my 1 5/8″ deck screws)
Finish nails/brads
Tools
Circular saw for cutting the wood
Router for creating grooves in the wood
Directions
Step 1: Cut the 2x12s for the top, bottom & sides. The top and bottom are 6′ long, while the sides were 1′-11 1/2″ (to allow for a 1/4″ groove at the top and bottom)
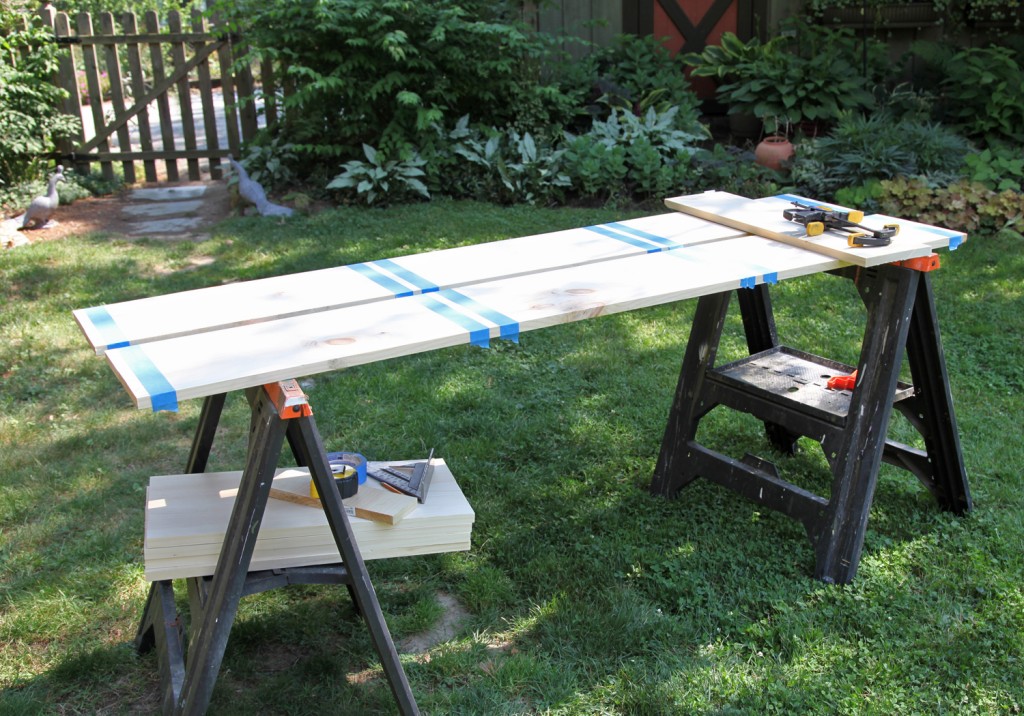
Step 2: Mark, tape (to protect the wood), set up the fence and Route the top and bottom pieces using a 3/4″ bit, set at 1/4″ depth (at 2′ intervals)
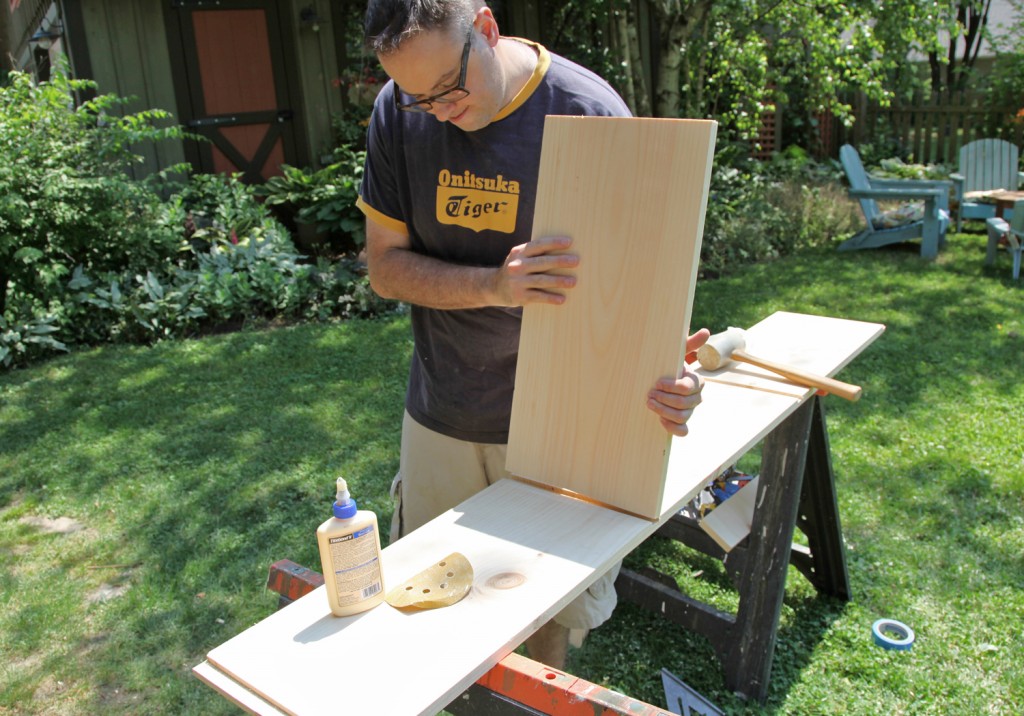
Step 3: Test fit the vertical pieces. The 1x12s tend to be slightly bowed, so we found it worked best to start at one end and slowly push the wood into the groove (using a mallet if necessary)
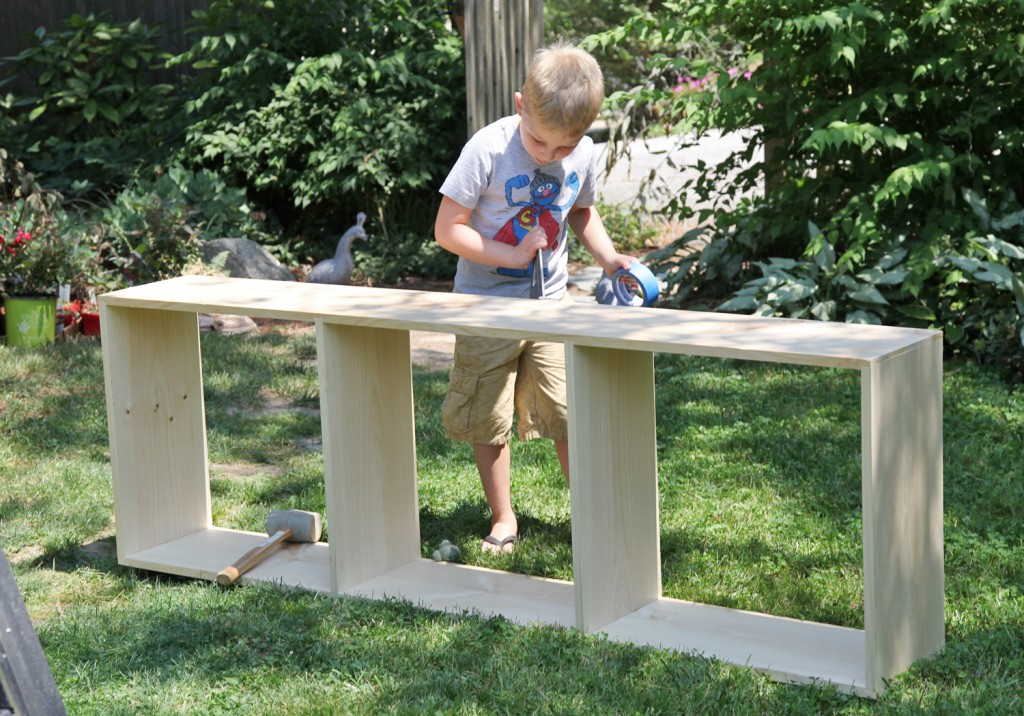
Step 4: Glue and nail the top and bottom together. I pre-drilled for the nail holes to avoid spliting. You could also use screws, depending on whether they will be visible.
Step 5: Check to make sure that you are plumb. The easiest way to do this is to check the diagonal dimension of each of the squares.
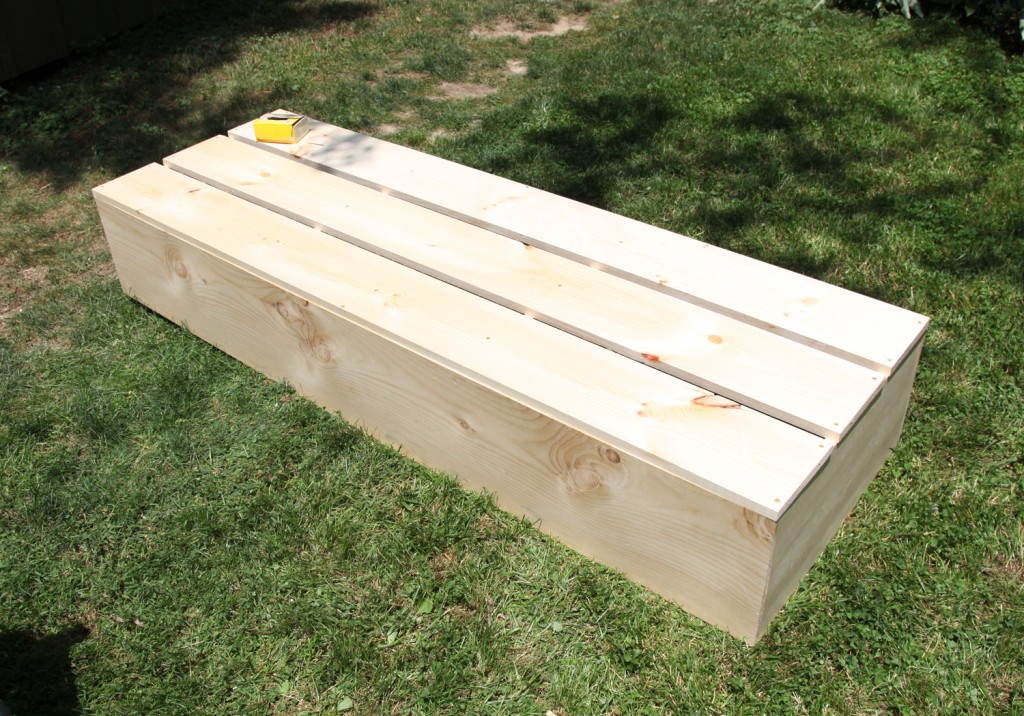
Step 6: Cut the wood for the back of the winerack. Install with screws at each vertical and at the top and bottom. This is going to really help with the rigidity, so I made sure to use quite a few screws. You are also going to use the top one, to mount it to the wall. In my case I had about an inch gap between the back boards. I installed the top and bottom first (also to allow for any straightening) and then centered the middle piece in between.
Step 7: I had roughly measured how long the diagonals needed to be (at least so I could pick up the wood). But for actual measurements, I measured each one individually (there was about 1/4″ difference amongst the 3 sections). First I cut the 3 long diagonals and test fit them in place. I used 1x12s just like the box. In retrospect I should have used 1x10s so that they would sit back from the face. I think that would create a much nicer look.
Step 8: Mark the diagonals (to keep straight which one is which) and pull them out and mark for the grooves for the shorter diagonals.
Step 9: Rout the grooves for the shorter diagonals. It is at this point that I was really hating the router. In this case we routed out only 1/8″ thick since we were routing on both sides of the wood.
Step 10: Reinstall the diagonals and measure for the shorter diagonal pieces.
Step 11: Cut the short diagonal pieces and test fit, one by one until they are all in place. I was planning on glueing/screwing these in place, but I decided it was better to leave them unattached. Then installation would be easier and if I ever wanted to replace the diagonals with shelves I could.
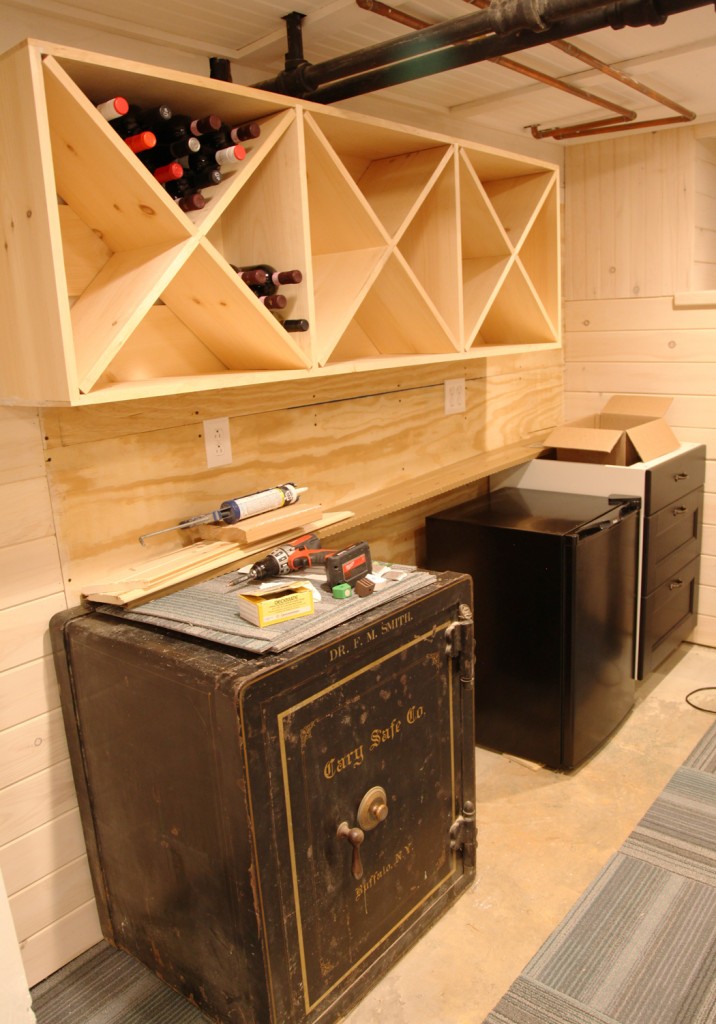
Step 12: Remove the diagonal pieces (marking them so you can put them back in the same spot). Predrill the holes for the mounting screws (we decided to drill behind the diagonal pieces). I also partially screwed the mounting screws in place, to make it quicker and easier to get it on the wall.
Step 13: Paint the wall behind (since there are openings in the back you will see part of the wall).
Step 14: Mark the wall. In our case I marked the bottom corners, using a level to draw a line for the entire bottom.
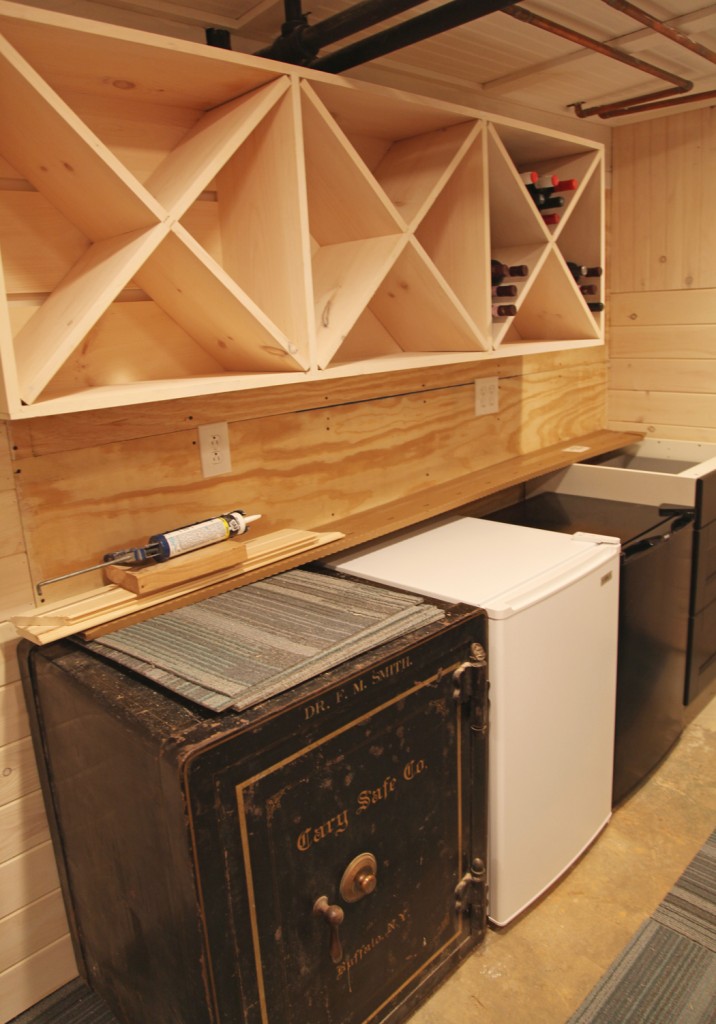
Step 15: Lift and screw in place. We are lucky because the walls are wood, so we could just use wood screws. If you have a drywall or plaster wall you would need to find the studs (similar to a kitchen cabinet). The advantage of this design is that you could mark your stud locations and use a longer screw at any location on the back, since it is nice and strong.
Step 16: Finish the wood (this could also be done ahead of time).
Step 17: Place wine in rack! Yeah!
So now it is in and whitewashed! We also installed the freezer yesterday. It was a total pain, because the floor is very uneven and it required lots of shims (which is difficult when you don’t have access to the sides). The counter is arriving on Saturday. I still need to come up with a plan for the white door (which I hate). I am thinking of spray painting the plastic top and bottom and adding vinyl chalkboard to the face. I think once the wood counter is installed it will look much more finished. We also need to buy an upper cabinet from Ikea (to match the lower drawer unit) for the right side.
What do you think?
* To see all of the posts about our basement click here.

