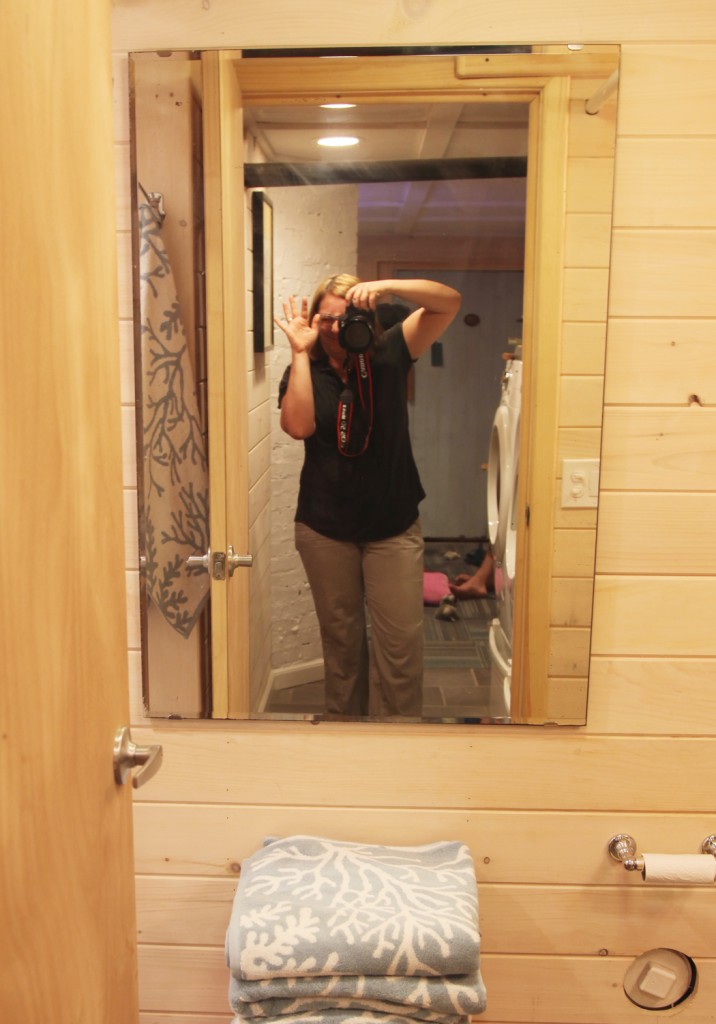
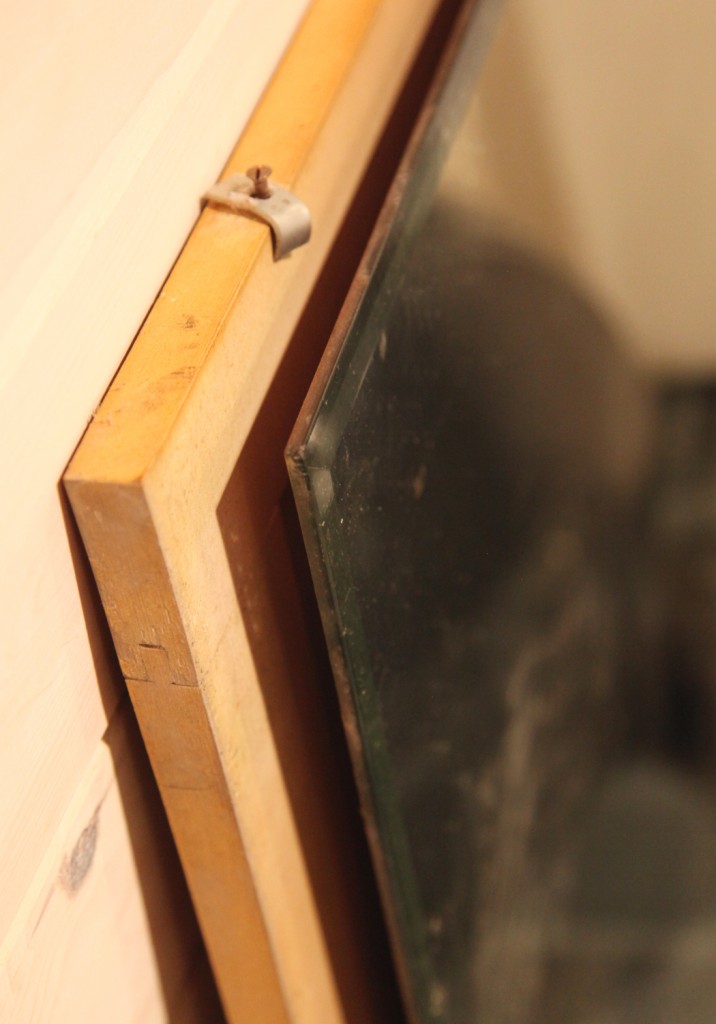
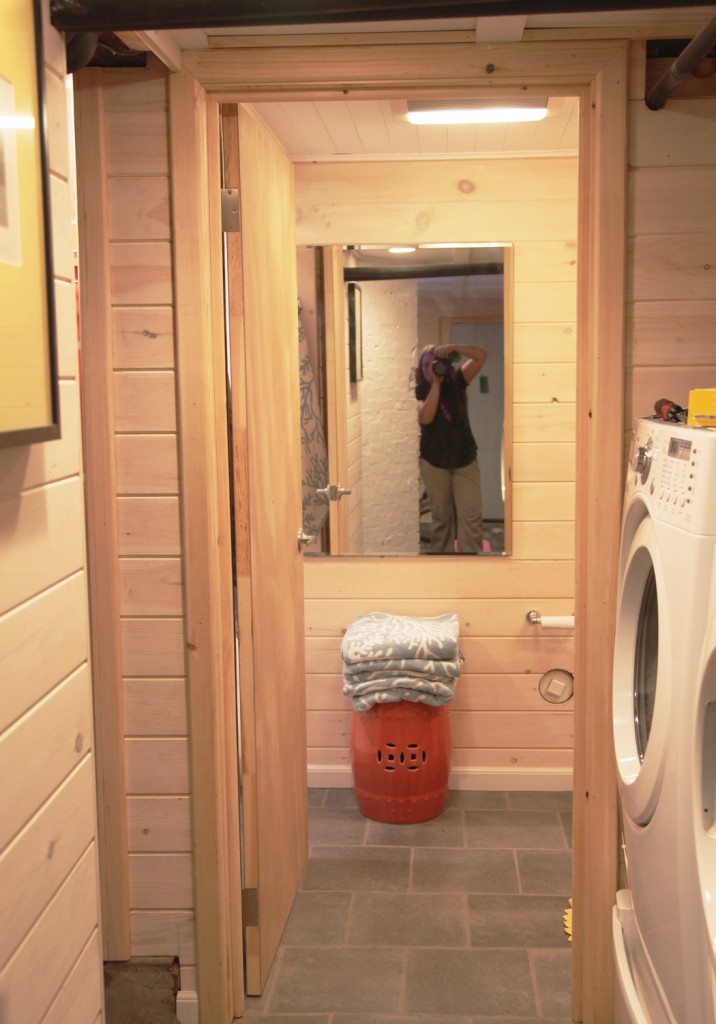
Last night I finally got around to hanging the old mirror in the bathroom. This mirror use to hang in the main space in the basement (it came with the house). It had an old wood frame which was definitely part of a dresser at one point, based on the design I would say it was from the 1920s or 30s. Since I was looking for a larger mirror for the bathroom it made sense to try to reuse the one I have, especially since it has a bevel and a nice patina to it.
Fortunately the mirror was only secured to the wood frame with 4 clips so it came off in a couple of minutes, but then became the question of how do I install it? I took a trip over to HD to see what the options where. I actually came home with several different mirror hanging kits (different kits were located in both the bath area and in the picture hanging area). They ranged in price from $2 to $20.
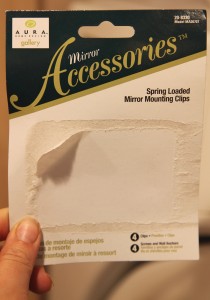
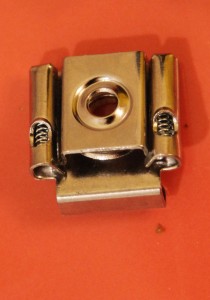
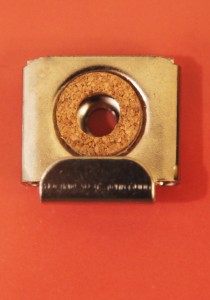
After looking through the options in more detail, I decided on the spring loaded mirror mounting kit, $9.99. It has spring mounts at the top, which will allow for easy installation. It also looked a lot sturdier then the plastic clip options. The installation process was really easy.
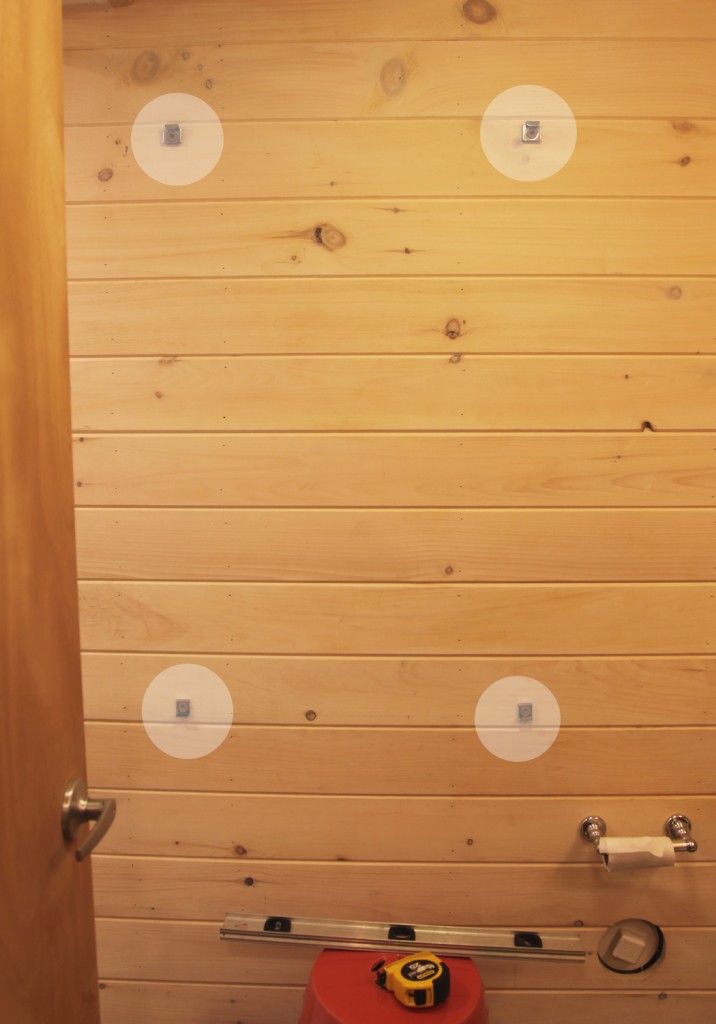
I marked the top and the bottom of the mirror with a line after checking for level. Then I measure down from the top to the center of the spring mount to the dimension given in the instructions. I pre-drilled the holes for the screws and screwed them in. I did use wood screws instead of the ones provided since I was screwing into the beadboard (actually the same ones that I am using on the sandbox). The clips allowed for up to a 1/4″ deep mirror. Because of the bevel, ours was closer to 1/8″, so I added felt stickers (the kind you use on the bottom chair legs or for uneven furniture) at the back of each clip. Then Mr. S. and I carefully pushed the top spring clips up with the top of the mirror and then carefully pushed the bottom in towards the wall above the bottom clips. Then we let the mirror sit down into the clips. It was actually quite easy and the whole installation took less than 1/2 an hour. I would definitely recommend this system!
The mirror feels very secure (which is important with 2 little kids who enjoy looking at themselves in the mirror). Next I placed my new coral garden stool in front. It is from One Kings Lane. I had been kicking myself for not picking it up last time it was on sale, but fortunately it was available again, so I quickly ordered it and had been waiting for the last couple of weeks for it to arrive. Unfortunately I can’t seem to get the color quite right in the photos. It is a lovely bright coral color. I then added new towels that I picked up at HomeGoods yesterday. They are light blue with a nice coral pattern on them. They may end up upstairs, since we could use some new towels upstairs, but for the moment they are looking pretty down here.
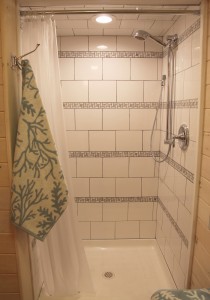
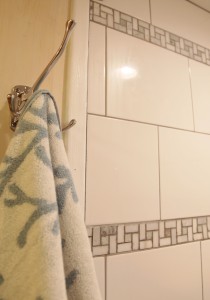
We also hung a temporary shower curtain up over the weekend. We have plans for a glass door, but since I still need to research and get a couple of quotes, we decided it was worth the $20 to get a tension rod, rings and a clear shower curtain. Mr. S. has now officially tested the shower and gives it a thumbs up (which is good since the shower ceiling is fairly low and I was concerned that it would be comfortable for him). I also hung an adjustable hook for hanging the towels. It is nice because it has 3 hooks on it that rotate. I picked this Chrome Hinged 6″ Triple hook up for a steal at Rockler for $2.99 (I actually bought several). I may need to move it once we get a shower door, but for now it will definitely do the job.
There are still a bunch of things to finish up down in the basement, but it is nice to start seeing it come together. The couch and countertop are ordered and should be here in about 1 1/2 to 2 weeks. Our goal is to have everything pretty much finished up by June 23rd (Sam’s birthday party). Fingers crossed we will be ready!
I hope everyone has a great weekend!
* To see all of the posts about our basement click here.

