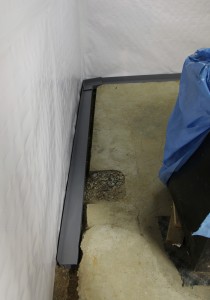
We are in Day 2 of our basement waterproofing/drainage system! It is very exciting! Yesterday they trenched all the way around the edge of the foundation, installed about 80% of the wall covering, put in the sump pump system, and ran the drain line out of the house. Today they will be installing finishing the wall covering, grading and installing the drain and putting in the concrete over the drain. They hope to be done by lunchtime! Yeah!!
When it comes to architecture, specifically wall design I tend to be a belt and suspenders kind of girl. Since my background is in designing institutional (mostly university) buildings, where they expect to be using the building for the next 50+ years it makes sense. So when I started to look through all of the options for keeping our basement dry, I ruled out a lot of the options quickly. I definitely wanted a sump pump with a battery backup (especially after all of the crazy weather and power outages in August and September). I also wanted a system that would remove any water from our stone rubble foundation. So I did some research and found BQ Basement Systems. It turns out that they also do masonry work (under a different name) and we had previously used them to repoint the exterior of our foundation.
The things that I liked about their system:
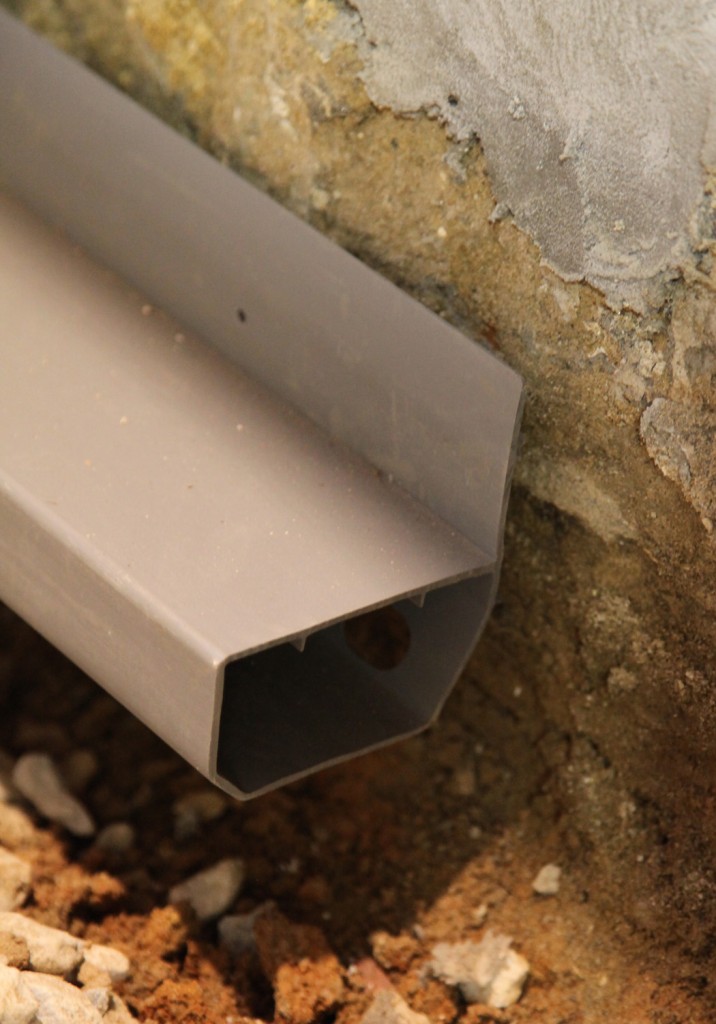
1. Continuous drain around the exterior sits higher than most french drains. This way you are not trying to drain water away far below the slab. It also means that you are less likely to get dirt clogging the system.
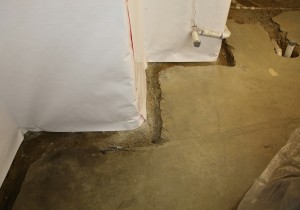
2. Drain system is designed to tie into the wall covering/vapor barrier. The drain has a lip that sticks above the slab and the wall covering it attached directly to it, so any moisture that comes through the wall is diverted to the sump pump and won’t cause moisture problems in the basement.
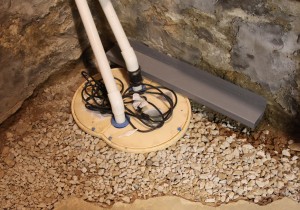
3. The triple sump pump (okay so this may be a little bit of overkill). There are 3 sump pumps in the pit. The first two are electric, with one sitting slightly above the other (and plugged into 2 different circuits). The idea is that if there is a LOT of water both would be working, or if one circuit tripped the other one would keep going. The third sump pump is battery operated (basically a car battery). It sits above the other 2 and is for in case we loose power). It also has a meter so you can see how well the battery is holding its charge (typically these type of batteries are going to last 3-5 years and then need to be replaced). I also just saw a system on Ask This Old House over the weekend that was a single electric sump pump paired with a battery backup pump packaged as a single unit. They didn’t give the name but I would certainly recommend this over just an electric one.
4. The drain system has a clean out at the high point and because this system sits relatively high you can open the door and take a peak and see if it looks clogged.
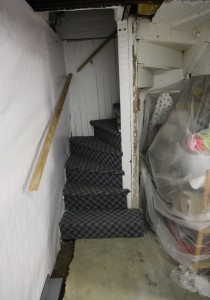
5. The wall covering/ vapor barrier is 20 mils thick and is mold resistant (CleanSpace is the name of the product we are using). This will really help minimize the moisture particularly in the summer from coming into the space. It also means that I don’t have to worry about getting mold in the walls. They attach this to the walls with special screws and seal all of the seams with coordinating tape. It is also durable enough to leave exposed if you wanted to. We will be adding insulation to the inside, so that is not a concern for us. The only downside is that the plastic is currently off-gassing and is kind of stinky at the moment. I am hoping this will dissipate in the next few days.
The Downside:
1. It is pretty pricey (although not that different in price from having a regular french drain installed).
2. Getting an appointment! Thanks to the VERY WET summer/fall it took me 5 weeks to get an appointment for them to come out and look at the basement (they called me back right away but couldn’t schedule me for a long time). Then there was about a 3 month wait on actually getting the work done. For us it was okay because we had a lot of demolition and plumbing work to do, but if you were in a hurry you would be out of luck.
Next Steps:
Once they are done it is time to have my contractor over to walk through finishing the basement. I ordered the shower pan over the weekend too. This will be required to set before the walls of the bathroom go in, since it has very specific tolerances. The first thing on the list will be installing the rigid polystyrene insulation around the perimeter. It comes with grooves on the sides so that they can slot together and provide a continuous insulation line. Then will be the stud walls to frame out the spaces. Then electric and plumbing rough ins. Finally will be beadboard walls. We are still deciding what to do for the ceiling, and need to develop a system. I think once we get the walls figured then we will also frame out the required soffits/beams for the miscellaneous piping and electric.
* To see all of the posts about our basement click here.
** I was not paid by BQ Basement Systems in any way, I just think it is a good product.

