Well it has been a long time coming, but we finally have a slide set up off of our deck! I first thought about adding this a couple of years ago, since we don’t have space in the yard for a full swing set. This spring I put a plan together and figured out where to put the sandbox and swing. The only component left was the slide. Then I looked and looked on Craigslist, with no luck. Then summer hit and the last thing on my mind was working out in the yard. Well at the end of the summer I got lucky and someone about a block away put a slide out for the garbage. I drove past it and got very excited. We were on our way to a kids birthday party and couldn’t stop. I thought sure it would be gone by the time we got back, but fortunately it was still sitting there. I walked over and found that it was in incredibly good shape and looked to be about the right height! Then I proceeded to run down the block with it like a silly kid.
It has been sitting in its new home for the past month waiting for me to get around to cutting the handrail and bolt it in. This weekend I got tired of the kids asking if it was “nailed in yet” and decided to get it functioning while they watched a movie.
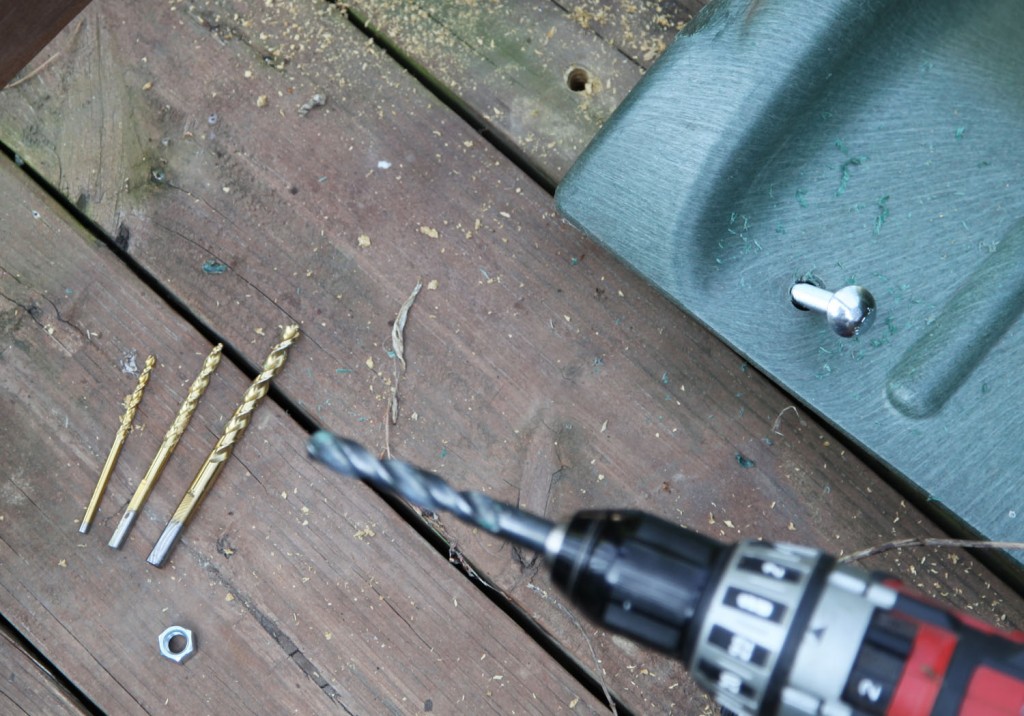
The first step after determining the rough location was to determine how I was going to attach the slide. The slide had 2 holes at the top. I decided to reuse these and bolt through the deck. Our decking is 1 1/2″ thick pressure treated wood. This gave us a nice strong material to bolt through. I drilled a small pilot hole at each location to make sure it was a clear shot. I ended up having to shift it over about 1/4″ to miss the joist underneath.
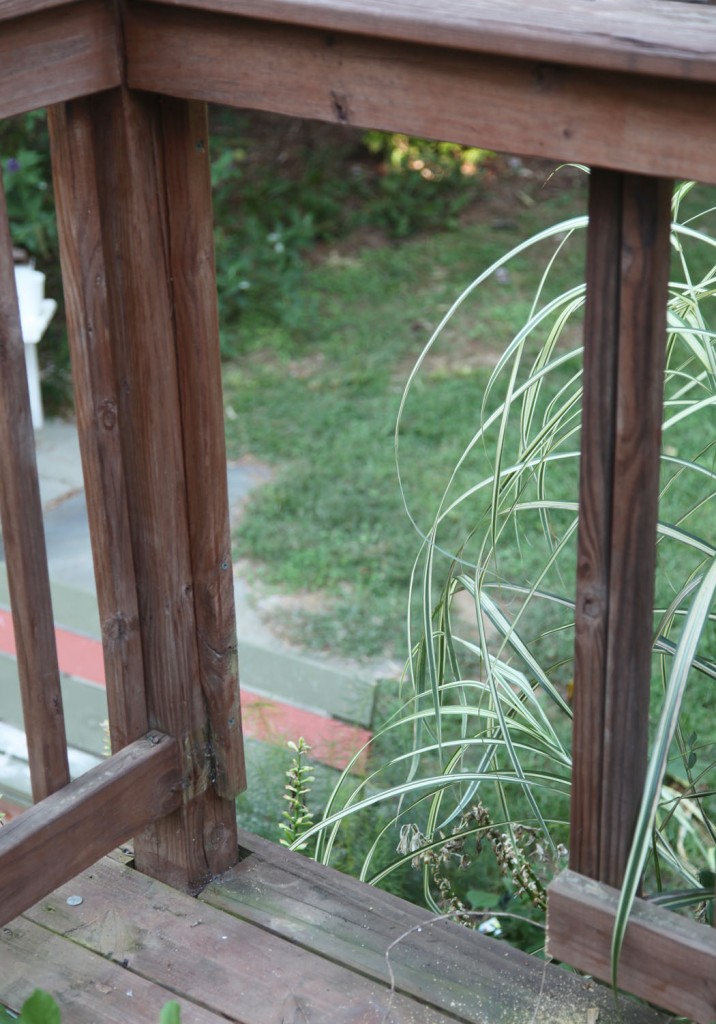
Next I removed the portion of the guardrail that was in the way. I unscrewed the vertical spindles. Then I took one of them and doubled up the spindles on the freestanding side. Then I used a sawsall to cut the bottom member.
Then I drilled the final larger holes and bolted them in with carriage bolts (the kind that are round and smooth on top). I also used a large washer underneath (to increase the bearing on the wood) and then a locking washer (to keep it nice and tight) and finally a hex nut. I used a 3/8″ carriage bolt. It looked nice and sturdy and I new that the top would cover the slide holes. I spent about $3 for the bolts, washers and nuts. Pretty good deal!
Finally I had Mr. S. stand on top of the slide to make sure it was nice and tight and I used a wrench underneath to do the final tightening.
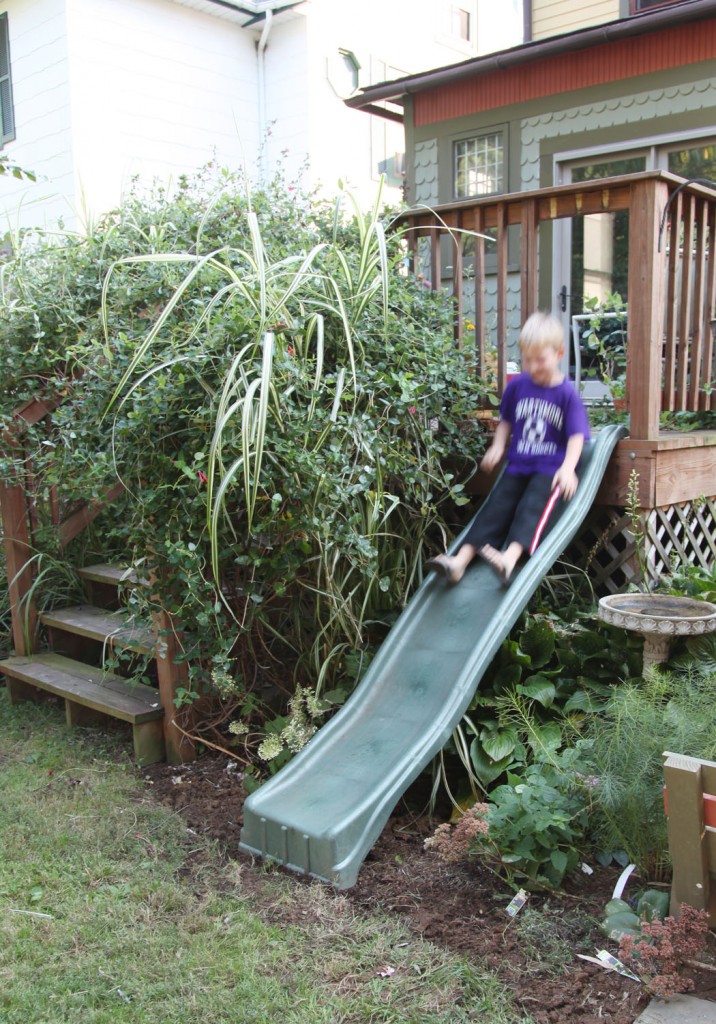
Our deck is a little over 5′ off of the ground (a lot of play slides are designed for 5′). So after the top was installed I did a little regrading at the bottom. I also made sure that the bottom of the slide was firmly in the dirt (by about an inch) so that it wouldn’t move.
The slide is definitely a little steeper than it would be on a playset, which makes it extra fast. The kids LOVE it. I think if I had smaller kids I would have added some additional dirt to the bottom.
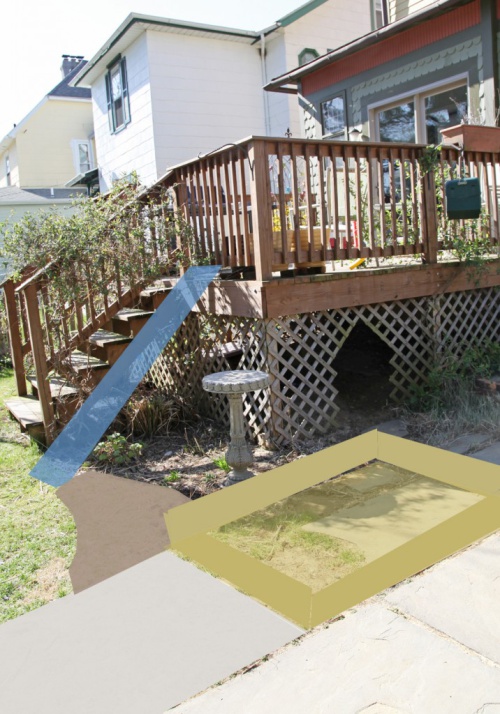
Here is my rendering from this spring:
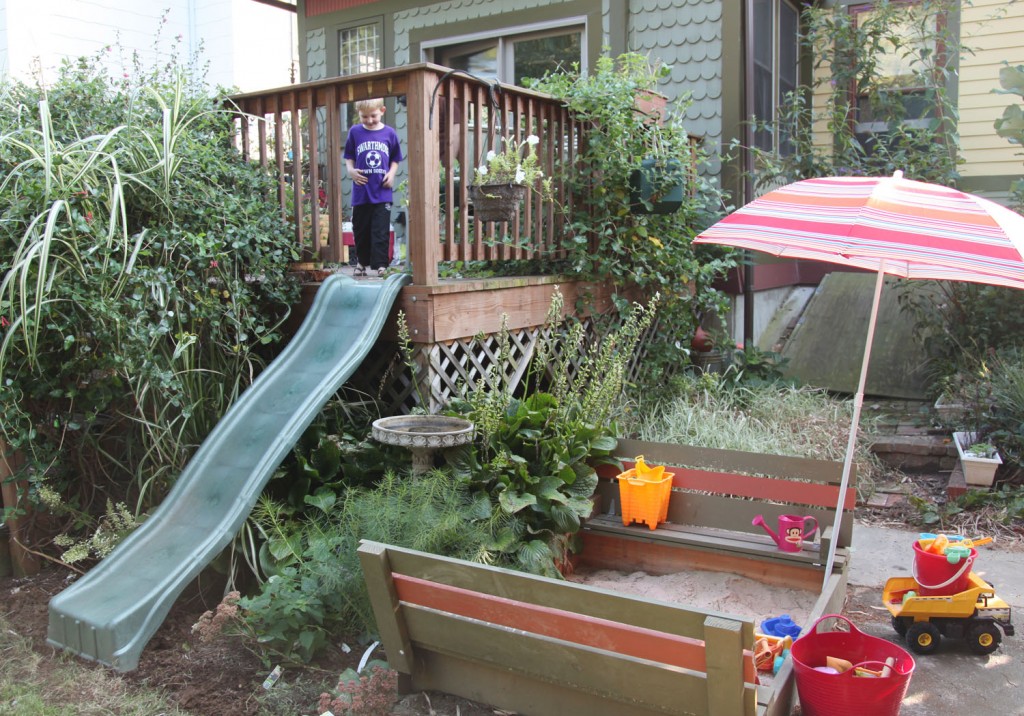
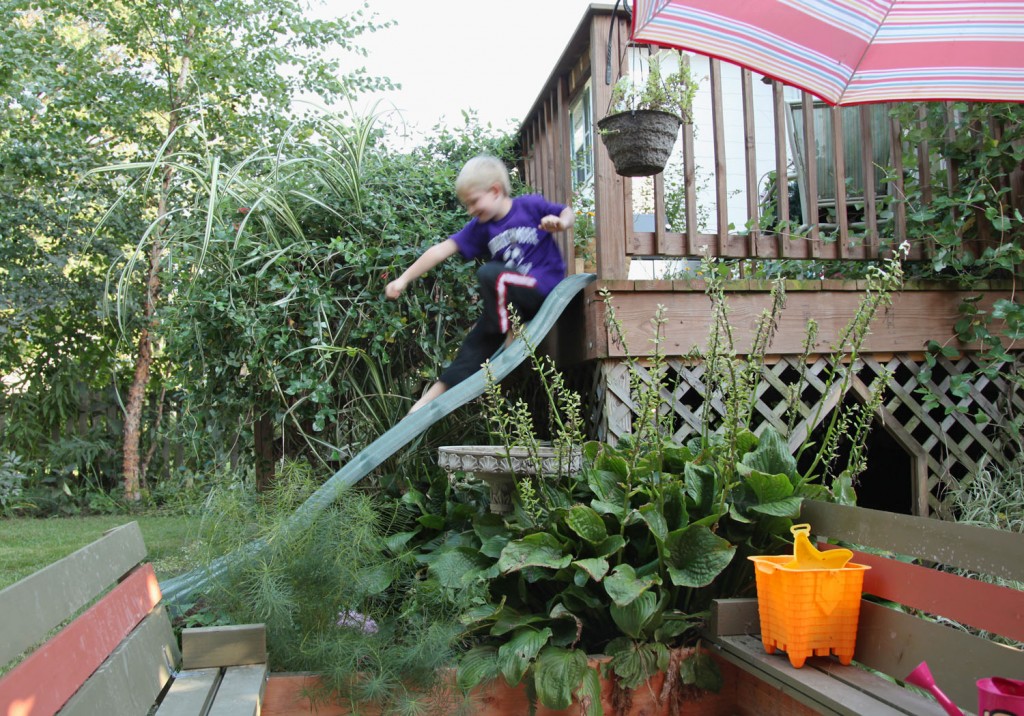
And here is our play area now:
I am pleased to be able to give them areas to play outside without sacrificing a large portion of the yard to swing set. What do you think?

