Archives For -Porch

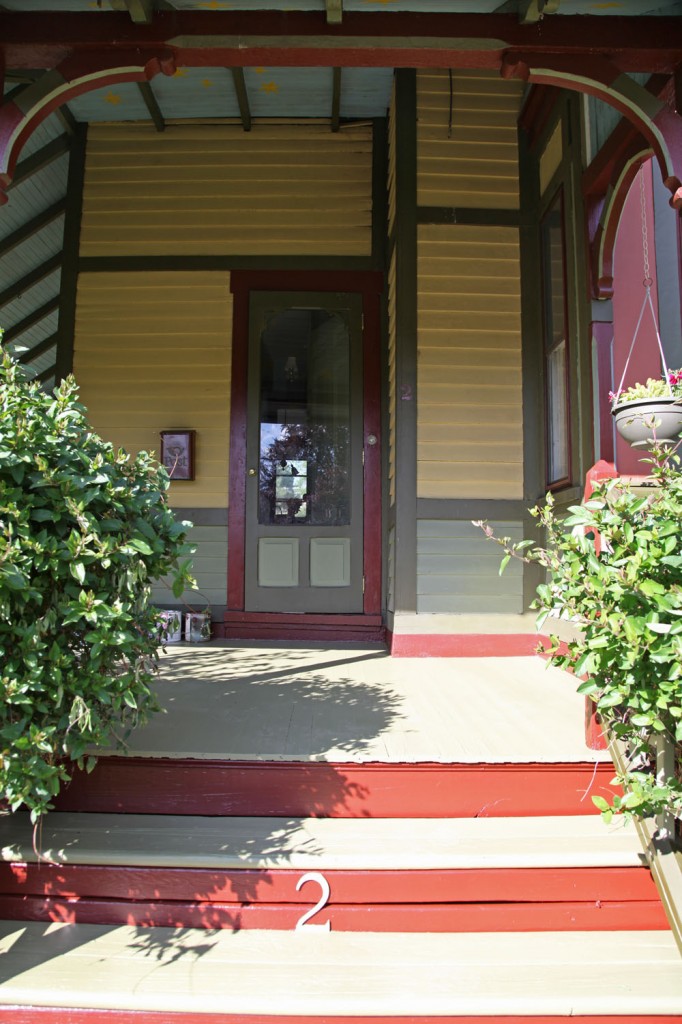
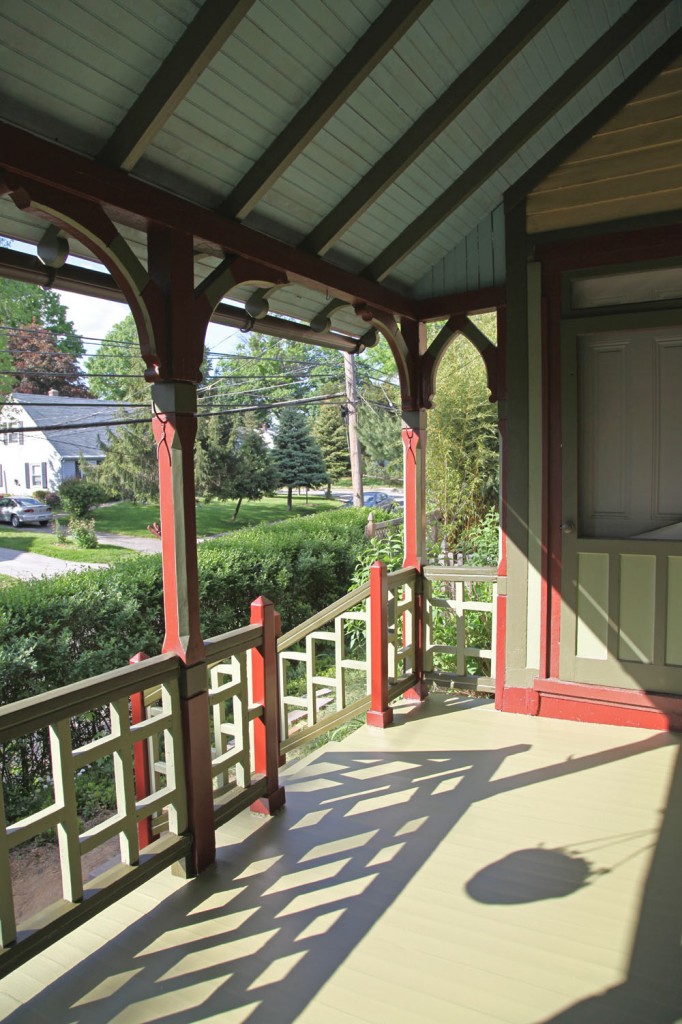
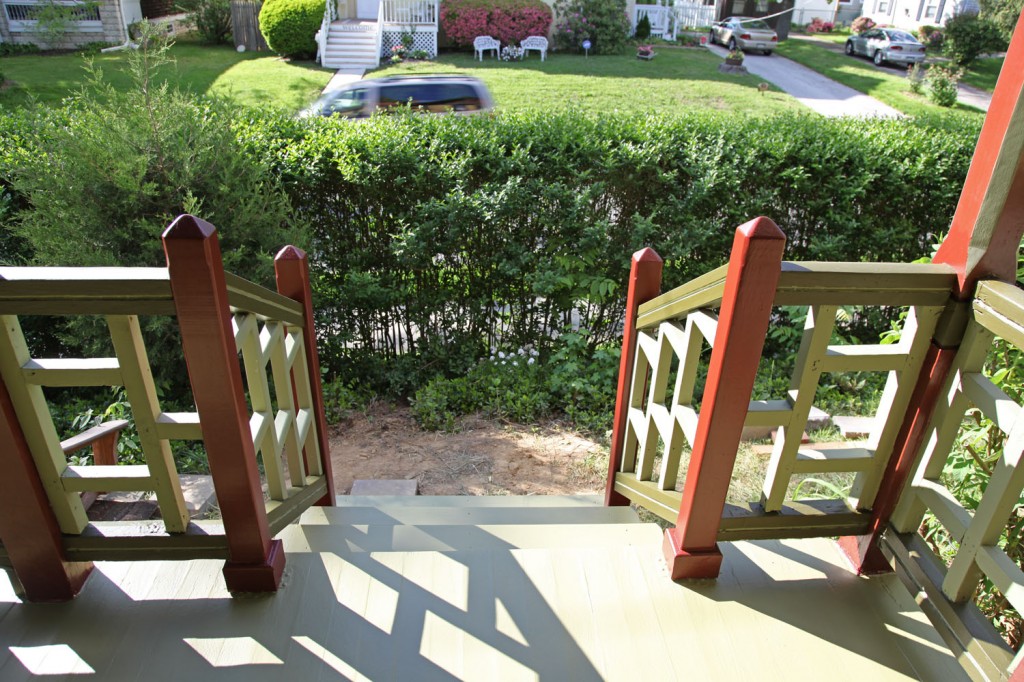
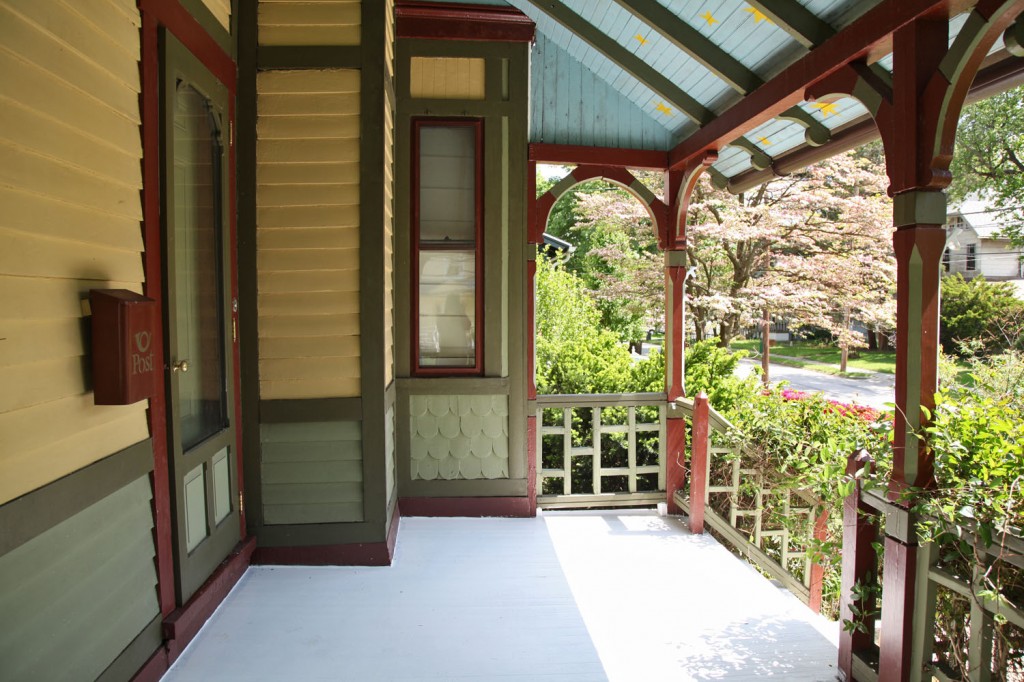
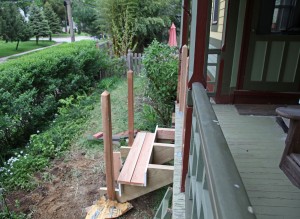
The guys (aka Kent Kowalski and Crew) have finished installing the new steps, patching the floor and rails and priming and repainting the floor and rails. Yeah! I also managed to get the hanging baskets up.

Items Left to Finish:

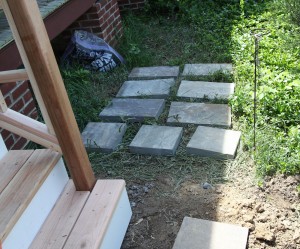
-Install the bluestone pavers at the bottom of the stairs
-Paint the Porch Swing
-Paint the shelf for the plants
-Pick up the Applaro storage bench at Ikea (Thanks for the tip Jen!) and get new recycling bins to fit
-Measure an order a new glass cover for the light fixture (currently hiding under the bag)
-Pick out and order new cushions for the swing

Front Steps

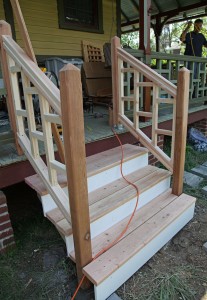
New Steps!

Applaro Storage Bench from Ikea, $129


Leave a comment

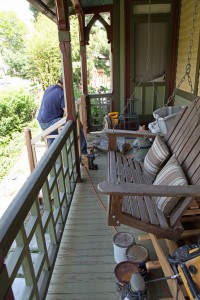
Porch in Progress, Porch Swing to go somewhere in this area


Mr. S and I were talking last night about what should and shouldn’t go back on the front porch. It has a habit of collecting things. We want it to look inviting but not cluttered. Also the original location of the porch swing will be in the way of the new traffic pattern on the porch.

Items that Should to go back on the Porch:

1. Porch Swing (although in a different location and in a different color)

2. Recycling bins for paper & cans/bottles (although these could be concealed in a storage bench)

3. Welcome Milk Jug

Items that may or may not come back to the Porch:

1. Adirondack chairs and table (I am thinking that these might stay in the backyard since they don’t get a lot of use on the porch)

2. Shelves for plants (these could also go somewhere else)

New Items:

1. Storage Bench for recycling bins

2. I am considering a small outdoor rug for in front of the porch swing

3. New pillows for the swing
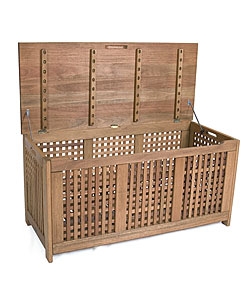
Option 1: Wood Storage Bench, Overstock $302

Wood Storage Bench, Walmart $148
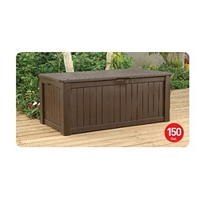
Plastic (simulated wood) Storage Bench, Sam's Club $99

Storage Bench Options:

I did a quick search for suitable storage benches last night. Here are the current options. Any suggestions? I also have to do some measuring of the current recycling bins and the space to see what might be the best fit.

1. Wood (w/ open design to allow for ventilation)
Pros: Looks nice and more in keeping with house
Cons: It could get gross with the recycling inside

2. Plastic (sealed)
Pros: Less expensive, can be hosed off
Cons: Appearance, it could start to smell inside

Option 1: Eucalyptus Wood Portoreal Chest from Overstock, $302 (49x24x21)

Option 2: Eucalyptus Wood Storage Bench from Walmart, $148 (47x17x17)

Option 3: Plastic (simulated wood) Storage  Bench from Sam’s Club, $99 (60x28x24)


Leave a comment

The guys are busy working on the porch again. If all goes well they should be done tomorrow. As you can see they are working their way from the front to the back. In the meantime, Mr. S cleaned the porch ceiling and walls yesterday. Both had a lot of dirt (thanks to the siding project and the road being redone). There was also some mildew in the higher areas of the ceiling.  Mr. S developed an interesting technique for cleaning the ceiling. We used stuff we already had on hand so the project was basically free.

Technique for Cleaning the Porch Ceiling

1. Purchase a deck cleaner or something similar that will remove dirt as well as mildew. Also purchase some foam bath cleaner that works on mildew (we used some scrubbing bubbles that we already had on hand).

2. Clear off porch.

3. Get hose ready with a nozzle that has a jet setting (we could have rented a pressure washer but I was concerned that it would hurt the pine beadboard)

4. Use a large broom that can attach to an extendable paint handle & large tub that will fit the broom

5. Mix deck cleaner in large tub

6. Wet down ceiling.

6. Use big muscles (this also works better if you are tall like Mr. S) and scrub the cleaner onto the ceiling with large brush

7. Rinse

8. Scrub again, this time leave cleaner on ceiling for a little while

9. Rinse.

10. For the areas that still have mildew, spray foam bathroom cleaner on brush. Then brush on and let sit.

11. Rinse. Remaining Spot should dry lighter.

12. Dry. Now our front porch smells like a freshly clean bathroom ; )

1 Comment

New Steps (ready for primer)

Fence Reinstalled!

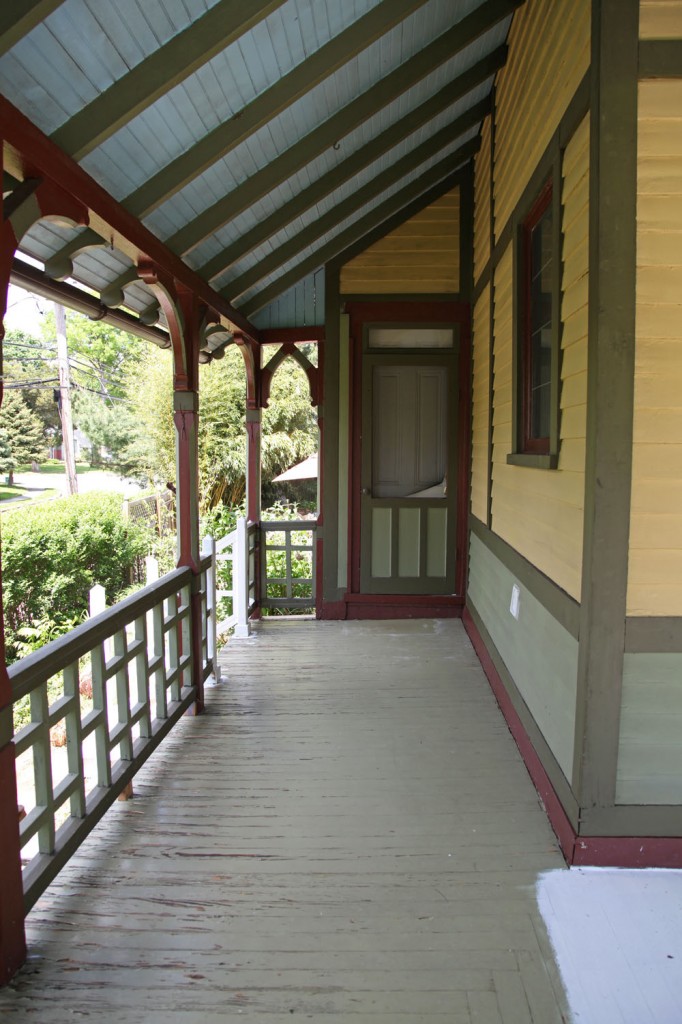
Porch Looking towards Kitchen Door from Front of House

Bluestone for the Stair Landing


It is a busy day here at the Sentivan household (which I why it has taken me so long to post)! Our carpenter/neighbor and his son are working hard on the front porch and the fence guys finally showed up to replace the post and reinstall the fence and gate. Both sets of steps and the replacement wood will get a primer coat today and paint next week! I also picked up new porch floor paint and bluestone for landing at the bottom of the new stairs this morning (with my 2 little helpers, one sporting a hardhat).

Porch Floor Paint Options

Our porch faces southwest and gets beat on by the sun! The porch flooring is pine tongue and groove. We have tried several different porch floor paint options over the last 11 years. Nothing has held up very well. So we are going to try again with something new.

Original Finish: When we bought the house we had a latex primer and latex paint on the porch (in darkred). The board were only a couple of years old but the paint peeled up after only a year or so of living here. They had also primed the underside.

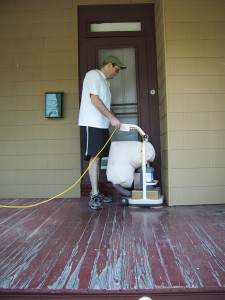
Mr S. sanding the floor in 2002 (look at that yucky old siding)!

Applying the oil based porch floor paint


Try #1: After researching online, I decided to go more old school and use an oil based porch floor paint by Benjamin Moore. We completely sanded the floor back to the wood with a giant sander. Then we thinned down the oil paint with paint thinner and installed 2 coats (to help it absorb into the wood) followed by 2 regular coats. This held up for another 3 years or so.

Installing the Front Railings in 2006

Primed Porch Railings in 2006

Try #2: Next we sanded and scraped lightly and put on another coat of the oil paint.This lasted another year or so before starting to peel again. Also when we bought this paint the second time we had to buy it in quarts because the VOCs were so strong they were not allowed to sell it in larger quantities (at least according to the local Benjamin Moore store).

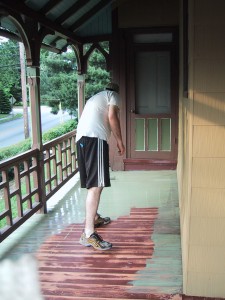
Try #3: It has been about 4 years since we have done anything and in addition to major paint peeling we have had a fair amount of rot. So we thought with the developments in latex paint it was time to give some another try. This time we are going with a Sherwin Williams product designed for high traffic floors called ArmorSeal Tread-Plex.  As I understand it, it is typically used on concrete floors, but was recommended by a number of painters for porch floors. It was kind of pricey but not any more than a Benjamin Moore product. This time, the porch will be patched, scraped, sanded and primed with an oil primer (to ensure adhesion to the oil paint).  Then 2 coats of the ArmorSeal will be installed. Fingers crossed we will get a longer life out of this paint!

8 Comments

New Porch Steps!

May 5, 2011 — 2 Comments

The kids watching the carpenter work

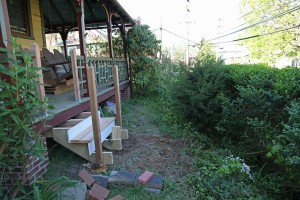
View looking towards front of the house. New Steps partially complete (concrete is still setting).

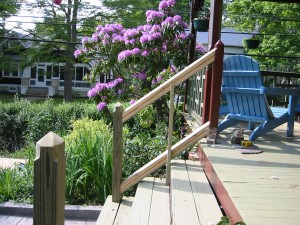
View from porch looking back towards the patio

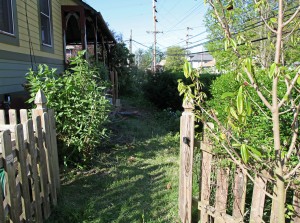
View from side gate (near the patio) towards the front of the house

Our front porch is in need of a little love but fortunately our carpenter has come to the rescue!

The poor L-shaped porch sits out there and bakes in the southwest corner of the house. The pine floor board typically need to be painted every other year (which we are behind on) and the railings are falling in a couple of places. In addition, we really wanted to add a second set of steps to the side yard. One of the weird things about our porch/yard is that there is no easy access to this part of the yard and the porch dead ends on the kitchen door. This work has been on our list for over 2 years, so we finally broke down and hired someone else to do most of it. In the past we added handrails to the main steps and did some minor patching.

For the new stairs, they have to fit in a tight space because of the steep hill down to the street but I realized that we could just fit them and a small paved spot at the bottom. I still haven’t quite decided which material to use at the bottom. I’ve gone back and forth between brick, pavers that look like stone and using slate (similar to our patio). The stairs should make it easier to get from the kitchen to the back patio without going through the dining room and deck. I would also like to add a small kitchen garden to the one side of the steps, since it will no longer be feasible to get the lawn mover over there.

2 Comments