Archives For -Playroom

Kids Dress Up Area with Picture Ledges Above

One of my kids favorite activities is dressing up. At least once a day Sam appears in some sort of “costume”. We have had a bin of dress up for a while, but I wanted to give the kids a spot with some hooks and space to see some of their accessories. I still need to weed out some things (the bin below is still full), but it feels good to have finally devoted a corner to this activity.

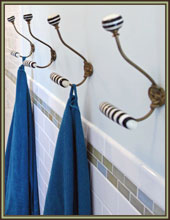
I ordered these cute hooks from Land of Nod. The hooks for the hats are just the removable hooks, since I figured they might change over time.

Hats & Colorful Hooks

Here is a run down of what I spent:
2 45″ Ikea RIBBA Picture Ledges (Cut down on one side to fit perfectly in the space): $14.99 x 2=$29.98
2 White 11×14 Picture Frames from Target (I already owned the rest): $12.95 x 2= $25.90
4 Removable Hooks: ~$5.00
2 Mutliplayer Wall Hooks from Land of Nod: $14.95 x 2=$29.90

TOTAL: $90.78

I was hoping to spend about $50 for the dress up area, which I fortunately managed to do. I spent a little bit more on the picture rails and frames then I had hoped, but it was nice to not have to make the rails from scratch, otherwise they would probably still be half finished (considering I only spent about an hour hanging the ledges and another half hour putting up the hooks). I think I am most excited about getting some stuff off of the floor and giving them a proper home, which makes it a lot easier for the kids to put their own stuff away.

I hope everyone has a great weekend! I am hoping to finally get the shelves organized.

Leave a comment

One of my goals for last weekend was to pick up some plastic storage for the playroom. So on Sunday after spending too long looking on the internet I headed over to Walmart to see what I could find. On their website they had some storage that looked promising and was a lot less expensive then the Land of Nod colorful plastic containers. I ended up buying a couple of different sizes of plastic containers in clear and blue. Of course once I got them home I started thinking about how else I could use them, which led to me reorganizing the kids’ arts and crafts area in the Dining Room and using some of the new storage boxes here. I thought I would give you a quick run down.
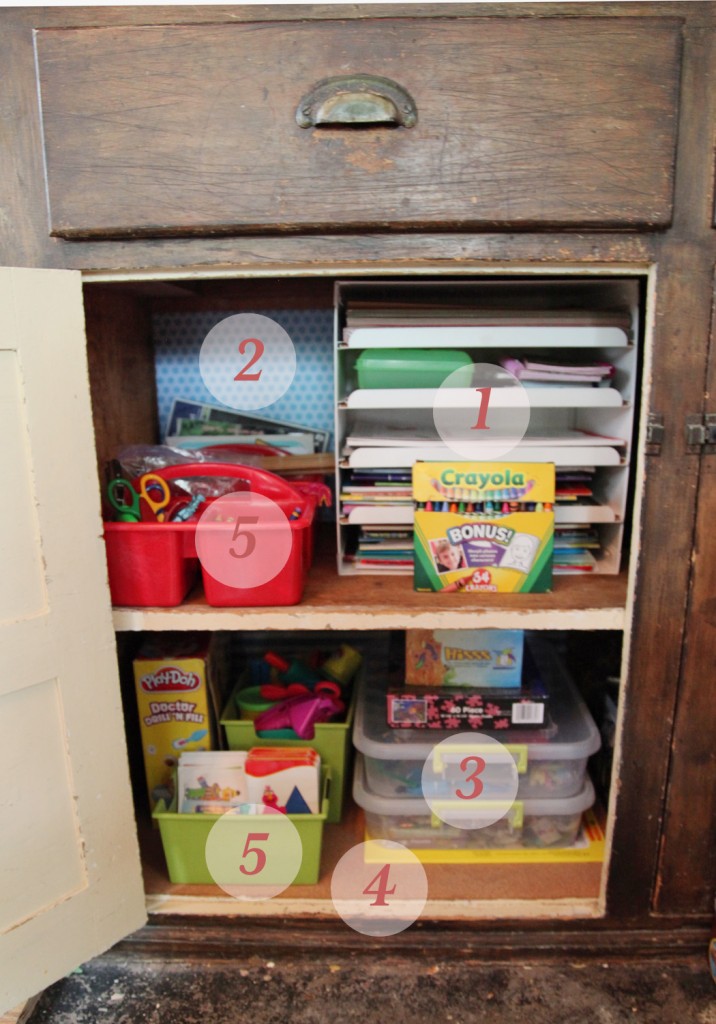
Kids Arts & Crafts Storage Area in the Dining Room

This area is used a LOT. My budding artists are always looking for their supplies and I have been working on making them as accessible as possible, while trying to keep them organized.
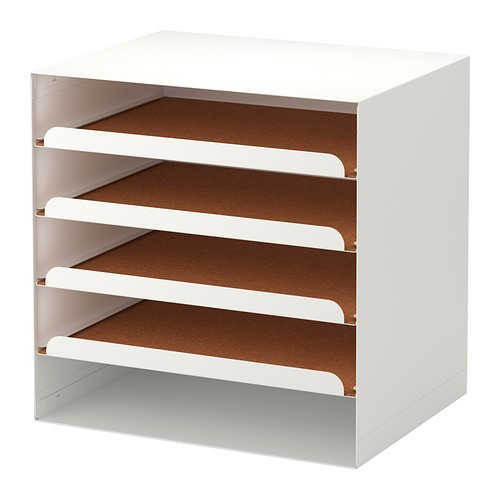
Kvissle Letter Tray from Ikea, $20

1. Kvissle Letter Tray (Ikea, $20): I bought this a couple of months ago to help store the kids paper and coloring books. I quite like it. The only downside is that the “drawers” pull all the way out. I solved that by having it overlap with the cabinet framing by an inch, which acts as a stop.

2. Scrapbook Paper: I don’t scrapbook (I don’t have the patience) but I do like the paper. When I see cute packs on sale at Michael’s or JoAnn’s I will pick them up. I have a pack that I picked up in June for Sam’s party. I still have a lot left over. Fortunately the paper fit almost perfectly at the back of the cabinet. I just used permanent double stick tape to put it in place. You can’t see but I have a stripe in the same color at the back of the bottom shelf.
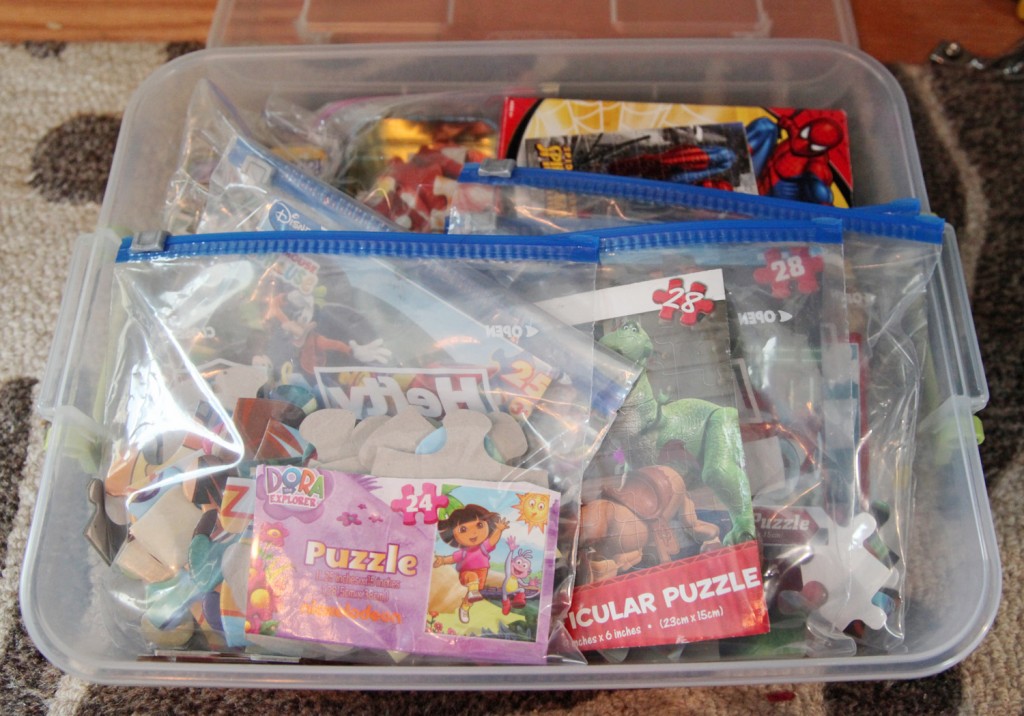
Kids Puzzles packaged in baggies: They take up a lot less space now but are easy to find

3. Sterlite Latch Box (1.55 Gallon $3.75): I like the size of these containers (11.5″x15″x 3.25″). They will fit a piece of paper and are shallow enough not to loose stuff. They also fit well in the Expedit shelves. So far I have used 2 of them. One for puzzles and one for smaller arts and crafts supplies. I heard rumors that Walmart is discontinuing this model (of course now that I found something I like). So I am considering picking up some more. I really like how the handles keep the box snapped in place. They also stack well and are designed to stack with the smaller sizes. I also picked up some that are 1/4 this size (so 4 fit nicely on top).
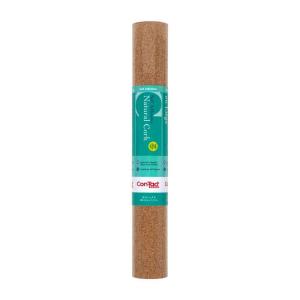
Cork Liner, Home Depot $9.95 for 18″x48″ piece

4. Cork Bottom/Liner: I had some leftover cork from a project a few years ago. It had started to dry out and crack so I wasn’t sure if it was going to be useable, but after removing the gross 1970s wallpaper that was covering the bottom of this shelf I decided that cork would be perfect here. The bottom was pretty gross and I was going to either have to do a lot of prep to paint it or just clean it and glue down some cork. Fortunately the old cork adhered pretty well and the cracks mostly disappeared once it was glued in place. I need to buy some more for the top shelf, but fortunately it is quite reasonably priced.
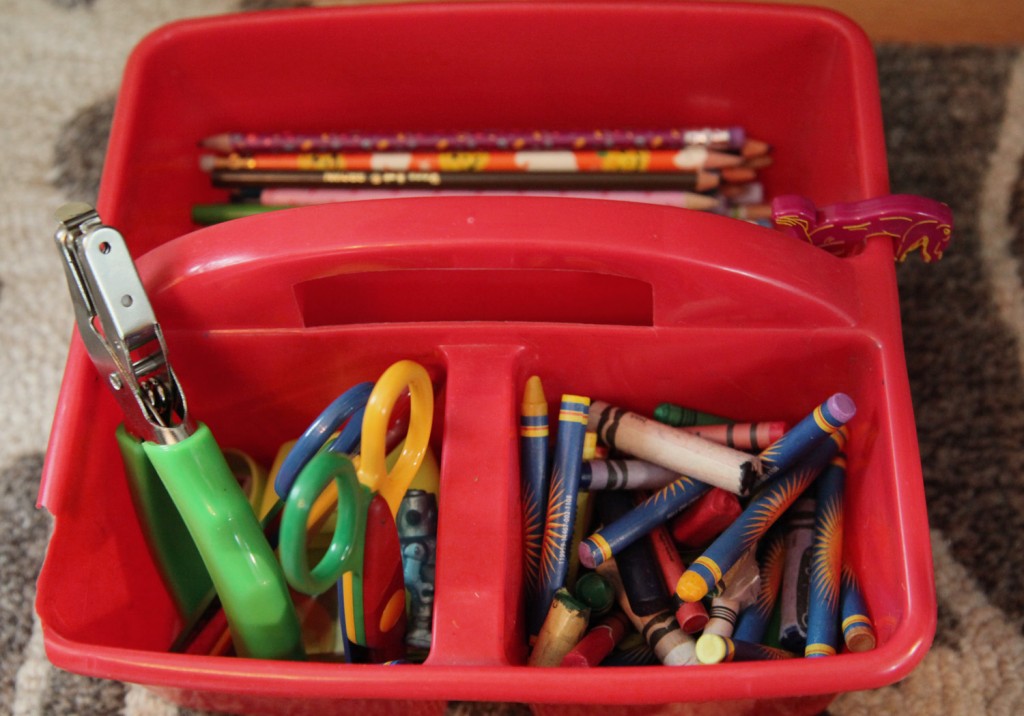
Drawing Bucket from the $1 section at Target

5. Miscellaneous Open Storage: I also have a mix of plastic open storage buckets and boxes. Most of these came from the $1 store or target. These red buckets that store the kids everyday coloring and drawing stuff is a favorite. They are good about pulling these out and putting them back when they are done.

We also have other arts and crafts supplies stored up high (where little fingers can’t reach)that are only for when they are supervised (including markers, paints, specialty paper and stickers).

Does anyone else have good storage ideas for the kids arts and crafts stuff?


Leave a comment

Double Height Expedit Shelves (totally disorganized)

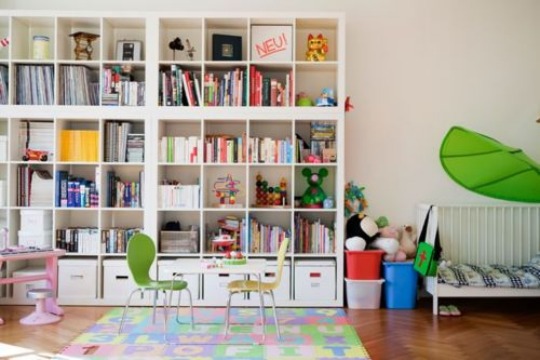
I had a little time yesterday afternoon, while Maisie napped and Sam watched some “boy” TV so I took the opportunity to put together the second Expedit Shelving Unit. One thing our house has is height (9 1/2′ ceilings on the first and second floor). So after I saw that multiple people had double stacked these units, I was sold! We were limited in our footprint and cold only fit a 4 wide unit (I would have loved a 5 wide unit), so I am happy to make up for it up high. A lot of these cubes will be used to hold out of season clothes, kids artwork and things we don’t need to get to very often since I definitely need a ladder for the top row.

This was my inspiration:

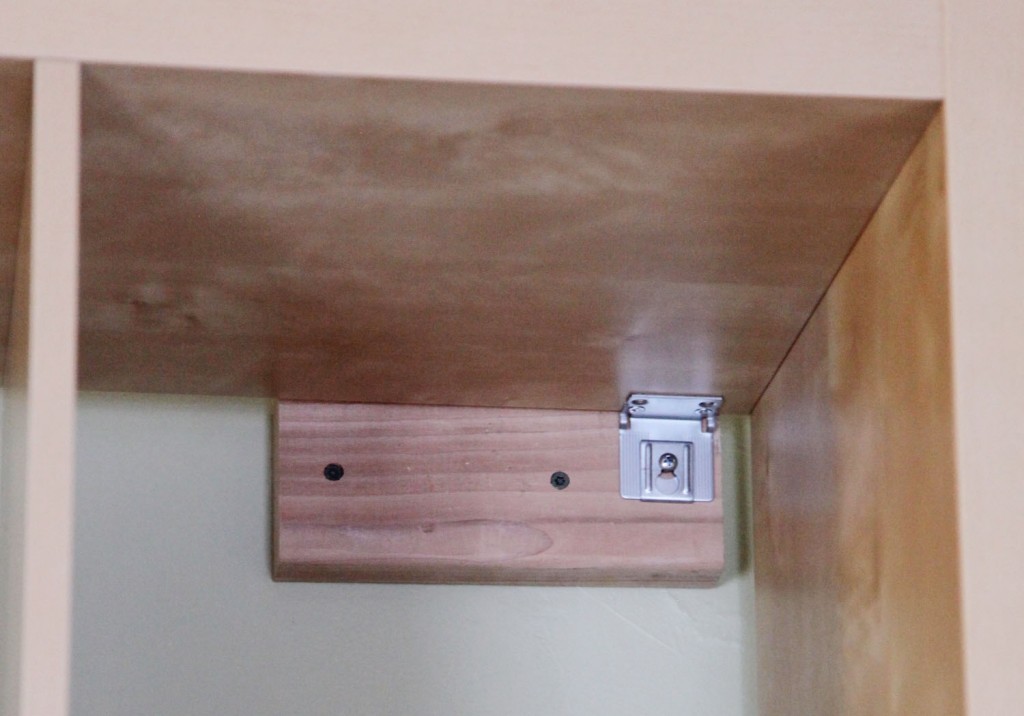
I was a little nervous about stacking them until I installed the bottom unit and felt how sturdy it was with the wall attachments. Ikea gives you an angle for the 2 top corners. Then you have to determine how you are going to attach it to the wall. We have thick molding, so after some trial and error, I went with 8″ long 2×4 blocking. This way I could get a couple of 3″ decking screws into the wall. Once I felt like the blocking was secure I screwed the unit to the blocking. The angle attachment has a second piece that clamps down when tightened. I was really pleasantly surprised at how well it was attached.

Wall Attachment for the Expedit (Bracket comes with unit)

The second unit went together in about an hour (the first one took about 2 hours due to the size). Then I just needed to wait for Mr. S. to come home to help me lift it. It was actually easier than I thought. I screwed the blocking onto the wall and attached the angles to the unit ahead of time, to minimize the amount of work that I would need to do once it was in place. It only took me a couple of minutes to screw it in place after it was up.

Upper Shelf after being Installed

Pretty exciting, huh! Okay, so the room looks like a disaster still, but at least I finally have some space to put things. I even have a couple of empty boxes. Fortunately there is also a little bit of space at the top for some of our more fragile items. And I have gotten over my issues with having the same shelf as half of America.

Stay tuned for some styling next week!  I also haven’t bought any additional storage bins yet. I am going to try and get the kids to do some toy sorting with me this weekend, so we can determine what we actually need. Baby steps. Lots of baby steps!

2 Comments

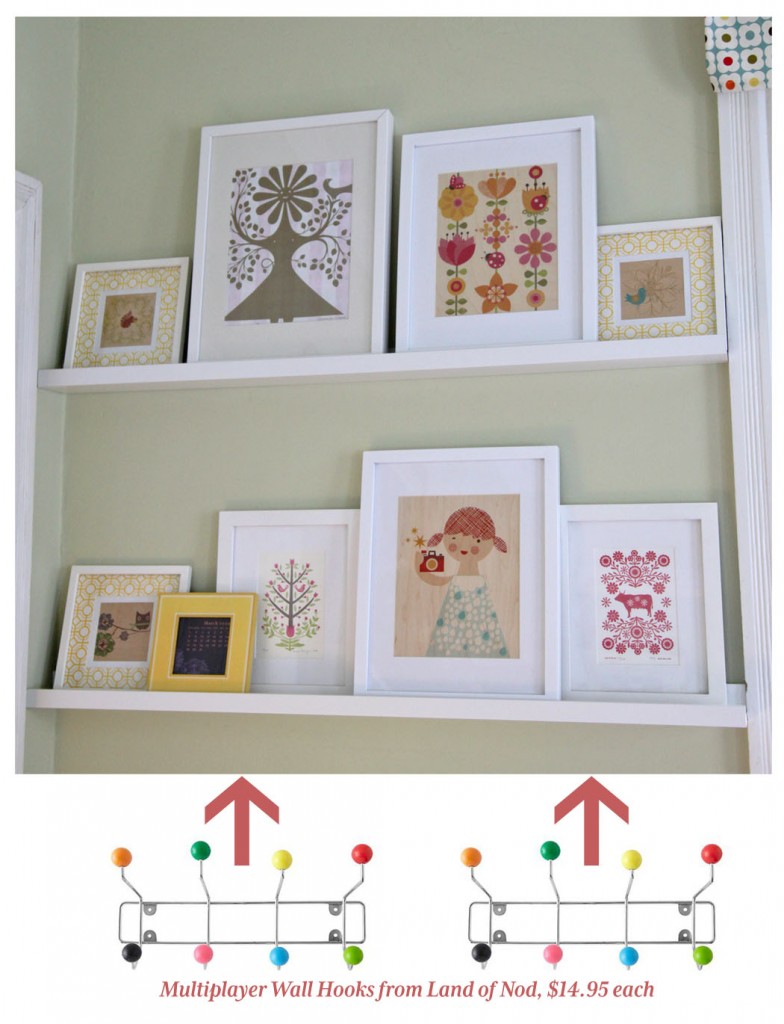
Artwork for the Playroom, sitting on Ribba Picture Ledge from Ikea, $14.99

The playroom is still a mess but I did manage to install 2 picture ledges from Ikea. Then I was able to put up a lot of the artwork that had been sitting around for longer than I would care to admit. I also picked up a couple of new white frames at Target. I was getting pretty frustrated finding white frames. I had bought some from Michael’s before but they don’t seem to sell plain white frames anymore.  Plus the 2 prints that I had from Petit Collage were already matted so I needed an 11×14 frame so Ikea was out. Finally I went back to look at Target again and they had just what I needed. Oh how I love you Target!

Below these ledges I am going to hang hooks for all of the kids dress up clothes (which are quite substantial and well used). I think I have settled on these Multiplayer Wall Hooks from Land of Nod. I was hoping to find something a little cheaper, but I did a quick search and didn’t come up with much (even if I painted them). The added bonus is that they aren’t pointy, so it should minimize injury (at least I can hope). It won’t be as nice as Chloe’s DIY costume closet (which I adore), but I think it will be well used.

What you can’t see is my old college shelf below stacked high with kids artwork. I have been meaning to photograph these for about a year. Now I really need to get on that! Then I can just keep a few and move the shelf out of the way.

I hope everyone is having a good week! We are having some beautiful fall weather. So nice and crisp!

2 Comments

New Rug with some of Accessories for the Playroom

I have been on the lookout for some new area rugs. I still haven’t found the perfect rug for our Master Bedroom (anyone know of a great 9×12 rug under $1000?), but I was able to cross one off of the list. I ordered a really cute rug for the kids playroom. Right now the playroom has a small colorful rug from Ikea, which looks too small and it is quite thin so it tends to slide around even with a pad underneath. So when I saw that Rugs USA was have a 75% Labor Day Sale on some of their rugs, I went to work sifting through what was still available. Of course quite a few of the rugs that I liked were sold out (boo!) but I managed to find one to my liking in the right size.Yeah!

Navy Trellis Rug

It is the Tuscan Terali Moroccan Trellis Navy Rug. I had set my budget at $100 a while back and quickly realized that was a TALL order for a 5×7 rug. Fortunately with the sale I got it for $112.25 with free shipping! I would add that I always compare prices on rugs. On a normal day Overstock has a lot of the same rugs and their everyday price is less, but RugsUSA runs lots of sales, so it is worth waiting for one. For instance right now they are having a 35% off sale.

The color is “navy” but it definitely a little lighter and brighter than a typical navy. I actually prefer the actual color, but if you want a true dark navy this isn’t it. It does also come in a charcoal that I’m bet is nice too. I haven’t fully unrolled it yet (I still need to finish assembling some shelving) but the part that I unrolled feels nice and soft and the blue is a loop style.

Wall Decals from NotNeutral with Hanging Balloon from Ikea

The playroom is the old nursery and the walls are a light and happy green. I still like the color and the window valances that I made when it was Maisie’s room. But with the Orla Kiely  flower valances, I wanted something that would ground the space and make it feel a little more masculine, since Maisie and Sam are sharing it. I think this rug will help along with some accessories.

A Few “New” Accessories

I have been putting together some old and new stuff for the space to make it feel less baby and more kid. I had these great number boxes from West Elm (no longer available) and I bought this adorable bright yellow rhino at Home Goods. I also have some new artwork to add.

I was hoping to have this space done by now. Unfortunately it is still a little ways away from being finished, but I hope to make some progress on it this weekend.

Does anyone else have a good inexpensive rug source?

Leave a comment

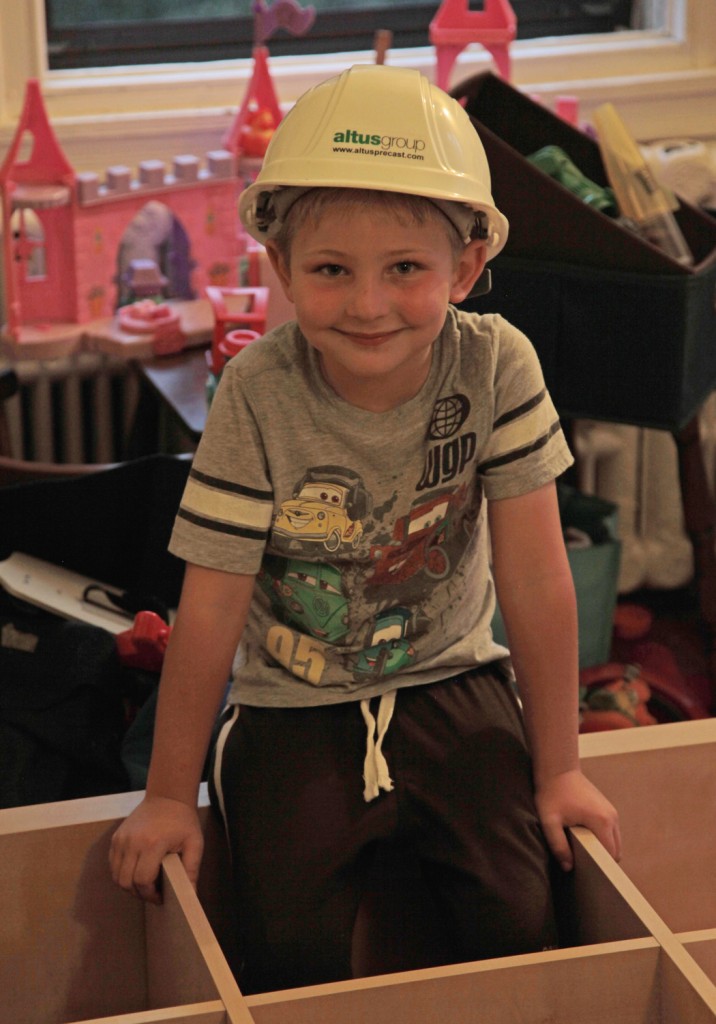
My little helper

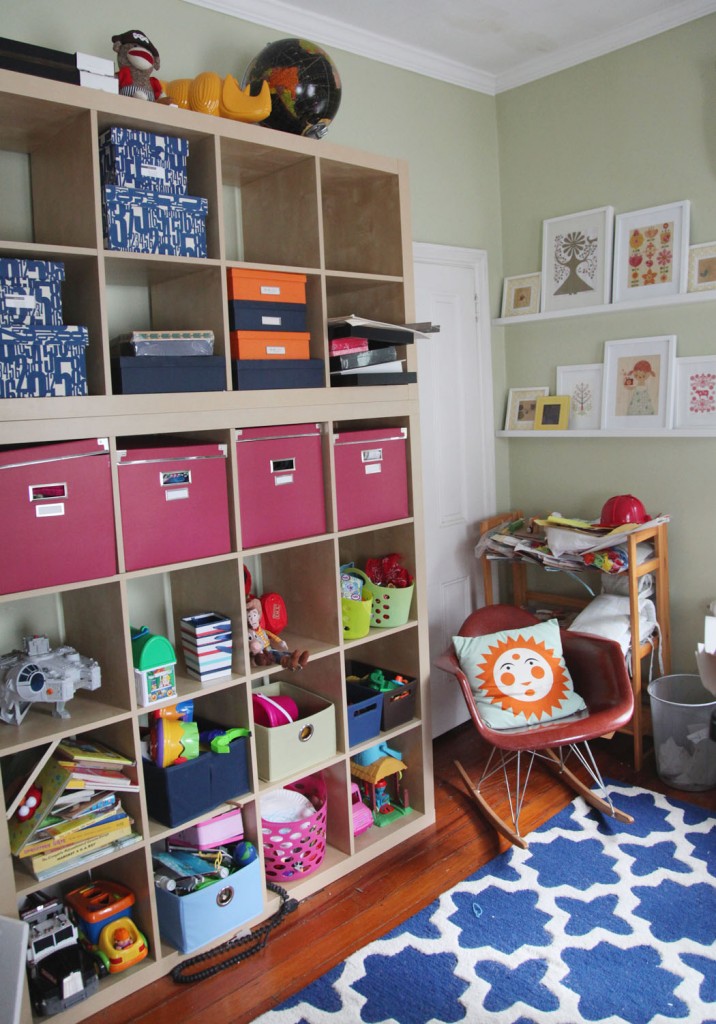
I know it has been a while! Life has been busy, fun, frustrating, tiring and everything in between the last few weeks. I’ve been trying to stop and enjoy some time with the kids before school starts. With my little man getting ready for kindergarten, there is going to be some adjusting. As part of the getting ready for fall, I have been trying to get the house in better order. It has been a painfully slow process. I did manage to get some of the shelves up in the Playroom. I am planning on adding a second set on top and some additional wall shelves. That will probably take a while, but at least we have some cubbies to start to put the kids stuff in.

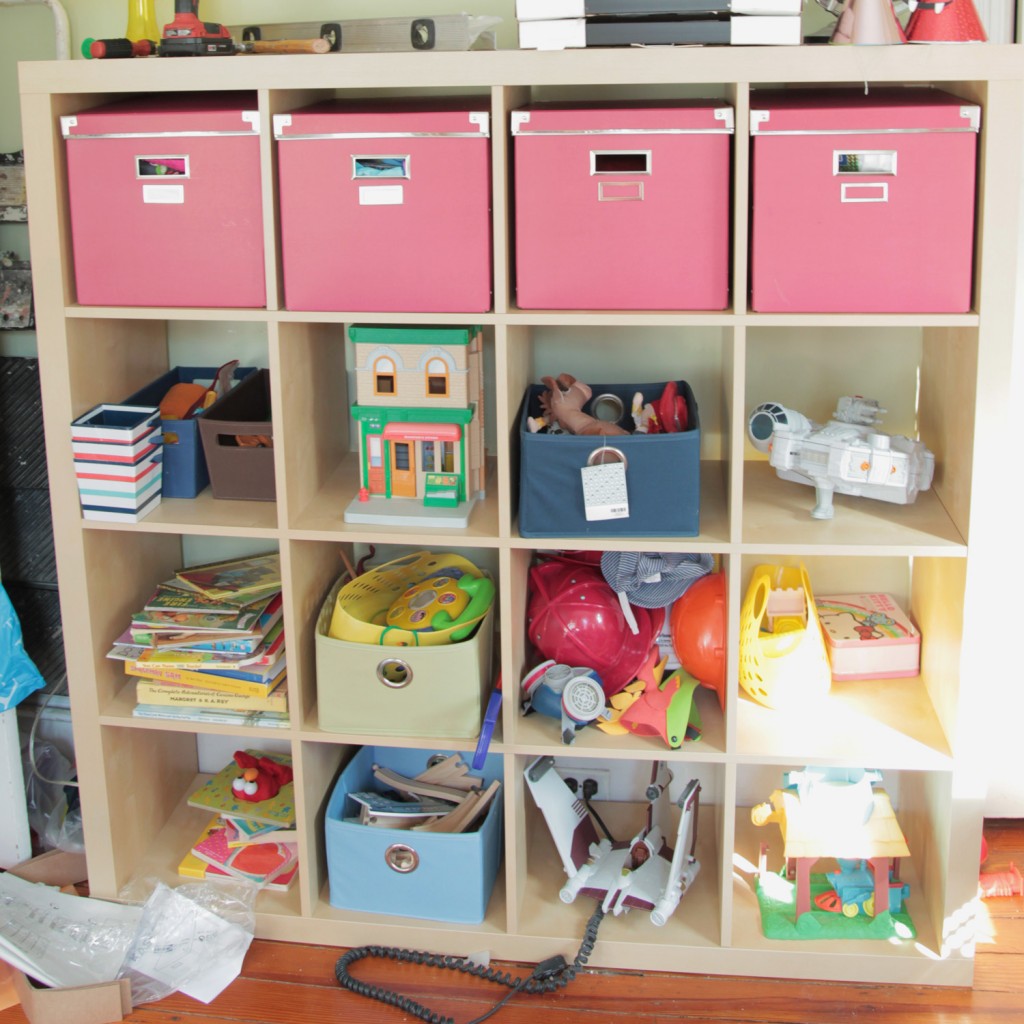
Playroom Shelves, up but not organized!

Meanwhile, I saw that Jen from Rambling Renovators is going to be writing a book called Blogger Style. She is taking entries for interiors designed by bloggers (due by September 15th). It is a pretty exciting opportunity, even if my own chances of making the cut are small. I have also been meaning to put together a house tour for my blog for ages, so I am trying to use this as a catalyst for taking some pretty pictures of the house. I tend to get bogged down in the actual construction of things, and it feels like I never get around to the final pictures and staging. So for the next couple of weeks I am going to focus on the pretty aspect of my house and try to ignore all of the other unfinished big and small projects and put some makeup on her. After all I think she deserves it! I have certainly been pinning up enough pictures on pinterest for inspiration.

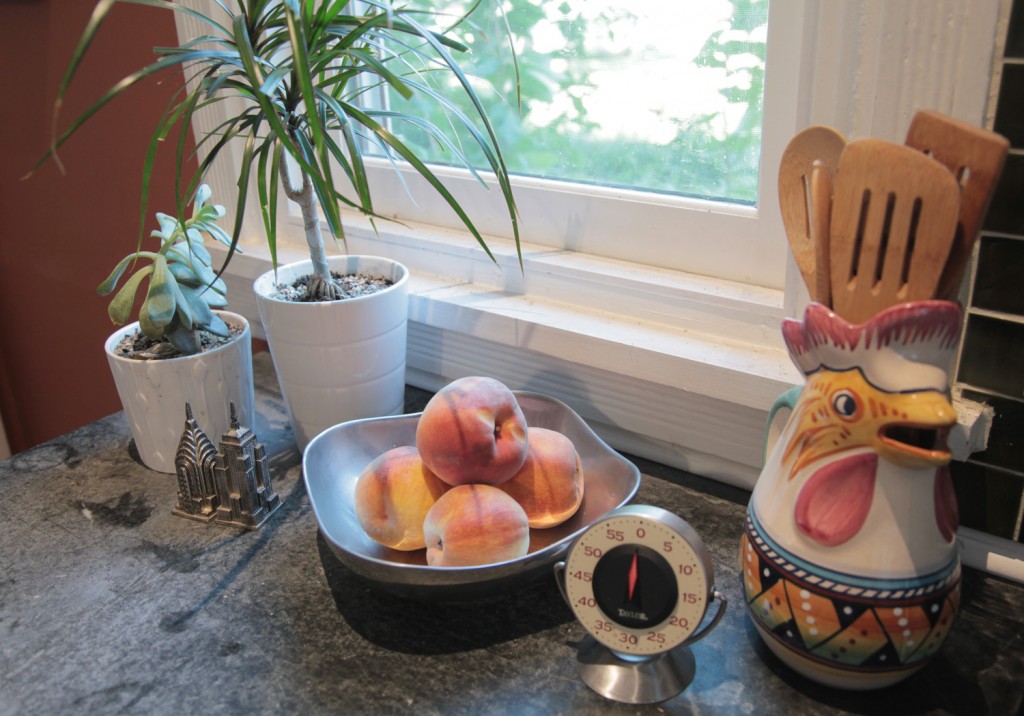
Kitchen Counter in progress

As part of this process I actually need to do a little shopping (mostly from around the house but it is also time to pick up a few things to make the house feel fresh). I am working on taking some photos now, so I can take a look and tweak things before I shoot better photos. It is amazing the things that are obvious only after you take a photograph (eek, those window sills need to be cleaned and I really need to oil the counters).

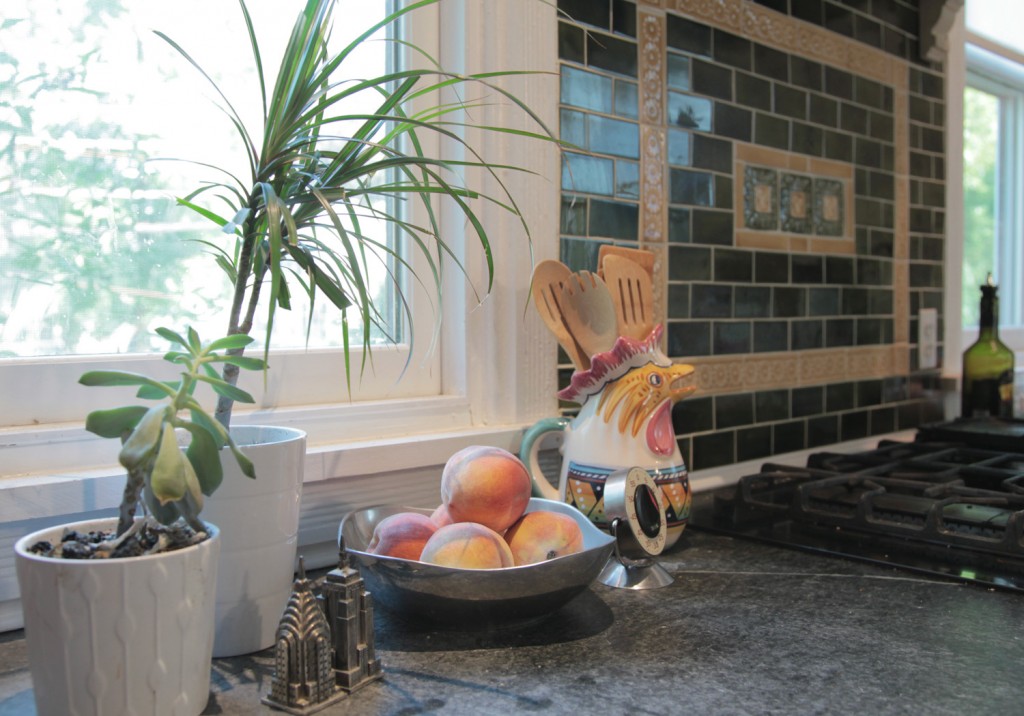
Kitchen Counter in progress

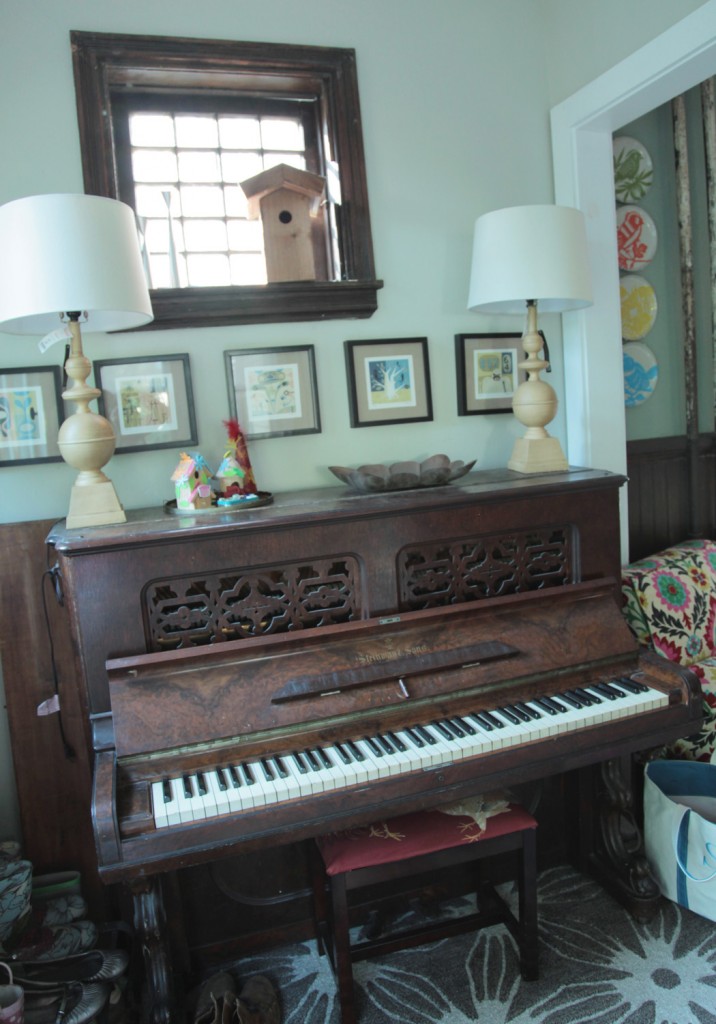
For example, the area on top of the piano had become a dumping ground. I am hoping by paying some attention to it, I can make it more of a focal point.

Piano w/ new lamps and kids artwork

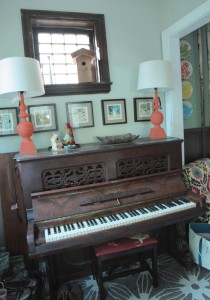
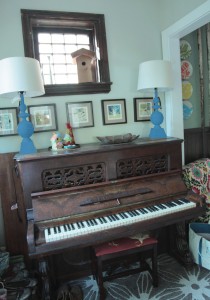
I bought these new lamps yesterday at Homegoods. They were are really good deal ($29 a piece) and I really liked the height and shape.  I don’t care for the color. I am now trying to decide what color to paint them. I am currently thinking about red or blue.

Red Lamp Option

Blue Lamp Option

What do you think?

2 Comments