Archives For OUR HOME

thirdfloor-hangout1

I hope everyone had a lovely weekend! We spent the majority of the time up on the Third Floor purging, boxing, moving things around and striping wallpaper. I would say that we are about 70% of the way done clearing out the space. I have given up my garage space for the foreseeable future and we have made multiple trips to Best Buy to recycle electronics and Goodwill to drop off unwanted items. I thought you would like to see how it is looking up there.

The wallpaper in the Hangout Room and in the Bedroom came off in giant sheets. It was pretty exciting. The green wall color of the bedroom was surprising. It is weirdly beautiful at the moment. We won’t be leaving it like this, but it does feel pretty surreal. The picture below is from the Palmer School of Chiropractic in Iowa from the early 1900s. The picture came with the house and the previous owner said that it was left in the house when they bought it in the 1970s. We believe that one of the former owners is in the picture. We did see on the back that it was framed in Philadelphia.  One of the interesting things about the picture is the number of women in the graduating class (at least 1/3 are women).

thirdfloor-bedroom23jpg

I especially love this little tiny dormer. I wish it were a little bit bigger to be functional, but it is very sweet.

thirdfloor-bedroom1

We also did a little bit of exploratory cutting, which is always exciting! We cut a large hole (now covered for the safety of the kids and the cats) in the craft room (where unfortunately the wallpaper is better adhered). This section connects to the flat roof and is above the closet in the kids room. The ceiling of the closet in the kids room is the same height of the door frame (6′-8″) so I wasn’t sure what happened above it. Well we now know that it is just open all the way up to this space. Which means when you look down you see the closet ceiling 4′ down, which is really strange and slightly unsettling. You can also see the flat roof structure beyond. It will make framing some of the built-ins extra fun!

thirdfloor-craftroom1

We did the test cuts with the sawsall. The horizontal cuts went really well since you are going parallel to the lathe. The vertical cuts did not go nearly as well. They pretty much shook the heck out of the plaster. I really want to save the curved plaster, so we will have to see how the rest of it goes. Once we start cutting some more the rooms will also have to be off limits to the kids and cats, which makes working on it that much more difficult. I’ve got a long list of contractors to call this week. Wish me luck!

3 Comments

Third Floor Inspiration

February 23, 2013 — 1 Comment

boxes1

Mr. S. has been on a mission!  He has been purging away up on the third floor for a little bit each night. And now he is joking that it is all my stuff that is left up there. Of course “my stuff” includes all of the holiday decorations, old furniture and our shared collection of books that don’t fit in our Living Room bookcases. He has actually chosen to throw away/recycle/donate a lot of old stuff (including all of his original video editing equipment). In exchange we are keeping a large portion of his cds, which will eventually go in built in bookcases up there (currently residing in the boxes above next to Spike). I do have to go through my pile of curtain rods (i.e. Pottery Barn dumpster finds from a long time ago) and several boxes of old tchotchkes from years ago. And “a few” magazine piles (which is a whole other problem).

thirdfloormoodboardI thought I would show everyone a mood board for the craft room today. I call it Victorian Industrial Glam.

thirdfloor craftroom

The Victorian part comes from the house and our old 4 over 4 casement windows trim and curved plaster and well the fact that we are in an old Victorian. I am also planning on keeping the new built-ins in a similar style to the trim of the house.

goodformchair2

The industrial is inspired by he vintage Goodform chair that we actually bought from the previous owner. It is in need of a new softer seat and upholstery (I am thinking possibly bright faux leather) but I have always liked how it looks. We also have a couple of matching regular chairs that have been gathering dust in the garage. My pocketbook likes the idea of actually using some of our existing furniture. I think my vintage Singer sewing machine will also look nice with this and finally have a home (that is not shared by 2 little ones).

urbanoutfitters-sconce

I am also really liking this industrial looking sconce from Urban Outfitters. I think a row of these mounted to the wall would be really interesting paired with grouping of Mr. S and my black and white photos.

Finally the “glam” part. I’m not normally a glamorous person. Quirky and colorful, yeah that closer to home, but I really liked this Ikea Hack which are just some really inexpensive Ikea trestle legs spray painted gold. I think some mixed metal finished up here with a little bit of sparkle might be nice, especially since this room is mostly for me and sort of the opposite of the “man cave” in the basement.

What do you think?

I hope everyone has a lovely weekend. I’m off to work on purging some more stuff! Wish me luck!

1 Comment

We have been busy doing some not so glamorous or photogenic work in the last week. We have been trying to get the third floor cleared out enough that we can it insulated shortly. I wasn’t in such a hurry but my spray foam insulation guy has some openings in the next few weeks, and I don’t want to not take advantage of that.  Mr. S. even spent a good portion of Sunday up there going through stuff and purging. The last step will be giving up my garage space in the coming days to store some of vast piles of stuff while the work is done. I also need to move some of the potential Craigslist items out there. Anyone in need of some old ikea furniture? hahaha…

So while I hurt my back, I thought I would show you some of my inspirations for the second floor bathroom and hallway.

hall-before3

We will be adding some sort of sliding door to this room. I am conflicted between a pocket door (more historically accurate) and an exposed rail system. Doesn’t this rail look cool above? I’m a little nervous though that even if it is cool, it might not be quite right for the house. Although we do now have an extra newel post to install at the railing to allow the door to pass behind it and over the staircase.

Along with this I am contemplating adding a transom window above to add some additional light. Probably not all the way across, although I think that is pretty cool. The hallway is a bit dark since the only natural light comes from the stained glass window and the surrounding rooms. So far I have not convinced Mr. S. that this is a good idea.

I am also in love with Victoria’s bathroom renovation (which if you haven’t seen I highly recommend). We won’t be gutting anything major here, but I really like the side medicine cabinet that her husband created. We can’t install one behind the sink since it is an outside wall, but we could put on on the side wall (behind the new sliding door).

Finally I like this little recessed storage niche. I am thinking that a small one near the toilet would be perfect for extra toilet paper and other unmentionables.

11 Comments

kitchenfabric-spike

In the midst of trying to figure out all of our second and third floor plans, I was temporarily distracted by some pretty fabric. For some people it is shiny things, but for me a good pattern makes me happy and distracts me from more important endeavors (especially late at night while surfing the internets after Mr. S. has fallen asleep). I have been on a very long search for the perfect fabric for our bedroom curtains and while searching one night (specifically fabricguru.com) I came upon a nice Jacobean pattern with good potential (Richloom Kathrann Printed Linen Blend Fabric in Garden). It had a nice large size pattern, a good mix of colors and the pattern and was a nice mix of modern and pretty. The only issue was the background color. I really want a white background, to work with the future white window trim and to lighten the gray walls. By the pictures it was a bit hard to tell how far off the background color was. I stopped by JoAnn’s to see if they happen to have it in stock.

fabric-sample

And just by chance they did have some of the fabric, so I asked very nicely for a sample and they gave me 2 to bring home. I immediately knew that it wasn’t going to work in our bedroom with the cream colored base but as soon as they were sitting in the kitchen I thought that I definitely need to use this fabric in here for some window valances. Because that is a priority right now (hahaha)!

richloom-kathrann-fabric

I ordered enough fabric for the windows with a little bit of extra for a couple of other small projects from fabricguru.com for the awesome price of about $6 a yard for 4 1/2 yards in 2 pieces (this retails in the $25-35 range). In addition to selling fabric by the yard they apparently have a lot of leftover small lots that they offer at really good discounts. Wow, I have just found a new place to spend many hours searching for the perfect fabric!

It is funny that one of the first things that I did when we bought the house was take down a lot of curtains and valances to let in the light and now I am putting them back up (of course in much nicer fabric that is not from the 1970s). I’m not quite sure to think about this development. We do have solar shades on a lot of our windows, which I do really like but they are a little ho hum looking.

kitchen-windowvalance-render

I just whipped up a rendering of what a valance might look like in here. I like it. I am considering actually making it with a solid backing and padding it slightly and using some decorative nail trim. Although if I follow something closer to my Dining Room valances, they would be easier to take down and clean. I do want to mount them inside the frame, so as to not obscure the nice trim.

What do you think? Does anyone else have a fabric obsession?

Leave a comment

bottlecapbacksplash-3

I thought it was about time I gave an update on the basement. As with so many project around here we get 95% of the way done and loose steam (Does that happen to anyone else?). That was definitely the case with the basement. We got it far enough along that it was functional and let it be. Well now I am trying to finish up before we embark on the second and third floor adventure.

The Basement To Do List:
-Add a closet below the stairs
-Finish the counter and backsplash in the wine/beverage area
-Finish up the workroom
-Add artwork and decorate
-Decide on curtains for the washer and dryer area
-Decide on furniture/shelving/storage for the pantry area

I have been working on pretty much all of these (except the last 2) and we are definitely in the home stretch. Our contractor installed the closet a couple of weeks ago (Yeah!), I just need to add trim to the door and whitewash.

pegboard1

The workroom is definitely more organized and I can actually find most of our tools, although I still need to decide which table/bench to install the miter saw on. I have also started adding artwork and accessories. And for the last couple of weeks we have been concentrating on the counter and backsplash at the wine/beverage area.

winerack9-716x1024

This is where we left off over the summer. We quickly put the wood counter on top with some loose wood blocking and decided to let it be (after all there was a 5 year old birthday party to prepare for). Then of course it was easier to leave it then actually finish it.

woodcounter-install

Well we finally busted out some scrap wood and used some small brackets I had on hand and put this baby in. Of course with everything in our house it was not quite that simple. We did design this area to fit the longest Ikea wood counter but the portion that needed to sit on the victorian safe needed blocking to raise it to counter height  (and of course nothing is level down here). We also added a cleat on the back wall behind the fridge and freezer while leaving a gap above them to allow air to circulate. Finally we attached it to the drawer cabinet on the end. The upper cabinet just sits on the counter, so we just had to screw it to the wall to keep it in place.

bottlecapbacksplash-2

So after spending way too long messing with the counter, came the fun part. Sorting bottlecaps! We along with several of my friends and neighbors have been graciously collecting beer bottlecaps for us (I know it is a hard job but somebody needs to do it!). We have some nice ones now, although I now realize that we are still short. I am hopeful that beer drinking will continue and we will be able to finish relatively soon. We cleaned them up, sorted them by color and took out the ones that were too bent to use.

bottlecapbacksplash-1

So now where to start? I starting mixing the bottlecaps by color trying to keep a good mix. I also decided to start in the upper corner (which is less visible) to allow me to get the hang of attaching them. I decided to go with a premixed tile adhesive from Home Depot.

bottlecapbacksplash-4

After quite a bit of trial and error I determined that the best way to apply the adhesive was to put a thin coating on the wall with the trowel and then back butter the bottlecaps. This actually takes a lot of adhesive since you need to fill the cavity behind each cap. I also found out that the caps tend to slide, so I had to keep pushing them up. These took a couple of hours to set in place and by morning were nice and tight. Of course now I realize that I am only about 1/30th the way finished and this took me over an hour. Granted I think now that I have a strategy it will go quicker, but I will most likely be at this for a while. I thought it might be nice to do a little each night (although so far that hasn’t happened). If all goes well I will finish this up in about a month, unless I get some time on the weekend to work on it.  I do like how it looks and it does make me smile when I head down to grab something or do the laundry.

bottlecapbacksplash-3

The only other change I have to make, is that I was planning on using gray grout, but because of the thick white adhesive I will need to switch to a matching white grout. So drink up and wish me luck!

To see all of our basement projects click here.

4 Comments

Third Floor Before Tour

February 7, 2013 — 6 Comments

thirdfloorplan3

I know its been a while! Things have actually been quite busy here. My contractor has been over finishing up some long over due projects (YEAH!). More to come on that later but I thought I would give an update on part of our upstairs project. I had a spray foam insulation contractor in last week to take a look at the messy, messy third floor. As part of this I had to finally draw some accurate plans of the third floor. I found it fascinating to see how it all fits together, since there are lots of bits in the eaves that aren’t accessible and it has been hard to figure out how they connect (and dream of future storage space). I thought I would share some before pictures. Beware I don’t usually let people up here and the in case you were wondering where the 1970s went, they are alive and well up here. This floor is currently a wasteland of stuff (12 1/2 years of stuff). Please try to not judge too harshly! Some of the furniture will actually stay, but it is impossible to see it will all of the boxes and piles of stuff. It is really hard to photograph the space, but it is actually one of the reasons we bought the house. The scale is perfect for kids (if you ignore the dangers of steep steps and low old casement windows).

thirdfloor-stairs

Yes, those stairs are as steep as you think they are. Brown painted pine steps that are taller then they are wide. And isn’t that wallpaper a nice complement! We are thinking about removing the wall to the right to open up the hang out space.

thirdfloor-craftroom

This is my future craft room. It currently holds random Christmas decorations and half finished crafts, as well as my husbands CD collection. It is the one room where the wallpaper is not crazy, although it still needs to go!

thirdfloor-hangout

This is actually not the same room as the previous photo (I know it is hard to tell). This is our future “hang out” space. I can totally picture a bunch of kids hanging out up here. We currently have a wall of low Billy bookcases on one side holding our books. I would like to replace them with built in bookcases some day.

thirdfloor-hangout2

This is the wall we are looking at taking out to open the space to the stairs. Any what is that crazy thing on the wall? Well that is a Victorian expansion tank for our radiators! Crazy I know! It actually was still in use until we redid the boiler about 7 years ago and added an expansion tank down there. I think it may become garden art someday. You can also see the craft room across the way.

thirdfloor-hangout3

This is the doorway to the bedroom. I don’t have to duck but Mr. S. does.

thirdfloor-bedroom

This is what we would like to use as an extra bedroom/ kids room (when they get older). There is actually a bed already here! I think a built in bed under the windows, with storage on either side, would be amazing.

thirdfloor-bedroom2

And the one space that everyone wants to see, the tower! I can just fit through this without ducking!

thirdfloor-tower1

Did I mention that we have a lot of stuff? This space is quite strange. There are no windows at eye level but the light is amazing.

thirdfloor-tower2

Here are the tower windows! This is where we would like to build a fort up high for the kids. This space is a little strange. They never installed the interior trim on the windows. These unfortunately need to be rebuilt, but aren’t too hard to pop out.

So there you have it! You have now seen some interesting and embarrassing photos. You can see we have years of work ahead up here, and it will get much worse before it gets better. Stay tuned for another 100 posts or so on how we go about making these spaces our own.

6 Comments

Upstairs To Do List

January 27, 2013 — 4 Comments

hall-before2

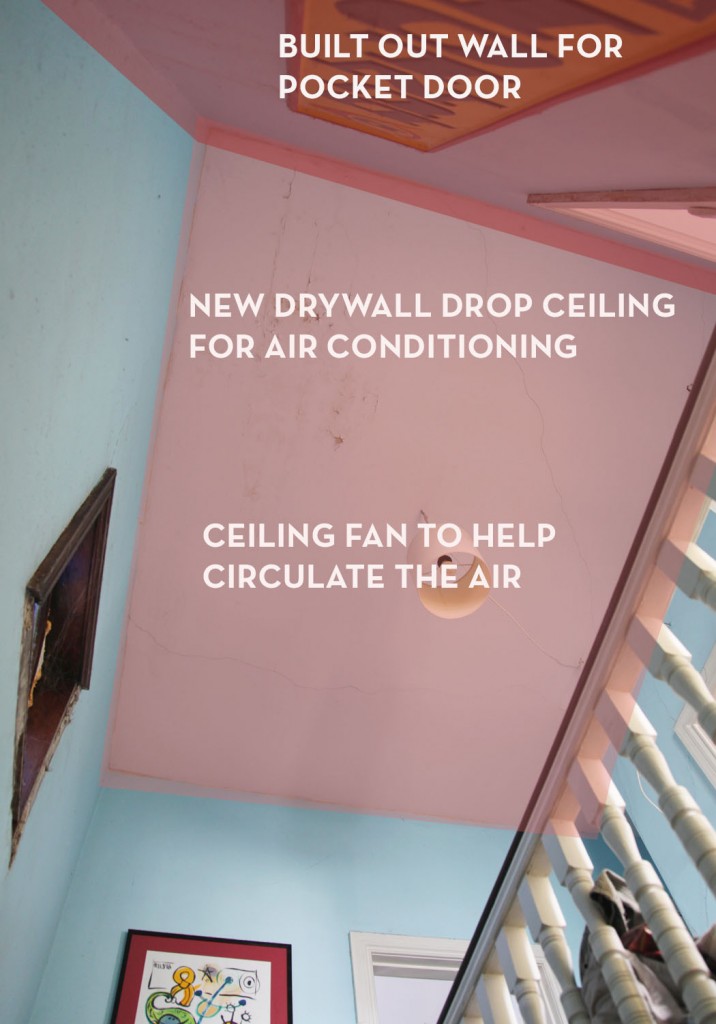
I mentioned a couple of weeks ago that we are looking into installing air conditioning in the house, namely in the second and third floor. I am pretty much sold on the concept of running it in our second floor hallway ceiling and then installing a new lower drywall ceiling below. This would allow us to keep the ceilings in the bedrooms high while sacrificing some height in the 9 1/2′ high  hallway. As you can see it would also solve the existing ceiling issues left over from a leak years ago. I still need to call in some air conditioning contractors to see if they agree with my strategy. Of course to make all of this work there are a bunch of other things that also need to happen (in a specific order). As with these types of project scope creep is inevitable.  This project I imagine will take us most of the year to complete (with some pieces taking possibly longer). We are hoping to be able to have air conditioning by summer (fingers crossed!). So even though the weather is absolutely freezing here, I am thinking about more cold air.

House To Do List 2013

roofflashing

Step 1. Fix roof flashing in several locations.

I should start by saying that we had the house re-roofed in 2001.  It was the first big project that we dealt with when we bought the house. We knew that it needed  a new roof, it still had the original cedar and then 2 layers of asphalt on top. It required adding plywood underneath (cedar is installed on thin slats). It also required several flat roofs to be replaced with membranes. Did I mention that they also replaced the gutters and the beadboard ceiling on the porch? So the downside. We went with the least expensive contractor. We didn’t really have too much of choice since the other contractor was twice the price (which was out of our budget) and I couldn’t get any other roofers to give us a quote. I actually saw a roofer pull up, look and then drive away. It was our first experience in the dangers of owning an old house (with a very steeply pitched roof). Needless to say our roofing contractor was in over his head and some of the flashing details were not the best.The main roof itself is actually fine (knock on wood) but there are several conditions that need help.

towerroof1-before

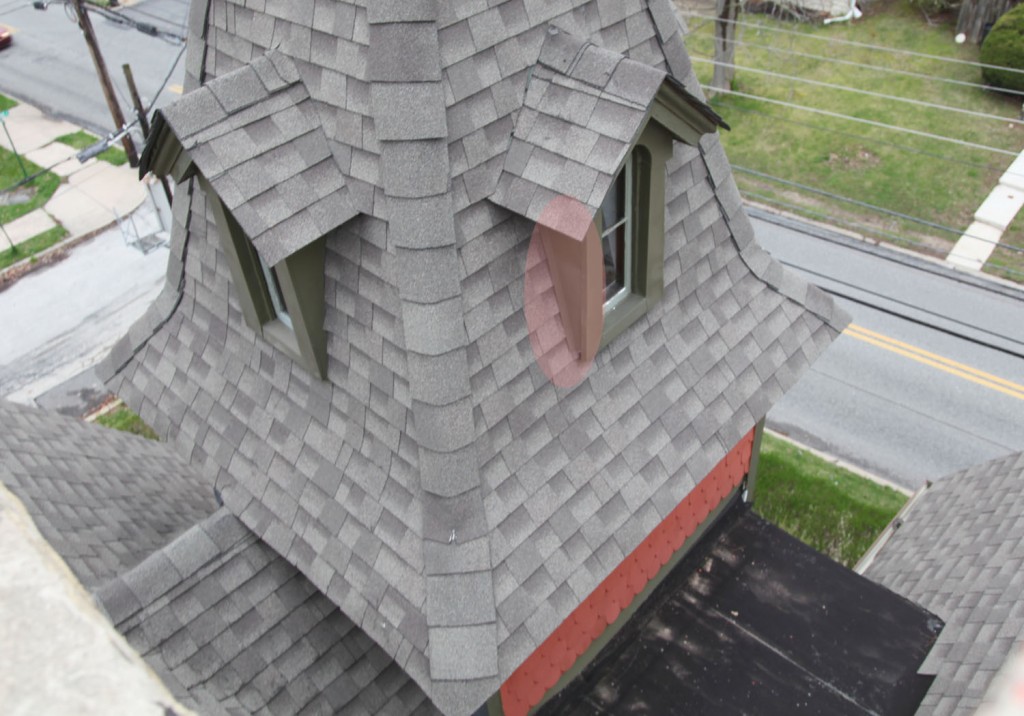
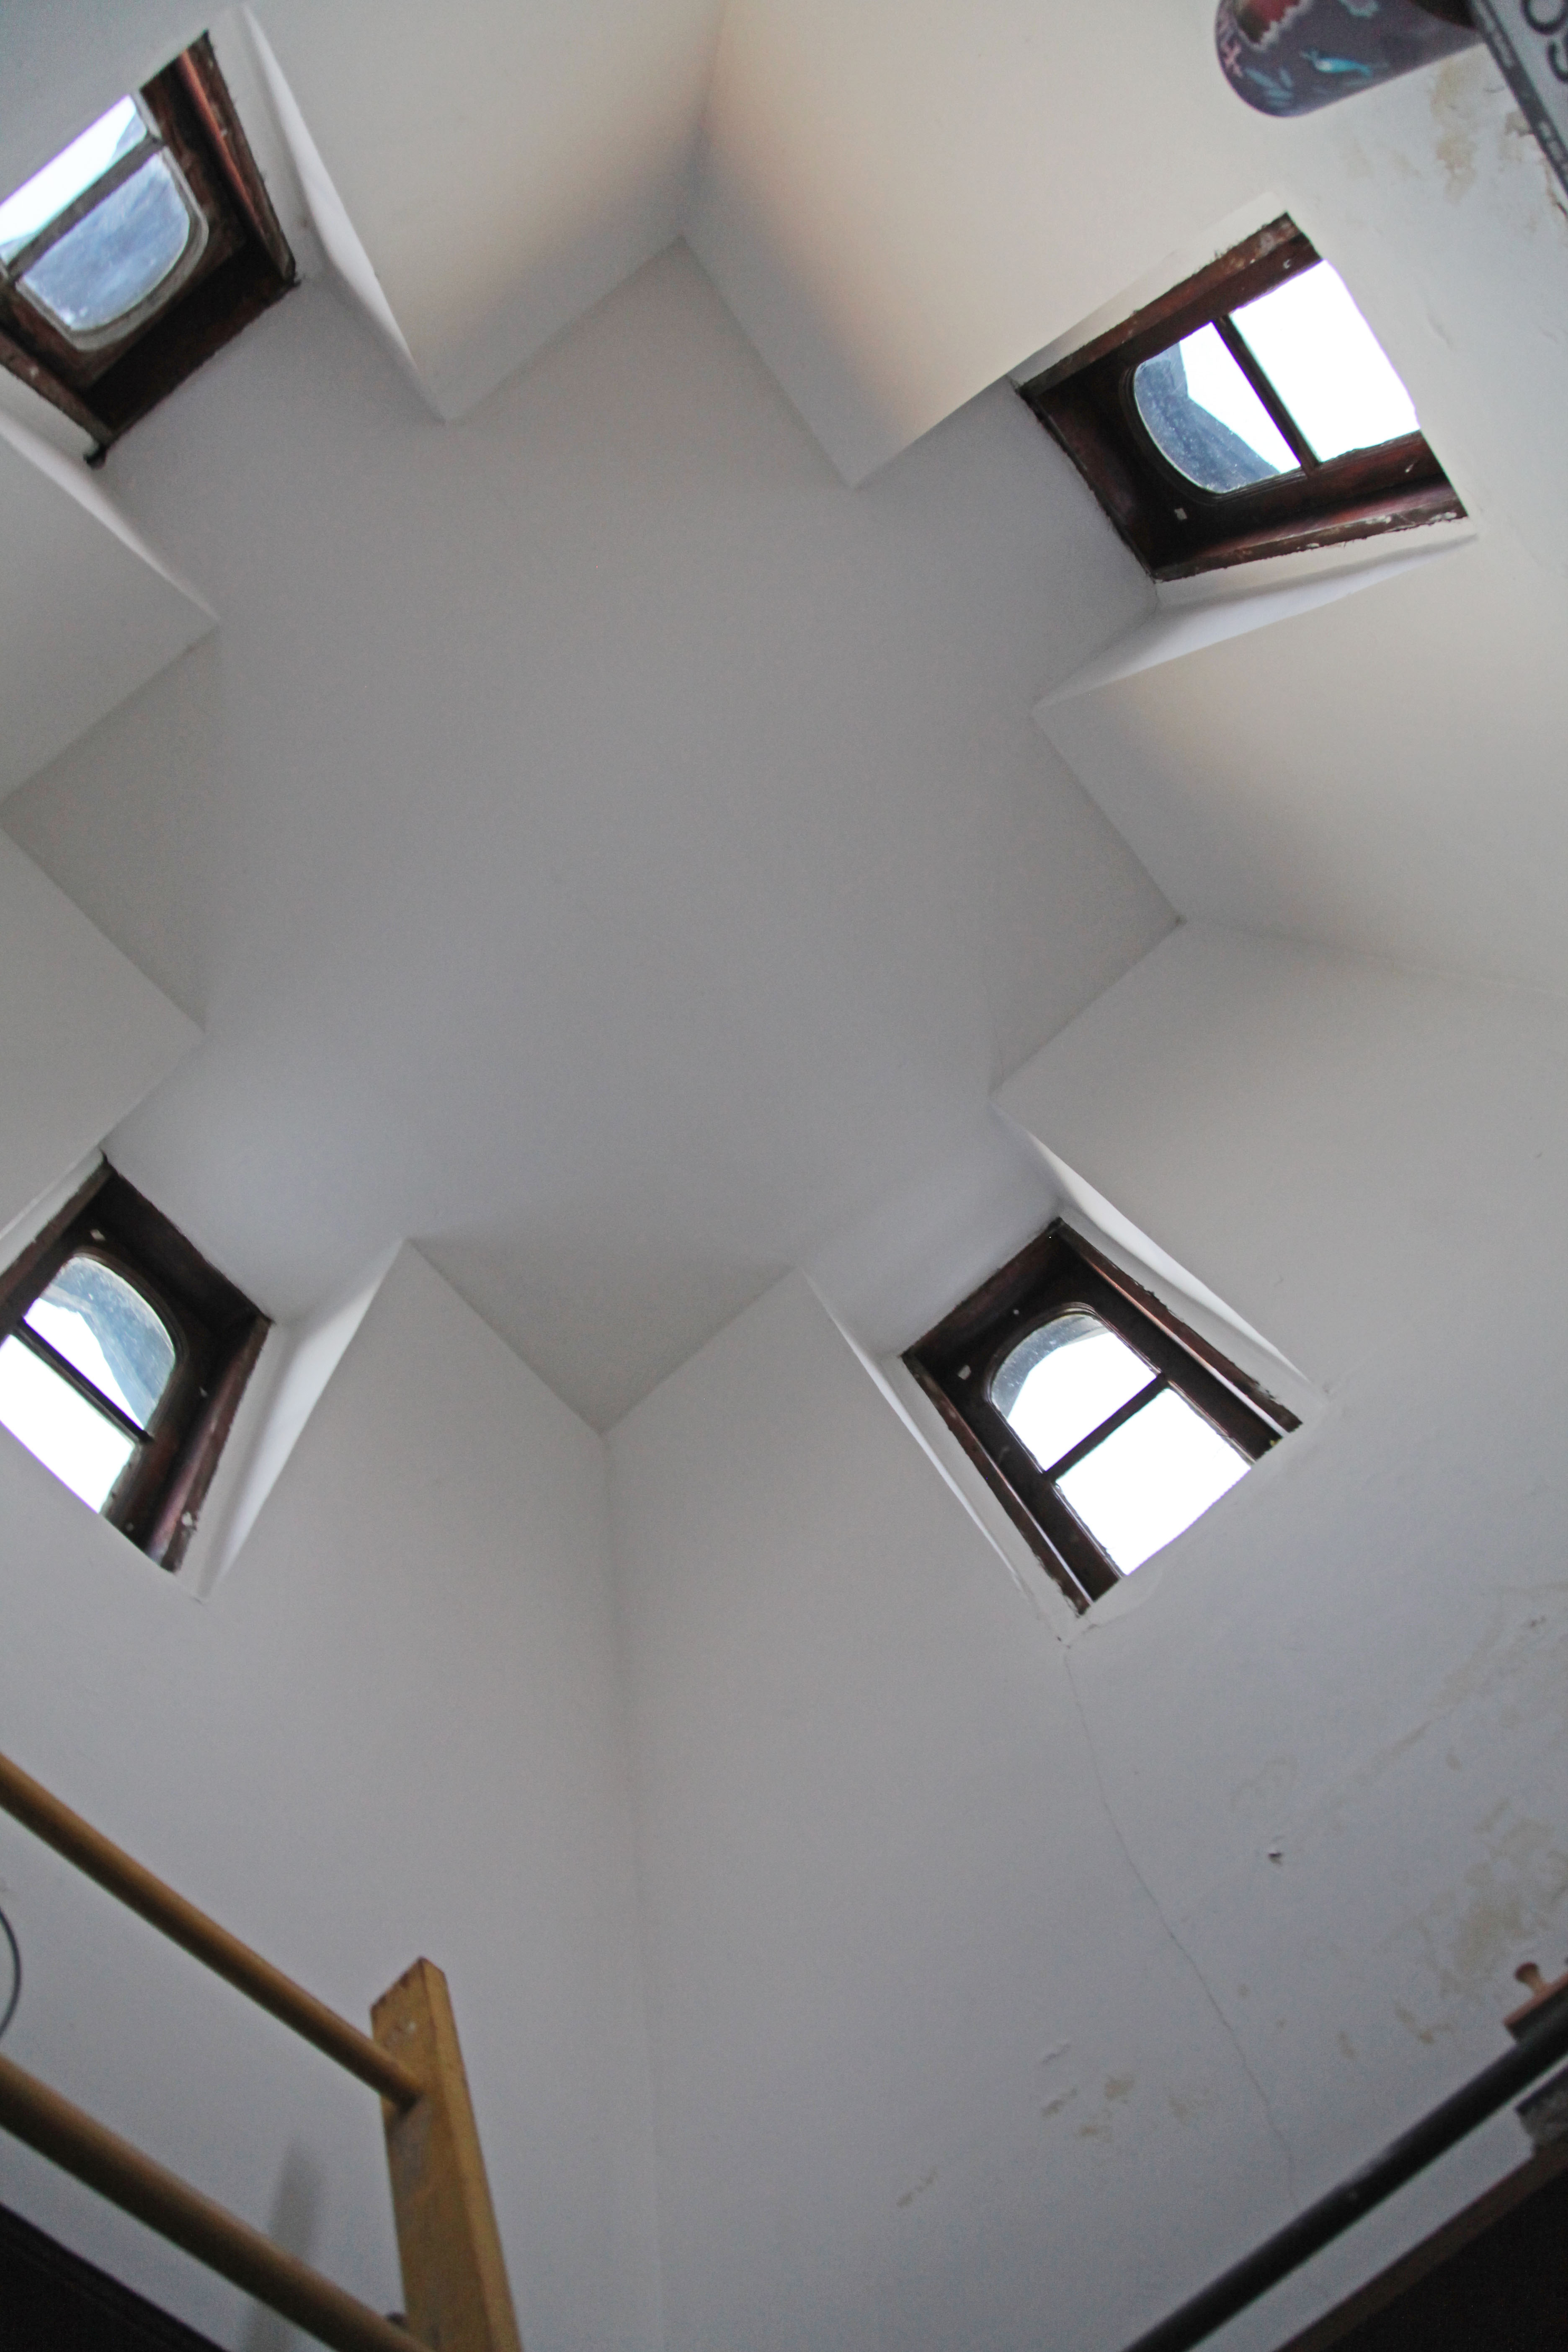
The biggest of these are the tower windows, (which are scary high). I actually got a look at them when the chimney guys were here and I got to take a ride in the fancy crane. Some of the windows were flashed incorrectly (i.e. the flashing was not installed behind the roofing material but in front). All of this work needs to be taken care of before we can proceed with insulating the roof. Of course this will have to wait until the weather is a little bit warmer.

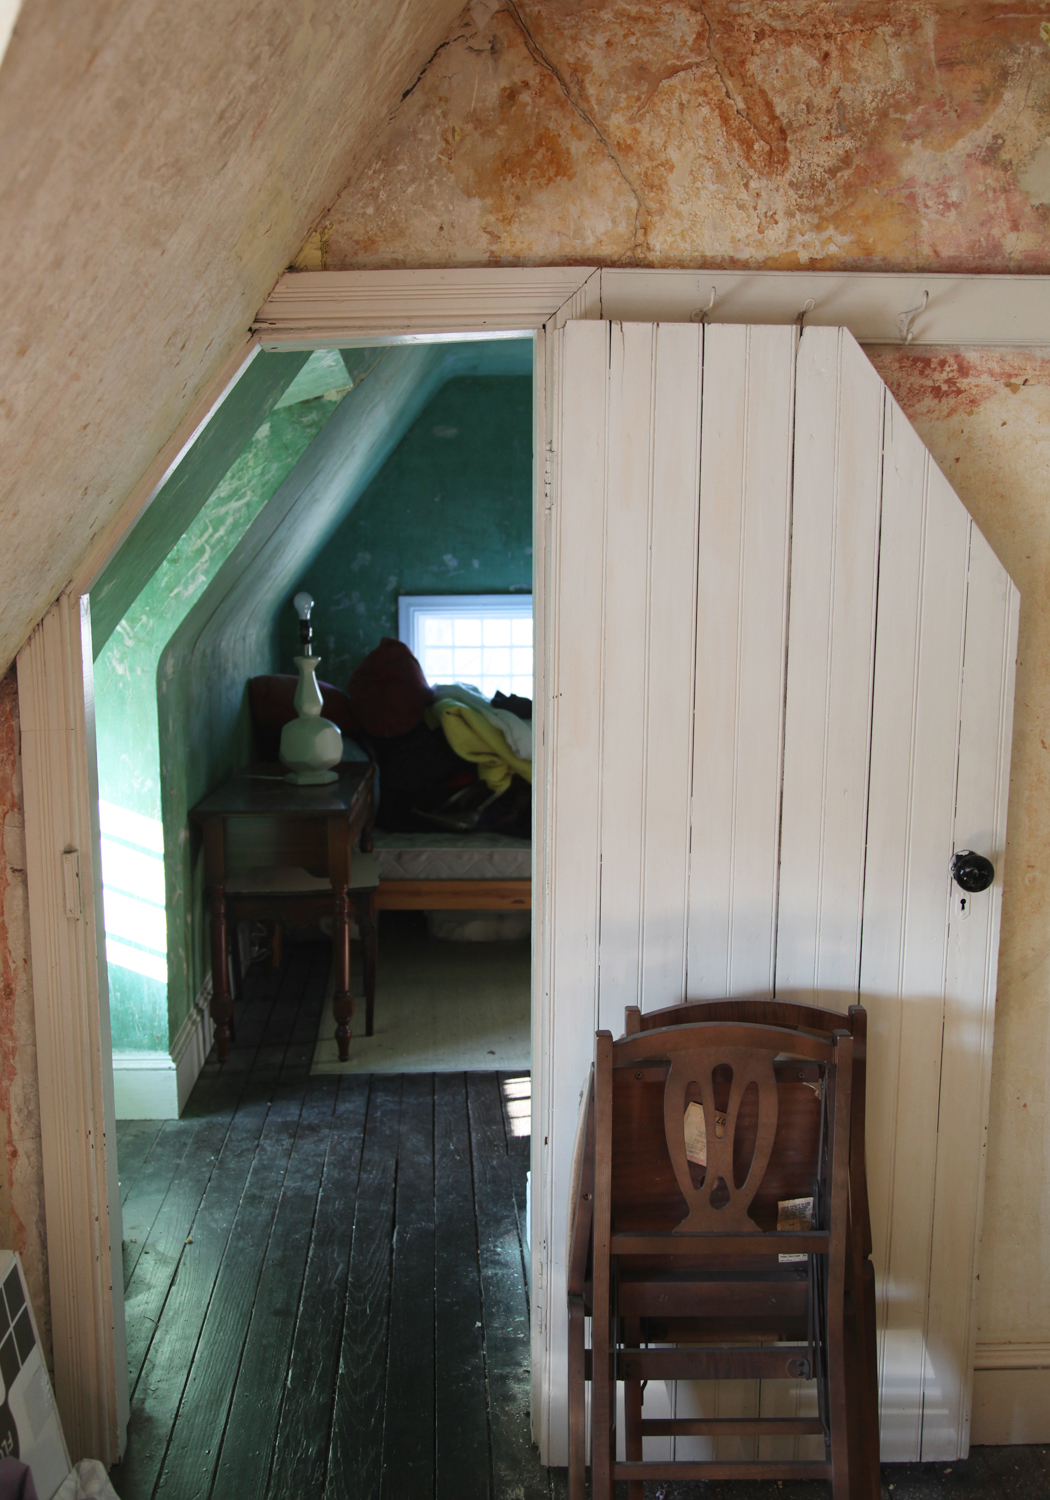
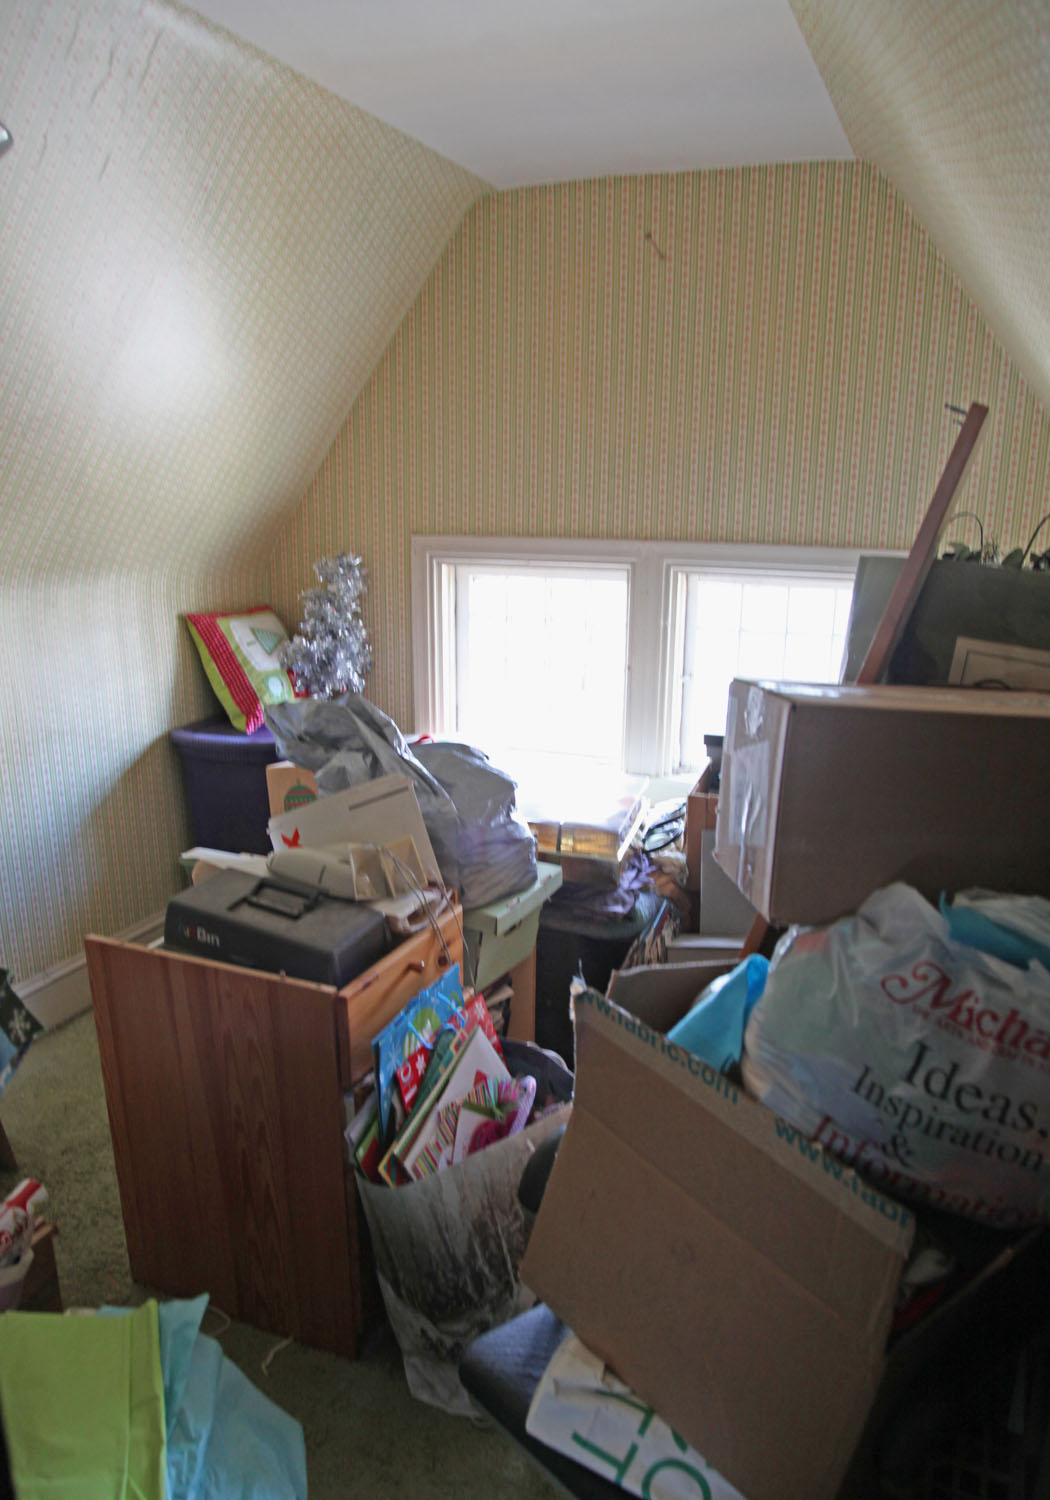
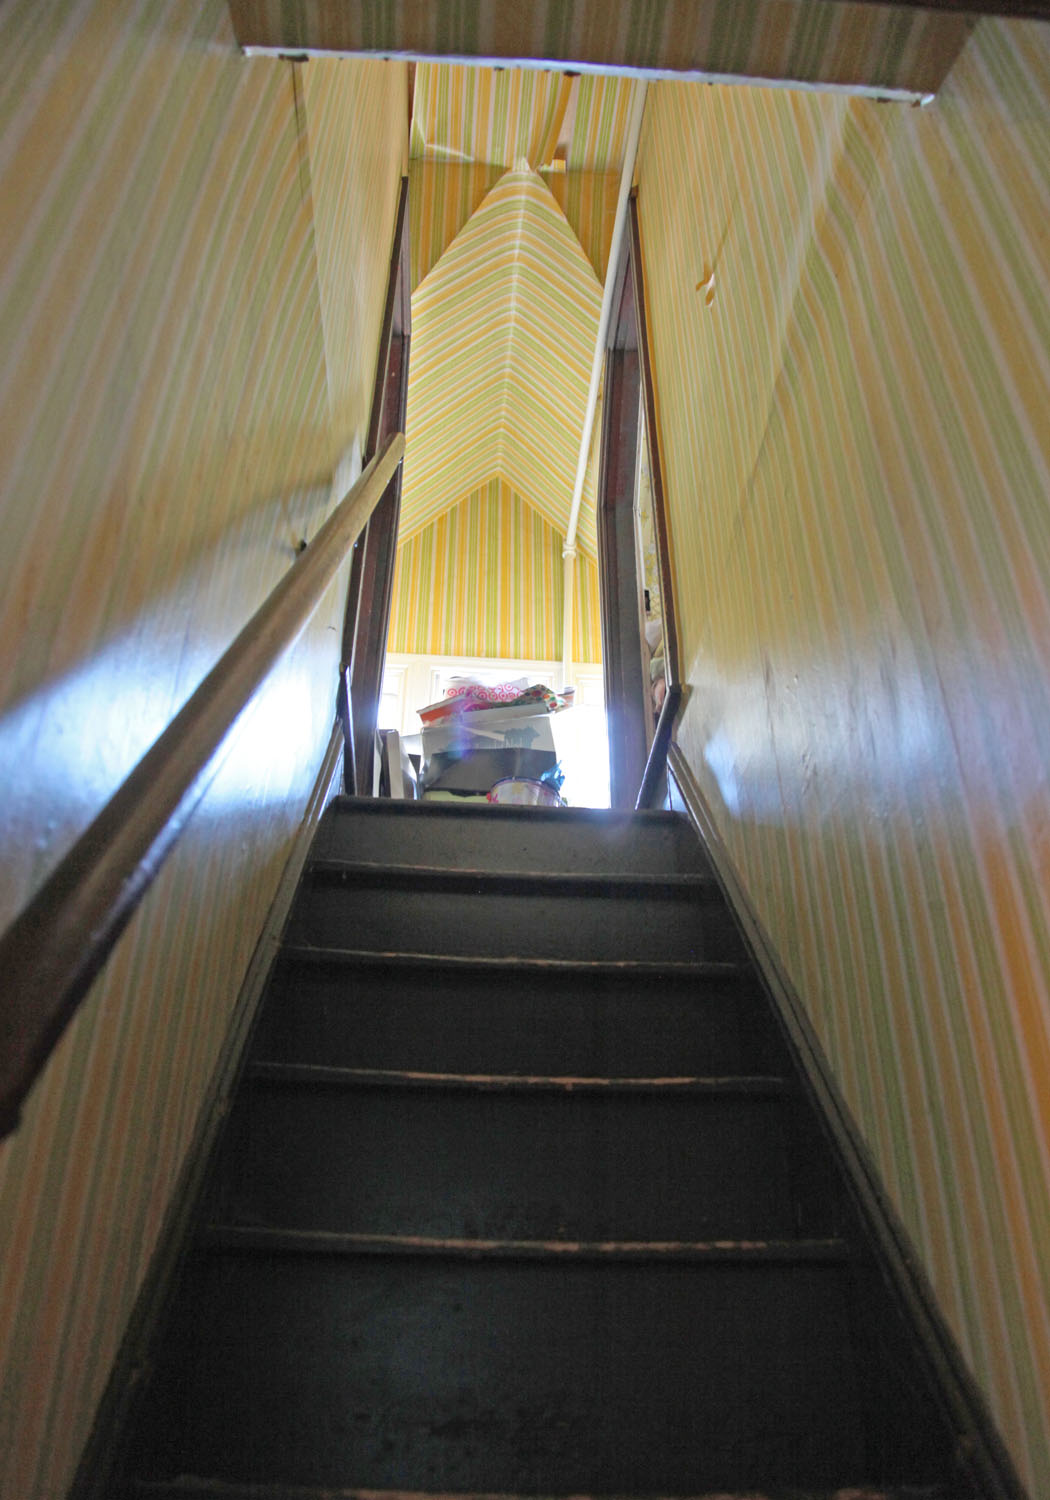
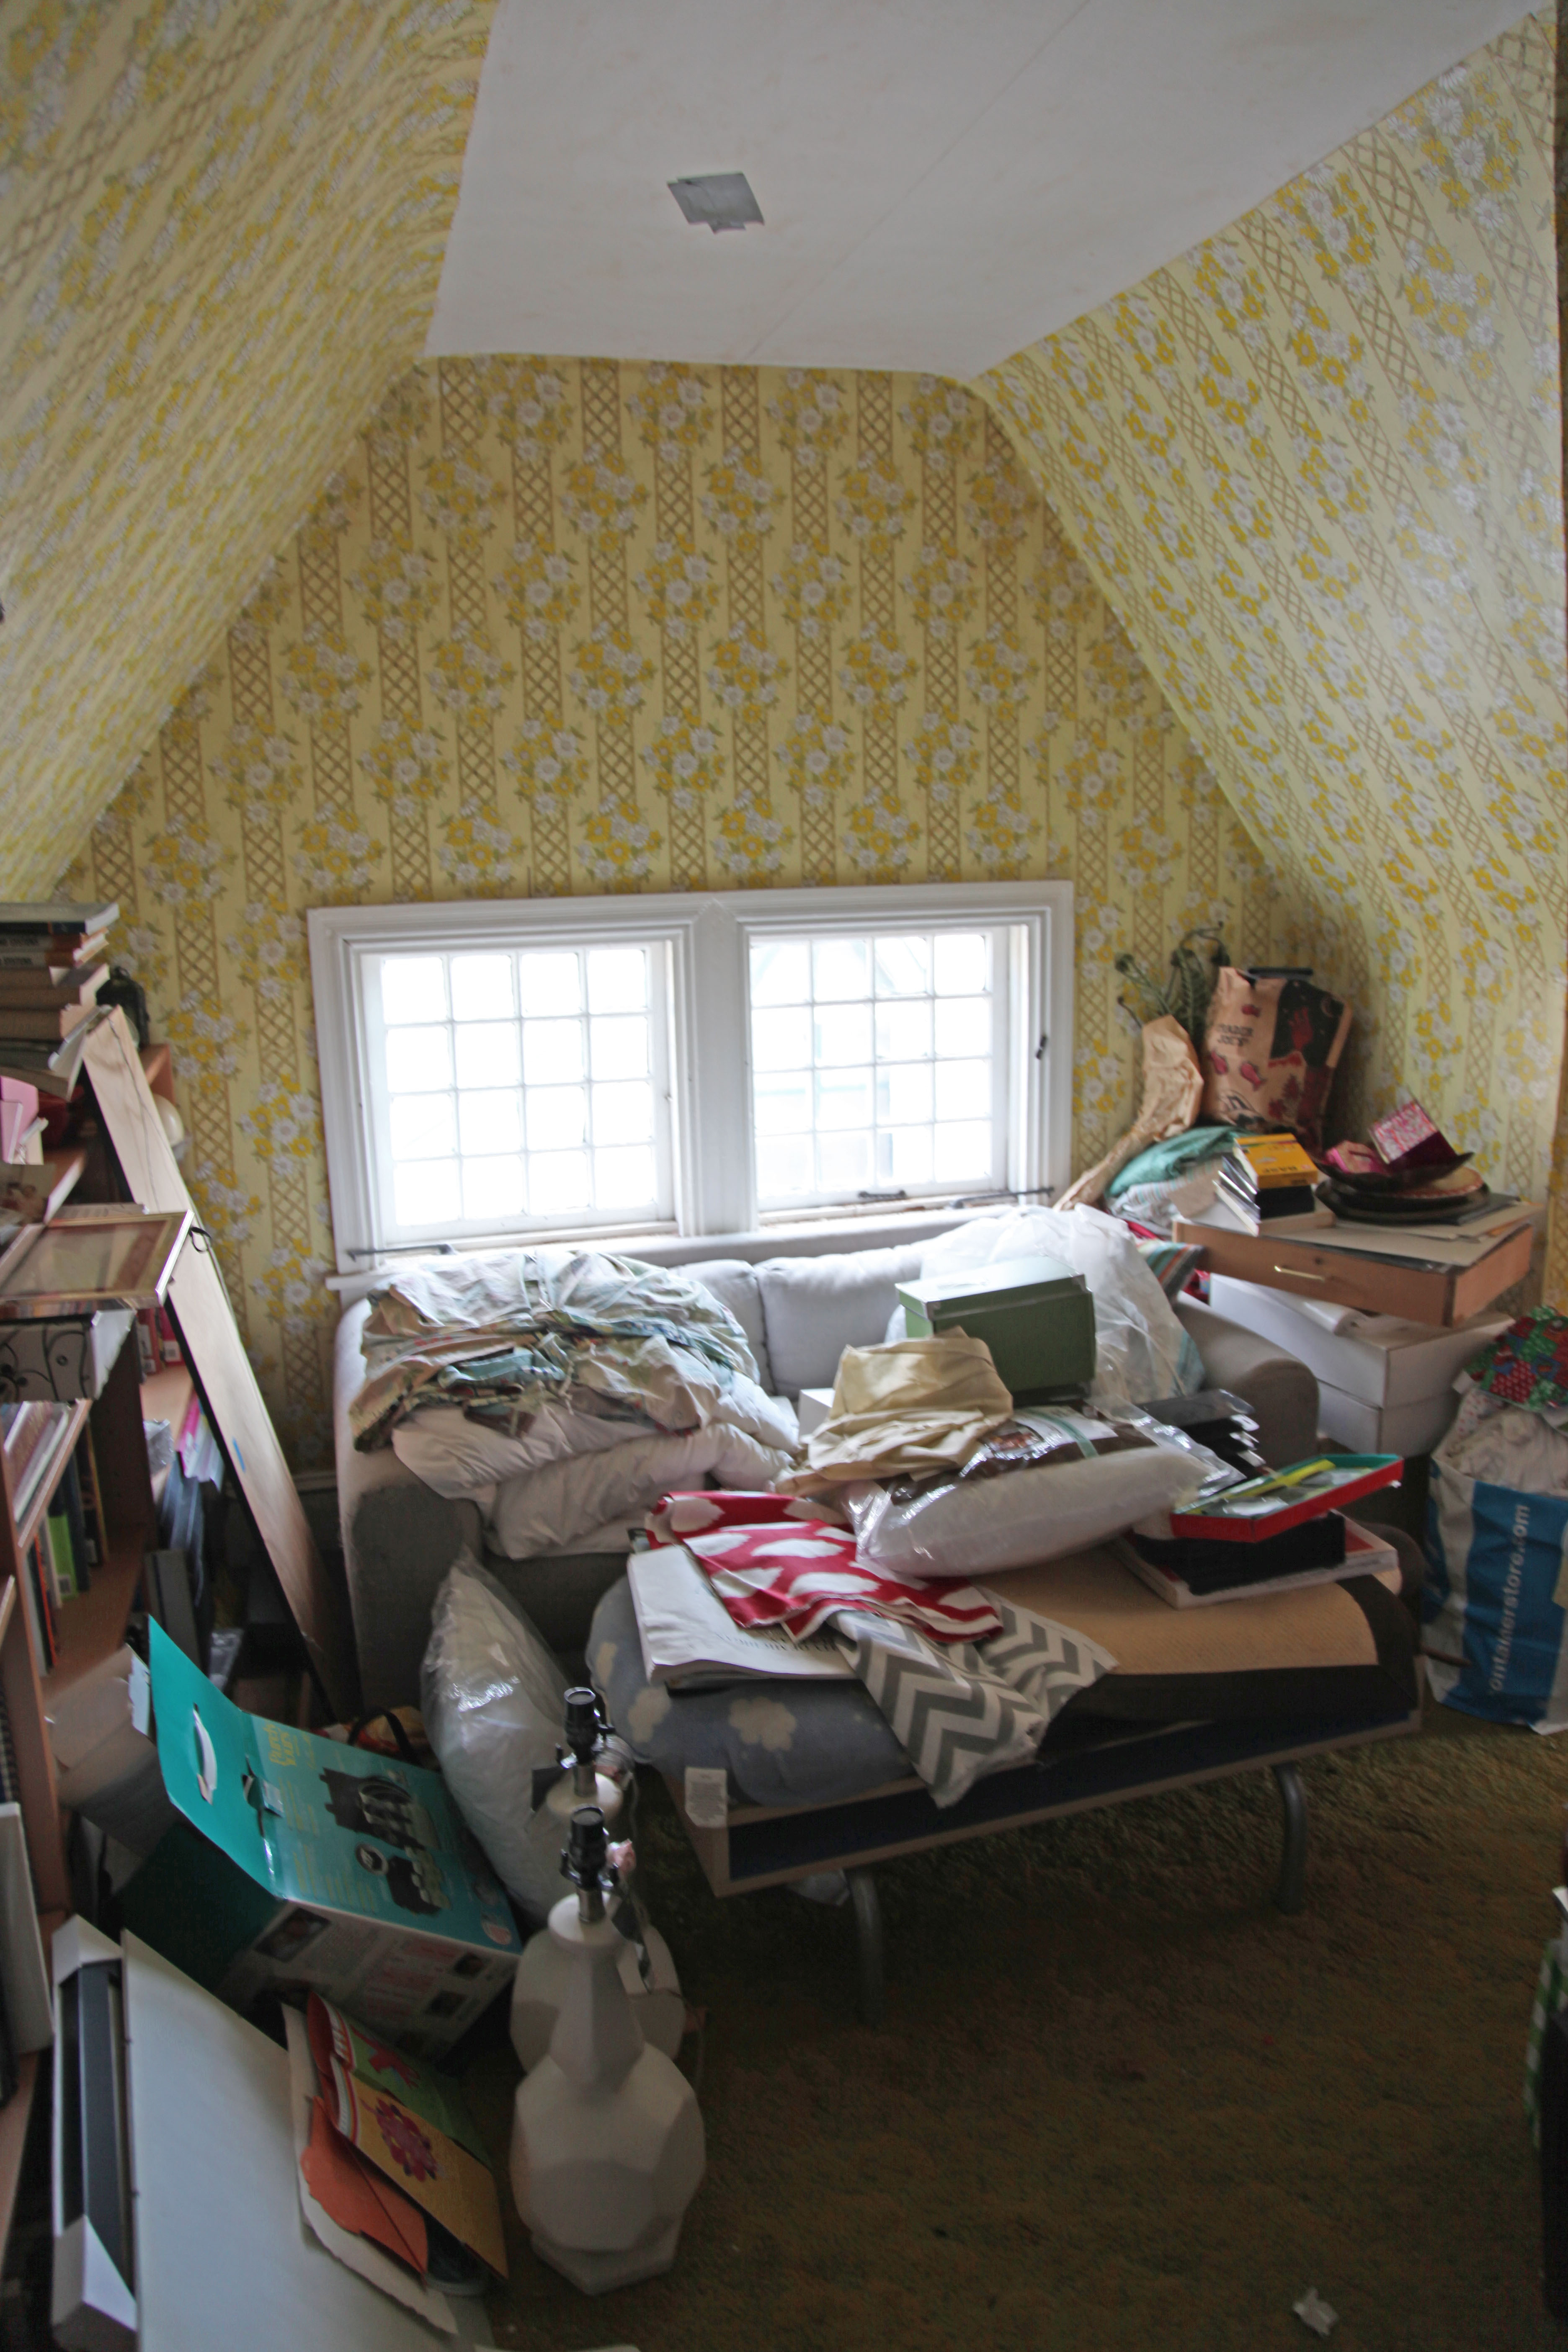
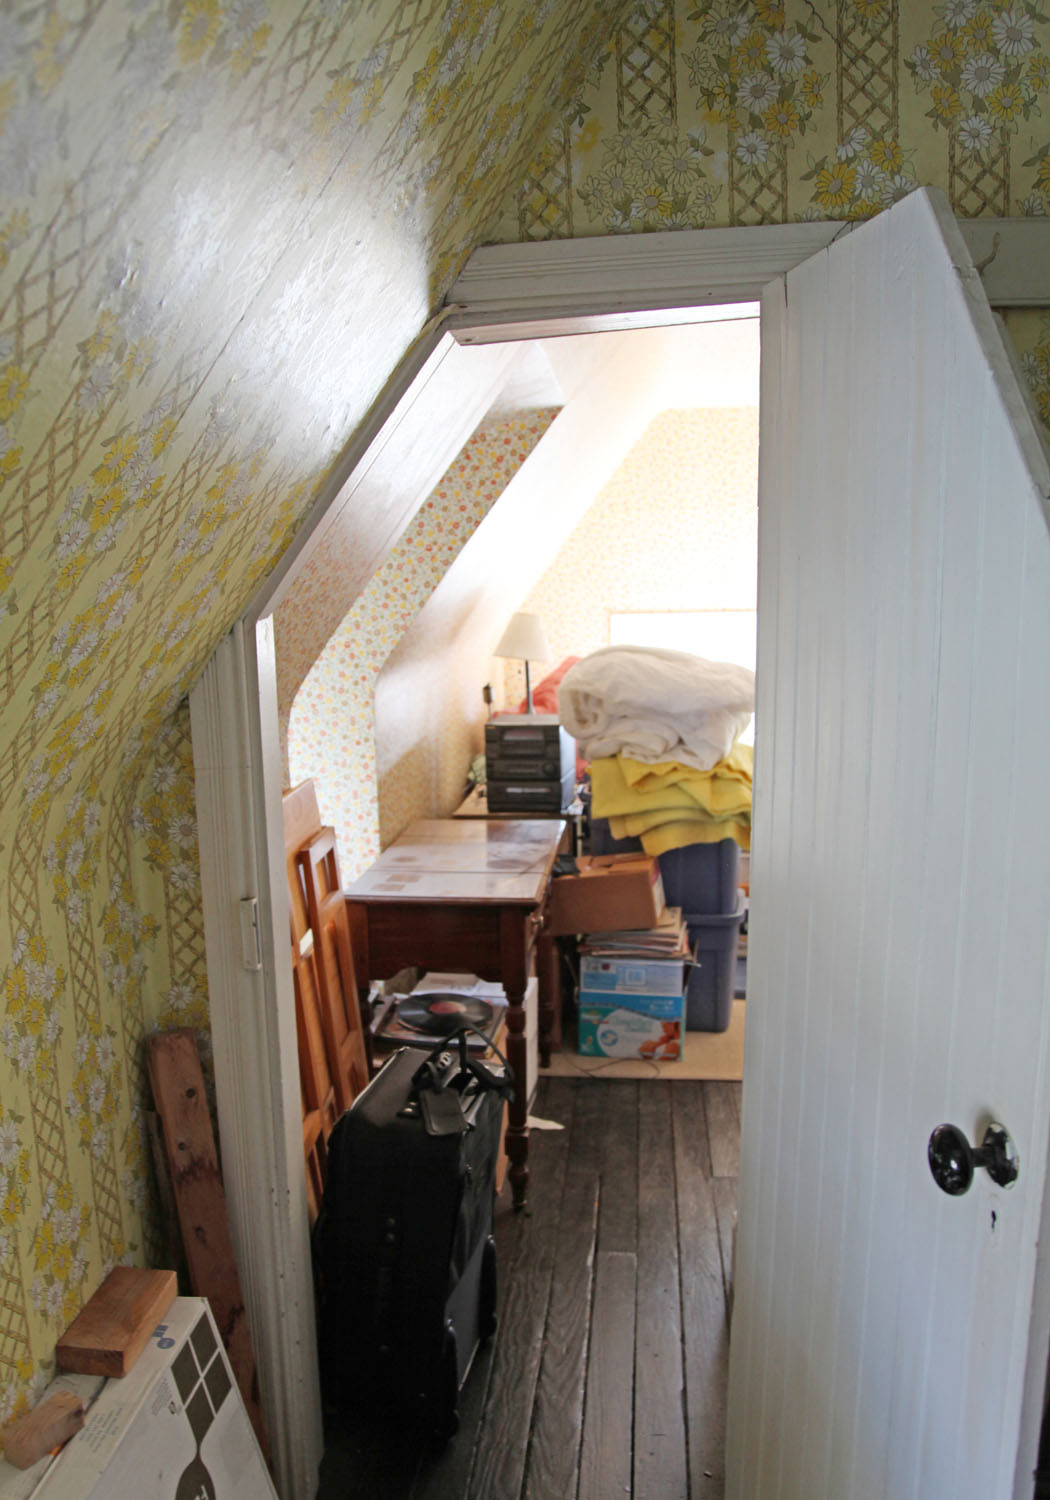
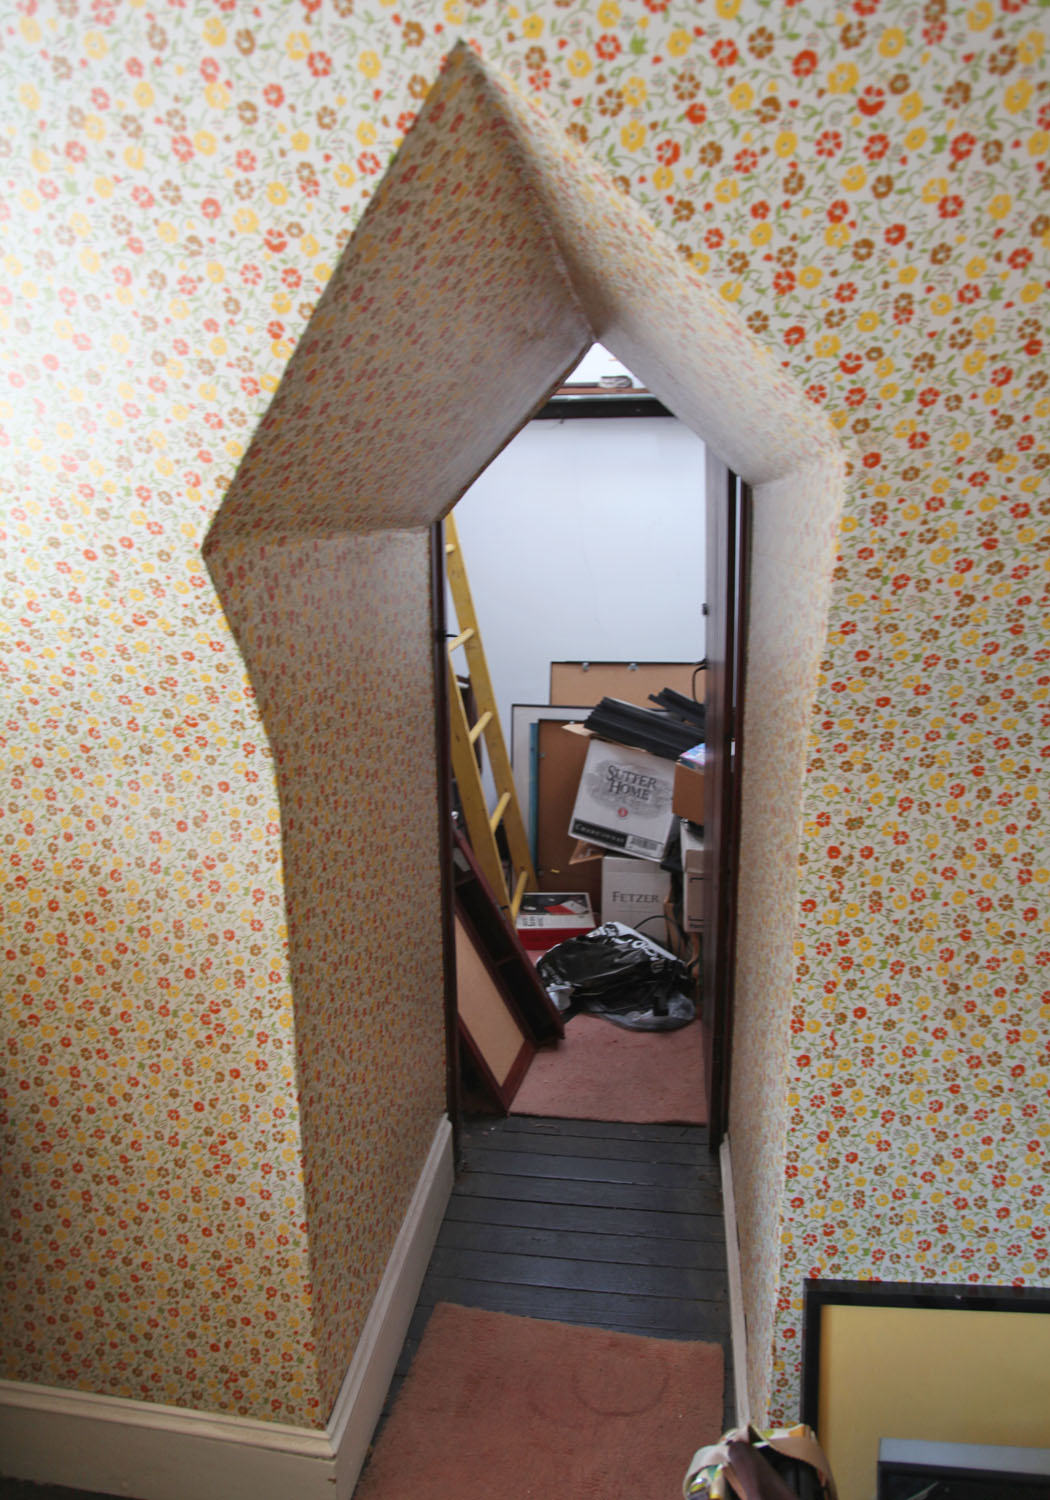
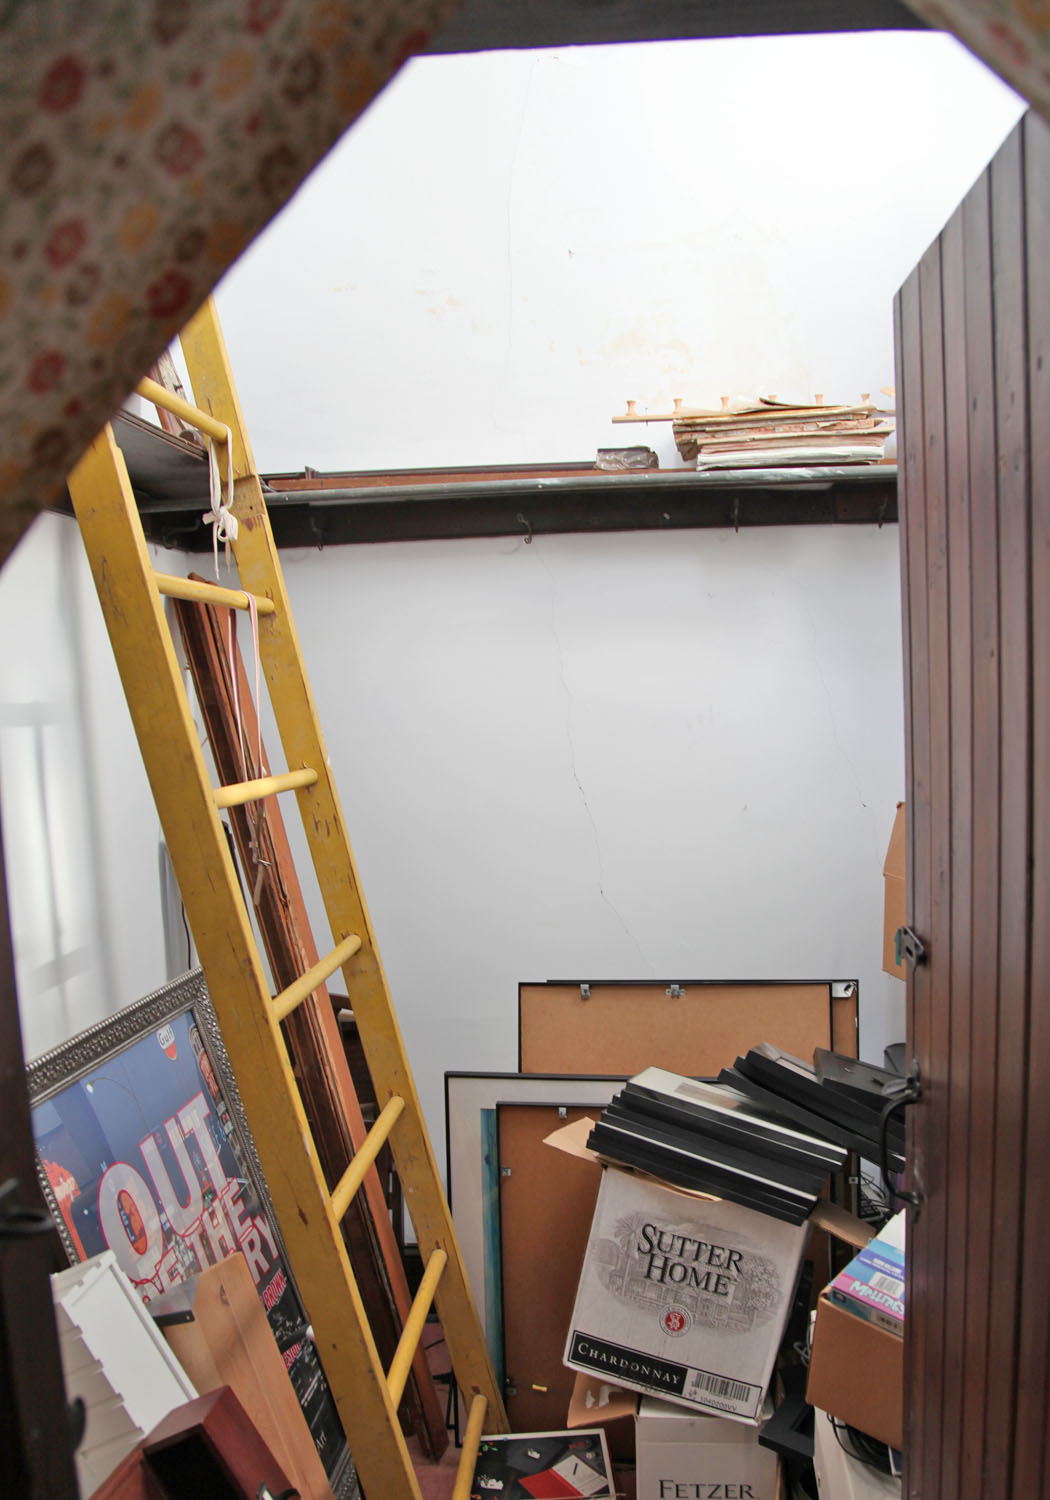
2. Empty out Third Floor.

Since we don’t have an attic, the third floor has become a dumping ground. We don’t necessarily have to take everything out, but we do need to take a large portion of things out (a lot of which we just need to get rid of).

section1d

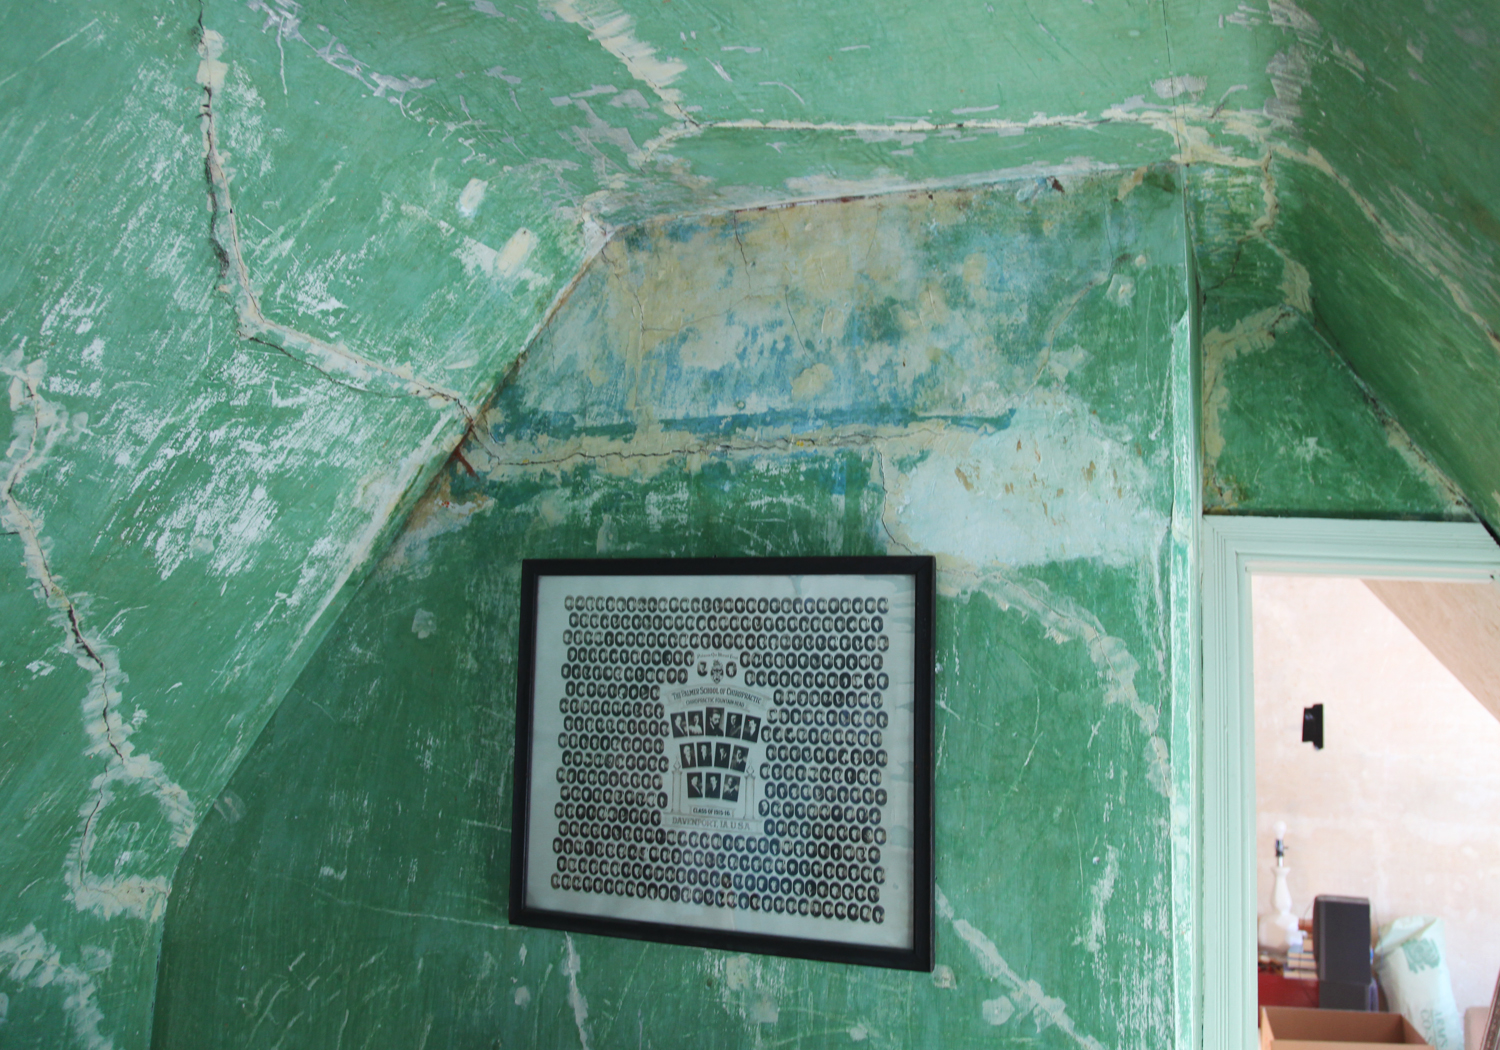
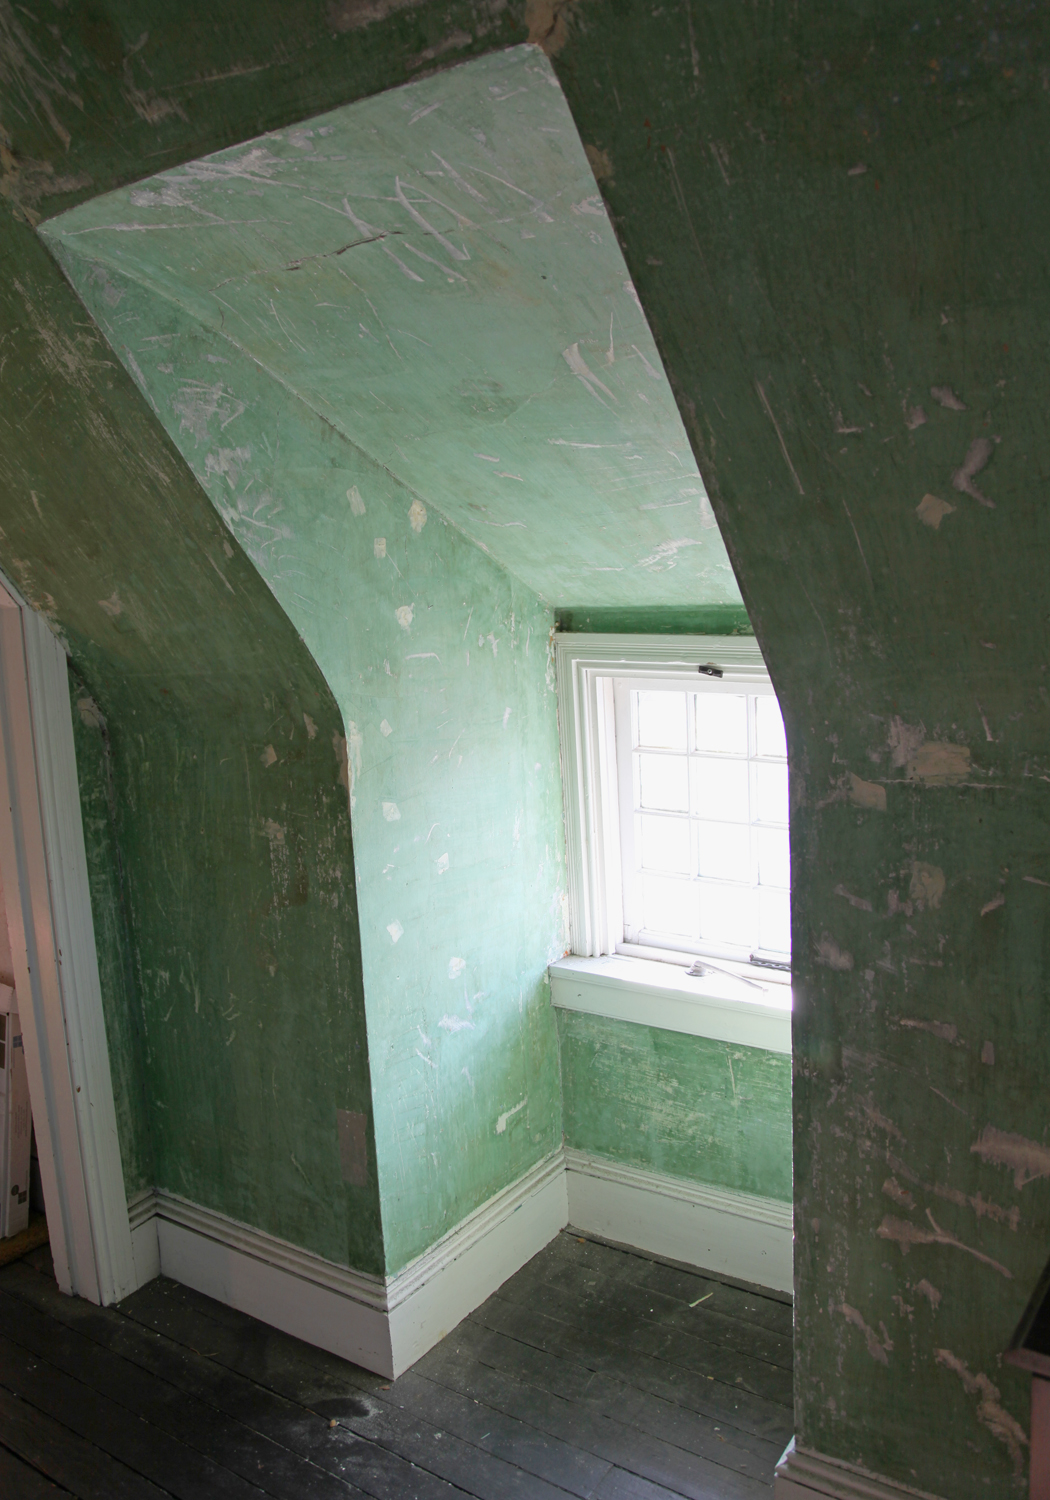
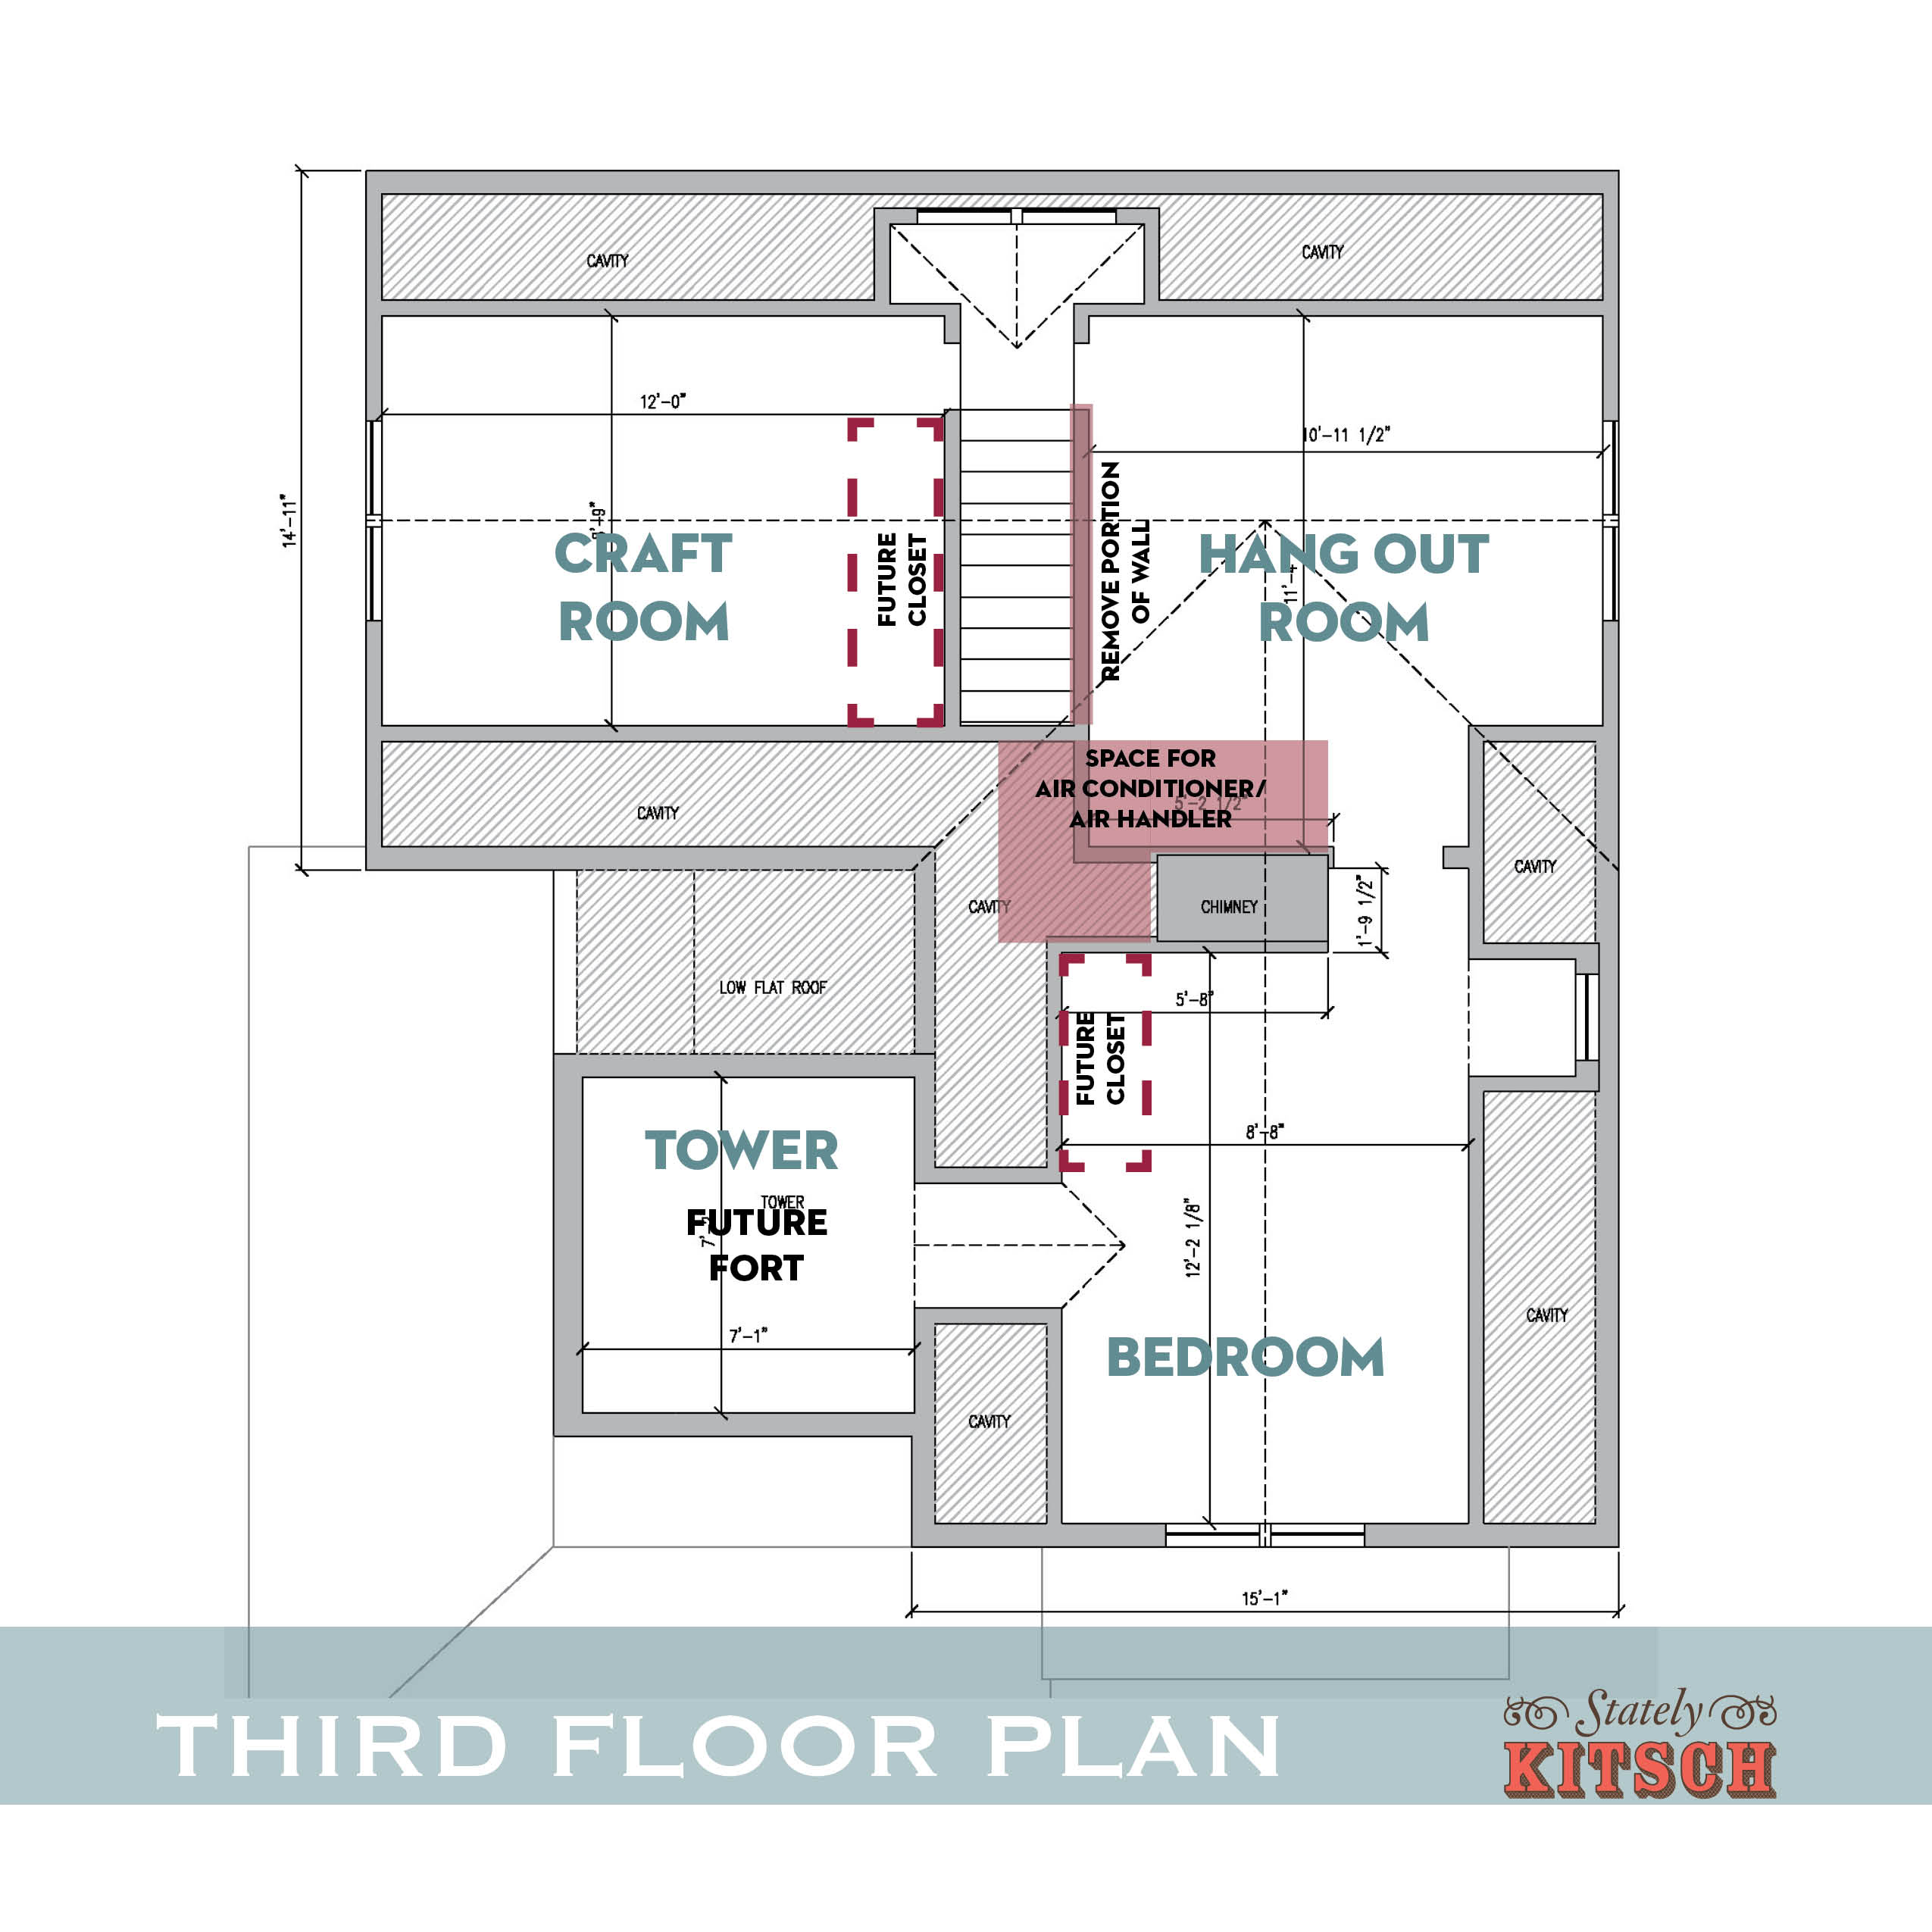
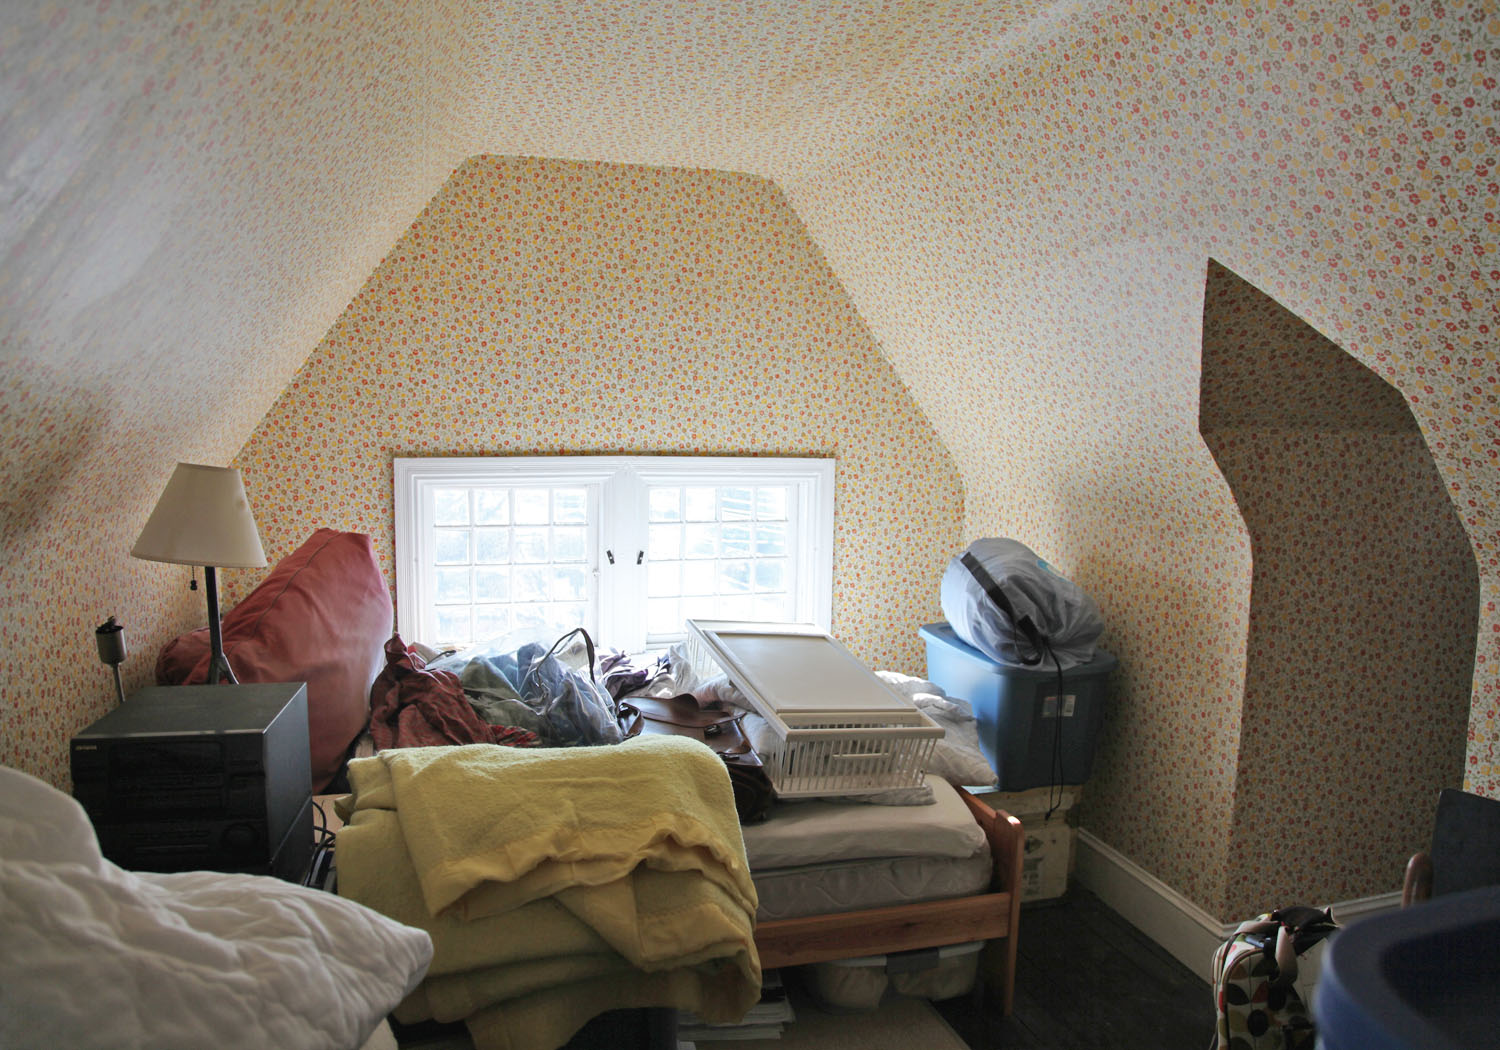
3. Demolish part of the third floor plaster eaves to allow for access for insulation and ducting.

Above is a section through the house at the hallway. The areas in pink are the spaces that we will be doing most of the work. It was a pretty good exercise to draw this up. Based on looking outside, we should have some extra cavity above a portion of the corridor. Interesting, very interesting! We are currently evaluating the best way to take out a portion of the lower plaster while keeping the upper portion in place.

4. Have the roof insulated (including sloped roof, flat roof over hallway and tower roof)

I am really hoping to use closed cell spray foam. It takes a very specific contractor to do this in existing walls. Fingers crossed we will be able to find someone.

secondfloorplan-before2

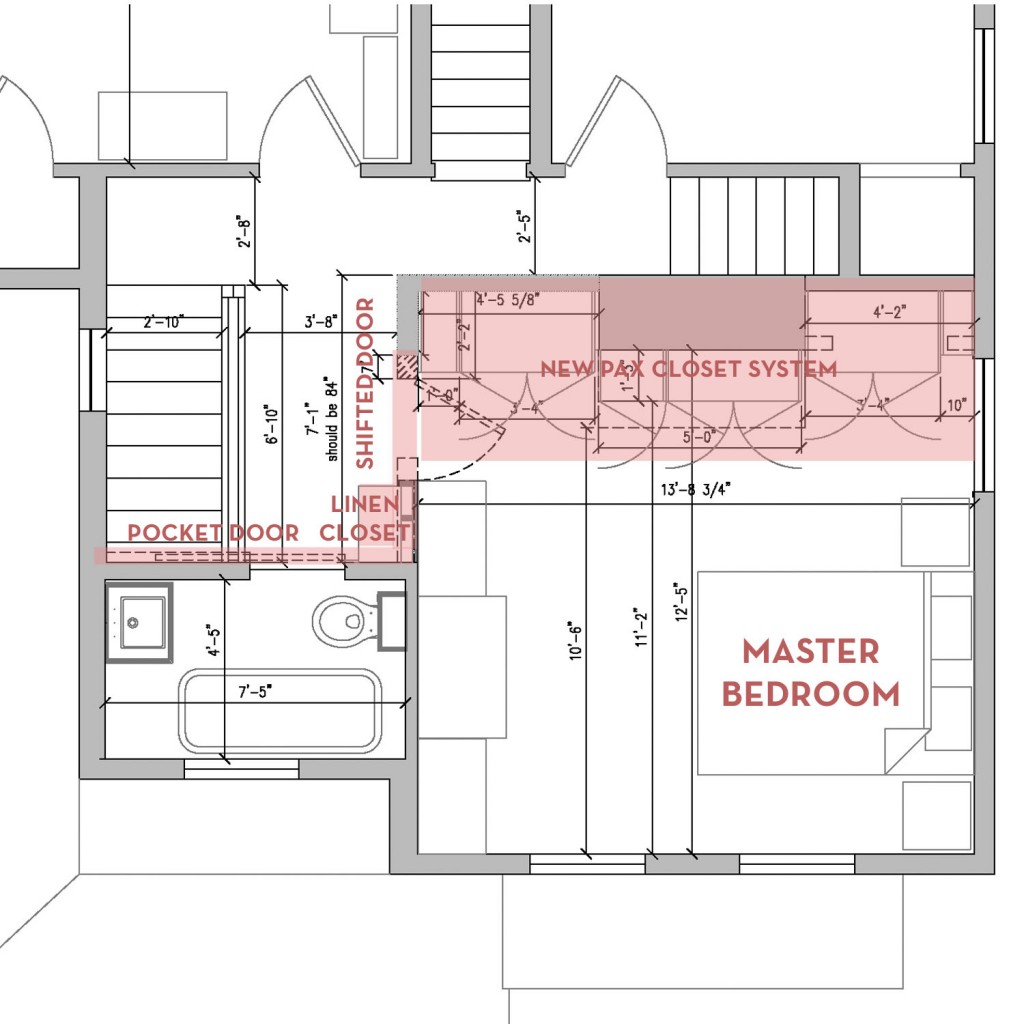
5. Demolish plaster in part of second floor hallway to allow for door to master bedroom to be shifted, to allow for new closet

To make the closet system work we need to shift the Master Bedroom door 7″. This will allow for a full depth Ikea PAX Closet System to be installed behind the door. I can’t tell you how much I dream of the day that this will be in place! We are also planning on running conduit in the wall that we are shifting for both the second and third floors.

6. Shift door to master bedroom and frame out for new pocket door for bathroom.

The wall to the Master Bedroom is structural, so it will need to be carefully structured.

7. Frame out area in Third Floor for Air Conditioning Unit

We will be adding a “closet” in one of the third floor rooms to house this unit. I still don’t know how big this thing will be. Hopefully not TOO big.

8. Run required electric up to second and third floor for air conditioning, ceiling fans and new third floor outlets.

9. Install air conditioning unit and ducts (in hallway and up to third floor through eaves)

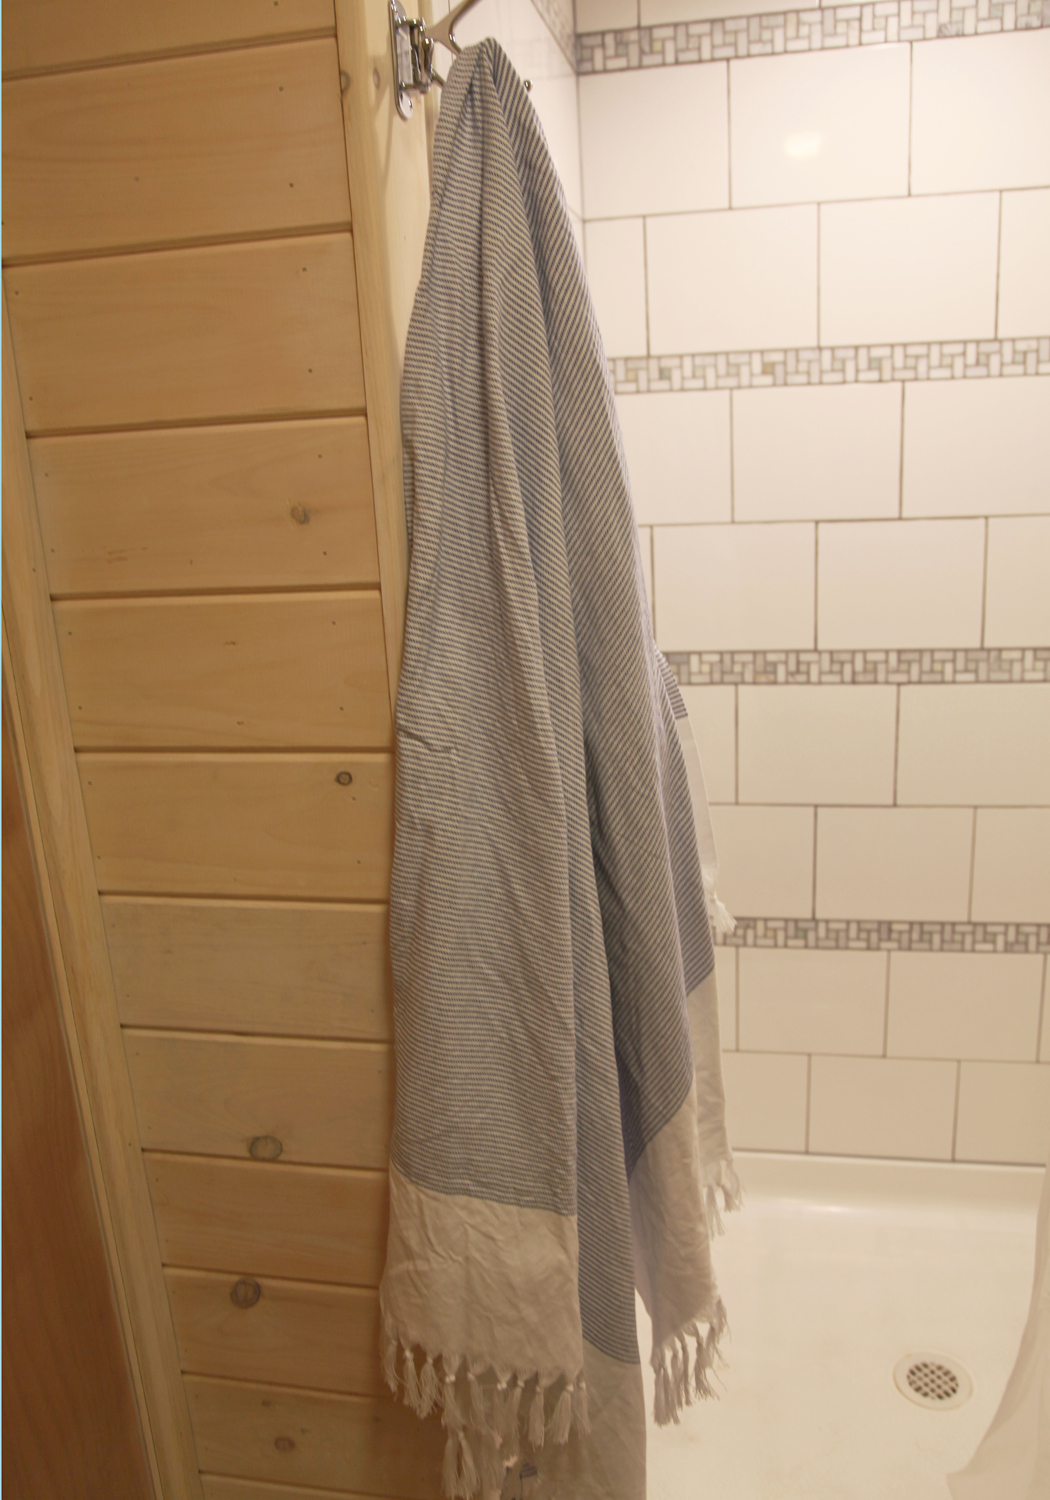
10. Install new exhaust fan/heater in bathroom

I’m not sure whether we will need to drop the ceiling in the bathroom yet. I do want to install an exhaust fan/heating unit like the one in the basement bedroom. We will have to see what we can make work.

11. Install new drywall ceiling in hallway, master bedroom and bathroom.

This will require framing below the new ductwork, but I can’t wait until we have a lovely new ceiling and some ceiling trim.

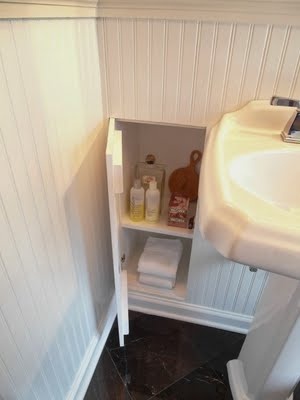
12. Install new linen closet in hallway and pocket door for bathroom.

The pocket door for the bathroom is really important, to avoid this door from interfering with the shifted bedroom door. It also allows for a small linen closet. We are hoping to reuse the bathroom door and reusing a couple of old cabinet doors that use to live in our basement. We currently store sheets in our bedroom closet and the towel are in a basket in the bathroom. It would be awesome to find a place for these things.

13. Install new closets in Master Bedroom

Did I mention that I can’t wait for these? I dream of all of the cool pullouts that I ooogle everytime I go to Ikea.

14. Install new trim in Master Bedroom and finally finish painting all of the old trim white.

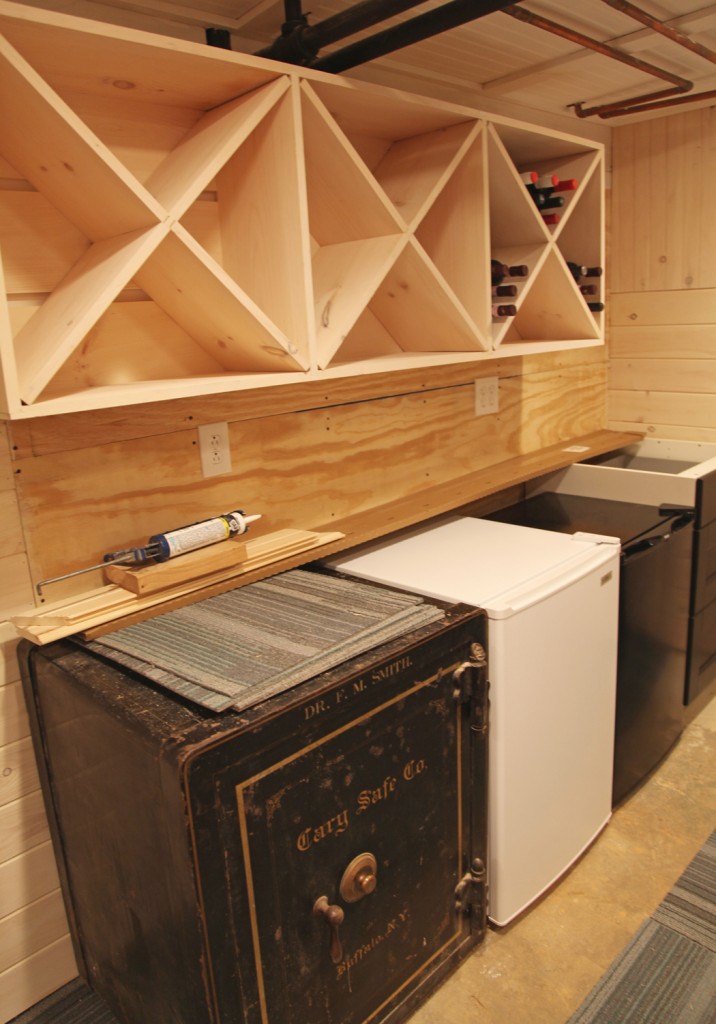
15. Design and Install storage in the eaves on the third floor.

This I’m sure will be a longer project, but I imagine all of that unused space!

16. Enjoy cool air conditioning.

Phew! I’m tired just looking at this list (and it took me 3 days to write this).

4 Comments

turkishtowel4

I know it is a major trend right now, but I decided to give Turkish or Fouta or Peshtemal towels a try. I actually tried them years ago when I was in college and visiting Istanbul for a few days while studying abroad. At the time I was confused and definitely not convinced. I thought these sheet like things are suppose to be towels? They seemed stiff (possibly starched) at the time and not at all luxurious (of course I was staying at an inexpensive hotel not really made for tourists).

turkishtowel3

So anyway, back to now. I have been seeing them pop up on a number of the sale sites and in some of the catalogs I get in the mail. I couldn’t believe how pricey they were ($40-60 a piece), although they are super colorful with fun patterns. But what finally convinced me to give them a try was reading a review of them on House*Tweaking. She is using them on hooks (like we do) and said that they dried more quickly. We have problems in the summer with the towels drying out properly, which leads to going through a lot of towels and spending more time then I would like ensuring that they are washed properly to get the mustiness out. Dana recommended this etsy shop. They have them in the $24 to $28 range, which compared to some of the other prices I have seen, wasn’t bad, but it still felt a little pricey for something I wasn’t totally convinced about.

turkishtowel1

So I had the idea stewing around in my head for a while.Then I saw a link on Little Green Notebook for a company that I hadn’t seen before called Nine Space. And as a bonus they are offering 20% off with the her discount code (LGN20). So I went over there and found some awesome deals in their sale section.

lapizfoutatowel

I ended up with the Lapiz Fouta Towel in navy. It is now listed at $29 but  a couple of weeks ago they had it for $16.99 + 20% off. So I decided to order 2.

So the verdict? These are generously sized at 40×71 and I quite like them. It is definitely a different feel, but I felt like it did as good of job as a plush towel. They are suppose to get more absorbent the more they are washed, so we will see how I feel about them in a couple of months. Mr. S. is still deciding undecided/not fully convinced. I think my favorite part is the nice texture of the cotton.  They hang nicely and up close the weaving is very pretty. I also picked up a turquoise one for the pool and to use as a wrap, which I think will be a much needed stylish upgrade.

Has anyone else given these a try?

4 Comments

basement-artwork1

As part of my New Year’s resolutions for our home, I am trying to try mix some small fun projects in with the big, expensive and laborious ones. So one of the first things on this list was hanging up the Moravian Tile that Mr. S. bought me for our Anniversary last year (or was it Mother’s Day). Moravian Pottery & Tileworks is adjacent to Fonthill (where we got married), so there is a lot of sentimental attachment to these, especially the one on the left, as it resembles Fonthill.

I picked up a frame at Ikea a few months ago (which appears to no longer be available). I liked that it had some dimension to it, so that the tile would be recessed in the frame. The first step was choosing a background paper. The frame came with either a white or black board as the backer, but I thought they were a little boring. So I went through a pad of scrapbook paper that I had on hand.

basement-artwork4

I tried a bunch of patterns including this crazy one but settled on this blue textured pattern instead.

basement-artwork3

I mounted the tiles with Scott Permanent Mounting tape (it is about 1/8″ thick and a little squishy) that I picked up at Staples.

basement-artwork5

I cut holes with an exacto through the paper to allow the tile to adhere directly to the backerboard from the frame. The tape claims that 4 pieces hold 1 lb so I should be well covered (I used between 2 and 3 on each depending on the shape).

basement-artwork2

I spent about a half hour on the project (not including going to the store to get the tape). I am pleased that the tile are up but I am not happy with the paper backing. It is a little puckered and the seams are visible. I think I am going to see if I can find a piece of scrap wallpaper or something and try again.  At least for now they are up and not sitting in the drawer.

Does anyone have any other ideas for mounting these?

3 Comments

piano-valentinesday

I hope everyone had a nice weekend! We had a good one here. I am finally feeling better and some time with the family was just what I needed. So for once I actually have my decorations up early! I was taking down some more of the Christmas decorations and I decided to go ahead and decorate for Valentine’s Day.

piano-valentinesday4

Funny enough the inspiration came from a Christmas ornament. I ordered a couple of clearance ornaments at Urban Outfitters a couple of weeks ago. One of them was this LOVE one, no doubt inspired by Robert Indiana’s LOVE sculpture in Philadelphia (a favorite of mine). I was getting ready to put it away for next year, but then I thought it might make for a good Valentine’s Day decoration.  I pulled out some red books from the Living Room bookcase and decided to leave out some of the pink Christmas ornaments. Finally I mixed in some white ceramics that I am starting to collect.

piano-valentinesday3

The tree stump ceramic box is new. I picked it up at 90% off at Target. It is actually from GamaGo (which is usually known for its cartoon characters and t-shirts). I had seen it right before Christmas and thought it was cool, but for $19.99 decided to pass. When I saw it in the clearance section it didn’t even have a tag so I brought it over to the price check machine and was happily surprised when it came up at $1.99. There was only one, so I quickly put it in my basket. The ceramic acorns and pine cones are also a post Christmas 70% off sale from Target. The squirrel unfortunately is not. He is from Jonathan Adler, we picked him up this summer on our trip to NYC. He usually lives on our desk.

piano-season1

I like to think that I am getting better at “staging” this area. I guess there is nothing like practice and spending some time looking through a camera lens.

3 Comments