Archives For -Half Bath

Back in 2005 (before we started the kitchen renovation)

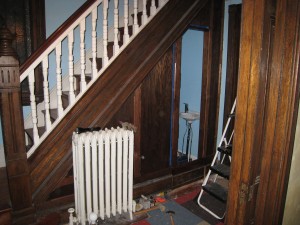
If you look closely you can see that there was some kind of built-in previously installed on this wall. Although the base molding was still original.

View from the kitchen (when it was the dining room)


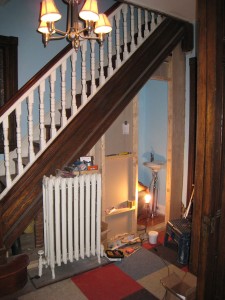
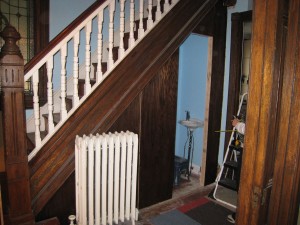
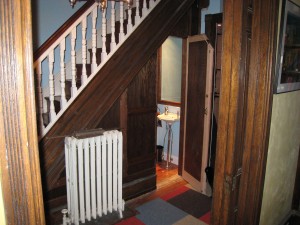
Our half bath was originally an awkward closet under the front stairs. We used it for coats and storage but it wasn’t as useful as it could be. So we decided that it would be best used as a half bath (reluctantly loosing the only closet on the first floor). Back in 2005 (before we started the kitchen renovation) we decided to take the wall down between the closet/future half bath and the hallway (so that we could close off the door to the future kitchen). The space sat like this for 2 years (while we redid the kitchen, dining room, back desk and had a baby). The half bath wasn’t a priority until after the arrival of our son and we started to have more visitors to our house (and the idea of a second toilet started to become an issue). We gave ourselves the deadline of Thanksgiving and put ourselves to work.

The back of the drywall from the kitchen

New studs for the back wall and storage shelf

New 2x3 studs for the wall/paneling.


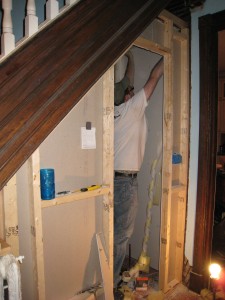
We had already done most of the demo. First we needed to carefully remove the baseboard (for cutting and reinstallation). Then we decided to take out the old studs (which were a non-standard size and not very plumb) and replace them with 2x3s. We were very tight on space and had to make the new paneling fit behind the original location of the baseboard (by using 1/2″ plywood and 3/4″ deep trim). We also wanted to fit a mirror we already had which was a very tight fit.
Also we needed to access the space below the stairs to install a new duct for the dryer below (and add some insulation for good measure). Then we had the pluming roughed in so we could decide where the wall between the dead space and the half bath would go. In the end that wall moved back about 10″ to allow for the toilet waste pipe to sit in between 2 floor joists and give us enough floor space in front.

Mr S. Installing the drywall

The dark gap shows the difference between the old wall and new wall behind the toilet.

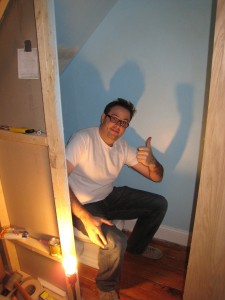
Mr S. testing out the toilet.


Next we installed the drywall to the inside, spackled and painted. Then we had the plumber come and hook everything up. We used an extra tiny sink (15″x11″) and a round bowled kohler memoirs toilet. When looking for toilets in a small space make sure to check the total depth (the memoirs is about 28 1/2″ deep).

Wall before paneling

Wall after the wood veneer plywood back was installed.

Wall as we are starting to construct the door.

Door installed (staining not complete)

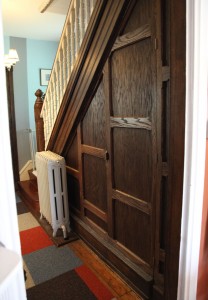
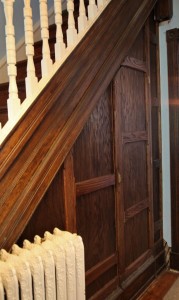
Finally came the new wood paneling and door. I had the lumberyard rip down some oak veneer plywood to the proper widths. Then I cut them to the right lengths with a jigsaw (the edges were going to get covered with trim so I didnt’ need to be too precise). Then I stained them outside and installed. Next I installed the vertical and horizontal trim (with a chamfer reveal). I worked out the pattern ahead of time to make equal widths that would work with the door opening. Finally we constructed the door out of the same plywood and thicker wood pieces and installed matching trim on the front. The door is not quite as sturdy as I would like. One of these days I will get around to reinforcing it some more. We did manage to finish it on Thanksgiving morning (just in time).

Take a look at yesterday’s post to see how the inside came out. You will also see that I still haven’t patched the plaster in between this wall and the kitchen doorway. Hmmm….one more thing to add to the list.

Finished Door (looking from Kitchen)

Finished door looking from front door.

2 Comments

Sink Before

Toilet Before

We added a half bath on the first floor of our house a few years ago (carved out from under our staircase). Originally the space was a really awkward closet off of the old dining room (now kitchen). It didn’t function very well and we wanted to remove the old door and add valuable wall space in the new kitchen. We did a little testing (i.e. can a guy stand at the toilet and not hit his head) and determined that with a VERY small sink you could fit a half bath in the space. We put off finishing this because it wasn’t a necessity (like the kitchen) and we were busy in babyland. Well we managed to finish it back in 2007 with Sam in a bouncy seat (it feels like forever ago) but we never spent much time putting the finishing touches on the space. I will have to do a separate post on actually making the room and paneling.

Anyway, back to my story. The room is now very well used thanks to a potty trained child and lots of visits from grandparents. It was looking a little bare and ugly. Also we have some storage issues (i.e. lack of storage) So I gave myself a $50, 1 hour challenge. What could I do to improve the space in little time with only a little bit of cash.

Pretty New Products

Sink After

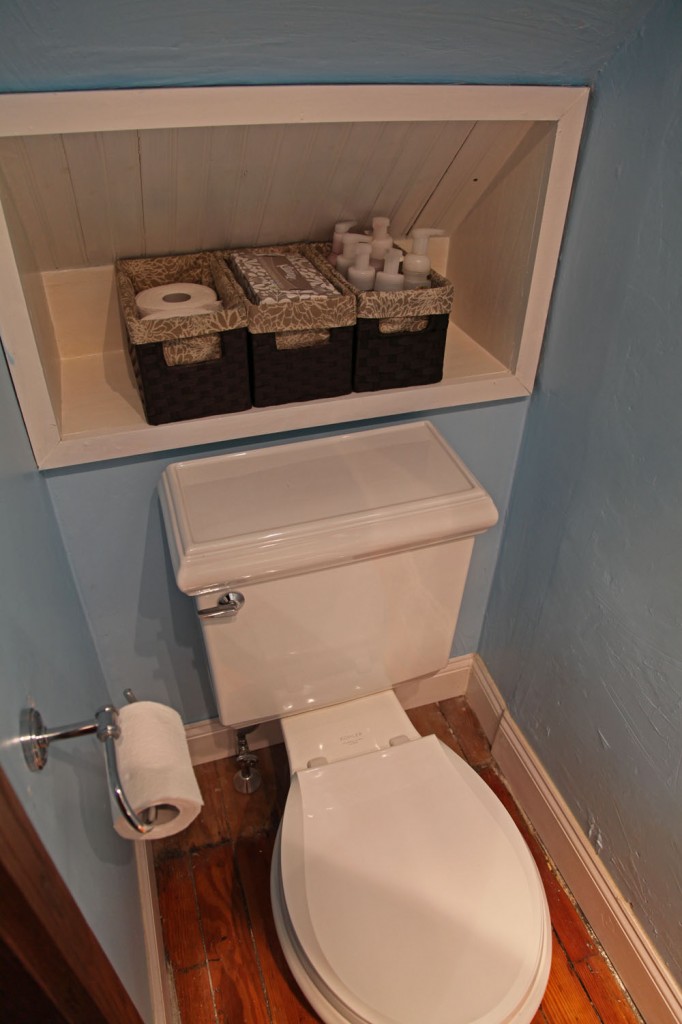
Toilet After

Sink with "new" Picture

Here is what I did today:

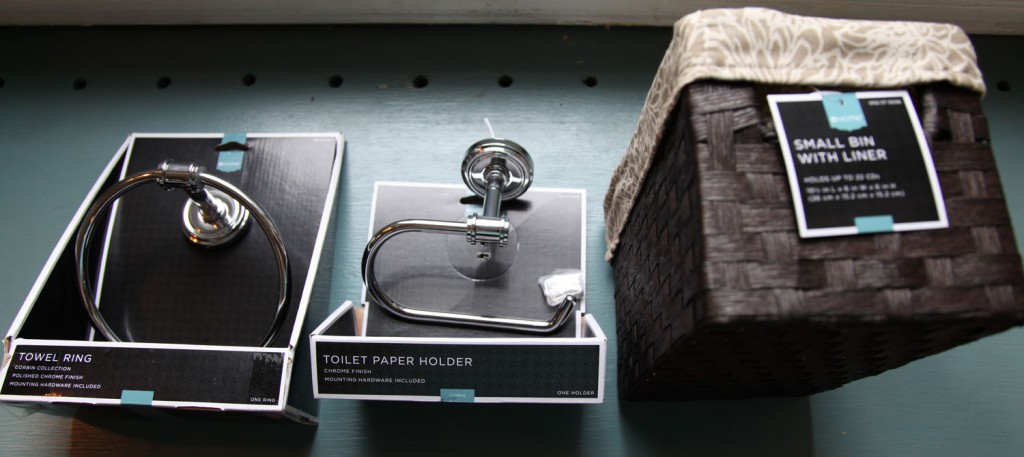
-Changed out the towel ring for a chrome version  (for some reason I originally bought an oil rubbed bronze finish even though the faucet is chrome) Corbin Towel Ring from Target $9.99

-Changed out the toilet paper holder (originally I bought a “vintage” looking one really cheap, but the finish didn’t match anything and it was a pain to replace the toilet paper). I specifically chose one that would be easy for little hands to change the toilet paper. Corbin Toilet Paper Holder $12.99

-Changed out the garbage can for one with a lid and matching chrome top. Target $24.99

-Added already owned artwork (C.J. Groth photo from Havana)

-Added baskets to back shelf (I already owned 1 but bought 2 more) Target Paper Rope CD Basket 2 @ $6.99

Total Spent: $61.95 (a little over but not too bad)

Still to Do:

-Find a prettier soap dispenser that make “foam” (kids preference).

-Find a couple of pretty towels. hmmm….I have some Orla Kiely kitchen towels that I might have to look at using.

-Patch the walls from the old towel rack and toilet paper holder

-Patch some flooring that didn’t get finished when we did the room the first time

-Once the kids get a little older add a fabric skirt to the bottom of the sink.

So, not perfect and glamorous, but a little bit prettier! What do you think?

5 Comments