Archives For -Bathroom

Second Floor Update

March 26, 2013 — 6 Comments

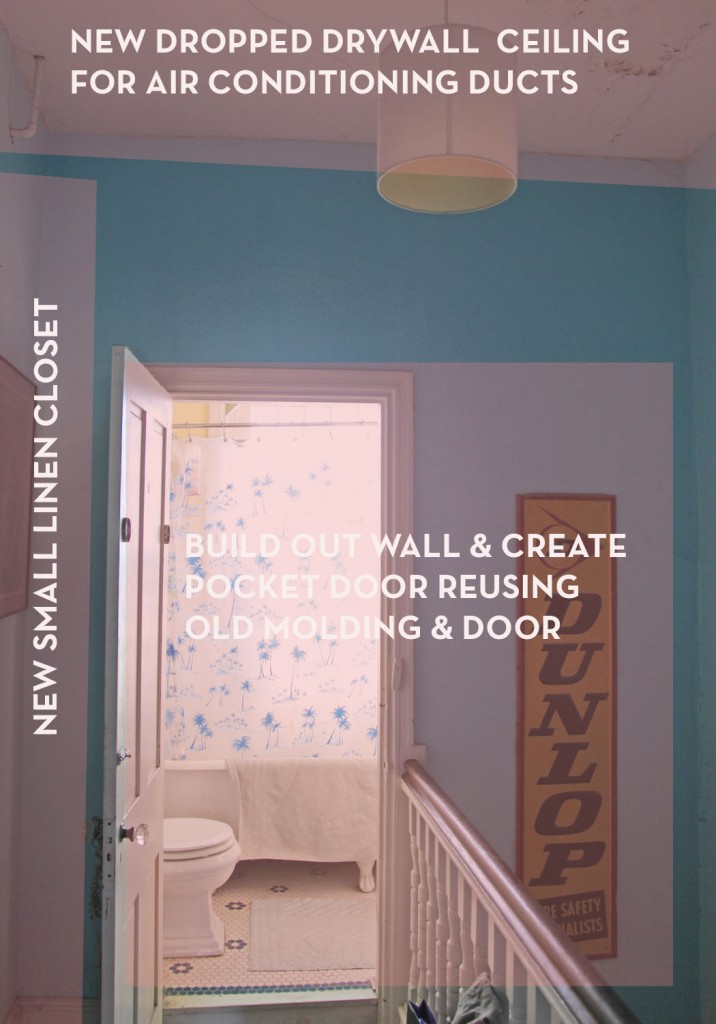
hall-before-glass

We are slowing making progress here. We are in the midst of a stomach bug epidemic, so life has been moving a little more slowly than usual.  The contractor was just here to go over moving the master bedroom door, discuss options for the bathroom door and the handrail and show him the plans for the electric. Mr. S. and I also managed to start clearing out our bedroom in preparation for moving the door over the weekend. That was actually quite therapeutic, and it feels good to get a good bit of clutter out of the space. Of course our playroom and garage are almost full and we still have one closet in our bedroom that will require emptying and demolishing. I am thinking that we may be installing our bedroom closets piecemeal so that we can continue to function. The alternate option is to empty out the space and work like mad for a couple of weeks. Currently that seems unlikely as there are a number of trades to coordinate. Which reminds me that I have a delinquent roofer to get a hold of.

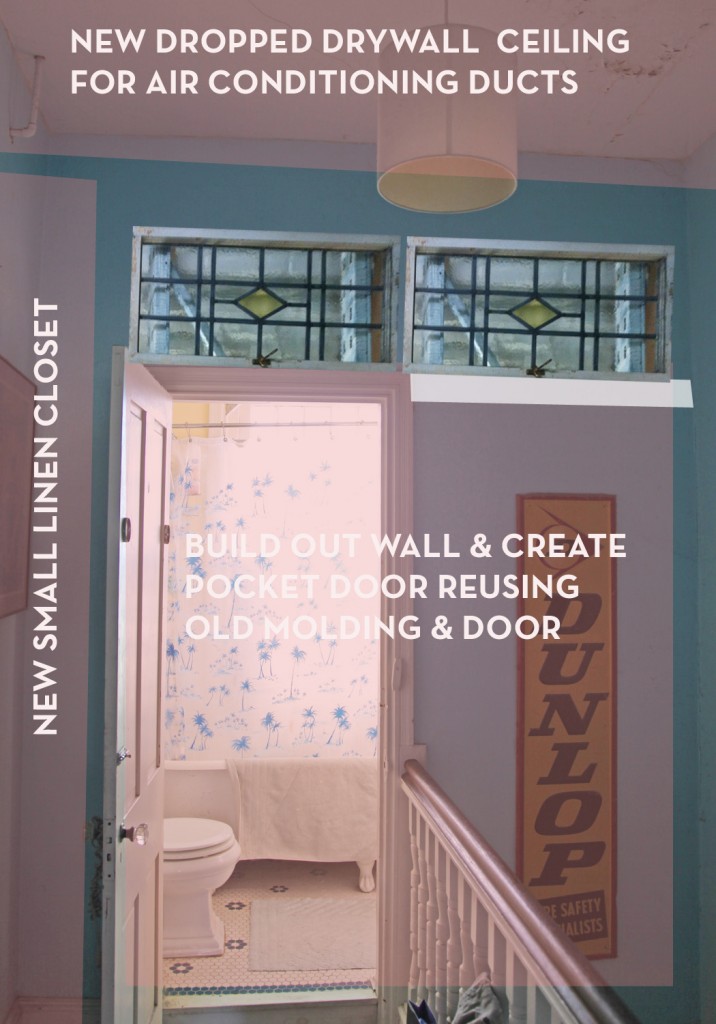
bathroom-elevation

I thought I would show you my drawings for the bathroom wall since there isn’t a lot in actual progress to see.  In the picture above I threw in a couple of stained glass windows to see what I thought of adding them to the space. Of course this project cannot continue without some sort of scope creep! Since we are going to be working on this wall I thought it would be nice to add some light into the corridor from the bathroom. Well then we need windows. And well if we are going to add glass, why not add stained glass?

I think my contractor thought I was a little crazy, although he should know how I work. He did think my linen closet was ridiculously small (hey, I don’t have one, so any closet no matter how small is an upgrade).

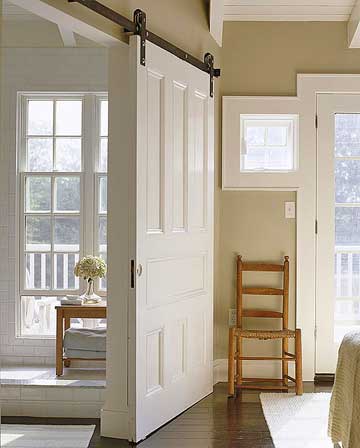
Industrial-Barn-Door-Hardware1

I think I have decided in favor of exposed barn door hardware over a hidden pocket door. This one from Rustica Hardware is in a dark bronze finish which I like. The wheel are actually wood, which I think is pretty cool. I will be pairing this with a more traditionally styled Victorian Pull.

pottedflowerpocketdoorhardware

This potted flower bronze pull is from Charleston Hardware Company. It has the daisies which are always a favorite of mine. We will have to use some sort of latch to lock it, since the door isn’t thick enough for a locking mechanism.

ceilingfan-acquabronze

On the ceiling in the hall we are going more industrial again. I had been eying a different ceiling fan but I saw this one (Acqua Ceiling Fan II in Textured Bronze) for a great price on Joss & Main and decided to go ahead and order it. The whole unit rotates in addition to the wood blades. Overall this space is going to be a bit more eclectic and industrial then some of our other spaces in the house. Our first floor tends to stick much closer to the Victorian feel, but upstairs I think it is okay to have a little fun. I’m sure some future owner will abhor by choices, but I am liking the direction. And frankly most of my choices could be changed to something more traditional fairly easily.

What do you think? Have I lost my mind? Am I headed toward some sort of Victorian Steampunk craziness?

6 Comments

We have been busy doing some not so glamorous or photogenic work in the last week. We have been trying to get the third floor cleared out enough that we can it insulated shortly. I wasn’t in such a hurry but my spray foam insulation guy has some openings in the next few weeks, and I don’t want to not take advantage of that.  Mr. S. even spent a good portion of Sunday up there going through stuff and purging. The last step will be giving up my garage space in the coming days to store some of vast piles of stuff while the work is done. I also need to move some of the potential Craigslist items out there. Anyone in need of some old ikea furniture? hahaha…

So while I hurt my back, I thought I would show you some of my inspirations for the second floor bathroom and hallway.

hall-before3

We will be adding some sort of sliding door to this room. I am conflicted between a pocket door (more historically accurate) and an exposed rail system. Doesn’t this rail look cool above? I’m a little nervous though that even if it is cool, it might not be quite right for the house. Although we do now have an extra newel post to install at the railing to allow the door to pass behind it and over the staircase.

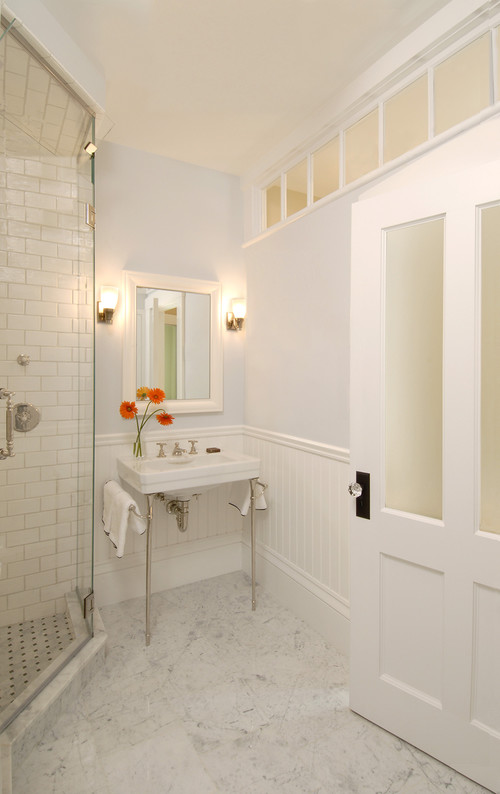
Along with this I am contemplating adding a transom window above to add some additional light. Probably not all the way across, although I think that is pretty cool. The hallway is a bit dark since the only natural light comes from the stained glass window and the surrounding rooms. So far I have not convinced Mr. S. that this is a good idea.

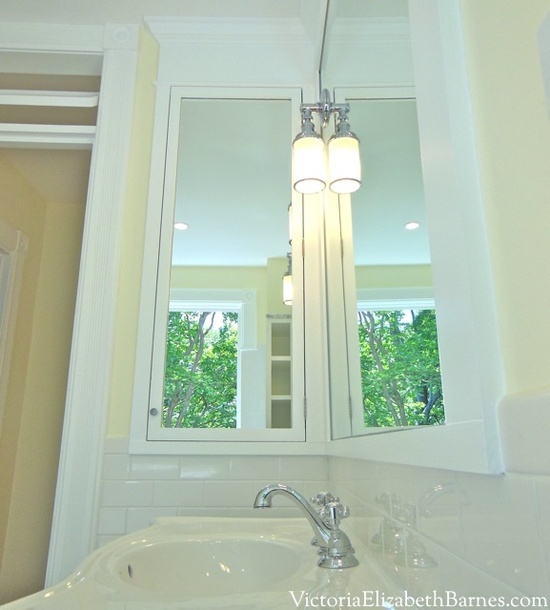
I am also in love with Victoria’s bathroom renovation (which if you haven’t seen I highly recommend). We won’t be gutting anything major here, but I really like the side medicine cabinet that her husband created. We can’t install one behind the sink since it is an outside wall, but we could put on on the side wall (behind the new sliding door).

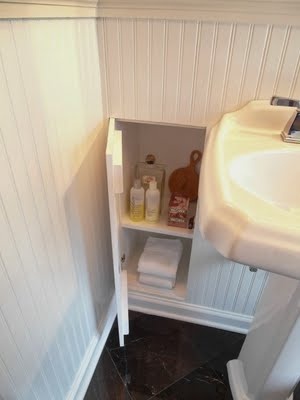
Finally I like this little recessed storage niche. I am thinking that a small one near the toilet would be perfect for extra toilet paper and other unmentionables.

11 Comments

turkishtowel4

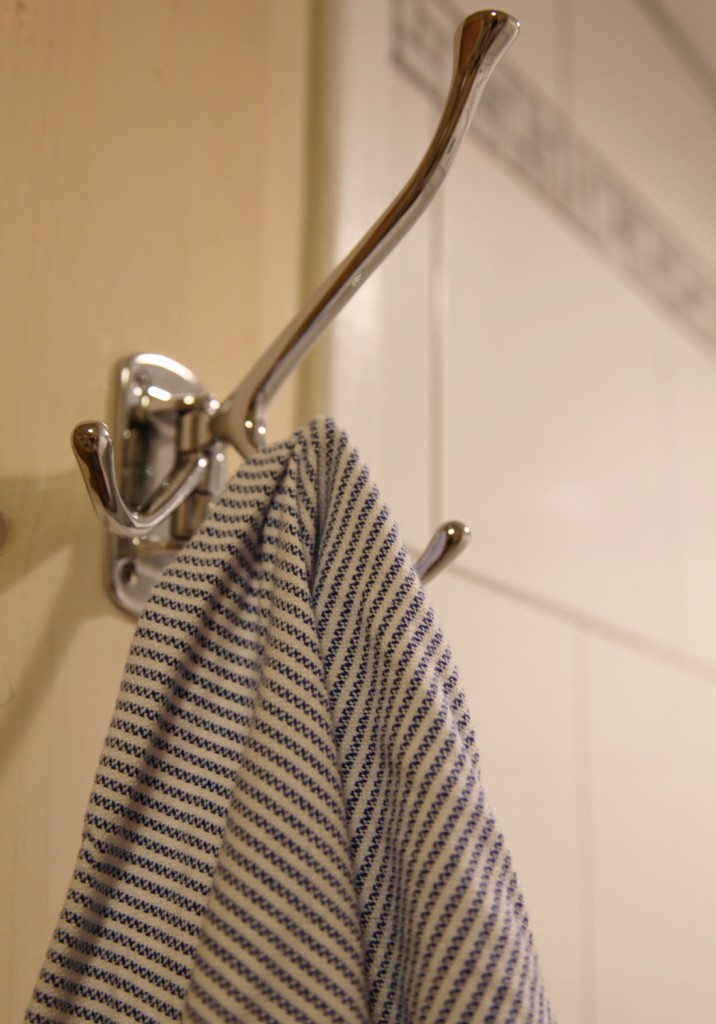
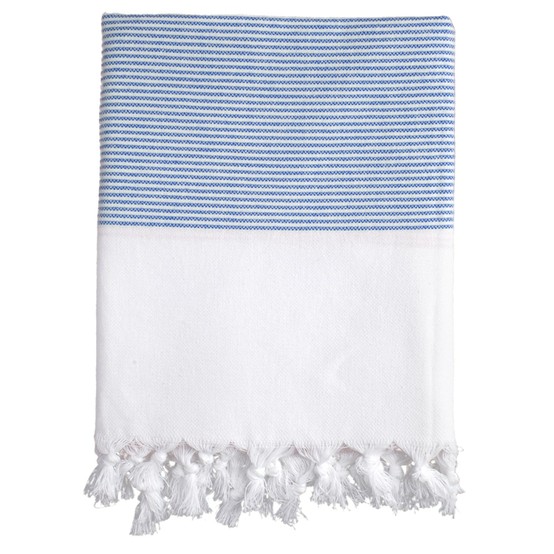
I know it is a major trend right now, but I decided to give Turkish or Fouta or Peshtemal towels a try. I actually tried them years ago when I was in college and visiting Istanbul for a few days while studying abroad. At the time I was confused and definitely not convinced. I thought these sheet like things are suppose to be towels? They seemed stiff (possibly starched) at the time and not at all luxurious (of course I was staying at an inexpensive hotel not really made for tourists).

turkishtowel3

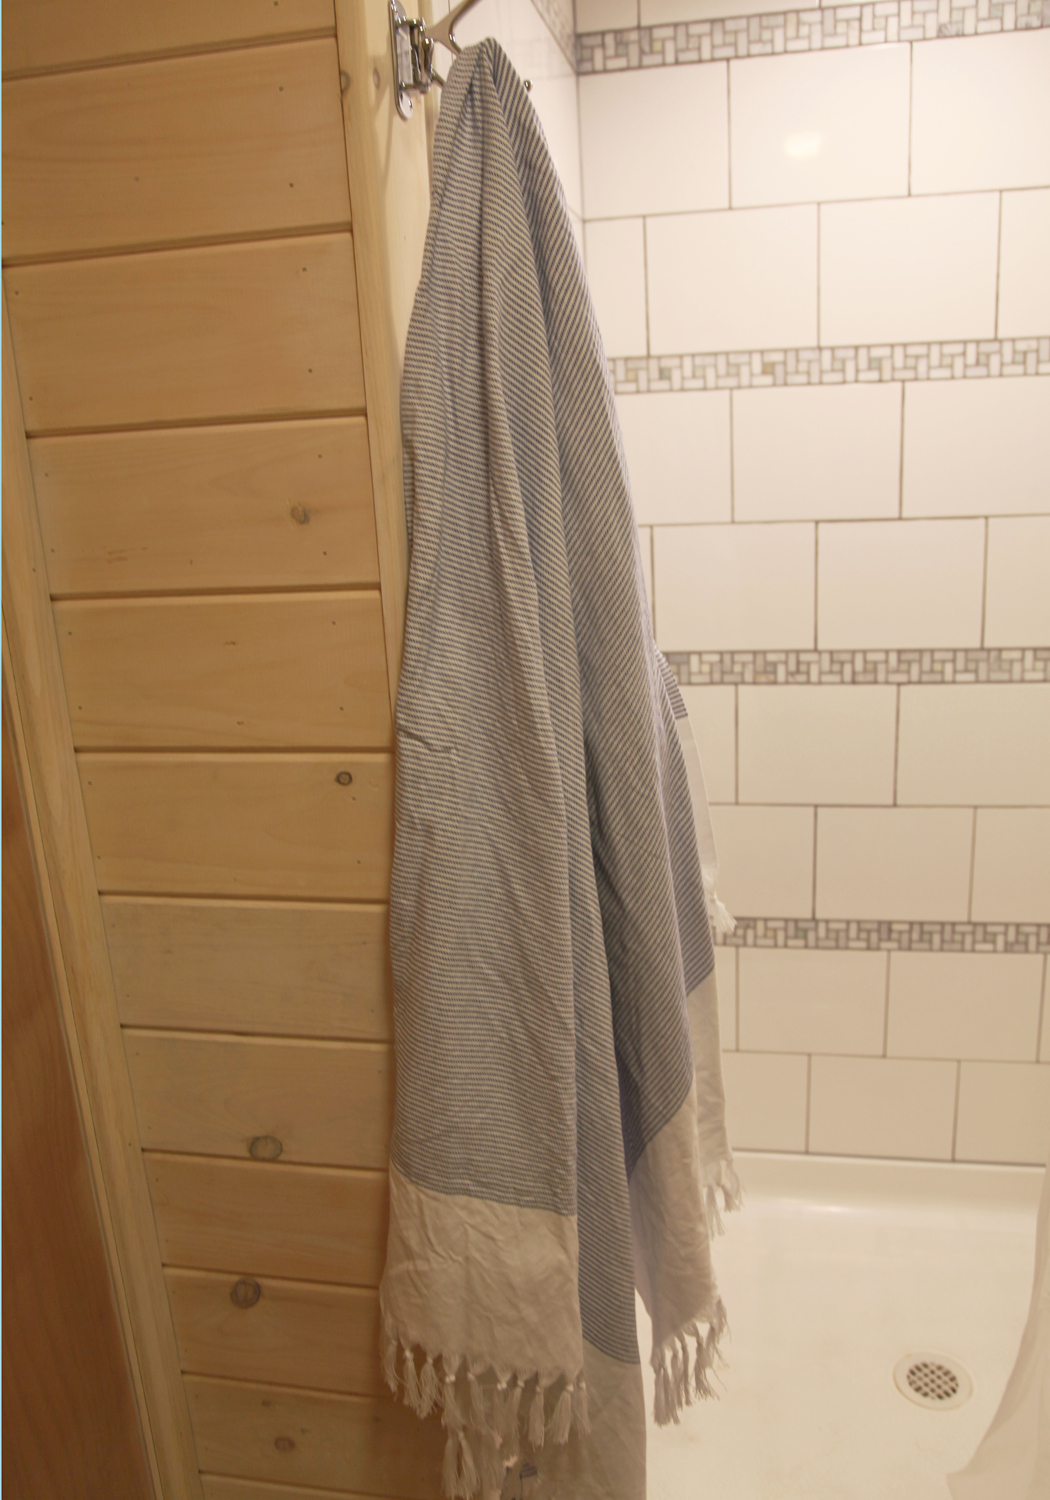
So anyway, back to now. I have been seeing them pop up on a number of the sale sites and in some of the catalogs I get in the mail. I couldn’t believe how pricey they were ($40-60 a piece), although they are super colorful with fun patterns. But what finally convinced me to give them a try was reading a review of them on House*Tweaking. She is using them on hooks (like we do) and said that they dried more quickly. We have problems in the summer with the towels drying out properly, which leads to going through a lot of towels and spending more time then I would like ensuring that they are washed properly to get the mustiness out. Dana recommended this etsy shop. They have them in the $24 to $28 range, which compared to some of the other prices I have seen, wasn’t bad, but it still felt a little pricey for something I wasn’t totally convinced about.

turkishtowel1

So I had the idea stewing around in my head for a while.Then I saw a link on Little Green Notebook for a company that I hadn’t seen before called Nine Space. And as a bonus they are offering 20% off with the her discount code (LGN20). So I went over there and found some awesome deals in their sale section.

lapizfoutatowel

I ended up with the Lapiz Fouta Towel in navy. It is now listed at $29 but  a couple of weeks ago they had it for $16.99 + 20% off. So I decided to order 2.

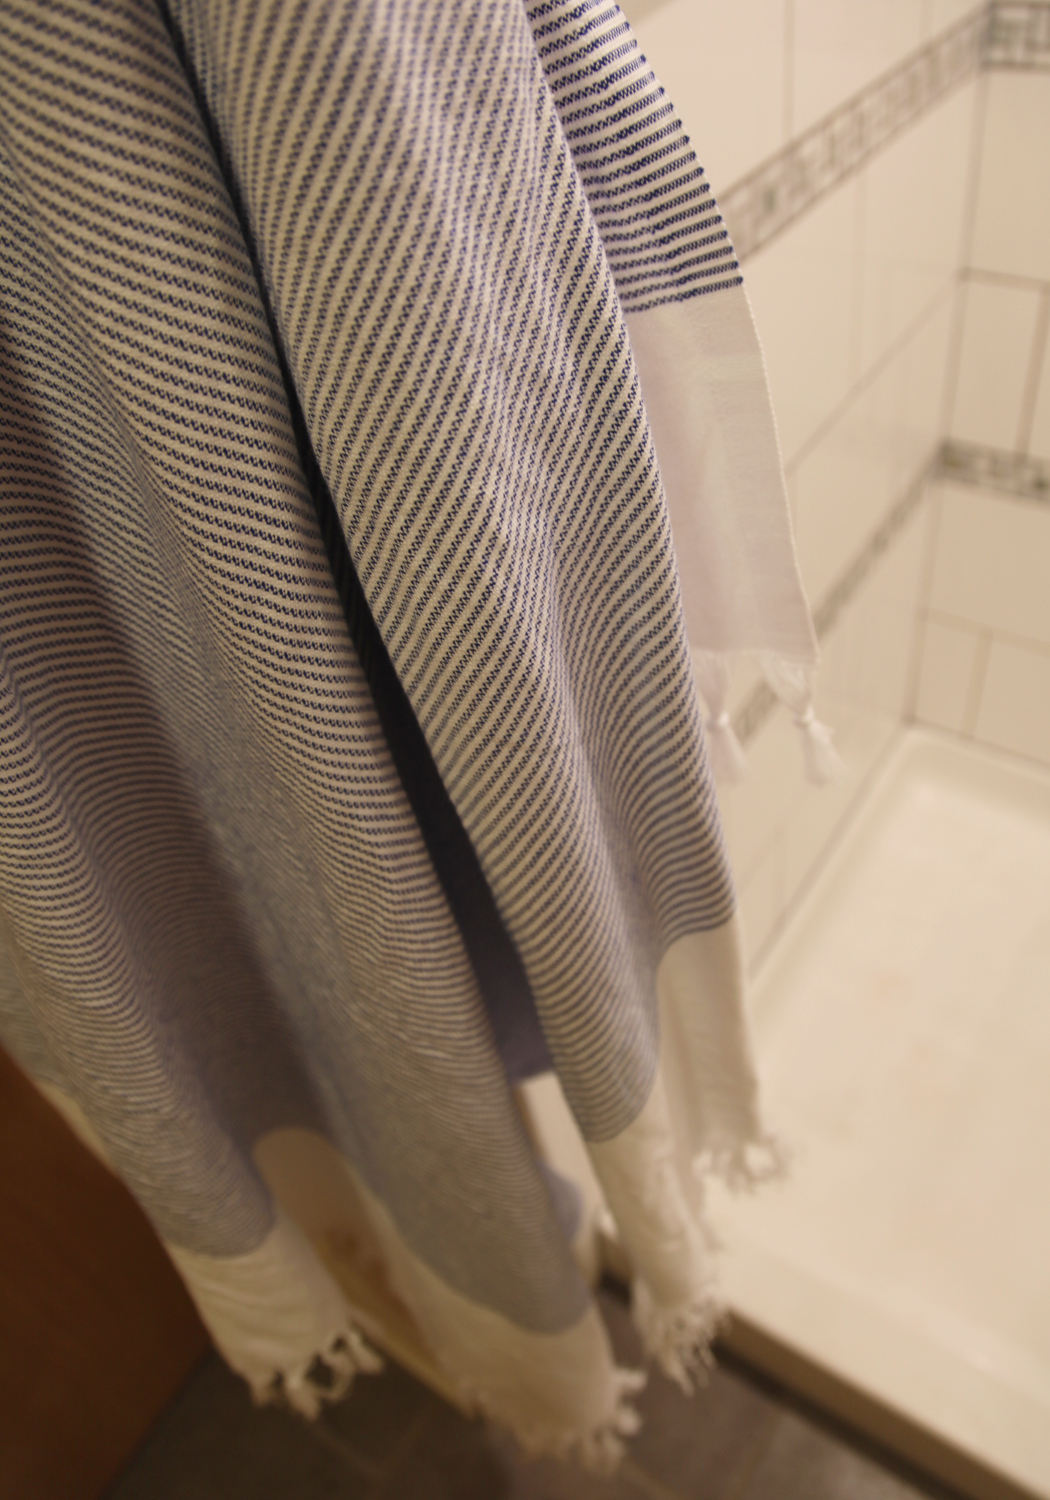
So the verdict? These are generously sized at 40×71 and I quite like them. It is definitely a different feel, but I felt like it did as good of job as a plush towel. They are suppose to get more absorbent the more they are washed, so we will see how I feel about them in a couple of months. Mr. S. is still deciding undecided/not fully convinced. I think my favorite part is the nice texture of the cotton.  They hang nicely and up close the weaving is very pretty. I also picked up a turquoise one for the pool and to use as a wrap, which I think will be a much needed stylish upgrade.
Has anyone else given these a try?

1 Comment

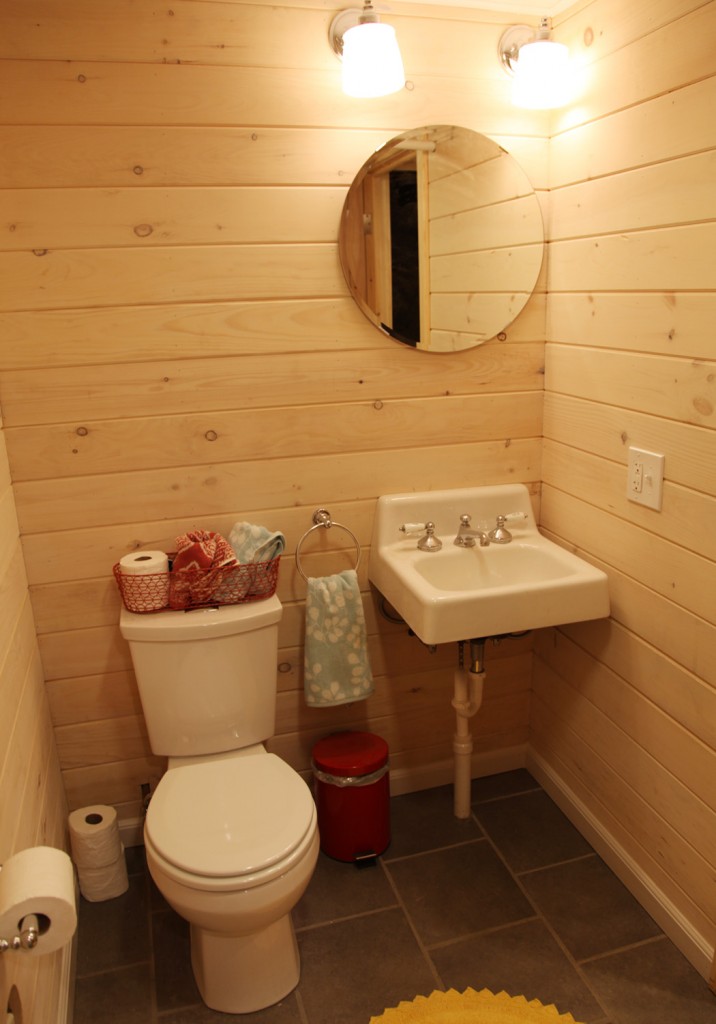
Bathroom with new shelf

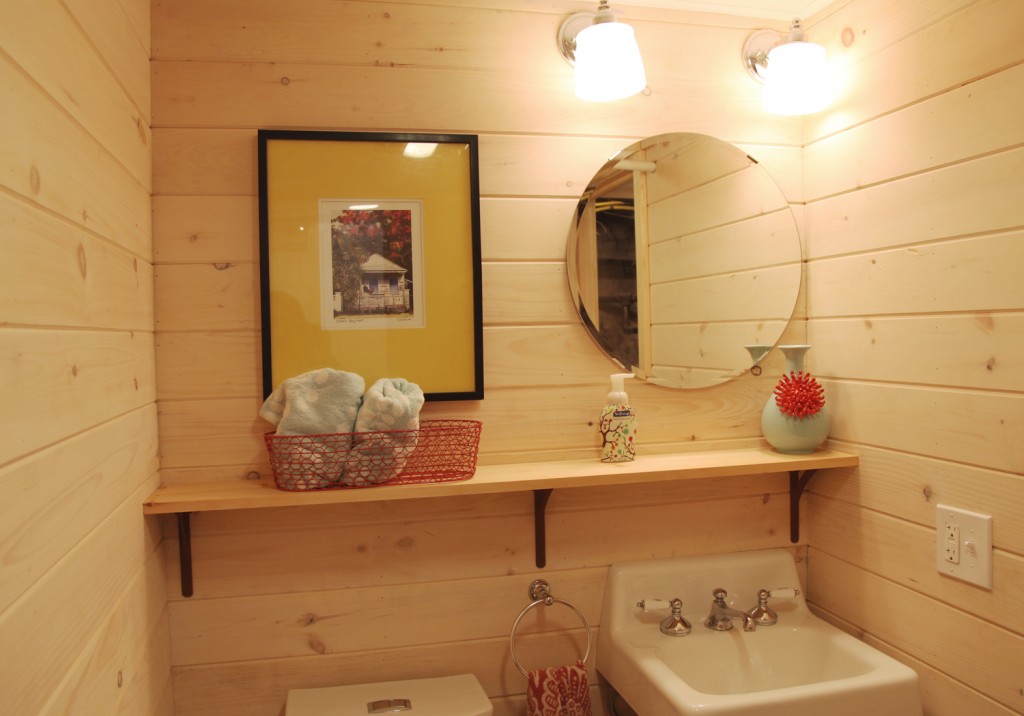
This past weekend we continued to plug along on the basement. Mr S. painted some more trim including the windows and the columns. I worked on the bathroom and finally installed the first shelf. I also hung a couple pieces of art, because I couldn’t stand the bare walls anymore!

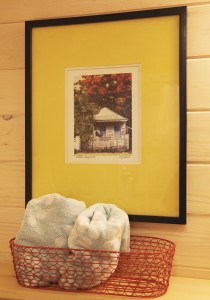
Key West Photo by C.J. Groth

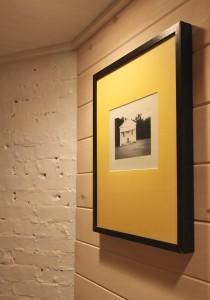
Photo of an old Building outside of Watkins Glen, NY

This art use to hang in our Dining Room (before it became the kitchen). I still quite like the photos, so I am happy to give them a new home. I will also be replacing the mats with white instead of the bright gold/yellow. The Key West photo is by C.J. Groth and we picked it up years ago while on vacation. The old building outside of Watkins Glen is a favorite of mine. I took this picture years ago and Mr. S. colorized it for me. It is now across from the washer and dryer.

Metal Shelf Bracket, $12.99 a pair in Rusty Iron

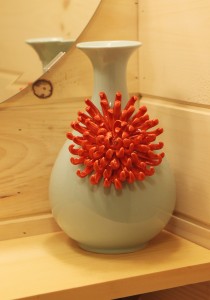
Flower Vase from Anthropologie

The shelf is a 1×8 piece of pine (that needs to be whitewashed to match the walls). For the brackets I gave up waiting for the ones I wanted that are now backordered until August and ordered these rust ones  from VanDykes instead. I have more, and will probably eventually add 2 more shelves above the toilet area (and move the picture). But for now I like how this looks. We will see how much more storage I need in the future.

I am so happy to have my vase finally in place. It looks fabulous. I just need to find a better spot for the liquid soap, so the kids don’t try and reach up to the shelf (and potential knock the vase over).

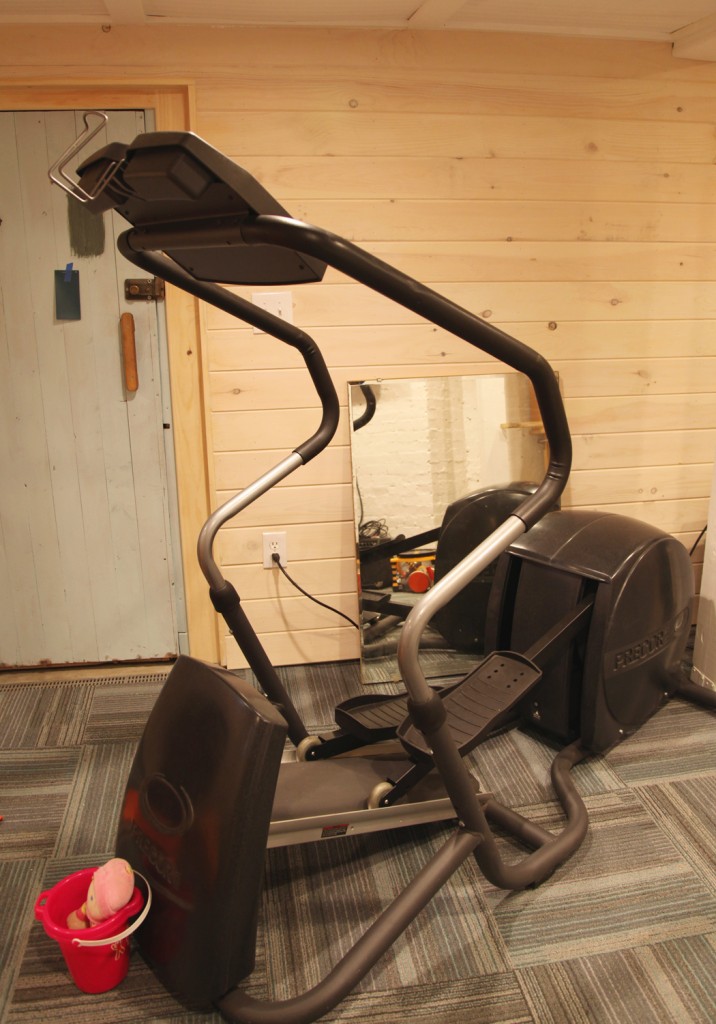
Giant Elliptical Machine Taking Over our Basement

We also finally brought down and assembled the elliptical machine, which has been sitting in various locations for the past 7 years waiting for a home. And now that it is in, WOW it is big! A big part of finishing the basement was to give us a place to exercise. This has been re-thought as the space has come together and quickly become a summer living room (thanks to the early summer weather). Fortunately the couch should still fit okay, although for anyone staying over, you will have an exercise machine looming over you.

We also ordered the couch and the counter top. It will probably be another week and half or so until they arrive. In the meantime the mirror behind the elliptical machine will hopefully get hung in the bathroom tonight. I can’t wait to show you that with my new garden stool!

* To see all of the posts about our basement click here.


Leave a comment

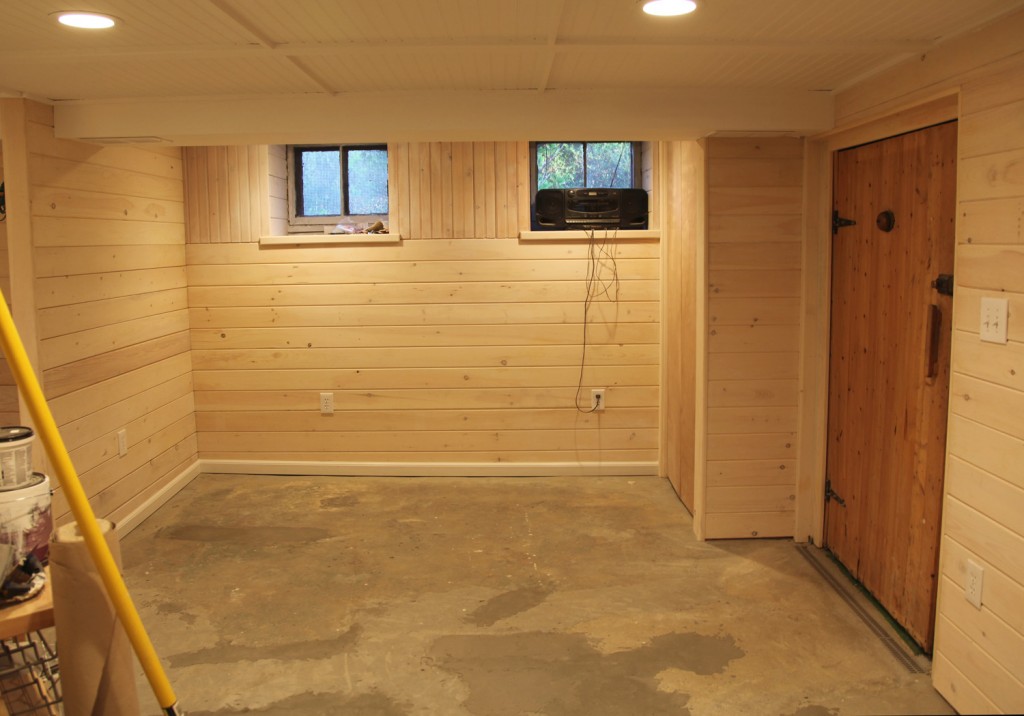
Main Space in the Basement: Waiting for trim paint & carpet

We have reached a major milestone in the basement. The contractors are done, they have taken out all of their stuff and left us to finish up. They will actually be back in a couple of weeks to finish some baseboard trim and a few other small items, but it is strange to have basement back. I suddenly can do laundry whenever I want! Of course this doesn’t mean we are done, we still have lots of painting to do, carpet to install and decorating but we can at least move forward on the cosmetic stuff, which is a big deal. If all goes well we will get at least part of the carpet in this weekend, along with some trim painting. I thought I would give you a quick update of where we are right now.

As you can see part of the basement is looking pretty cleaned out (this is where they were storing a lot of their stuff). Of course all of our basement does not look like this, since we do have our fair share of stuff (which needs to be organized).

Other Side of the Main Space: piled with our stuff

The other side of the main room is currently filled with extra stuff from the construction process, things that need to be installed (i.e. one of the old storm windows), things that will go in the workroom (i.e. the saw and ladder) and random pantry overflow (which will find a new home on shelves and cabinets in this area).

The Bathroom in desperate need of a shelf!

The bathroom is totally functional (minus a shower door). It does need shelving soon though. I also have plans for hanging an old mirror and can’t wait to bring in some colorful accessories. I am also planning on installing a burlap skirt on the sink to hide the plumbing.

Future Workbench Area

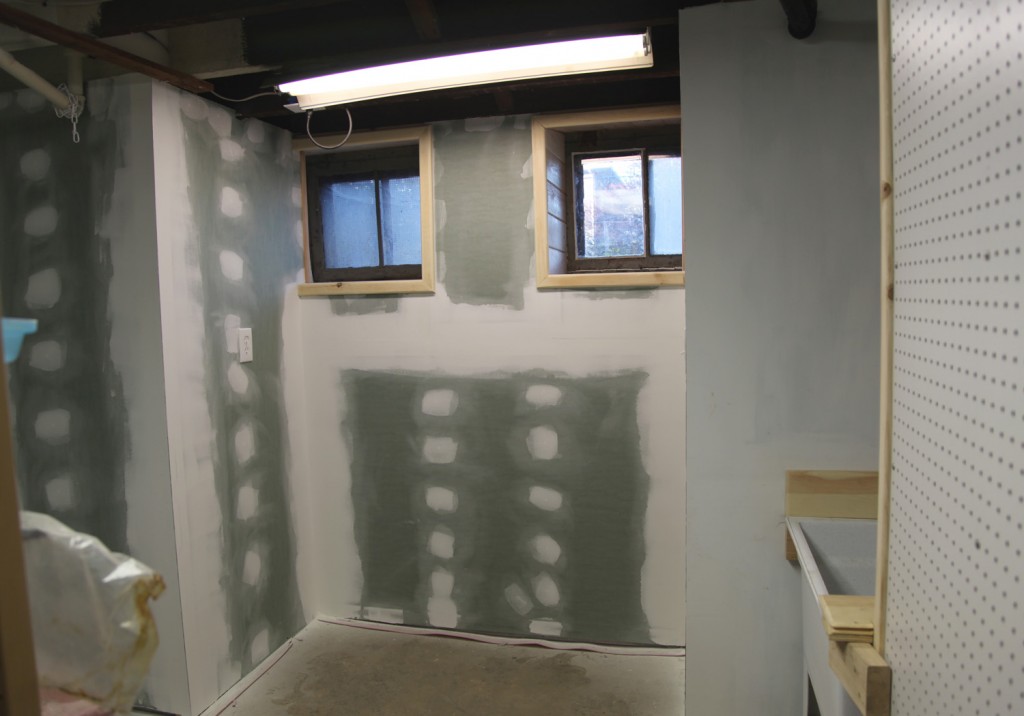
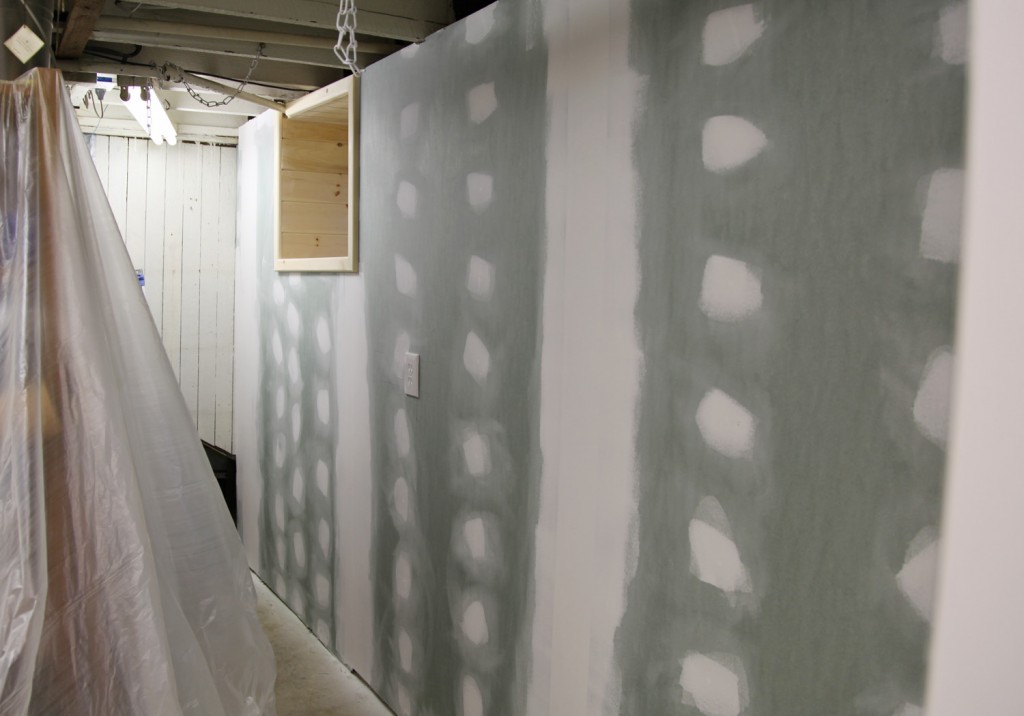
The workroom is now drywalled and I can’t wait to install our new workbench in the bay window. I had the contractors finish out the windows similiar to the main space (beadboard sides and top w/ a veneer plywood sill and wood trim). I haven’t decided on a wall color for this space yet. Definitely something cheerful!

Pegboard Wall

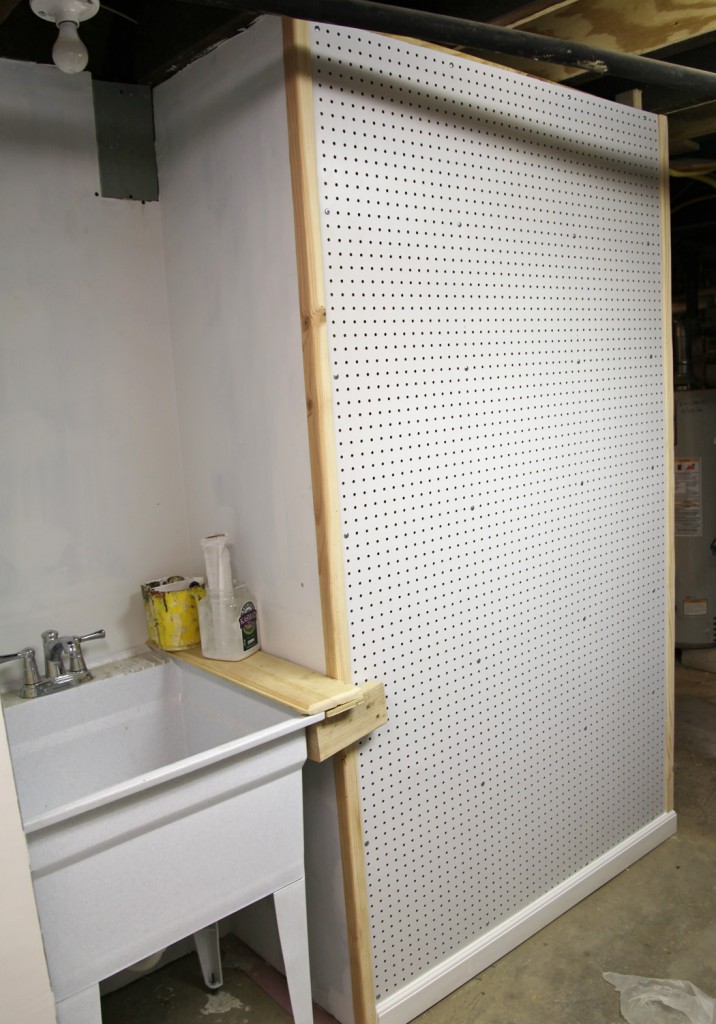
The pegboard wall is in (it actually extends around the corner). It has a hard white finish on it that I wasn’t expecting. I definitely want to paint this a bright color. I may have to sand down the pegboard first, which I am a little bummed about (it currently has screws perfectly placed in a grid and looks so perfect). I look forward to having some of our tool out where they are easy to find. I plan on outlining some of them in permanent marker so that they can go back where they belong after using.

Workroom Shelving Wall

The Workroom shelving wall is also ready for storage (as soon as I paint). I haven’t decided whether we should reuse the Ikea shelving that we have or possibly install heavy duty metal wall shelves. I think I may put the Ikea ones in for now, since they are here and free and decide if I need to upgrade from there.

I hope everyone has a lovely weekend! My kids are super excited about hunting for eggs and it looks like the weather is going to cooperate for us!

* To see all of the posts about our basement click here.

Leave a comment

Laundry Room Looking Back Towards the Rear Door

It is official, we actually have a laundry “room”! When I say “room” I mean wide corridor, but it is by far the closest thing we have ever had to actual functioning laundry room, so I am going to do a happy dance now. I’ve already done 1 load of laundry and after I put it in the washer I stood there staring at the bathroom for a few minutes. There is still lots to do, including more painting (the ceiling and soffit), shelving to the right of the washer and dryer and more storage but it totally functional and even has new stainless steel hoses to minimize the chance of a leak. I am pretty pleased with the faux slate floor. I had to reinstall several pieces in the bathroom and crank on the laundry area. At least I had practice before I started the second round, so it went quicker. If anyone is using the self adhesive tiles, I do recommend additional adhesive, especially in a concrete installation like ours.

Cute New Ironing Board Cover

I ordered this ironing board cover on Etsy. I loved the bright colors and retro pattern.  I have an idea for a location, but haven’t fully decided yet.

Bathroom w/ new mirror installed

The bathroom also now is sporting a new mirror, a toilet seat and PVC base trim. I still need to install the towel rack, toilet paper holder and hooks. I also need to decide on shelving for above the toilet.

Salvaged Wood Shelf from West Elm, $59-99

Metal Shelf Bracket from VanDykes, $17.99 per pair

I love this Salvaged Wood Shelf from West Elm, but I don’t love the price, especially since I would need 3 or 4. They are even pictured on a plank wall. I found similar metal brackets at VanDykes, but they are on back order until at least next month. So I will have to see if I am up for waiting it out.

In the meantime my contractors will be back on Monday to finish studding and drywalling the work room, so we have lots of clean up to do, and we need to temporarily move a bunch of stuff to around to get it done. I think we are going to hold off on the carpet until that work is done, between the storage and the drywall dust. But the good news is that they will be done with almost everything by next week, so we can actually finally get things finished down there.

* To see all of the posts about our basement click here.


2 Comments

Main Spaces w/ Safe moved to the side & ceiling in place

We are in the final push to get the main part of the basement complete! My contractors are mostly done and it is up to us to get somethings finished before they come back. I was down there installing more tile and grout earlier today. If all goes well my contractor is going to stop by tomorrow and put on washer and dryer into place (which is why I am busting my you know what to get it finished). Then he can start to install the baseboard in the bathroom and laundry area. We also have some more painting to do (mostly the ceiling) before we can put the carpet tile in. At least the carpet should be fairly straight forward. Unfortunately after we get this area  finished, we will have to temporarily use it as a dumping ground for the workroom, so that they can drywall that space.  Phew, and I said we were in the final push! I guess the final push may last for a little while.

Victorian Safe & Pantry Storage

One area I haven’t talked a lot about is our pantry area. This will house an under counter fridge and freezer, as well as our antique Victorian safe. Our contractors were great and managed to move it a few feet to its new location (it weighs about 1000 lbs). Part of the new wood counter will sit on it. This should leave another 14″ or so for storage underneath. I’m not sure what we will put there yet. Above the counter we will either put shelves, wine storage or upper cabinets. We have several of our old upper cabinets that have been waiting to be reused. Unfortunately they are a little musty smelling and need some paint. I may try and use a couple of them mixed with open storage. I imagine lots of containers holding excess pantry items (with pretty labels). I also have been mulling around a couple of ideas for a backsplash (which is why there is plywood instead of beadboard on the wall).

New Stair Paneling

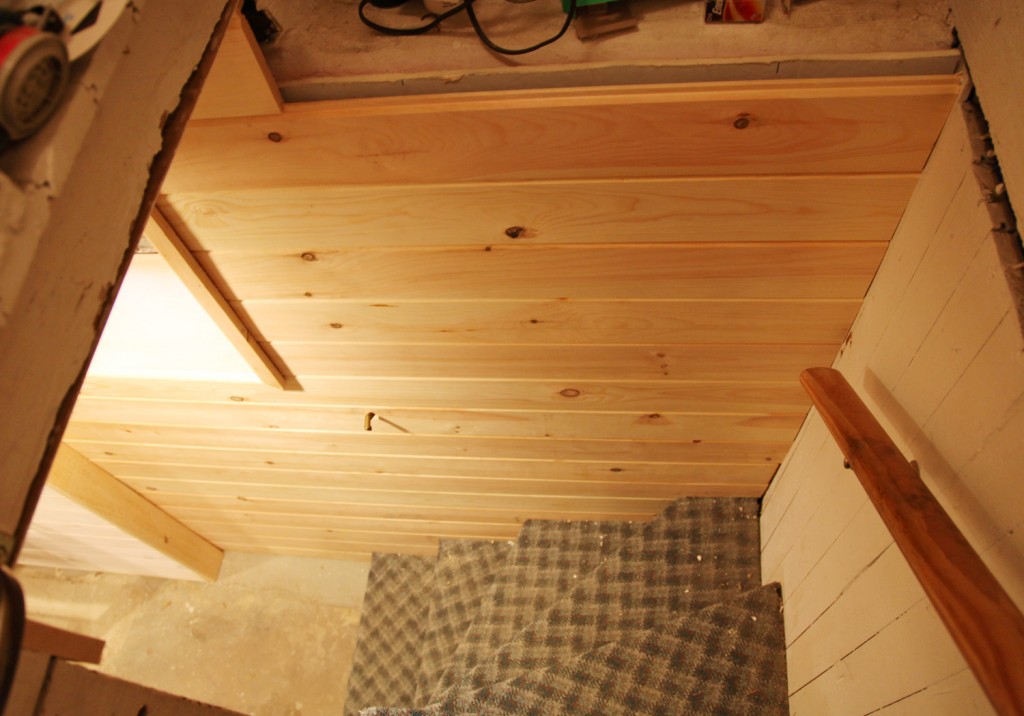
My contractors also finished up the wood beadboard at the stairs. I think it looks awesome (especially considering that they had to attach it on either side without puncturing the insulation behind it). It still needs to be whitewashed but it is really nice to come down the tight stairs and have this on the wall. In the past the parged foundation wall was visible here.  Another great thing about this area is that we have a light right at the bottom of the stairs, so no (okay less) tripping while carrying stuff up and down the stairs.

Faux Slate Vinyl Floor Progress from early this morning

I’ve been busy since this photo was taken but you can get a general idea of how the laundry area flooring is coming along. It is funny how big the space feels without the washer and dryer in it. Time to get back to work! Hopefully I will have more to show soon.

Basket for Holding Toiletries

I did also manage to pick up this adorable bread basket at Target today for $9.99. It is a beautiful coral color and I think it will look nice with my vase and be good for holding miscellaneous toiletries or towels. I am still going back and forth on the shelving in the space, so stay tuned.

* To see all of the posts about our basement click here.

Leave a comment

Welcome to Our Basement: Crazy Stairs w/ new beadboard wall

It has been a frustrating couple of days here. I was hoping to give you a good tour of the progress today but we had a water leak on the solder joint for the hot water line to the sink yesterday morning. It ended up leaking overnight and we had a good bit of water on my brand new floor and into the newly drying leveling compound at the washer and dryer area.

Wet Floor!

The good news is that once we discovered it, my contractors came right over and dried it out and fixed the leak (which oddly took 48 hours to show up). The bad news is that several of the vinyl tiles needed to come up and we need some more leveling compound in the bathroom before we can reinstall the tile. It also slowed everything down A LOT.

New Toilet & Old Sink Installed w/ Loose Vinyl Tile Removed

One of the strangest things about the moisture is that the leveling compound bubbled up in one place about 1/2″ and was totally hollow underneath.

The good news is that this means all of the plumbing is in (which is awesome!). We reused our old sink from the upstairs bathroom. It is a really heavy cast iron model, probably from the 1920s. It had been sitting up on our 3rd floor for the last 9+ years, so it is great to see it back in use. The toilet is a dual flush (American Standard H2Option Siphonic) and is nice and petite. The smaller water tank allows for the toilet to sit closer to the wall by a couple of inches, which makes a big difference in a small bathroom. I used this same toilet on Sarah’s Bathroom and she is very happy with it.

The Shower w/ Moen Multi-Function Handshower on Sliding Rail

The Multi-Function Handshower on a sliding rail has also been installed and looks great (don’t have a shower curtain yet so I haven’t personally tested it out). The set is made up on 4 different parts. A Moen 4 Function Handshower, Single Handled Kingsley Lever, Posi-Temp Pressure Balanced Valve and a Drop El to connect the handshower to the wall.

We are still on track to install the rest of the vinyl tile on Sunday. We were hoping to get a start tonight but the leveling compound will most likely still be damp. I guess we may get started with the rough layout without actually adhering them. And it looks like I will be installing the grout on Monday night again, so we can get the washer and dryer back in place on Tuesday. I can’t even say how excited I am to get the washer and dryer back in place with the new floor. That will definitely make my day! I am also thinking that I need to get a water sensor for the washer and dryer area to alert me if there is ever a leak. They also make a model that connects to shut off valve.

I hope everyone has a great weekend!

* To see all of the posts about our basement click here.

Leave a comment

Faux Slate Vinyl Tile with Grout

Last night I managed to slog through and install the grout in my faux slate vinyl flooring (TrafficMaster Ceramica Resilient Vinyl Tile in Coastal Gray). I think it looks fairly convincing and it was certainly less expensive and thinner than using real slate. Plus I don’t have to worry about sealing it.

Pre-Mixed Grout in Delorean Gray

I used the recommended premixed grout in Delorean Gray. I can’t say I am a big fan, but they do not recommend the typical dry grout that you mix with water. I found the grout to not be as sticky as I would like and yet at the same time it really stuck to my hands.

Grout Stuck to My Hand

Anyway, it was not particularly difficult, just messy. I stepped in joints several times while I was cleaning the joints with a sponge and it got on my feet and pants leg. Yuck! I assume that they recommend this product because it is suppose to be more flexible. Fingers crossed it will hold up. I will also be putting in some grout sealer after I get the laundry area finished to help the grout lines stay clean. So stay tuned to see how it holds up!

Laundry Area w/ new lights & Faux Slate Floor Beyond

My contractors have been busy in the laundry area. We now have lights! I can’t say how excited I am about the concept of actually being able to see my laundry! The ceiling is moving along and part of the wall that hides the hot water heater is in! The radiator pipes will be staying (painted white eventually). I will also be adding shelves to the right of the dryer. I am not sure what to do with the visible side of the dryer.  It isn’t the most beautiful thing. Anyone have an ideas? Maybe some kind of fabric.

Ceiling in Main Room w/ LED Recessed Lights

They are finally done with the drop beadboard ceiling in the main room! It looks great. It still needs a couple of coats of paint to finish it off, but it really helps finish off the space. The brick wall in the picture is on a 45 degree angle and is for the fireplace in the kitchen above.  We will be mounting a TV on it (there is an outlet in the ceiling for us).

My contractors have been cranking away here in the bathroom today and we already have a working sink and shower (although the final brackets still need to go in). If all goes well we will have a toilet in by the end of the day. YEAH!

Still on the to do list is the beadboard ceiling in the second space (aka the future pantry), floor leveling and miscellaneous trim.

* To see all of the posts about our basement click here.

2 Comments


Faux Slate Floor w/ Space for Grout

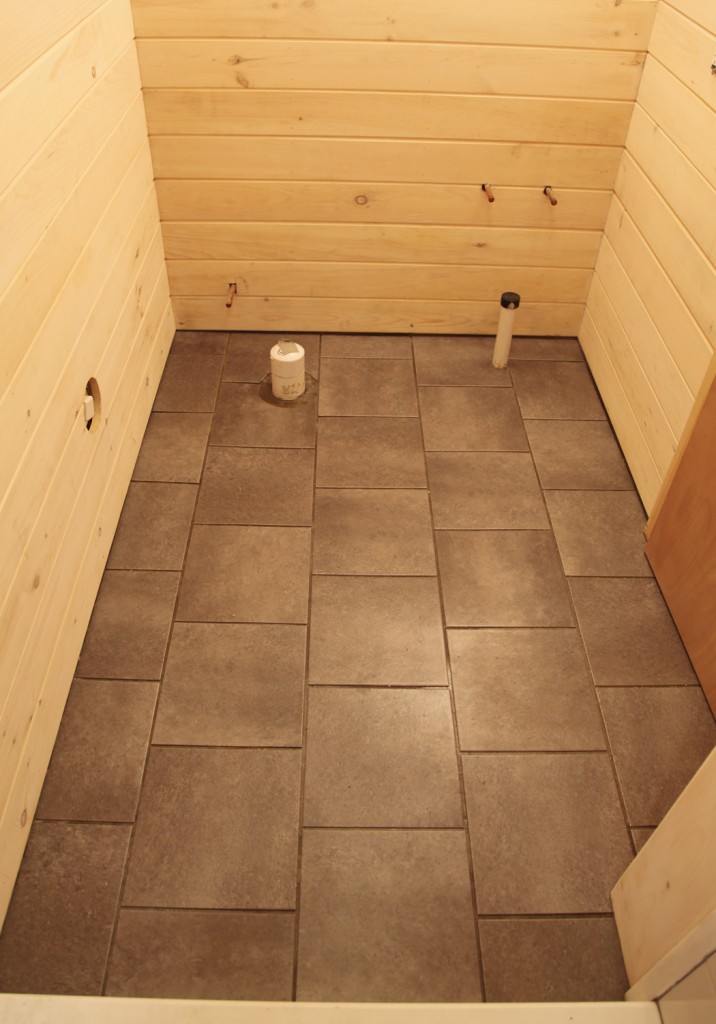
It was a long slog this weekend in the basement (especially with such lovely weather outside). I am now the queen of faux slate flooring. We ran into some issues with the floor, so I didn’t get quite as far as I would have liked. The good news is that the floor is down (at least in the bathroom). The bad news is that I still need to grout (that is for tonight). Mr. S. also got most of the whitewashing done in the main space.

Installing the “Luxury” Vinyl Tile:
(TrafficMaster Ceramica Resilient Vinyl in Coastal Gray @ Home Depot)

Staggered 12x12 Tile Layout

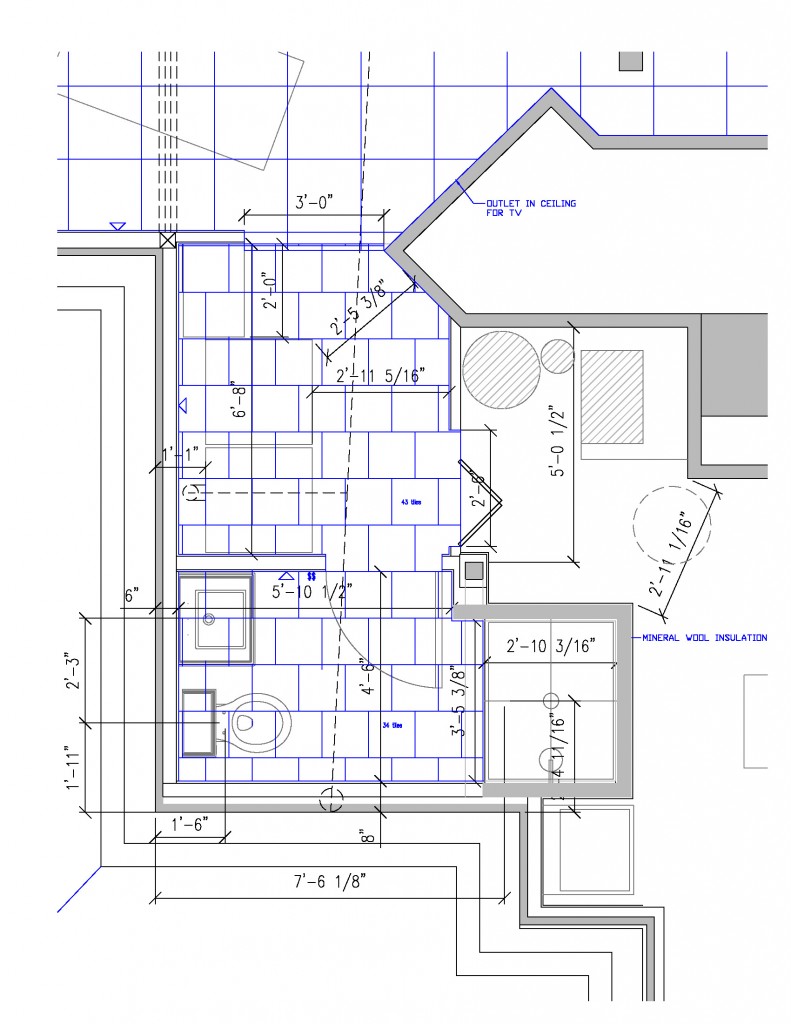
Step 1: Sketch out a rough layout on paper. In my case I used AutoCAD. The tiles are listed as being 12×12, but in actuality they are 11 3/4 x 11 3/4 (to allow for a 1/4 grout joint). We decided to go with a staggered pattern, which I think helps make it look more modern. I also used this when estimating how much to order.

Step 2: Acclimate the tile (ours have been sitting in the basement for the last month). If I had this to do over again I would have pulled the tiles out of the boxes and had them sit out where it was a little warmer.

Floor after Leveling

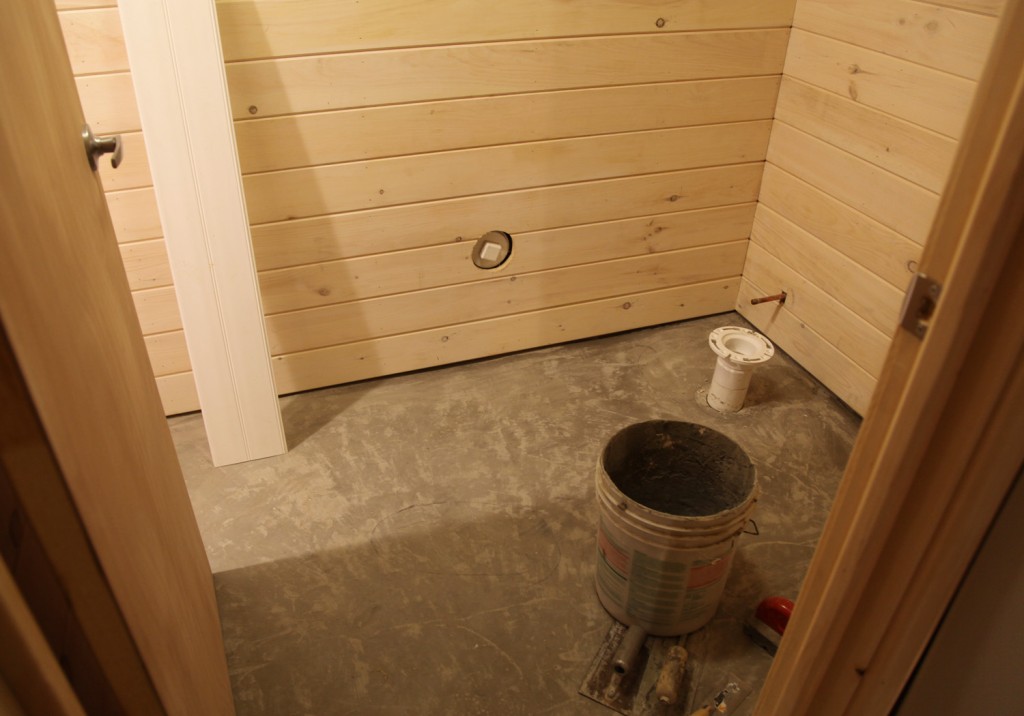
Step 3: Prep the floor. This includes leveling (our contractor used a self leveling product and ground down the high spots with an old school stone). Once the floor was level we used a floor prep product for concrete flooring (recommended by the manufacturer). This makes the floor slightly sticky and ideal for making the tile stick (or at least it is suppose to).

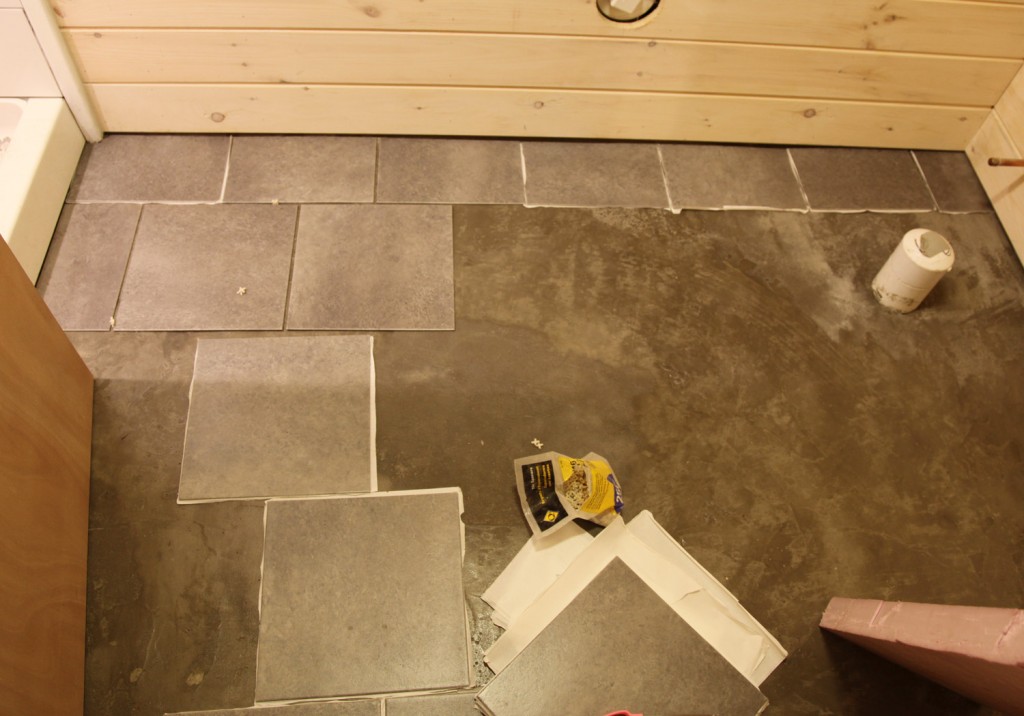
Getting Started with the Layout

Step 4: Do a rough layout with the actual tiles. I also doubled checked my original sketch. Of course the walls were off by about an inch, so I adjusted accordingly. I also wanted to make sure that we ended at a full tile where the laundry area meets the main space, so I carefully measured back from there. That left me with a row of 8 1/4″ tiles on the back wall. We were lucky that all of the walls were perpendicular (I checked and rechecked) so I could cut the tiles all the same depth for the back wall and work out from there.

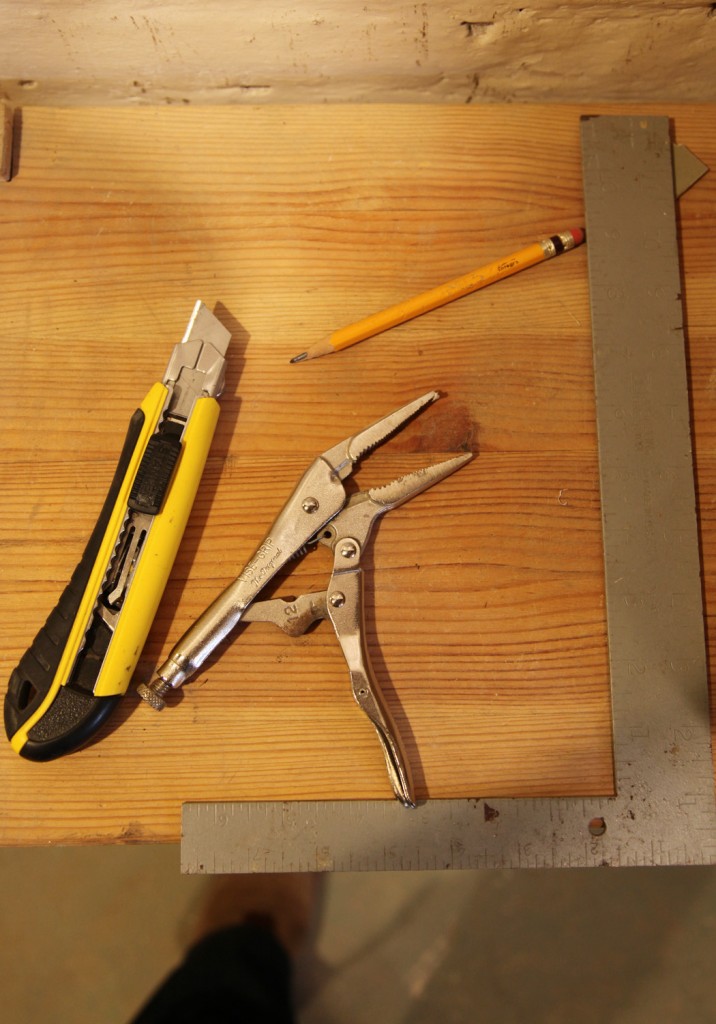
Tools that I used: a good Utility Knife w/ LOTS of blades, Needle Nose Vise Grips, Pencil & Square

Step 5: Cutting the tile! The tile is nice and thin and cuts quite easily (yeah!). For the straight cuts you just score it with the utility knife a few times and then you can snap it with your hands. For more complex cuts I scored the shape and carefully pulled down with the need nose vise grips right next to the cut (on the bad side). This worked quite well, although sometimes took several turns to get all of the unused portion off. One of the keys to a good cut is a sharp blade! So, remember to change them frequently!

Step 6: Installing the tile! I had 1/8 spacers on hand from the shower so I put two together to get the 1/4″ spacing that I needed. After getting the tile lined up I carefully removed the backing of the tile and placed it down. I then double checked the spacing on all sides, then pushed it down into place. Then I stepped on it and used a rolling pin at the joints. Easy right? Well, okay this is where things started to go badly! Quickly I noticed that the tiles weren’t sticking as well as I would have liked. So then I started warming the tiles up by holding them up to the heater in the ceiling, hoping that would help. It did help but I was still noticing than some of them were not adhering as well as I would like!

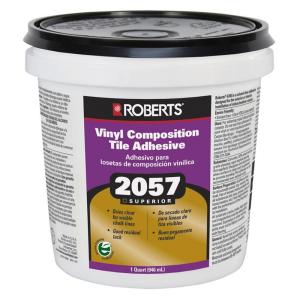
Vinyl Tile Adhesive

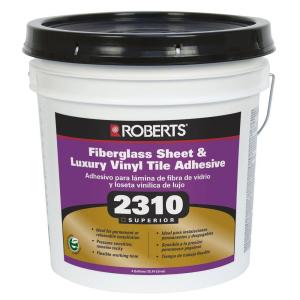
Luxury Vinyl Tile Adhesive

Step 6A (Plan B): I ran to the store and picked up vinyl adhesive (which I have used before). According to my tile’s warranty I have now voided it! I had read the reviews of the tile and more than one person had used the vinyl adhesive without problem (to ensure good adhesion). So I pulled up all of the loose tile and troweled on the adhesive.

*Of course now I realize that there is a special adhesive for “Luxury” vinyl tile. Oops, I guess I used the wrong one (I don’t think I saw two options in the store).

Step 7: Wait for the adhesive to become tacky (this took about an hour).

Step 8: Apply the tiles.

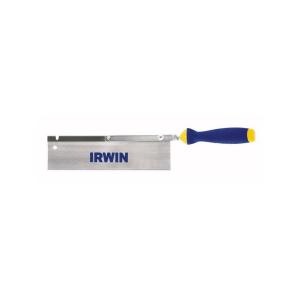
Jamb Saw

Step 9: Cutting around door trim. So while I was picking up the adhesive I had also realized that the door trim went all the way to the floor, so I couldn’t get the tile underneath. I have seen contractors undercut the jamb before, but I have never done it, but it means I much more professional look so I though I should try and do this.  I was pleased to find this Irwin Jamb Saw for $10.98.  And it worked just as promised. Yeah! I just placed a scrap tile at the location and cut against the jamb.

Step 10: Wait for the adhesive to dry!

Step 11: Install the Faux Grout: Stay tuned!

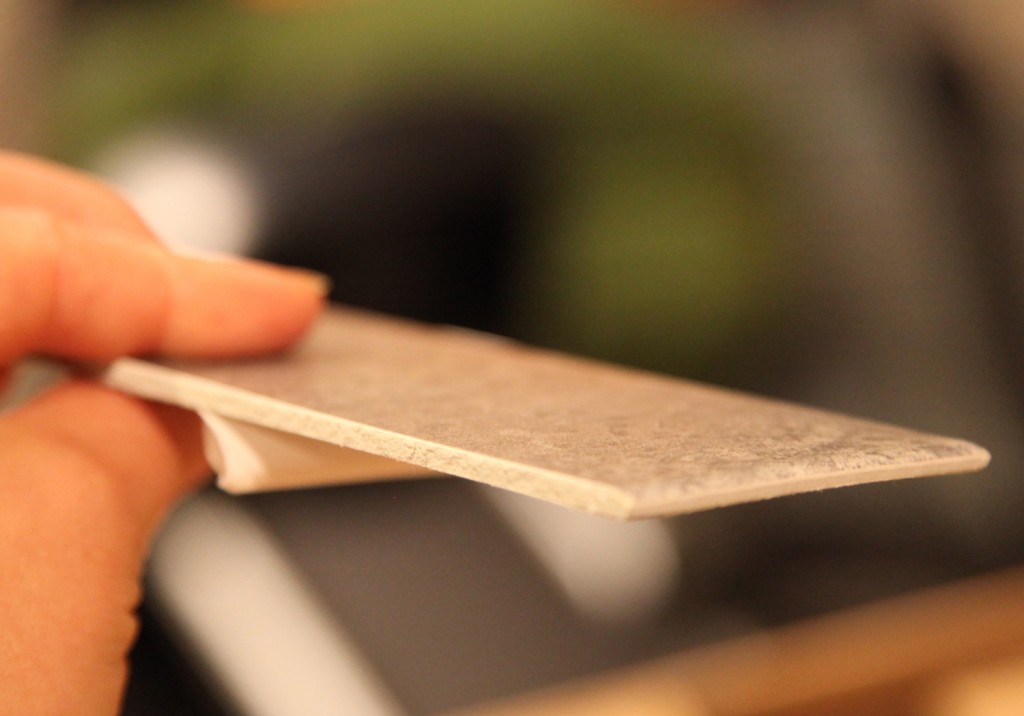
Close Up of Ceramica Tile. Cut edge on left and Finished edge on right. The finished edge curves down slightly.

* To see all of the posts about our basement click here.

6 Comments