New Beadboard Doors for the Workroom
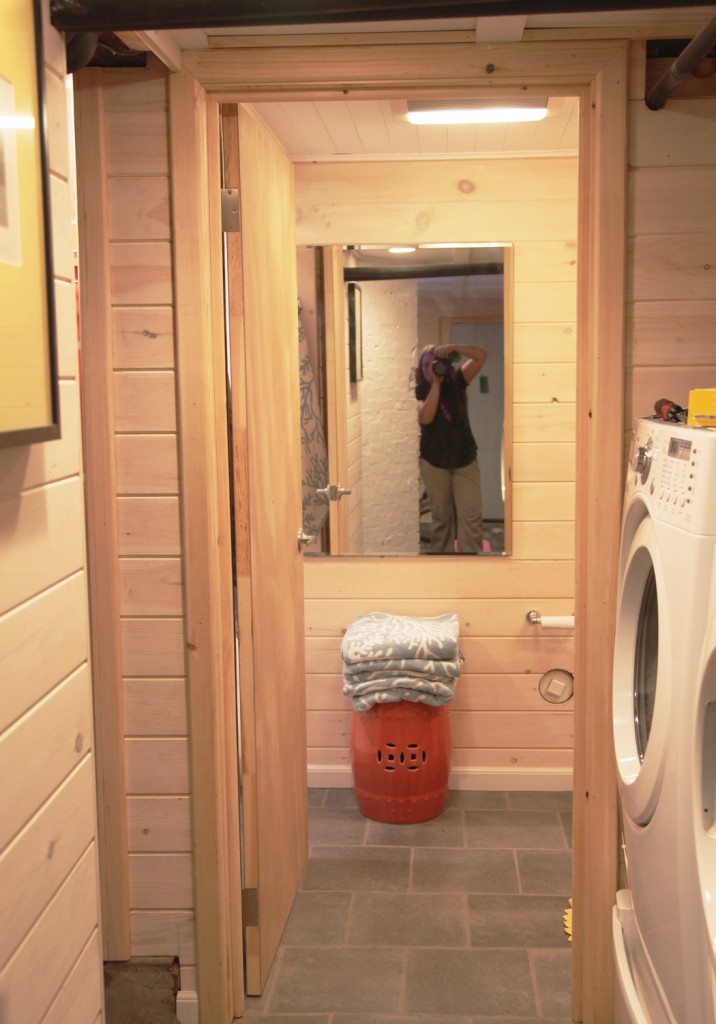
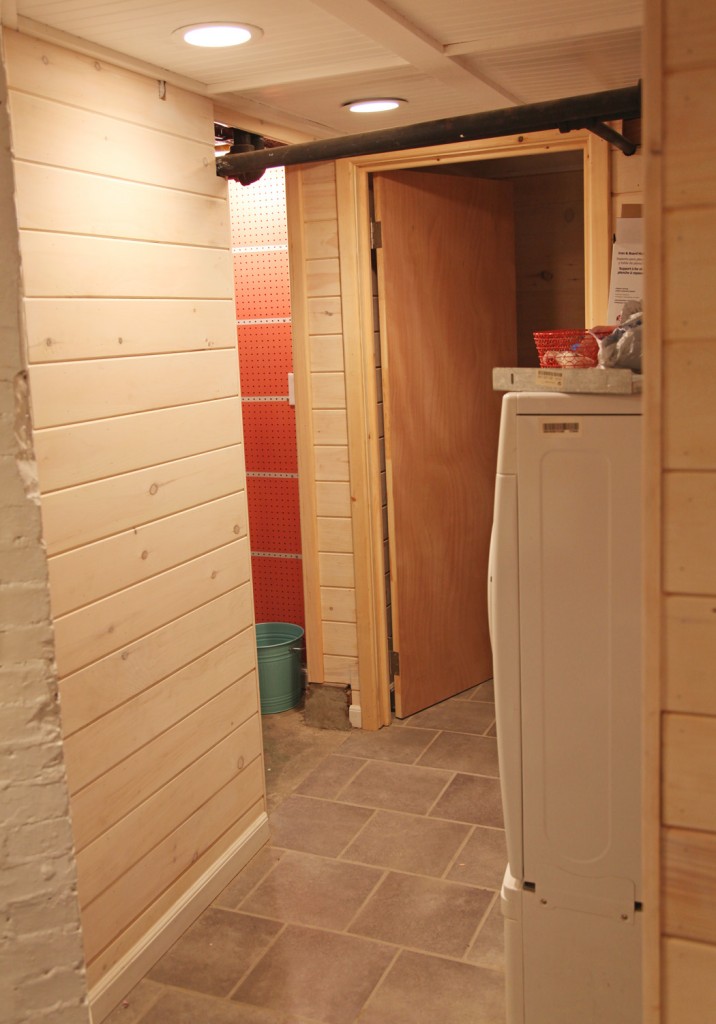
Until now we have not had any doors to our workroom in the basement. If we didn’t have little kids I probably wouldn’t worry so much, but since the doorway is on the way to the bathroom we decided that we needed to be able to close it off. It also will hide the hot water heater and boiler from view when you are coming out of the bathroom (bonus!). It is an odd doorway with lots of piping on the other side for our boiler and hot water heater. The head clearance is partially affected by these, so a full height door was not going to work. I also liked having only a partial height door to help with air flow.
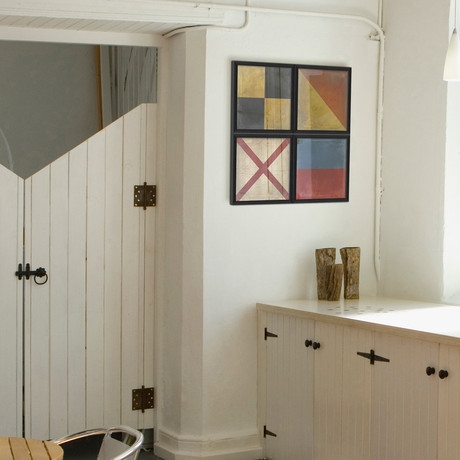
Door Inspiration from Fab.com
I was a little stumped on what to do exactly. I was considering buying a premade door and cutting it, but after taking a look around, I couldn’t find anything I liked. Then I was looking at Fab.com for totally unrelated reasons and saw the picture above and was sold! The V in the top would allow the doors to clear the piping and it looked totally buildable. The doorway is approximately 32″ wide. I would loose 3/4″ for cleats on the one side (so I was at about 31″). I wanted to use the same beadboard that we had used elsewhere. It is a nominal 1×6. In actuality it is 3/4″x 5 1/2 (including the tongue) or 5″ on the ones where the tongue fit into the other pieces. So, if I used 3 pieces on each side of the door it should work almost perfectly (5″+5″+5 1/2″) x 2= 31″. If the dimensions didn’t work out I was prepared to rip a piece down to fit.
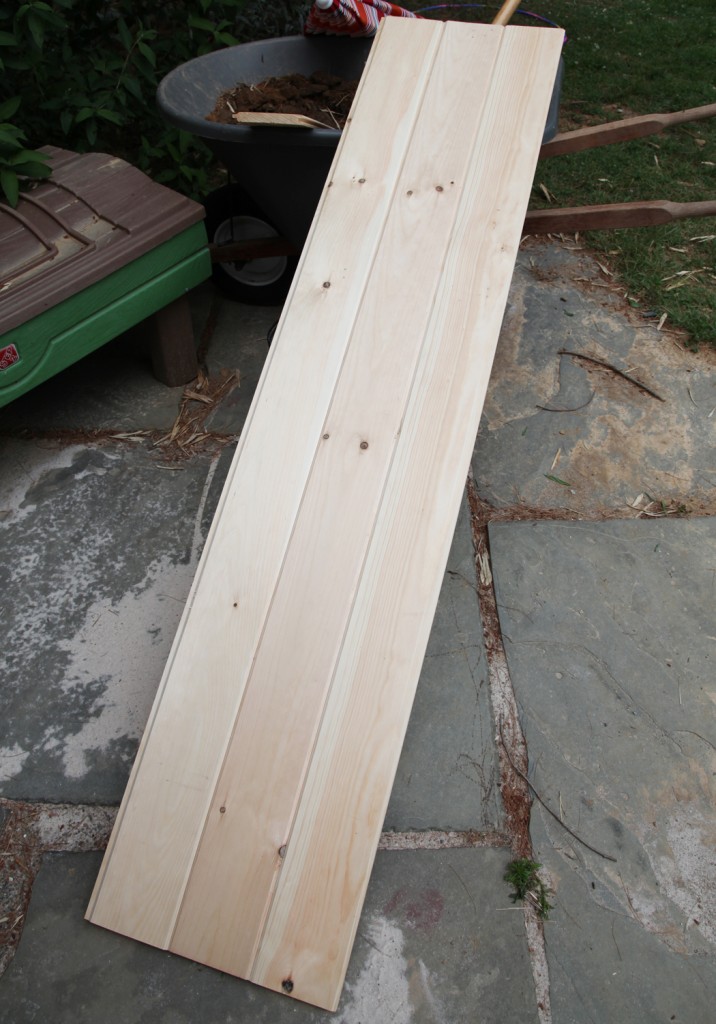
3 Boards Fit Together
1. I bought six 8′ boards. I only needed about 6′ but they don’t come in that dimension and I didn’t have the bigger SUV so using 12′ boards was out unless I wanted to make a separate trip (which I didn’t want to do). In the end 8′ boards were the better choice because I used the scrap for cross pieces. These are available at Home Depot although be prepared to go through a bunch of boards to get clean ones. The total was about $45 + hinges. I also bought 3″ gate hinges meant for outside (about $5 for a two pack).
2. I cut the first door pieces to 6′. Then I played around with the angle at the top to allow it to clear the piping. In the end I had it angle down a total of 8″ over the 15 1/2″. I marked it and cut with my circular saw.
Glue for the Joints &Â Deck Screws
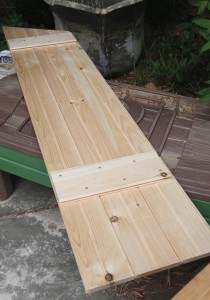
First Door w/ Staggered Screw Pattern
3. Next I glued the tongue and grooves together and screwed in the cross pieces in a staggered pattern, making sure I had two 1 1/4″ screws in each piece. I made sure to align the cross pieces with the cleats that I had installed on the wall. I used my trustee star bit deck screws again here.
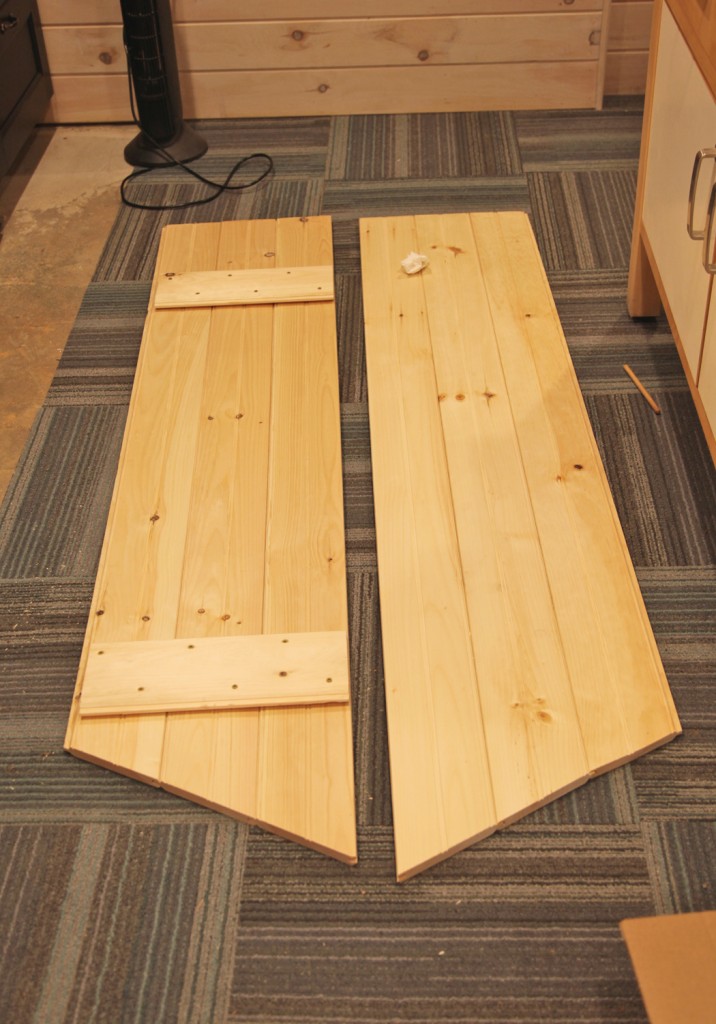
Second door
4. After testing it out in the doorway, I laid down the door and used it as template for the second door (checking to make sure it was reversed from the first one).
5. I cut the second door and glued and screwed the second door.
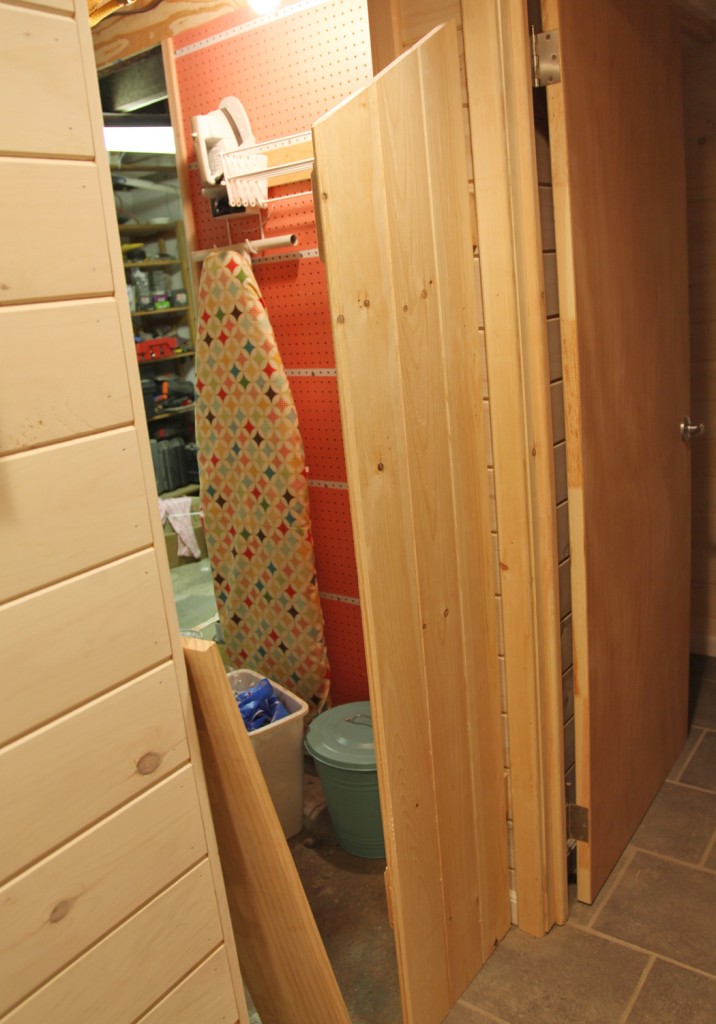
Testing the Door in the Opening
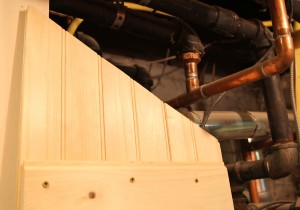
Testing the door to make sure it fits with the pipes
6. Now for the fussing. I brought the doors over and test fitted them. I quickly realized that I was going to need to cut down the tongues on the inside of the doors (which fortunately can be done with a small planer).
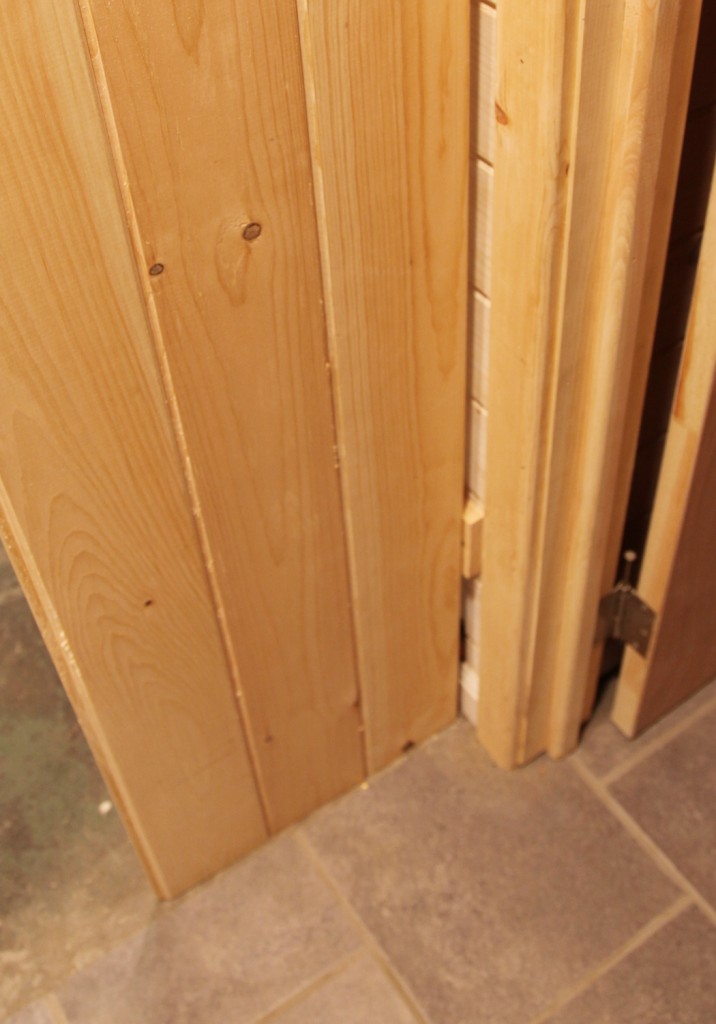
Aligning the bottom of the door w/ the flooring
7. I then carefully installed the hinges. I first put down a piece of 3/4″ scrap to make sure that the door would sit well above the floor. I also aligned the bottom of the door with the edge of the flooring. Then I carefully marked the holes for the hinges and predrilled the holes.
8. Next I installed a couple of screws on each hinge (so that I could still tweak it a little bit).
9. After I had pulled, pushed and screwed, I planed the tongues on each side of the door to get a good fit. It is not totally perfect, but it is okay in my book.
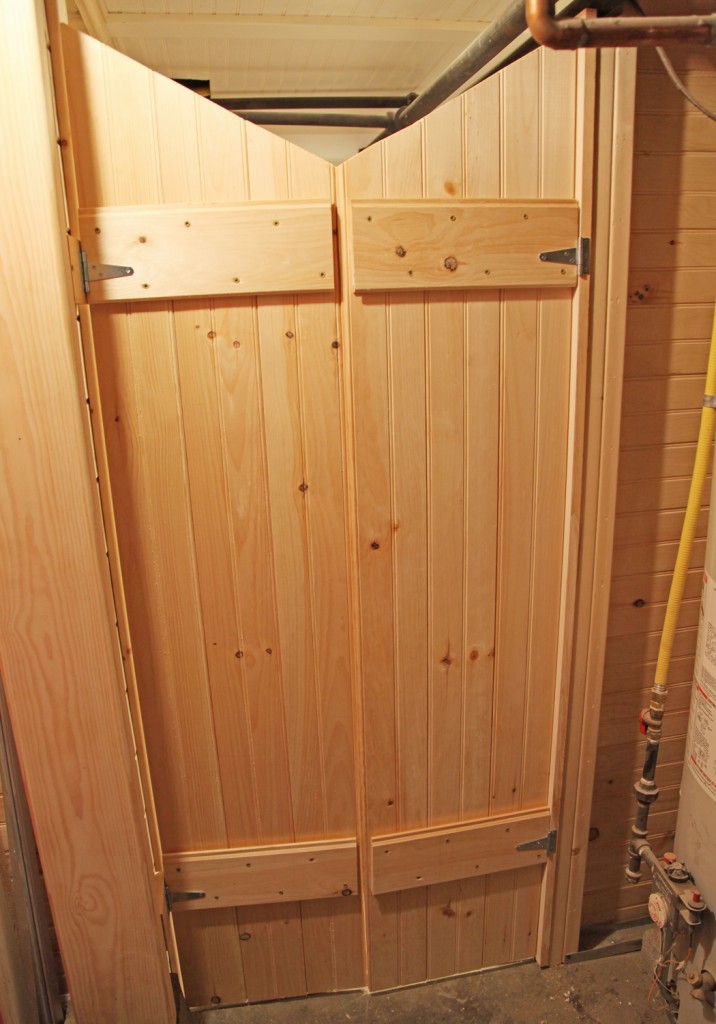
Door from the Workroom Side
10. I still need to install a latch at the top and whitewash it to match the rest of the paneling.
I actually prefer the workroom side of the door, but it wouldn’t work very well to switch the doors, so it will be staying this way for now.
What do you think?
Next up is adding trim to the bathroom door.
* To see all of the posts about our basement click here.

