It’s done! The third floor is officially insulated with open cell spray foam insulation! It has been pretty brutal here the last week getting the third floor ready and dealing with some last minute coordination (and lots of contractors), which included me driving back and forth from my office more times then I want to count. I am already out of sequence from my to do list but I think we may actually be ahead of schedule (and when does that ever happen?).
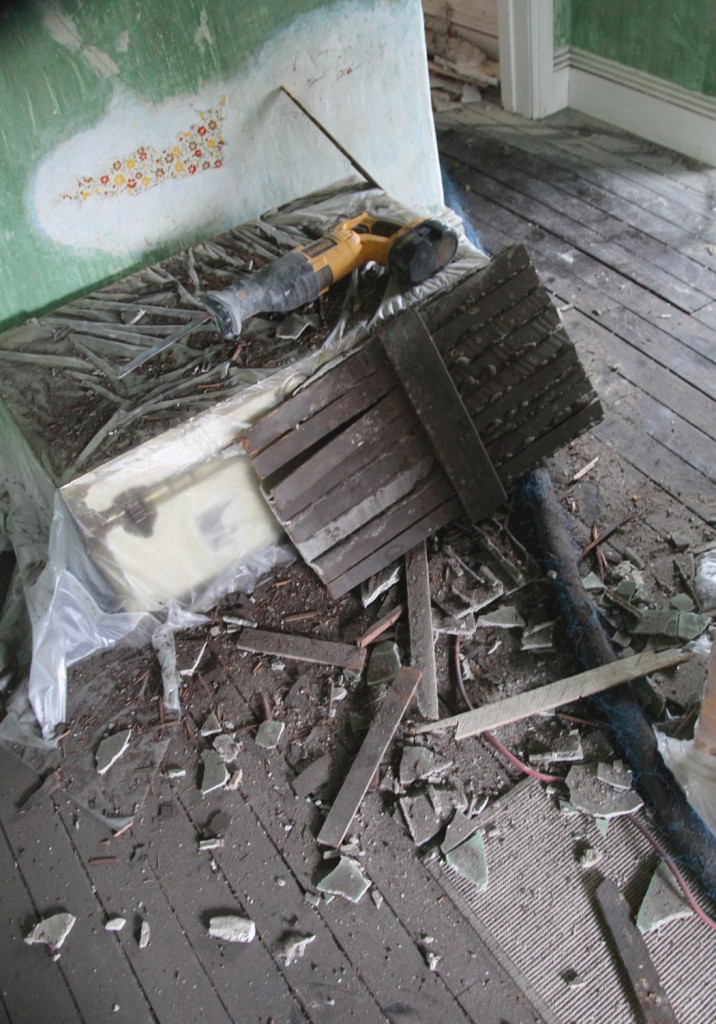
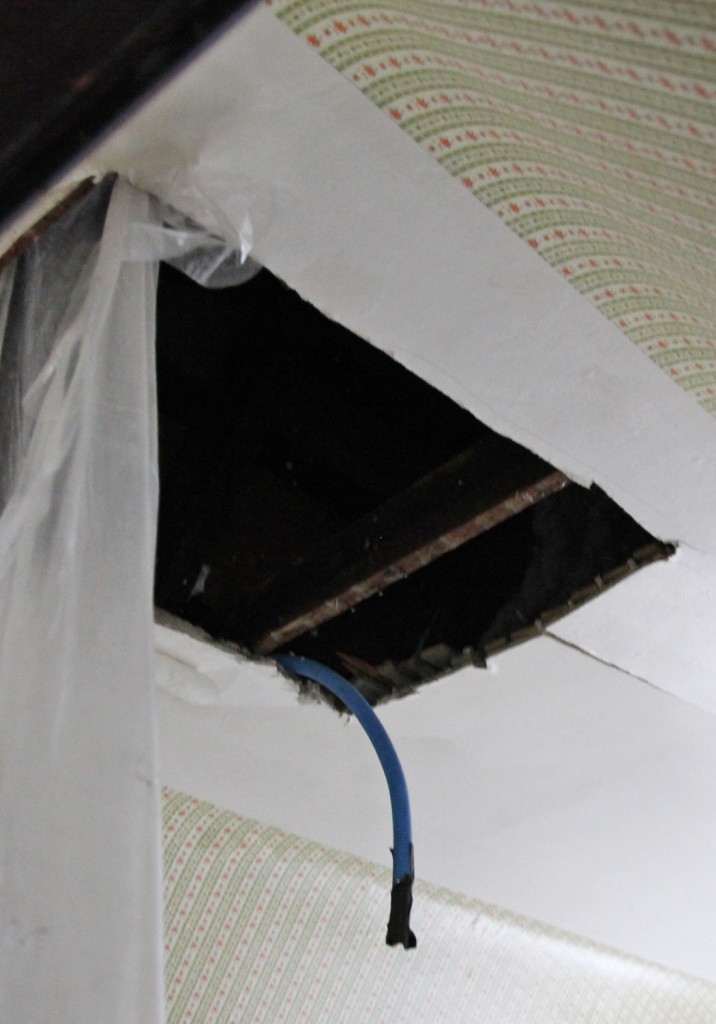
So while the cold, rainy windy weather beat down on our little house yesterday, the contractors moved ahead and installed all of the insulation. And I have to say it was pretty rough. We cut a few holes in the plaster but decided to let them cut the rest (mistake #1). They were hot to move, so I finally relented and let them cut. While, the majority of our plaster is fine, the areas around the holes are extremely rough and not particularly well thought out (i.e. not always adjacent to studs to allow for new patches). I should of had my regular contractor cut them, or waited a couple of weeks for us to finish it. The advantage I thought was that they know where the holes need to go. Fortunately the curves are well preserved even if the areas around the ceilings access holes look pretty terrible at the moment. The reality is that I will have to do some extra work on the plaster, but at least that is one step closer to actually making the space useable.
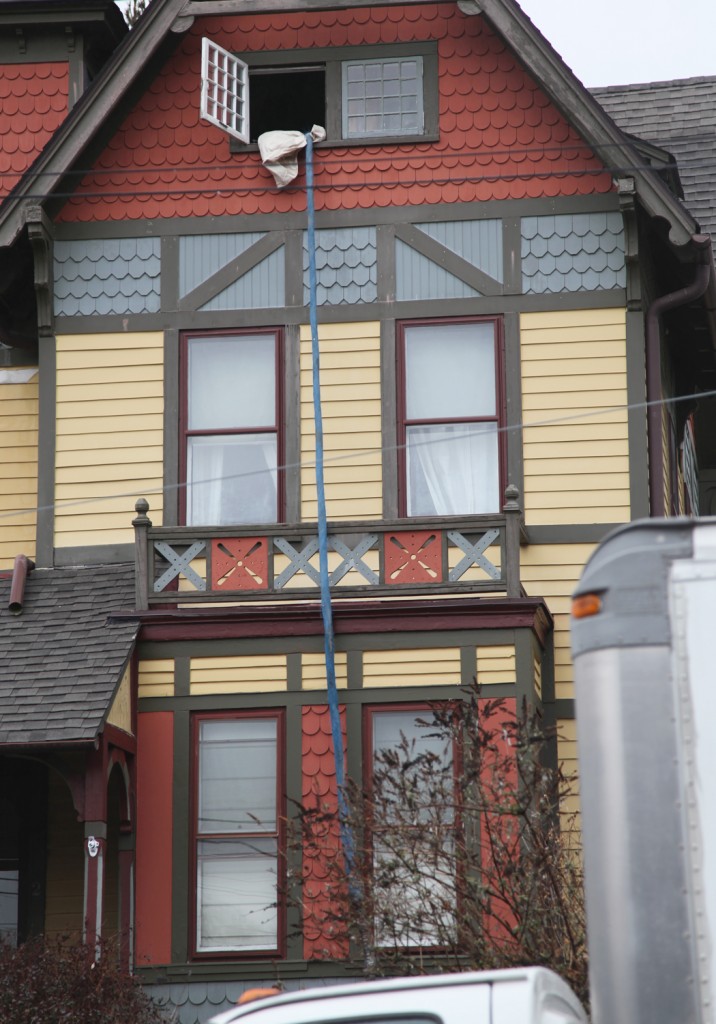
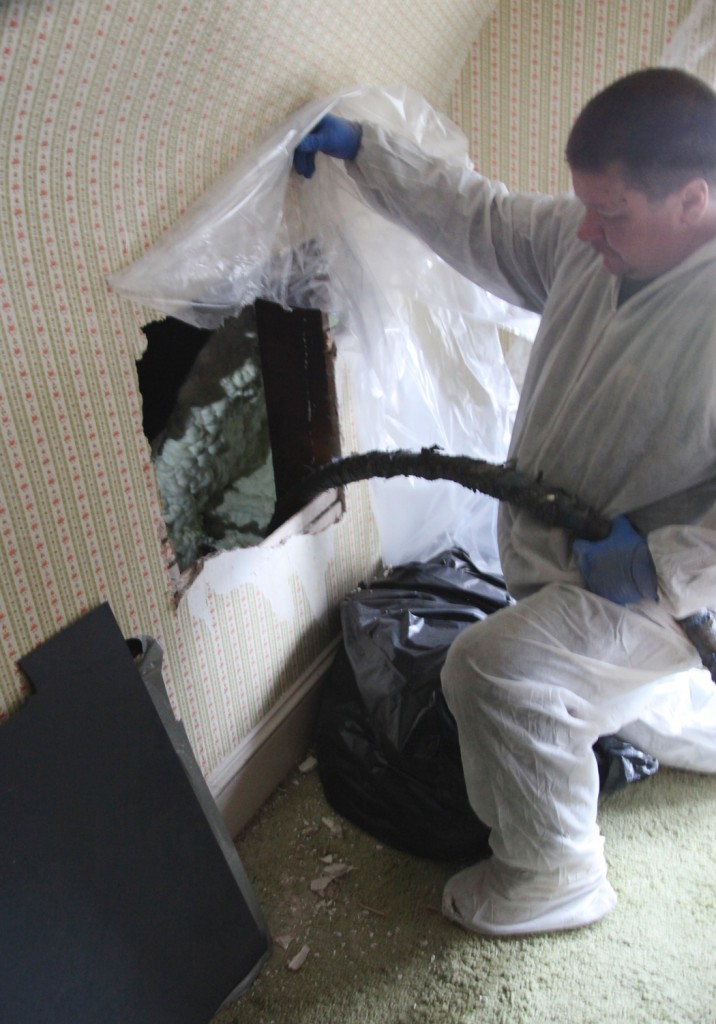
We had our electrician come over the weekend to discuss a plan for getting power up to the third floor for the new air conditioning air handling unit. I think we have a good plan (which incorporates moving our bedroom door over). The one important issue became how would we get power from the side wall up to the ceiling after the insulation was installed. Fortunately our electrician had a plan. He said to pick up some Smurf conduit. What is this you ask? It is thin blue corrugated flexible electrical conduit that could be placed ahead of time so that they could spray around it and leave us a path to run electric after the insulation! Fortunately the big boxes sell it in rolls of 100′. Of course the plan also included the insulation guys cutting holes and then giving us time to run the conduit.
Mistake #2 was letting them start to cut holes in the afternoon before they start spraying, with no wiggle room. Needless to say they didn’t finish! In fact they were only halfway done on Tuesday night. Mr. S and I managed to lay 4 of the 6 pieces that we needed (and just needed the insulation guys to move the conduit into the correct hole in the ceiling.
When they showed up yesterday they were all set to start insulating at the same time they were still cutting holes. hmmm…not so much time to lay conduit. So after calling the boss and talking to them multiple times they agreed to put in the last 2 pieces.
The foam insulation installation actually went fine. It is one guys job to climb into the small cavities and spray the foam. Needless to say this is not a job I would want! He sprayed all of the eave areas and all of the top of the attic by crawling (mostly on his back) for long distances and periods of time. He definitely deserves props for doing that!
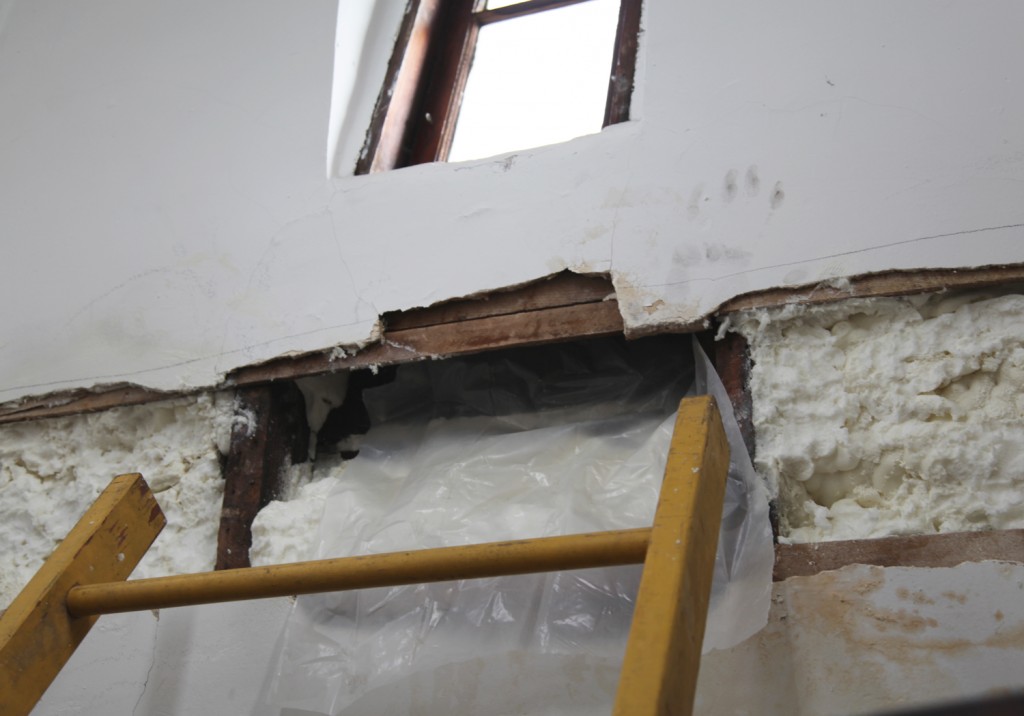
The last place they cut the holes and had a strategy for was the tower. My roofer came over yesterday morning (just as the spray foam was starting) to take a look at our various flashing problems. They hadn’t cut below the tower windows yet, so we could only speculate about the moisture problems. Mistake #3, I should have cut holes below the windows ahead of time. By the time they cut the holes (early afternoon) they discovered that the spot where the flashing is installed incorrectly was causing a slow drip (water and spray foam not a good mix). I stuck my hand up the hole to discover that the blocking adjacent to the flashing problem was wet. Fortunately the other 3 windows appeared to be dry. Given the super windy rain, it was a good day to feel around for dampness. After some discussion, it was decided that they would cut a piece of plastic under the sill and leave it unsprayed. I figured I could use a can of spray foam after the flashing is fixed.
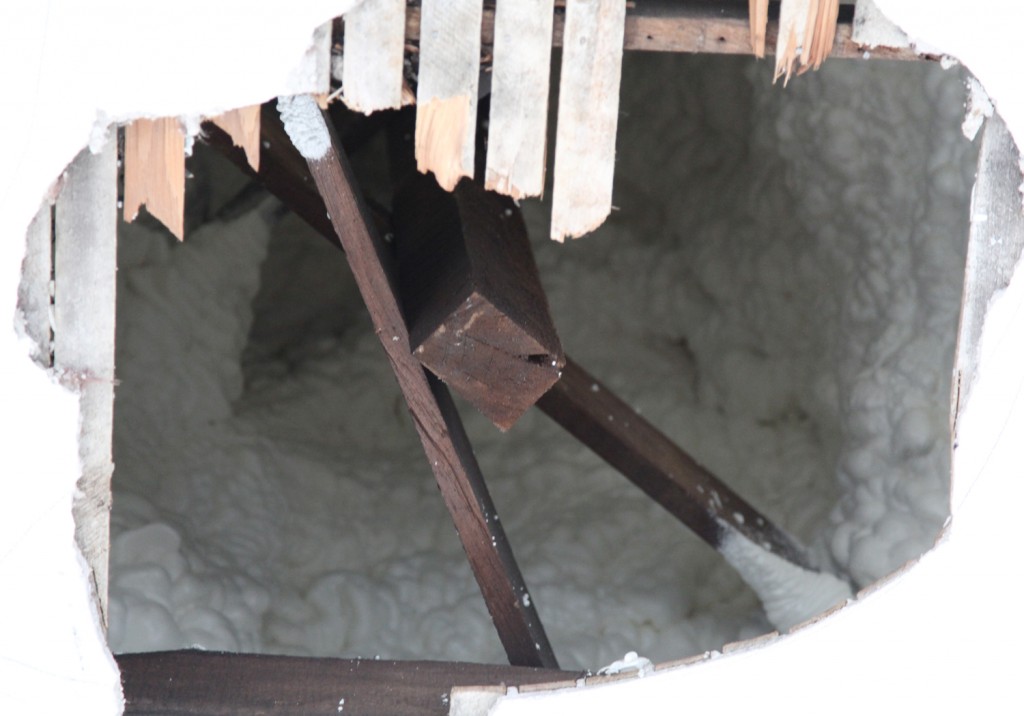 After a lot of perplexed looks they did manage to spray the top of the tower (about 18′ up). I wasn’t there when they did it so I’m not sure how they exactly got up there, but it is done. The plaster ceiling looks like crap (good thing I am planning on covering over it with beadboard or some other material).
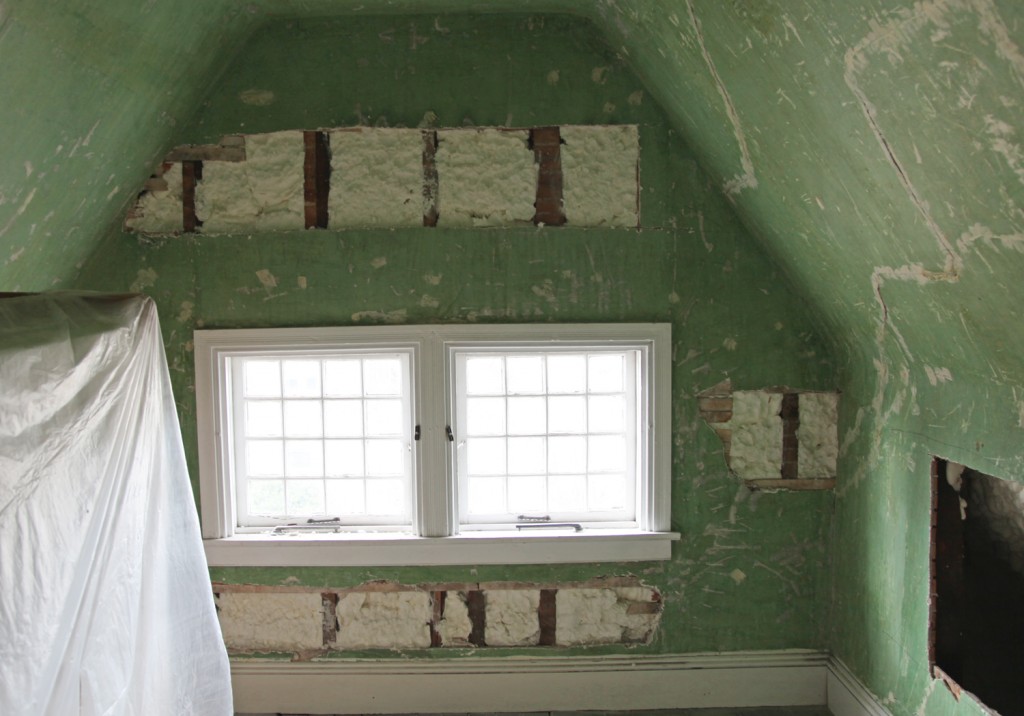
Here you can see the finished end wall. The verdict? There is a nice firmness to the walls now and they aren’t cold to the touch which is pretty nice. And the guys did do a reasonable job of cleaning up. And I still think this was the right solution for insulating our house. The R-Value per inch is way better than fiberglass and you get a much better seal. I was also impressed the cost of the spray foam has come down significantly in the last couple of years. We should actually recoup the cost in about 10 years with savings on heating and air conditioning. We won’t know for sure until we see our wintertime heating bills next year but fingers are crossed (after all we had NO insulation up there before). I am also hopeful that it will keep the worst of the summer heat from transferring to the house.
Next on the list is getting a couple of AC contractors in to figure out the system and layout! But I think I am going to take a breather for a few days before then.
To summarize here are my thought on my spray foam experience:
1. Pick a reputable contractor. My contractor had a lot of good reviews and the architectural firm that I work with had recently worked with them.
2. Do NOT have them cut the holes in your walls. They will probably need to cut a few last minute holes into areas that they can’t get to, but I think that is better left to a carpenter or someone you trust with your house. After all spray foam is there thing not carpentry.
3. Make sure to have all of your access holes cut well ahead of the insulation to allow for #4 and #5.
4. Coordinate with the other trades including electricians and mechanical contractors, so that you can leave appropriate infrastructure in place BEFORE the insulation goes in.
5. Complete any roofing and flashing work before the insulation goes in to avoid moisture problems. Having a leak behind the new insulation could leave to quicker rot since the water doesn’t have any where to go. We did take a really good luck at the underside of the roof to check for leaks or moisture.
6. It is kind of smelly so I don’t recommend hanging out near by that day. We put our kitties in the basement to be as far away as possible.
Phew! I’m tired.

