Archives For GARDENING & PLANTS

Like most gardeners I have the standard mix of shovels and trowels and clippers (okay, so I actually have a shed full of stuff). But there are a few tools and accessories that I find very useful. Thought you might be interested to see what items I keep coming back to. Anyone have other recommendations?

Ethel's Houndtooth Garden Gloves: $20 at Terrain

1. Good Gardening Gloves:

I have been on the search for the perfect pair of Gardening Gloves for a couple of years. I find that the thin ones tend to rip at the fingertips and become useless and the bulkier suede/leather ones don’t give a good feel. They are fine for raking, but when it comes to getting your hands in the dirt they aren’t very helpful. I also have smallish hands so I also needed a pair that came in sizes. I had almost given up when I came across these at Terrain at Styers this Spring. So far I LOVE them. They keep my hands clean, they are nicely fitted and give good hand feel, but they are durable enough that they don’t have any sign of wear (just lots of DIRT). As an added bonus I don’t have big blisters and callouses on my hands and my nails stay nice and clean!


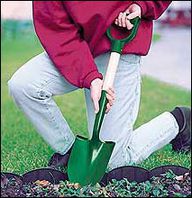
Mini Shovel: $14.50 @ Lee Valley

2. The Mini Shovel:

This is new to my arsenal. It arrived  just as I was dividing some perennials last month. I don’t know how I gardened without it. There are lots of times when I am in a planting bed where my small shovel is not big enough but a full size shovel or spade is too big or awkward to use. This solves the problem. The kids also love using it, since it is just their size! By the way I am now in love with Lee Valley. They have lots of interesting gardening and woodworking products (that you don’t find anywhere else). My neighbors introduced me to them (Thanks Eils!)


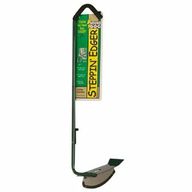
Steppin' Edger: $28.75 @ Amazon

3. The Steppin’ Edger

This product totally looks like a gimmick, but when our half moon edger broke (after many years of service) I was interested in other options. My husband and I are both big believers in good edging. Every spring we edge the beds and create a little moat between the grass and the bed. Then you fill part of it with mulch and it provide a place to monitor weeds growing into the garden and most importantly it gives a nice finished appearance to the bed. Anyway, we had also tried electric edgers without much luck. Well once I got this, last year I couldn’t help myself! I edged and edged and edged. It still works better when the ground is damp from a rain but it worked MUCH faster than a traditional edger. It takes a little getting use to but now I would never got back! It is also much easier on the arms, shoulders and back!


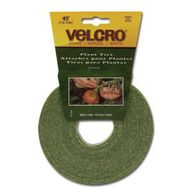
Velcro Tape: $2.97 at Home Depot

4. Velcro Tape:

I know it sounds so simple, but this stuff is great. You just cut it to size you need and loop it around the plant that you need to tie. Plus it is easy to adjust and you can take it off and reuse it! The only downside is that you need a pair of scissors to cut it. You use to have to order it online but now Home Depot and everyone else seems to sell it.


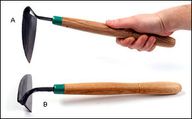
Japanese Weeder: $19.50 @ Lee Valley

5. Japanese Weeder:

I don’t have this exact model since I bought mine at the defunct Smith and Hawken but mine looks very similar. These are handy little tools (although they are sharp so I have to keep mine from the kids). They do a really nice job of removing weed seedlings around your perennials without disturbing anything else. One thing to note is that they are “handed” so make sure you order the right (or my case left) one.


1 Comment

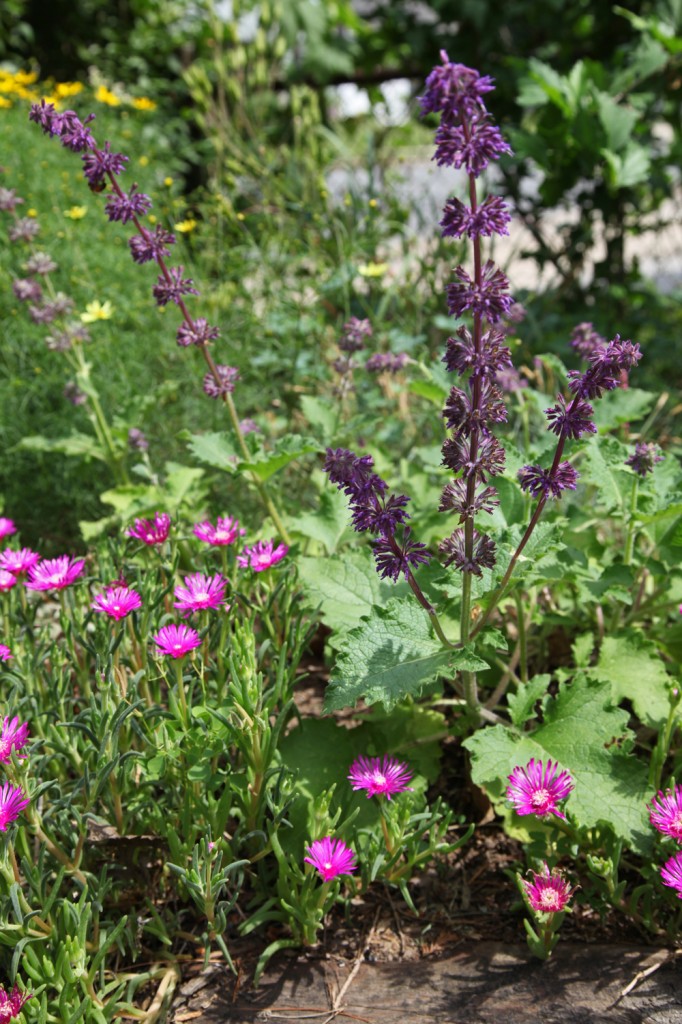
'Purple Rain' Salvia paired w/ ice plants and coreopsis in a dry sunny bed adjacent to the driveway

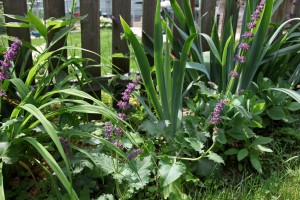
'Purple Rain' paired w/ Bearded Irises and Autumn Joy Sedum

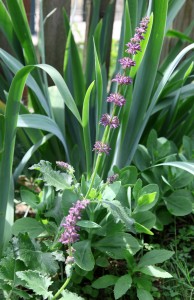
Close up of Flower Stem

‘Purple Rain’ Salvia verticillata (Lilac Sage, Whorled Clary )

Type: Perennial (Zones 4-9).

Light Requirements: Full Sun

Moisture/Soil: Average moisture.

Blooms: Early summer (reblooms in fall if cutback after first bloom). Tall 18″-24″  floppy spikes with beautiful of purple flowers that tend to cluster in balls (the more sun the taller the spikes tend to be)

Leaves: Large soft fuzzy green oval shaped leaves that form in a mound.

Size: Height: 18″-24″ tall and wide. It is a soft untidy mound.

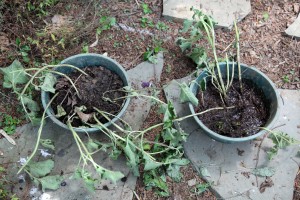
Divided 'Purple Rain' waiting in compost to be replanted (they look sad but they should perk up pretty soon)

Additional Info: Not only is this my favorite salvia and is one of my Top 10 perennial for my garden (I also grow ‘May Night’ which has darker purple flowers and is more upright). I love the untamed cottage garden feel that they have. I also like the soft leaves.   Mine tend to like to be divided every 3 years or so. If not the middle will tend to open up and not look as good.

Pros: They are low maintenance and the butterflies, bees and birds love them. Will typically rebloom if flower heads are cut off after initial bloom. These can also be divided quite easily after a couple of years (I just divided 1 very large plant into about 10 plants). Deer and rabbits typically don’t like Salvia.  They also make a good cut flower.

Cons: If you don’t like “natural” or “wild” look then this plant is not for you.

Origin: Not native to the US. Europe/Asia.

Varieties: There are a number of varieties of salvia to choose from. Here are a few of my favorites:

‘May Night’ has nice dark purple/blue flowers.

‘Caradonna’ has a medium purple flower.

‘Snow Hill’ is a white salvia.

‘Marcus’ is a dwarf version (more like a ground cover).

Plant Combinations: These look good paired with small grasses and taller more erect plants. Also looks great with orange and yellow lilies like Stella de Oro. I also just planted some with a Yucca.

*The Plant of the Week is based on plants that do well in my 7a/6b garden in SE Pennsylvania.

1 Comment

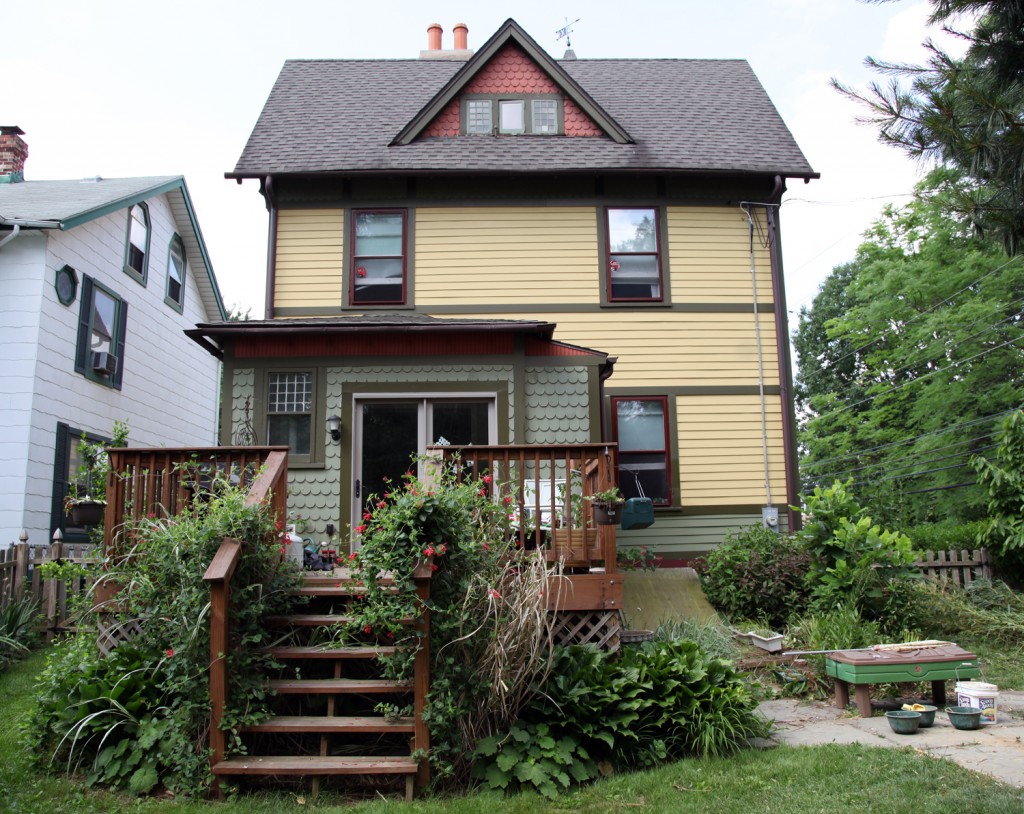
The current back deck

So I am generally opposed to putting up a traditional swing set in our backyard. Partially because of the limited space and partially because we have a park with swings and a big jungle gym 2 blocks away. But, now that the kids are a little bigger it would be nice for the kids to have some other play options in the backyard. I like the idea of the kids having space to dig in the dirt and I really want them to spend as much time out in nature as possible.  We currently have a bamboo teepee where I have been trying to grow peas (last year the bunnies ate all of the pea shoots). We are trying this again (stay tuned to see if it works) but I would really like to add some more fun things.  We do have a water table that the kids like. We also have a deck that houses the grill, a couple of chairs & the tomato plants but it seems like it could be better utilized. The deck is also kind of boring looking (doesn’t really match the rest of our Victorian house), so adding something to it would okay in my opinion (Mr. S has not weighed in on this yet). Currently I try and hide the deck as much as possible with plants (i.e. native honeysuckle and grasses & hosta).

Yesterday's mud pies! mmm....

List of Backyard Kids Stuff:

-Sandbox/mudpit (there have been a lot of mud pies being made around here) w/ some sort of cover
-Slide
-Fort (or some kind of space that is kid sized just for them)
-Space in the shade (I picture an area with old tree stumps for seats)
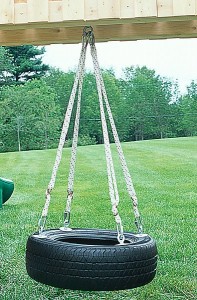
-Tire swing would be super cool (I don’t currently know where this would fit)
-Treehouse (the kids are not really old enough for one at the moment but in my dream backyard there would be one in the old cedar tree)

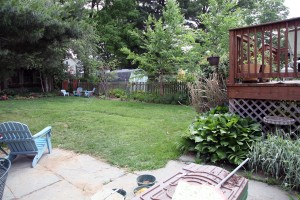
Possible slide location on left side of deck. We could also try to fit a small "fort" underneath.

Corner of the Deck, looking from the patio


Constraints:

-Work with existing deck
-Ideally area would be visible from the kitchen window
-BUT does not block view of backyard from said kitchen window
-Something that would be pretty easy to build
-Not too expensive

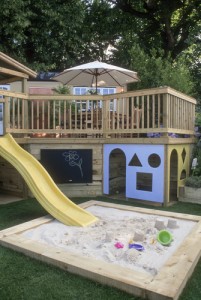
Slide w/ sandbox via Gardenphotos.com

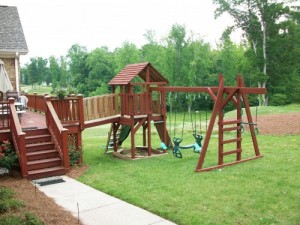
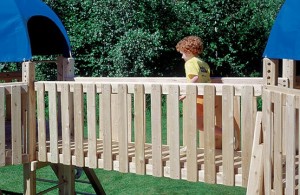
Bridge connecting deck to playset from backyardplayground.net. Our playset would not be this big.

Tire swing from cedarworks.com

Another deck bridge from cedarworks.com


The Design:

I’m still thinking through the options, but my first idea was to just put a slide off of the right side of the deck. Now I think it might be fun to put a small bridge off of the deck that connects to a small “fort” w/ roof. This would have a slide off of it and either a sandbox or a tire swing below it. These are some inspirational photos that I have found online. Another option is to put a small “fort” under part of the deck (like the first photo).
What do you think?

4 Comments

It is a beautiful day here! Sunny, breezy about 80 degrees. After a week of VERY hot and humid weather it is nice to actually have seasonable weather. I wish I could go sit in the garden and work on the laptop. Unfortunately I’ve got to go into the office for a while. I don’t have a lot to say for myself otherwise. Below are a few pictures from the garden today. Unfortunately the heat last week wiped out a lot of the flowers (including the peonies). Fortunately I try to plant a lot of perennials with nice foliage to compensate for the short lived flowers of many perennials.
 

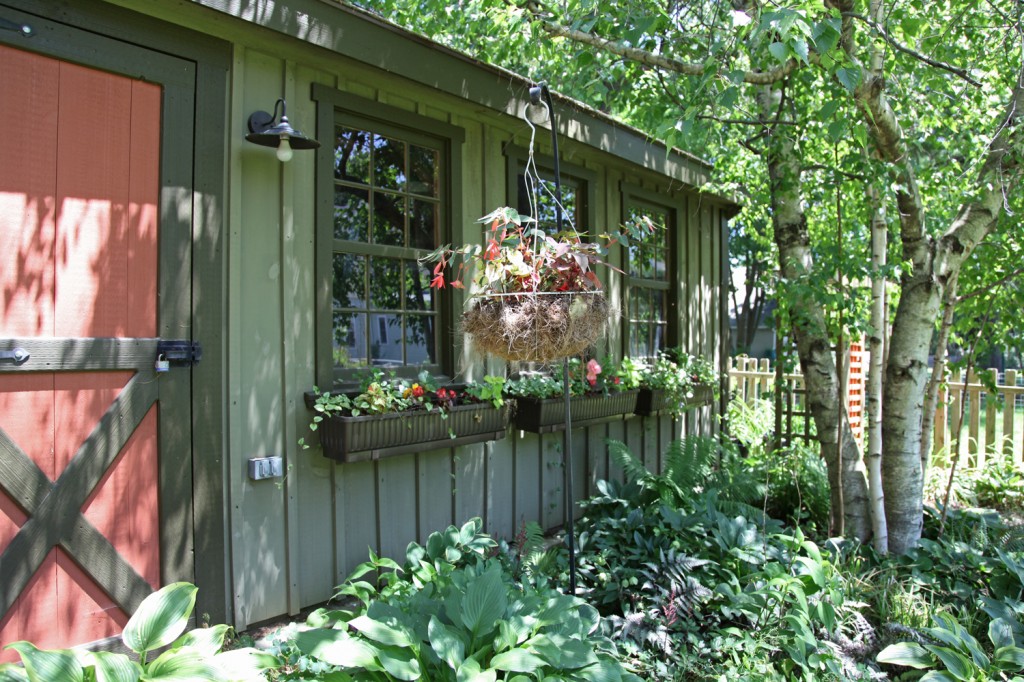
The garage with window boxes & hanging basket (filled with a beautiful lipstick begonia)

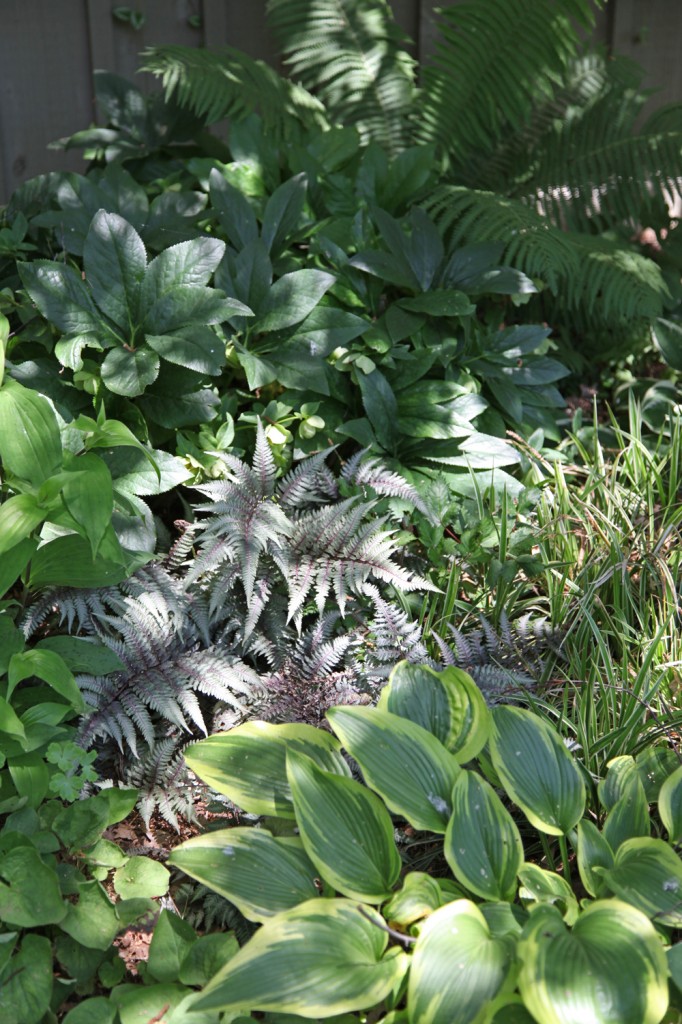
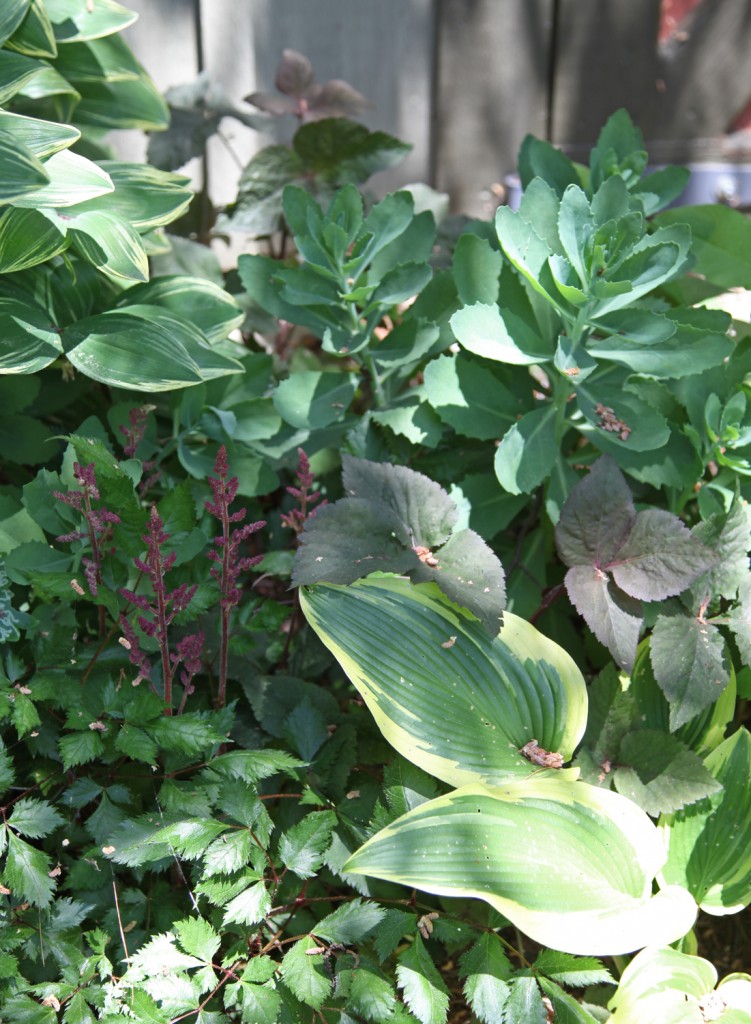
Close up of shade garden in front of the garage (I love the japanese painted fern with the hosta, grasses, ferns & hellebores)

Another close up of the shade garden (astibes popping out of autumn joy sedum and hostas)

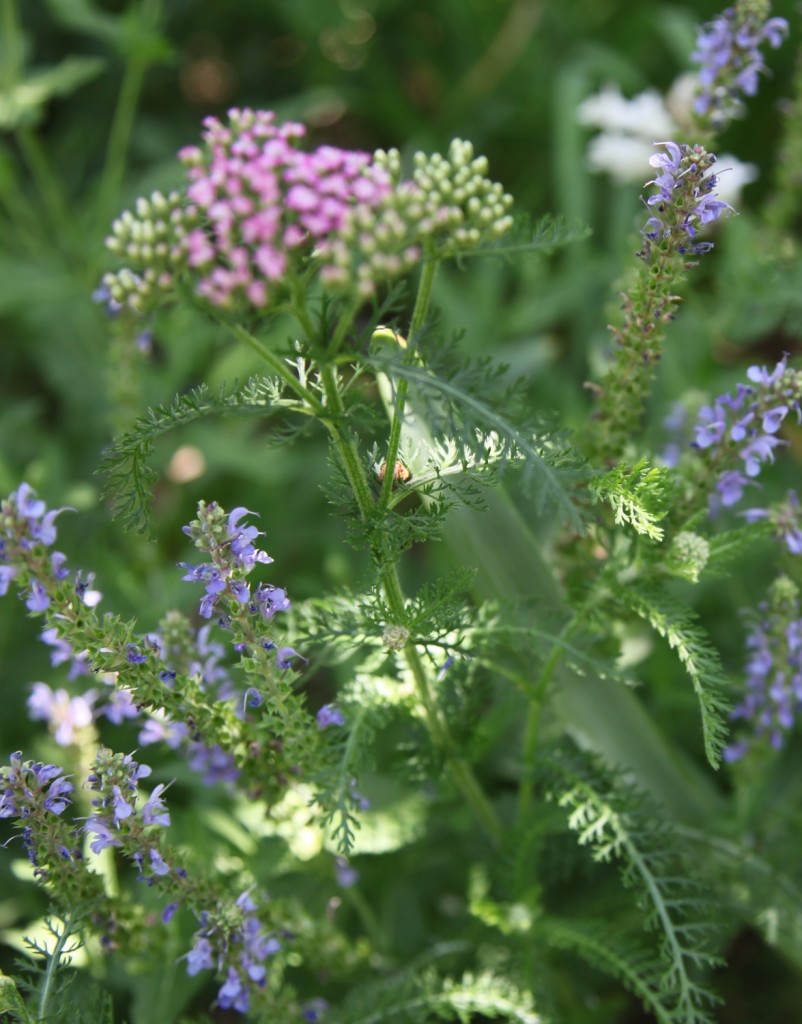
The sunny side garden (yarrow just budding out with salvia)

Leave a comment

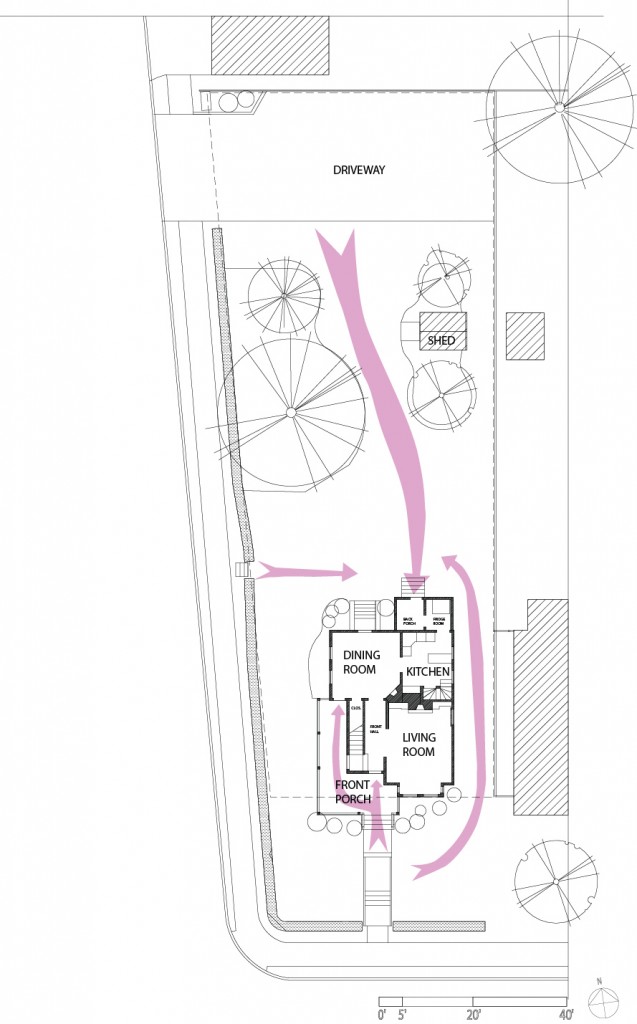
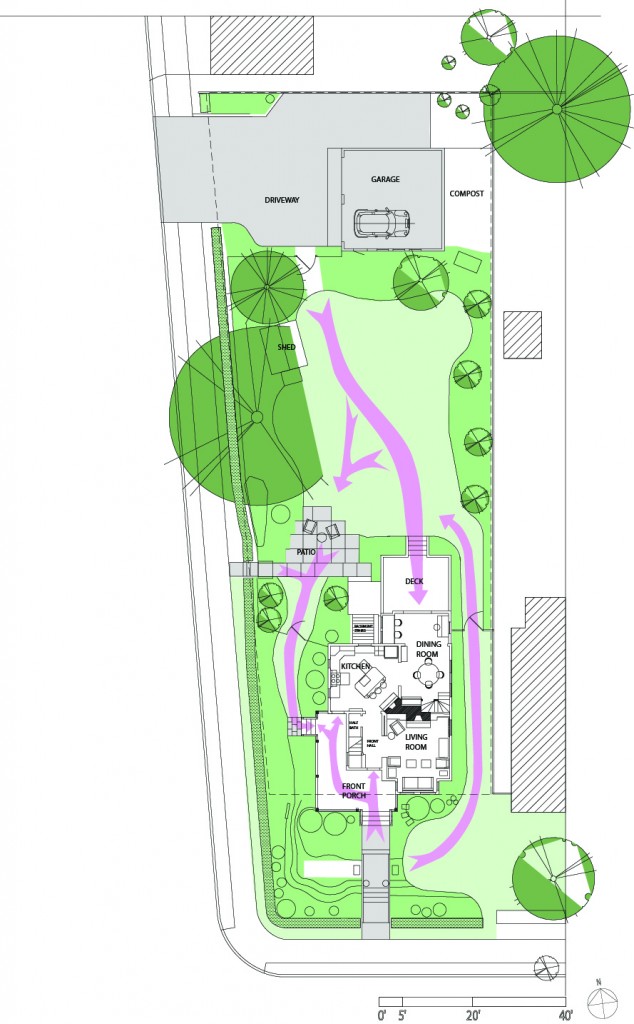
I thought it would be helpful to show everyone the original siteplan and first floor compared to the the current configuration. I also added some arrows to show the connections and pathways through the yard.

House Circa 2000:

-The only landscaping where some overgrown shrubs in the front yard and a large pine tree, dogwood and birch tree in the backyard.

-The Yard slopes down significantly towards both streets. Mr S. wiped out several times trying to mow it.

-The Entrance at the back of the house was not very welcoming or easy to use. Through the back porch and refrigerator room to the kitchen. Yuck!

-The Front Porch was nice, but very exposed to the street and had no side entrance.

-The Kitchen was tiny and the fridge was in an unheated adjacent space. The layout was horrible (it included 3 doors, 2 windows and a back staircase). The connection to the rest of the house was poor. You couldn’t see the backyard from the space.

-The Dining Room was really large, but not very well used.

Current Configuration:

-The landscaping has limited the grass to walking areas and play areas. Lots of perennials, shrubs and trees have been added to provide privacy, add visual interest and to encourage butterflies and birds.

-The House has been opened up to the backyard, providing better light and visual connection.

-The Kitchen and Dining Room switched places, providing us with a large kitchen and a smaller but functional Dining Room.

-We reconfigured the back porch/refrigerator room to be open and have a built-in desk space as well as a space for the piano.

-We added a patio and deck to the backyard to better utilize the space.

-We finally added a second set of steps to the backyard from the porch. Now we can go from the front to side yard and also from the kitchen to the backyard easily. Why did it take us 11 years to do this. hmmm…

Leave a comment

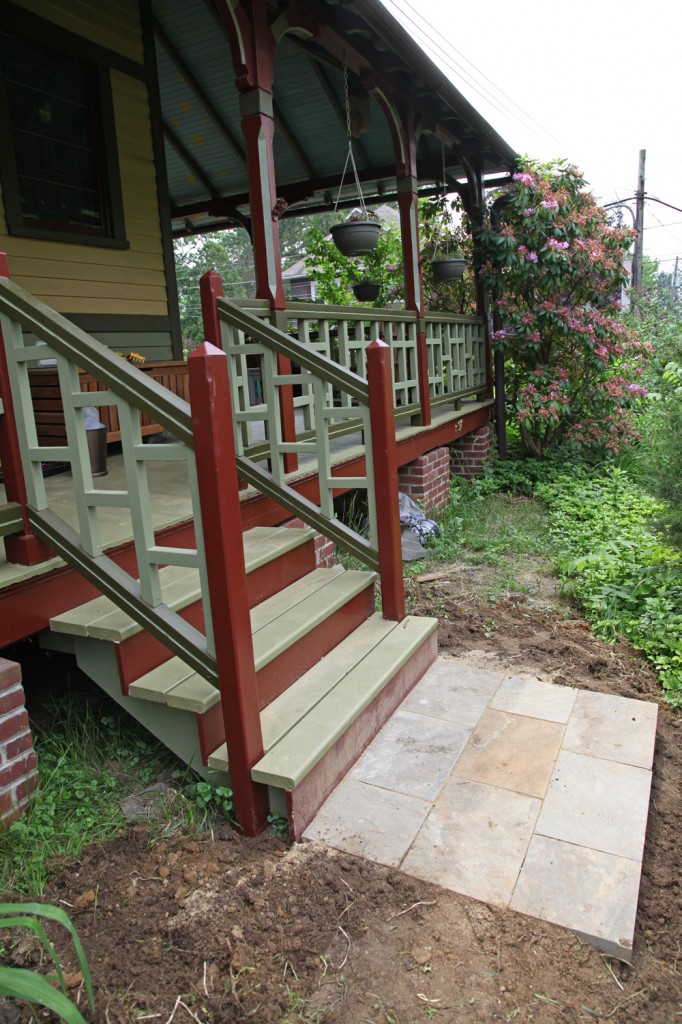
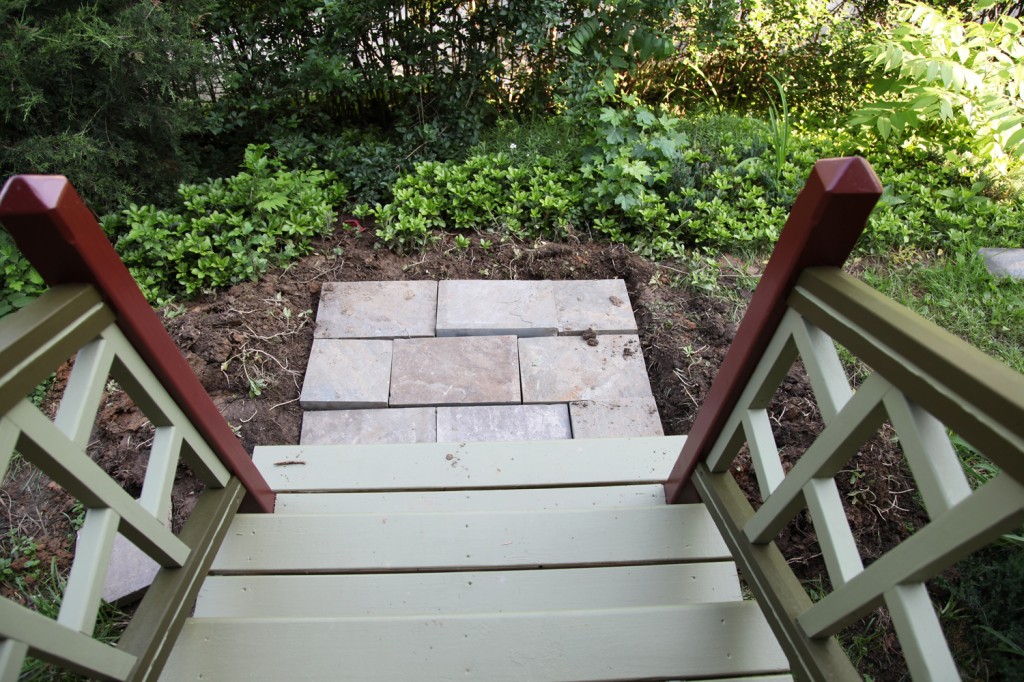
The Bluestone Landing is Done!


It may not look like much, but I managed to get the bluestone landing finished yesterday! I was determined to get this finished before this weekend. I hope everyone gets to enjoy the 3 day weekend!

It is hard to believe that it took us this long to put these stairs and landing in. This side yard has been wasted space for the past 110 years or so, and now it is a key part of the circulation path for the house. I still need to post a plan of the yard but I have been having trouble converting my autocad into an illustrator file. Hopefully next week I can post up the site plan so you can better understand the flow of the space.

I still need to work on the planting in this area as well. I also want to add a small raised veggie bed in the space just past the new landing (top right in the photo above). It is now a mix of weedy grass and pachysandra.

Laying the bluestone was tricker that I thought it would be.

The Install:

1. First I measured down from the wood steps (so that the bottom step to the landing would be the same height as the wood steps).

2. Then I had to account for the differing heights of the stone (they varied from 1 1/2″ to 2 1/4″ thick) to figure out how far down to dig.

3. Because I needed to add some retaining blocks (which are just the standard one from Home Depot, $2.18 a piece) under the sloped side to stabilize it I also needed to dig out for these. And because these would be at a set height I picked the 3 pieces of stone that were the closest in depth and used those on that side.

4. I dug out the dirt which was filled with annoying pachysandra roots. Including for 2 layers of retaining blocks.

5. Then I filled with sand (about 3″ thick) starting at the stairs to make sure the height was correct.

6. I sloped the stones about 1/4″ per foot towards the slope for drainage.

7. After I laid the first row (which took the longest to get just right), I started with the second row. and aligned with the first row while maintaining the slope in 1 direction and level in the other.

8. The third row required getting the 2 layers of retaining blocks at the right height and slope. This took lots of putting them in and out until they were just right.

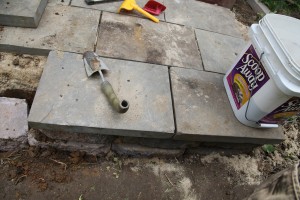
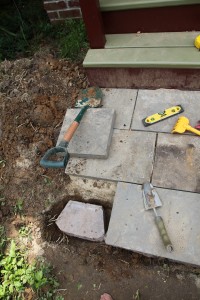
9. I filled around the retaining blocks and installed the last 3 pieces on top.

10. Finally I filled the joints with sand and pushed it in with a broom.

11. I still need to take a hose to it and try to get some more stand into the joints.

The retaining blocks under the landing

Installing the last retaining block & blueston paver

1 Comment

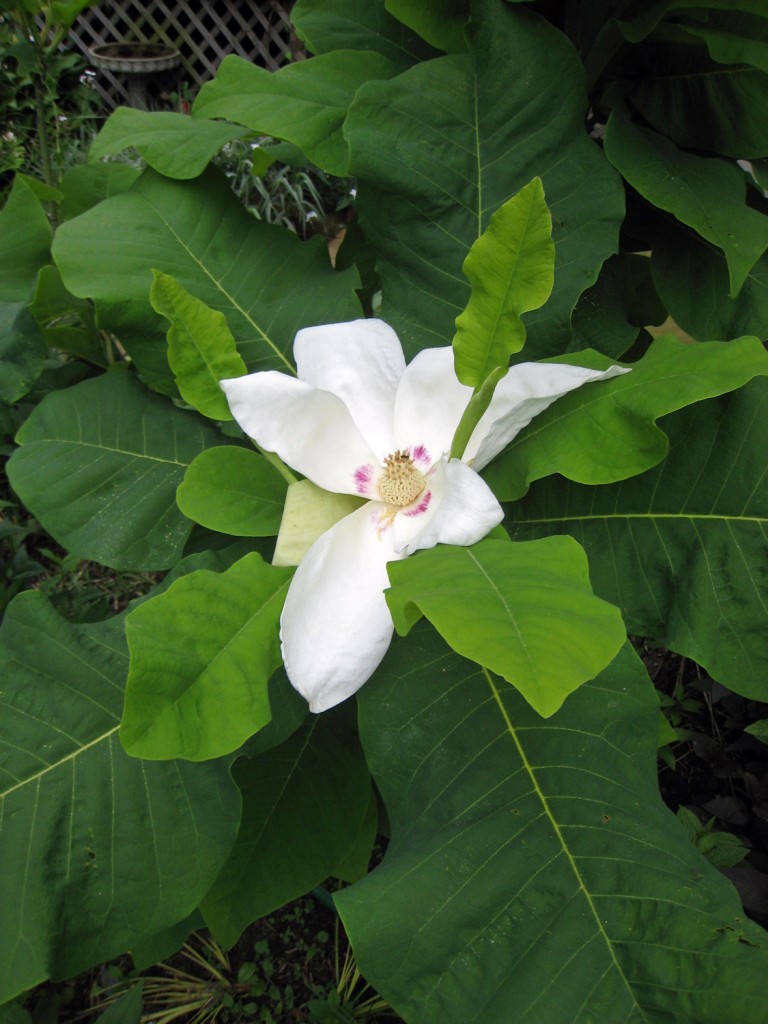
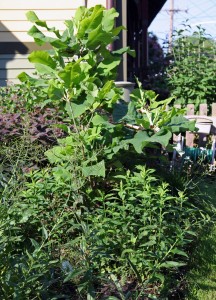
Magnolia asheii in bloom (5/16/2011)

Magnolia Ashei w/ perennials

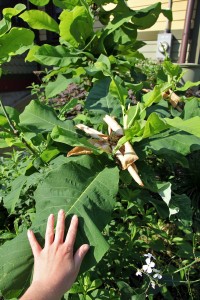
Magnolia Ashei leaf

Plant of the Week: Big leaf Magnolia, Ashe Magnolia
(Magnolia ashei or Magnolia macrophylla subsp. ashei)


Type: Small Tree  (Zones 6-9).

Light Requirements: Full Sun to Part Shade (Mine is in part-sun but it can be planted as an under story tree)

Moisture/Soil: Average moisture. Sheltered locations help protect the leaves from fraying.

Blooms: Giant white flowers w/ pink accent (6″-10″ wide) late spring to early summer (mine just finished blooming). Also has red burrs after flowering.

Leaves: GIANT Green leaves (up to 24″ long). Have a unique prehistoric look.

Size: Height & Width: 10′-15′ (In tends to grow more upright in sunny locations  and wider in shady spots.)

Additional Info: I purchased mine at the Scott Arboretum Plant Sale 4 years ago. It has grown about 18″ since then. I think it is very unique and interesting. It has grown sideways as much as upright (looking for the sun). When people visit the garden they always comment on the giant leaves.

Pros: Unique specimen plant. Beautiful leaves. It flowers at a younger age than its larger cousin.

Cons: Fairly slow growing. Not for a windy location.

Origin: Native to the Florida panhandle (it is very rare in nature). Its bigger cousin Magnolia macrophylla is native to the the SE US (Carolinas through Florida).

Varieties:
If you are looking for a larger tree I recommend the Magnolia Macrophylla which can grow 50′ tall and wide (and has leaves up to 3′ long). This tree has the largest leaves of any native tree in the eastern US. There is one down the street from me that must be at least 50 years old and it is fabulous!

*The Plant of the Week is based on plants that do well in my 7a/6b garden in SE Pennsylvania.

3 Comments

Garden & Porch Update

May 25, 2011 — 4 Comments

4'x3' Bluestone Landing in progress (it looks so small in this picture)

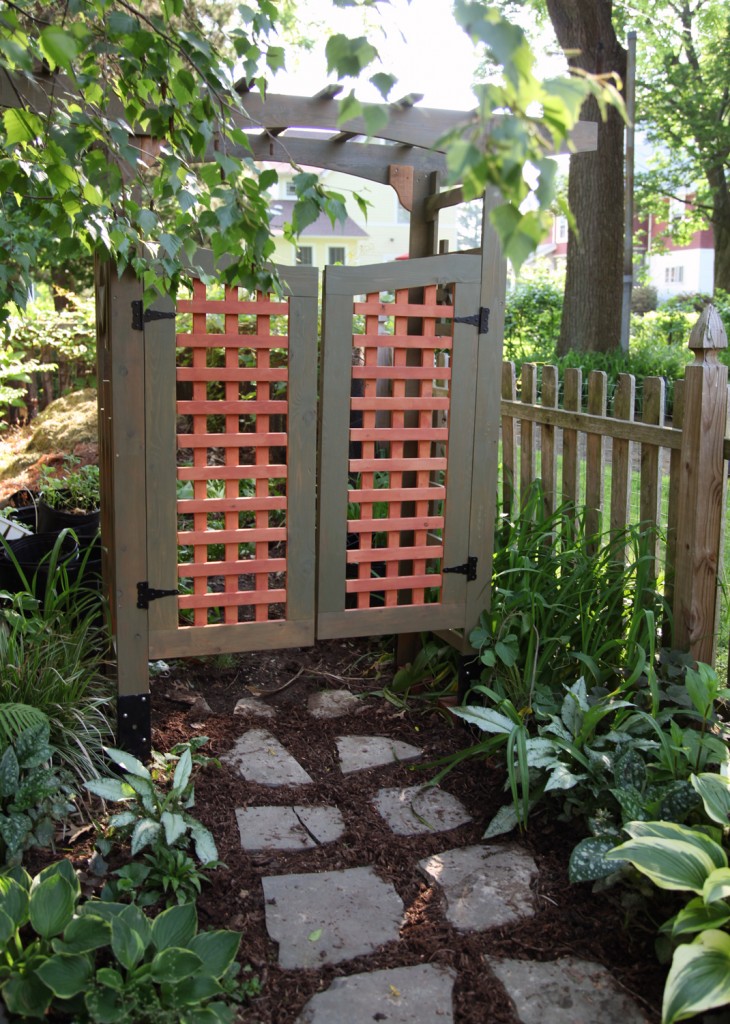
Arbor w/ fresh mulch

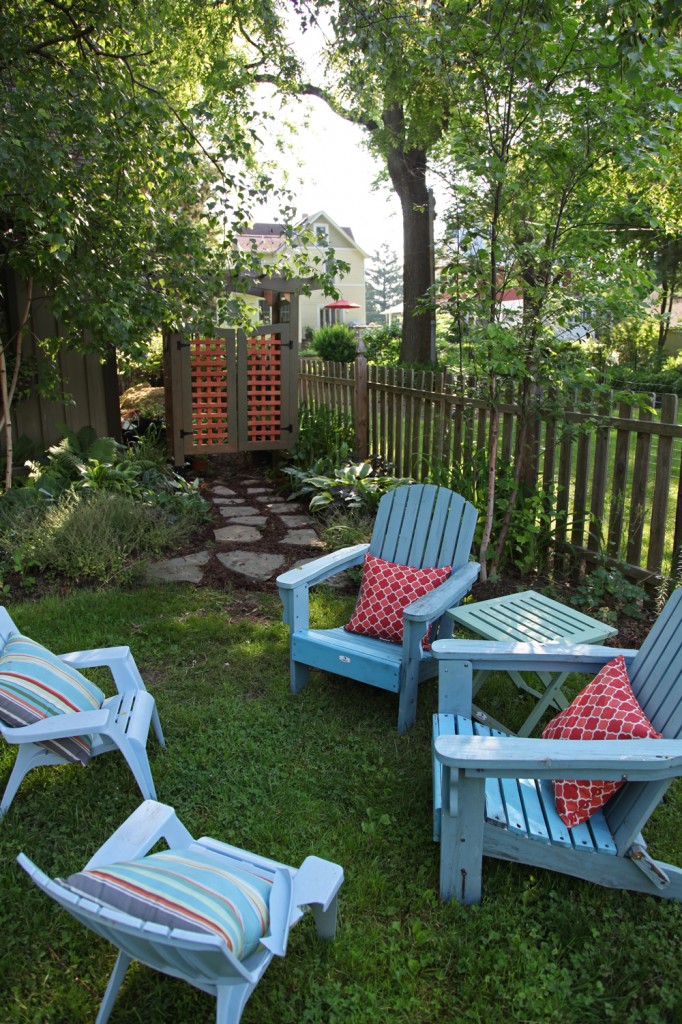
Arbor with our old adirondack chairs

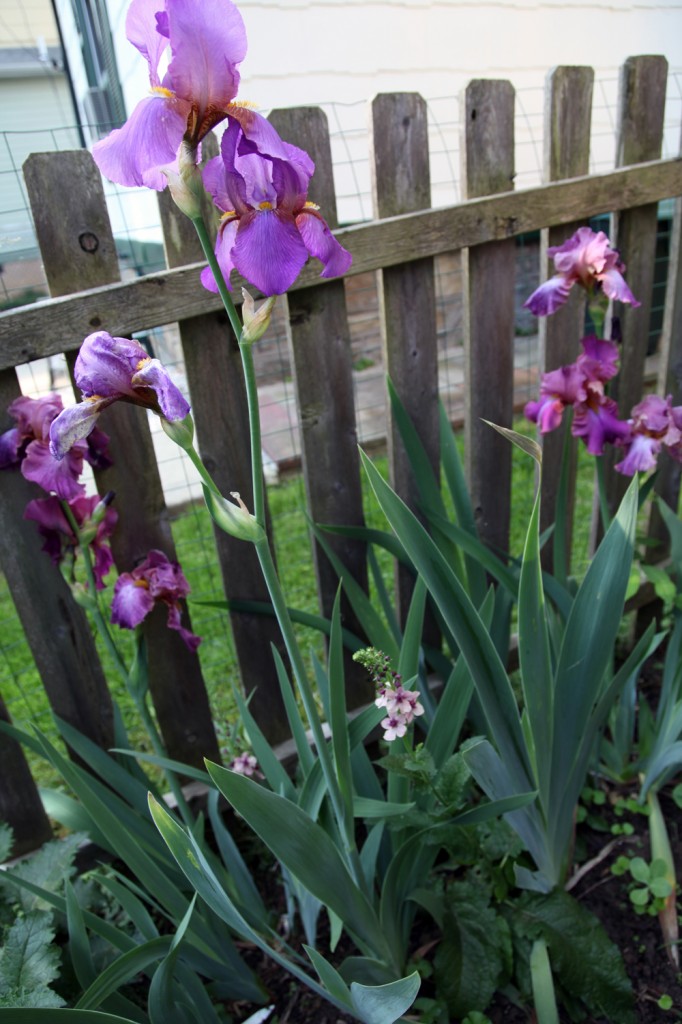
Huge Bearded Irises w/ Verbascum nigrum

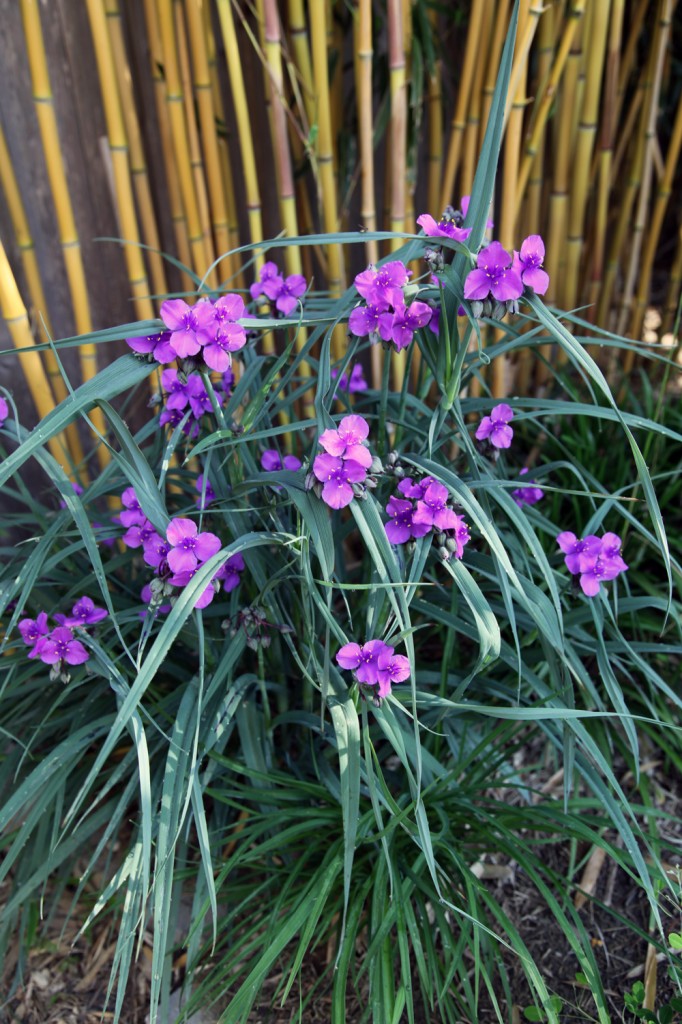
Spiderwort (Tradescantia) (I love the tropical looking flowers w/ the bamboo, but it is actually a native prairie plant)

Things have been moving along in the garden and porch, partially thanks to Mother Nature and partially by manual labor. Yesterday I managed to dig out for the bluestone landing at the bottom of the new stairs. I just need to pick up the sand and level. I also managed to adjust the stepping stones to the new arbor and put in some mulch.  In the garden, things are really starting to bloom. It is interesting now that I take more photos of the garden, how many purple flowered perennials I have. Purple is my favorite color, but I didn’t realize how much I favored it. hmmmm…

4 Comments

I’ve had a request for plant combinations for window boxes. I love window boxes. I have several and I am contemplating more.There are lots of books and articles on window boxes but I thought I would give you some of my preferences and opinions. I have also posted these and some additional images and links on Pinterest (which I am addicted to now).

Getting Started:

Self-Watering from Gardener's Supply, $29+

Self-Watering Insert, Gardener's Supply $16+

Hydromat, Gardener's Supply $9.95+

1. Picking a pot:

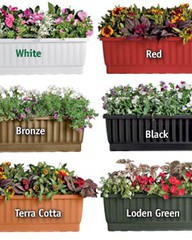
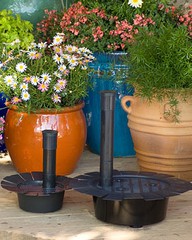
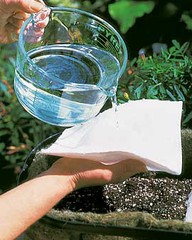
For a sunny location you will need either a self-watering box/pot (it has an extra reservoir of water below to help keep the plants roots moist) or a kit to add a reservoir to the bottom. Alternately you could add a hydromat to the bottom of an existing pot.

If you are growing to grow some of the larger veggies or house plants I recommend getting one that it a little deeper.

I have several self-watering ones that I love from Gardener’s Supply.

Potting Soil w/ Water Crystals

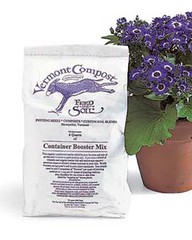
Vermont Company Fertilizer

Organic Slow Release Fertilizer

2. The Soil:

You will need sterile potting soil. Potting soil is lighter than regular soil. I also strongly recommend the soil that has crystals to store water. You can also buy soil that has some fertilizer already in it.

3. Fertilize:

I have to admit that I am totally lazy about fertilizing, but for these kind of conditions the plants could really use it. You can use the slow release dry kind or a liquid fertilizer. There are a lot to choose from. If possible look for an organic one such as one from Vermont Compost (which I have used).

4. Picking a Location:

For most vegetables and herbs you will need at sun to part sun. For shadier locations there are a lot of house plants that will do well, but not as many veggies.

Plant Types:

The typical plant recommendation for window boxes and planters are to use 3 types of plants: low vines for the the front, bushier middle plants and tall back ground plants.

Lately I have been looking for alternatives to the traditional annual selections. I am particularly interested in combining perennials with edibles and houseplants. Perennials cut down on the cost of buying annuals every year (plus they typically look good into the winter) and I am always looking for a spot to grow some fruit and vegetables. I also have a number of house plants that I like to get outside in the warm weather. Below are some suggestions. Do you have any recommendations?

Also here is an interesting and helpful article on edible window boxes.

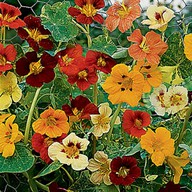
Nasturtium (Jewel of Africa), Parks Seed

Strawberry (Tristan), Strawberry Seed Store

Sweet Potato Vine (non-edible)


1. Front of Window Box/ Planter: Low Vines & Trailers

Traditional Annuals include: sweet potato vine (available in lime green, red, and purple), variegated ivy, variegated vinca, petunias (trailing kind), Cotoneaster, Solanum laxu, Golden Moneywort, Silver Falls Dichondra

House Plant Alternates:Ivy, hen and checks (not trailers but pretty)

Edible Alternates: Nasturtium, strawberries, peas (pea tendrils are tasty in salads)

Perennials: Ivy, vinca, lamium (I grow this in my part shade flower boxes)

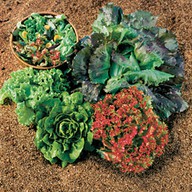
Lettuce, Parks Seed

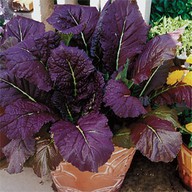
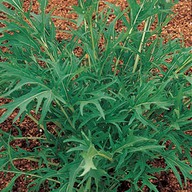
Mustard (Red Giant), Parks Seed

Mizuna, Parks Seed


2. Middle of the Planter: Bushier medium height plants

Annual examples include: coleus (my favorite) petunias, pansies (in fall and spring), Geraniums

House Plant Alternates: Jade Tree

Edible Alternates: Red and Green Leaf Lettuces, Frisee, Basil, Oregano, Mint, Rosemary, Spinach, Redux (part shade), Curly Parsley

Perennials: Hosta (shade), sedge (shade), heuchera (part shade)

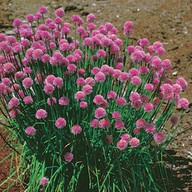
Chives, Parks Seed

Swiss Chard, Park Seed

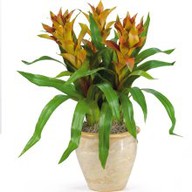
Bromeliad

3.Back of the Planter: Tall background plants

Annual examples include: cordylines, Colocasia

House Plant Alternates: aloe plants, spider plants, snake plant (Sansevieria), Bromeliads

Edible Alternates: Chives, Scallions, Swiss Chard, Small Pepper Plant (i.e. habaneros)


Leave a comment

The Arbor installed (and yes there are little fireman boots sticking out from the bottom)

Well it took well over a year to actually order an arbor, assemble it, stain it and install it but it is finally done (except for painting the brackets)! We put it up yesterday and managed to get it anchored into the ground shortly before dark. I apologize that the pictures aren’t better, but I it is rainy this morning so I am using the pics from last night from the small camera. For those who might not have seen the previous posts on this topic.  This post shows the arbors I was considering and this post shows the staining in progress.

Rough placement before the install.

Simpson E-Z Mender, Home Depot $10 2-pack

Simpson E-Z Spike, Home Depot $17

Aussie Auger Arbor Support, Sam's Club $65

Mayne Mailbox Anchor, Amazon $29.99


Anchor/Footing Options

After I decided on an arbor, I had to figure out how to install it so it wouldn’t fall over in the wind and would be nice and stable for my 2 rambunctious children. I thought there would be supports readily available, but I was totally wrong! I didn’t want to put in concrete footing, partially out of pure laziness but also because there are a lot of tree roots in the area and I didn’t want to disturb them more than I had to. Also more digging meant more digging out of my perennials. So  I searched the internet for anchoring options. I found a couple of options if you had a 4×4 post (i.e. for a mailbox or fence post) or were installing a plastic arbor but nothing that would work for my arbor that was made out of 1×4 cedar. I finally decided to go over to Home Depot and see what they had. After almost giving up, I finally found something that seemed doable (and not really expensive)! I found the E-Z Mender by Simpson Strong-Tie a fence post mender which came in a 2 pack (typically one for each side of a 4×4 post). At $10 a pack it was quite a bit cheaper than the other options I had looked at. It also would fit the side of my 1×4 cedar perfectly. It also had 4 screw holes for the connection. So I picked up 2 2-packs (1 for each corner of the arbor).These should sit near the frost line (which should minimize frost heave).

Marked the corners w/ sticks

First Support Installed

Clamping the arbor to the support

Finishing screwing in one of the supports

Support Completed

Arbor immediately being used by kids!


The Install

1. Locate the Arbor
2. Put sticks just to the outside of the 4 corners to mark the placement.
3. Move the arbor
4. The ground wasn’t flat so I dug out a little bit on the higher side.
5. Pick a corner to start and using a mallet hammer the top into the ground. Check after a few swings for plumb and level. I needed Mr. S’s strong arms to get the support all the way in the ground. I was fine for the first half but I think I would have been there all day pounding on it to get it in the rest of the way.
6. We decided to set these so that the 4 screw holes were visible and above grade. We also decided to have the arbor sit above the grade by about an inch (to minimize rot).
7. After we finished putting in the first one we checked to see how it fit. Everything seemed fine. We then located the second support and moved the arbor back out of the way.
8. We hammered in the second support while checking with a straight piece of wood on the flat side to make sure that the 2 supports were in alignment. To level we placed the straight piece of wood on top with a level.
9. We put the arbor back into place to locate the 2 front supports. Because the supports are designed to be hammered from a hunch on the side I hammered them into the ground a few inches to get a rough placement.
10. We carefully lifted the arbor straight up and moved it out of the way.
11. We finished hammering the 2 remaining supports. Used the piece of wood to check for level on 4 sides.
12. We carefully lifted the arbor back in. The first time it didn’t fit (it was too tight). This is where a couple of whacks of the mallet comes in handy! We hammered the sides of the supports a few times and tried again. This time they fit but a couple of them were a little too far out.
13. We carefully used clamps to get the support tight to the post. It is important not to over tighten because this could hurt the arbor. This required some pushing and pulling on the arbor while the other person tightened the clamp. We also used bricks below the arbor feet to help get it roughly level before clamping.
14. Level the 4 sides and add clamps. Alternately, if you don’t have 4 clamps screw the first corner in, then level the next corner and clamp and screw until you get all the way around. We used stainless steel screws and washers.
15. Remove clamps. I am considering permanently installing the bricks under the 4 corners for extra support.
16. Things left to do: Reinstall some perennials around the base and adjust the stone path to align with the arbor. Paint the brackets.

6 Comments