Archives For GARDENING & PLANTS

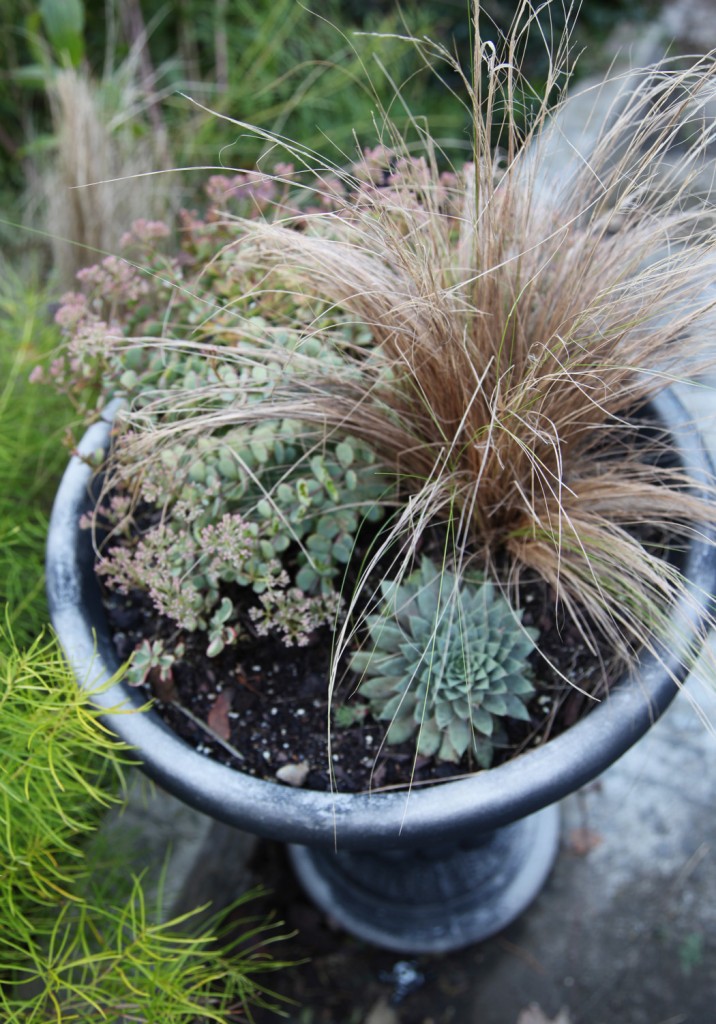
Urn filled with perennials: Feather Grass, October Daphne Sedum and Hen and Chicks

It feels like Fall today! We had some major storms come through yesterday and suddenly the air is crisp and the sky is blue. All the rain means that he garden is looking leggy, floppy and overgrown. Fortunately there are a few plants still in bloom.

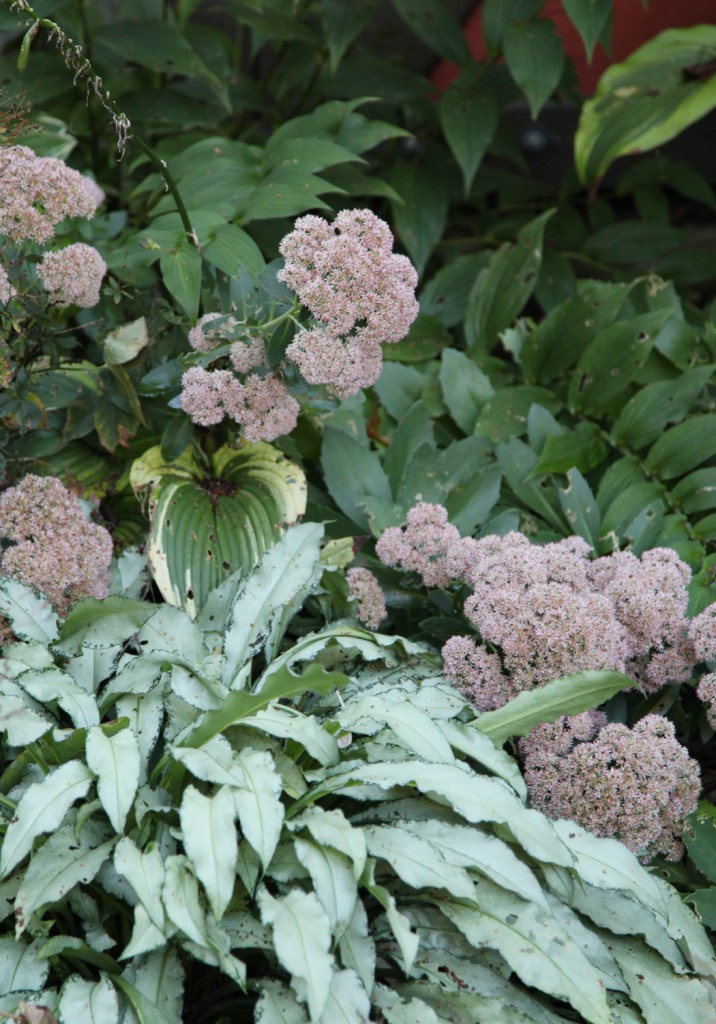
Autumn Joy Sedum mixed with pulmonaria ‘majeste’ , toad lilies (still to bloom), and hosta

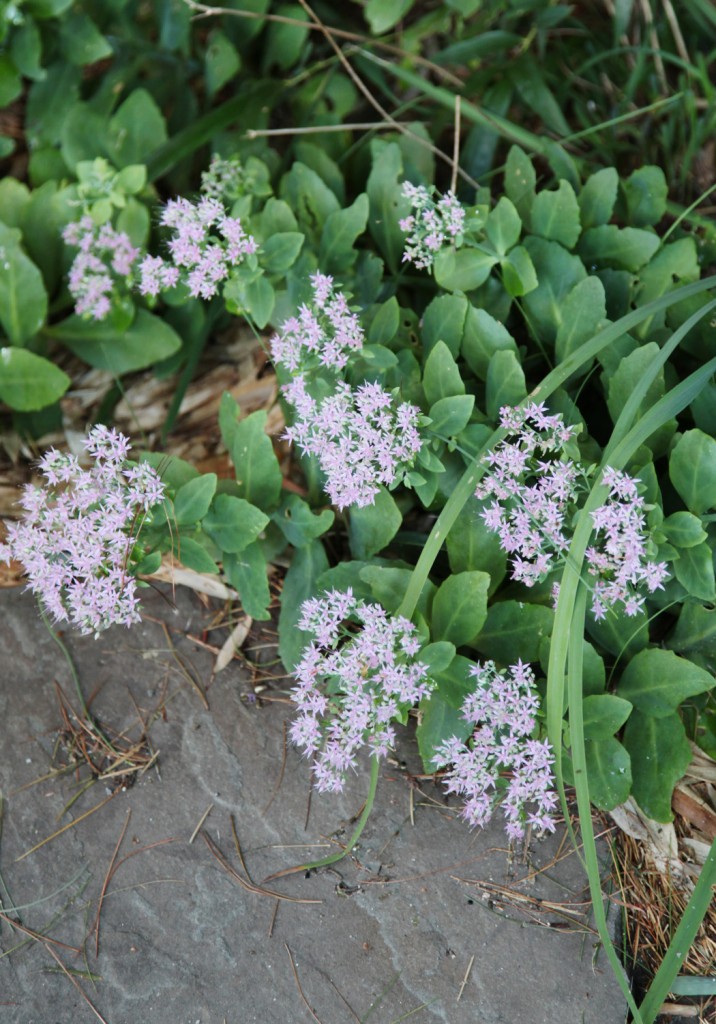
My Autumn Joy Sedum (stonecrop) and another unknown pink variety are in their second week of full blooms. I have to say that I never use to like the stonecrops, I just didn’t find them very exciting. But now, I use them as a “fill” plant in full sun to part shade (they tend to be more floppy in shady spots but still bloom quite well). They are quite bullet proof and easy to propagate.

Stonecrop (sedum) of unknown variety

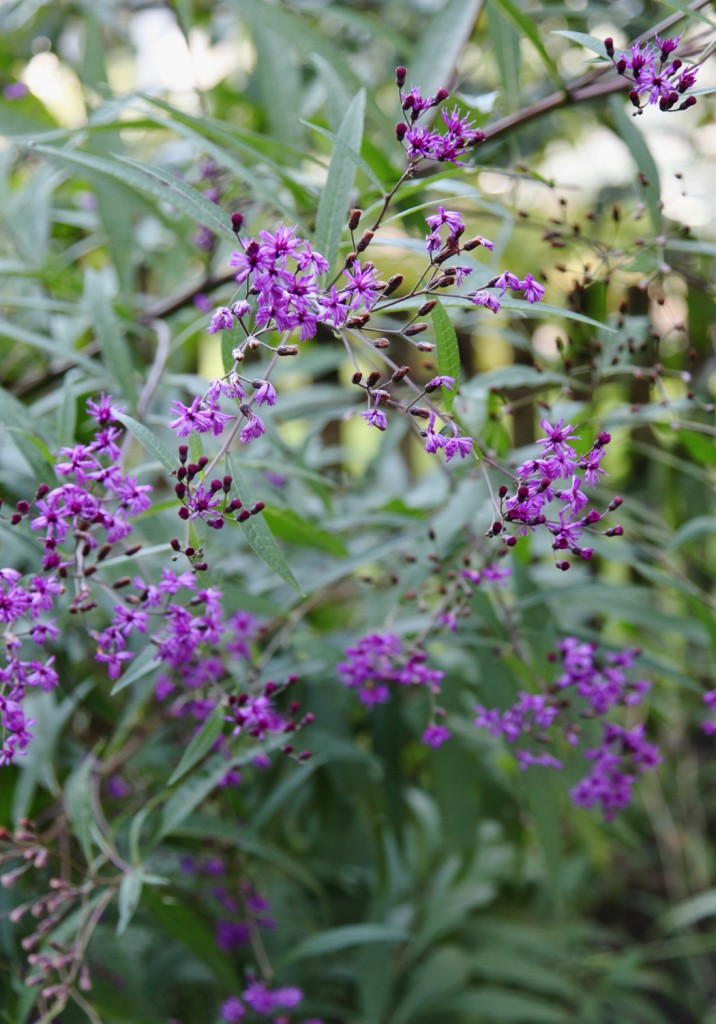
To propagate all you need to do is pinch off a small section (about 4-6″) and stick it in the ground (or in water first if you like). With damp soil they take quite well. At the same time they don’t self seed all over the yard like some other perennials I know. Speaking of which, my Ironweed in all of its legginess is in full bloom. It has  not been well behaved lately and I have had to pull out quite a few volunteer plants (not the end of the world or anything but still annoying).

Ironweed Flowers

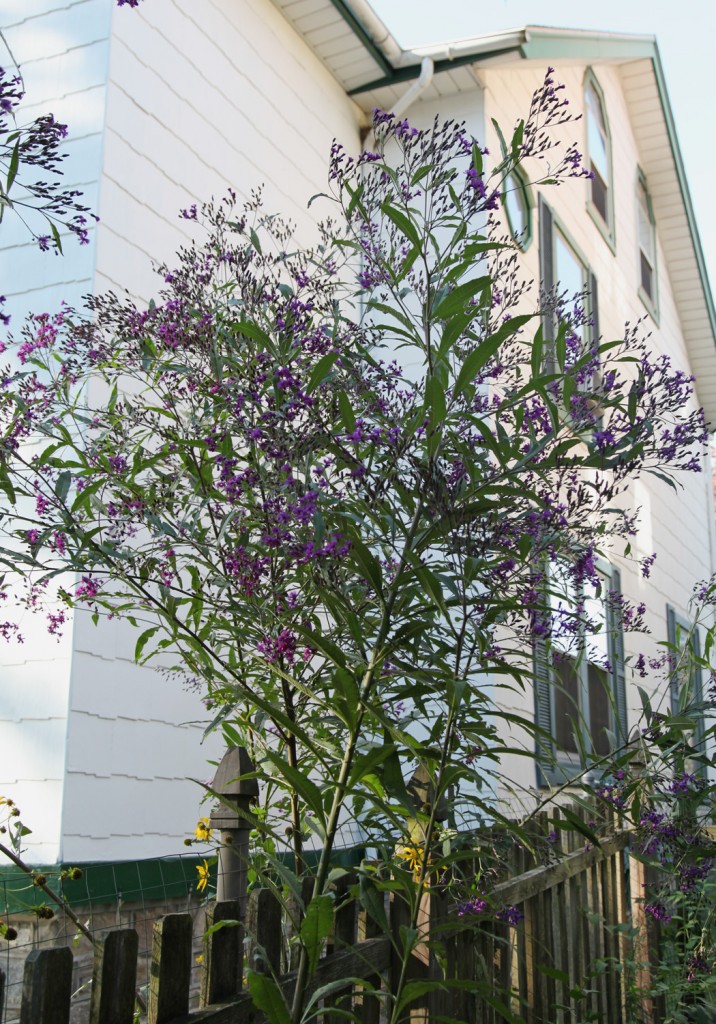
I planted the Ironweed to help provide privacy between us and a certain neighbor (which it does quite well). It grows to at least 8′ here.

Ironweed growing in between our fence and our neighbors

It has even self seeded in between our fences, which is pretty nice because they act as supports, so they don’t tumble over.

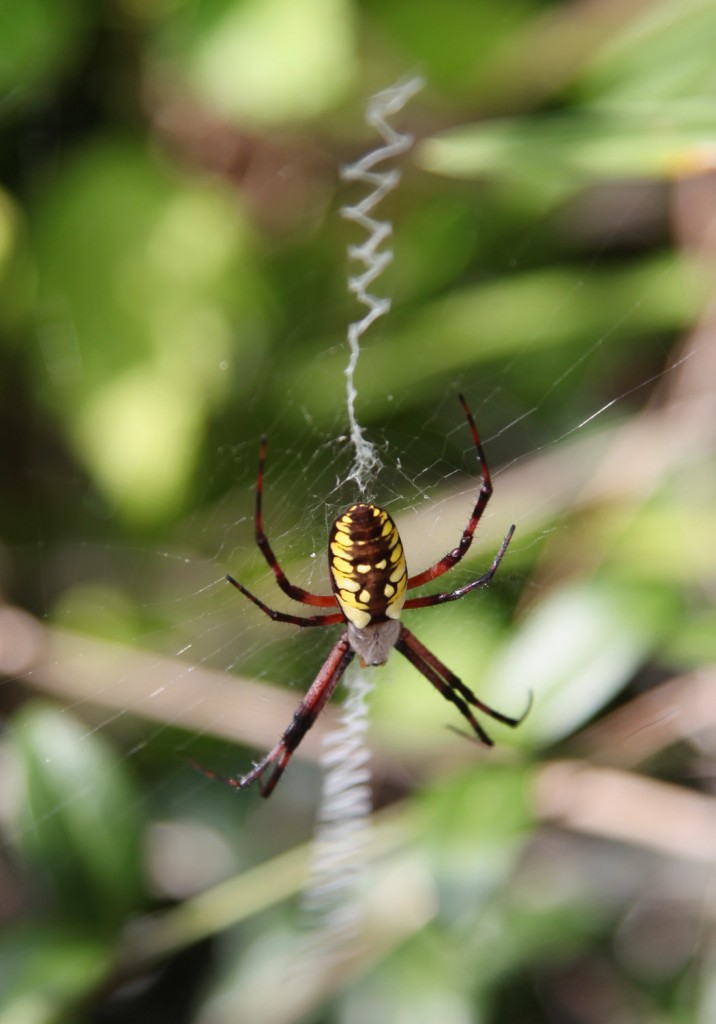
Black & Yellow Garden Spider

We have also had TONS of spiders this year.  This one is a HUGE black and yellow garden spider, which fortunately is totally harmless. I really like its zig-zag web pattern. He did give me a little scare and required some googling to confirm that he was harmless. Phew!

Now to see if I can actually carve out some time to weed!

P.S. The pawpaws are browning on my counter. I am also working on perfecting my pawpaw ice cream recipe and hope to share soon. I know there are a couple of people that I owe seeds. These will be coming soon! Let me know if you are interested, I’ve got a pretty big pile going.

Leave a comment

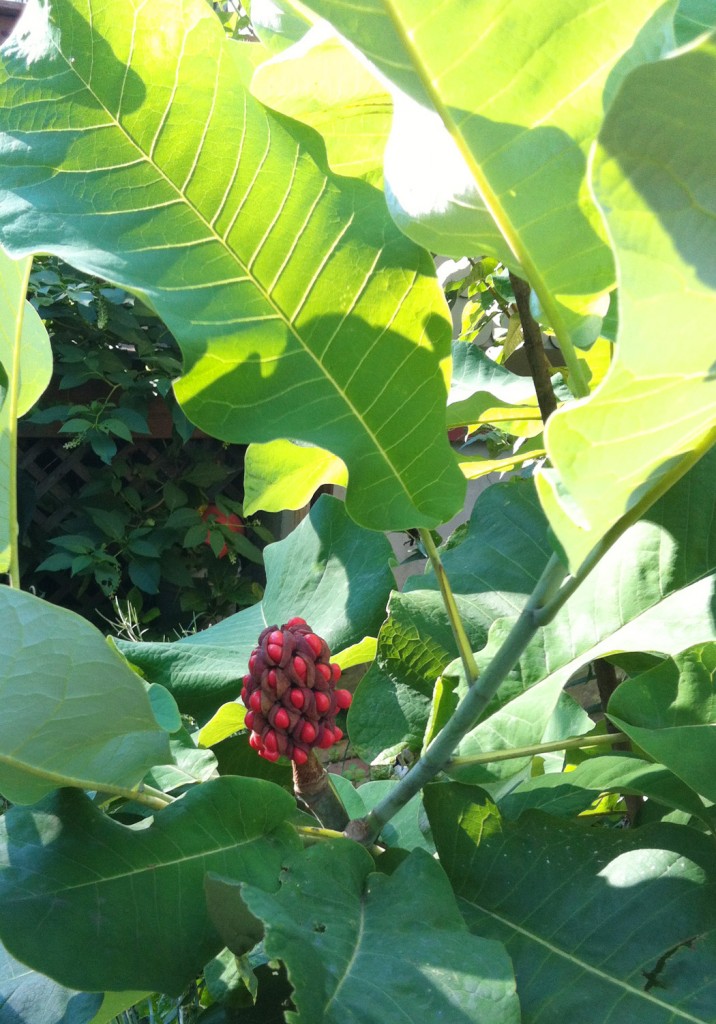
Big Leaf Magnolia (Magnolia Ashei) with Amazing Red Seed Pod

I am overdue in updating you on the garden. It has been such a hot, wet and buggy summer, that we haven’t spent much time in the yard. The frequent rain has meant that the garden is a weedy mosquito infested mess! I need to pull out a bunch of bamboo, weed like crazy and cut back a lot of overgrown shrubs and trees. In the meantime, there hasn’t been very much blooming. All of my mid-summer blooms started and finished early, leaving my garden feeling a little sad. Fortunately there are a couple of brights spots.

I am in awe of my big leaf magnolia. It normally gets seed pods, but nothing like this year. The seeds are this amazing hot pinky red! I am not sure if it is the weather or maybe the age of the tree.

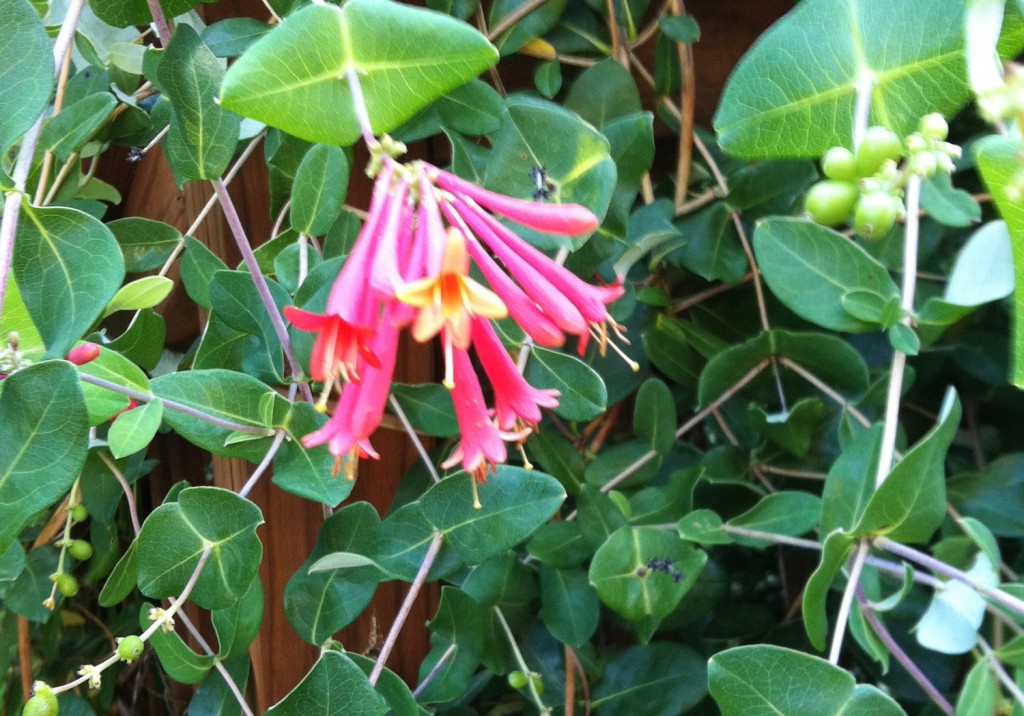
Native Honeysuckle

My native honeysuckle has gone on blooming forever (since April)! It is also currently overtaking our back steps (making it a bit difficult to get through with a big bag of groceries), but I have been reluctant to cut it since the hummingbirds have been here almost every day and the bees are so happy. I was worried when it started blooming so early that it would be finished early and not provide a good source of nectar for the hummingbirds. Fortunately I was wrong.

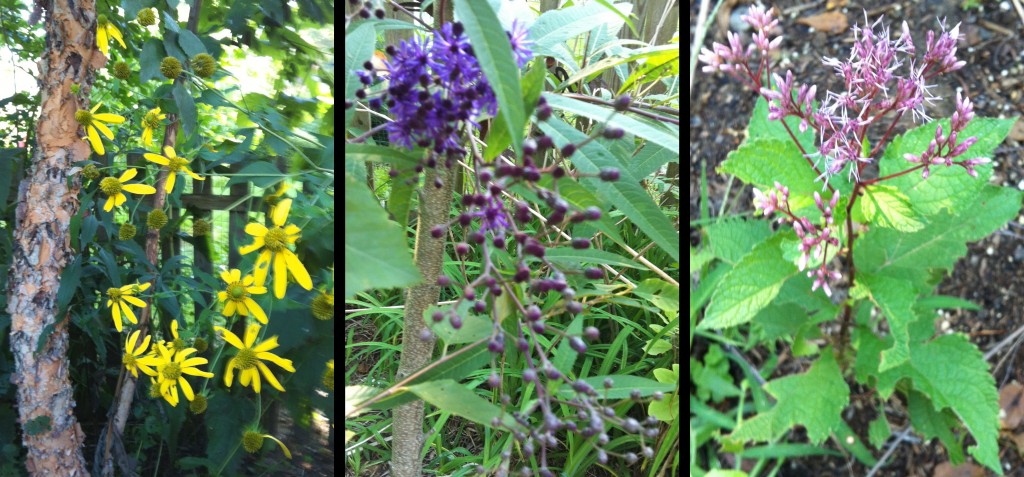
Swamp Sunflowers, Ironweed & Joe Pye Weed: Late Summer/Early Fall Tall Native Perennials

Also several of my large native perennials are in bloom including the wamp sunflower (Helianthus angustifolius), ironweed (Vernonia altissima) and joe pye weed (Eutrochium). These are all tall lanky plants. I haven’t done any staking but the ironweed and swamp sunflowers could definitely use it. They are each at least 7′ tall right now.

Paw Paw Fruit, almost ready for harvest!

The other exciting thing in the garden right now is the Paw Paw Tree. We are getting close to harvest! I actually pulled a soft one off the tree today. I don’t think it is quite ripe yet, but it is getting close. The fruits are actually weighing down the tree right now. I think all of the rain has really increased their size.

What is blooming in your yard right now?


Leave a comment

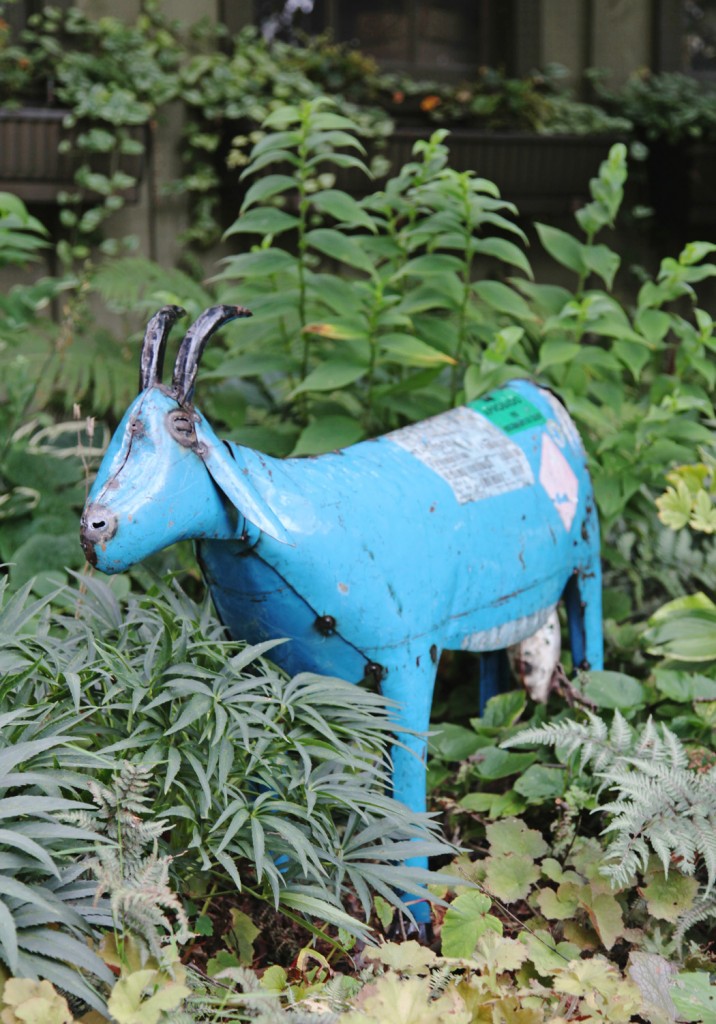
Our New Pet Goat

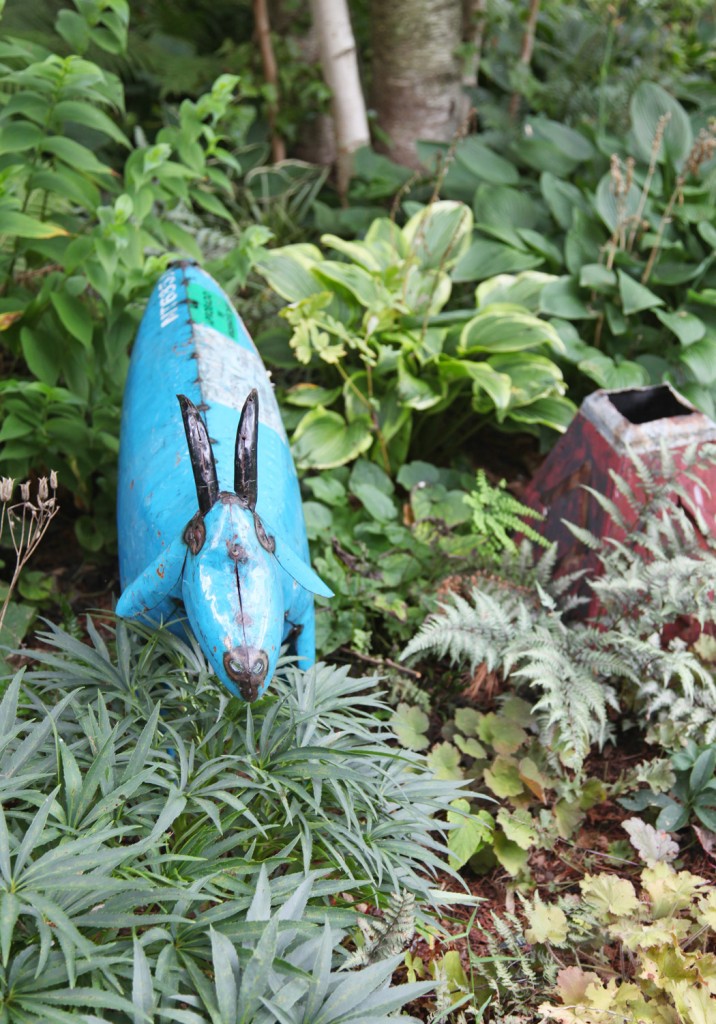
Mr. S. has always wanted a pet goat. Fortunately we have come to an agreement, and it involves a life size blue metal goat. We first spotted her in Lambertsville, NJ a couple of weeks ago and have been thinking about him ever since. We were back up that way yesterday and decided to bring her home. I’m in love! She does not have a name yet, we are waiting for the kids to decide on one. We picked her up at the People’s Store (which is mostly an Antique Store). She is from Mexico and the only downside is that she is quite pointy, and we will have to make a concerted effort to make sure that no children try to ride her. I am also going to look into getting some stakes for her feet (to keep her from falling over and to also keep her a little bit off the ground).

Goat munching on my Hellebores

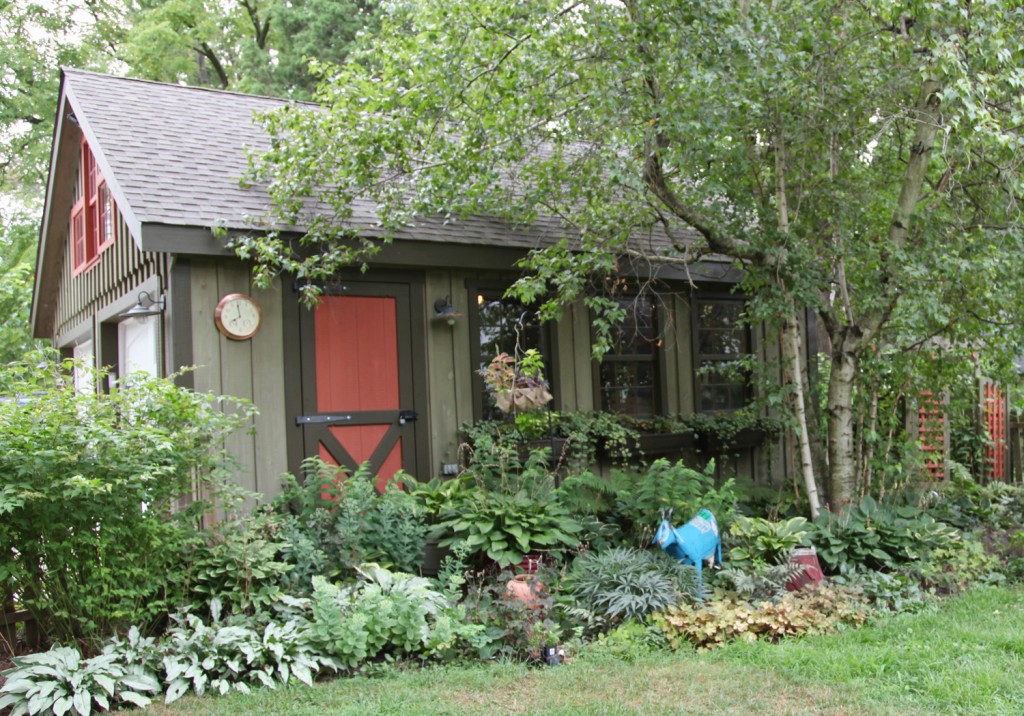
I was originally thinking that she would go in the side garden but I think her current spot is nice, so we can see her from the kitchen window.

Goat and the Garage

What do you think? Are we crazy?

2 Comments

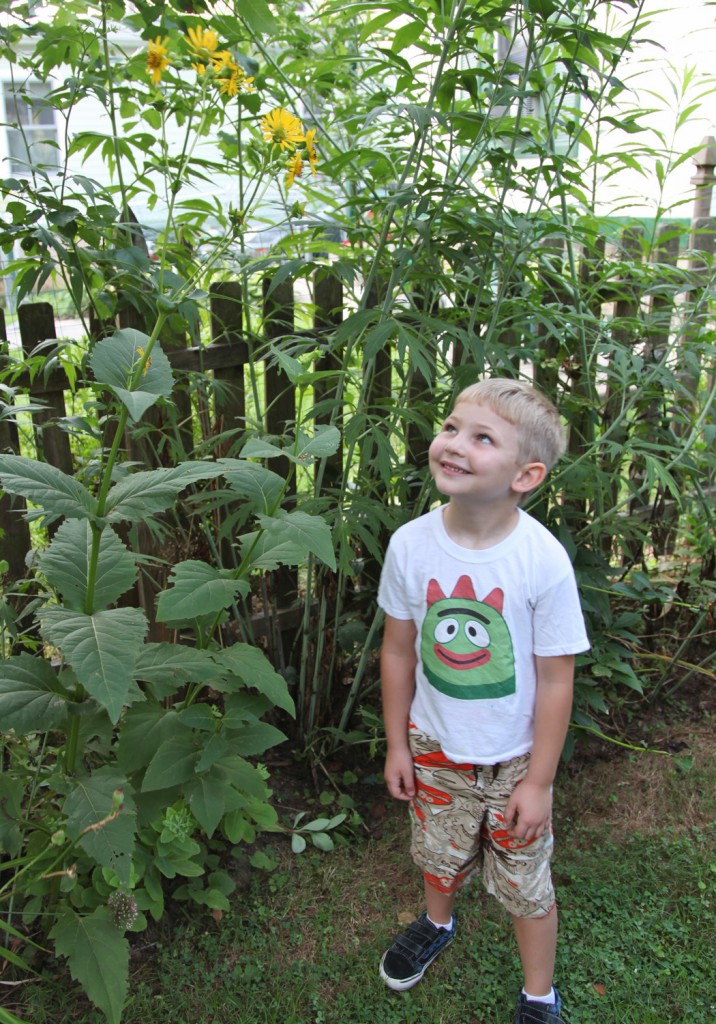
Sam with Silphium perfoliatum (Cup Plant) &   Helianthus angustifolius (swamp sunflower) behind. Both are giant native flowers that bloom in mid-late summer. Both self-seed but are impressive this time of year.

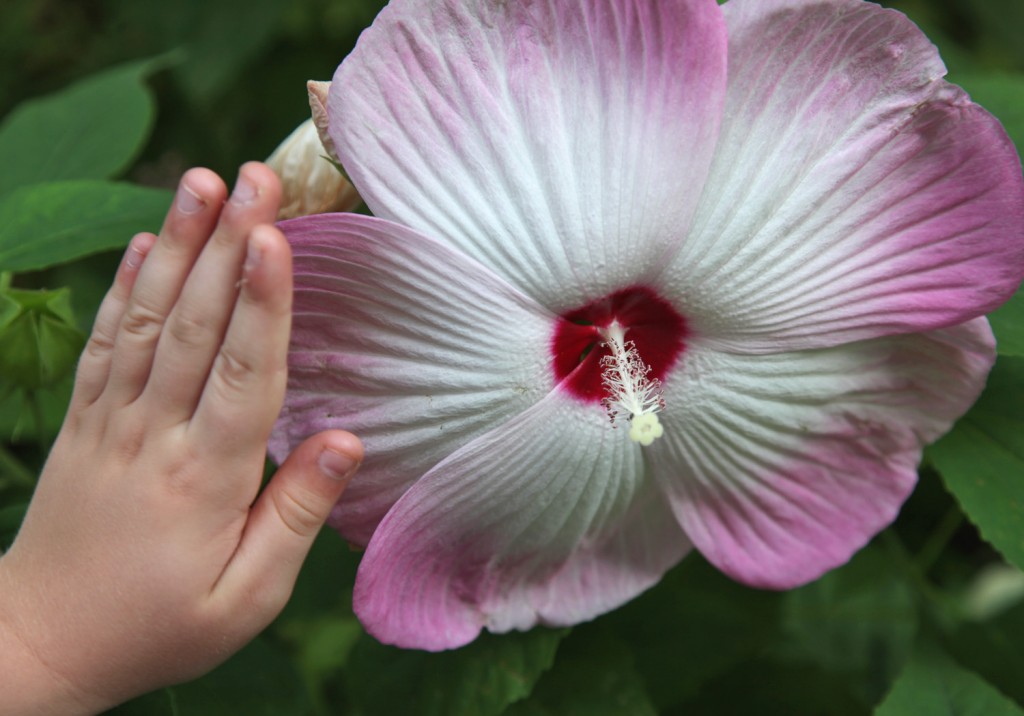
Yesterday morning I managed to get myself outside to take a few pictures of the garden with my helper. It has been so hot until this weekend, that I have just been running back and forth between the driveway and the house and spending as little time as possible outside. I hope you enjoy seeing some perennials that thrive in the heat! As you would expect it is a lot of the native flowers that are doing especially well, including the black-eyed susans, joe pye weed and hardy hibiscus.

On a personal note, I will be taking a break from the blog for a little bit. Life is been crazy (in both good and bad ways) so I have decided that I need to take a couple of things off of my plate for the time being, including writing in every day. So for the next couple of weeks you will be seeing less from me. Please still feel free to email me or send a comment. I love to hear from everyone! I hope to come back inspired and full of new ideas.

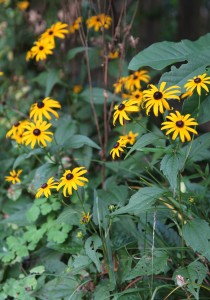
Black-Eyed Susans

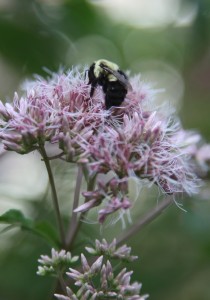
Joe Pye Weed

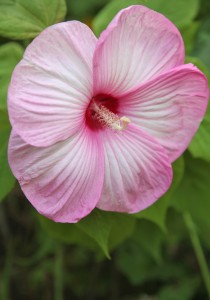
Hardy Hibiscus

Sam’s Hand with the Giant Hardy Hibiscus (Disco Ball)

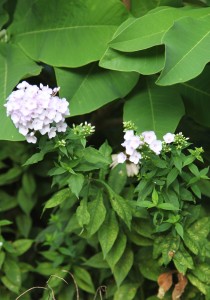
Standard Garden Phlox

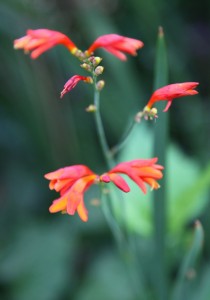
Crocosmia

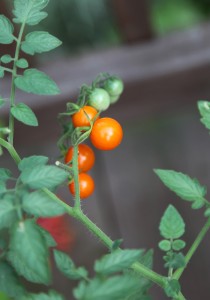
Cherry Tomatoes

One surprise in the last week is that the crocosmia that I planted last year as bulbs have popped up in a couple of places. I have tried bulbs twice now and live plants once. I had finally given up thinking it wasn’t the right plant for my garden. It is not native but it is suppose to be an easy to grow bulb and thrives in hot sun and dry soil (the bulb can rot in wet soil). I planted this over a year ago (you typically plant them in the spring and they should bloom in the summer). I think I planted about 12 bulbs and have three blooming. It is nice to have this little garden present especially in this heat.

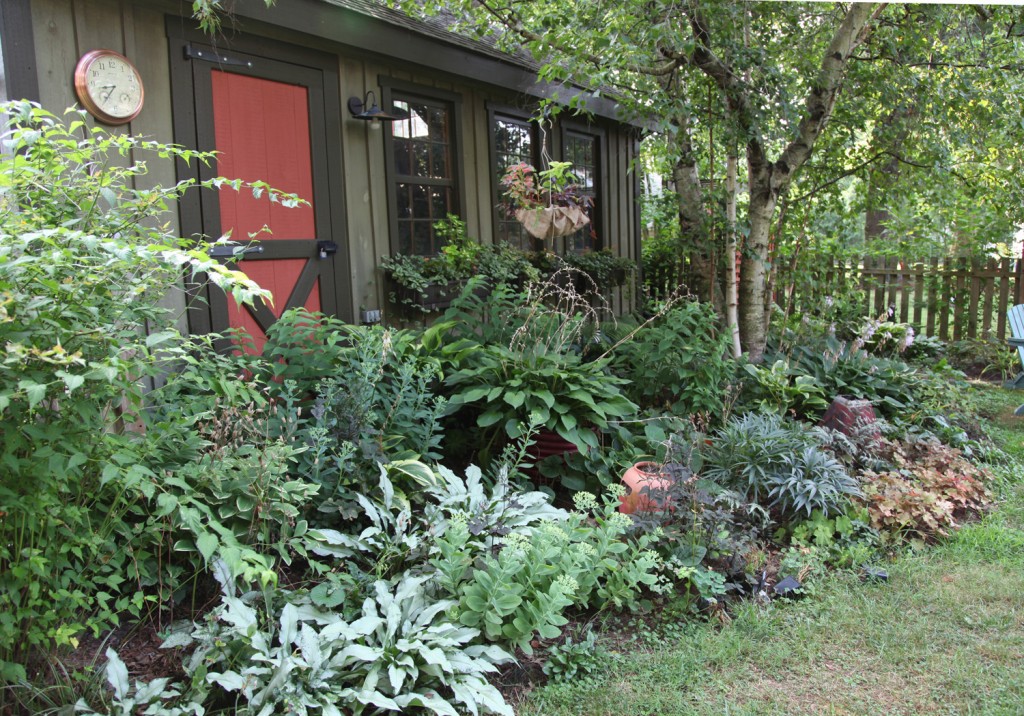
Shade Garden still looking pretty good without watering (and my new clock that I got for my birthday)!

My shade garden is also doing quite well given the weather. I think it helps that most of the plants are pretty established and it doesn’t get the crazy hot afternoon sun. Although all of the flowers on my hostas burned out in a couple of days.

What is blooming in your garden?

Leave a comment

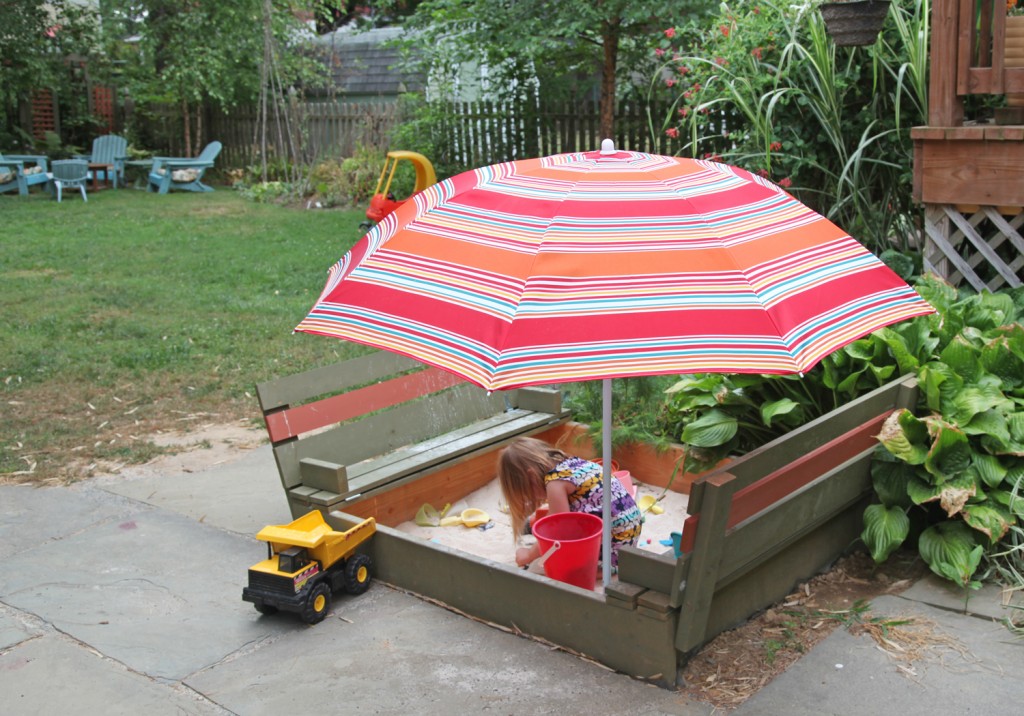
Completed DIY Sandbox w/ benches and Lid (and beach umbrella)

Today is my long overdue instructions on building our new sandbox! It seems like as soon as we had it finished the weather was too hot to use it. And now the mosquitoes are in rare form making it uncomfortable to be outside. Fortunately, I convinced Maisie that a little time out there this morning would be nice.

I wrote about the first part of the installation a while ago. I thought I would show Part 1 again so that everything was in one place.

Inspiration

Sandbox Design from Ana White’s website

We decided to go with the plans from Ana White’s website based on this design. Of course I had to tweak it a bit (when have I ever gone the easy way). The design is for a 4′x4′ model. We decided to go with a 5′x4′ design so that the kids would have a little bit more space for playing and to fill out the space. We also decided to use 2x10s for the sides. The design calls for 1x8s but since we wanted it deeper and we were widening it, I decided to increase the depth (plus a 1×10 and 2×10 are pretty much the same price). The nice thing about the plans is that they are designed to use standard length lumber, so all I needed to do was adjust a few pieces from 8′ lengths to 10′ lengths to make it work. I also added an extra piece to the back of the bench on each side to accommodate the extra foot (so there are 3 boards instead of two).

Site Leveled & Ready for Installation


Step 1: Locate the Sandbox and Prepare the Site

First on the list was moving the big piece of slate over to accommodate the sandbox. For this I used a spade and all of my arm strength to push it over the 5′. It was a pain and took me an embarrassing amount of time, but I managed to do it myself. Of course it wasn’t level! So it took last weekend with the help of Mr. S. holding it up to actually level it out. Then we leveled out the ground under the sandbox, moved/cut back a few plants and we were set. We also added the landscape/weed blocker fabric to the bottom, to help keep the sand separated from the dirt.

Wood Cut & Landscape Fabric Added

Step 2: Pick Up the Wood & Cut to Length

I went over to Home Depot and picked up the pine boards (I didn’t want to use pressure treated in an area with kids). I had the guy at HD cut the 2×10 boards for me, since my saw only cuts up to a 2×8 in one pass. Of course I hadn’t double checked my measurements so I still ended up having to cut the shorter pieces again at home. All told I spent about $96 for the wood, screws, glue and hinges. I spent about an hour measuring and cutting all of the wood.

 Step 3: Finish the Wood

This is by far the longest step. We are staining our wood green to match our garage and shed. We had some already, which was nice. The downside is that it is oil and takes a while to dry. Since almost all the wood will be visible depending on whether it is open or closed we need to finish all of the sides. I am using a small roller with the stain. I am still NOT finished with this. It needs 2 coats and so far only the bottom has 2 full coats. Everything else only has one coat right now. Unfortunately the weather has not been cooperating with us. I am hoping to have all of the staining done by the weekend so I can get this finished!

The kids taking a break from the water table to test out the sandbox

Step 4: Installing the Base/Sides:

Mr. S. stained the base 2x10s first, so those were ready to go in (we are leaving the side that will be exposed to the sand unfinished because I am concerned with it wearing off with the sand against it). We used nice long 3″ screws (3 per corner). I use almost exclusively screws with star bits. Home Depot now sells them (I use to have to hunt them down) in the deck screw area. I LOVE these! No slipping or stripped screws. Plus they are meant for exterior use, so they will hold up well. The Home Depot ones are tanish yellow in color and blend in pretty well with the wood.
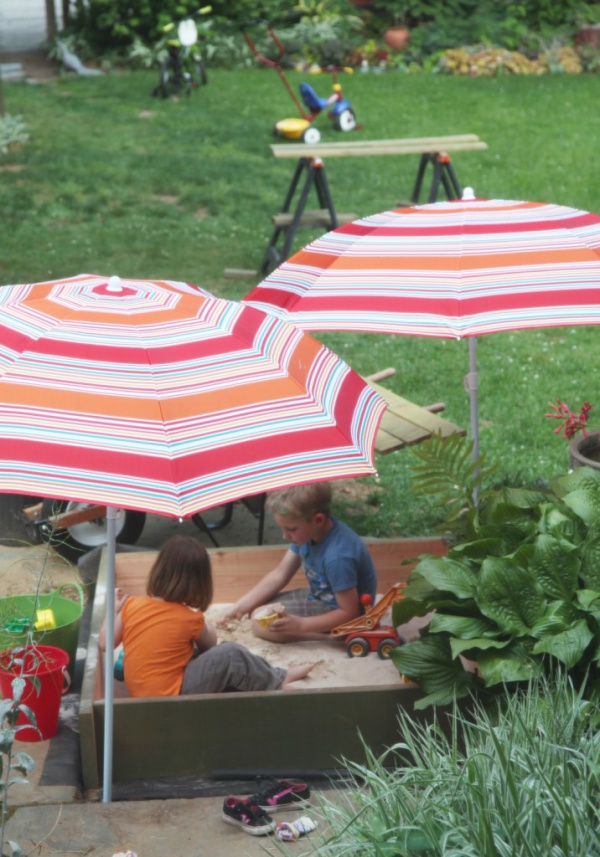
The kids using the sandbox for the first time

Step 5: Putting in the Sand

I bought six 50 lbs bags of play sand to get started (I think we will need another 6 or so to fill the 18 sf). I looked for play sand that had been “prewashed” to minimize any contaminants.
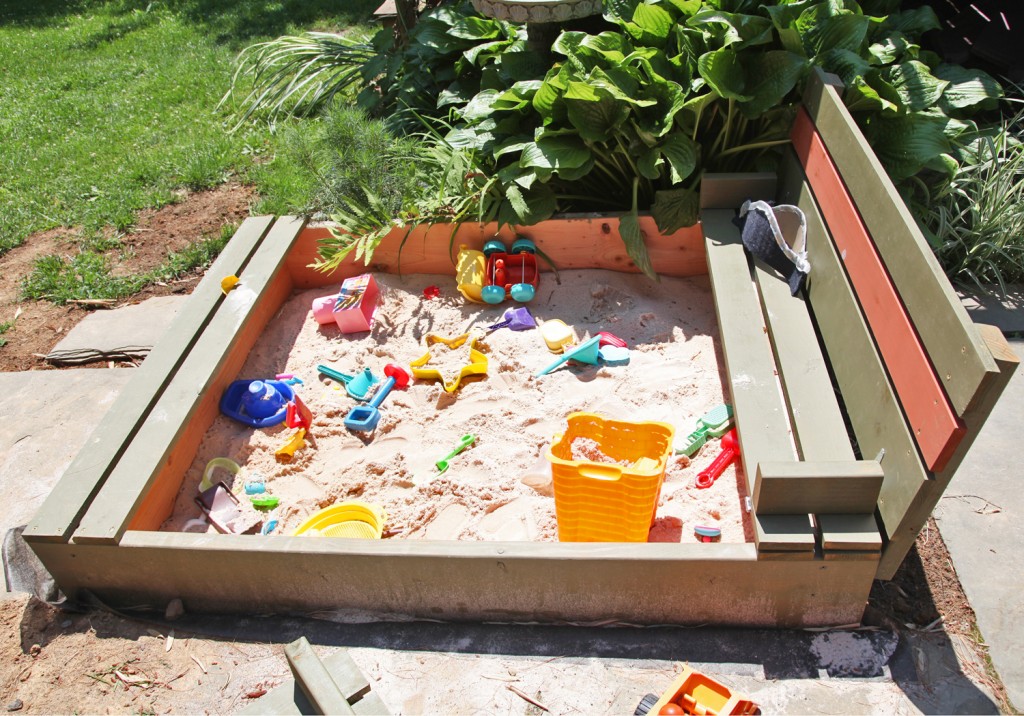
Half Finished Top/Bench

Step 6: Making the Lid

This is the most intimidating part of the project, but really isn’t that hard. We used 14 boards all together for this (+4 armrests & 4 back supports)

-2 1x4s on each side as the base for the seat (see left side of picture above). These are permanently screwed to the frame

-2 1x4s on each side for the seat (this part flips over and has the armrests on the inside)

-3 on each side for the back of the bench (2 1x4s and 1 1×6). On Ana White’s instructions they only use 2 1x4s but since we are a 1′ wider I need to add a 1×6 to each back.

A. The first thing you want to do is layout all of the boards to double check the spacing. We were in between 1/4″ and 1/2″ in between the boards. If you have a piece of scrap wood or cardboard and the right thickness this will help keep the joints even. I ended up using a piece of scrap Styrofoam that i had on hand from some packaging.

B. Screw in the permanently attached pieces on each side.

C. Screw the arm rests on to the seats (making sure that the spacing matches the pieces that you installed previously

D. Screw the back supports on to the back pieces.

E. Test fit the pieces to make sure everything is going to fit properly.
Back and seat being attached together with hinges

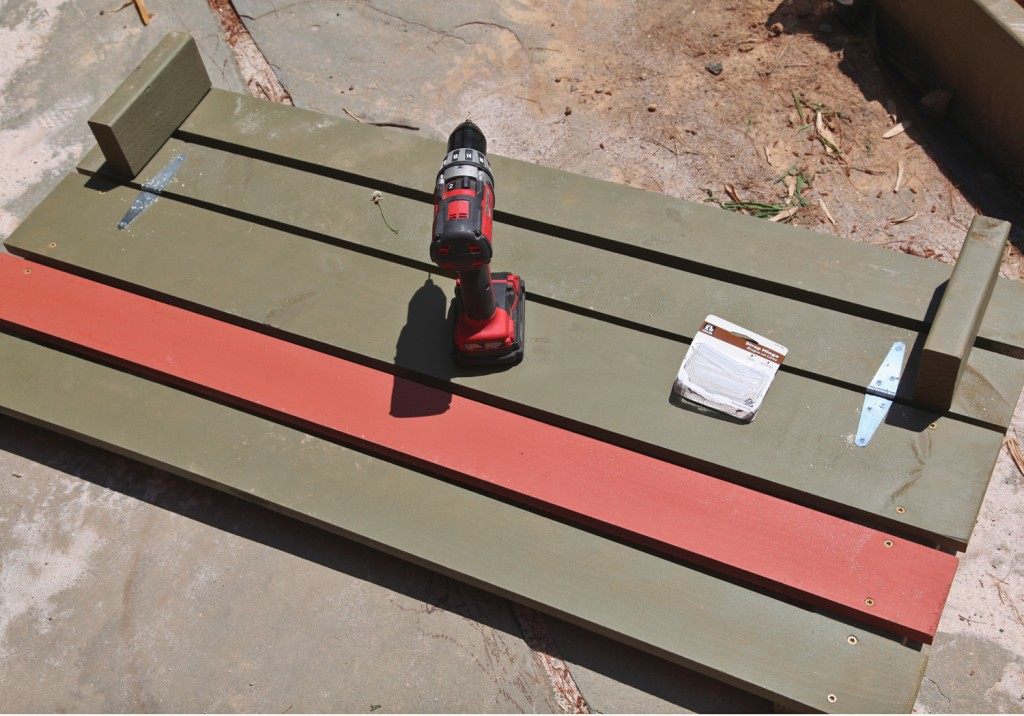
F. I found it was easiest to attach the back and seat together first. This allows you to install these in a flat position instead of at an angle (since these hinges are on the inside when the sandbox is closed). I used 3″ strap hinges that are galvanized.
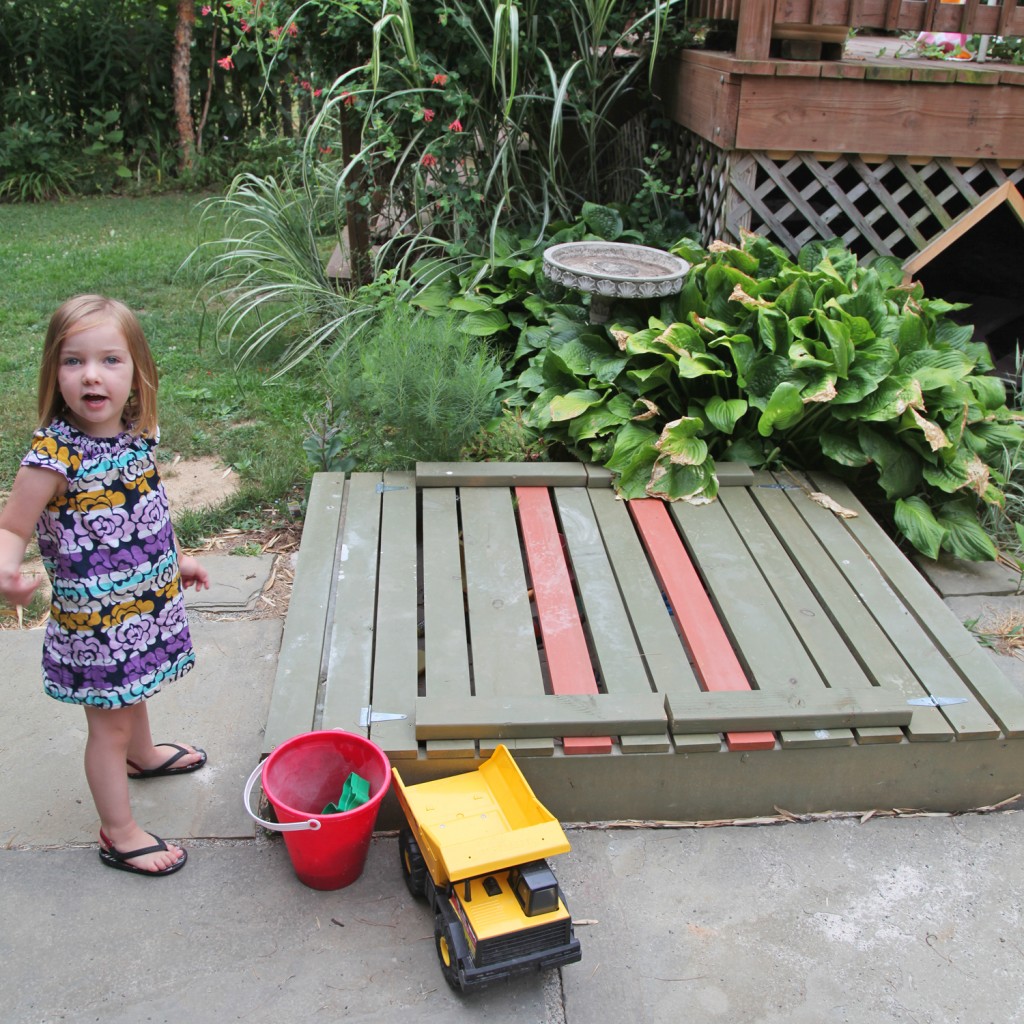
Sandbox in closed position

G. Attach the seat and back to the box with hinges while everything is flat.

H. Attach handles if you are using them (we chose not to since it is pretty easy to lift the way it is).
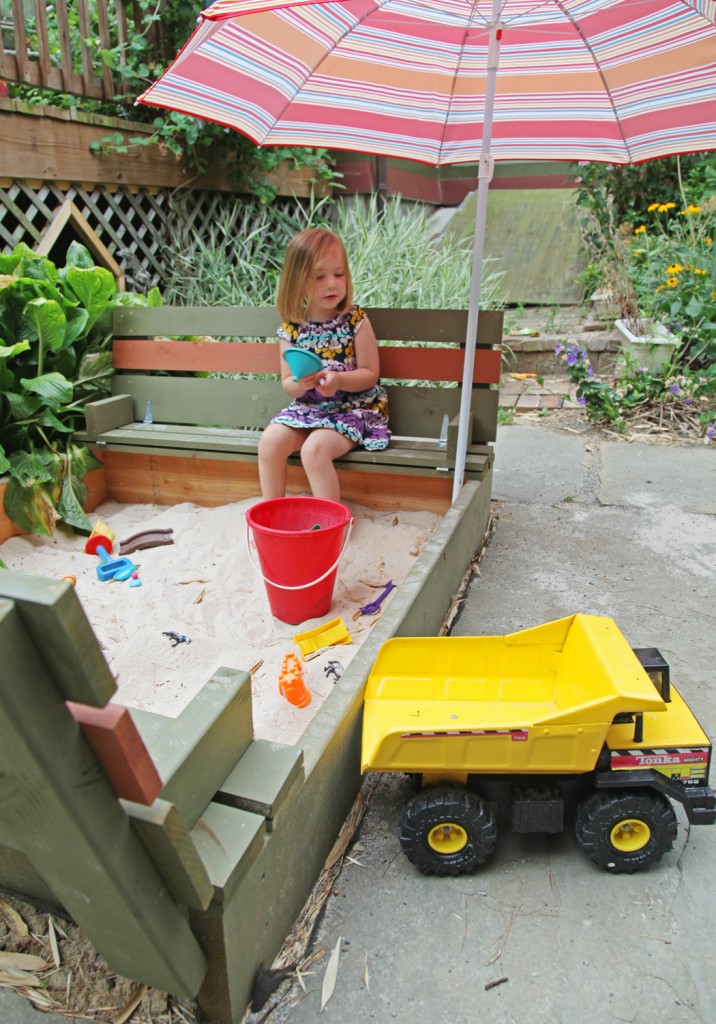
Maisie in the sandbox

Step 7: Test out the new sandbox!
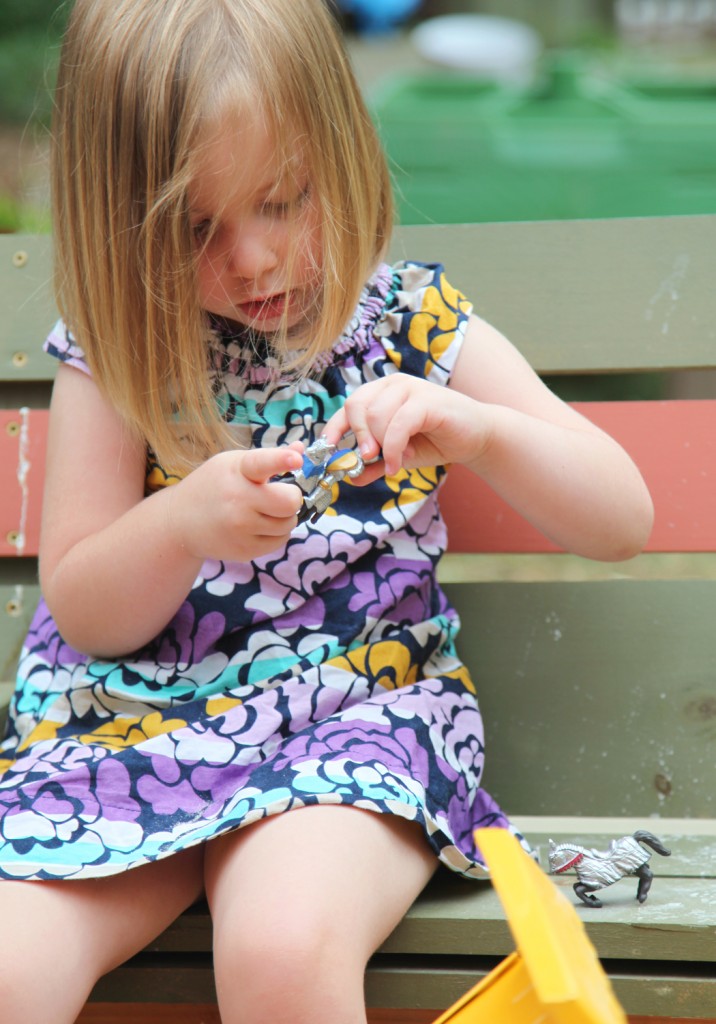
Maisie busy with some new sand toys

I hope everyone has a great weekend! We have a summer cold going through the house and are hoping a quiet weekend will give everyone the rest that they need.

25 Comments

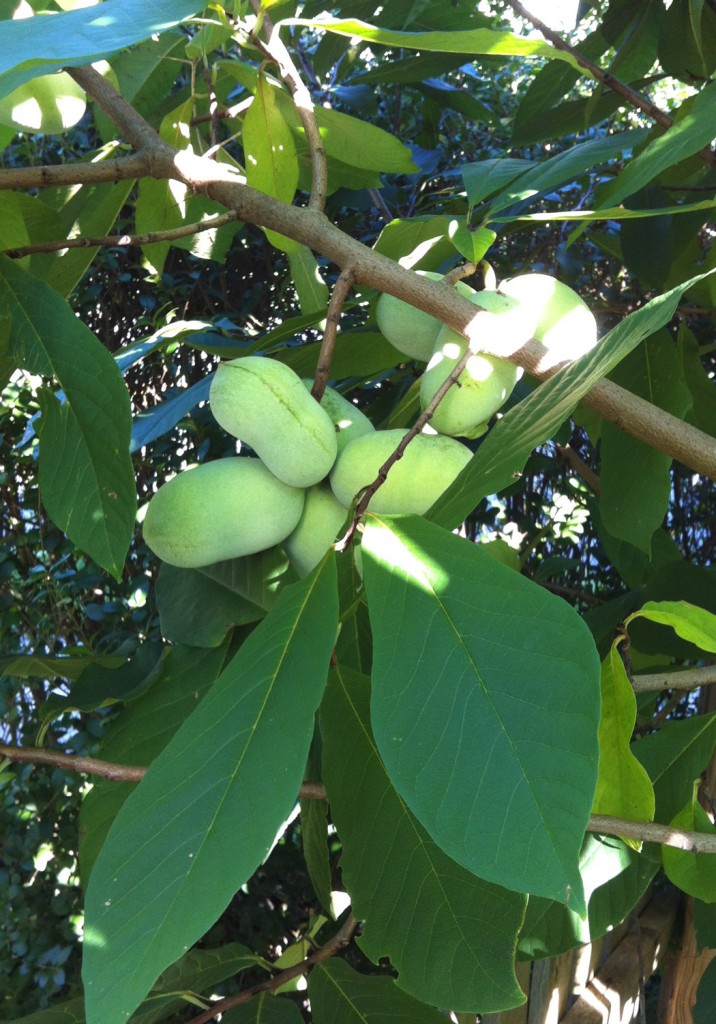
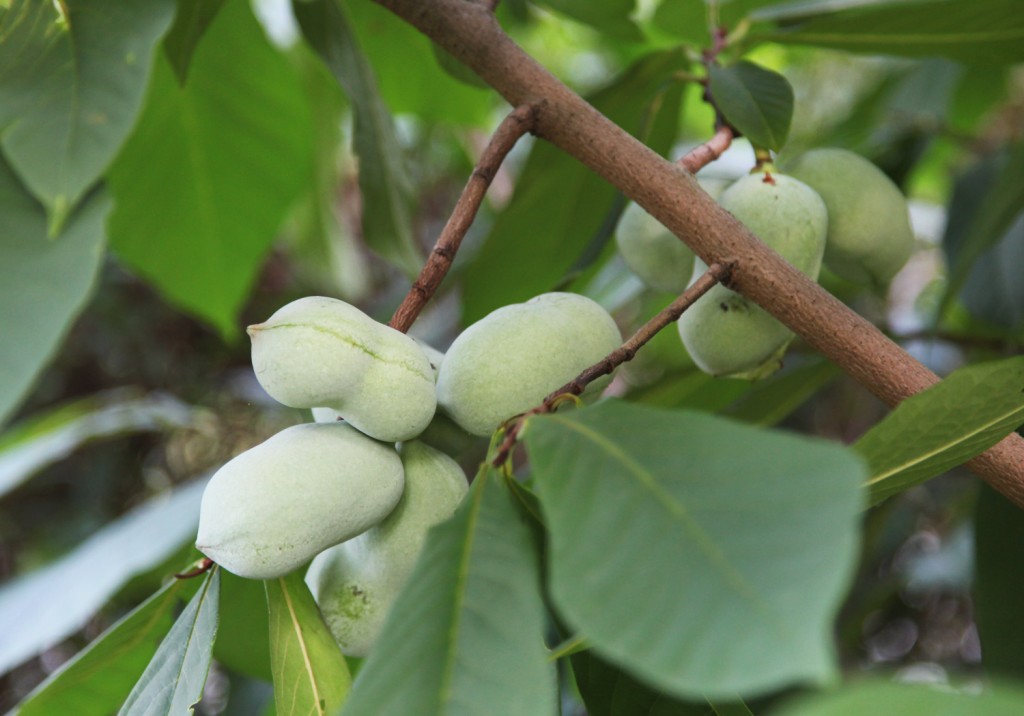
PawPaw Fruit in July

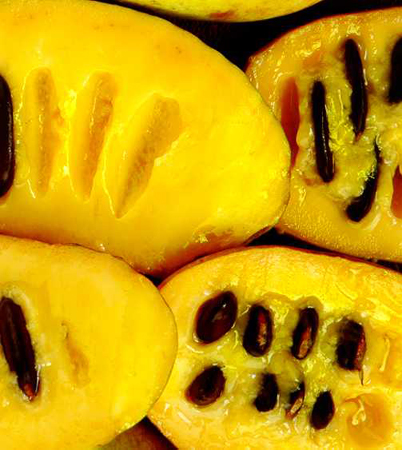
One of the questions I get most often when people visit my garden is about my pawpaw tree. What is it? What are those weird potato looking fruits? What does pawpaw taste like?

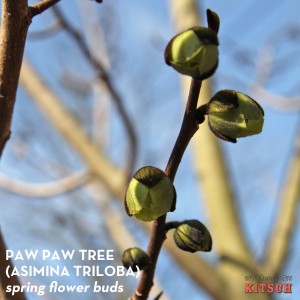
PawPaw Flowers in Spring

I first came across the PawPaw tree (Asimina triloba) in my tropical garden phase about 7 years ago. Here was a plant that is totally native (to most of the eastern US), but had tropical qualities including a fruit I had never heard of! Fortunately at the Scott Arboretum plant sale (held every other year) they usually have small trees for sale. I patiently planted one almost 7 years ago and waited and waited. Meanwhile I had never actually tasted this custardy fruit (I went purely on the what I could find online).  About 4 years ago I finally got to taste one (from the Farmer’s Market in Reading Terminal). I bought it home and cut it open. It wasn’t as good as I was expecting. It was soft,  mushy and messy and it had giant seeds inside which made it even harder to eat. I thought that maybe I had made a mistake and I was going to end up with fruit that I didn’t actually like but took solace in the fact that it was a pretty tree. It wasn’t until another year when we got a lone pawpaw off of our tree (the squirrels ate a lot of the flowers in the spring). Again I thought the taste was okay, but not everything I hoped for. Finally last year, when we had 5 or 6 ripe fruits, I actually tasted one to my liking. I am pretty sure now that  I didn’t let it ripen enough. I had been waiting for them to be soft to the touch like a peach, but I think pawpaws are actually better once they are all brown and look like they are going bad. I cut one of my brown fruits up (thinking that I would probably be throwing it out)and tried it, and discovered that it was in fact quite tasty! It had a tropical flavor of a mix between a banana and a papaya I thought. Of course this was the last of my fruit for the year, so I have be anxiously awaiting this years fruit to see how it tastes! Fortunately this year it looks like we have about 20 or so fruits ripening.

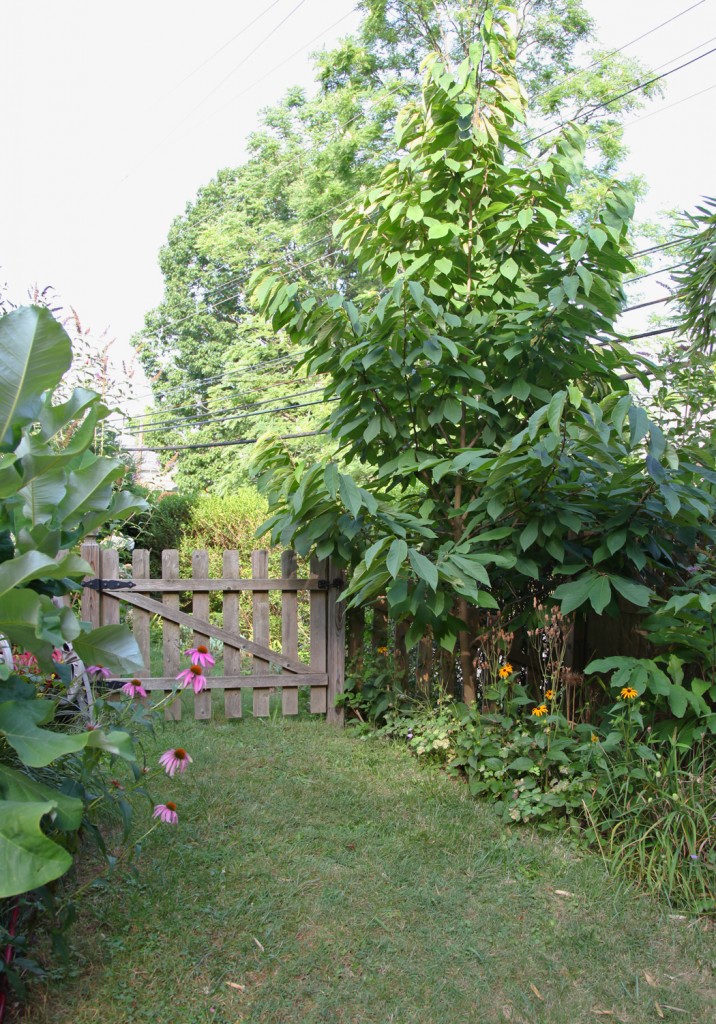
PawPaw Tree in my yard

So why plant it? First of all because it is a lovely medium size native flowering tree (in fact the Zebra Swallowtail Butterfly only lays eggs on this type of tree). Secondly because it provide a fruit that you can’t buy at the store (or not normally at the Farmer’s Market either). I had one of the Amish farmers from our Farmer’s Market tell me last year that they keep the pawpaws to themselves and make pawpaw butter. Third it is really interesting tree and fruit and a good topic of conversation (interesting fact: it is the largest edible ingenious fruit in the US). Another benefit is that it is a really good source of vitamins.

In my research I discovered that it was an important source of food for the Native Americans and early settlers and that is was a popular tree on farms though out the US (Lewis and Clark wrote that they were quite fond of them as was Jefferson). It lost popularity in the last 75 years as produce began to be shipped. These potato looking fruits bruise easily and are not the most attractive looking specimen. Apparently there area lots of old farm cookbooks that have recipes.  The good news is that there is a small cult following of pawpaws. There is even an annual festival in Ohio every year. I found this interesting article which includes a recipe for PawPaw Ice Cream. I think I will be making some later this summer!

I have about 10 seeds saved in the fridge from last year. I am thinking of trying to grow them to see how many I can get to germinate. So please let me know if anyone is interested in giving one a try and I will send you a seed to grow yourself!

Here are a few more interesting PawPaw Links:

Kentucky State University PawPaw Program

PawPaw Lassi Recipe

NPR’s Food Blog: The Salt’s Story on the PawPaw

6 Comments

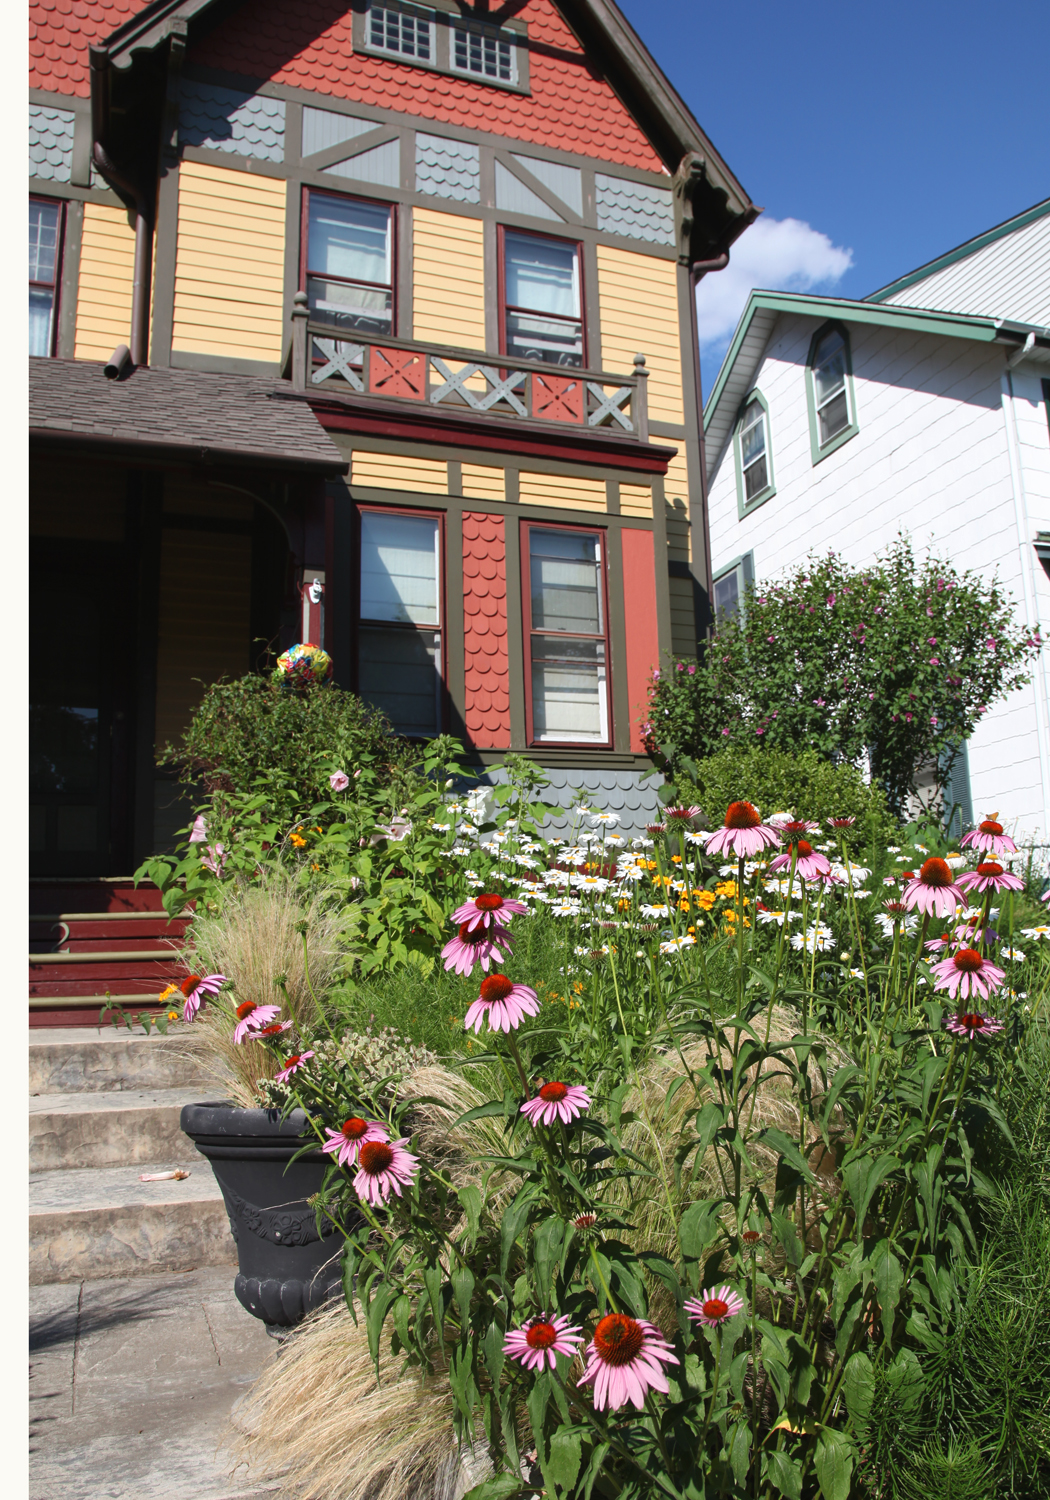
Front Yard: It is feeling very “cottage garden” right now

I am having a bit of a post Fourth of July hangover. It has been HOT here, so I have been bad about photographing the garden. Fortunately there are still some flowers blooming!

The super sunny front garden is in its summer glory. The coneflowers, daisies and hardy hibiscus could care less that it is literally 100 degrees out. There is definitely something to be said for native plantings.

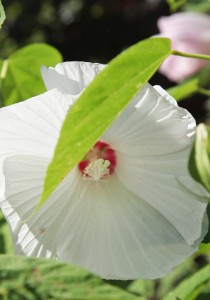
Hardy Hibiscus Disco Ball

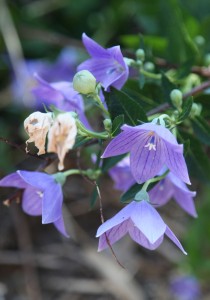
Balloon Flower (short variety)

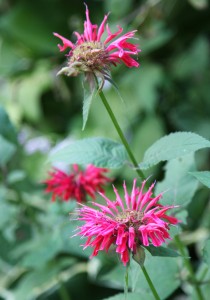
Red Beebalm

My hardy hibiscus is back and beautiful. These grow quite well from seed. If anyone is interested in any seeds, let me know. I have found planting them in the ground rather than in a pot is the most effective way to grow these. They are perennials, although I have noticed that some of the older plants (4-5 years old) don’t do quite as well. Fortunately I have a lot now thanks to reseeding them. The flowers are large (7-8 dia) and although each one only lasts for a day, they are so stunning!

My balloon flowers are mostly in the backyard, but these are another flower that will self seed nearby (no need to do it yourself). I am not sure which variety this is, but I do know that it is one of the shorter species. I have a neighbor who has the taller (24-36″ tall) variety and he always has to stake them. Mine are only about 6-12 tall and work well at the front of a planting bed. My only word of caution is that they come up LATE. I have more than once dug them up accidentally thinking that there isn’t anything growing.
My bee balms are blooming in all their weird wonderful glory. These are a little aggressive with runners, so I try and keep them by themselves since they have been known to take over beds. They tend to grow into our lawn, but Mr. S. just mows them over and enjoys the nice scent. These are supposedly good for making tea (but I haven’t tried it).

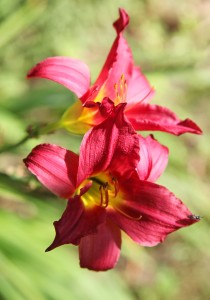
Red Lily

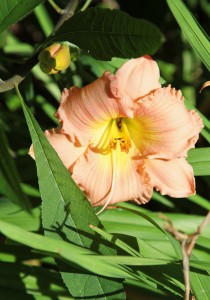
Ruffled Peach Lily

My Little Helper

The lilies are still going strong. I don’t know the varieties of either of these, but the ruffled peach one came from a grower in SC from my inlaws.

Maisie was “helping” when I took the pictures and asked if she could be included. How could I say no to my favorite flower of all?
I am still working on my post of Sarah’s front porch and yard. Hopefully tomorrow I will be finished. I am trying to spend some time highlighting the changes in detail. Can’t wait to show it to everyone!
2 Comments

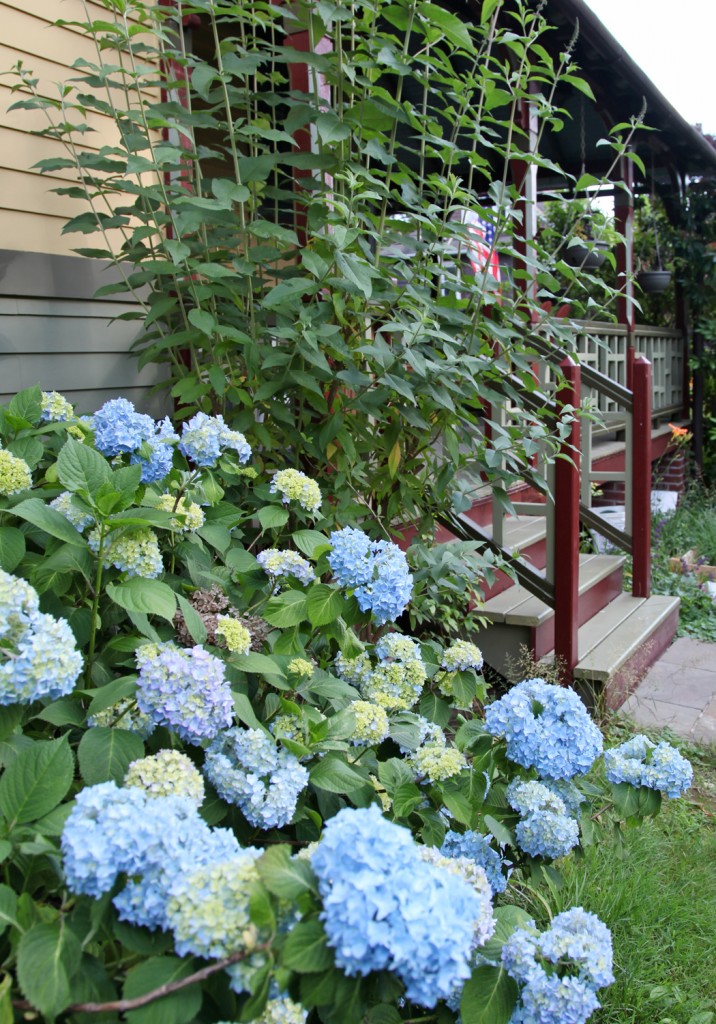
Nikko Blue Hydrangea with tall Butterfly Bush behind

I think we are still about 3 weeks ahead of schedule, here is a link to the garden last year at the end of June. I’m still not quite sure what that means for later in the summer, since by then almost everything will have bloomed by then. I guess we will see!

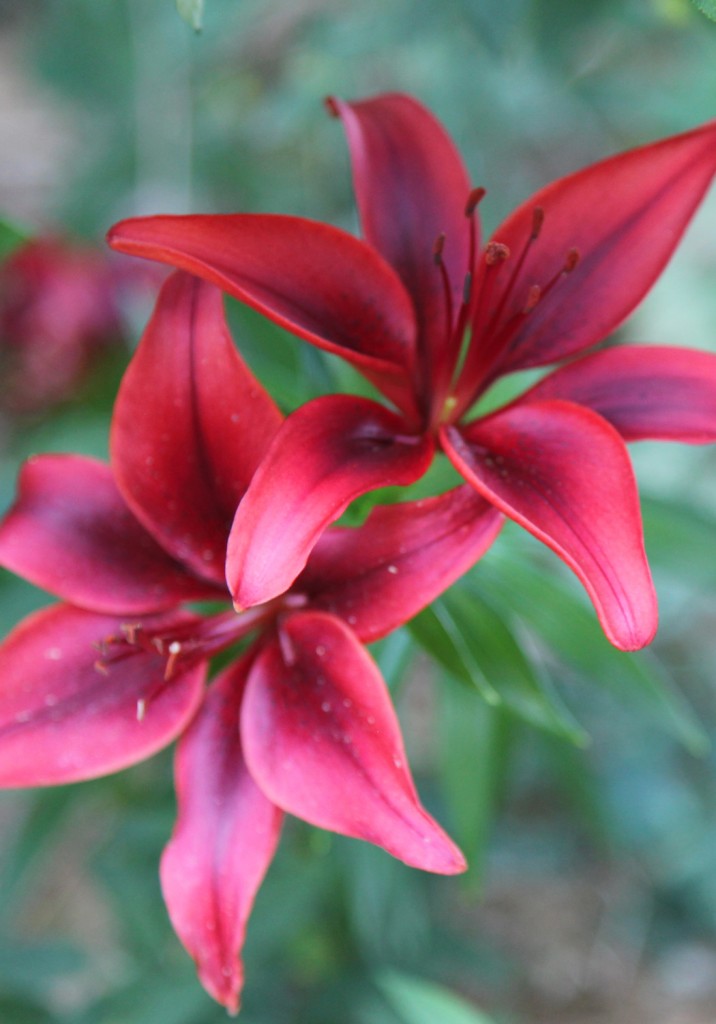
Red Asiatic Lily (a bulb from Home Depot)

Yellow Reblooming Daylily 'Happy Returns'

Orange Reblooming Daylily variety unknown

When the weather heats up some of the warmer colored flowers appear in my garden(in my case lots of lilies). I really like that the color palette changes though the season. I would love to say that I planned it that way, but I didn’t. I think it is partially mother nature who gives us cooler colored plants in the cooler weather and then lets the brighter blooms appear with the heat. I also have  planted quite a few lilies over the years, mostly because they are readily available, inexpensive and divide well (particularly the daylilies). I now find their foliage kind of boring, but they do provide color at an important time in the garden, that I would have a hard time filling with other plants. I have to say that the “reblooming” feature of some of these lilies is greatly exaggerated. I will get full bloom for next couple of weeks and then it will peter out and I will get very sporadic blooms later in the summer. Has anyone had better luck?


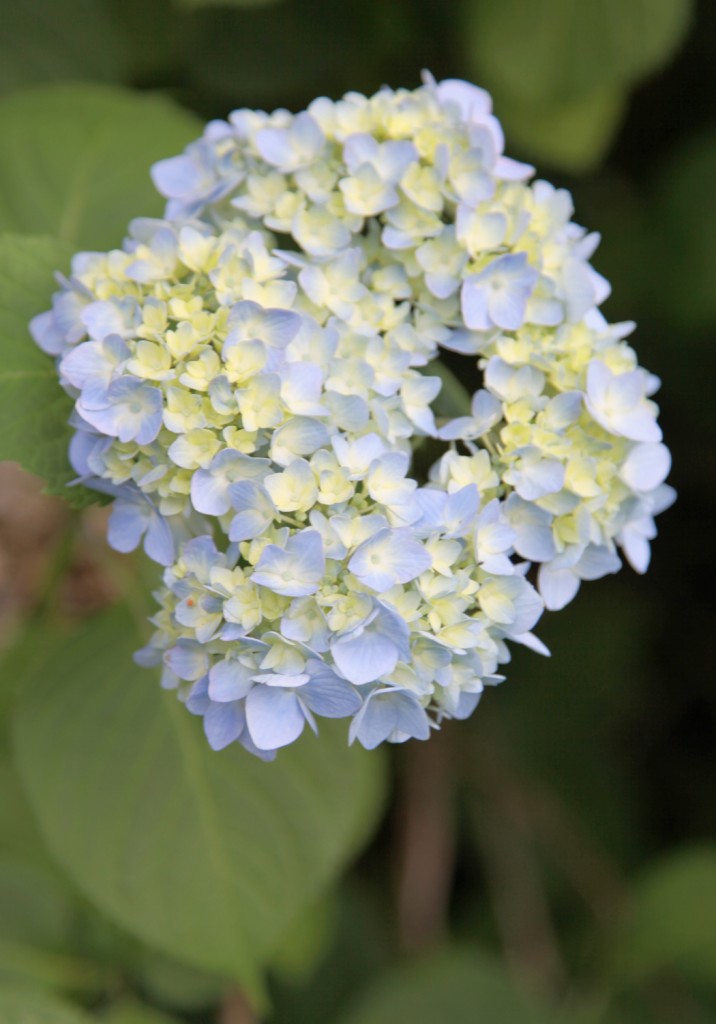
Nikko Blue Hydrangea

Fortunately I do have a few cooler colored plants to counter the hot plants. One of my favorite plants is the hydrangea. Hydrangeas vary in color based on the acidity, but in my yard the soil is all pretty acidic which guarantees blue varieties, with the exception of one lace cap variety that is more purple. My biggest hydrangea is Nikko Blue and I have since added a pair of Endless Summer which now that they are established are also quite blue. I use to have some lilies planted with the Nikko blue, but I think they were overgrown by the hydrangea. I think I might need to move a few of the orange daylilies over to the front, now that it is at its full size (thanks to a trim every fall). This Nikko blue plant is now 11 years old, I am pretty sure this is the first shrub I planted at the house.

The weather looks good for the weekend here, I hope everyone has a lovely weekend! I picked up a couple of plants at Home Depot on sale yesterday, that I need to plant in the next few days.

What is blooming in your garden  right now?

*My garden is located in SE Pennsylvania and is in Zone 7a/6b.

Leave a comment

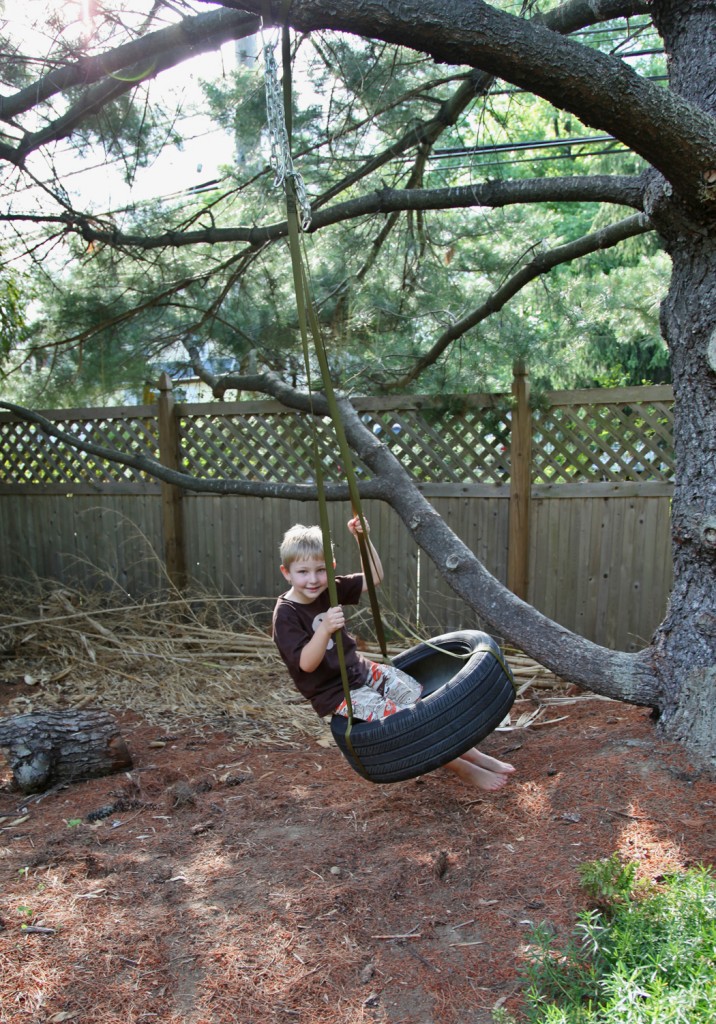
Sam using the new tire swing!

We have been meaning to hang a tire swing for over a year, but somehow never seemed to get around to it. Well I finally put it on the “Must Get Done This Spring” list.  Of course, my requirements were very specific (it always seems that the easy solution is not the one I pick). So the research began!

Tire Swing Requirements:

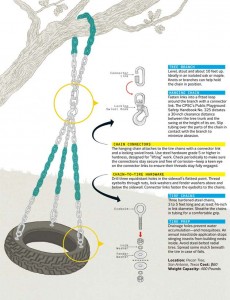
1. Design has to have a connection that won’t damage our old beloved pine tree. That immediately ruled out chain and thinner rope.

2. Tire swing that would hang horizontally to allow for holding 2-3 kids.

3. Reuse one of our old tires. Recycling at its best!

4. Ideally the design would not have unprotected chains adjacent to the tire (to prevent little pinched fingers).

5. Ideally it would come as a kit, so I wouldn’t have to source all the parts separately.

6. Be reasonably priced (I was hoping to spend about $40)

What I quickly learned is that most kits are designed to fit on a swing set and have a bolt connection. I also found several DIY instructions, but none of them dealt with how to attach it to the tree without using rope or chain. I also saw that a lot of them seemed overpriced to me. I also went over to Home Depot and found almost nothing that would work.I also discovered that covered chain is quite expensive.

Here are a few links to the options I found:

KITS

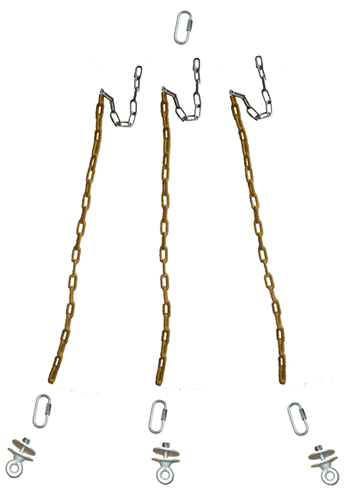
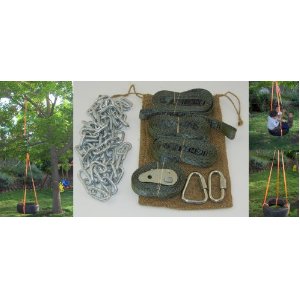
Tire Swing Kit #1

#2 Eye Swivel

#3 Tire Swing Option

#1: Tire Swing Kit w/ Coated Chains ($59.95). This also did not include the connection to the tree or extra chain.

#2:  Swivel for allowing the tire to spin without twisting the chain above. ($9.99)

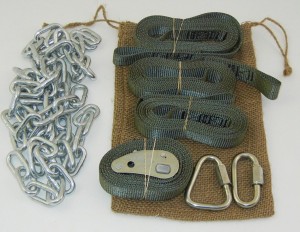
#3: Tire Swing Tree Hanger by Woss Gear ($37.49)

DIY Instructions

#4: Popular Mechanics Instructions

#5: Instructables Instructions

#4:  Popular Mechanics Instruction for Building a Tire Swing.

#5: Instructables: How to Make a Tire Swing.

I found these instructions useful but quickly realized that by the time I source all of the parts it was going to be difficult and expensive and I was concerned that I would end up with a weak link somewhere and it wouldn’t hold up.

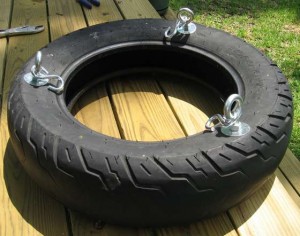
So after studying my options I went with #3. It looked durable, included everything but the swivel and met all of my requirements. I came out to a little more than $40 due to shipping, but it was a breeze to install (about a half hour). The only prep work required was drilling holes in the bottom of the tire so that water wouldn’t sit in there.

Woss Gear Tree Attachment

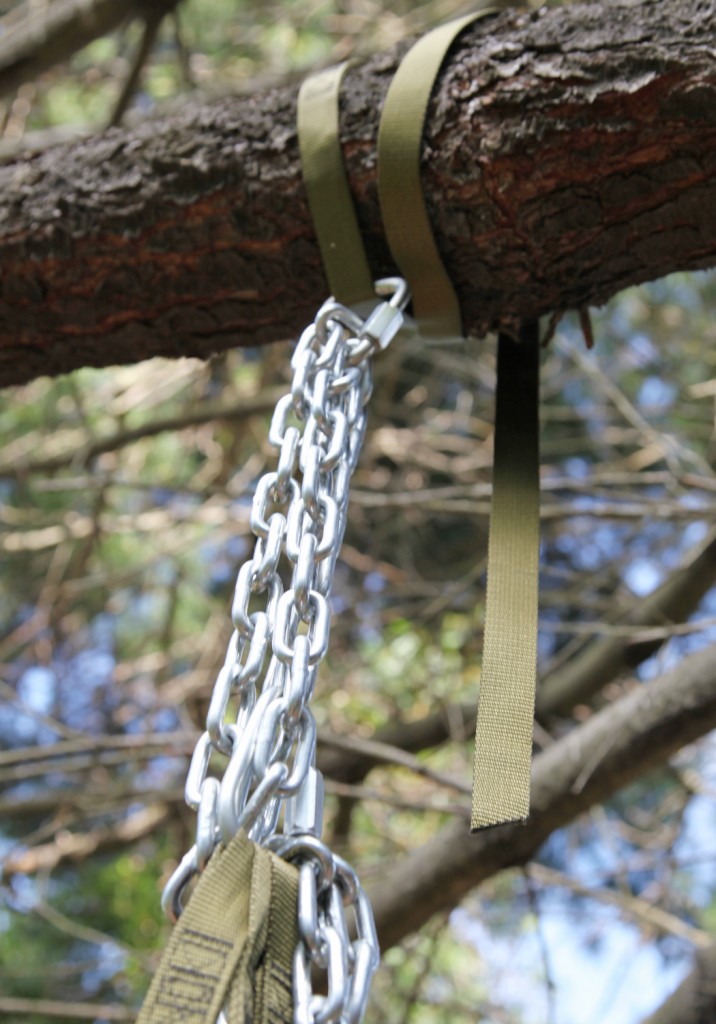
Heavy Duty Chain

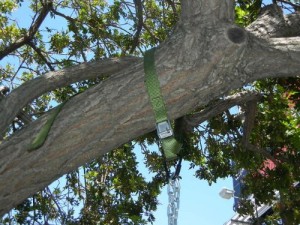
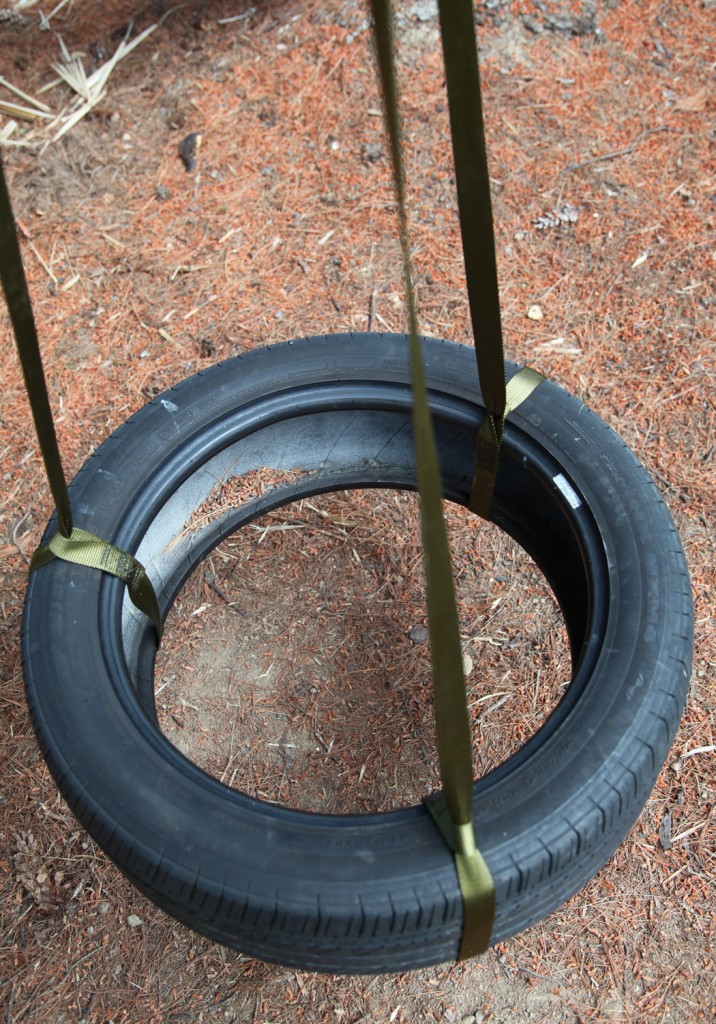
I really liked the mechanism for attaching it to the tree. It was simple webbing (good for the tree) and had a self-tightening cleat. I also liked the super durable triangular link that attached to the chain below.

Tire Swing w/ webbing attachments

The tire itself is attached with webbing that is sewn into a loop, so you just pass the webbing around the tire and through the loop. Then the same piece has a sewn loop at the top to attach into the quick link that also attaches to the chain.

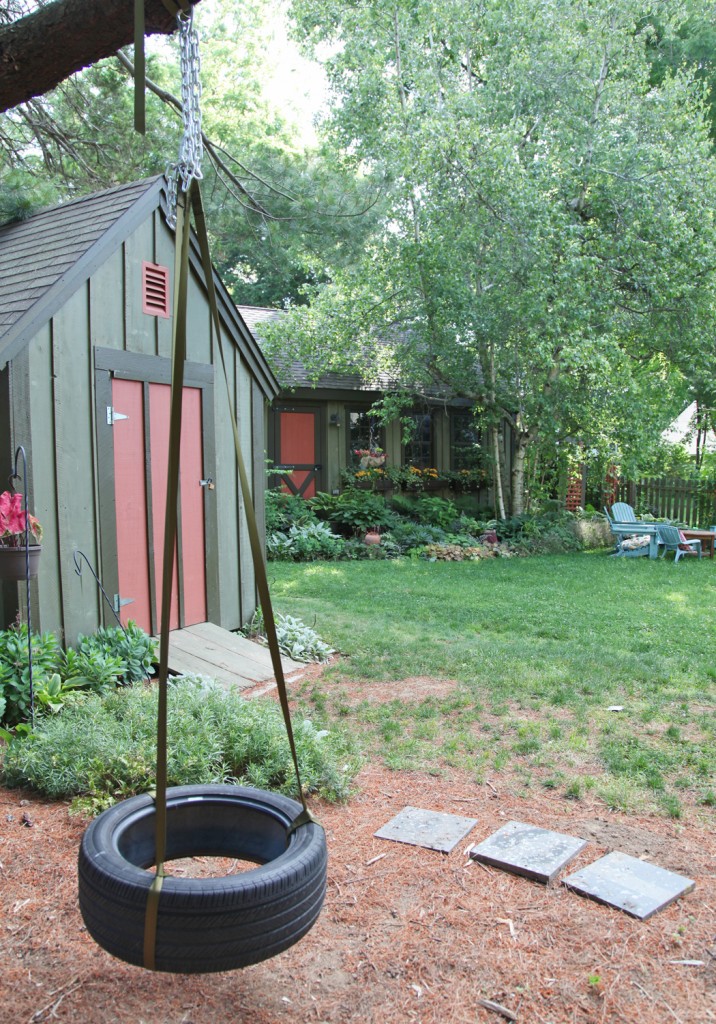
The New Tire Swing!

Sam is a big fan, although he mostly swings back and forth rather than around. I might still pick up the swivel separately, but for now he seems perfectly happy with it. I guess I need to get moving on the slide now!

2 Comments

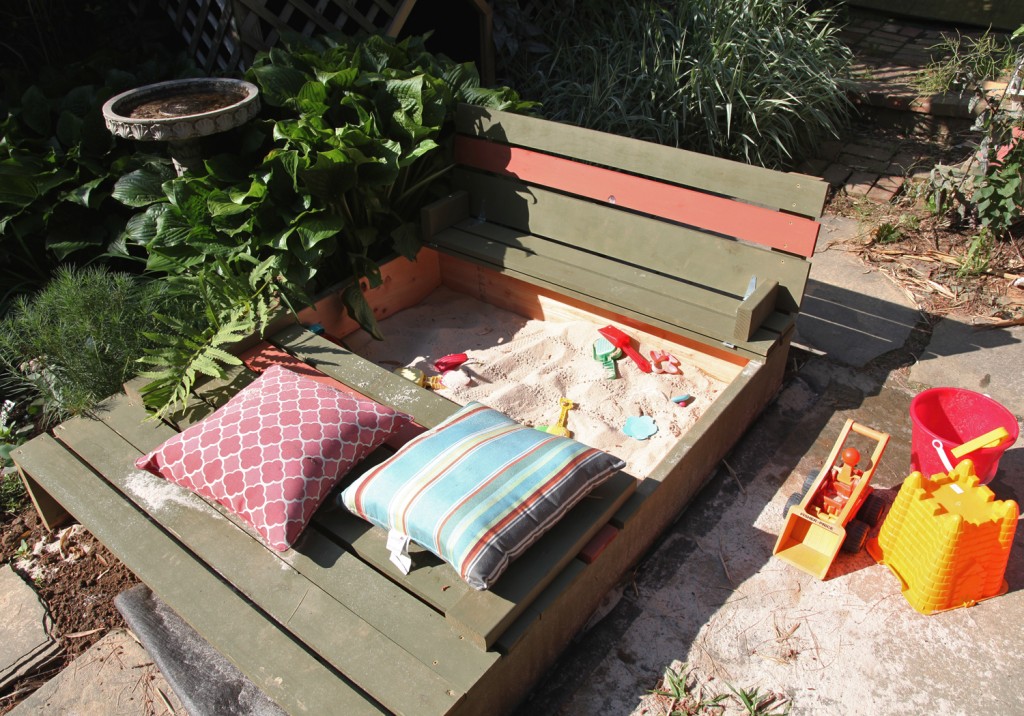
Sandbox Half Opened w/ Tall Seat back

Our new sandbox is in full use now, I still need to install half of the hinges (HD ran out) but it didn’t stop the kids from making use of the it over the weekend, at least when it wasn’t 90+ degrees out.  The side that is finished works great! It is easy to open and close, and the seat is nice for the kids. As an added bonus it limits the sand spill on that side.

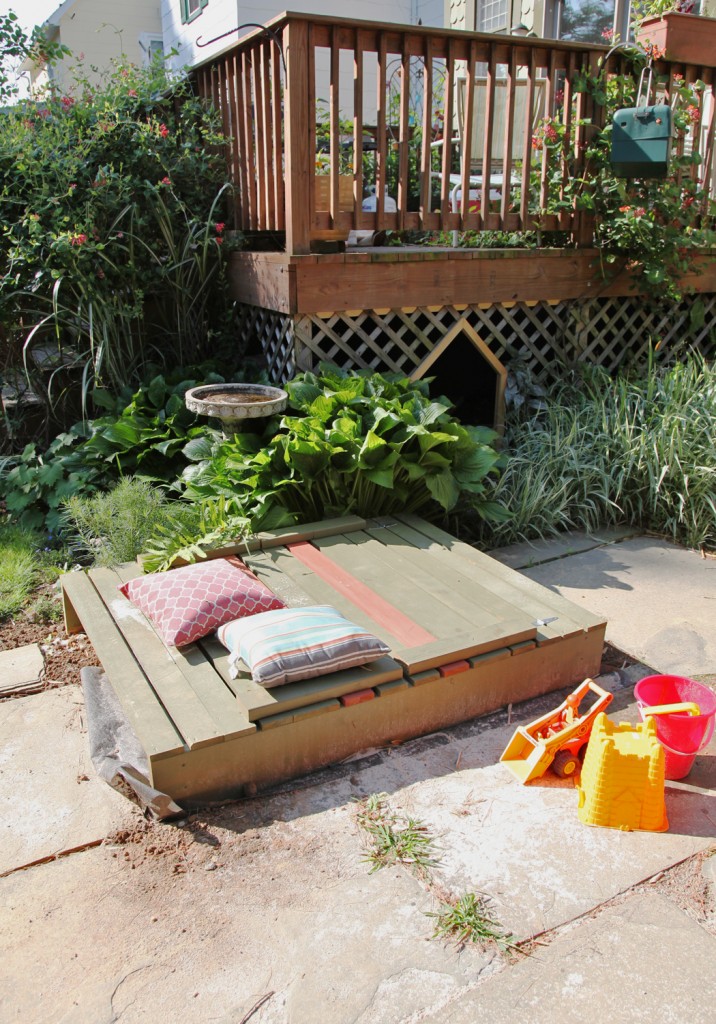
Sandbox Closed

The 4’x5′ is a nice size and I am really glad that we extended it the extra foot. When it is closed it is relativity unobtrusive. I still need to do some planting near it, although I did manage to finish the rough grading around it and the adjacent stone that I moved.

So far I would say I have spent about 8 hours on it. with about 1/2 hour left to finish installing the hinges. Definitely not insignificant, but now I have something that fits the space perfectly and is very functional.

I will be putting together a full tutorial soon with more detailed photos of the installation and tips I found along the way.

Tire Swing Kit from Woos, $37.49

We also installed the tire swing this weekend, which I am pleased to say only took about 1/2 hour. I love it when something actually goes according to plan! I used this kit from Woos. It had everything (except the tire) and I really liked that it used webbing instead of chains at the bottom (so now pinched fingers). The only other thing that it didn’t come with was a swivel, to allow it to spin better, but so far that doesn’t appear to be an issue. I will post more on this project as well.

2 Comments