Archives For ARCHITECTURE & DESIGN

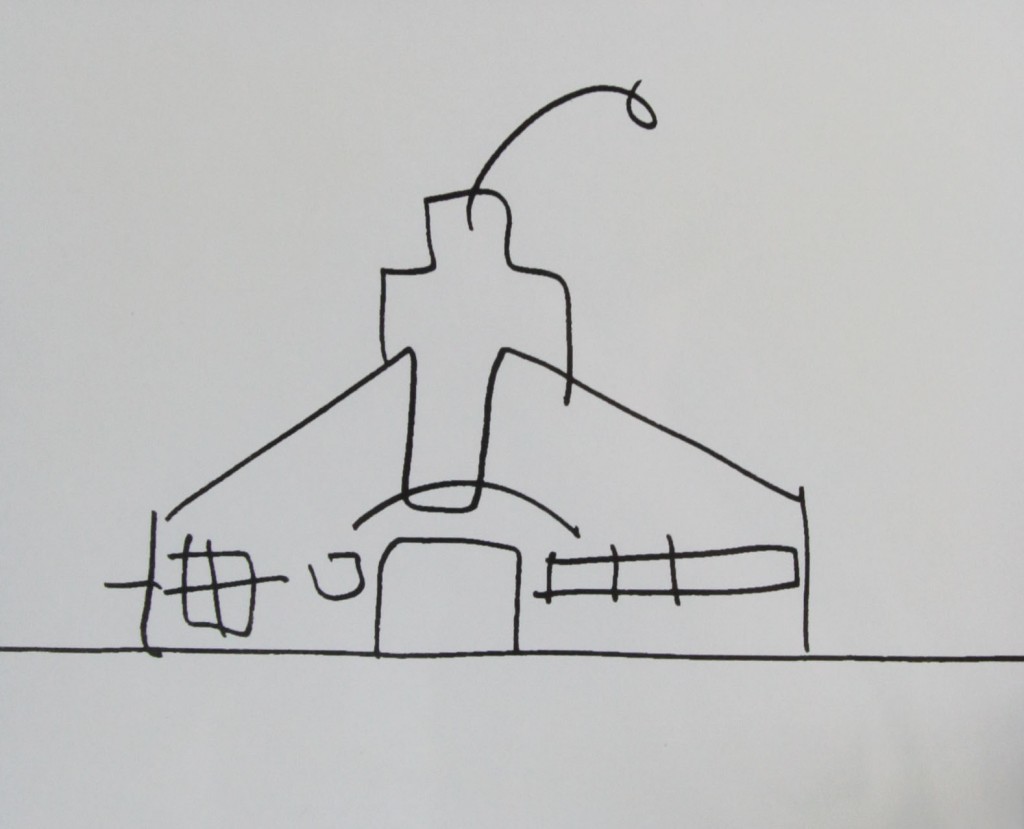
Bob's Sketch of Mother's House


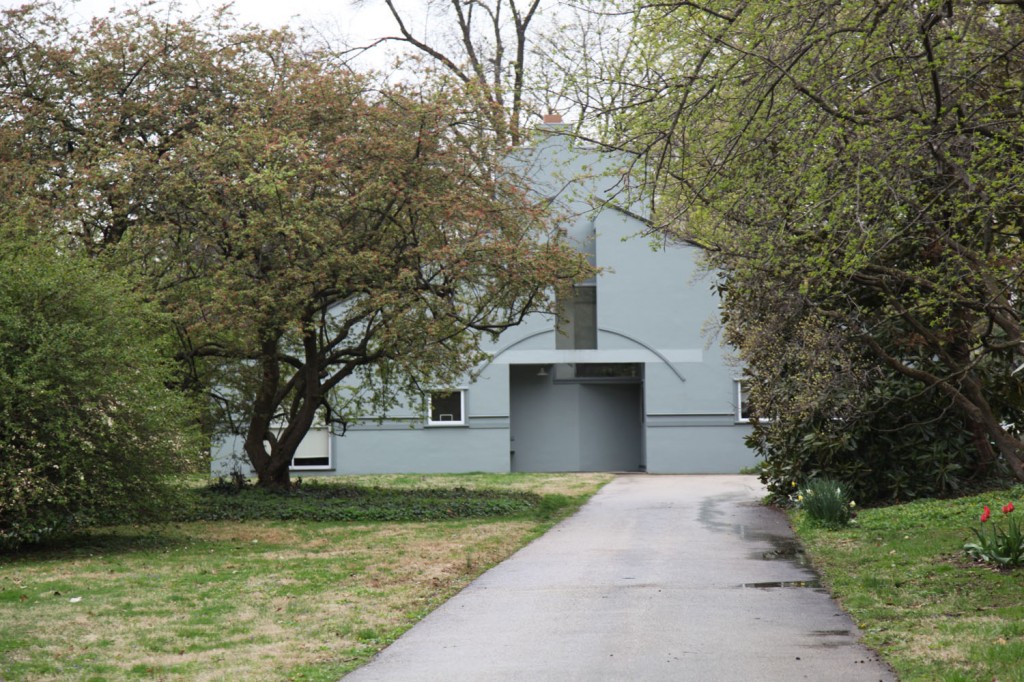
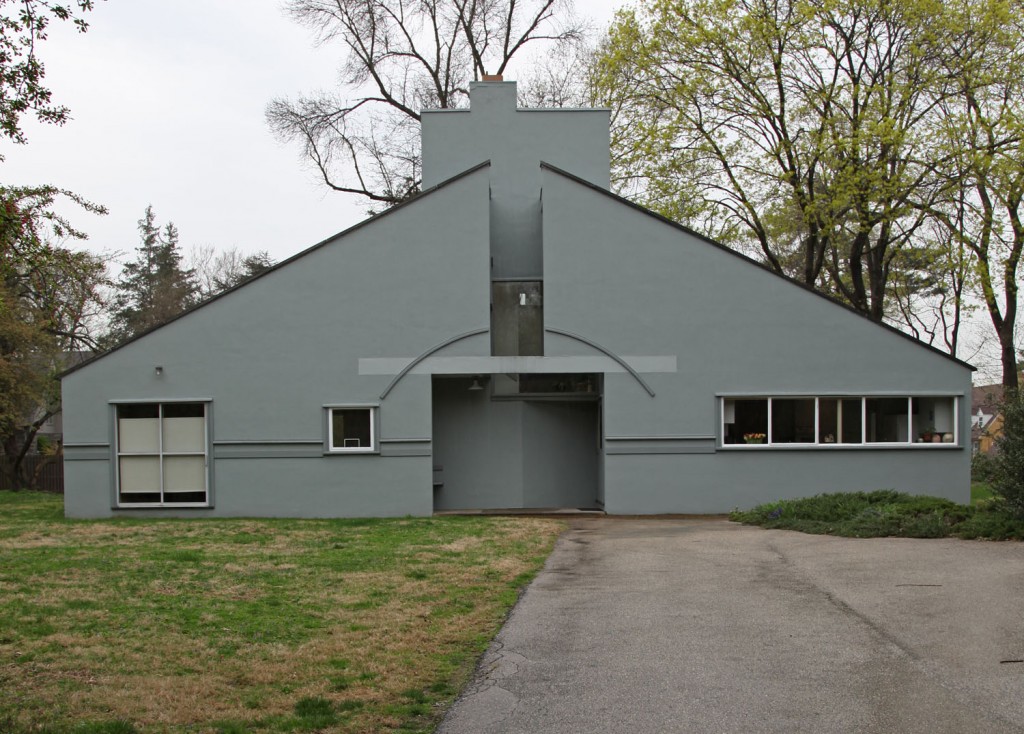
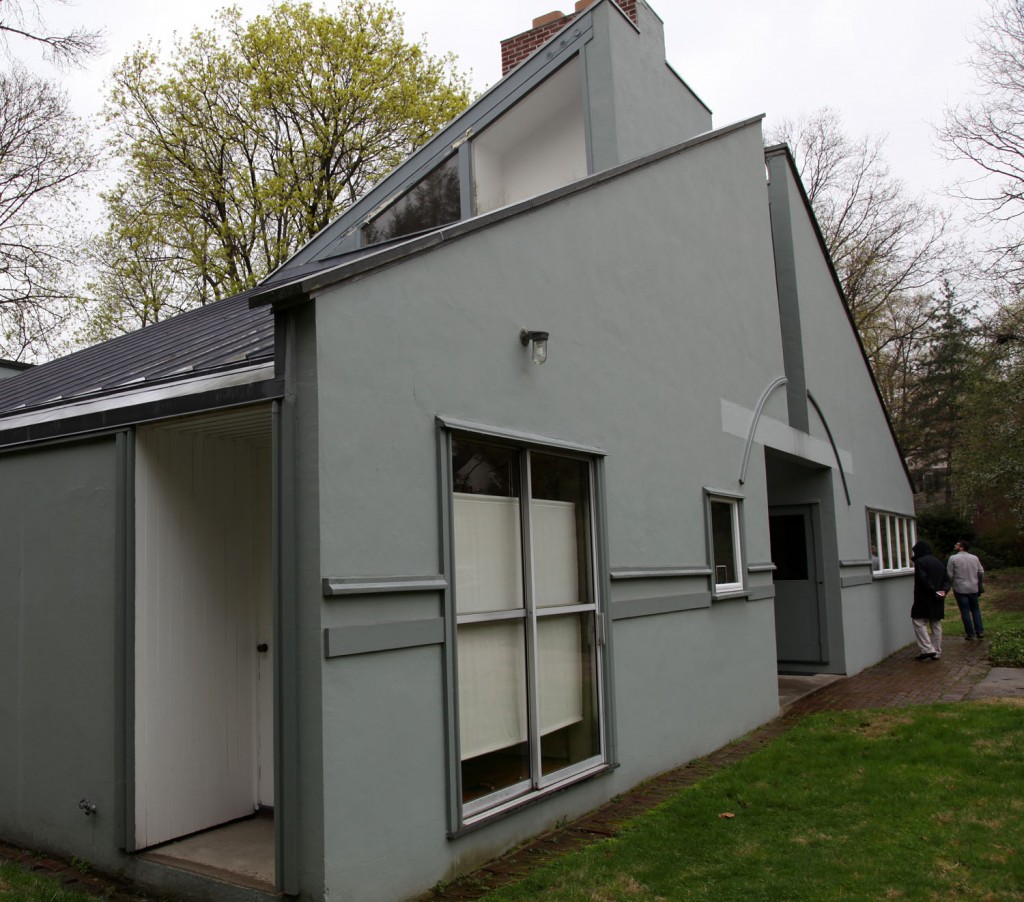
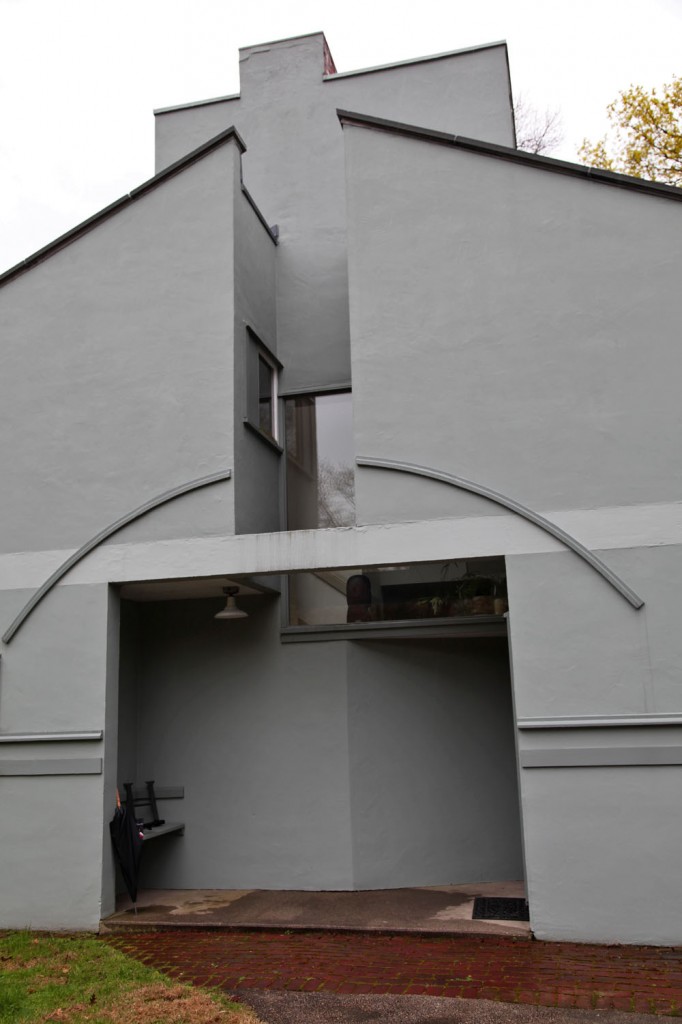
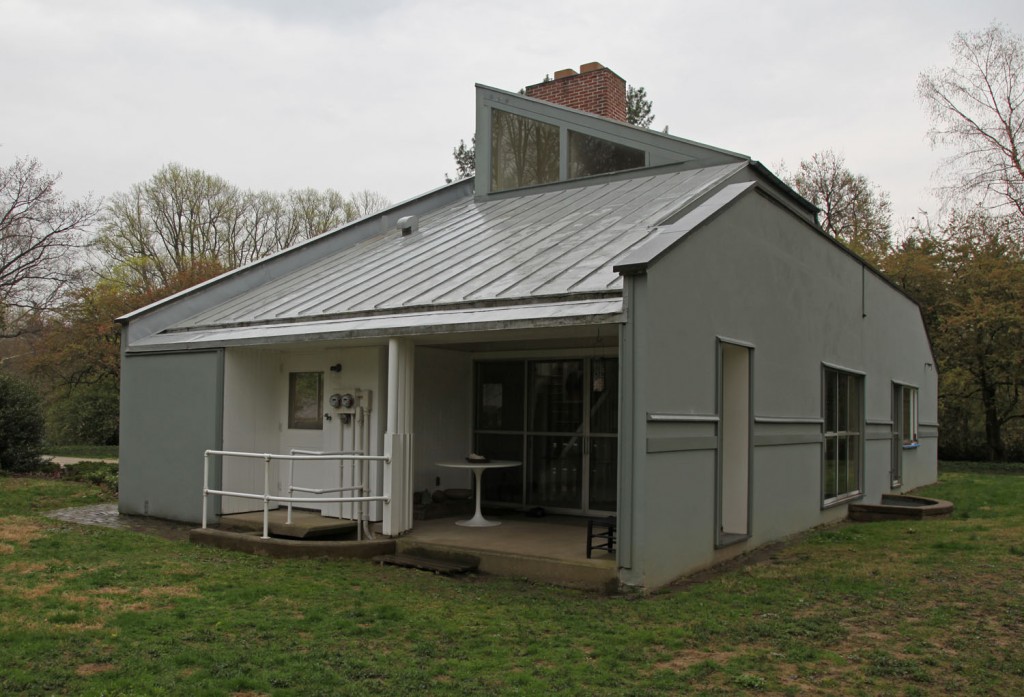
Mother’s House is the building that put Robert Venturi (Bob) on the map as an architect (along with his writing). Built for his mother in the early 1960s, it is considered a (post) modern masterpiece. They even put it on a postage stamp in 2005! It is so iconic because in an era of architects creating modern boxes of glass and steel he returned to using symbolism and based the exterior of the design on the simplest childhood sketch of a home. The play of scale is everywhere. The oversized sloped roof, chimney windows and entry stand out, even though the building itself has 5 rooms. The house is small but generous.

The house was designed for Bob’s aging mother (Vanna) and needed to allow for her to age in place on one floor. The first floor consists of the living/dining room, kitchen and 2 bedrooms (1 medium size for her and 1 small for a caretaker). The second floor only has the “master” bedroom which was actually designed for him (he lived their briefly before moving elsewhere with his wife Denise Scott Brown). After his mother’s death the house was sold (although Bob and Denise did consider moving in, but didn’t think it would work with a small child). The same family still owns and occupies it. They have taken such lovely care of the building and still call the office when they need to repair or replace something.

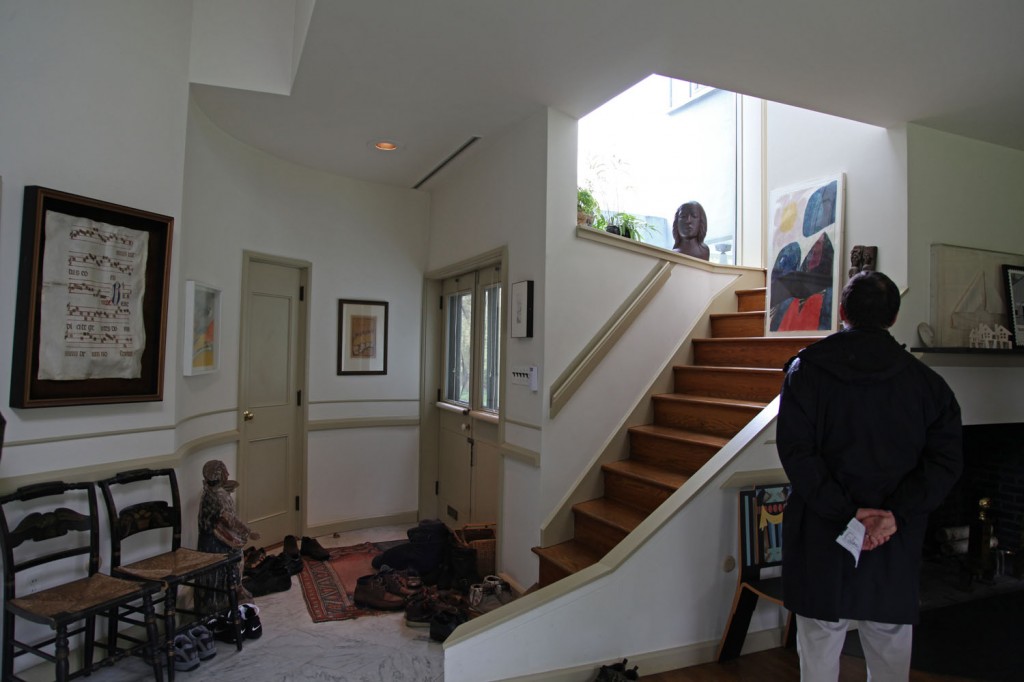
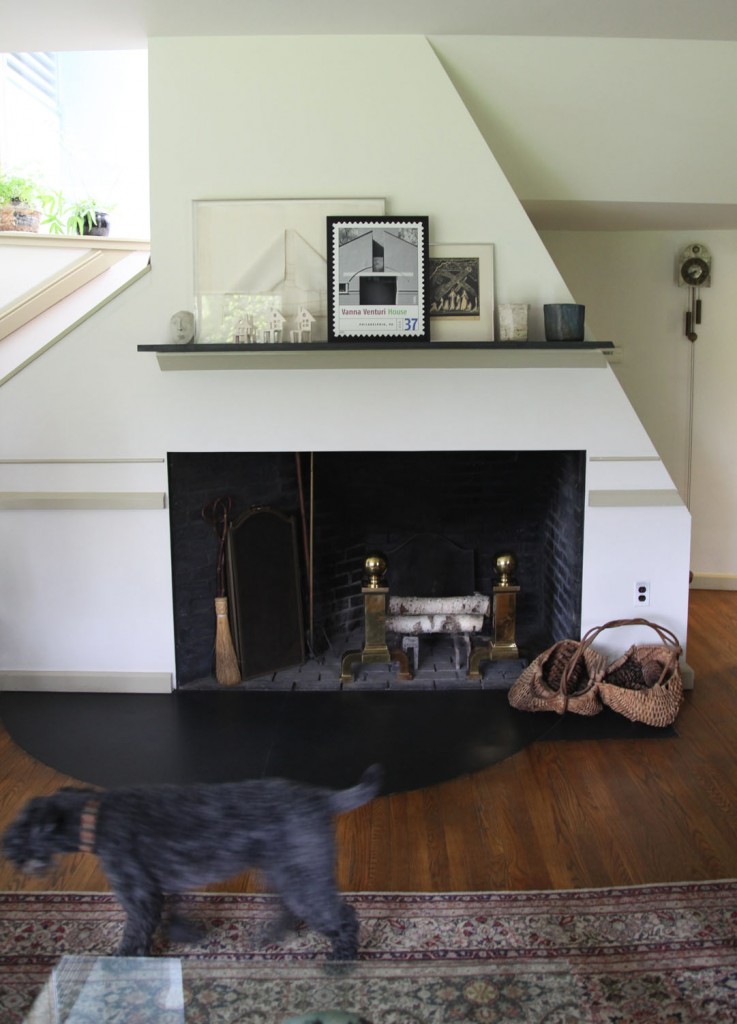
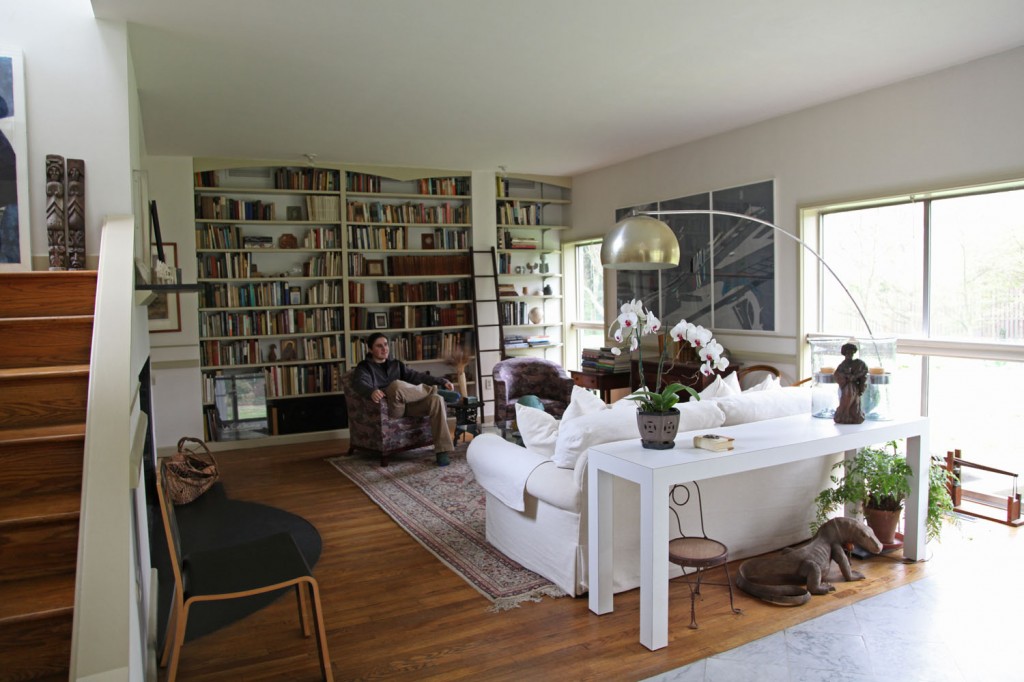
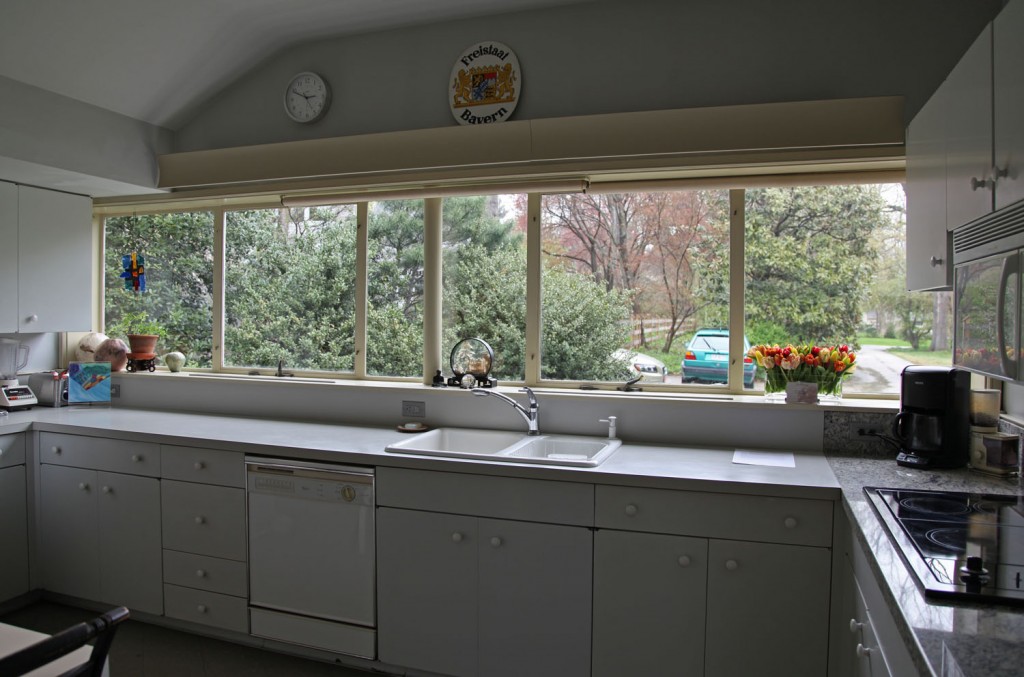
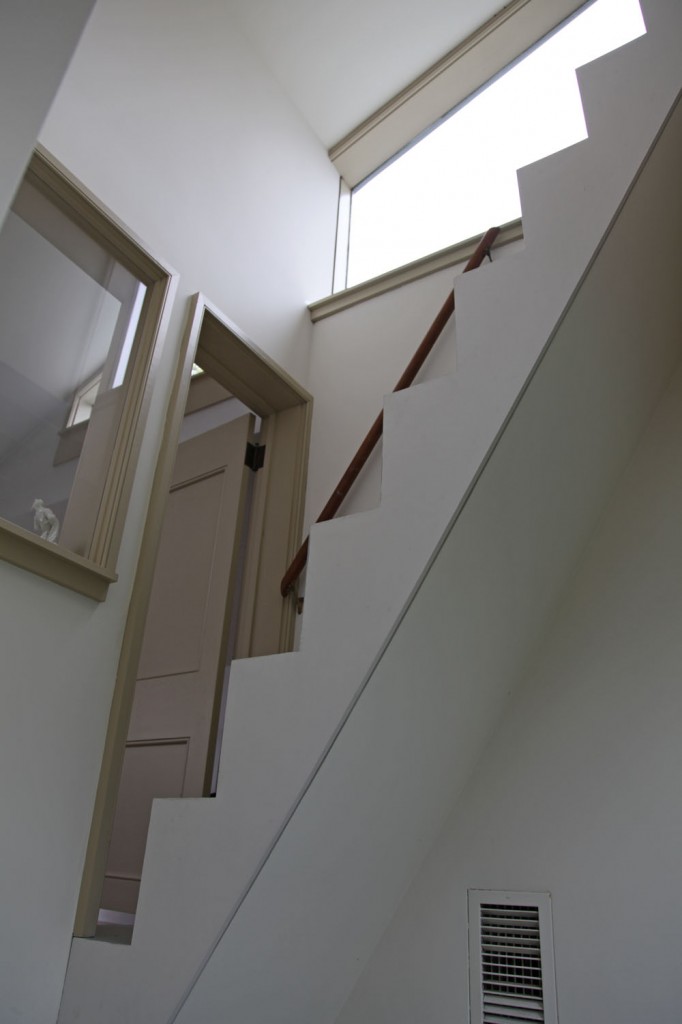
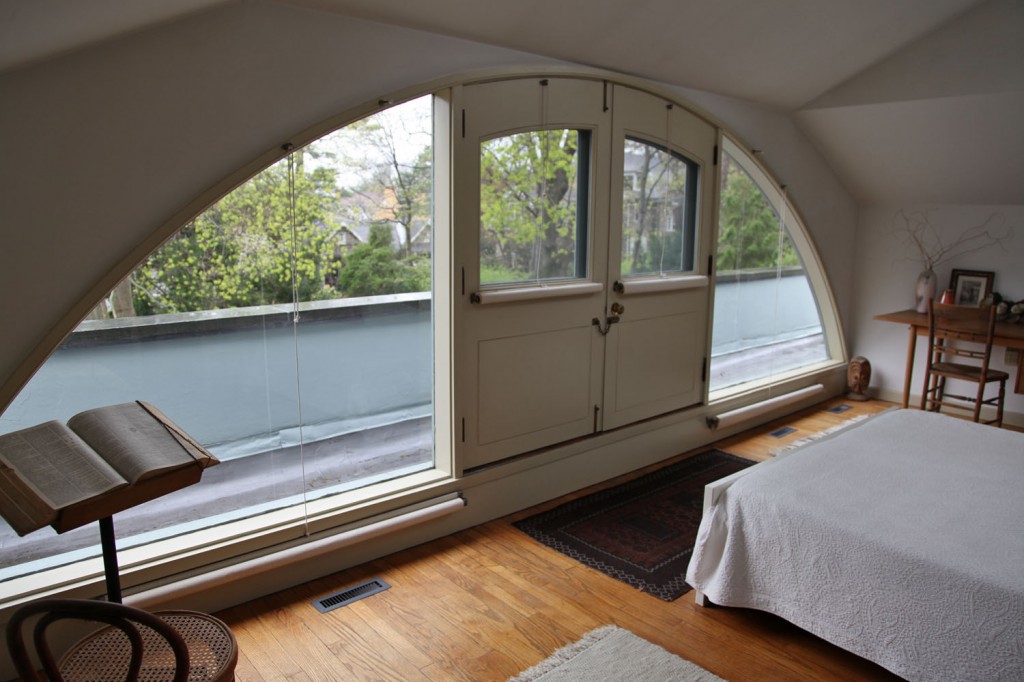
It is interesting because after all of this time it still feels remarkably fresh to me. It was very gray and raining while we were there but the house felt very bright with no lights on. I first visited the house about 14 years ago and now that I am older I am more in love with it then ever. The open living/dining area has such a pleasant scale and is the perfect size for a small gathering. The kitchen is small but has a beautiful bank of windows that makes it feel much larger. The stairs to the second floor shift beautifully around the fireplace and chimney. The second floor bedroom is just right, although I think it would be perfect if you could see out to the backyard while laying in bed. The closet space and bathrooms are very tiny in the house.

The house is not open for regular tours because it is still a residence and located on a quiet street in Chestnut Hill.

View from Entry Drive


Front Elevation


Front & Left Side


Entry w/ Split Pediment


Rear and Right Side Elevations including Covered Patio


Entry

Fireplace w/ Large Copy of Postage Stamp


Living/Dining Room

Kitchen

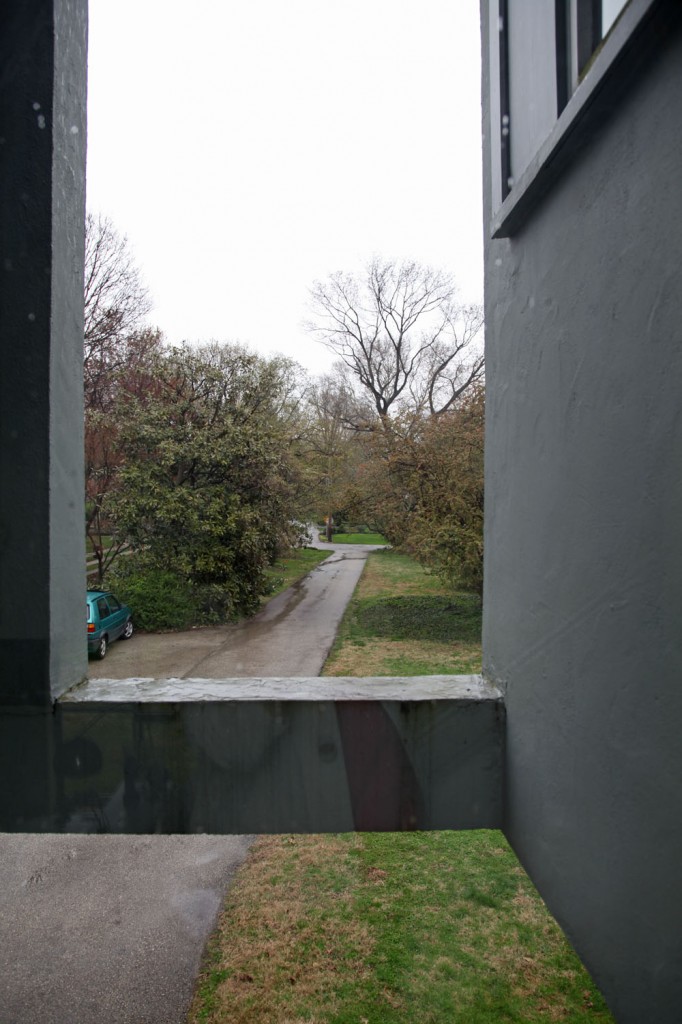
Looking at the entry drive from the window on the stairs

Stair to Nowhere

Second Floor Bedroom

Leave a comment

I had a good time visiting my old office yesterday, seeing old colleagues and taking a tour of Mother’s House (the last time I was there was about 14 years ago). Unfortunately it was raining during our visit but I still managed to get a few outdoor photos.

Here is a quick peak (more to come later)…

Leave a comment

The King Post

April 18, 2011 — Leave a comment

King Post Before: Rotted Horizontal Member

Replacement piece being installed

Restored King Post!


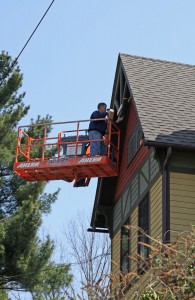
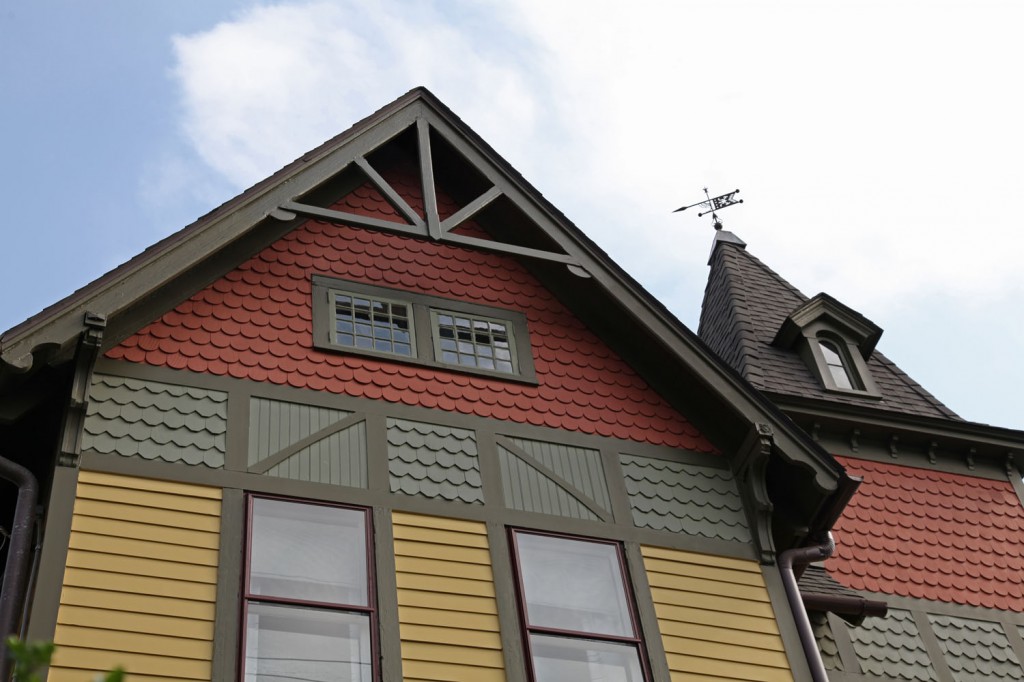
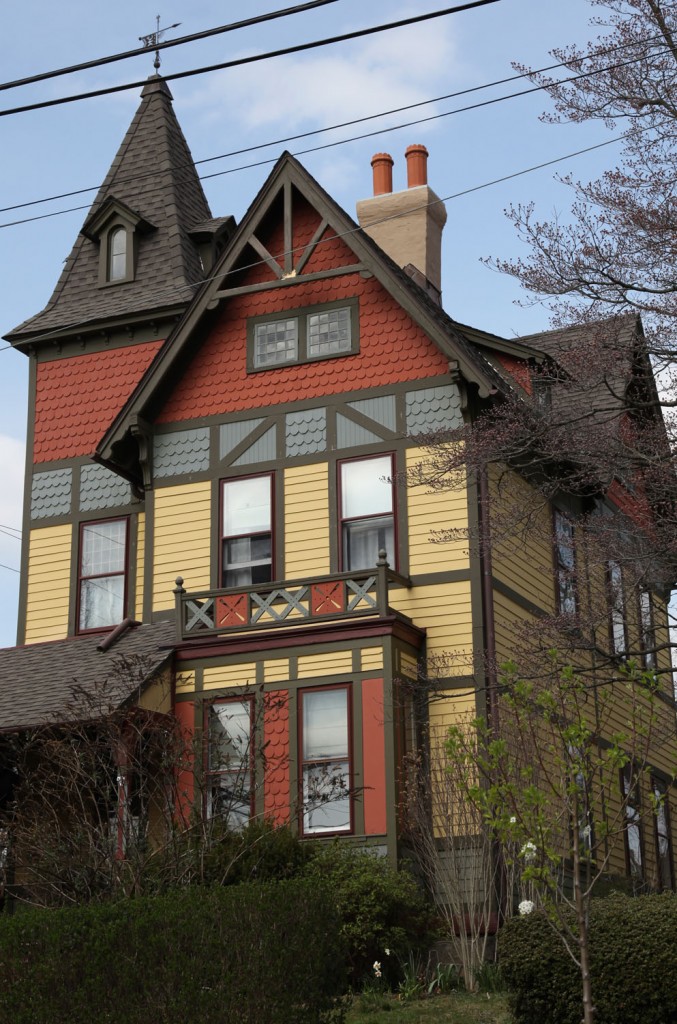
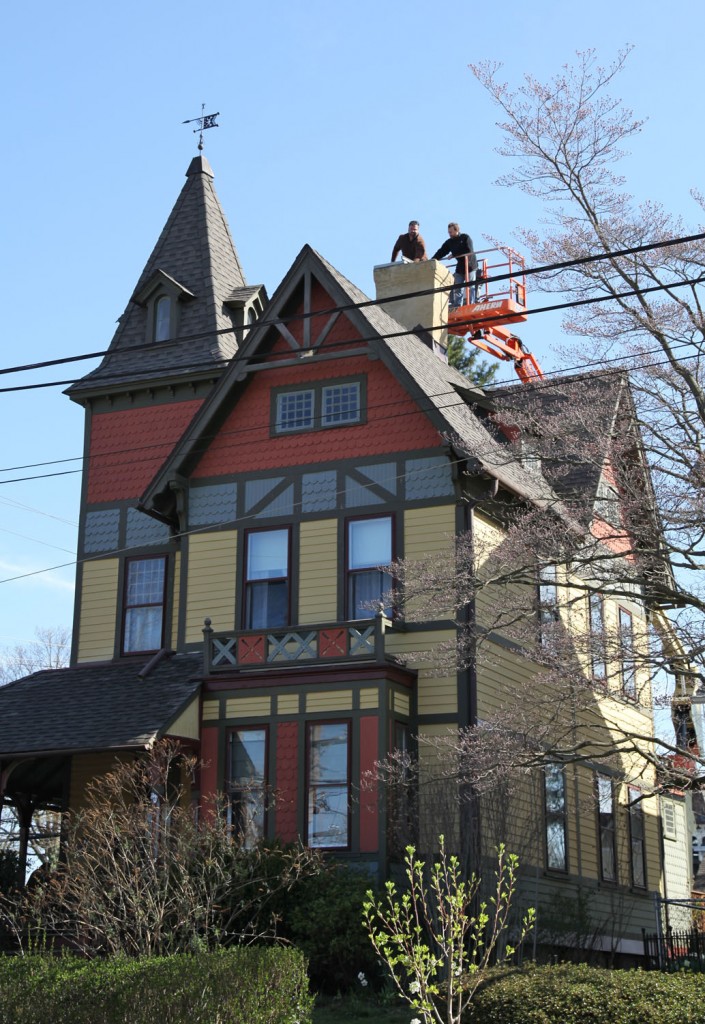
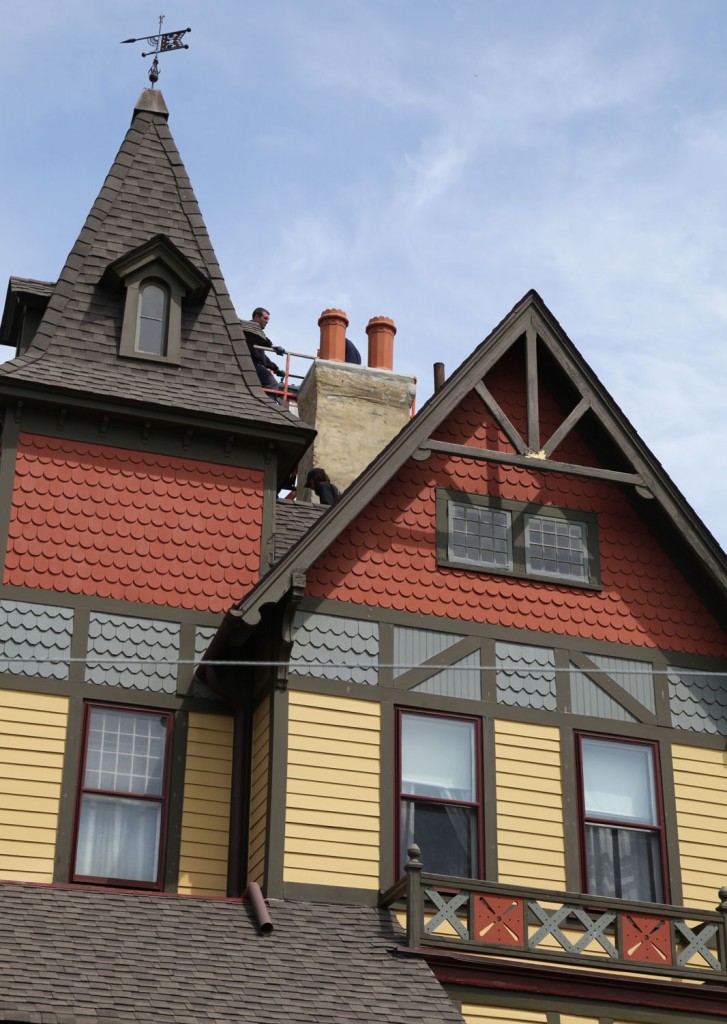
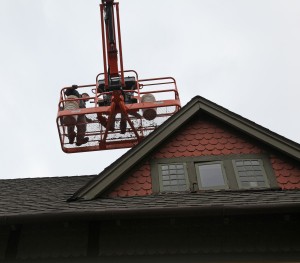
I should start out by saying that a King Post is a decorative truss. In our case we have two and they are located in the eaves of the roof.  When we bought the house I didn’t know what to call them (they don’t teach you this kind of stuff in Architectural School). Anyway, both of the King Posts on our house are rotting. There are no two ways around it. When we had the house re-sided and painted 5 years ago we had them patch it up as best as possible. However after less than 2 years they really started to deteriorate. Unfortunately, getting to them is VERY difficult. So last week, I was surprised when the chimney contractors showed me that you could get to one of the King Posts via the crane. Fortunately, the stars aligned and my neighbor/carpenter agreed to come over and fix it right away. He also miraculously happened to have a piece of wood that was a full 2″x4″x8′ to work from. A modern 2×4 is only 1 /2″ x 3 1/2″. It is pretty difficult these days to get good dimension lumber! So he showed up in the morning, went up on the lift with the chimney guys and took down the rotted horizontal piece. Later that day he came back with a new piece cut, chamfered  and already primed piece. He then went up and installed it and painted it. He even added a nice little detail in the middle (to help hold the whole thing together).

The second King Post on the front of the house will be more difficult to get to (because of the slope of the ground and the bay window). Our carpenter is going to see if he get there with a ladder. Otherwise we will have to devise some kind of scaffolding to get up there. He is also going to work on my front porch (lots of little repairs to do) and add some steps to the side. Very exciting!

Leave a comment

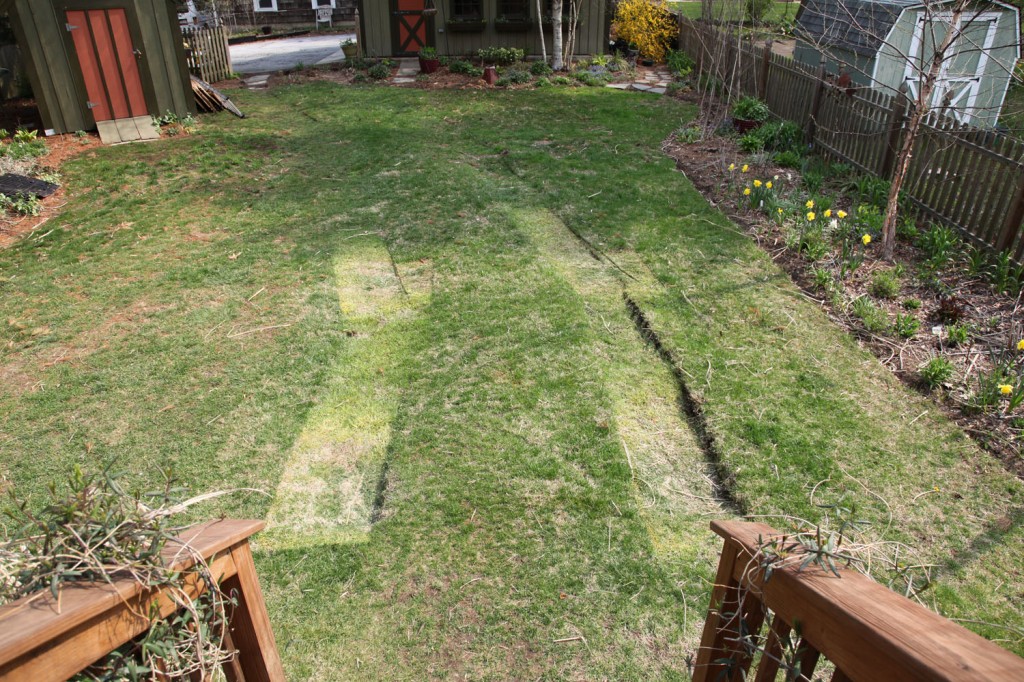
The ruts in the lawn from the crane.

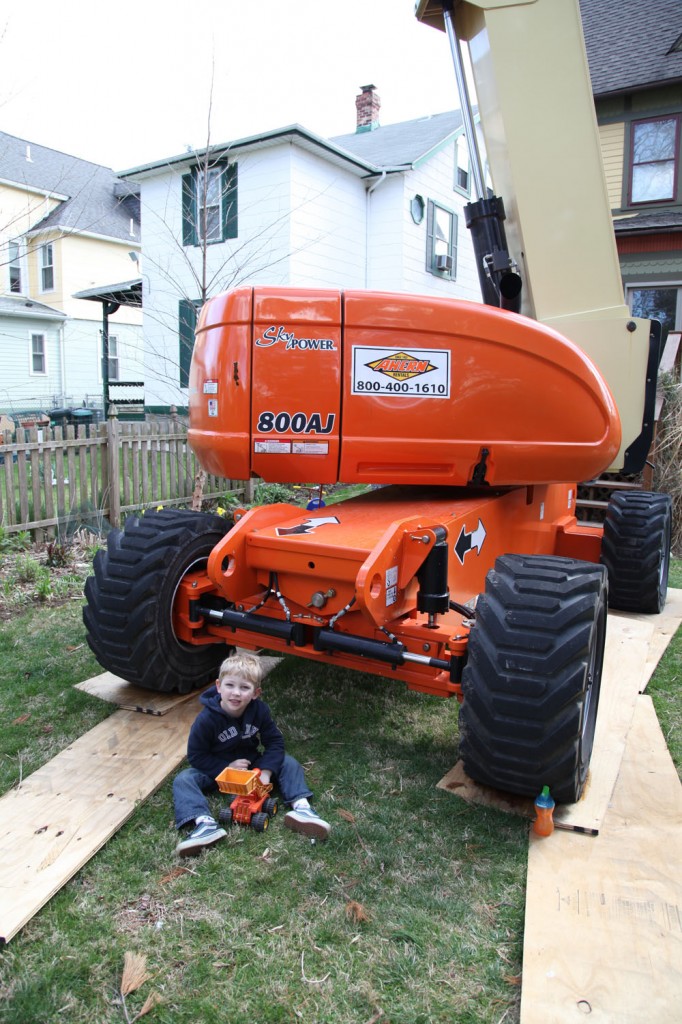
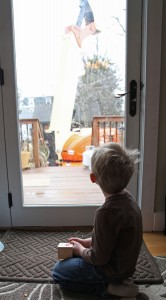
Sam spending some time with his favorite thing!


The crane is gone! It left at 8 am sharp this morning. The guys will be back tomorrow to try and help repair some of the ruts to the lawn  and replace the 2 broken pieces of flagstone (from the weight of the crane). They are still trying to coordinate putting back in the fence & fence post (hopefully this week). Then they should be all finished! Sam is sad that the crane is leaving us and has requested one of his own for his birthday. We also got to enjoy the new gas fireplace on Saturday evening (while it was POURING outside).

We are a little discombobulated here today. Maisie is under the weather and is home with me today and school is closing early today and will be closed tomorrow.  But I have an exciting day tomorrow! I am meeting up with some old colleagues and Bob Venturi (my old boss and mentor) is going to take us on a tour of the Vanna Venturi House (aka Mother’s House). The house is a famous post-modern masterpiece designed that Bob designed for his mother in Chestnut Hill in the early 1960s. I have been there before (many years ago) but never with Bob. I will try and post the tour on Wednesday.


Leave a comment

IT IS ALL FINISHED!

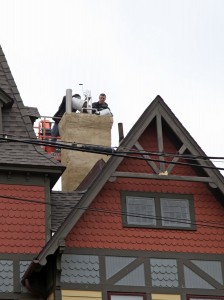
The chimney from yesterday afternoon. Patching complete and Chimney Pots installed!

Close up of the chimney from yesterday afternoon.

Chimney from this afternoon. All Painted! (try to ignore the rotted King's Post on the front of the house)


Finished chimney from this afternoon.


Yes, I am jumping up and down! Plus my carpenter managed to use the lift today to remove the rotted piece of wood on the King’s Post, fabricate a replacement (a full 2″x4″), prime it, install it, patch where required and paint it (separate post coming)! Plus it is a beautiful day! I am going to ignore the giant divots from the crane in the backyard for the moment and pretend all is perfect in the world. I hope it is this nice where you live!

Leave a comment

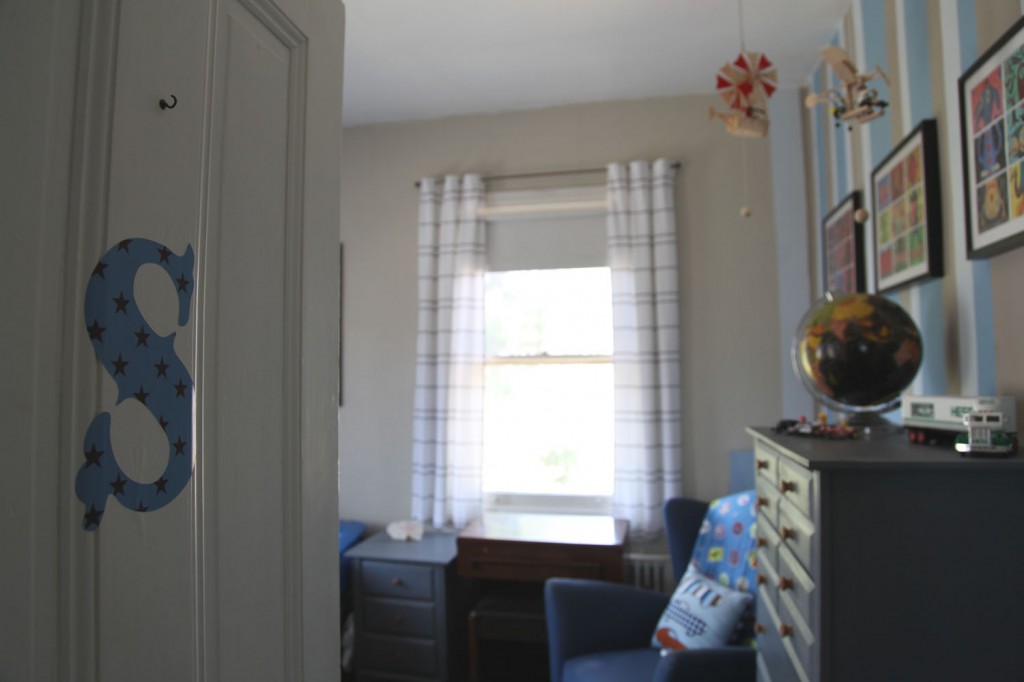
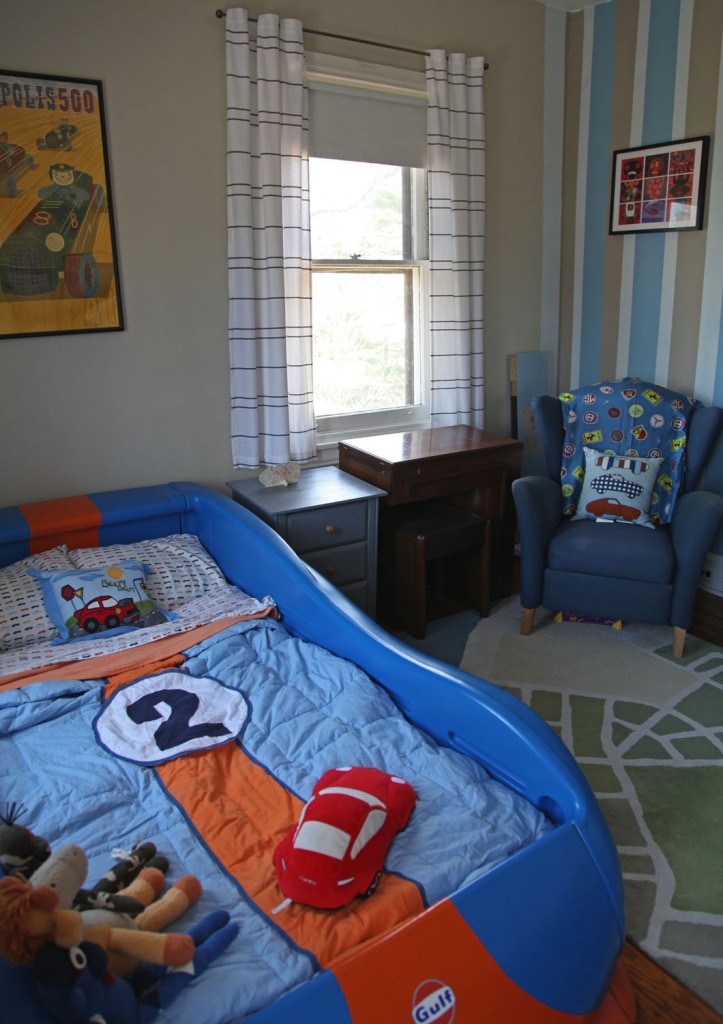
Welcome to Sam's Room


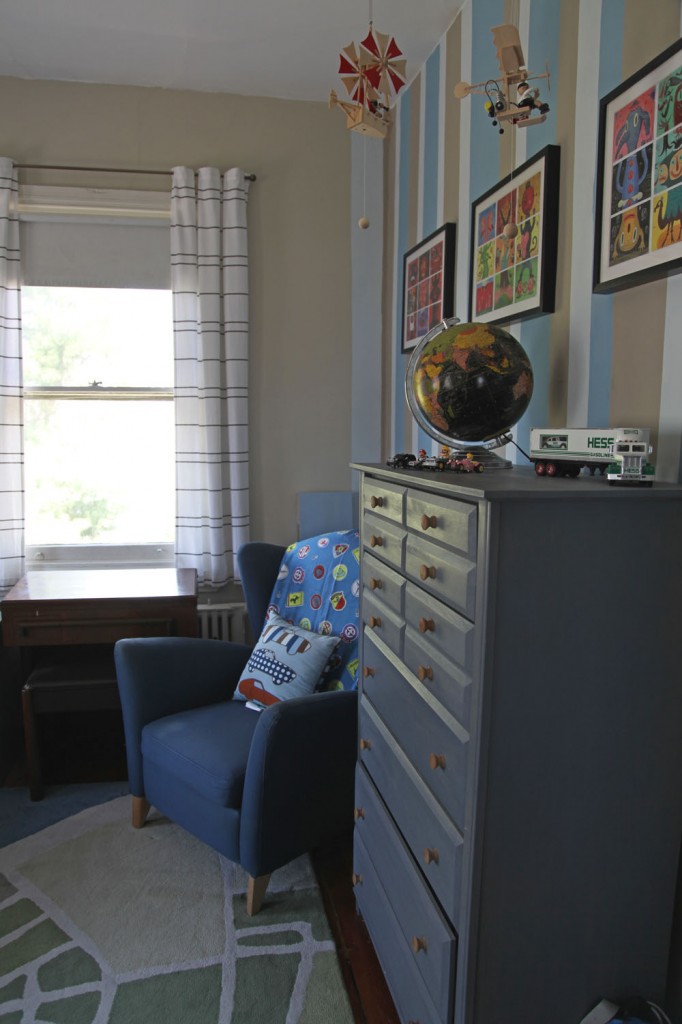
New Stained Dresser & Old Ikea Chair


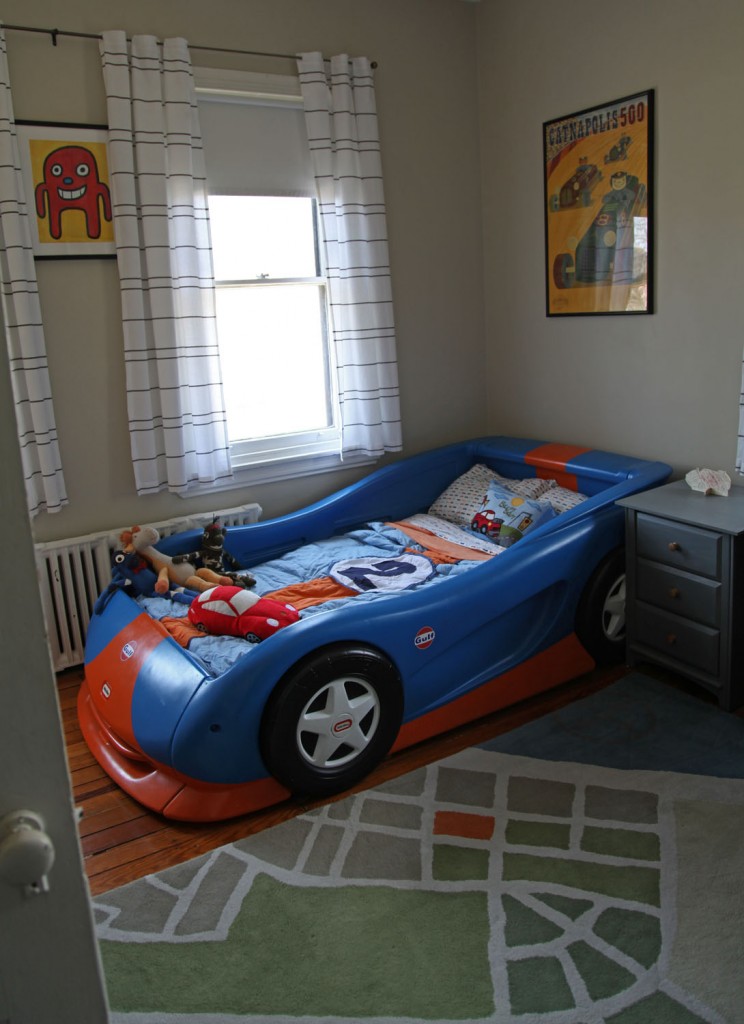
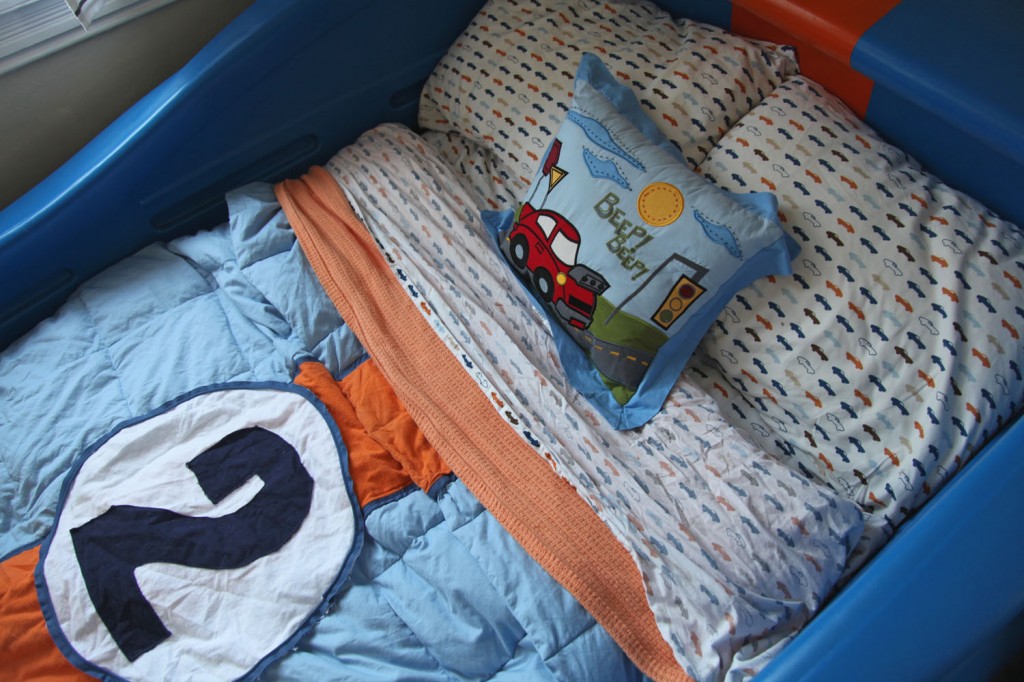
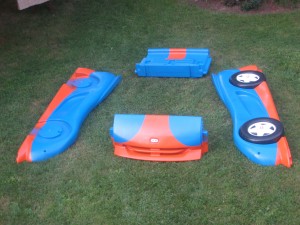
The LeMans Car Bed

Car Bed with "Aerial" Carpet


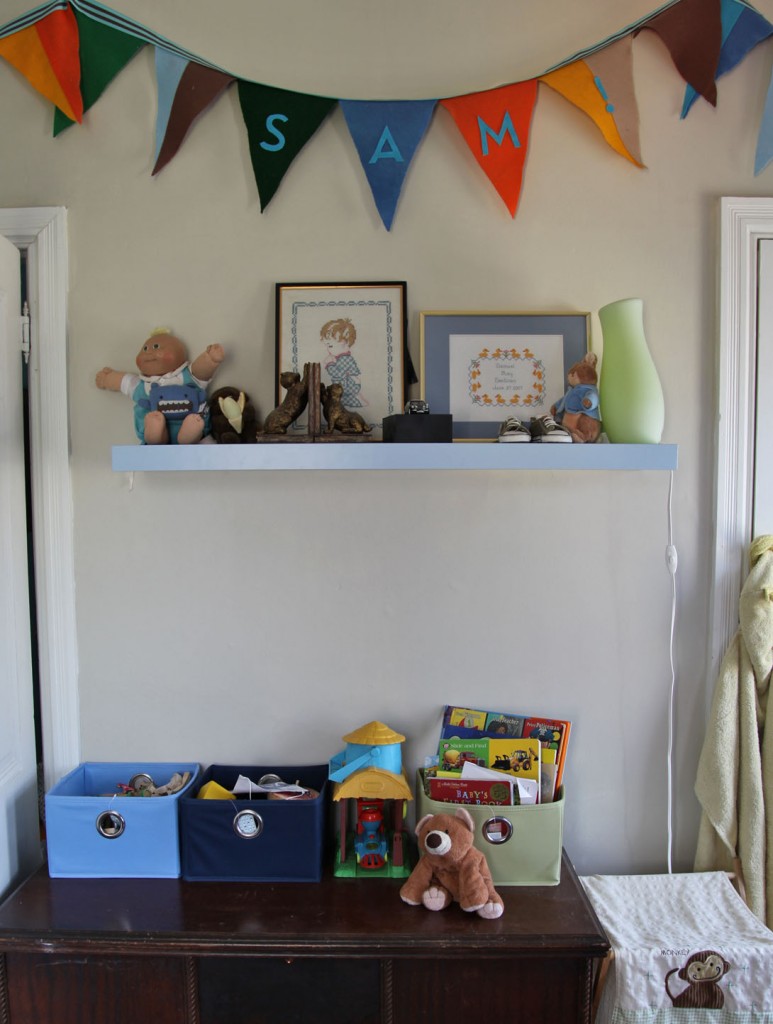
Old Chest with Toy Storage (use to be the changing area)

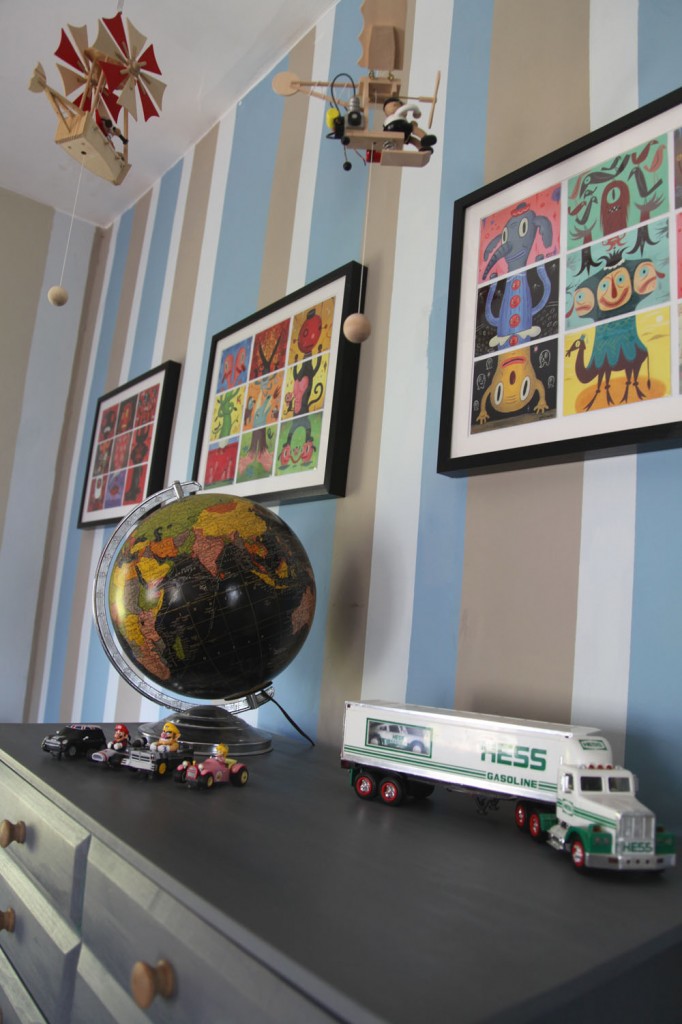
Vintage Globe, Hess Truck, Framed Tim Biskup/Gary Baseman Postcards and Hanging German Pull Toys

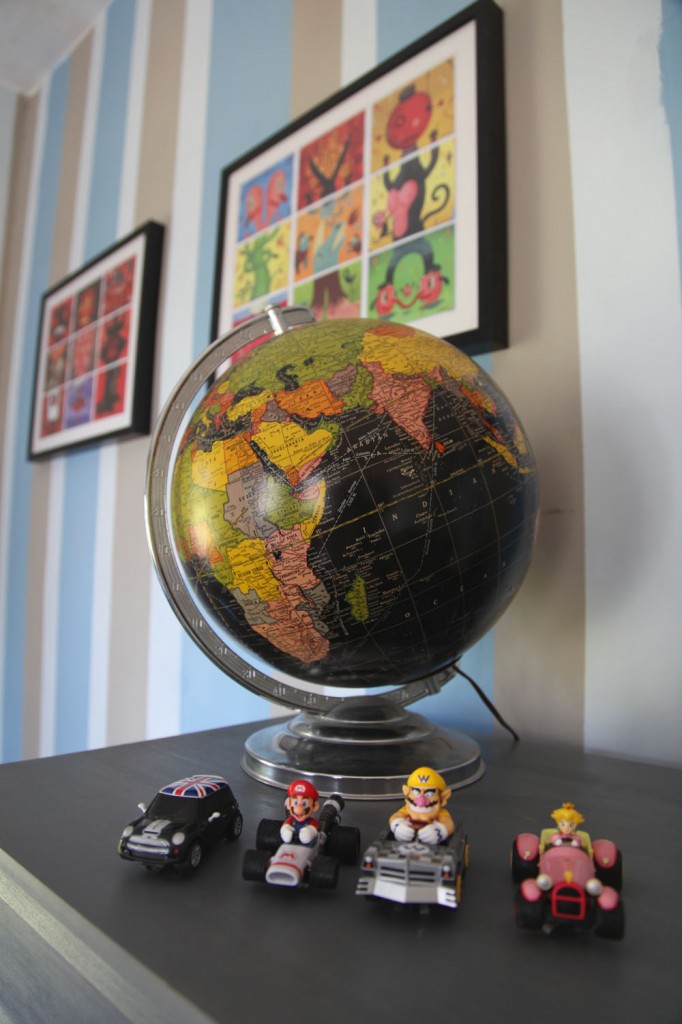
Vintage globe with Slot Cars (track is stored under the chest)

Close up of Dwell Kids for Target Sheets and Custom Comforter

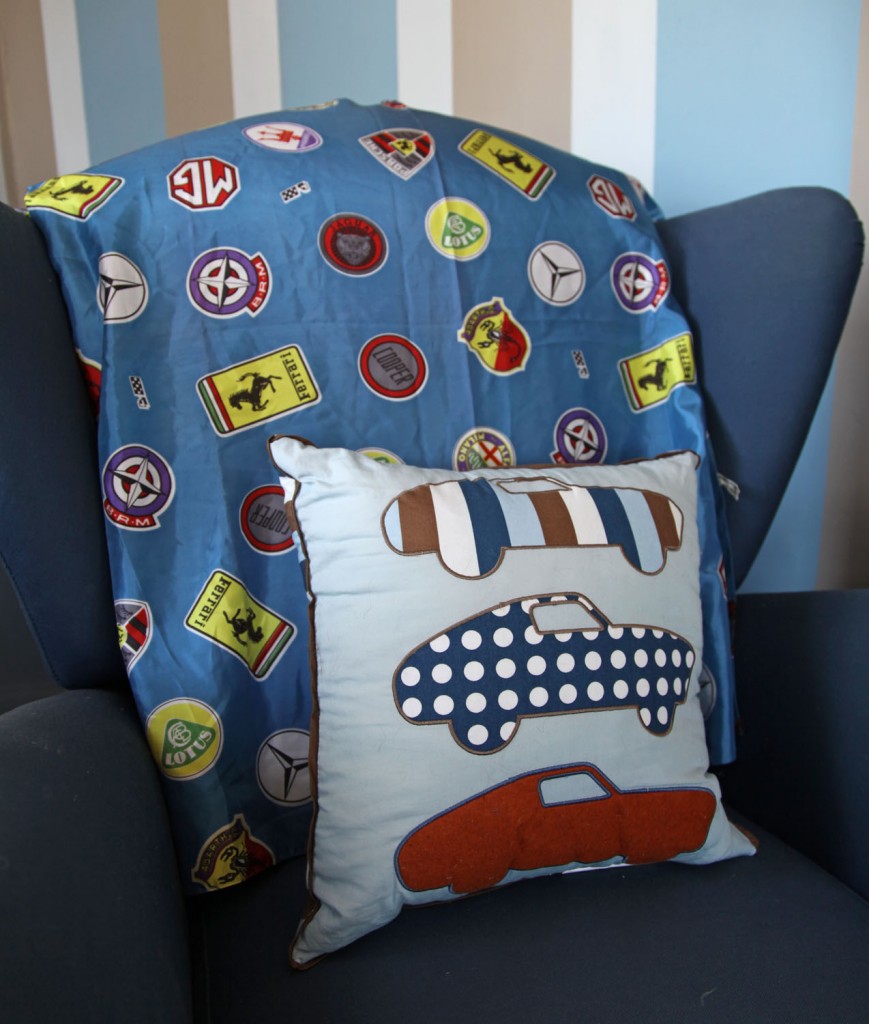
Vintage Scarf with Dwell Kids for Target Pillow

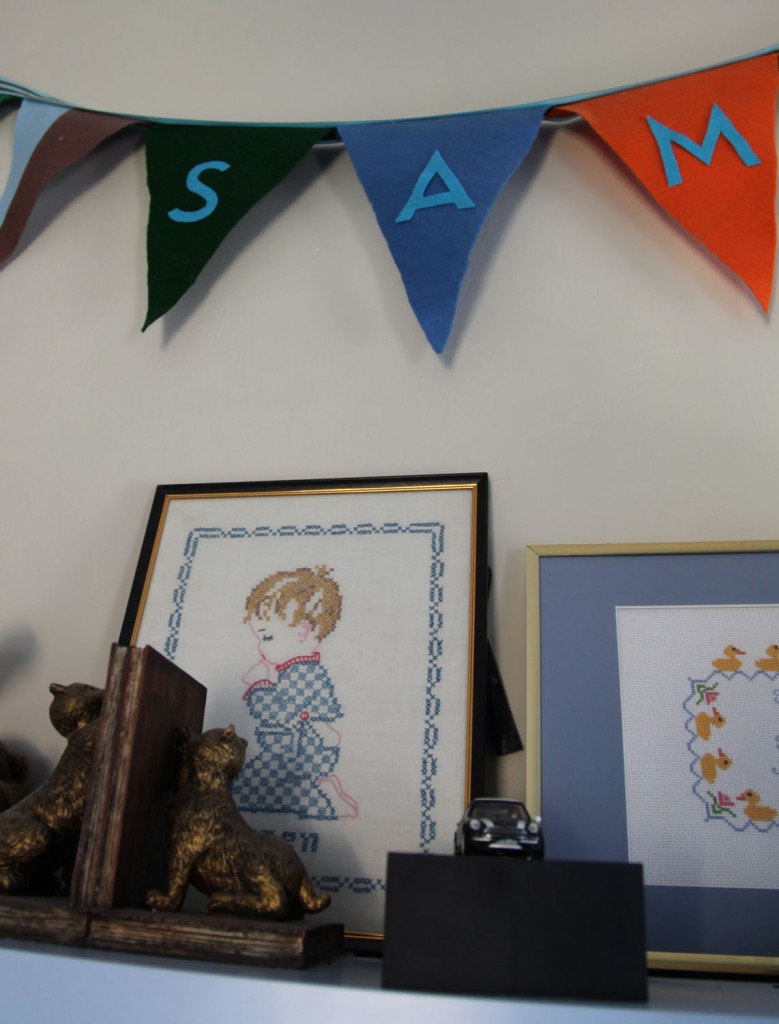
Felt Banner (originally in his baby room) & a needlepoint originally made for my brother

When my son turned 2 we turned our guest room into his new big boy room (his new sister also needed the baby room). When it came to choosing a theme, it was easy! My husband and I both come from car families (we met at Watkins Glen) and as a child I always wanted a car bed (yes me, not my husband). A lot of the other things we already had and just re-purposed. Furniture placement was tricky because we have 2 radiators, 3 windows and 2 doors. And we also wanted to give Sam some floor space. The room still could use some small touches, but Sam loves it (after all Jenson Button is his idol)! I will be sad when he outgrows it.

The Stats:

The Car Bed:

The Inspiration: The LeMans 917 Porsche in Gulf Livery

The 1971 LeMans Movie Poster

The Car Bed: Masked and Primed

All Painted!


A Modified Little Tikes Twin Size Car Bed (It is pretty easy to find these on Craig’s List) painted to match the LeMans Porsche 917 Gulf Livery Paint Scheme (also seen in the 1971 LeMans movie staring Steve McQueen). We masked and spray painted the orange striping and added the Gulf decals. My husband would still like to hang a picture of Steve McQueen above the bed (I’m still not sure how I feel about this). I also sewed the striping details and number onto the Comforter.

The Dresser & Nightstand: We decided buy a new dresser and nightstand. I tried finding something on Craig’s List but I really wanted a dresser with easy open drawers and we had limited floor space. We bought them unfinished (American made) and stained them gray.

The Chair: An old Ikea classic that use to sit in our Living Room (it reclines). I added the vintage scarf with classic car emblems to the back. I have had the scarf for years but never had a good place for it until now.

The Aerial Rug: I LOVE this rug. It is called the Flyover Rug from Land of Nod. I think it is interesting (it could be because of the years I spent drawing/making colorful planning maps) without being overly “kiddy” feeling but it is still good for pushing matchbox cars on.

The Sewing Desk: Okay so this really shouldn’t be in his room, but it is pretty convenient to have it hear for when I need to sew. He actually likes watching me sew and has never bothered it (knock on wood). This use to be my husband’s grandma’s desk. The funny thing is that my grandma had the same exact desk! It will eventually move upstairs to my future craft room, but for now it works out well being here (plus I can look out the window while I sew).

Accessories: The pillow and sheets came from Dwell for Target Kids (no longer available). I bought a blue comforter and sewed on the orange fleece and piping.  The curtains were clearance shower curtains (cut in 2) from CB2. I made the bunting for the baby room originally.

The To Do List:

Add a little more artwork (possibly some of Sam’s). I am looking for a different piece of art for above the bed. The race poster is from the baby room and the colors don’t work as well as I would like. Move the sewing table. Clear out all of the old chest to make space for more toys and clothes.

Maisie’s Big Girl Room:

Now to decide if Maisie should get a matching pink car bed (w/ LeMans Porsche 917 Pink Pig Livery color scheme)!

6 Comments

The Chimney Update: Day 4

April 14, 2011 — 1 Comment

Checking for level


Installing the Bluestone Cap

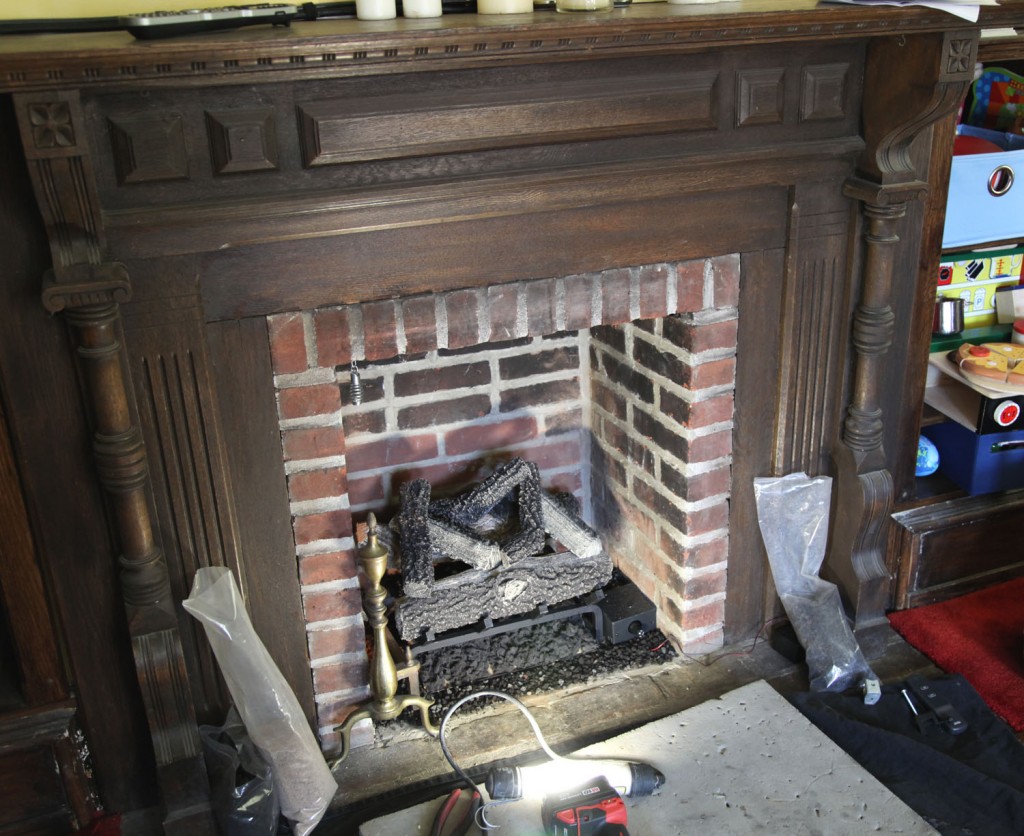
Gas logs in Progress in the Living Room

My chimney guys are back and they have a nice dry day to finish things up! So far this morning they have install the bluestone cap on top of the chimney (this sits below the pretty new fancy caps), started installing the logs for the fireplace, and started scraping the painted stucco on the chimney. I picked a paint color for the chimney (portobello). The chimney should end up a little darker and a warm grey as opposed to the yellowish/tan color it is now.

Things left to do:

-Install the Fancy Chimney Caps

-Finish scraping the chimney to get it ready for paint

-Prime and Paint the Chimney (tomorrow)

-Finish installing the gas logs in the Living Room

-Remove Crane (next week)

-Replace Fence (next week)

Things left for me to do:

-Go back on the lift this afternoon to get measurements for the King’s Post (to see if I can pick up a piece of wood this afternoon)

-Tonight my neighbor/carpenter is suppose to come by to look at the King’s Post

-Pick out a new fireplace screen for the fireplace. I found a pretty good price on a custom one from Northline Express since none of the standard size screens come close to fitting our old fireplace. We are thinking of having it fit just inside the opening.

Update:

The guys are done with the chimney and the gas logs (except for the paint)!

Installing the Chimney Pots!

1 Comment

Aerial Shots of the House

April 13, 2011 — 1 Comment

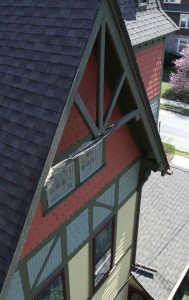
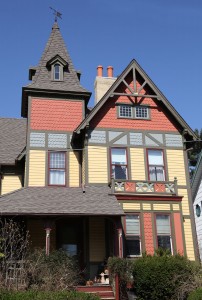
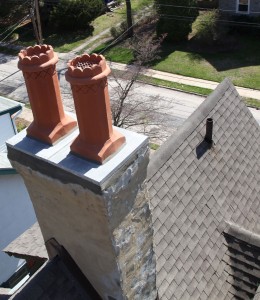
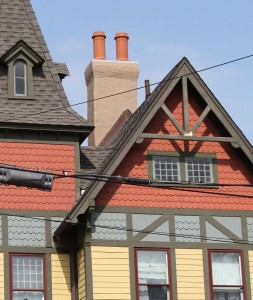
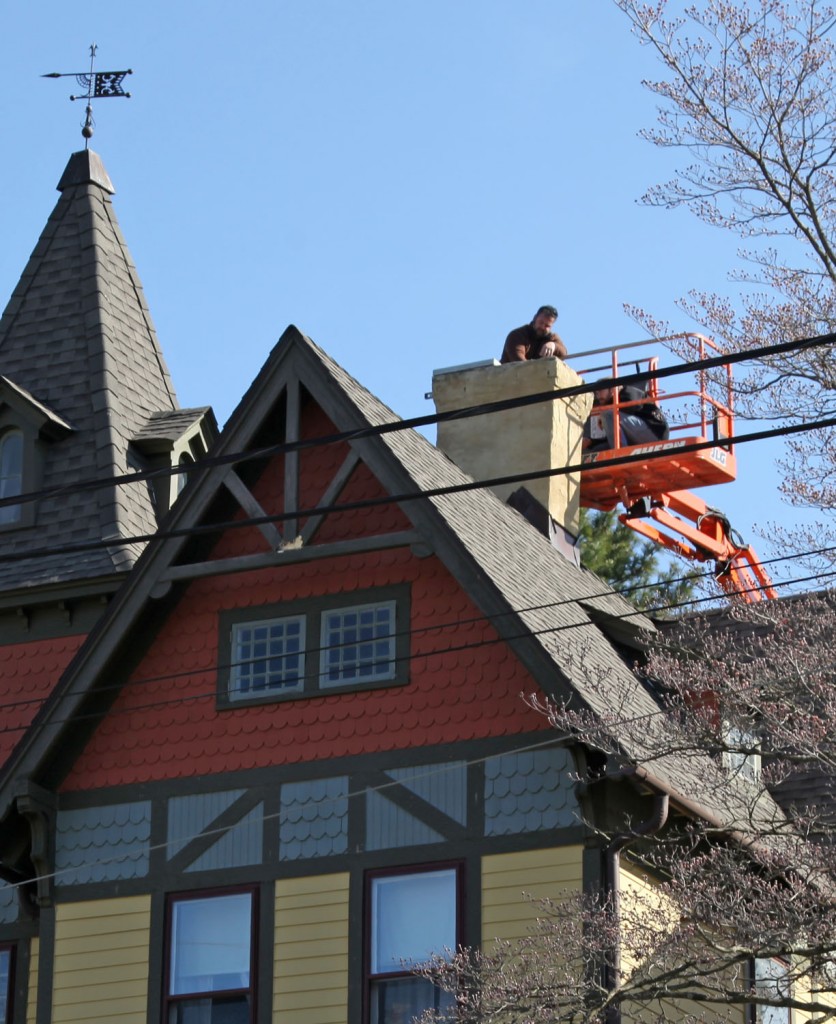
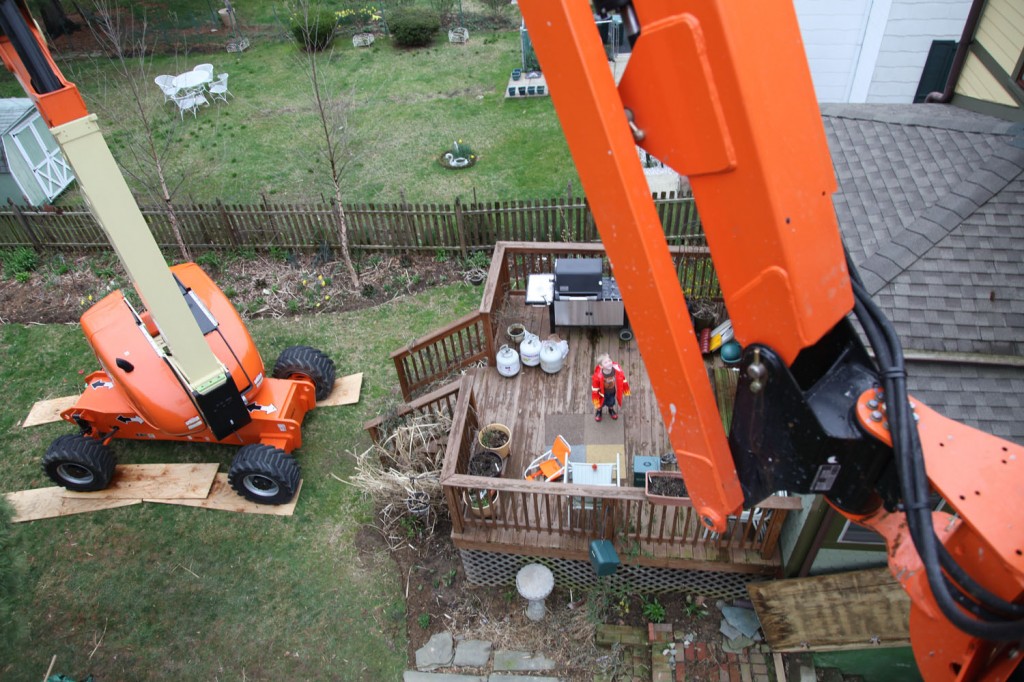
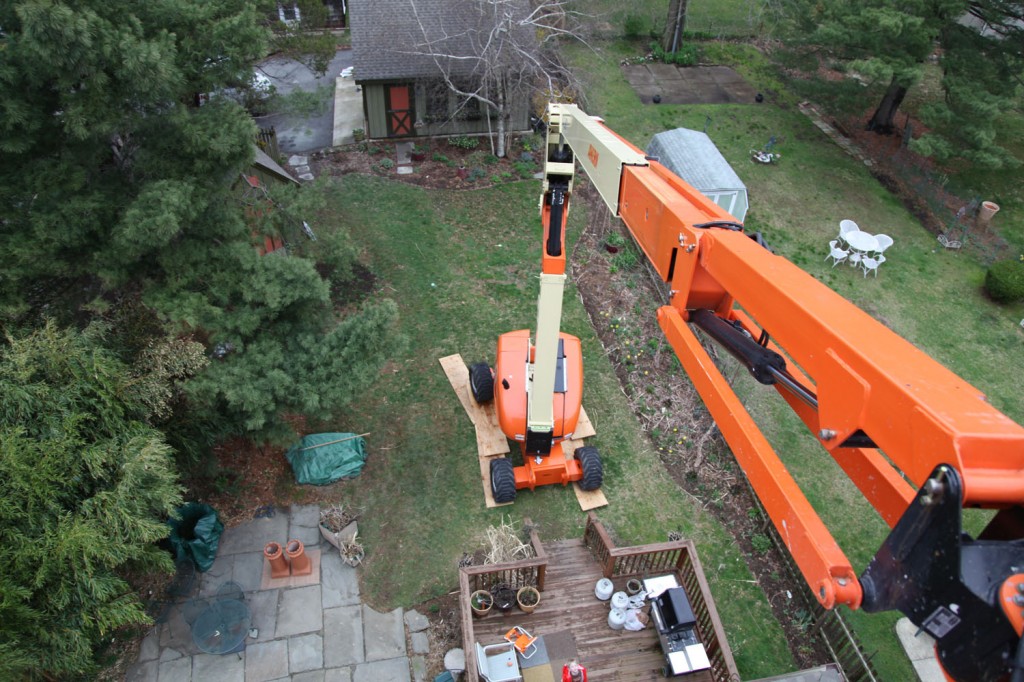
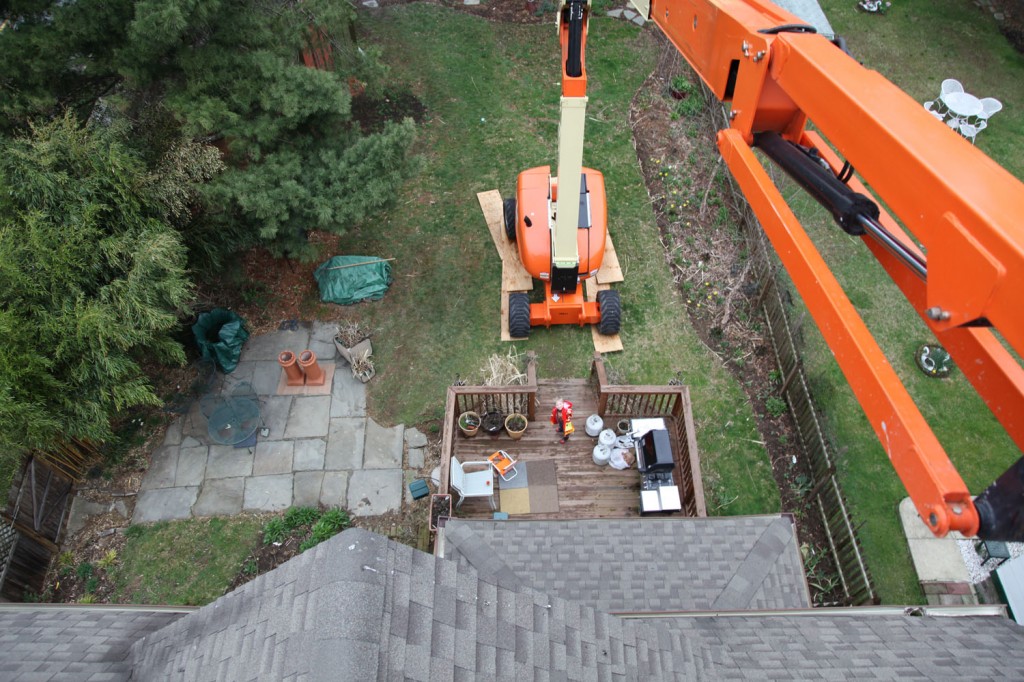
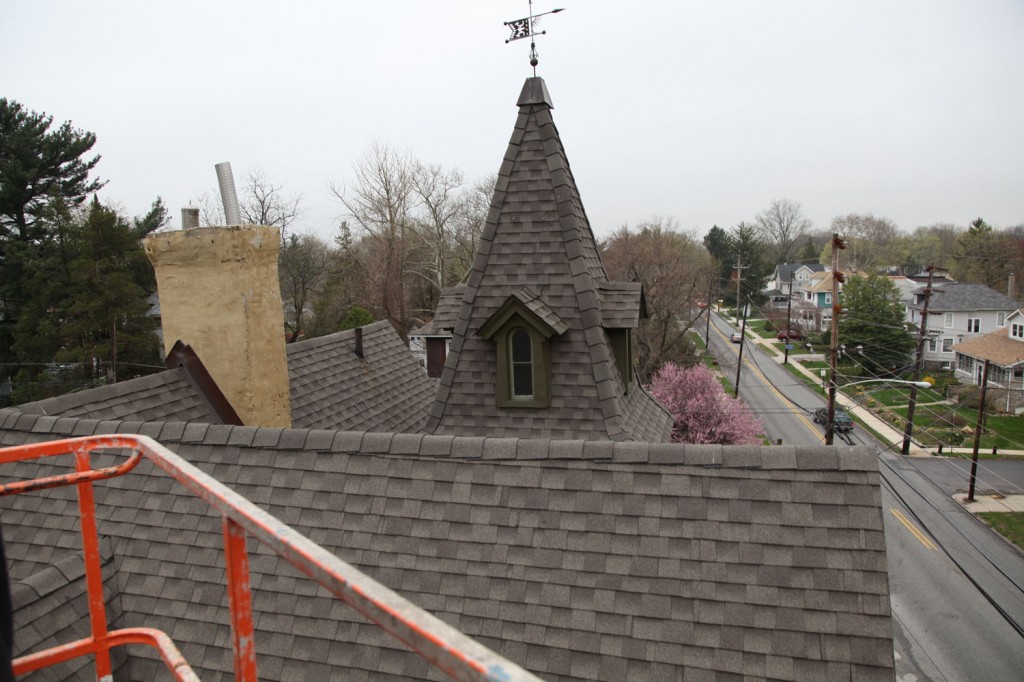
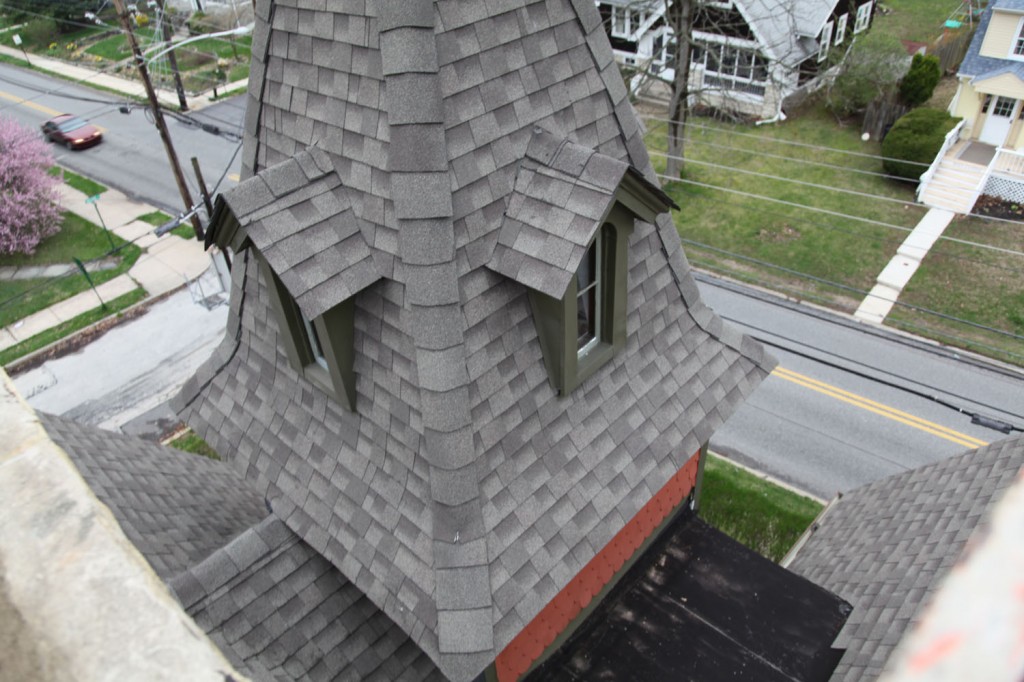
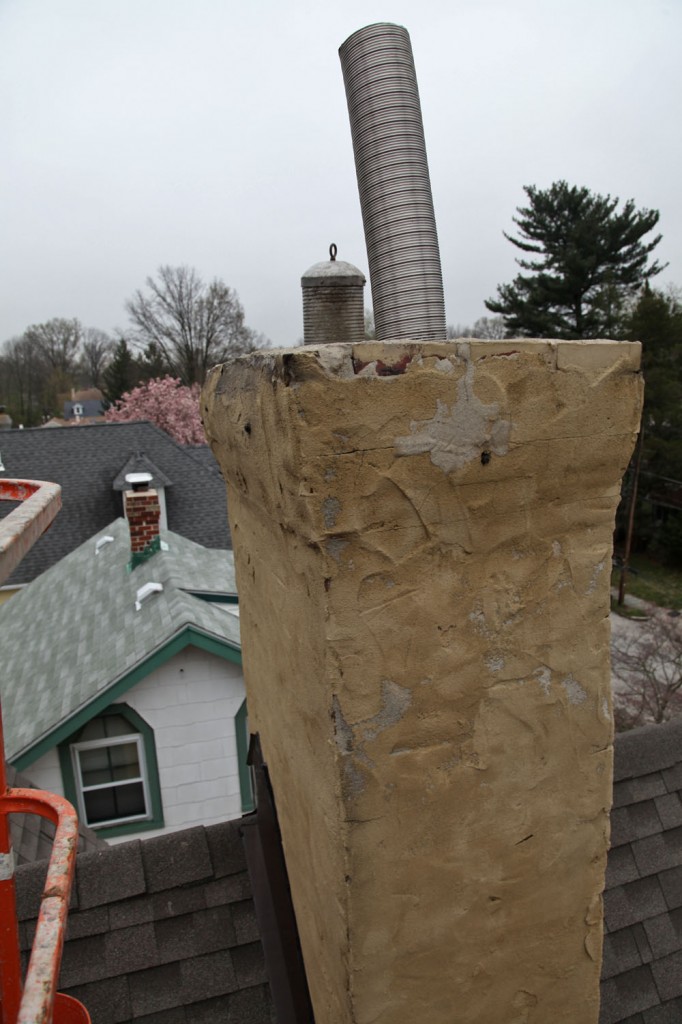
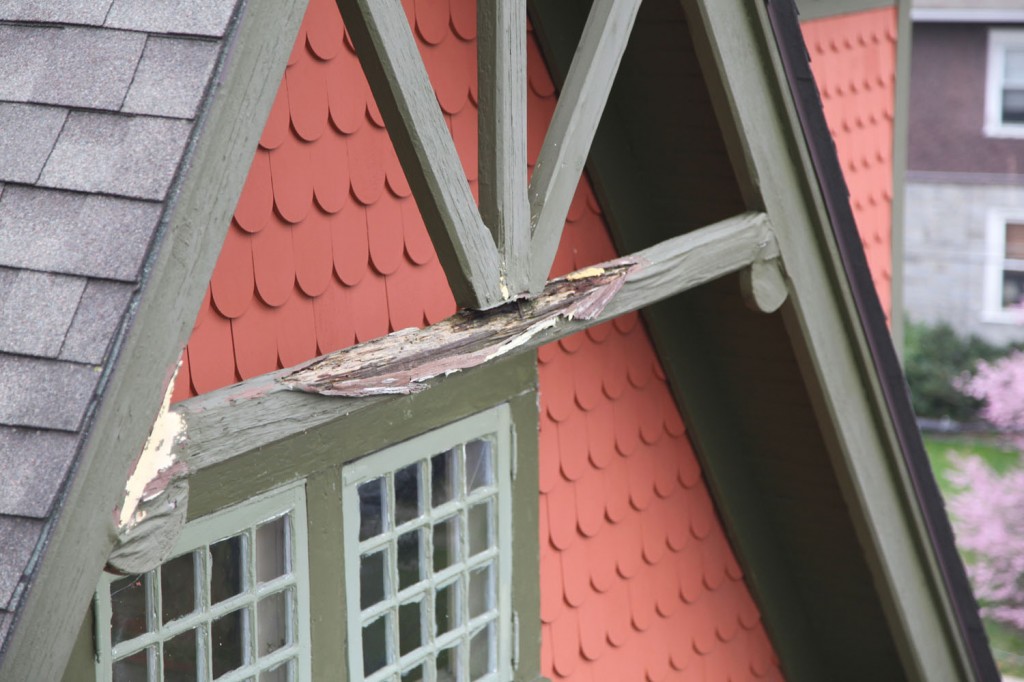
I got to ride in the lift/crane this afternoon! The chimney guys wanted to show me the condition of the stucco on the chimney, but we also got to take a look at the rotted king’s post on the side of the house and the windows on back side of the turret. It was REALLY cool (and I am even afraid of heights)! Now for the photos….


On the way up!

Just above the roof.

At the top of the peak!


the tower & chimney

the tower and flat roof

the chimney

the rotted king's post

Now I am in a mad rush to see if I can find someone to replace the piece of the king’s post while the crane is still here! I am going to see if the guys might be willing to let me go up again tomorrow and see if I could take some measurements and possibly get it down myself.

1 Comment

The Chimney Update: Day 3

April 13, 2011 — 1 Comment

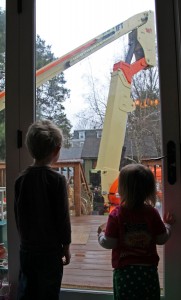
Sam, Maisie and the Crane

Maisie is busy putting on her rain boots and coat but Sam is still watching the crane.


The kids are home today and will probably be spending a good part of the day watching the crane! Sam has requested a crane like this one for his birthday. He said, “Don’t worry mom, it will be an outside toy. It won’t fit through the door.”

The guys are busy finishing up the insulation. The plumber will be here to install the gas line for the gas logs later this morning. Fingers crossed, all will go well and they will be mostly finished today.

Update: The plumber has been here and the gas is now hooked up to the gas logs and the guys are still working on the top of the chimney. The other new development is the condition of the stucco on the chimney. It is currently painted (was probably painted about 13-15 years ago) and it is starting to flake. So we 2 options: have them scrape and repaint or have it stuccoed and smoothed out. We are waiting on a cost for the stucco. The question now is what color? hmmm… I will have to photoshop some options.

1 Comment

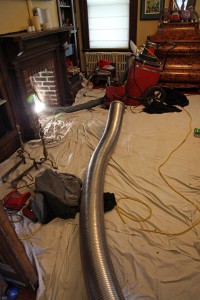
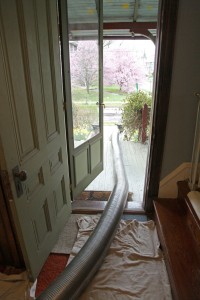
The stainless steel liner for the fireplace waiting to be installed

The rest of the very long piece of liner!


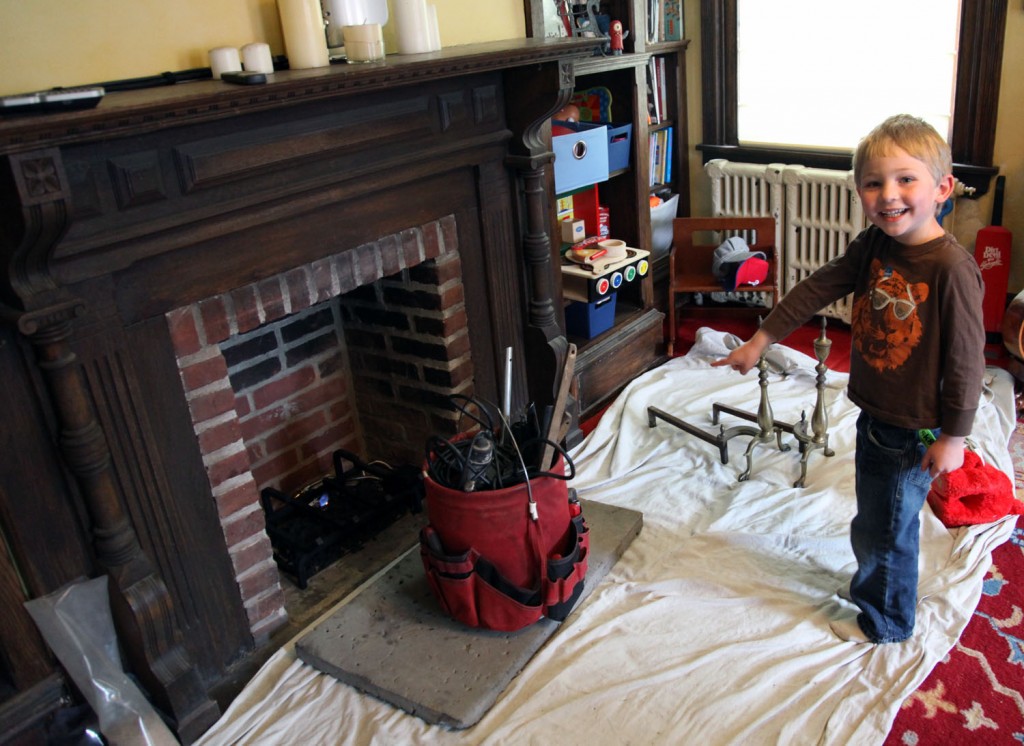
The chimney guys have been busy at work here! Yesterday they managed to install the liner for the boiler and hot water heater. They left mid-afternoon yesterday to head back to the shop to get everything ready for today. They were back this morning with the fireplace liner. It is rainy here today but that doesn’t seem to have slowed them down.  The lining is now in the fireplace (the picture is from this morning). If all goes well the chimney pots will go up tomorrow.

Update: The guys are done here for the day. They have put in a good portion of the insulation (a special perlite, concrete mix). The specialty product  hardens to keep the stainless steel liners in place while preventing any chance of a fire or spark from coming through the flues. They are installing this all the way up the chimney. I think they have a whole pallet load of this stuff and one guy mixing on the ground while the other two go up on the lift, carefully pour it down the 3 flues and then come back down on the lift.

If all goes well the chimney caps will go up tomorrow. They have some more structural work to do at the top in the morning to get ready for the caps.


The guys installing the insulation in each of the 3 flues.

The guys coming back down for another load of insulation.

Leave a comment