Archives For ARCHITECTURE & DESIGN

BBQ Invite

September 6, 2011 — Leave a comment

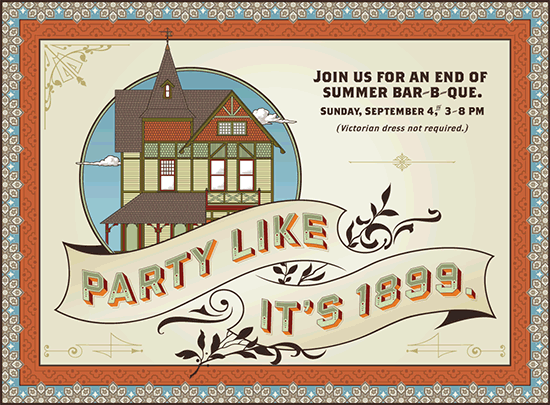
Mr. S. made me a beautiful invite for our neighborhood BBQ this past weekend. He modified an awesome Victorian font called Eventide from the House Industries Photo Lettering website. The website allows you to make amazing titles and words in a bunch of great fonts and lets you customize the colors and details. So for a few bucks you can you own customized heading! I am still trying to think of places where I can use this around the house! We love House Industries over here and honored that they included the invite on their blog this morning. If you haven’t seen the cool things that they make (in addition to all of the fonts), I definitely recommend checking them out. We also own several of their prints and a set of the Alexander Girard blocks.

Other info: The house picture was originally drawn by me in Autocad when we were trying to visualize the siding for the house (and explain to the contractor what we wanted it to look like). Mr. S brought it into Illustrator for coloring and tweaking. The patterns and font are all very Eastlake Victorian, which is a perfect match to our house.

Leave a comment

The Porch Swing

August 31, 2011 — 3 Comments

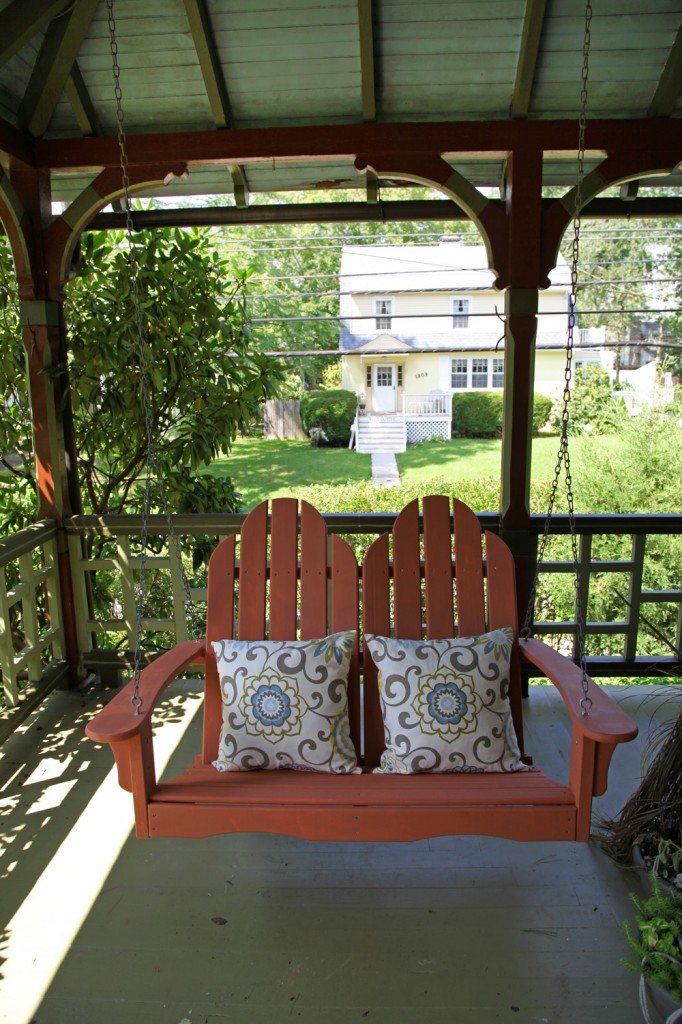
The Porch Swing with its first coat of terracotta colored paint! It doesn't look quite this garish in person.

Porch Swing with Primer Coat (kilz oil based primer). It is on the ground in preparation for the hurricane.

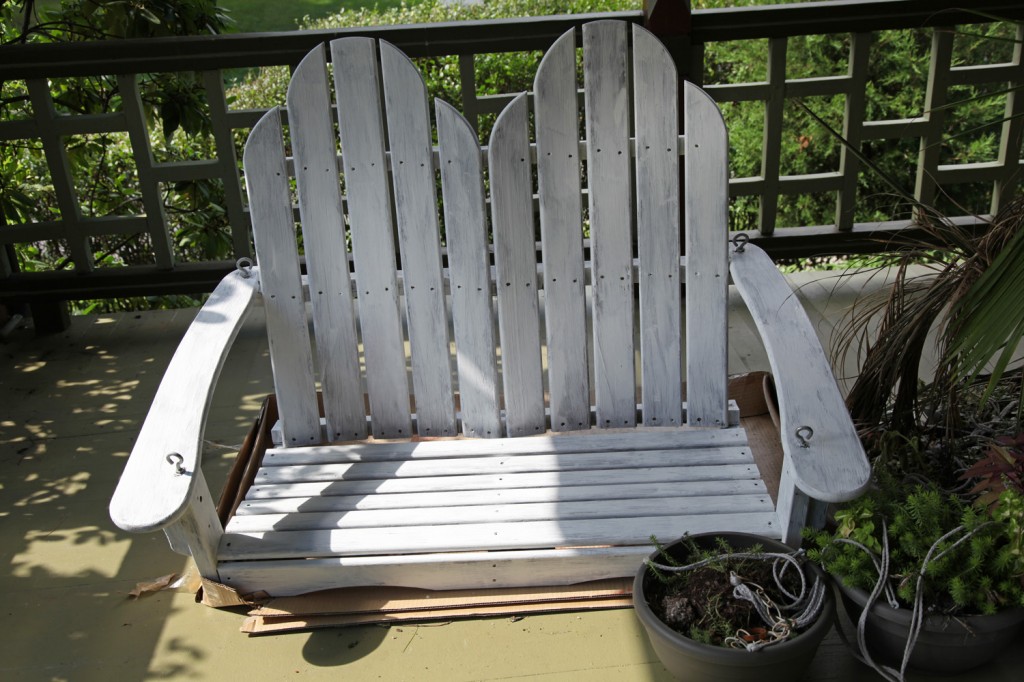
Porch swing without paint & 1 new pillow

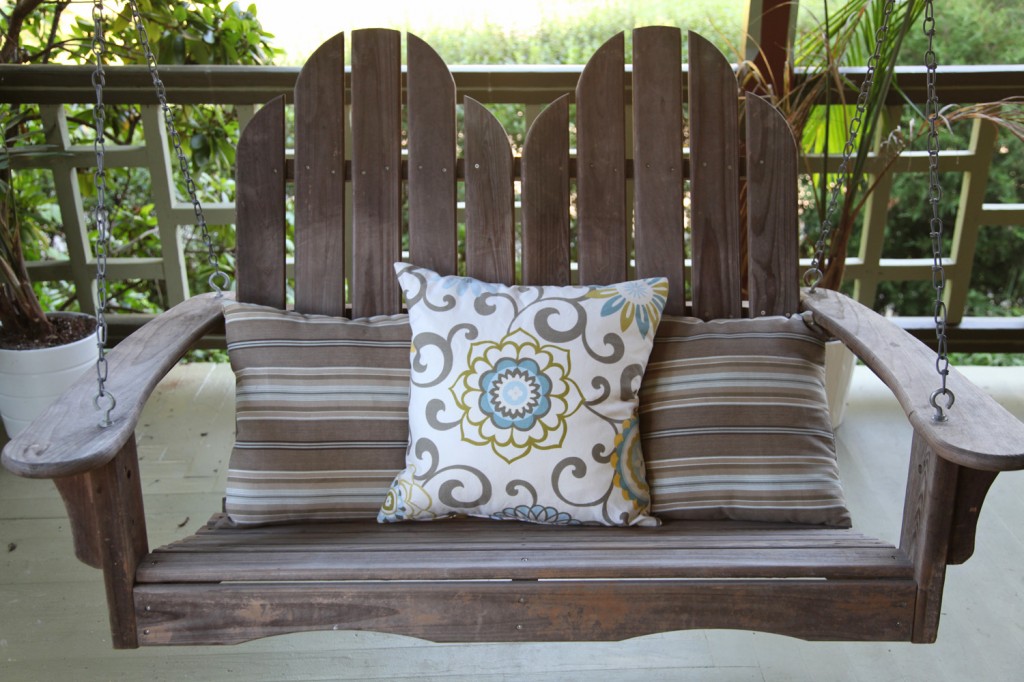
Porch Swing 2 months ago after I picked out pillow fabric.


I managed to finally paint the porch swing yesterday. I have one more coat to do today then it is officially done! It is one of those projects that has been “in progress” for way to long. I still need to give the porch floor a good clean up and also paint the plant stand, but at least now I can smile when I see the brightly colored swing when I walk onto the front porch.

I am going to take a couple days off from the blog. I will be back next week with some new stuff to show but in the meantime I need to get ready for a neighborhood BBQ, take care of my sick kitty cat and spend the weekend with the family. I hope everyone is back up and running after the storm (my parents are still unfortunately without power). Enjoy the long weekend!

3 Comments

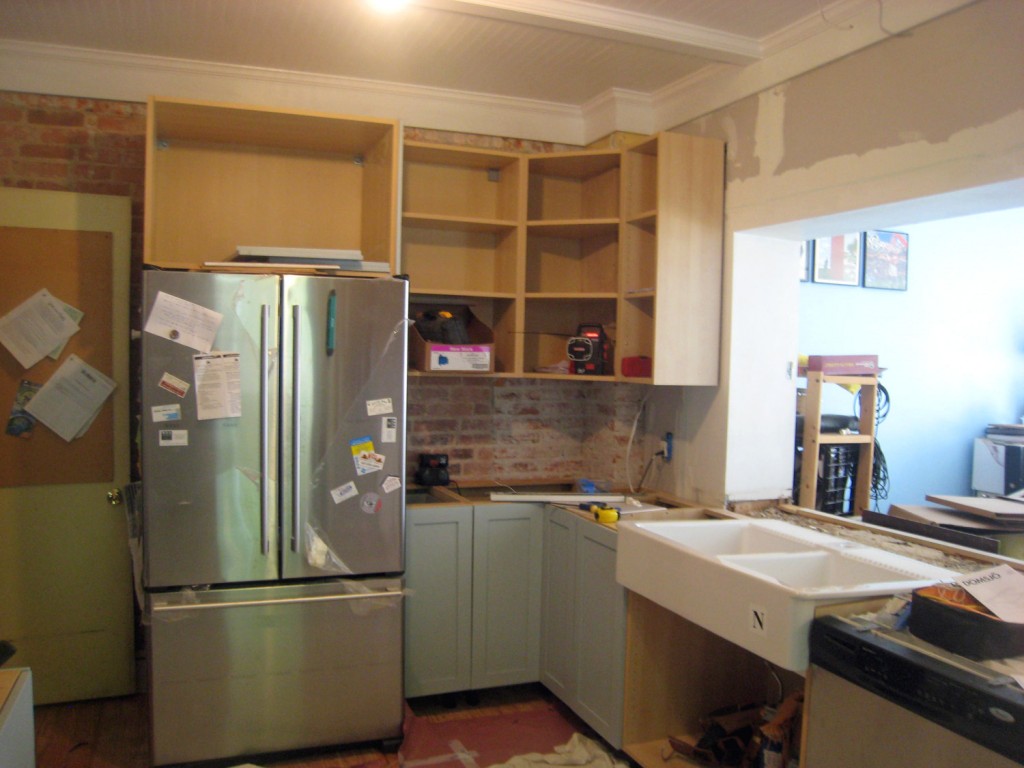
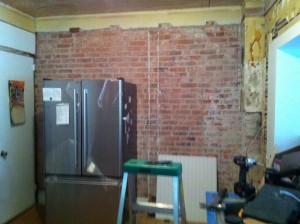
East Wall: The fridge is currently pulled out so it looks more jumbled then it actually is.

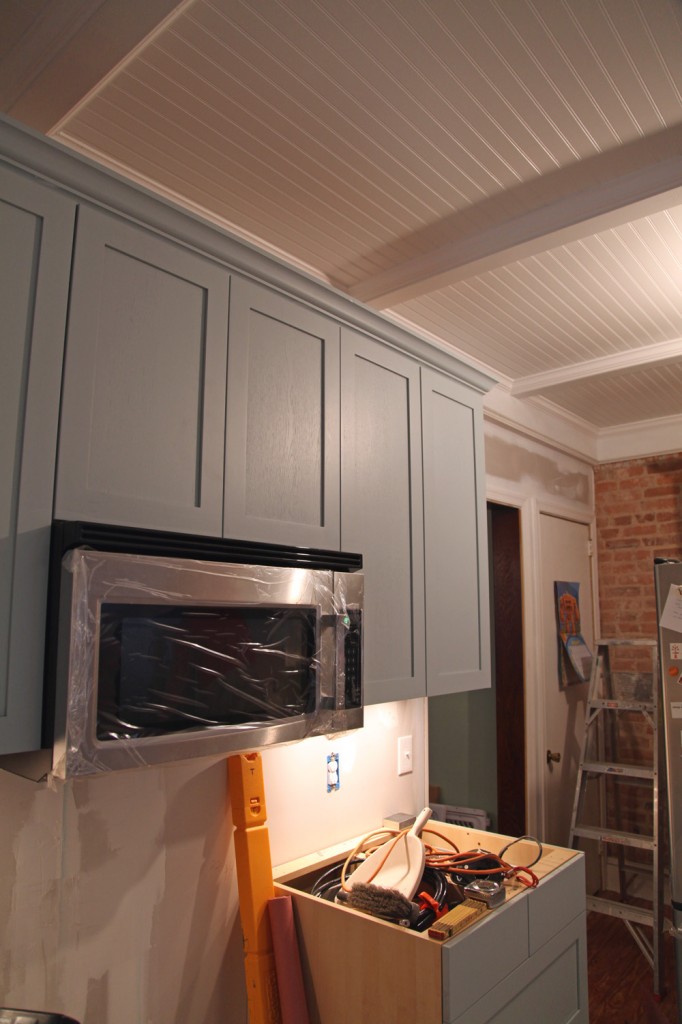
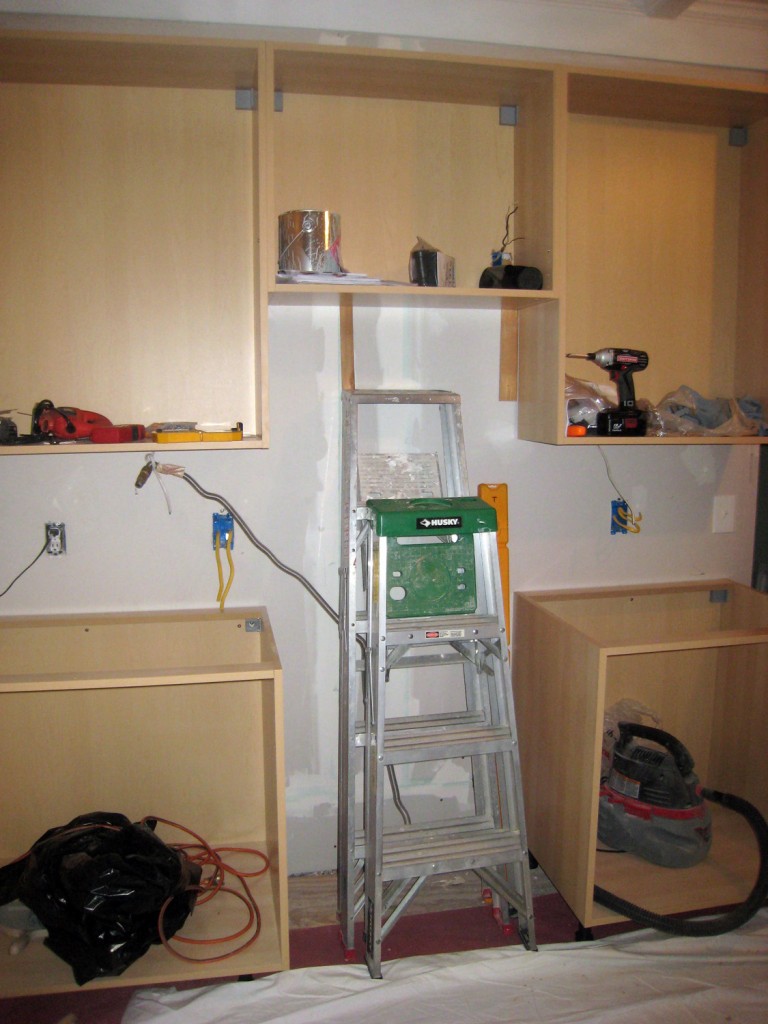
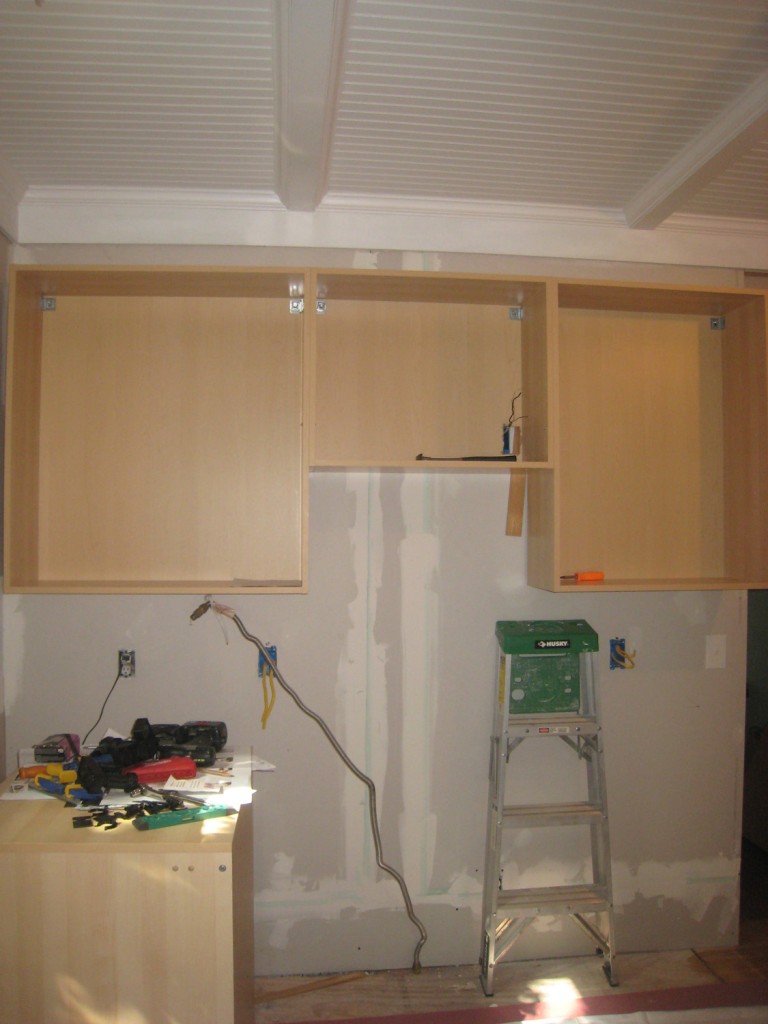
North Wall w/ new microwave (the trim for the underside of the upper cabinets has not been installed yet)

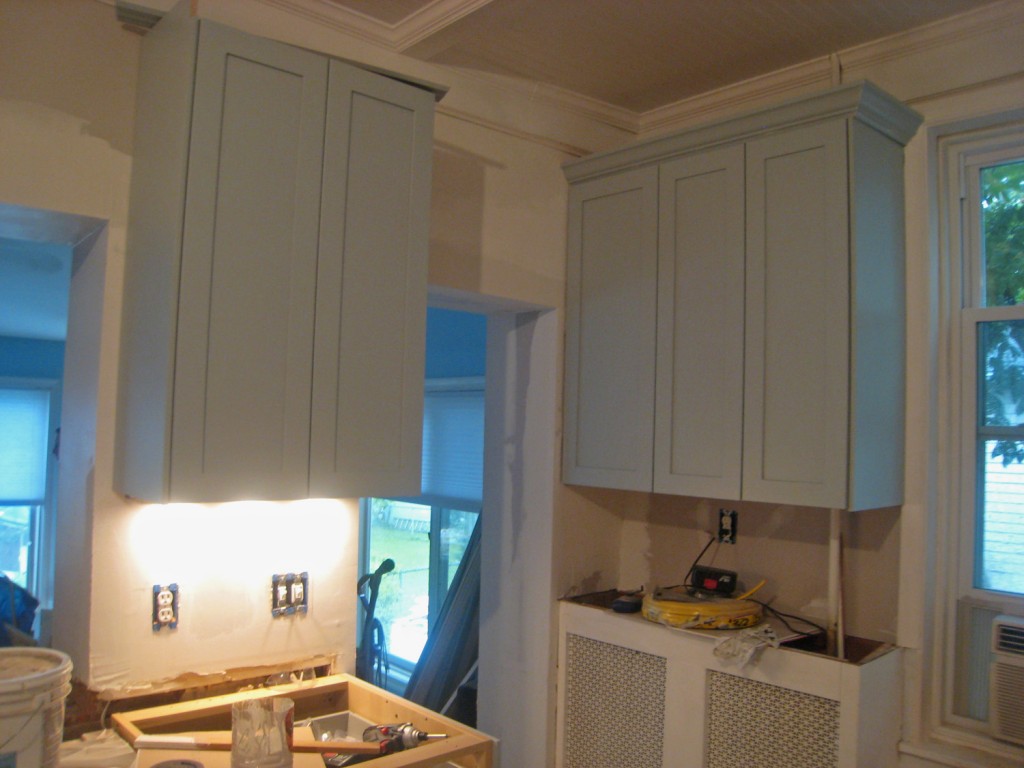
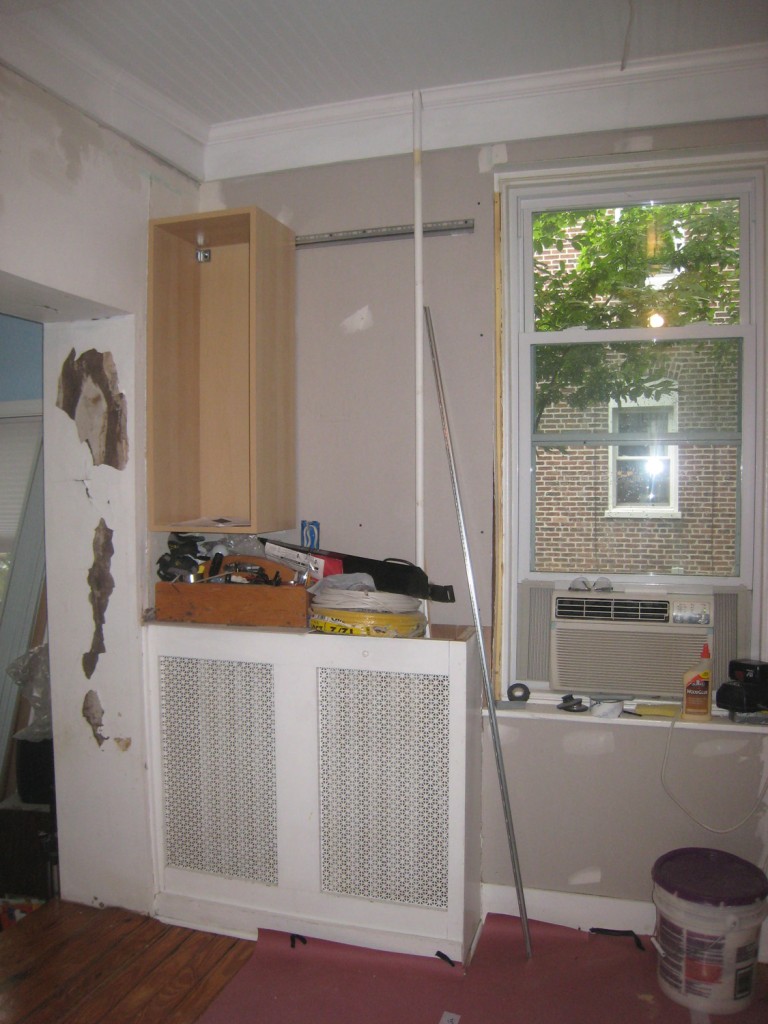
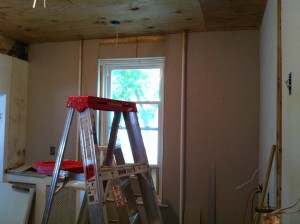
West Wall w/ new window casing

Southwest corner (need to pickup butcher block for the existing radiator cover)

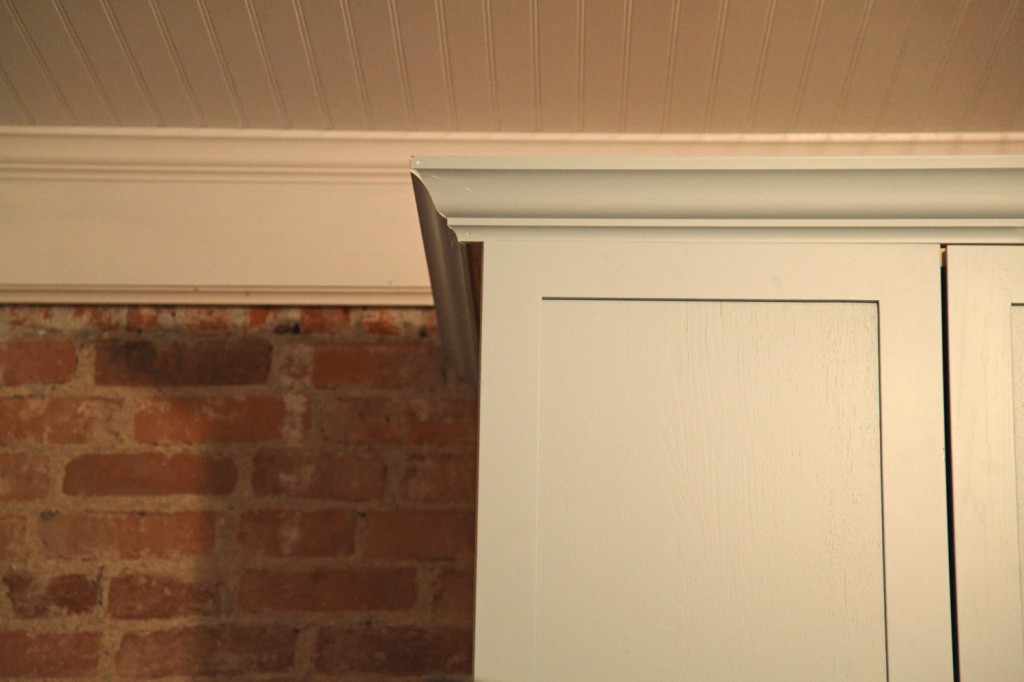
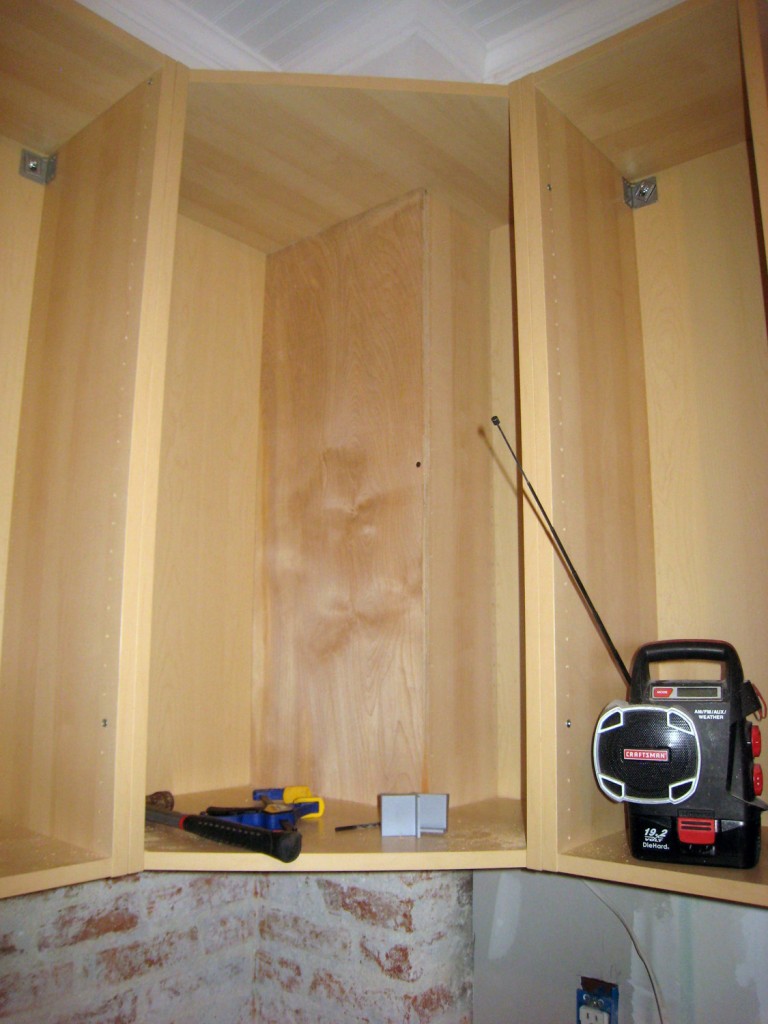
Detail of Cabinet w/ brick and beadboard ceiling. I think the combination of these look great together! (touch up painting for the crown molding still needs to be done)

I stopped by Andi and Neil’s house yesterday to see how things were going. They are getting close to being done! The cabinets and trim look fabulous thanks to all of Chris & Kent’s hard work.  The to do list is getting much shorter and the end is almost in site (although I’m not sure Andi & Neil would agree with this right now). The countertops were templated last Friday, unfortunately we are looking at another 1-2 weeks before they can actually be installed (it appears that one of the downsides of using the Ikea countertop companies is that their cue is quite long). The contractors will be finishing up most of what they can do until the countertops are installed today.  The items left on the list:

Miscellaneous Trim:

-Undermount trim for the upper cabinets (we need to get the clips for these, for some reason Ikea didn’t supply them like they should have).
-Missing side panel for one of the upper cabinets (we need to get this and then have it painted)
-Last of the crown molding for the upper cabinets (waiting for missing side panel)
-Make removable side panel for fridge. This will have a tackboard on the upper part and a chalkboard on the lower part.
-Pick up last set of doors and drawer fronts at painters

Walls:

-Finish Priming Walls (scheduled for today)
-Paint walls creamy yellow

Floors:

-Finish sealing wood floors

Ceiling:

-Install pendant lights (after a couple of weeks on backorder they are finally ready to be picked up at the store)

Countertop:

-Install countertop
-Pick out small piece of butcherblock for counter above radiator (possibly at Home Depot or Ikea)

After countertop:

-Install sink and dishwasher
-Install range
-Patch walls after counter in installed around opening to Sunroom

Miscellaneous:

-Decide on knobs for upper cabinets and handles for drawers. We decided to wait on this until we see the countertops in place.

Backsplash:

-We decided to wait on this until the counters are installed.  Tile will go on the north wall backsplash behind the stove.


2 Comments

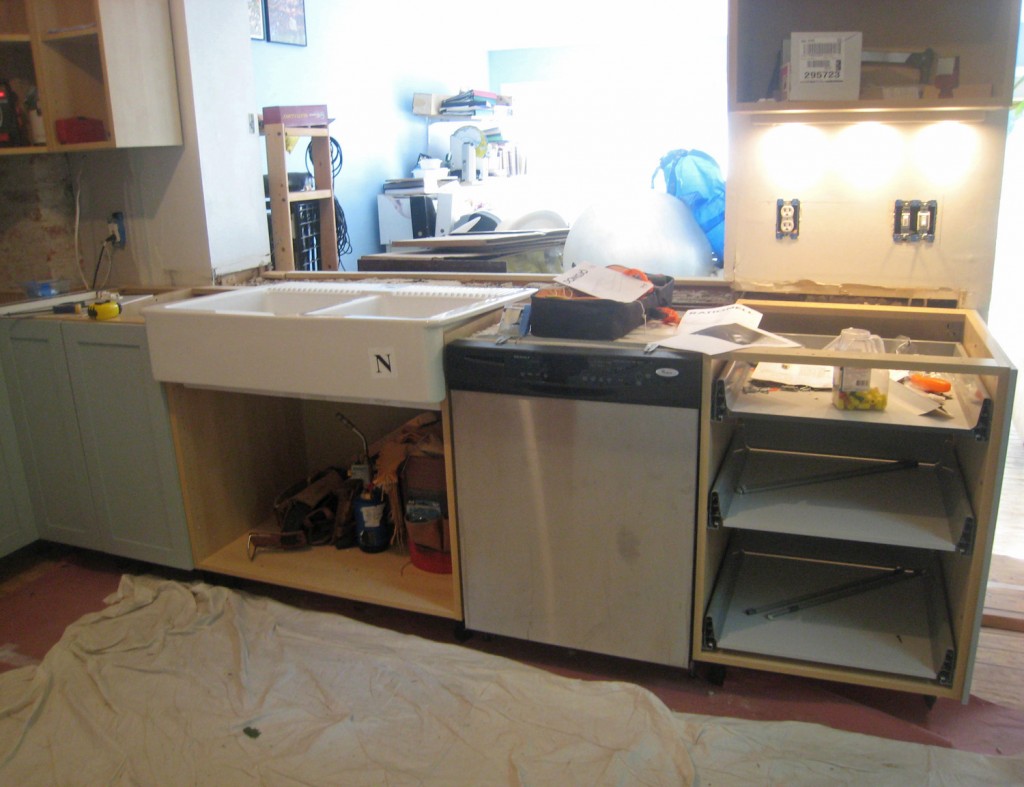
East & South Walls w/ Sink Temporarily Placed. The fridge is now in its final location (which involved chiseling out the brick to fit an electrical box). Originally they had installed the box in the base of the adjacent cabinet but there wasn't enough clearance for the plug. It is interesting that Ikea designed the fridge to be that super tight in the opening. It will look nice when it is done but it will be a pain to pull out.

I just have to start out by saying aren’t the cabinet doors/drawers a beautiful color (it is Benjamin Moore Wedgewood Gray)! I stopped by Andi and Neil’s house yesterday afternoon to see how things were progressing and it was very exciting to see some finished faces on the cabinets!

The counters are scheduled to be templated today! That means that all of the bottom cabinets are in and ready to go! The sink has been temporarily placed (it sits on the counter so it can’t be installed until after the counter). We opened the box that the range is sitting in, since their will be a small piece of counter behind it because it is a slide in range (it has a lip on 3 sides that sit on the counter to provide a seamless look). Once the counters are templated the fabricator takes this information back to the shop for final fabrication. This usually takes 1-2 weeks. Fingers crossed they will be on the shorter side of this. The actual install of the counter is usually quite quick. When we had our counters installed it took them 2 hours tops.

The contractor also installed one of the under counter lights to see how they look. One weird thing about the Ikea undercabinet lights. They are designed to use a cord and plug and not be hardwired. That is really strange to me since most people would be hardwiring in a new kitchen. We also have to figure out if the trim for below the upper cabinet (to hide the lights) has a special Ikea clip (fingers crossed) to make the install easier.

South Wall w/ first under cabinet light installed. The last 3 drawer fronts still need to go on for counter templating. They have also adjusted the blocking in the opening to the sunroom so that the counter can span that area

West Wall w/ new wall cabinet notched out for the radiator pipe

North Wall w/ the beautiful new drawer units (range and microwave to be installed in between)

Close up of Painted Drawer Unit. Isn't the color beautiful!

2 Comments

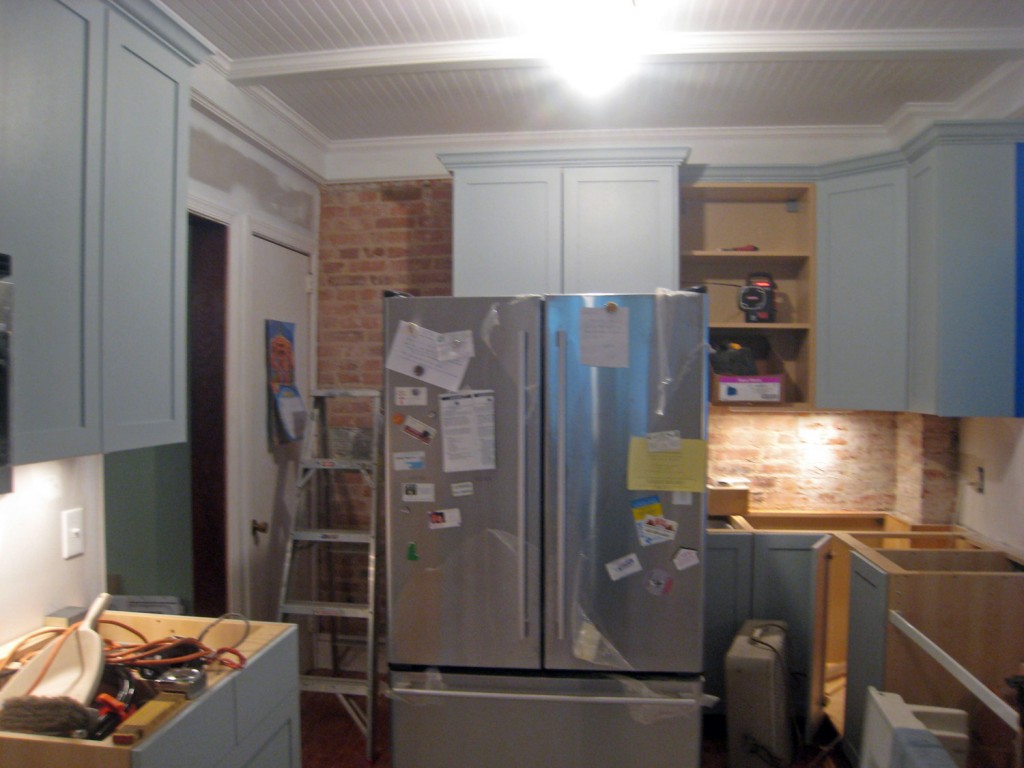
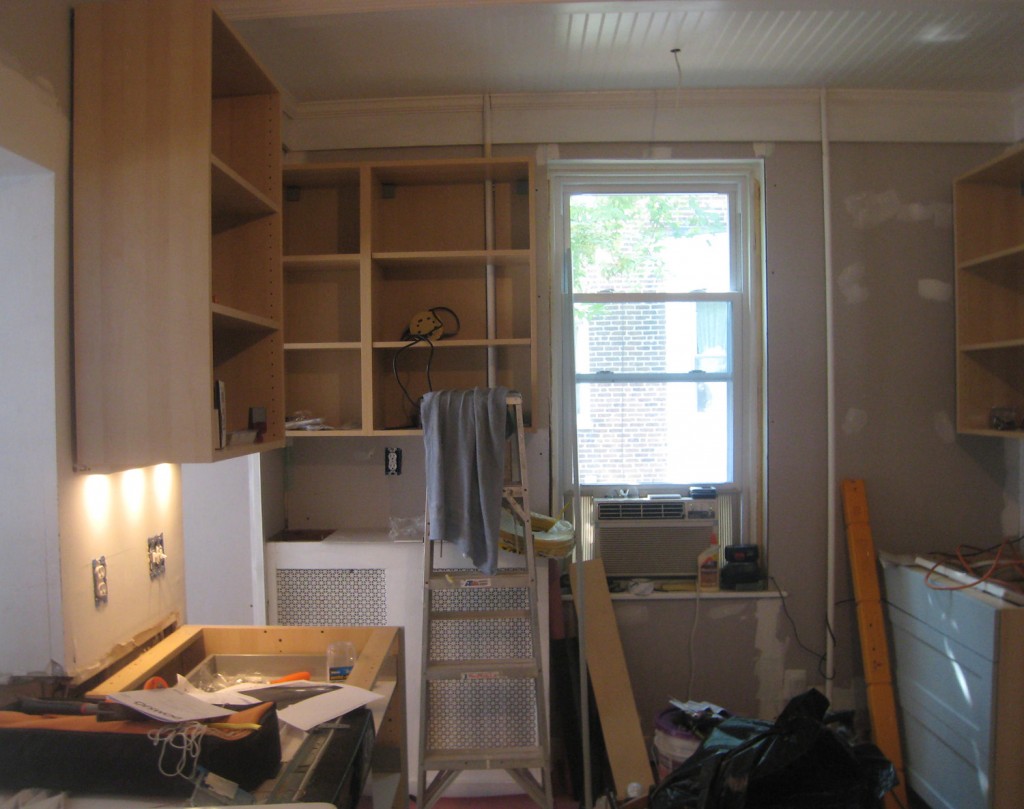
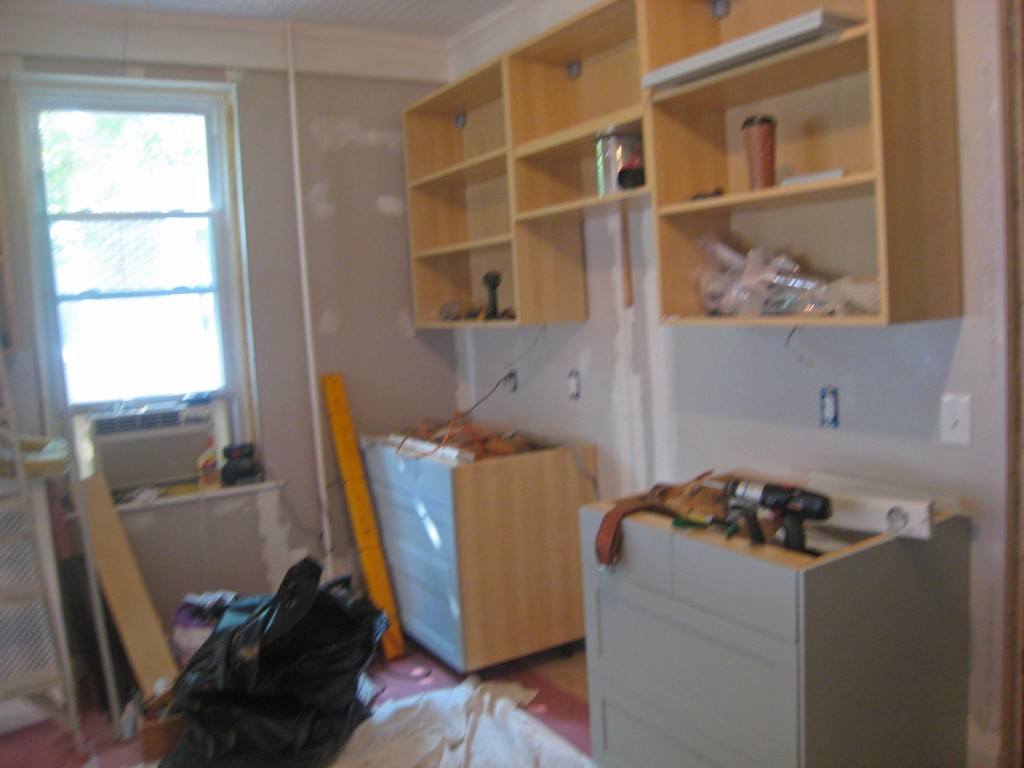
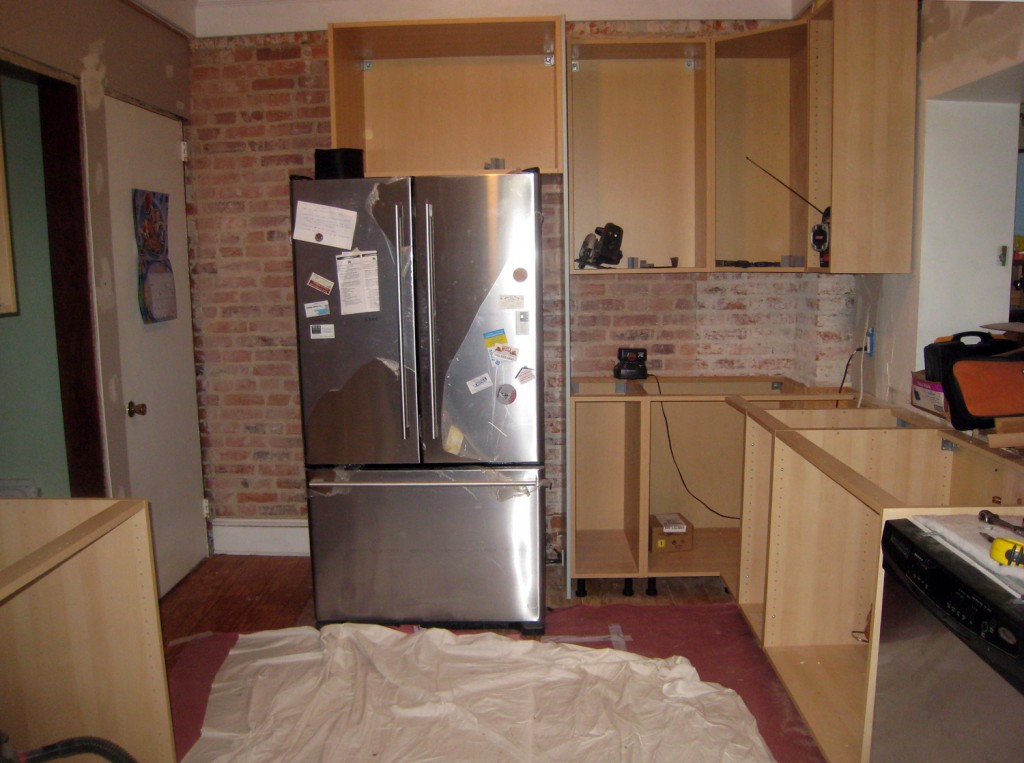
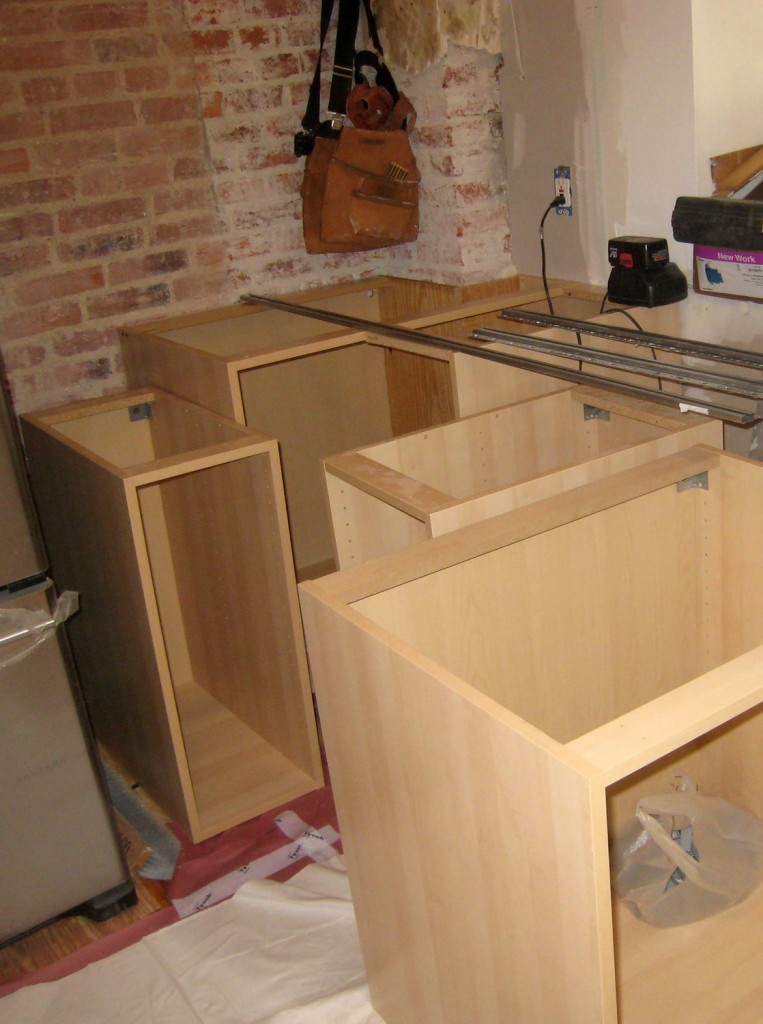
East Wall w/ cabinet boxes installed (fridge has not been pushed into final location). I like how the brick looks as a backsplash.

North Wall (microwave and range to be installed where ladder is located)

West Wall w/ first upper cabinet installed (the cabinet will be raised several inches)

Upper Cabinet at the Chimney (fortunately there is still quite a bit of space left after cutting for the chimney)

I stopped by Andi and Neil’s house yesterday afternoon to see how everything was going. The contractors are almost done installing the boxes. The plumbing for the sink is roughed in. The panel on the side of fridge and its new electrical box are installed. The cutting and patching for the upper and lower cabinets at the chimney is finished. It is exciting to be able to see the new layout! I think it will work well for them. Andi is already planning out where to put all of their stuff! There is still quite a bit left to do and I think the project has officially gone from “I can’t believe I am getting a new kitchen excitement”  to “when can I have my kitchen back”. I tell my clients at this point to try and hold it together, a month from now this will be a distance memory! It is a pain to live through a kitchen renovation, and at times it seems like it will never end, but fortunately it does. : )

Still to Install:

-The 2 cabinet boxes (one upper and one lower) that need to be cut down 6″ adjacent to the dishwasher.

-The last upper cabinet above the radiator which requires cutting at the radiator pipe.

-Putting together all of the drawer inserts for the cabinets. There are a lot of drawers!

-Install door and drawer fronts

-Fabricate custom removable chalkboard/corkboard for the side of the fridge

-Install side panels for all of the end conditions

-Install crown molding & Bottom trim for the cabinets

-Install toe kicks

-Templating and installing granite counter

-Finish sealing the floor

-Window and Door Trim

-Misc trim pieces to finish off the cabinets

-Make final decision on cabinet handles and knobs and install

-Paint the walls

-Install the light fixtures (both pendants and under cabinet)

-Decide on tile backsplash for stove wall, order & install

Leave a comment


North Wall w/ upper cabinets installed (microwave to be installed below middle cabinet)

Corner Cabinet w/ notch taken out for chimney

Things are still moving along at Andi and Neil’s. I was over there yesterday to check in and deal with the second hiccup on this job (the first being the chimney in the corner). I have to say that ALL jobs have hiccups (especially in old houses). The more you plan, the more you can minimize the problems that arise but something always comes up, be it unforeseen conditions, scheduling of contractors, materials and products.  On this project we have been pretty lucky with everything arriving on time and the contractor’s schedule working out, so with the exception of the new pendant lights (that were suppose be delivered in a week and are now on backorder) everything has arrived on time.

So back to the second hiccup! The problem is that 1 upper and 1 lower cabinet were accidentally ordered in the wrong size. Normally when you order cabinets you have time to review the order and double check all of the size. But in our case due to the Ikea sale and that the cabinet doors were being discontinued, Andi and Neil ended up having to order the cabinets VERY quickly. Normally I would have reviewed the order before it was placed to double check that all the dimensions were correct.  The good news is that we looked at the situation and came up with 2 options.

The Issue: 1 Base Cabinet & 1 Upper Cabinet were ordered 6″ too wide (30″ instead of 24″ wide)

Option 1: Check Ikea (particularly the AS IS Section) to see if we could still get the 2 doors and 3 drawer fronts in the right size. This would mean that we would have to get these painted (the painter just finished painting everything else). The contractor would cut down the cabinets to the right size (since these are already assembled and can’t be returned).

Option 2: If we can’t get the right size doors and drawer fronts, have the contractor VERY carefully cut the doors and drawer fronts to the right width. They have done this before when they have run into this type of problem. The doors still might still require a re-spray of paint since there is a chance that the finish might get damaged when doing this. We have the advantage that our contractor is a good carpenter, I would never try this myself.

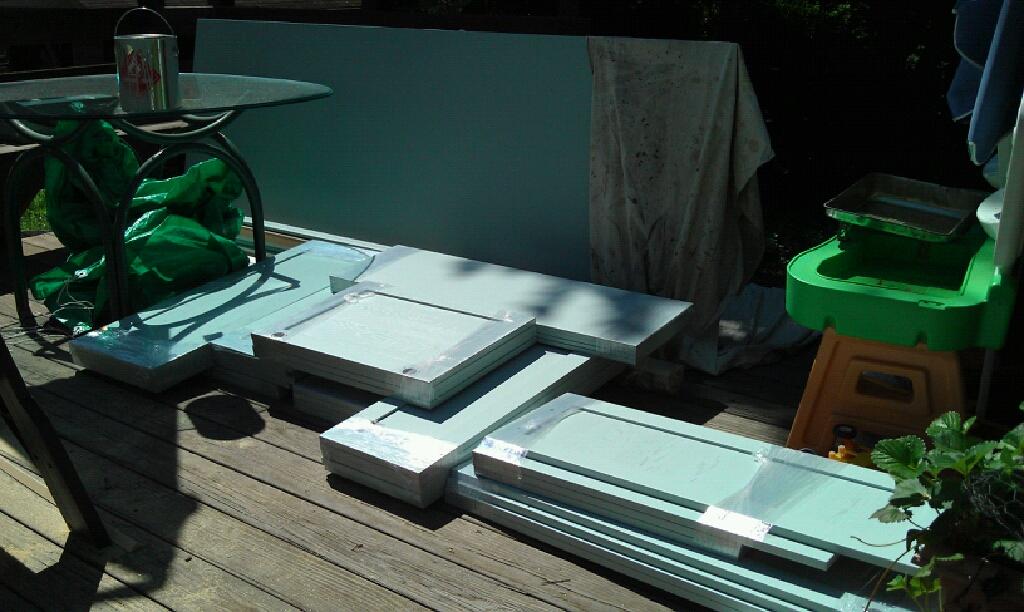
Cabinet Doors and Drawer Fronts All Ready to Go!

Cabinet Install Update:

The contractor installed the base corner cabinet where the chimney is located first since everything on this side of the kitchen connects to this unit (we still have to decide whether to install a smaller lazy susan or a pair of slide out units) . They have also installed the upper cabinets on the north wall. Today they are working on moving the plumbing for the sink and installing the run of cabinets on that wall (up to the wrong size cabinet which is fortunately at the end of the run). The upper cabinet where the chimney is located will need some more cutting and adjusting to fit.

Also the painter dropped off the doors and trim today! Andi kindly sent me a photo. The finish looks lovely!

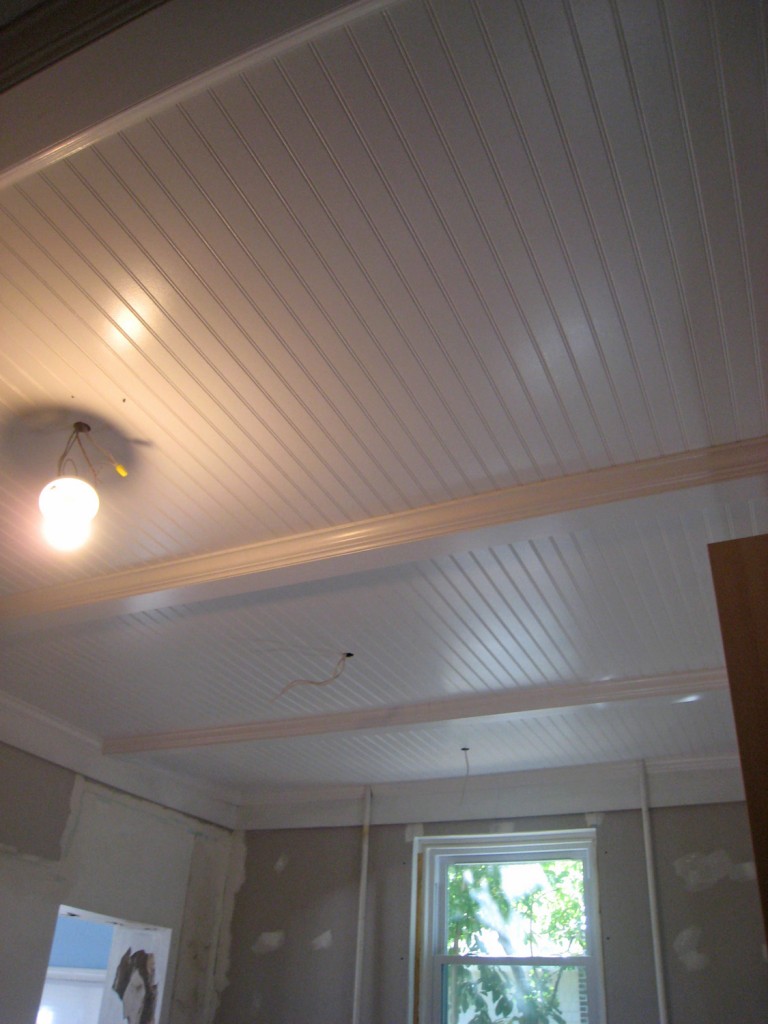
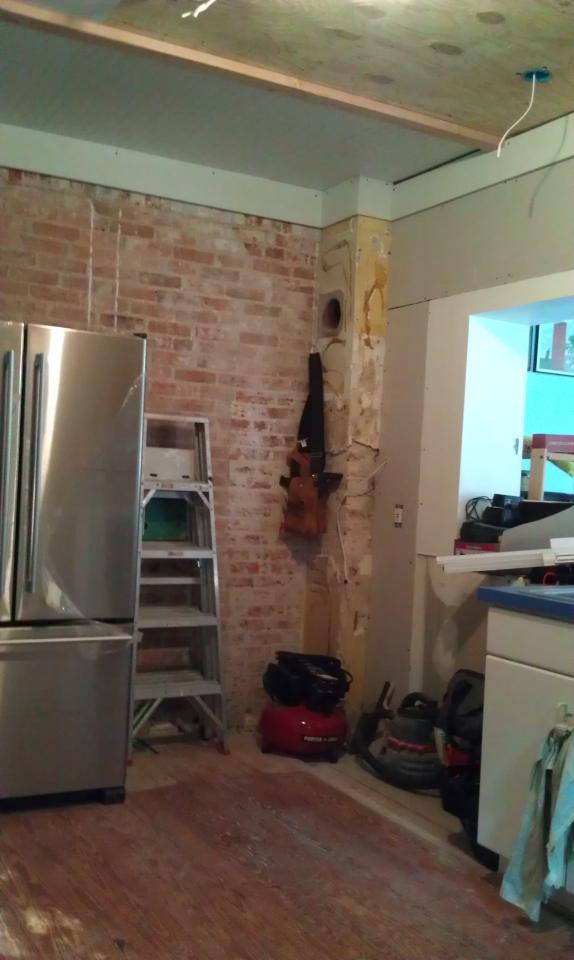
One more shot of the beautiful ceiling!

1 Comment

The Beadboard Ceiling!

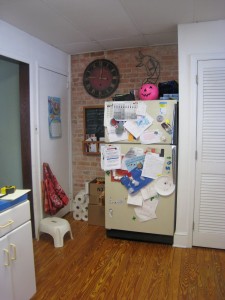
1990s Drop Ceiling (& Kitchen) Before

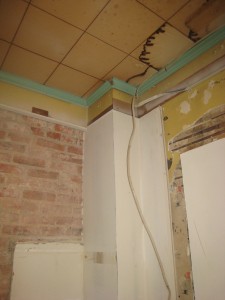
1950s Ceiling Covered up by 1990s Drop Ceiling

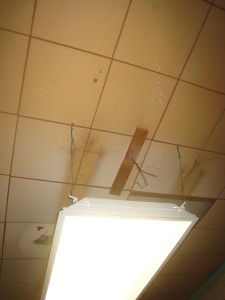
Florescent Light (installed in 1990s drop ceiling) and 1950s Ceiling Above

The beadboard ceiling is finally finished at Andi & Neil’s house! I haven’t seen it in person but from the photos that Andi sent me yesterday it looks lovely!

This is now the 4th ceiling that this kitchen has seen.

The History of the Ceiling:

1890s: Plaster Ceiling

1950s: Glued on 12×12 acoustic tiles with interesting turquoise crown molding

1990s: Drop 2×4 Acoustic Ceiling (with 2×4 Florescent Light Fixture): Dropping the ceiling by about 9″ in height (I don’t know what people were thinking when they did this!)

2011: Painted Beadboard and Beam Ceiling

Historically Accurate?

I get asked questions about whether beadboard is historically accurate to a kitchen (or other rooms in the house). The answer is yes, but probably not as detailed as this one. Traditionally secondary spaces such as the kitchen and bathroom used less expensive materials and trim. For example in our kitchen (now dining room) they installed beadboard on the bottom 4′ of the wall. They also used plainer window and door trim but they still used a plaster ceiling.  They would not of installed nice “beams” or crown molding, instead they would have probably trimmed these spaces with a simple straight piece or no trim at all.  Around here, I haven’t seen a lot of beadboard kitchen ceilings, mostly plaster. It is probably a matter of what the local tradespeople at the time were in the habit of using.

Now that the kitchen is such an integral part of our lives, I think it makes sense to design it to the same level of finish as the rest of the house. I also think you should have a little fun with the design. There are too many boring drywall ceilings out there.

Up Next:

The contractors are scheduled to spackle the walls and sand the floor today. It is nice to start to see some finish work.


Leave a comment

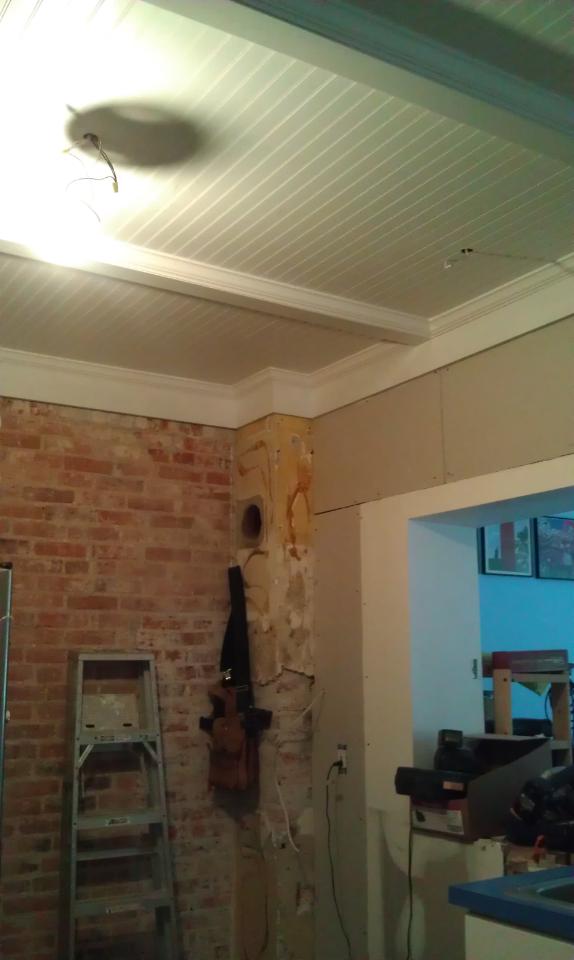
Ceiling & Drywall Progress: the first bay has the beadboard plywood installed & they have added drywall to the wall

Andi and Neil’s kitchen is still in the not so exciting to look at phase. The contractors should be there all week which is good news! The ceiling is partially done. They ran into a small hiccup, the the old florescent light that is providing temporary light is hooked into the old knob and tube wiring. They are getting ready to disconnect this, but the new lighting has not arrived yet. So they can’t finish the rest of the ceiling until the new lights arrive. Fortunately they should be here today (fingers crossed). They have installed the 1×8 trim piece around the top of the ceiling. I had them put this in to make sure any uneven wall conditions would be covered up. We will be adding 3 “beams” at approximately 4′ intervals. Not only will this provide visual interest but it will give us a place to seam the beadboard. Most beadboard paneling comes in 8′ lengths (although you can get longer 3/4″ thick pine beadboard pieces in up to 12′ lengths).  The kitchen is about 9 1/2′ wide (so we couldn’t run the beadboard in that direction). The 4 “bays” that are left are designed to have lights centered in them (except for the one over the fridge). We centered the bays such that the light over the sink could also be centered in the bay. It is always a little tricky to get the beadboard spacing right. Unless you have a perfectly symmetrical room you usually have to decide what takes precedence. In our Dining Room we centered the ceiling on the room (and the light fixture) but our windows were not centered on the room, so they don’t align with the ceiling. Andi & Neil’s case is similar. The door openings and opening to the sunroom don’t align with the panels but the lights will all look nicely centered in the ceiling.

The beams will be created out of a 2×4 and then covered with a 1×4 piece of mdf or poplar. Then crown molding will cover the sides. It is a pretty simple system that provides a lot of interest.

1 Comment

East Wall

West Wall

 
I stopped by Andi & Neil’s house yesterday to see how things were going (sorry about the photos being blurry, they were taken with my phone). We are now at the point in the renovation where things appear to slow. It is not that things aren’t happening but electrical work and prepping for the final surfaces is not very exciting to look at! The contractors were busy yesterday putting in the electric for the light fixtures and electrical outlets. They have also finished furring out the north wall where the stove will be, patched the floor and installed the plywood on the ceiling for the beadboard.  They were also finishing up some miscellaneous drywall patching. Next on the list is the beadboard/beam ceiling. Then comes paint (which there isn’t a whole lot of) and refinishing the floor. Then finally the cabinets can be put in.

Leave a comment

Old Chimney w/ hole in the top from the original stove. Th old plaster has been chiseled off the brick for the backsplash area. The top portion of the drywall and plaster will be covered with a piece of trim.

Old Cabinets removed (the old stove is waiting to be taken away and then the new one will go in)

Wall will be furred out to be flush all the way across

Old 1950s Wallpaper


They are still busy over at Andi & Neil’s house. Demolition is pretty much complete (except that the contractor conveniently left their sink & dishwasher in place for the time being). They are starting to work on furring out the wall with the stove, installing electric for the ceiling and patching the floor. And their new range was due to arrive yesterday afternoon. I had Andi take a couple of pictures for me (thanks Andi!). They also uncovered some pretty sweet retro wallpaper! And they figured out what the chimney in the corner was for…the old stove of course! I don’t know why that didn’t dawn on me before! In an old house there are almost always fun things (and not so fun things) to uncover. Fortunately they are now entering the put everything back together phase!
2 Comments