Archives For -Paint Colors

craftroom-progress1

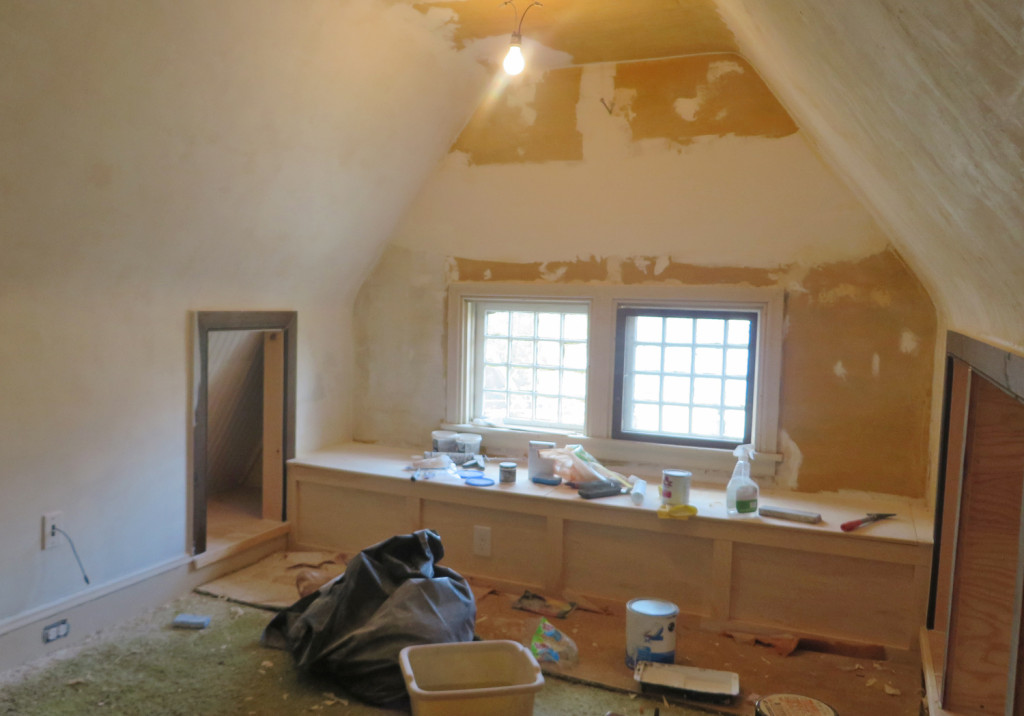
There has finally been some progress over here on our third floor! Our contractors worked part of last week to get our Craftroom closed up (i.e. no open walls where cats and small children could get stuck). I had them build in some storage in the eaves while they were at it and for good measure add a bench on the window wall. We are still spackling and cleaning up the old plaster walls. Then comes priming and painting. I think we are still a couple of weeks away from actually being able to use the room, but that is a LOT closer than where we have been for the last several months.

thirdfloor-craftroom-716x1024

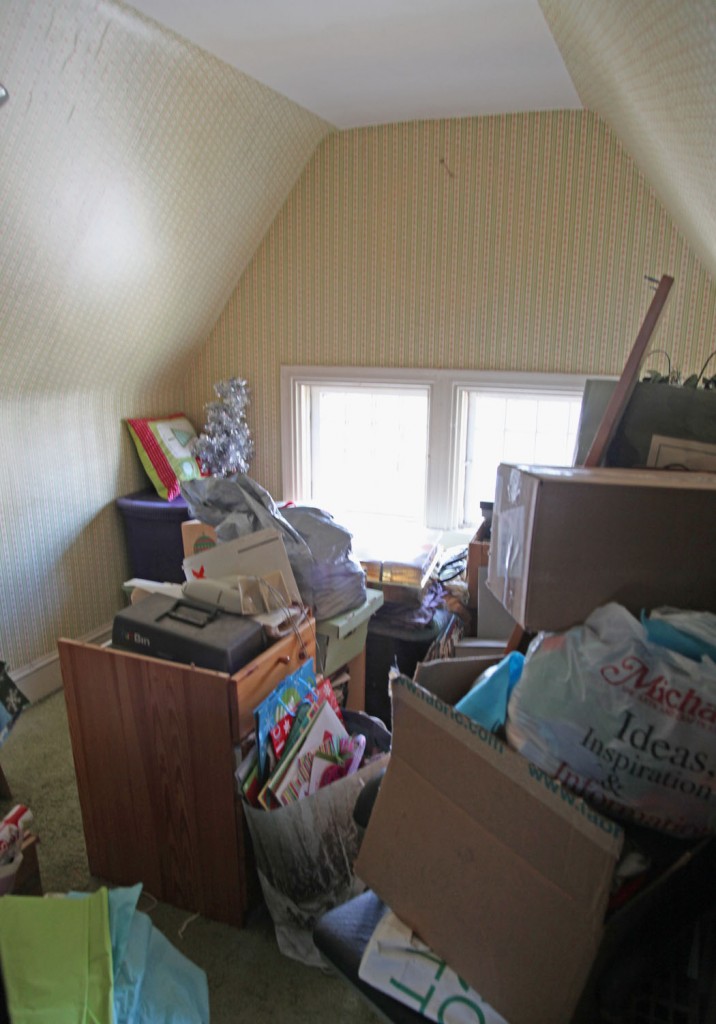
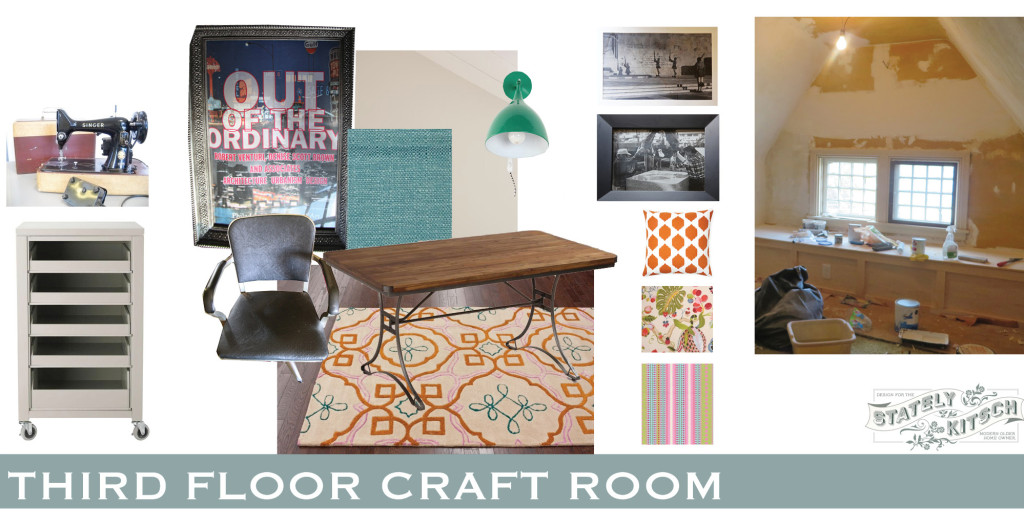
The picture above is where we started. Basically a storage room with 1980s wallpaper and no insulation, heat or storage. I still need to order the storm windows (and eventually restore these windows) but it is at least now comfortable to spend time in (if you don’t mind spackle dust). Now that we are in the home stretch, I’ve been refining my Victorian Industrial Glam aesthetic. I think I am headed slightly more industrial than glam these days, but I think it is going to be a really great space. Finally a spot where we can work on projects and not have to clear them off the table to eat dinner.

craftroom1

I think I have a good mix of storage and am looking forward to having a spot for a lot of homeless items that sits in corners all over the house. I will put together a separate post on all of the furniture and accessories I have been hoarding carefully choosing.

2 Comments

masterbedroom-graywalls1

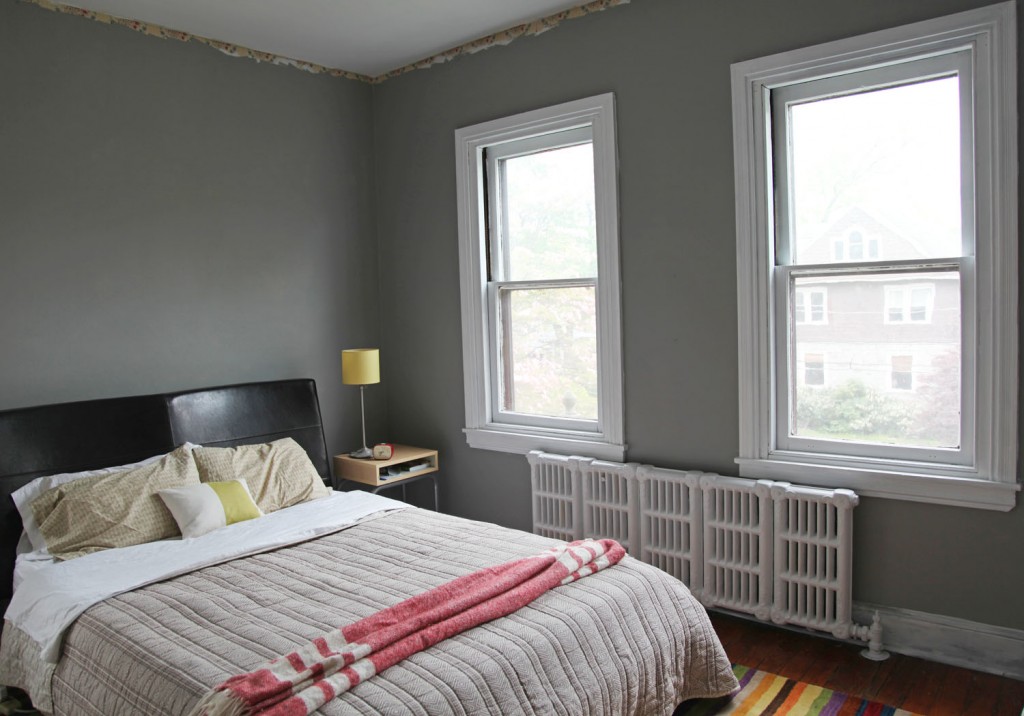
Things are still a little crazy and stuff is piled up high in almost every room, but 3 walls in our bedroom are painted! Fortunately I really like the custom gray color (which is a modified Classic Silver from Behr Ultra). And the white trim is looking good! Part way through the priming I was regretting our decision to paint the stained window trim, because well primer looks like crap. But now that they have had a good coat of paint, they are looking nice. We definitely still need to do another layer of caulk (since there are weird little gaps all over the place thanks to 125 years of use and settling) but the room (at least on one side is starting to take shape). The ceiling trim and ceiling paint still need to go on (which will be by our contractor after the air conditioning goes in).

marthastewart-graybedroom

The wall color was originally inspired by a picture from a Martha Stewart magazine that I literally had taped to the wall for years. She calls it “graceful gray” and has it listed with sophisticated neutrals, so I will pretend for a minute that I exude sophistication. I do actually think it is a pretty good match to the inspiration, although I plan on having a lot more color mixed in.

paxcloset-basedrawer

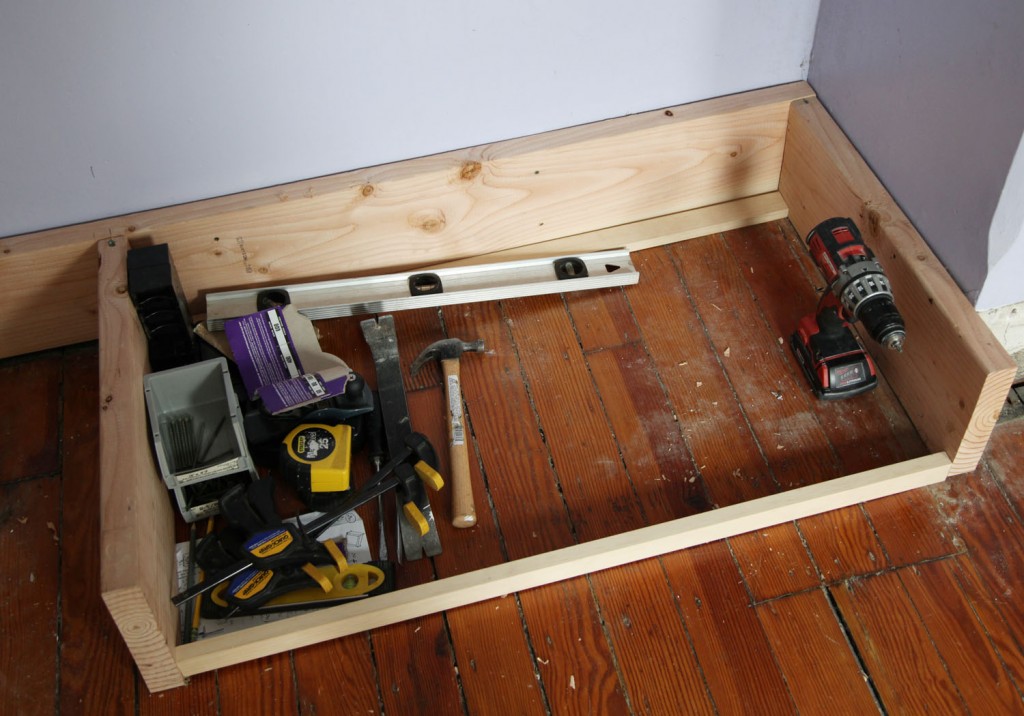
So while one side of our room looks somewhat organized the other side is a giant mess! I did manage to finally start the bases for the Ikea PAX closet systems. We are going to add a shoe drawer below that will be built into the floor molding. This has been a careful balancing act, trying to fit a drawer while not making the closets too high and still leaving enough space for a duct above. Hopefully my AC contractor will agree when he gets here at the end of the week. These pieces took hours to get leveled and set. Nothing in my house is remotely level, but anywhere near the fireplace is even worse. This location is not only next to the main chimney but also sits partially on the fireplace box in the kitchen below.

I started by installing a level piece to the back wall. Since it is screwed to the wall I didn’t need to level it at the bottom (phew!). But the two pieces coming out (which will support the majority of the closet) had to be cut at an angle to work with the sloping floor and then carefully tweaked around uneven floor boards. It took a bunch of tries with the jigsaw (because for some reason our circular saw has gone missing), but they are finally in.  I also installed the blocking at the back and one piece on the front. I don’t know if you can see in this photo or not but the front 1×2 is level left to right. It is tight on the right and has over a 1/4″ gap on the left. Yikes! I am hoping that this is square and level enough that I will be able to make the drawer work. This is my first try at making a drawer from scratch, so we will see! I am leaning towards making the drawer with the Kreg pocket screw system and routing out for the drawer base. I figure if it is a complete bust I can order some pre-manufactured dovetail drawers.

My goal this week is to keep ahead of the AC guys, so we get the ducts in place, without compromising too much of our closet and ceiling spaces. Fingers crossed!

3 Comments

Rendering of House w/ Tan Siding and Blue Door

I have been working on an exciting new project here! Laura and Ken are building their dream house. They have the plans and the builder and have already broken ground, but they need some help with the details and product selections. So I have been helping to guide them through all of the choices. Today I thought I would show the options for the exterior cladding. The house is Cape style with 3 lovely dormers and a front porch. They would like to use pre-finished Fiber Cement Siding for the exterior. This is a great choice because the fiber cement wears extremely well, doesn’t rot and holds paint better then wood. Additionally the pre-finished siding choices come with a warranty on the finish, including fading, so the house will look great for years to come.
Staggered Edge Shingle from James Hardie
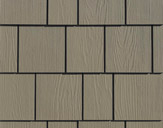
Straight Edge Shingle from James Hardie

We started by looking at James Hardie shingles but now have expanded the search to include Certainteed as well. We are also reviewing the choices in siding styles including shingles and clapboard/lap/plank siding.  The advantage of looking at both is not only to compare costs, but to get a wider variety of color choices. When we had our house re-sided a few years ago we chose the Certainteed smooth lap siding to match the original wood clapboards, but couldn’t find a prefinished color to our liking, so we ended up having to have it painted, but it would have been more cost effective and quicker to install if we had used a prefinished product.

SIDING STYLES
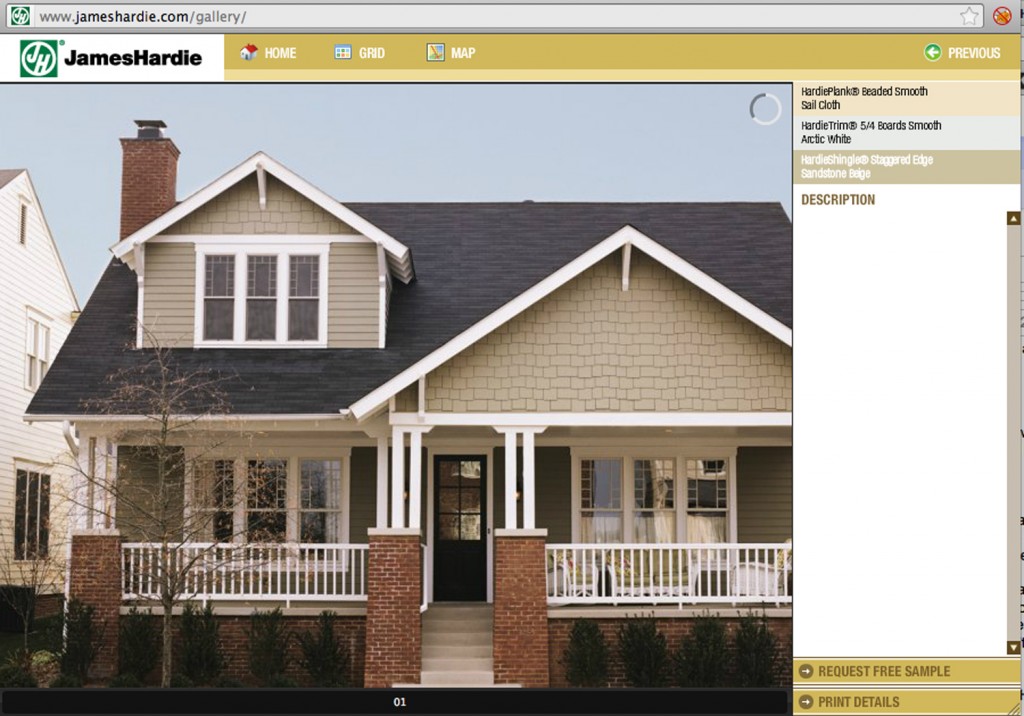
 

Staggered Edge Shingle in Eaves w/ Clapboards on main body in Sandstone Beige (from James Hardie)
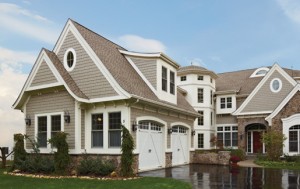
Random Square Staggered Edge Shingle in Pewter w/ PVC trim (from Certainteed)


Shingles

Shingles have been used on houses in America for hundreds of years. Unlike clapboards they tend to have a more rough hewn appearance, often with the wood grain being visible. Traditionally I think of them being used in New England and in beach homes. Cedar shingles are a favorite in salt air climates, as they withstand the rigors of the weather better than a clapboard that has to be painted frequently.  “Shingle style” architecture had a big resurgence at the end of the 19th Century to contrast the ornate patterned siding of Victorian architecture and to pay homage to the traditional colonial homes.Typically shingles will be more noticeable then a clapboard, since the pattern and texture are more irregular.

Both James Hardie and Certainteed make a straight and staggered edge shingle in the prefinished product. The shingles are more expensive then the clapboards due to the patterning. Both companies also offer fancier half round and octagon shingles for victorian style houses as well as board and batten.
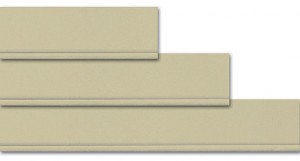
Beaded "Smooth" Clapboard
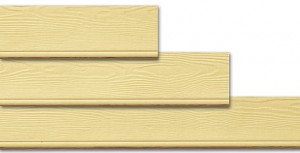
Beaded "Cedar" Clapboard
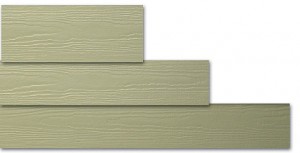
"Cedar" Lap Siding
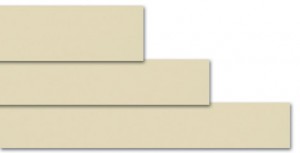
"Smooth" Lap Siding
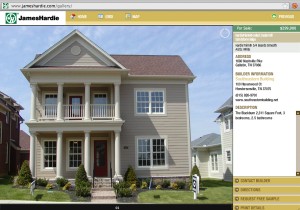
"Cedar" Finish Clapboards in Sandstone Beige (from James Hardie)
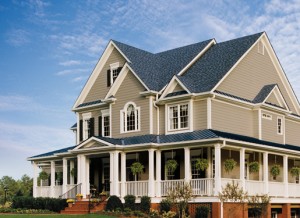
"Smooth" Finish Lap Clapboards in Wicker (from Certainteed)

Clapboards

Clapboards have been traditionally used for hundreds of years. Unlike shingles which were rough, clapboards traditionally required milling to create straight and even pieces, creating a finer profile. In fiber cement shingles both companies offer a traditional lap and a beaded lap (which has a “bead” on the bottom). They also both offer them in a smooth or a wood grain, textured or “cedar” appearance. I prefer the smooth finish in this product and a lapping in the 6″-8″ range. I also think that the beaded detail gives a nice added touch of detail.
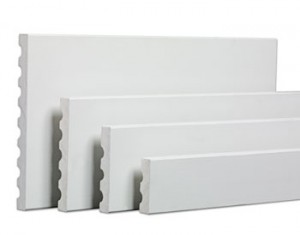
Fibercement Trim from James Hardie
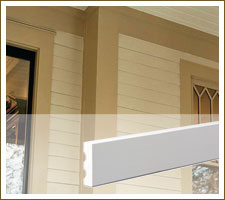
Fiber Cement James Hardie Trim


Trim

I think that trim is one of the most important aspects of the exterior. If the trim doesn’t look right proportionally I think the rest of the house will not look its best, no matter what type of siding you use. I often think that is why vinyl siding often looks cheap, it isn’t the larger sections of siding, it is the thin trim that often has unsightly joints. For Laura and Ken’s house there are 2 options for trim. One is fiber-cement trim, which both manufacturers make. The other is a solid PVC trim which Certainteed makes as does Azek. In their case I would recommend sticking with the fiber-cement. Larger Fiber-cement trim boards did not exist until recently. We used PVC our our house. My main complaint with the PVC is that its expansion and contraction rate is quite high. Meaning on longer runs (over 15′), you will have joints that will open and close depending on the season. Laura and Ken do not have long runs on their house, but I am still not totally sold on the pvc, especially when fiber cement is now available. I also like sticking with the same material where possible since the texture will match and it will take paint the same way. The fiber cement trim are also available in prefinished which is great. For their house I recommend using a nominal 8″ wide board (typically 7.25″) with a 1″ or 1 1/4″ thickness. This will frame the house nicely and the white trim will contrast with the body color. If you notice, most of the pictures above have thick substantial trim.
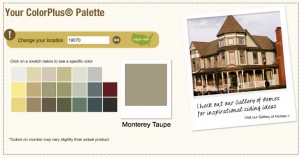
James Hardie Color Palette
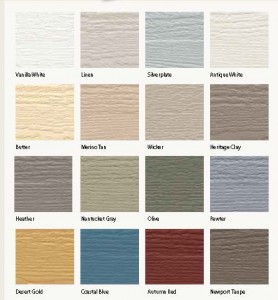
Certainteed Color Palette

Color

Both James Hardie (ColorPlus) and Certainteed (ColorMax) offer quite a few prefinished colors. However, I often find it is difficult to find just the right color, especially when you will be living with this color for the next 20 years.  For both companies you have to give them your zipcode so that you can figure out what “zone” you are in. Different colors are available in different regions of the country.

So far we have been looking in the gray to blue range for Laura and Ken’s house with white trim. The 2 colors that they are considering from James Hardie include Monterey Taupe (warm gray with a hint of green) and Boothbay Blue (a medium blueish gray). From Certainteed they are considering the Silver Plate (lighter gray) and Pewter (a blueish gray). Of all of the colors I have seen in pictures my favorite is the Pewter, although I would like to see the sample in person. Which one is your favorite?

James Hardie Boothbay Blue

Certainteed Pewter

Up Next:

The front door choices.

4 Comments

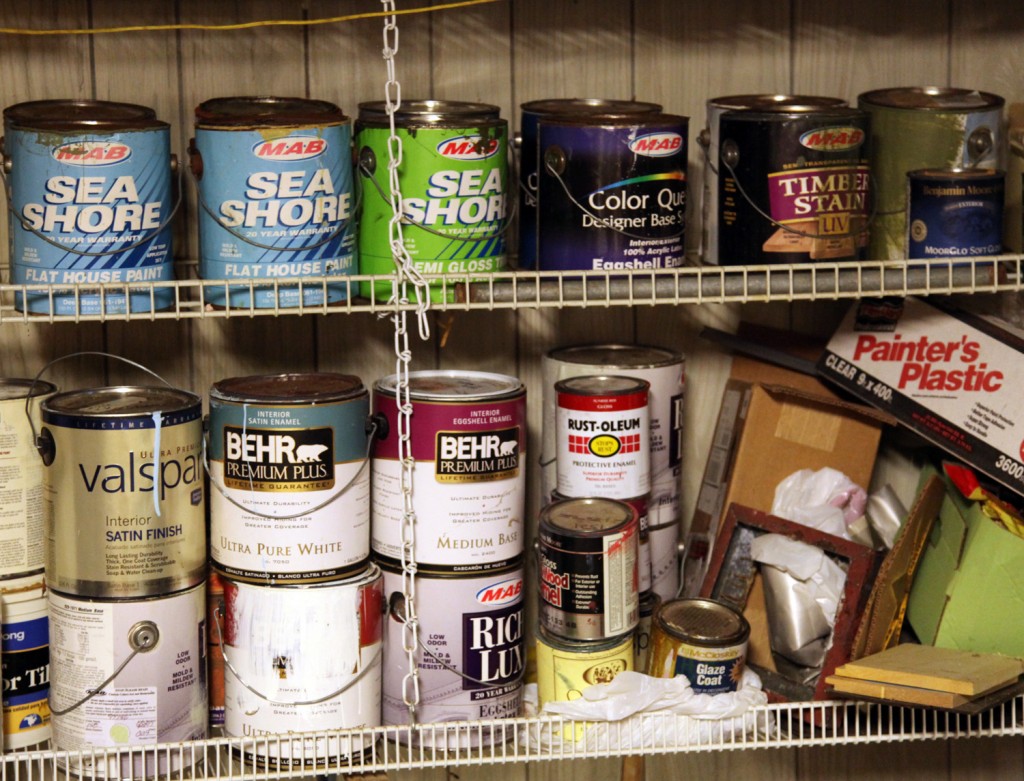
This is the shelf AFTER I got rid of the old paint cans. The top shelf is exterior paint and the bottom shelf is interior.

So it is time for some more embarrassing photos of the house! Believe it or not I just got rid of about 12 oil based paint cans and miscellaneous chemicals today (before these photos were taken). It was hazardous waste drop off day at one of the local parks. If I had been more organized I would have dropped off some old computer equipment too, but I was proud of myself for at least getting rid of some gross old paint cans. Since we are now trying to deal more proactively with our basement (which is putting a damper on the master bedroom work) I decided it was time to spend a couple of hours sorting through the paint. So on Sunday I spent the time while Maisie was napping trying to get rid of some of the paint. It doesn’t help that we have 6 7 colors of paint on the exterior of the house. We also had left over paint from the “not quite right” color selections. Plus we have matching stain from the garage and shed. As a side note, I guess you can see our preferred exterior paint provider. I love my MAB exterior paint. MAB is now owned by Sherwin Williams, and I am waiting for them to close my local MAB store (where there is a Sherwin Williams only a couple of blocks away). Then I won’t be able to get my beloved Seashore paint! Our whole exterior is painted in the seashore paint. You can see that I am not as loyal with my interior paint. Most of the time for that I am lazy and hop over to the local Home Depot.  For our next painting project I am looking forward to trying the relatively new Behr Ultra (primer and paint in one with low VOC).

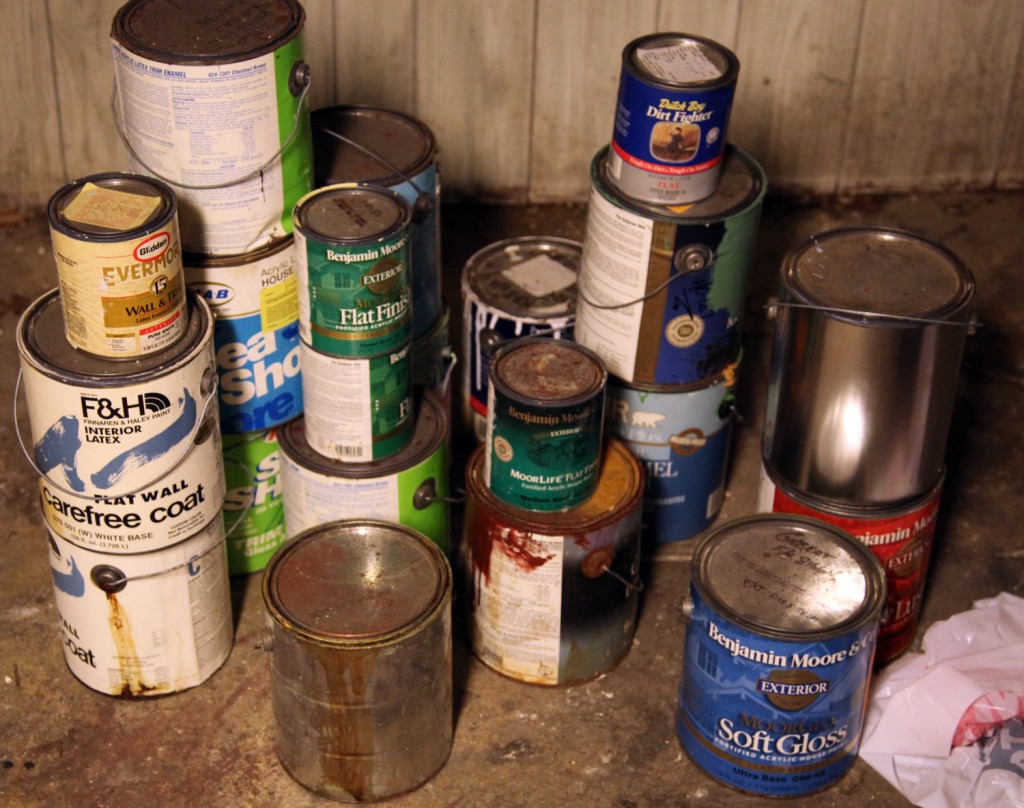
Pile of latex paint cans waiting to be dried out for the garbage.

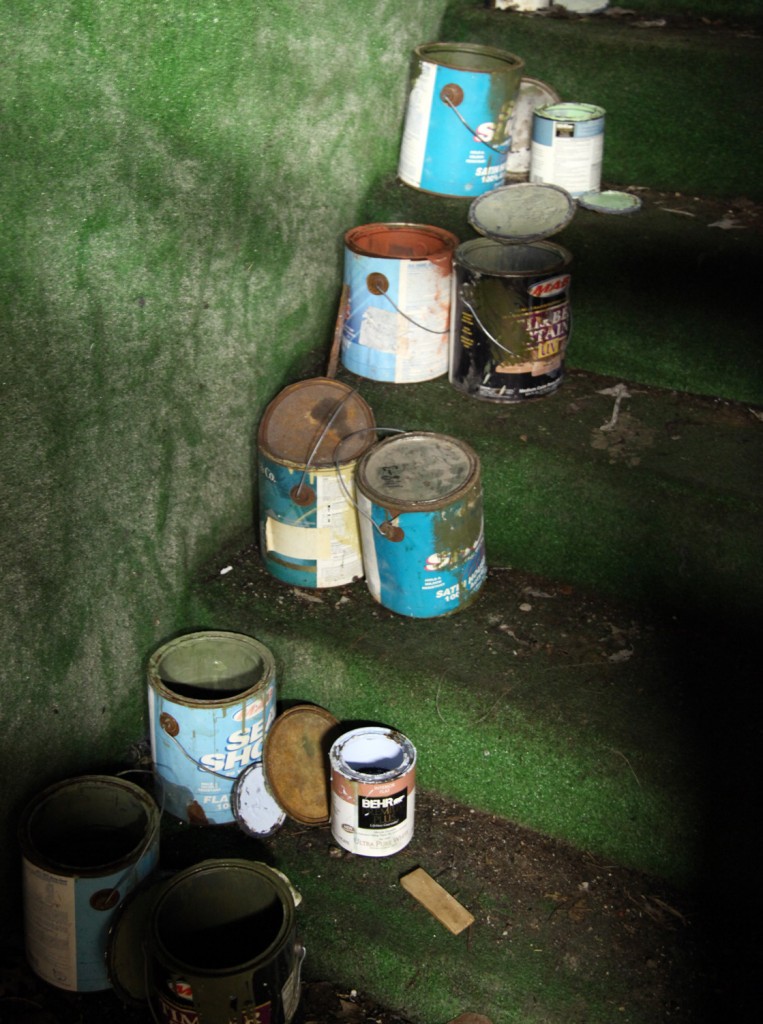
Latex Paint Cans drying out on the steps to the basement so that they can be thrown out (don't you just love astroturf).

The pile on the floor is the paint that will be next to be set out for drying and throwing out. I am currently using the back steps to the basement. These are covered by a plywood door (to keep unsuspecting animals from investigating) but won’t be offgassing into the house. Hopefully these will be dry for next week’s garbage. If not I may need to resort to the kitty litter method, which involves pouring the old latex paint into a cardboard box with a bunch of kitty litter to help it dry out more quickly. So far I think most of this paint will dry on its own. A lot of it is quite old, so the drying process started long ago!

I did manage to combine a bunch of the exterior paint cans. Because of the complicated house paint scheme we ended up with at least 2 partially opened cans of each of the main colors. Fortunately now that has been compressed and now I will be able to find each color more easily for projects like the porch swing.

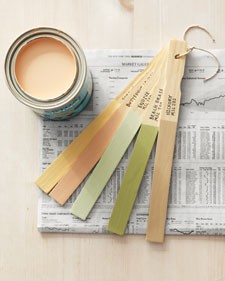
Paint Sample Reference from www.domestically-speaking.com

I also have plans of putting together a couple of rings of paint sticks containing all of the interior and exterior paint colors, for handy reference. Kind of like this one I found on Pinterest which was from Domestically Speaking.

4 Comments

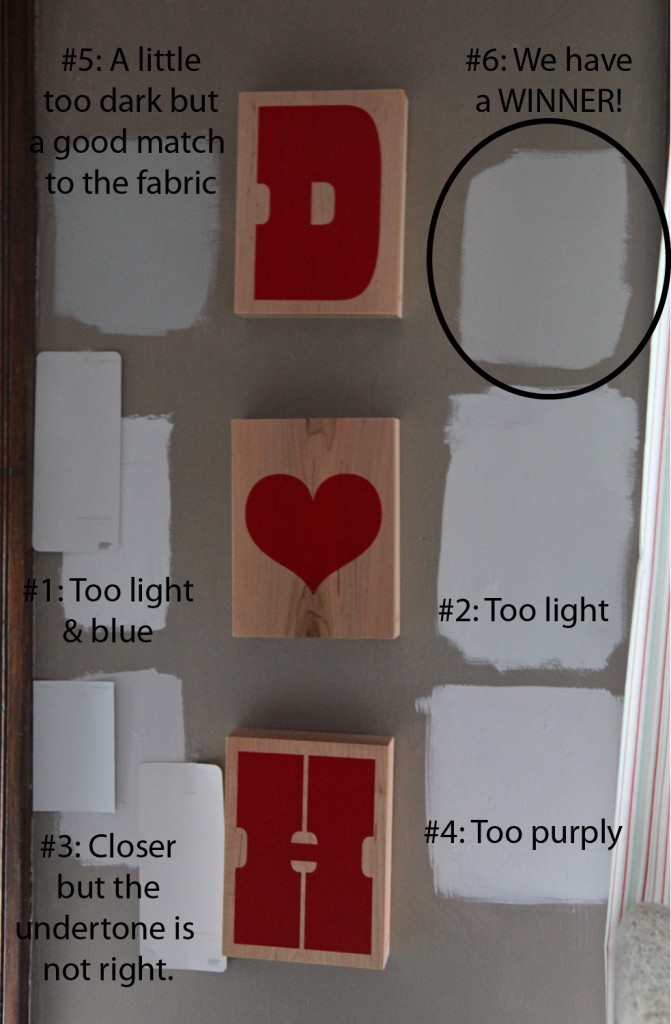
Paint Samples on the Wall in our Bedroom

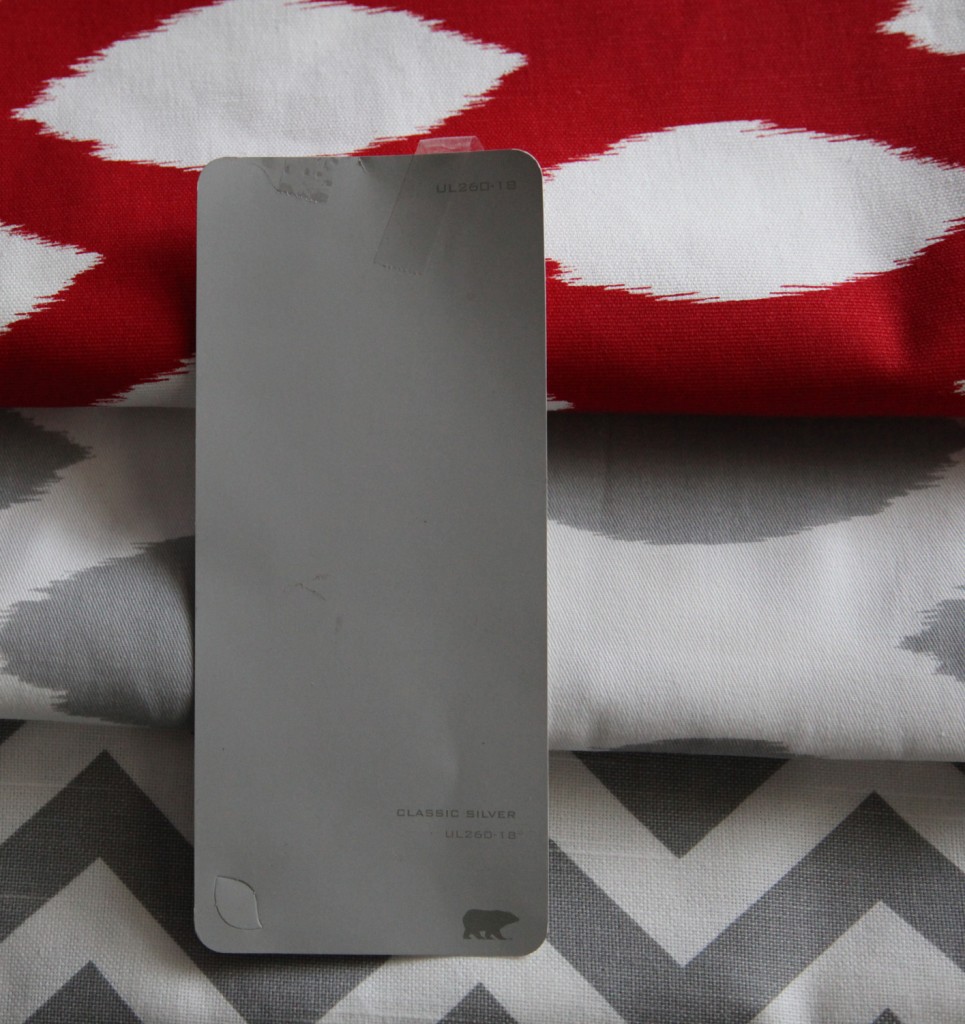
The winning paint swatch with the fabric samples for the curtain and chair.

In my case, it takes 6 gray paint samples and over a month to find the right one for our bedroom! Fortunately almost all of the paint sellers now sell little sample jars so I don’t have to feel bad about it. At $2.99 a pop, I am still out less than $20. And the winner is Behr Ultra Premium Plus in Classic Silver from Home Depot. Phew! I was beginning to think I was being too picky. For the last two samples I waited until my fabric samples arrived so I could use those for reference. I wanted the gray to be similar but slightly lighter. I definitely needed a cool gray rather than a more taupe warm gray, but a lot of the samples I came home with had a blue or purple undertone that I didn’t like.

I now have the urge to paint! Of course there is a lot to do before that, although I am thinking of painting a larger sample. I think that will make me feel better! On the list today is to go out to the garage and look at my Best panels to see which 4 I actually have. I took a quick peak yesterday and there is more red in them then I was expecting. hmmm…

2 Comments