The most popular question I get on my blog, is about the beadboard ceiling in the basement. I have promised to write a more detailed post. So here it goes…
I am become sort of a beadboard expert over the years. I didn’t start out this way, but our house is old and already had a good bit of beadboard, and I have had to patch some over the years as well as installing new. Beadboard and wood planking comes in all sorts of sizes and dimensions and range in price from totally affordable to kind of expensive. I’ve used a bunch of different varieties for different uses. In the basement we have used 3 different types.
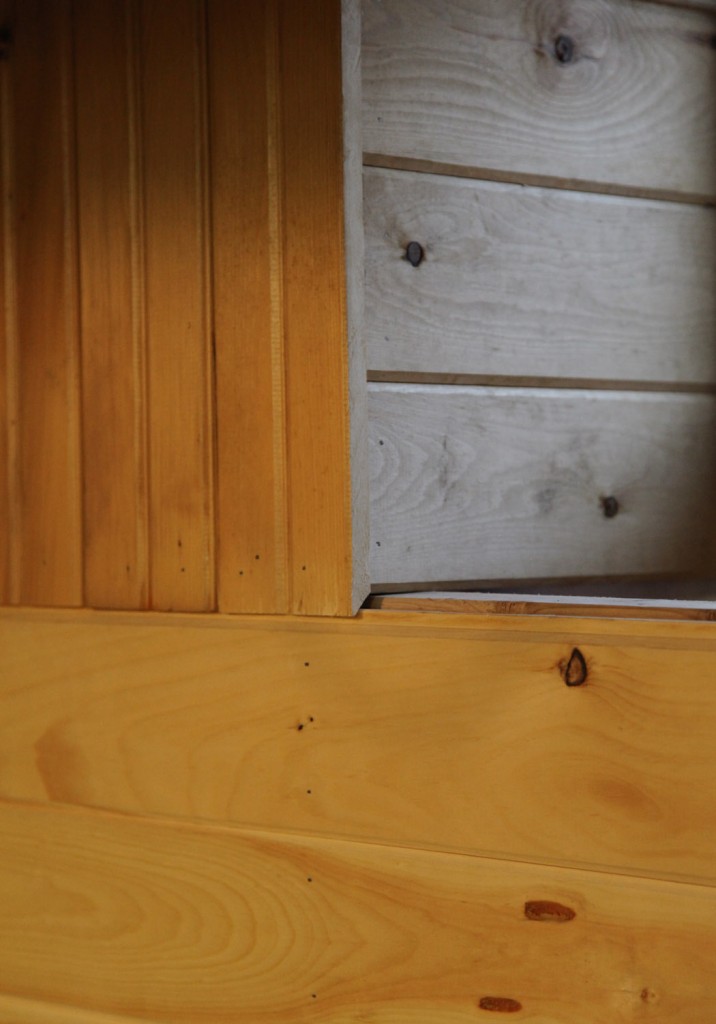
1. Walls: We used a classic full size tongue and groove beadboard for the walls. This is 3/4″ thick and approximately 6″ wide. One one side there is a “bead” in the middle and on one end, giving you about a 3″ repeat. On the back it is smooth with a simple v-groove at the joint. The basement already had some of this board on the walls, so we actually salvaged what we could for re-installation. The nice thing about this is that you don’t need any backup. This is strong enough to act as the wall surface. It is simply nailed to the studs. This is also what is installed on our porch roof (which is what this type of board was originally meant to be used for). Fortunately Home Depot sells it in 8′, 10′ and 12′ lengths.
2. Ceiling Option 1: For our Dining Room Ceiling and the Ceiling in the new basement Bathroom we used a thinner beadboard product. It is still tongue and groove but it is only about 3/8″ thick. This will tend to warp, so it usually requires a back up material (in our case 1/2″ plywood). This nice thing is that it is really light weight and easy to cut. These come in shorter length and are packaged in sets. They are available in pine unfinished and white, as both a beadboard and a plank product. For our Dining Room we used the beadboard and for our bathroom ceiling we used the plank. In both cases we went with the less expensive pine and primed and painted it ourselves. However this isn’t a good option for a removable ceiling since the piece are flimsy and have a tendency to warp if not attached to a substraight.
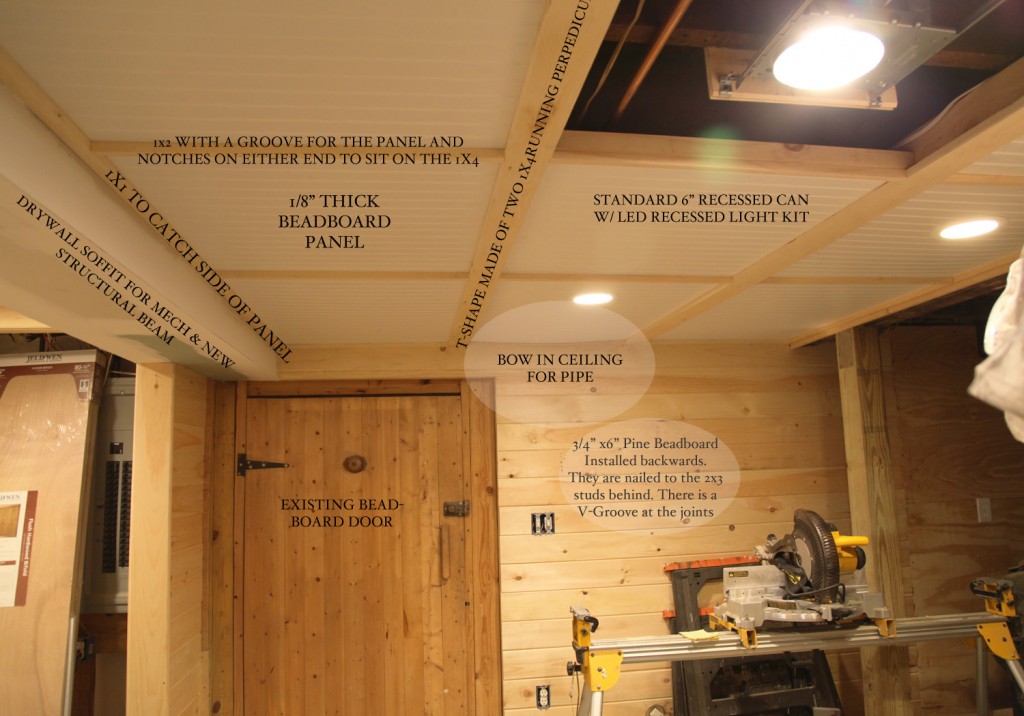
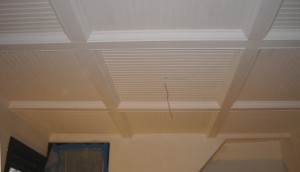
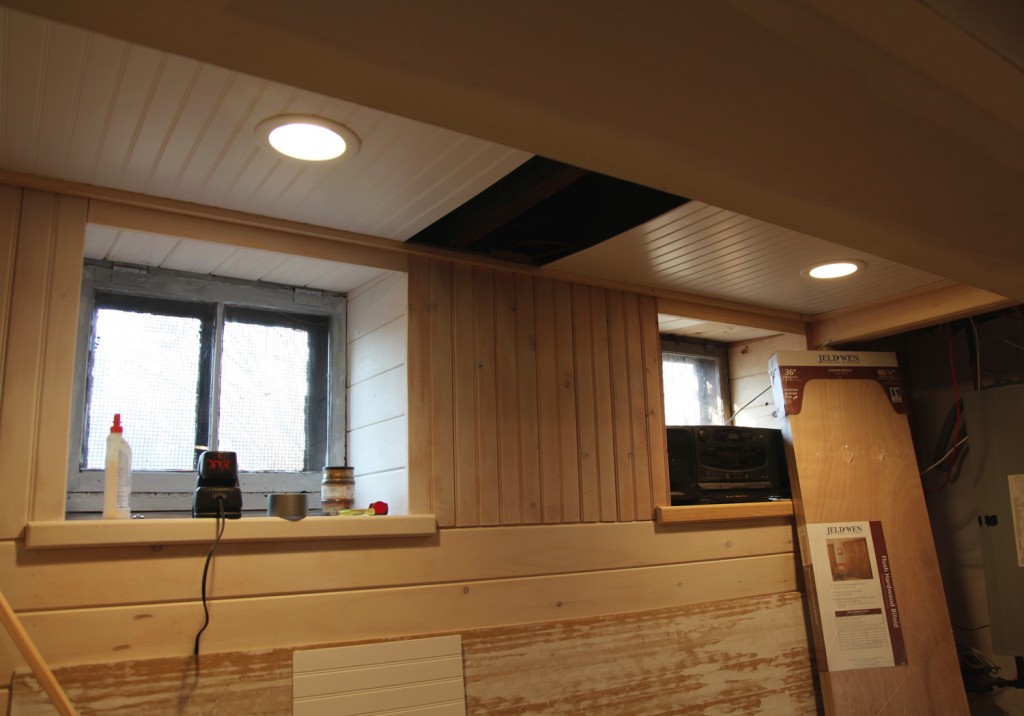
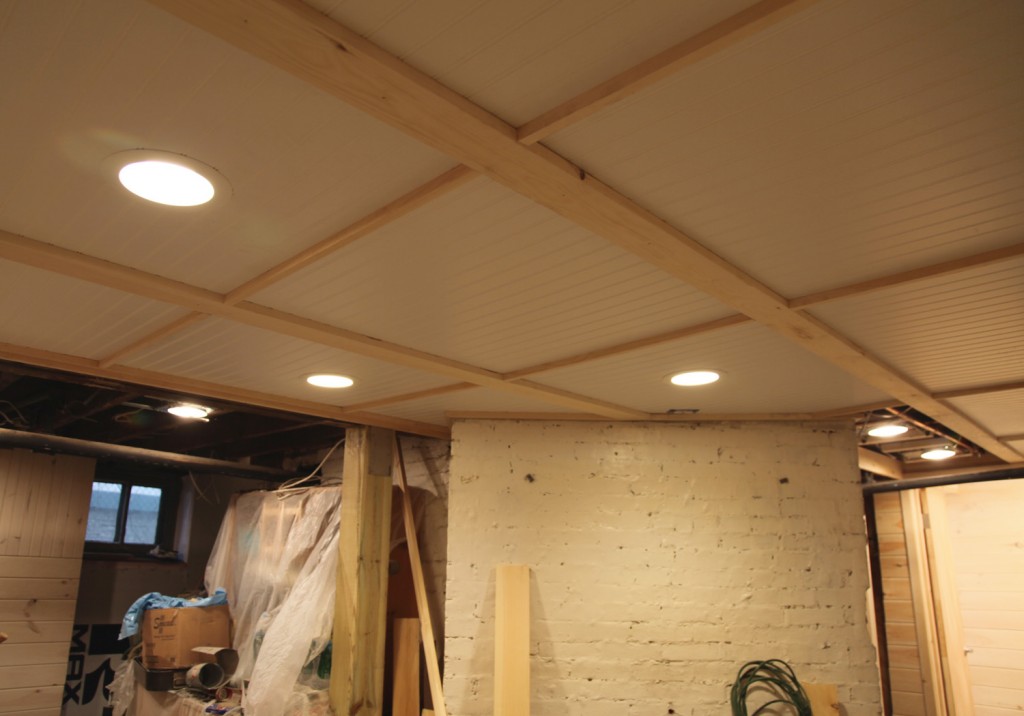
3. Ceiling Option 2: For our removable ceiling we want with a sheet product. This is about 1/8″ thick and is available in a 4’x8′ sheet and primed white. This is easy to work with and inexpensive. However because it is so thin it will tend to sag, so we had to be careful about not making the spacing too large. This also meant creating a “grid” out of wood for the panels to sit in. The nice thing about the thin panels is that it helped us maximize the ceiling height. We even bent one panel about 1/2″ to allow for an extra low pipe.
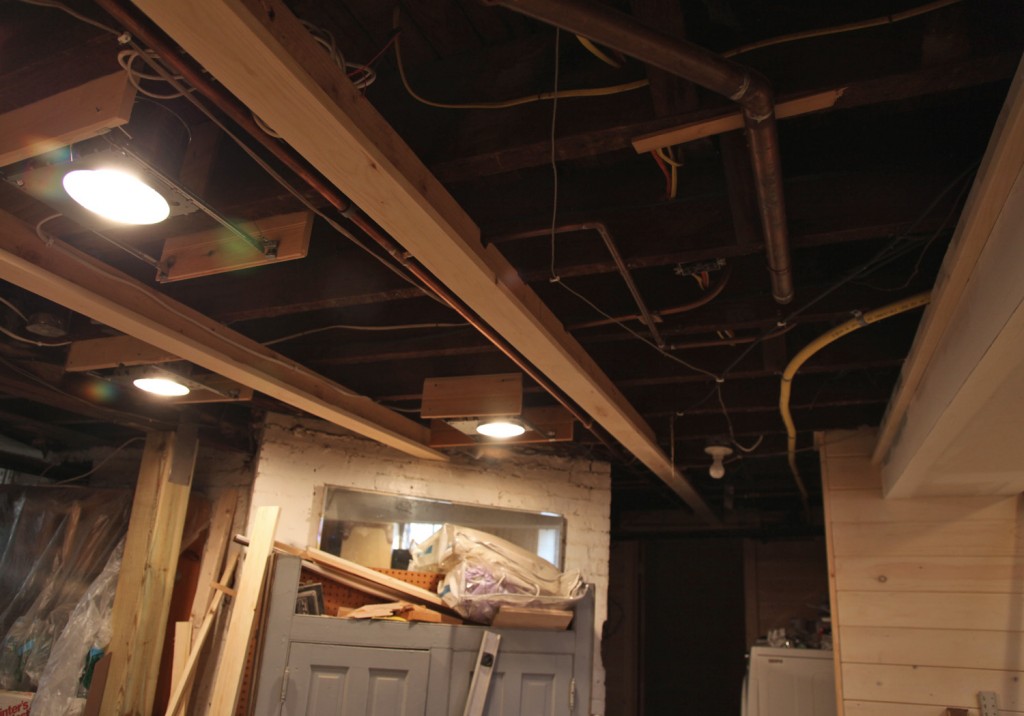
Step 1:We started by creating an upside down T shape out of 2 1×4 pieces and attaching them perpedicular to the floor joists above. This gave us enough space for the miscellaneous plumbing to fit.
Step 2: Rough in lights as required. We centered our in each “bay” of the ceiling. This took a lot of effort to come up with a pattern. Our ceiling was full of pipes and other obstructions (we are below the kitchen). I stood there for about a half hour with my contractor and a piece of paper trying to come up with an acceptable pattern.
Step 3: Figure out the spacing on the panels and test fit.
Step 4: Install the cross pieces. We used 1×2 with a groove cut for the panel and notches out on either side for them to sit on the 1x4s running the other way.
Step 5: Install all of the panels. Because everything is pretty snug it definitely takes a little adjusting to get them into place. We installed the ones with lights first,since the trim piece goes over the panel. I have to say that it is kind of pain to move them, but I don’t plan on doing it very often (maybe once a year to tops). The one advantage I do see is that if I get a leak above (i.e. the dishwasher) it would most likely only require taking 1 panel out.
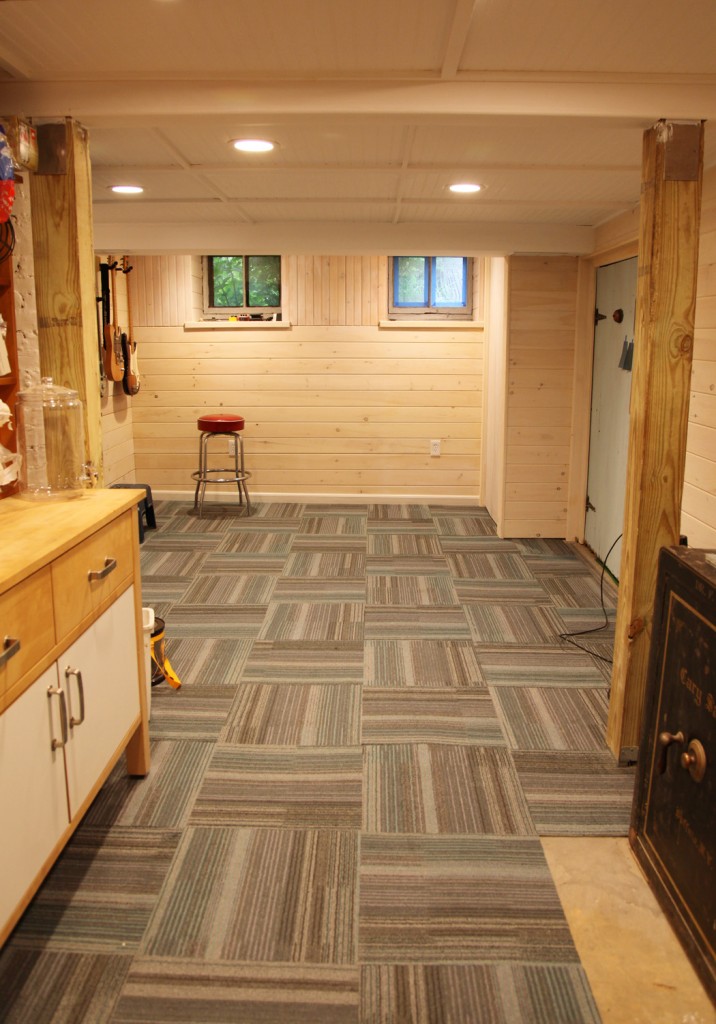
Step 6: Paint. Okay so I should have painted the frame before putting the panels in, but I didn’t. Oh well. I really like how it came out.
Cost: I have also gotten several questions about cost. The materials themselves were not very expensive for this ceiling. Most of the cost is in the labor, for installing the upside down T-pieces (while dodging pipes), cutting the panels to fit and making the cross-pieces. It is also pretty slow going! If you are up for doing it yourself and you have the time, I think it is worth it. Paying for a contractor to do it, is definitely not cheap though.
More Questions? Just add a comment and I will do my best to answer them.

