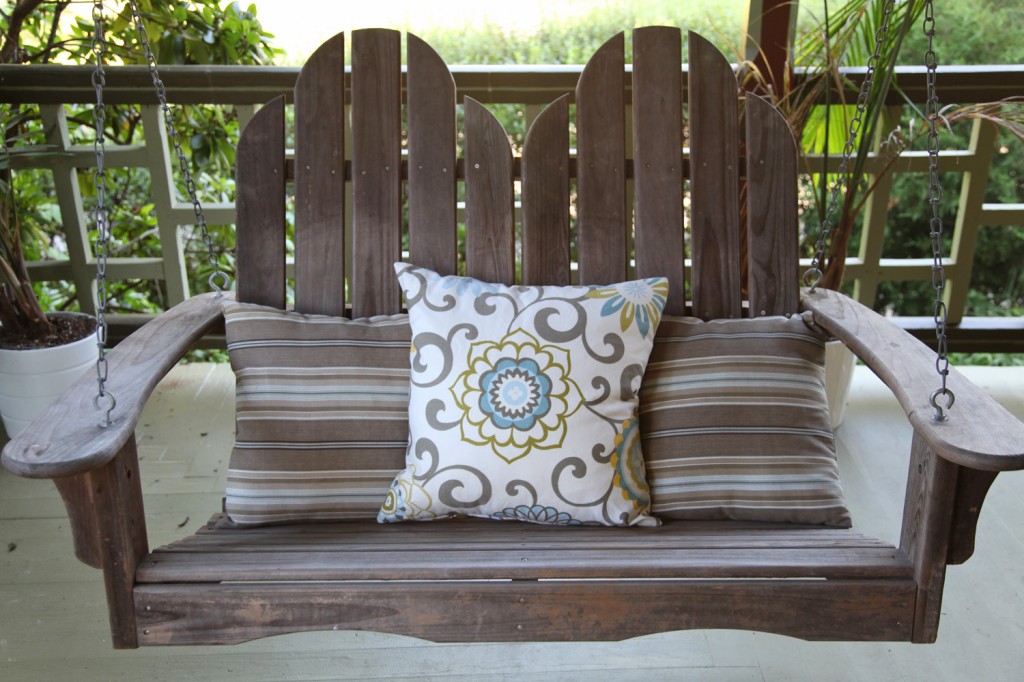
In the last week we have had about 10″ of rain (mostly concentrated on Sunday). So in addition to getting water in the basement (literally seeping up from the slab) it is looking like a jungle outside am I am not looking forward to taming it. At least the weather was pretty nice yesterday afternoon (for the first time in a while) so the kids and I put on our bug repellent and spent some time outside, which was lovely. Earlier in the day while we were waiting for the clouds to go away, I decided that I should finally work on the pillows for the porch swing. So during Maisie’s nap I managed to get one finished. I should say that I have made a number of pillow covers in my day, but never one with a zipper. My mom always said that zippers were really hard to install, but I saw this great tutorial from designsponge/sewing in a straight line for how to sew a pillow cover with a zipper. It looked pretty straight forward so I decided I would give it a try. We had a few technical difficulties, but overall it went pretty well. Here are the steps I followed:
Making an Outdoor Pillow Cover:
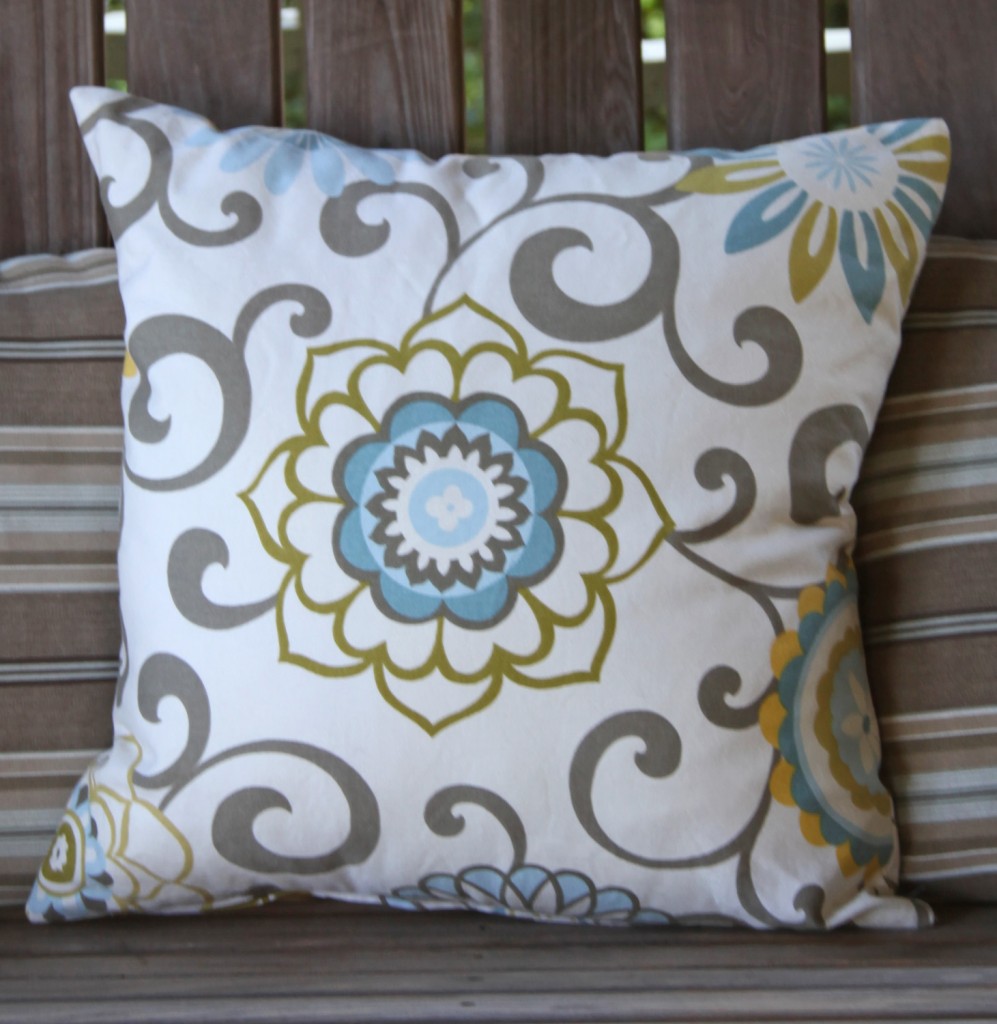
1. Bought outdoor fabric and two 16″ zippers at JoAnns. I bought 4′ (1 1/3 yards) of 2 fabrics since I wasn’t sure which one I was going to use. It is a Waverly fabric callled “Pom Pom Play” in Spa from their Modern Essential line. I just found this link showing the whole line of fabric, which I think are pretty and modern.
2. Ordered two 20″ square outdoor polyester pillow forms. The only ones I could find were from fabric.com. They are nice and squishy. You could also cover over a pre-made outdoor pillow. I looked around to see if I could find any on sale but I couldn’t find any in this larger size.
3. Put off doing project for about 6 weeks. Have cats sit on fabric. Wash fabric to remove cat hair and keep in a place where cats don’t sit.
4. Cut four 20″ squares for the 2 pillows. This was more difficult then I was anticipating because the repeat is really big on this fabric. I bought a yard and a third (4′) of fabric so I had a good amount to work with. In the end I went with centering one flower on 2 of the panels and on the other 2 I have 3 flowers off center. I ended up needing all of the fabric to be able to make 2 matching pillows and was really close to not having enough. Sam “helped me measure” the fabric for the pillow.
5. Iron fabric to get out creases from having it folded.
6. Pin one side together good sides facing each other. Mark 3″ in from each side.
7. Sew from corner to mark on each side (including backstitching to prevent unraveling). Use a 1/2″ seam allowance all the way around. I also used a polyester thread.
8. If you have a modern sewing machine you can apparently set it to “basting” to sew the remainder of the side. I have my old school 1940s singer which only sews one kind of stitch so I hand basted the rest of the side.
9. Iron seam flat.
10. Pin zipper so that it aligns with basted seam. Zipper should be closed and face down.
11. Sew to one side of the zipper. Most sewing machines have a zipper foot that you can install that leaves one side of the needle free so that you can sew next to your zipper without the foot getting caught in it. Of course I do not have one so I decided to wing it. I sewed with the zipper on the right of the foot since on my machine the foot is narrower on that side (I was probably about 1/4″ off of the zipper). Once you have gone down one side then turn 90 degrees and sew across. Then repeat down the other side.
12. Cut out baste stitching and check to make sure the zipper is working. Miraculously it worked! Keep zipper open (I foolishly kept mine closed and then had to carefully open it after the pillow was finished)
13. Pin and sew the other 3 sides.
14. Turn right side out and iron.
15. Put in pillow form and close zipper!
16. Put on front porch. Have kids lay on it!
17. Find time to make second pillow. Consider ordering a zipper foot for my sewing machine.
Does anyone else still have outdoor projects to finish?

