I first wrote about the sandbox almost 2 months ago. I think it is time to get moving! The basement has taken precedence for a while, but the kids are getting impatient and I am looking forward to them having some additional play space outside.
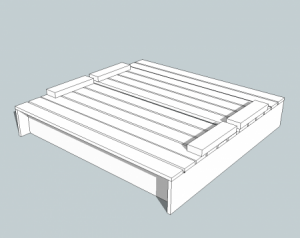
We decided to go with the plans from Ana White’s website based on this design. Of course I had to tweak it a bit (when have I ever gone the easy way). The design is for a 4′x4′ model. We decided to go with a 5′x4′ design so that the kids would have a little bit more space for playing and to fill out the space. We also decided to use 2x10s for the sides. The design calls for 1x8s but since we wanted it deeper and we were widening it, I decided to increase the depth (plus a 1×10 and 2×10 are pretty much the same price). The nice thing about the plans is that they are designed to use standard length lumber, so all I needed to do was adjust a few pieces from 8′ lengths to 10′ lengths to make it work. I also added an extra piece to the back on each side to accommodate the extra foot.
Step 1: Locate the Sandbox and Prepare the Site
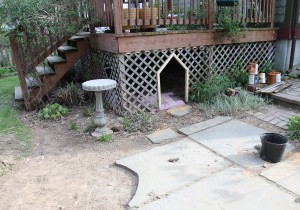
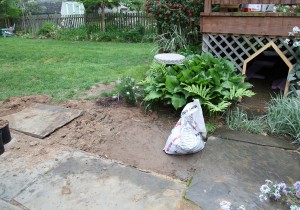
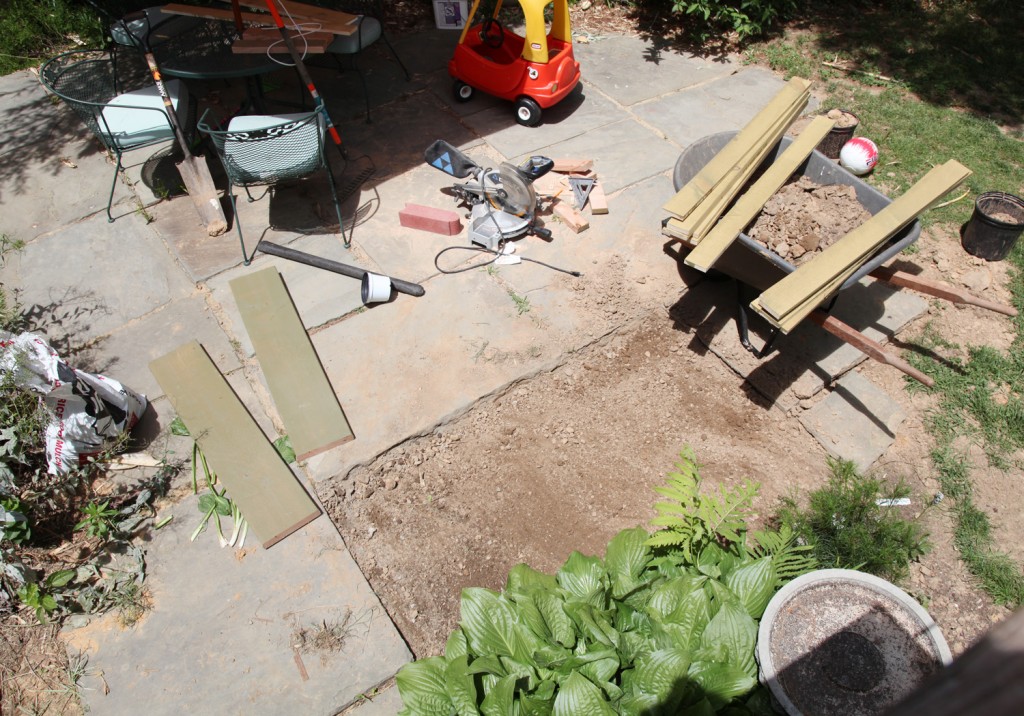
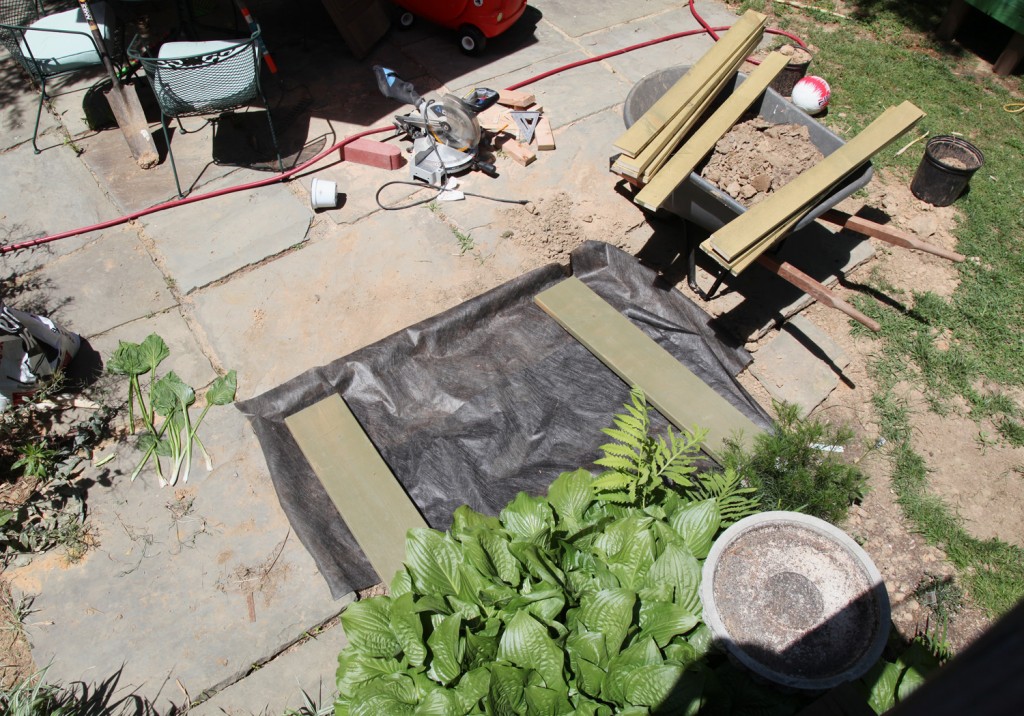
First on the list was moving the big piece of slate over to accommodate the sandbox. For this I used a spade and all of my arm strength to push it over the 5′. It was a pain and took me an embarrassing amount of time, but I managed to do it myself. Of course it wasn’t level! So it took last weekend with the help of Mr. S. holding it up to actually level it out. Then we leveled out the ground under the sandbox, moved/cut back a few plants and we were set. We also added the landscape/weed blocker fabric to the bottom, to help keep the sand separated from the dirt.
Step 2: Pick Up the Wood & Cut to Length
I went over to Home Depot and picked up the pine boards (I didn’t want to use pressure treated in an area with kids). I had the guy at HD cut the 2×10 boards for me, since my saw only cuts up to a 2×8 in one pass. Of course I hadn’t double checked my measurements so I still ended up having to cut the shorter pieces again at home. All told I spent about $96 for the wood, screws, glue and hinges. I spent about an hour measuring and cutting all of the wood.
Step 3: Finish the Wood
This is by far the longest step. We are staining our wood green to match our garage and shed. We had some already, which was nice. The downside is that it is oil and takes a while to dry. Since almost all the wood will be visible depending on whether it is open or closed we need to finish all of the sides. I am using a small roller with the stain. I am still NOT finished with this. It needs 2 coats and so far only the bottom has 2 full coats. Everything else only has one coat right now. Unfortunately the weather has not been cooperating with us. I am hoping to have all of the staining done by the weekend so I can get this finished!
Step 4: Installing the Base/Sides:
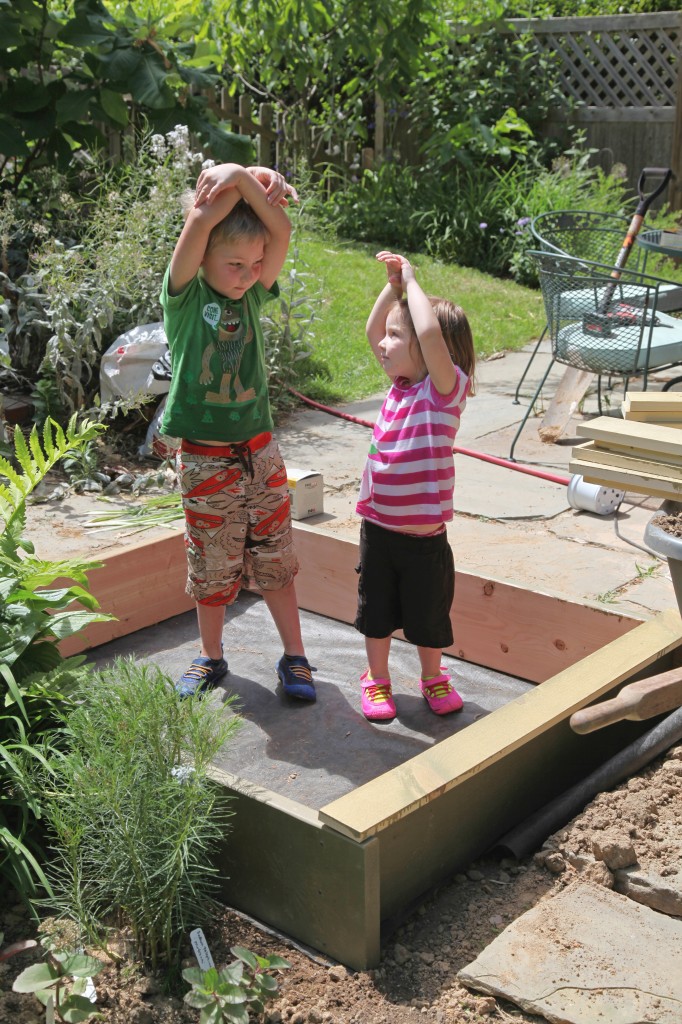
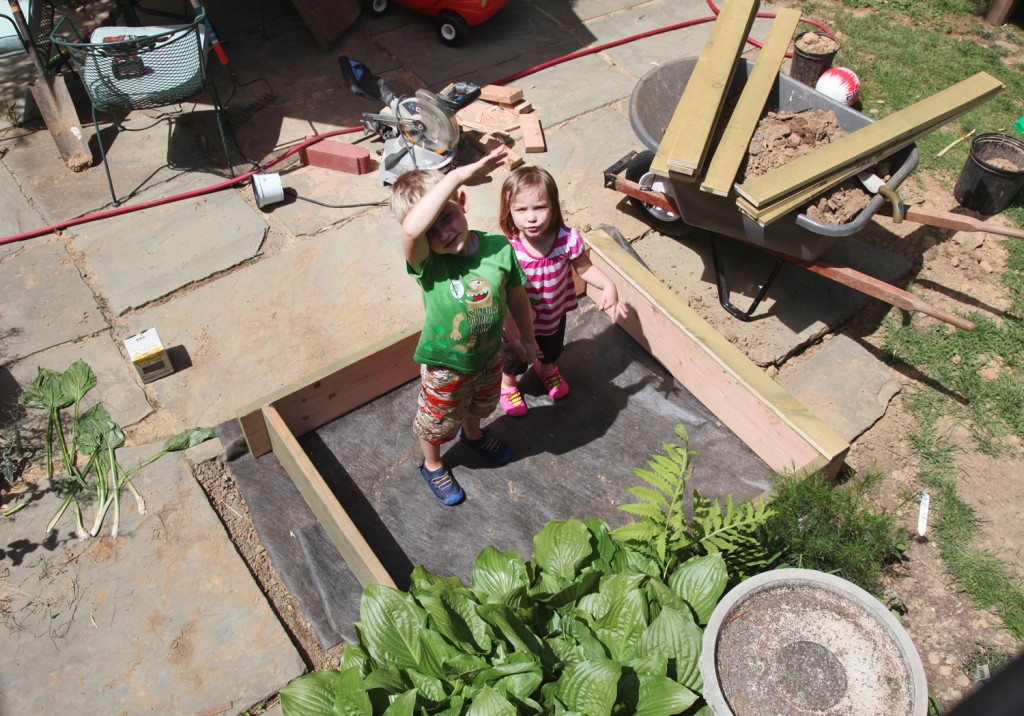
Mr. S. stained the base 2x10s first, so those were ready to go in (we are leaving the side that will be exposed to the sand unfinished because I am concerned with it wearing off with the sand against it). We used nice long 3″ screws (3 per corner). I use almost exclusively screws with star bits. Home Depot now sells them (I use to have to hunt them down) in the deck screw area. I LOVE these! No slipping or stripped screws. Plus they are meant for exterior use, so they will hold up well. The Home Depot ones are tanish yellow in color and blend in pretty well with the wood.
Step 5: Putting in the Sand
Goal for today, so stay tuned!

