I hope everyone had a lovely weekend. We spent a good part of the weekend trying to catch up on EVERYTHING. I don’t think we succeeded but we did manage to get a few things done. The taxes are ready, there is carpet tile in part of the basement, I have dug out the area for the sandbox and Maisie’s long overdue car bed is painted and pinstriped. Unfortunately the list is still pretty long. The good news is that the kids are stocked up on candy, LOVE Easter Egg hunts and are generally a happy pair.
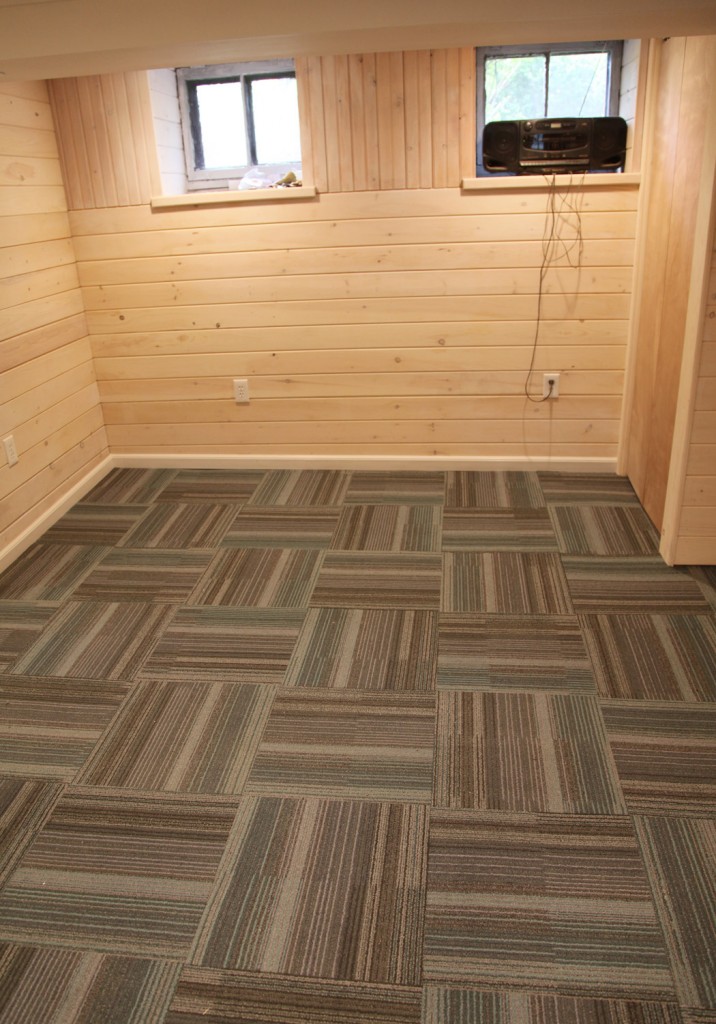
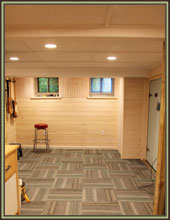
Back to the carpet tile! I decided to start on the larger of the two main spaces in the basement (i.e. the one that wasn’t full of stuff). There is still trim to paint and things to do, but I REALLY wanted the space to start feeling more finished so I went ahead with the install.
I bought this carpet tile (which is remnants and seconds from larger orders) for $.69 sf from an online store called Carpet USA (with $99 shipping). The deal was by far the best option I found. I wrote about the exciting adventure of picking it up a while ago. Previously I had pulled several pieces out to check out the pattern and to see how it was going to sit on the concrete floor. When pulling out some more pieces, there were definitely a few that had imperfections (which I knew could happen). Mostly it meant a darker color yarn was visible in a spot or two. There was one that had a loose piece of yarn sticking up. I decided to put those to the side and use them in less conspicuous places if at all since I bought some extra.
Laying Out the Carpet Tile
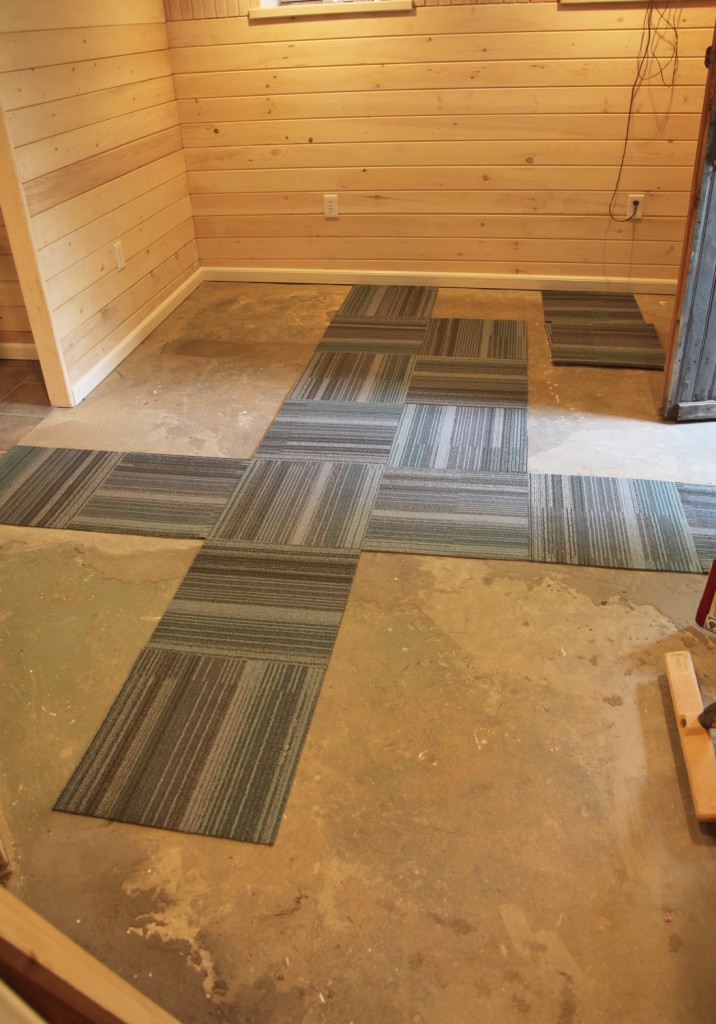
I started out by laying out a row of carpet tiles in each direction in a cross pattern to determine the best layout (I had done a rough layout in autocad, but for the actual installation this is actually easier, because you can fuss with it to find the best areas to cut the tiles). I decided that I wanted a full tile where the carpet tile meets the vinyl tile in the laundry area and I thought I would start with a full row on the perpendicular window wall. This meant some cutting on the walls perpendicular to the window wall for the doorways and closet.
Cutting the Carpet Tile
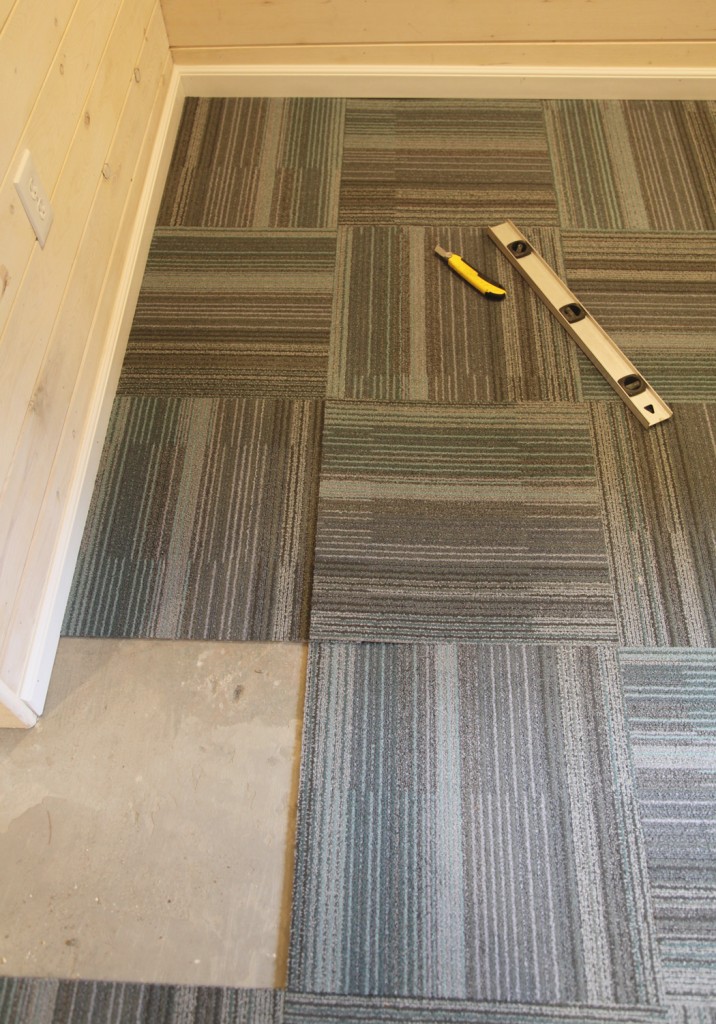
I still had left over utility blades from cutting the vinyl tile, so I just used these. I found that the blades get dull even quicker with carpet tile than with the vinyl tile. To cut them I put the carpet tile I wanted to cut under the adjacent full carpet tile. Then I just cut along that line following the edge of the adjacent carpet tile. This worked really well for the straight cuts. For the cuts around the doorways I lined the carpet tile up with the wall and used my metal level as a straight edge and cut one side and then the other. I downside to the carpet tile is that you can’t mark it like you can with tile. This worked pretty well, just took a little bit of tile (and a bunch of blades).
Gluing The Carpet Tile
The carpet place had said that we wouldn’t need to glue the carpet tile down or attach them together. I wasn’t so sure since when I have used FLOR in the past they give you stickers to hold everything together and I have found that you definitely need these. But I had my samples out for a while and I noticed that these stayed together very well without anything. They are thinner than the FLOR tile but somehow whatever the rubbery substance that is on the bottom they stay put. In our installation we are going wall to wall so I figured that it would help hold everything together. So now that it is down, they feel very secure, but at the same time I can pick one up easily and put it back in place with a problem, which is GREAT!
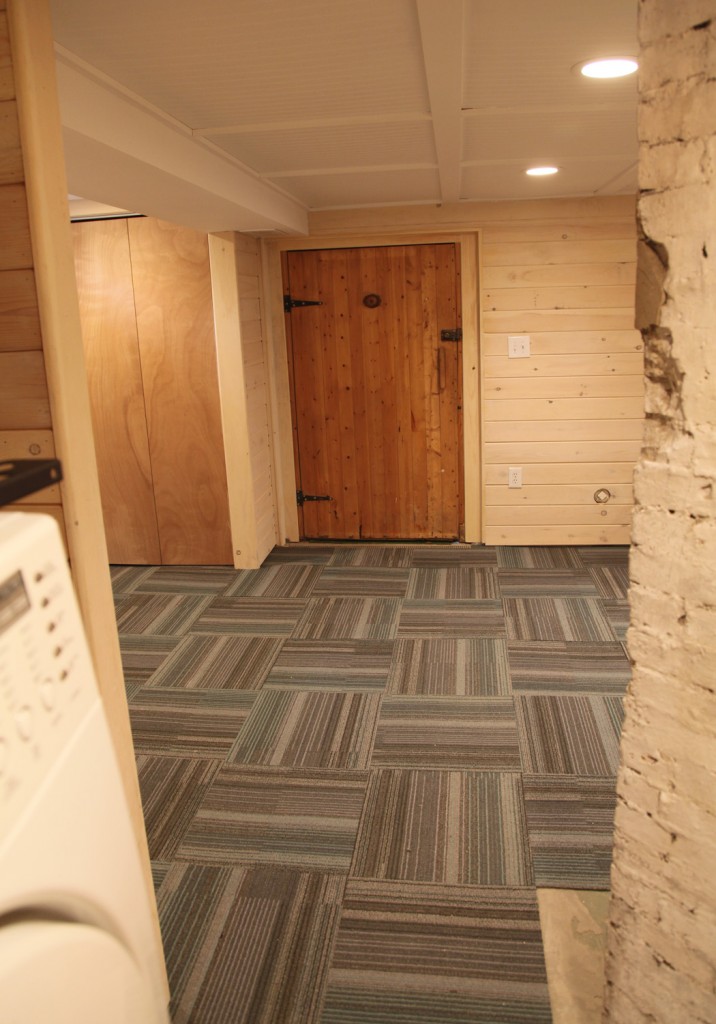
As you can see the carpet install went pretty well. Now I need to decide what color to paint the door. I was going to go with blue, but with the carpet tile I think I might need to pick a different color. I also need to install beadboard on the closet door to make it less noticeable.
* To see all of the posts about our basement click here.







Looking fabulous! I’m also really impressed that you didn’t have to use any adhesive or tape to hold the whole lot together — very cool and easy!
I noticed in the Basement Systems book we got from the basement guys that they sold a plastic base for installing carpet tile, so that the tile doesn’t sit directly on the floor and that there’s some space for dampness between the floor and the tile. What do you make of that? It seems a bit overkill to me, but I guess it depends on how much you trust the waterproofing system.
Hi Andi,
Thanks! I jumped on it a little last night on the end that isn’t finished to see if I could get it to move, and I couldn’t. 🙂
We looked at using the plastic base for under carpet. I like the concept and that it is made of a product that won’t get moldy but it is pretty pricey and you can’t install it yourself. The big advantage of that type of system is that your feet will be warmer because there is a thermal break between the concrete floor and the carpet (and any residual moisture from the slab won’t affect the carpet). That is really nice if you have kids playing on the floor. We decided against it because of the price, loosing headroom clearance (less of an issue for you) and also the aesthetics of the carpet that they offered. Since we don’t plan on using it as a primary play space for the kids I wasn’t as worried about the thermal break.
Thanks for sharing this information. I appreciate your insights and tips.
That looks like it would be a fun project to take on. Thanks for sharing.
Thank you for sharing this. As a professional carpet cleaning company we have had problems in the past with carpet tiles that were not installed correctly. It is great that you took the time to get some information out there about this subject.
Alex
Wine Country Carpet Cleaning
(805) 706-0333
1220 Manzanita Way
San Luis Obispo, CA 93401