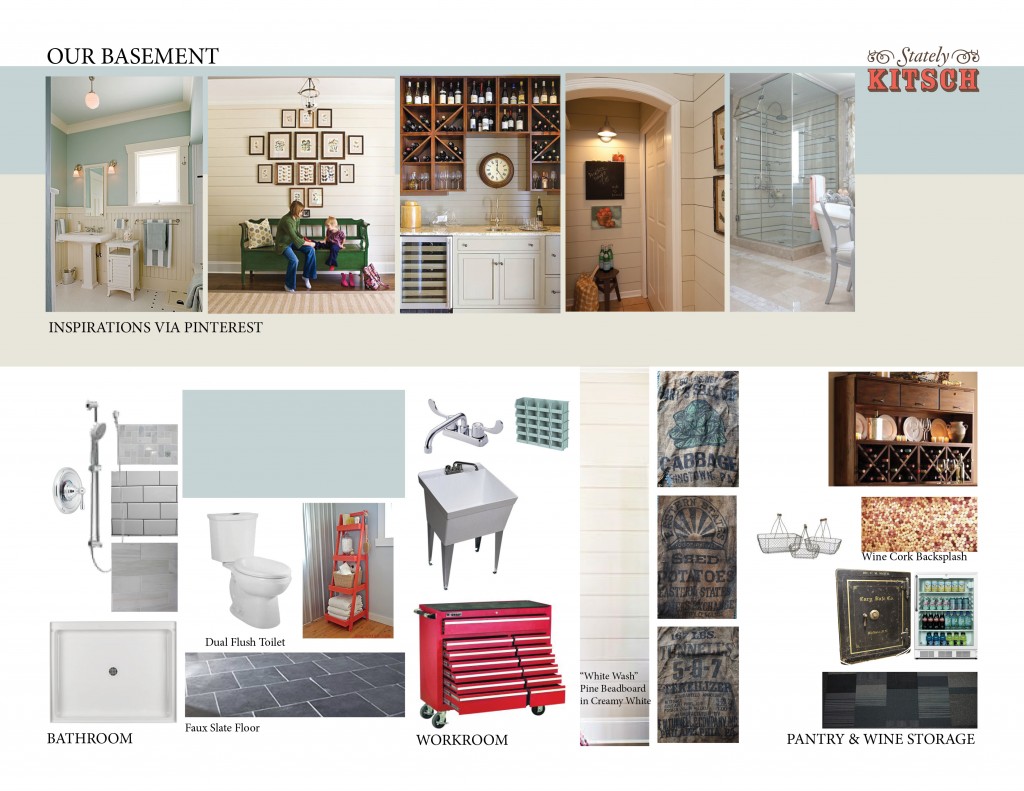
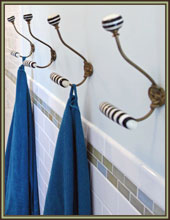
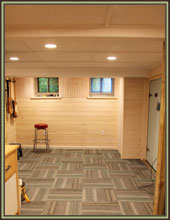
Today I thought it was about time to show you some pretty images! I put together a quick mood board for the basement. Most of this stuff is currently on my Pinterest Board but I thought it was about time to put it all together. In general I am happy with the look. The biggest issue I see at the moment is the carpet tile for the main room/pantry. I’m not sure it looks right with everything else. The good thing is that we will be installing it so it will be one of the last things to go down, so I’ve got a little time.
In basement progress news, our new sump pump and drainage system were put to the test on Monday! The rain combined with the melting snow meant LOTS of water. Our backyard turned into a giant mud pit (Sam was VERY excited!). The good news is that we went down into the basement to see how everything was doing we heard the faint sound of the sump pump. How exciting! And it didn’t feel the slightest bit moist down there (which is a big change). Also the hole for the shower drain had been getting water in it (since it is a good 9″ below the floor line) but it was bone dry, the clay didn’t even change into its bright orangy clay color; it looked dusty! Yeah! Very exciting! So now it is time to get moving on making the space usable!
There are still a couple of things on our list before the contractor starts. The first is having the shower pan ready to go, since the walls get built around it and we are trying to maximize the ceiling clearance within the shower. The good news is that the shower pan arrived a couple of hours ago! I ordered it online and was disappointed to hear that it was coming freight (the website said it would come UPS), which meant having to be available between the hours of 9-5 and then having to lug it into the house myself. Fortunately the delivery guy came in the middle of day and actually carried it up onto the front porch. Of course I now have to take it off the front porch and bring it around to the back stairs, but at least it is not sitting on the sidewalk.
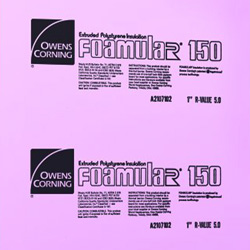
The second thing is installing the rigid insulation. We decided that we would save some money and install this ourselves. So we will be installing 2″ tongue and groove rigid polystyrene rigid insulation continuously around the entire foundation wall. We will be putting wood blocking at the top that will be attached to the joists above. This will align with the lip from the drain below. Once this is leveled we will attach the insulation to the blocking at the top and to the ground. We can also use a sanded grout to adhere it to the waterproofing membrane if that becomes necessary. The goal is to install most of the insulation this weekend. Fingers crossed it will go well. I will be making a bunch of trips to Home Depot to pick up enough! Fortunately it is less than 2 miles away.
* To see all of the posts about our basement click here.








Love the mood you are setting, and oh what a change! It has been great seeing it all come together on the blog, keep up the good work!